Home>Home Maintenance>How To Drain Water From Window Air Conditioner
Home Maintenance
How To Drain Water From Window Air Conditioner
Modified: October 19, 2024
Learn how to drain water from your window air conditioner with these simple home maintenance tips. Prevent leaks and ensure optimal performance for your AC unit.
(Many of the links in this article redirect to a specific reviewed product. Your purchase of these products through affiliate links helps to generate commission for Storables.com, at no extra cost. Learn more)
Introduction
Welcome to our comprehensive guide on how to drain water from your window air conditioner. As the summer months approach, it’s crucial to ensure that your air conditioner is in optimal working condition. One common issue that homeowners face is the accumulation of water in their window air conditioners. If left unchecked, this water can cause damage and affect the efficiency of your unit.
Draining the water from your window air conditioner is a simple and important maintenance task that should be done regularly. By following the steps outlined in this guide, you can prevent water-related issues and keep your air conditioner running smoothly all summer long.
Before we dive into the step-by-step process, let’s go over the tools and materials you will need.
Key Takeaways:
- Regularly draining water from your window air conditioner using simple tools and safety precautions ensures efficient and trouble-free cooling during the hot summer months.
- By following the step-by-step process, including cleaning the drainage hole and replacing the drain plug, you can maintain your air conditioner’s optimal performance and enjoy a cool and refreshing indoor environment.
Tools and Materials Needed
Before you begin, gather the following tools and materials to ensure a smooth and efficient process:
- Bucket or container
- Towel or rag
- Screwdriver
The bucket or container will be used to collect the water that is drained from the air conditioner. Make sure it is large enough to hold a significant amount of water to prevent any spills or overflow.
The towel or rag is necessary to dry up any water that may have spilled during the draining process, keeping your surroundings dry and safe.
A screwdriver will be needed to remove the drain plug on your window air conditioner, allowing the water to flow out smoothly.
With these tools and materials on hand, you’re ready to start draining the water from your window air conditioner. But before you do, it’s important to keep some safety precautions in mind.
Safety Precautions
When working with your window air conditioner, it’s essential to prioritize safety. Follow these safety precautions to minimize the risk of accidents or injuries:
- Turn off the power: Before attempting any maintenance on your air conditioner, make sure to power it off. This is crucial to prevent any electrical shocks or malfunctions.
- Wear protective gear: Depending on your specific situation, it may be beneficial to wear gloves and safety goggles to protect your hands and eyes from any water, debris, or other potential hazards.
- Ensure stability: When working with your window air conditioner, make sure it is securely mounted and stable. This will prevent any accidents or injuries caused by the unit shifting or falling.
- Use a sturdy ladder: If your air conditioner is mounted on a higher window, be sure to use a sturdy ladder to reach it safely. Always practice proper ladder safety by positioning it on a solid surface and using the appropriate ladder for the height needed.
- Handle with care: Take caution when removing the drain plug and handling the water. Move slowly and carefully to avoid any spills or injuries.
- Keep the area dry: To prevent slips and falls, ensure that the area around the air conditioner is dry throughout the process. Use a towel or rag to wipe up any water that may have escaped during the draining process.
By following these safety precautions, you can complete the task of draining water from your window air conditioner confidently and without any undue risks. Now, let’s move on to the step-by-step process.
Step 1: Power off the Air Conditioner
The first step in draining water from your window air conditioner is to ensure that the unit is powered off. This is crucial for your safety and to prevent any electrical accidents.
Locate the power switch on your air conditioner and turn it off. If your unit is connected to a power outlet, unplug it from the socket. Take extra precautions to ensure that the power source is completely disconnected before proceeding.
Turning off the power will prevent any electrical shocks and allow you to work on the air conditioner without any potential dangers. It also ensures that the unit’s internal components are not functioning while you are performing maintenance tasks.
Once you have confirmed that the air conditioner is powered off, you can move on to the next step of the water drainage process. Remember to never skip this step and always prioritize your safety when working with electrical appliances.
Now that the air conditioner is turned off, let’s proceed to the next step: locating the drainage hole.
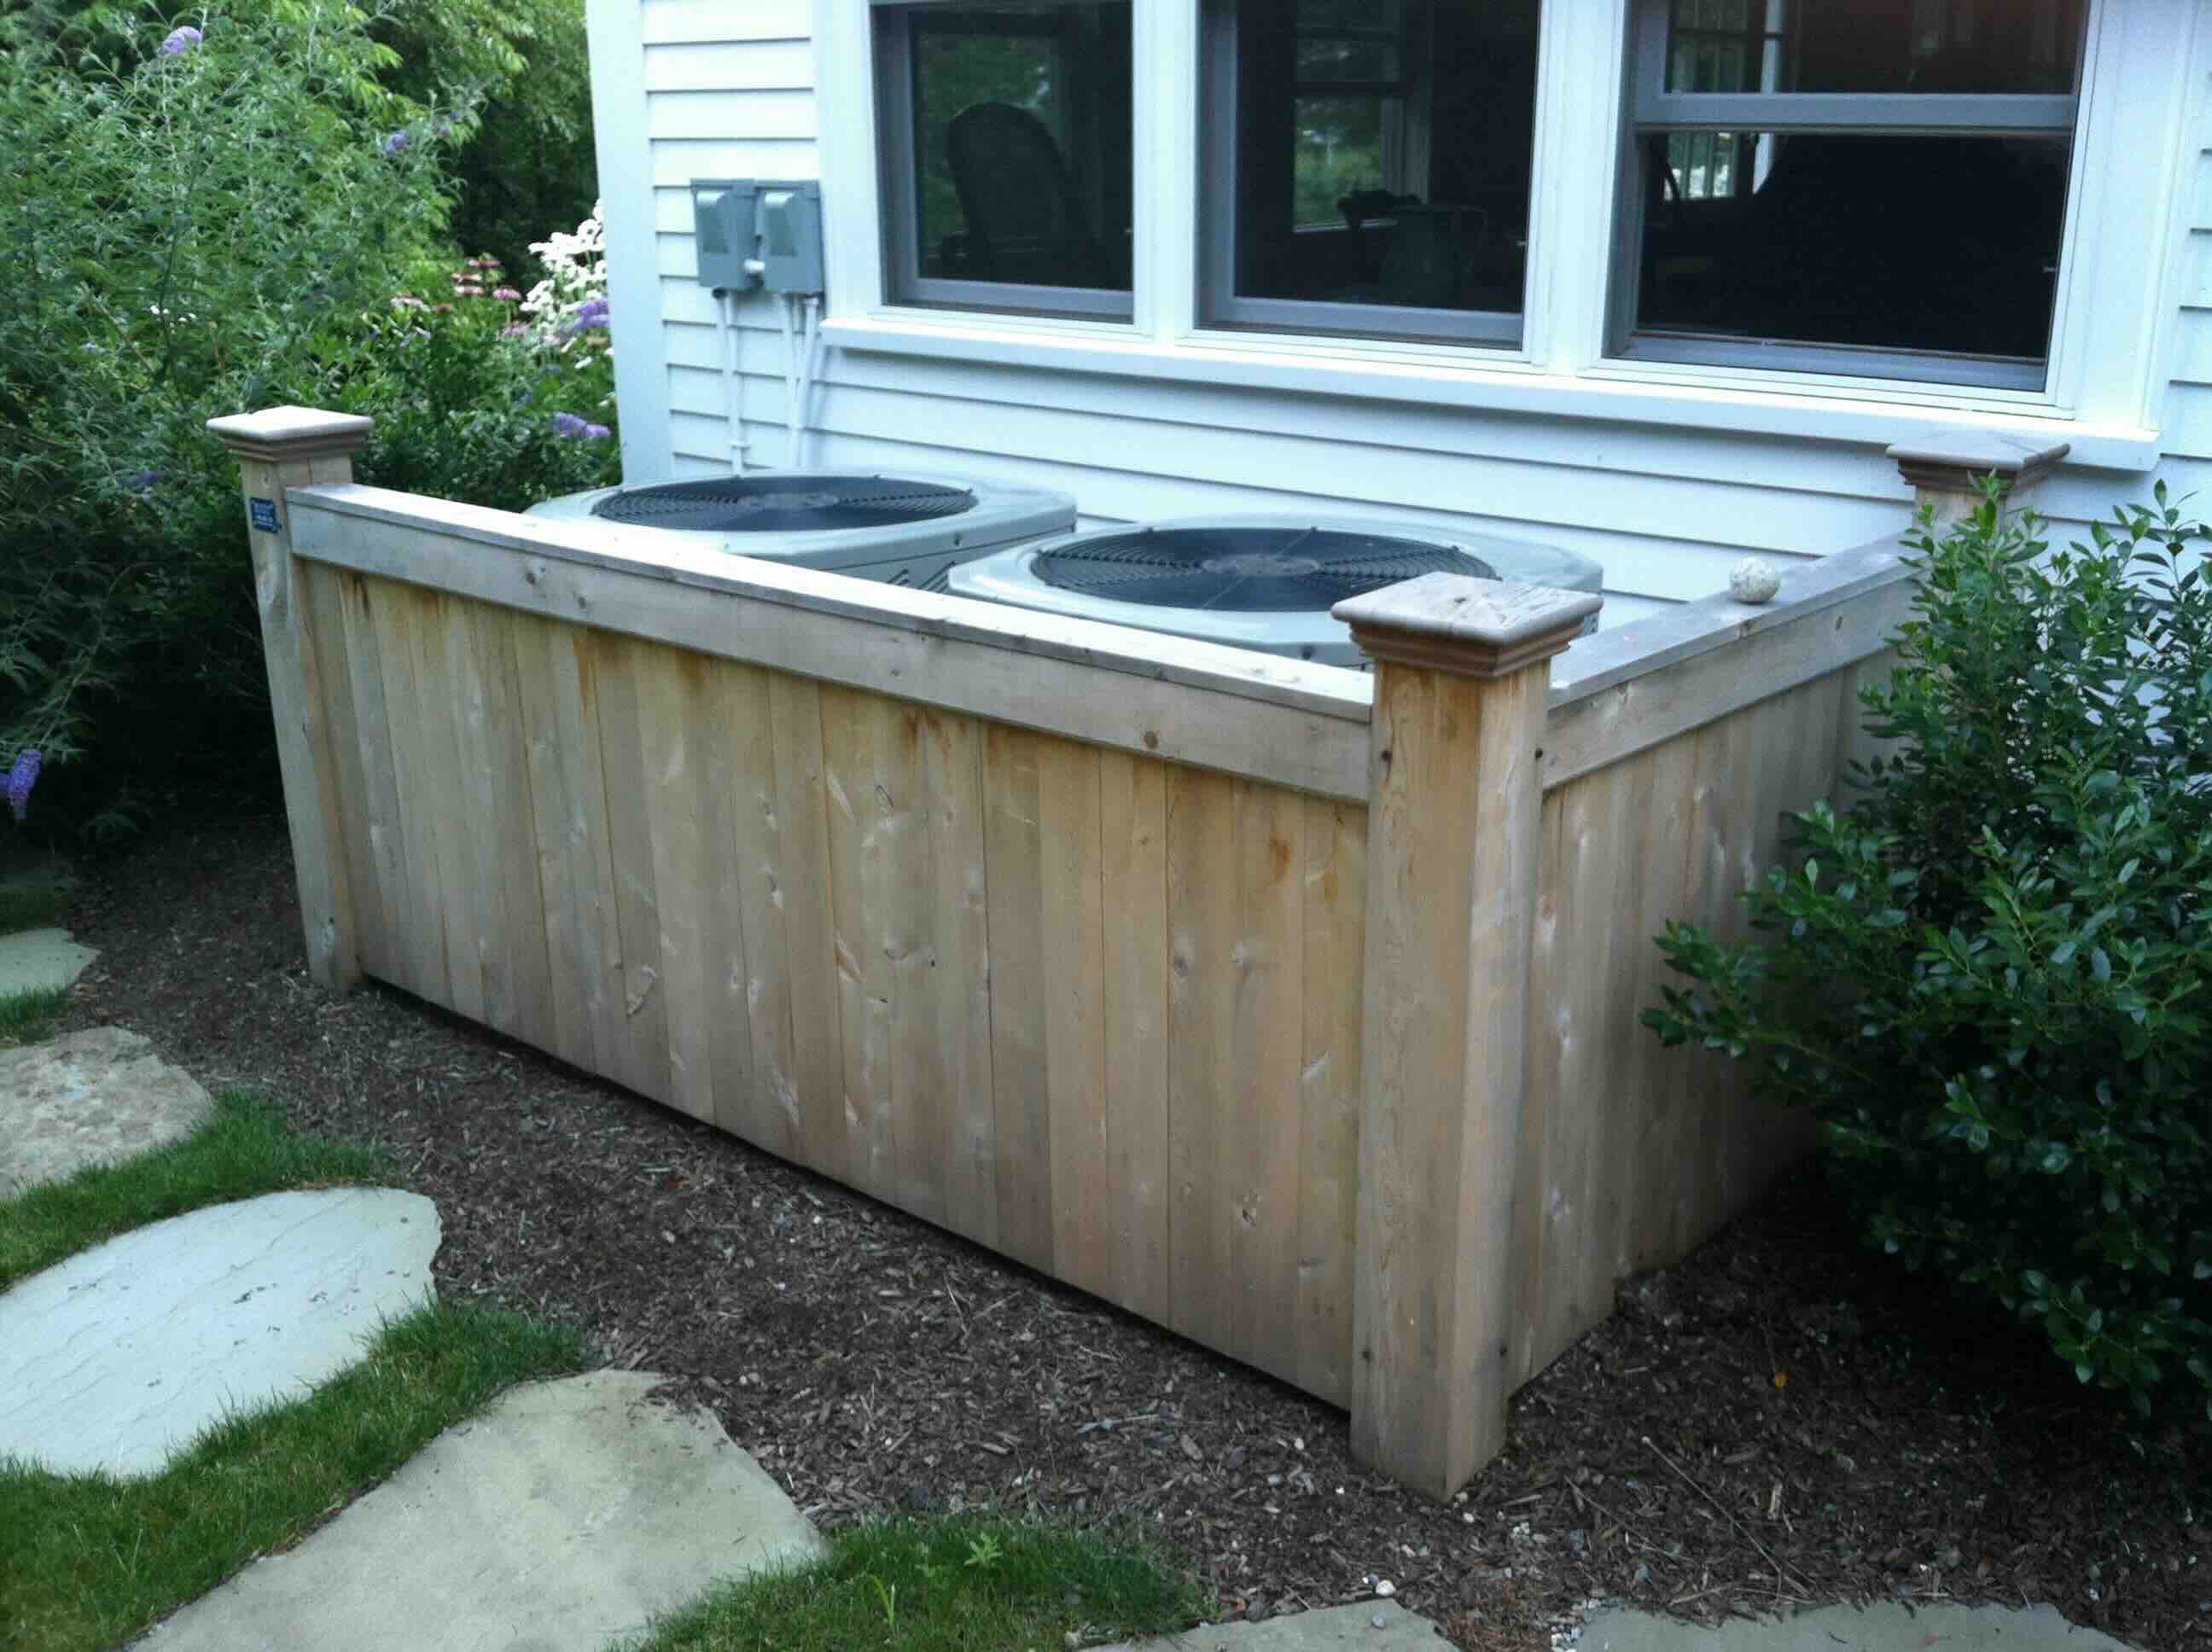
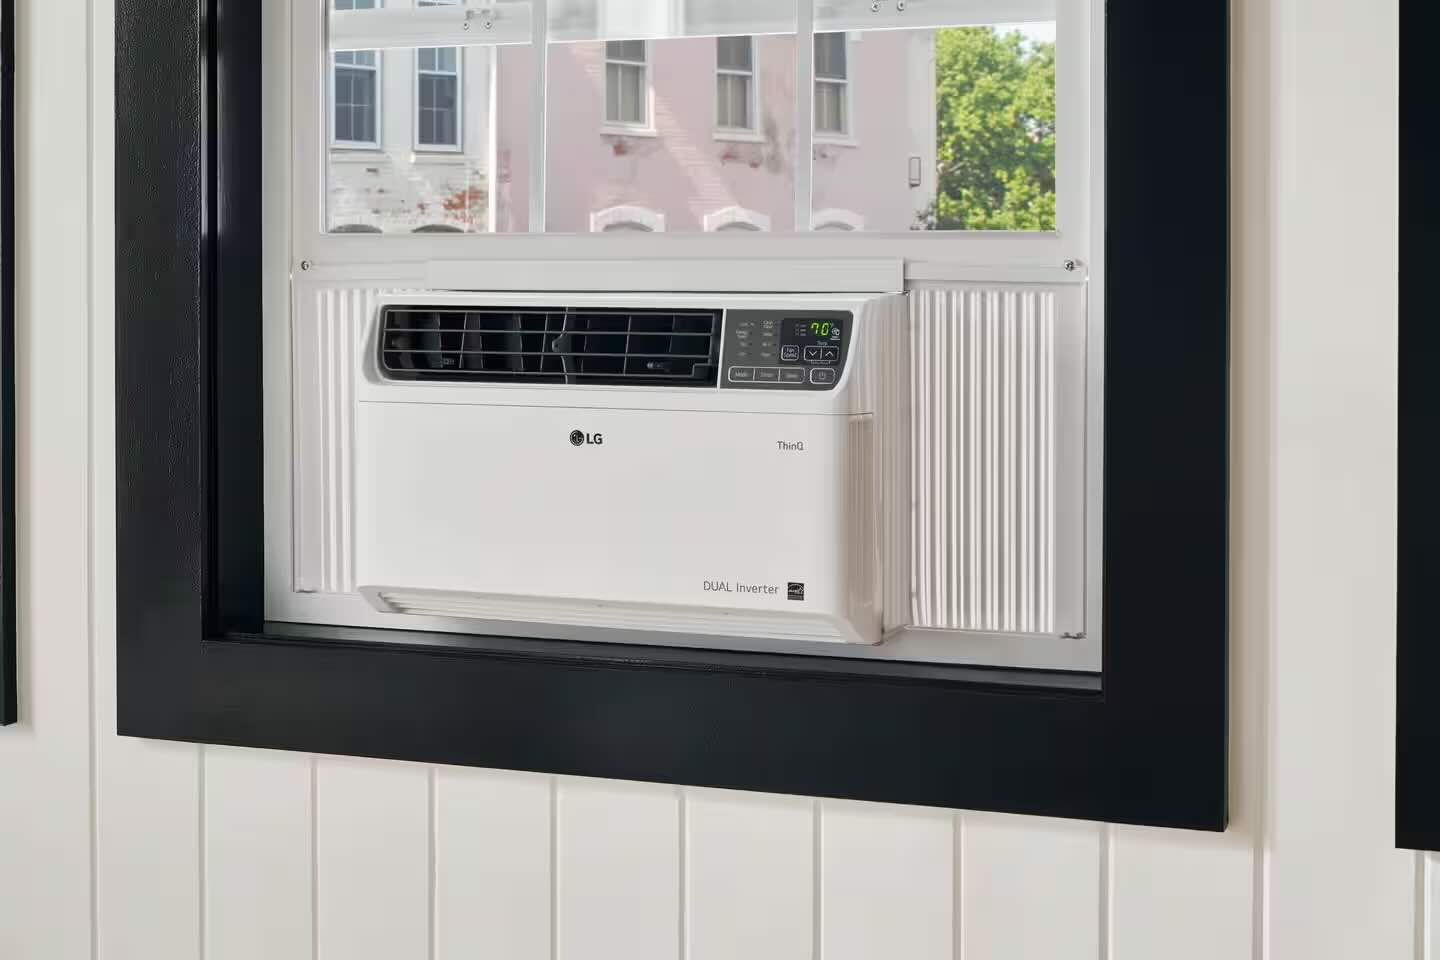
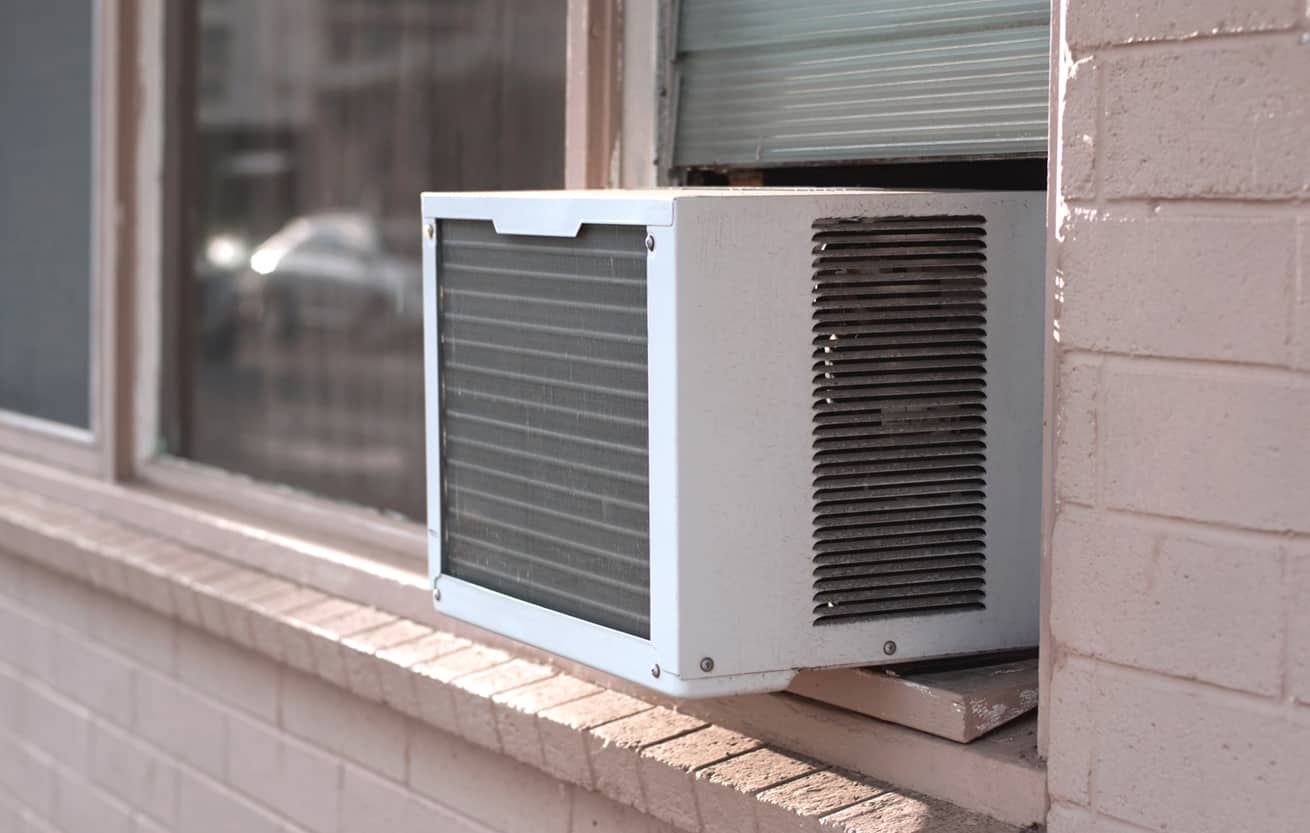
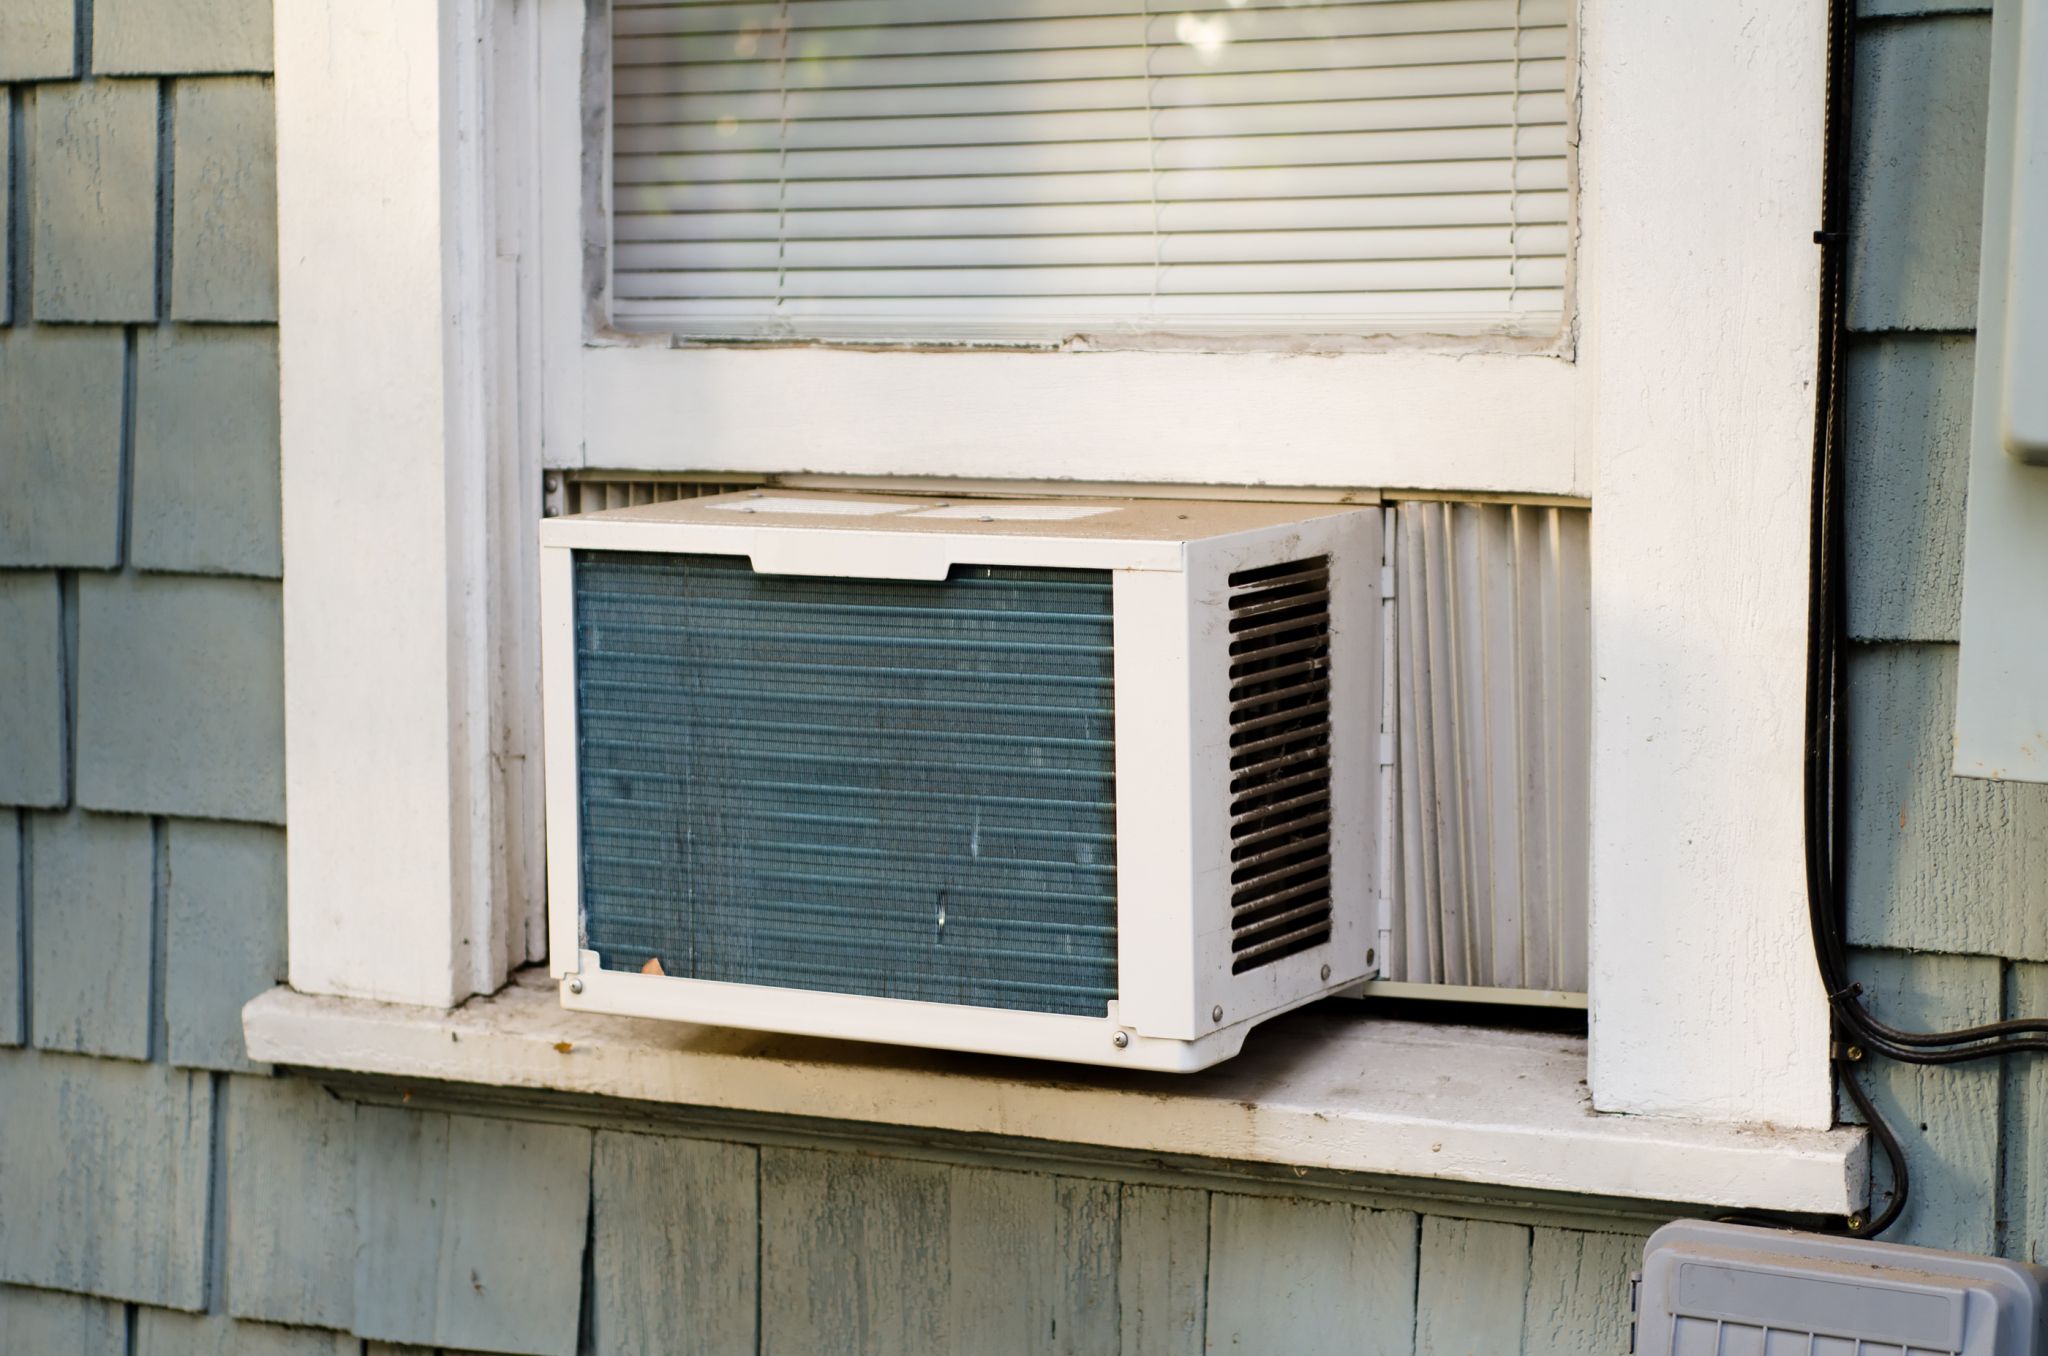
Step 2: Locate the Drainage Hole
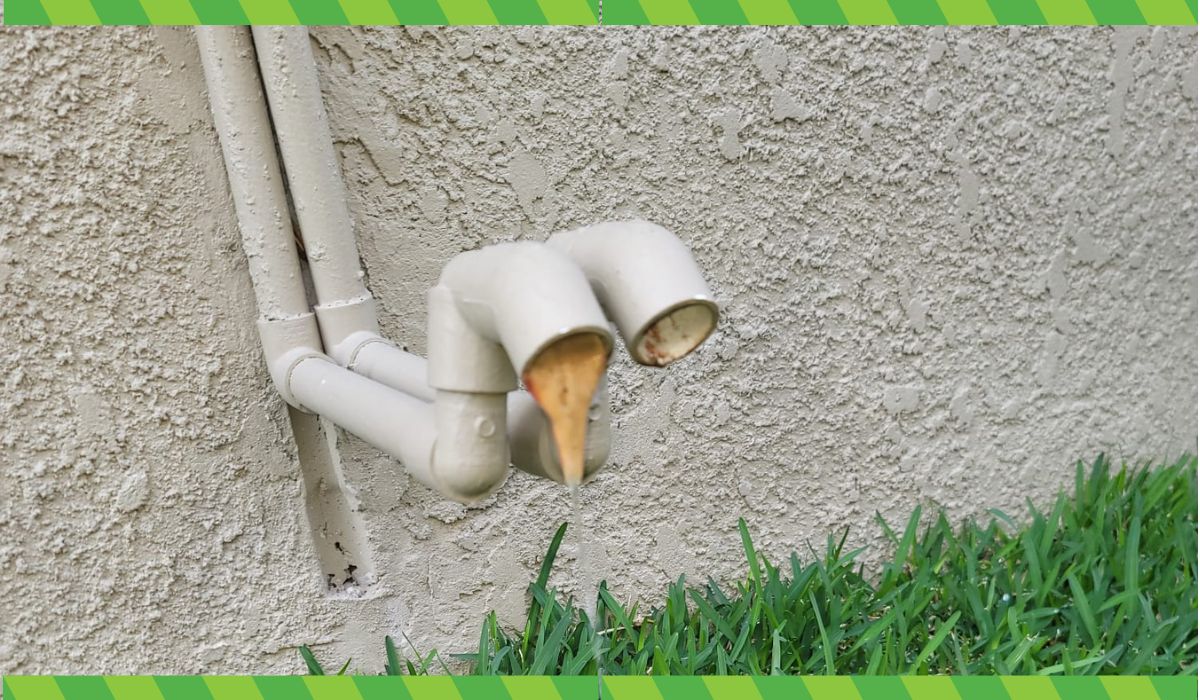
After ensuring the air conditioner is powered off, the next step is to locate the drainage hole on your window air conditioner. This hole is designed to allow the water to drain out of the unit.
The drainage hole is typically located at the back or bottom of the air conditioner. It may be covered by a small plastic cap or plug. Use your fingers or a screwdriver to carefully remove the cap or plug, exposing the drainage hole.
Some air conditioners may have multiple drainage holes, so make sure to identify the correct one before proceeding. If you’re having trouble finding the drainage hole, consult the user manual provided by the manufacturer, as it will usually have specific instructions on the location.
Once you have located the drainage hole, you are ready to move on to the next step: preparing a container to collect the drained water.
Note: If there is no visible drainage hole on your air conditioner, it is possible that it does not require manual draining. In such cases, check the user manual or consult a professional for further guidance.
Step 3: Prepare a Container
Before you start draining the water from your window air conditioner, it’s important to prepare a container to collect the discharged water. This will prevent any mess or water damage to your surroundings.
Select a sturdy bucket, basin, or container that is large enough to hold the amount of water that may accumulate in your air conditioner. A container with a wide opening and a handle will make it easier to transport and empty the water later on.
Place the container near the air conditioner, ensuring it is stable and secure. This will prevent any accidental spills or tip-overs during the drainage process. Consider placing a towel or mat underneath the container to catch any potential drips or splashes.
It’s worth noting that depending on the amount of water accumulated, you may need to empty the container multiple times during the draining process. So make sure to have a suitable location to pour out the collected water without causing any additional inconvenience.
With the container ready, you can now proceed to the next step: removing the drain plug.
Keep in mind that safety should always be a top priority. Be cautious when handling the container and ensure that it’s placed in a secure spot to avoid any accidents.
To drain water from a window air conditioner, locate the drain hole on the back or bottom of the unit. Place a shallow pan or tray underneath to catch the water. You can also use a small tube to direct the water outside.
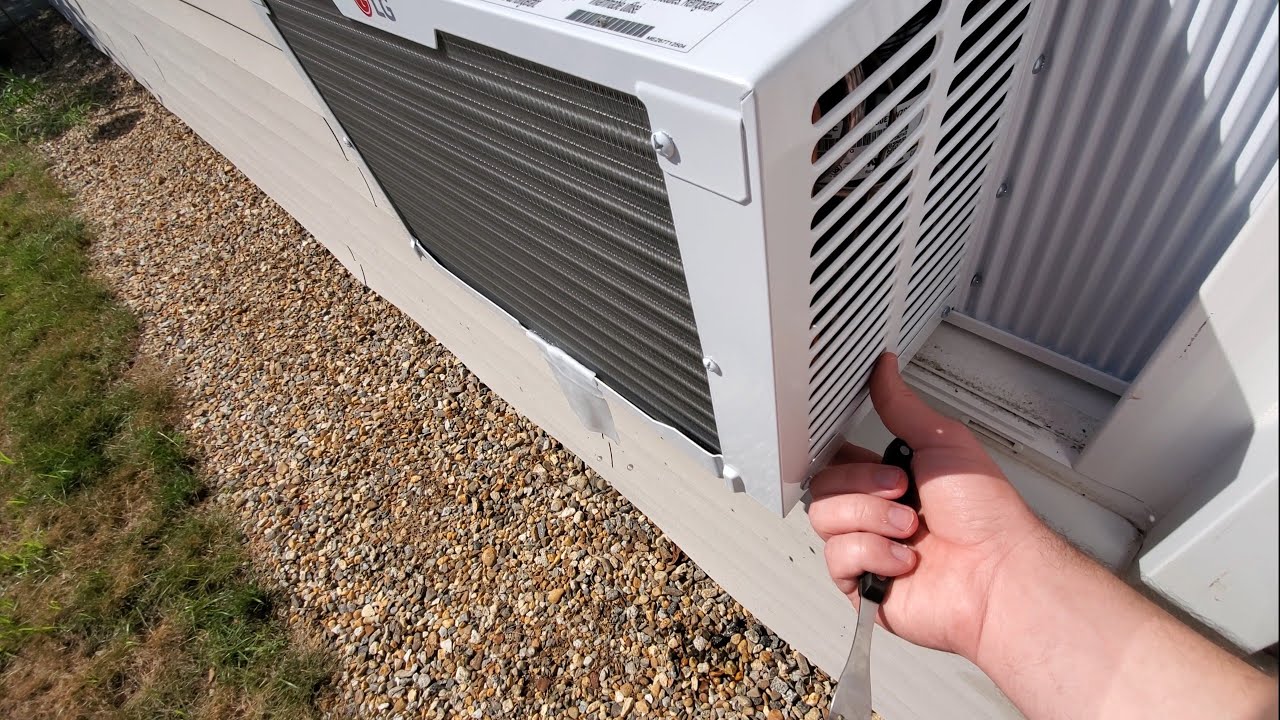
Step 4: Remove the Drain Plug
Now that you have prepared a container to collect the water, it’s time to remove the drain plug from your window air conditioner. This will allow the water to flow out of the unit and into the container.
Using a screwdriver, carefully locate the drain plug on your air conditioner. It is usually located near the drainage hole or at the bottom of the unit. Gently insert the screwdriver into the plug and turn it counterclockwise to loosen and remove it.
Take caution not to apply excessive force or damage the drain plug during this process. Some drain plugs may be attached with a chain or cord to prevent misplacement, so keep an eye out for that as well.
Once the drain plug is removed, set it aside in a safe place as you won’t need it until the draining process is complete.
Removing the drain plug is a crucial step in allowing the water to flow freely out of the air conditioner. With the drain plug removed, let’s move on to the next step: draining the water.
Remember to work carefully and methodically to avoid any mishaps or damage to the air conditioner.
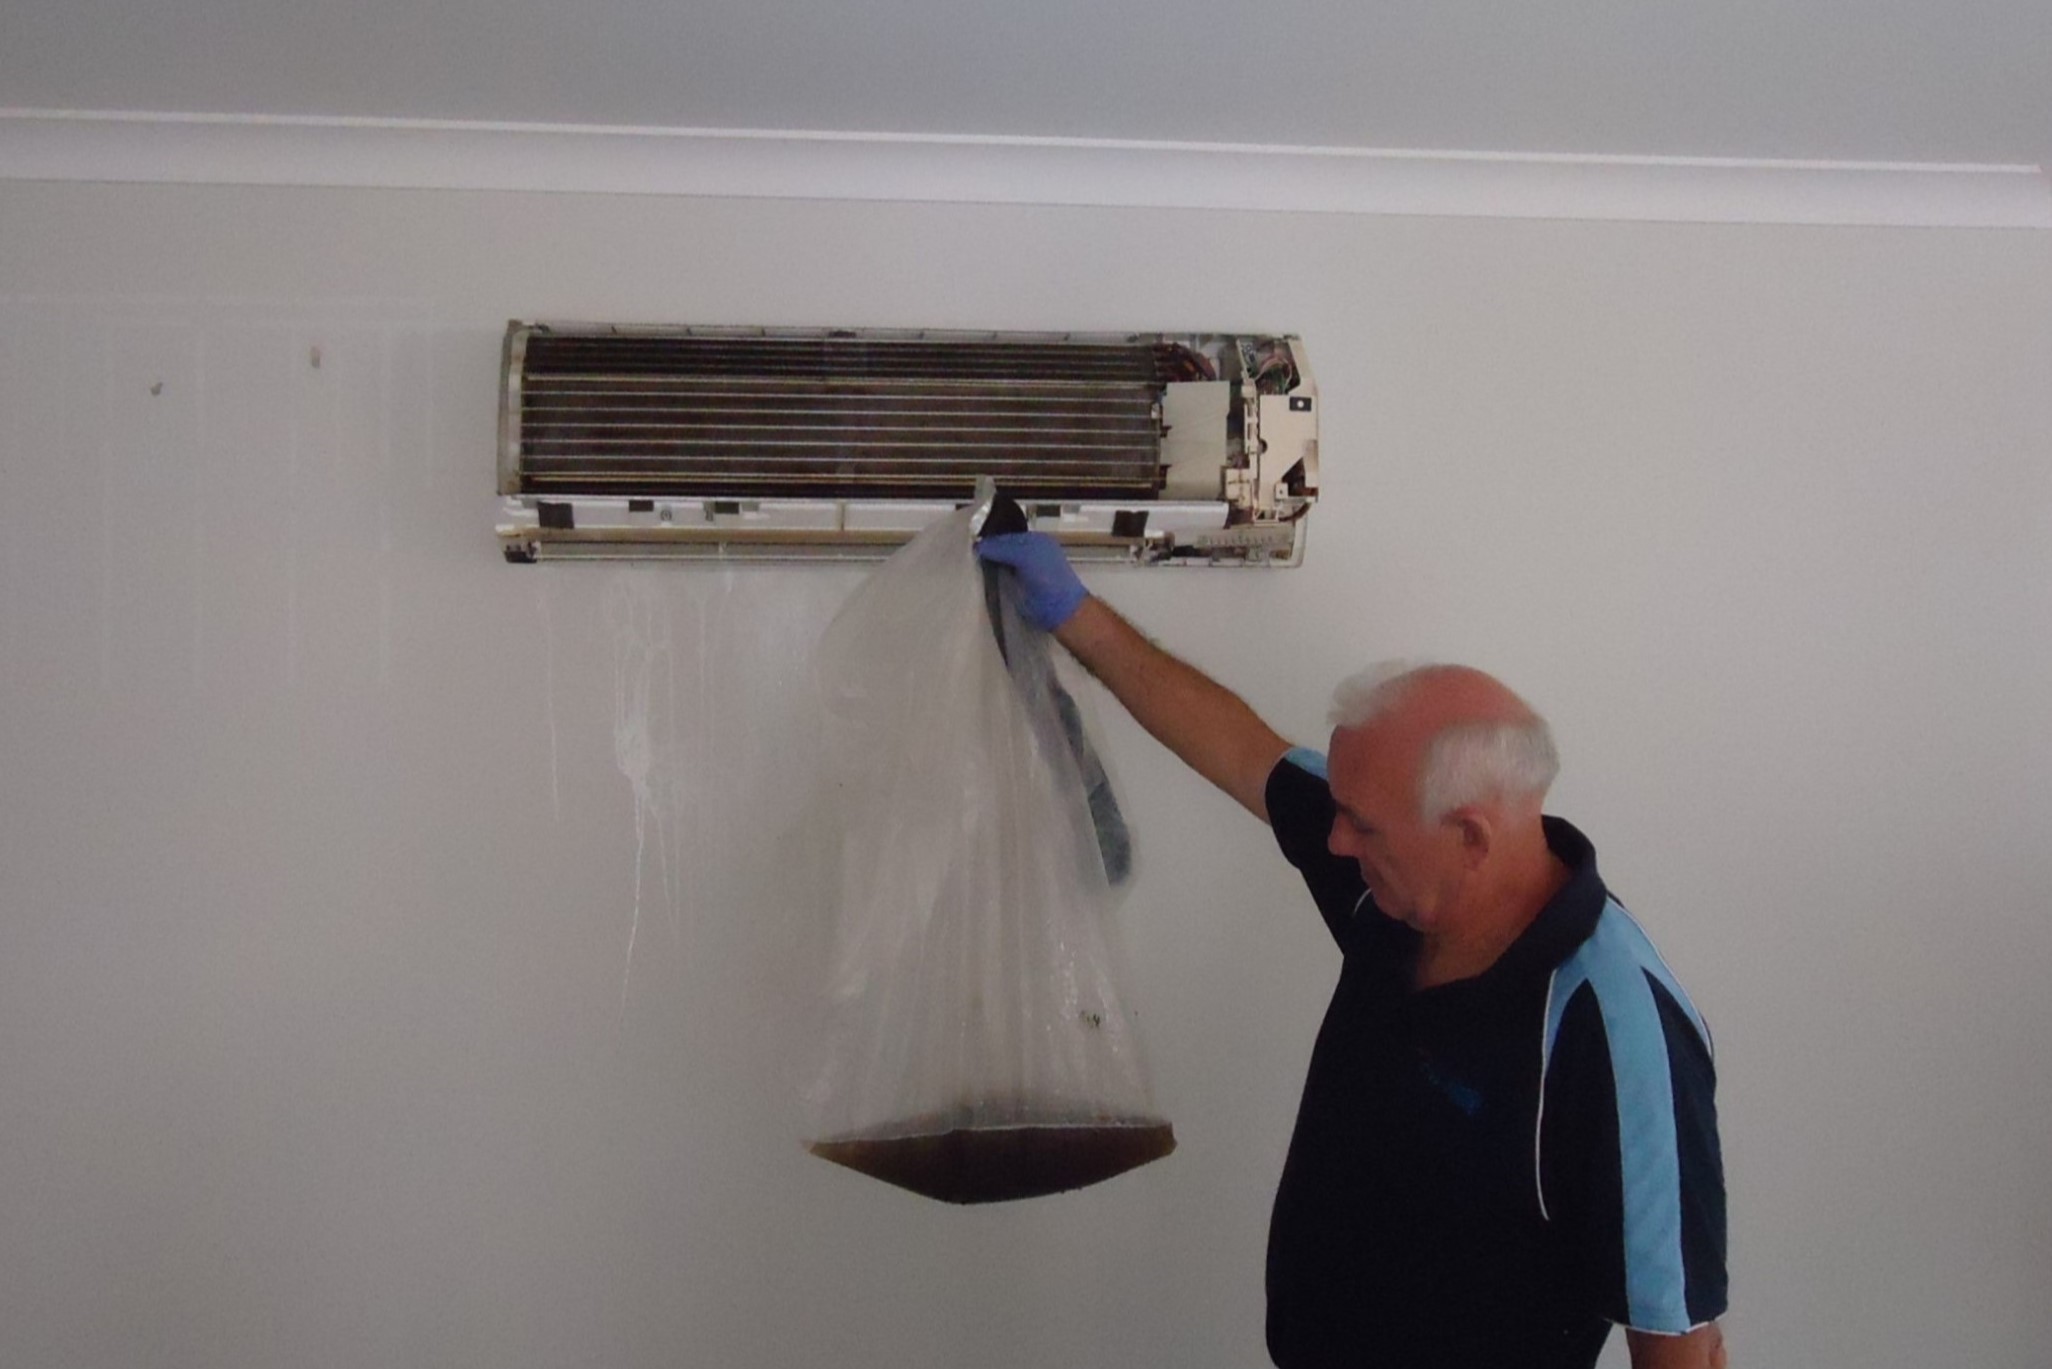
Step 5: Drain the Water
With the drain plug removed, it’s time to start draining the water from your window air conditioner. Follow these steps to ensure a smooth and efficient process:
- Position the container directly underneath the drainage hole to catch the water that will be released.
- Gently tilt the air conditioner towards the outside of your home, allowing the water to start draining from the unit. The water may initially come out in drips or a slow stream.
- Continue tilting the air conditioner gradually, maintaining control to prevent any sudden movements or spills. As you do this, the water flow should increase.
- Be patient and allow the water to drain fully from the unit. Depending on the amount of water accumulated, this process may take a few minutes.
- Monitor the container to ensure it doesn’t reach its capacity. If needed, carefully empty the container to create space for more drainage.
While draining the water, it’s important to maintain a steady and controlled tilt of the air conditioner. This will prevent any sudden gushes of water and minimize the risk of spills or accidents.
It’s also worth noting that the water drained from the air conditioner may sometimes contain dirt or debris. If you notice any clogs in the drainage hole, gently clear them with a small wire or brush to maintain proper water flow.
Once the water has fully drained from the air conditioner, you can move on to the next step: cleaning the drainage hole.
Remember to work slowly and carefully throughout the draining process to ensure a successful outcome without any water-related mishaps.
Step 6: Clean the Drainage Hole
After draining the water from your window air conditioner, it’s essential to clean the drainage hole to maintain proper functionality and prevent future clogs. Follow these steps to clean the drainage hole effectively:
- Inspect the drainage hole for any debris, dirt, or blockages. Use a small wire or brush to gently remove any accumulated residue.
- Flush the drainage hole with a mixture of warm water and mild detergent. This will help dissolve any remaining dirt or grime.
- Use a clean cloth or sponge to wipe the surrounding area of the drainage hole, ensuring it is free from any residue or moisture.
- Inspect the removed drain plug for any dirt or debris. Clean it thoroughly using the same warm water and detergent mixture.
- Once the drainage hole and drain plug are cleaned, allow them to air dry completely.
- Before reattaching the drain plug, check that both the drainage hole and drain plug are completely dry.
Regular cleaning of the drainage hole is crucial to prevent blockages and maintain the proper functioning of your air conditioner. Accumulated dirt and debris can obstruct the flow of water, leading to leaks or inefficient cooling.
By keeping the drainage hole clean, you ensure a smooth and uninterrupted drainage process, allowing your air conditioner to operate at its best.
Now that the drainage hole is clean, let’s move on to the next step: replacing the drain plug.
Remember to be gentle when cleaning the drainage hole and handle the drain plug with care to prevent any damage or misplacement.
Step 7: Replace the Drain Plug
After cleaning the drainage hole, it’s time to reattach the drain plug to your window air conditioner. Here are the steps to follow:
- Ensure that both the drainage hole and the drain plug are completely dry before proceeding.
- Take the drain plug and carefully align it with the drainage hole.
- Insert the drain plug into the hole and twist it clockwise to tighten it securely.
- Double-check that the plug is properly fitted and secure, ensuring a tight seal to prevent any water leakage.
By replacing the drain plug, you are sealing the drainage hole and preparing your air conditioner for operation. This step is crucial as it prevents any water from leaking out during normal usage and ensures that the water flows through the designated drainage system.
Take your time to properly align the drain plug and tighten it securely. A loose or improperly fitted plug may cause water leakage, resulting in potential damage to your surroundings or the air conditioner itself.
Now that the drain plug is in place, you’re almost done! Let’s move on to the final step: powering on the air conditioner.
Keep in mind that maintaining a secure and proper seal with the drain plug is essential for efficient operation and preventing water-related issues in the future.
Step 8: Power on the Air Conditioner
Congratulations! You’ve successfully drained the water from your window air conditioner and completed the necessary maintenance steps. Now, it’s time to power on the unit and ensure everything is functioning properly. Here’s what you need to do:
- Ensure the drain plug is securely in place and there are no leaks around the drainage hole.
- Double-check that the container used to collect the drained water is empty and has been removed from the area.
- Turn on the air conditioner by switching on the power or plugging it back into the electrical outlet.
- Listen for any unusual sounds or observe any leaks or malfunctions as the air conditioner starts up.
- Allow the air conditioner to run for a few minutes and make sure it is producing cool air and operating smoothly.
- If everything appears to be working properly, you have successfully completed the process of draining water from your window air conditioner.
By powering on the air conditioner, you can confirm that all components are functioning correctly after the drainage process. Any abnormal sounds or issues should be addressed promptly to prevent further damage or inefficiency.
It’s important to note that regular maintenance, including cleaning the filter and checking for any other necessary repairs, should still be done to keep your air conditioner in optimal condition.
With your air conditioner now up and running, you can enjoy a refreshed and cool environment during those hot summer days!
Now that you have completed all the steps, you can proudly say that you are well-equipped to drain water from your window air conditioner.
Conclusion
Properly draining water from your window air conditioner is an essential maintenance task that ensures the efficient and reliable operation of your unit. By following the step-by-step guide outlined in this article, you can effectively remove accumulated water and prevent potential damages and malfunctions.
Remember to prioritize safety throughout the process by powering off the air conditioner and wearing protective gear. Use the necessary tools and materials, such as a bucket or container, to collect the drained water and prevent any spills or mess.
Cleaning the drainage hole and properly replacing the drain plug will help maintain the functionality of your air conditioner and prevent future clogs or leaks. Powering on the unit after completing the steps allows you to confirm that it is functioning optimally and providing cool air.
Regular maintenance, including routine cleaning of the filter and checking for any repairs or replacements, is crucial to ensure the longevity and efficiency of your air conditioner.
By investing a little time and effort into draining the water from your window air conditioner, you can enjoy a comfortable and refreshing indoor environment, free from any water-related problems.
Now that you have learned how to drain water from your window air conditioner, you can confidently tackle this maintenance task and keep your air conditioner in excellent condition.
Remember, if you have any doubts or concerns about your specific air conditioner model or the draining process, consult the user manual or contact a professional for guidance and assistance.
Enjoy the cool comfort provided by your well-maintained window air conditioner and have a fantastic summer!
Frequently Asked Questions about How To Drain Water From Window Air Conditioner
Was this page helpful?
At Storables.com, we guarantee accurate and reliable information. Our content, validated by Expert Board Contributors, is crafted following stringent Editorial Policies. We're committed to providing you with well-researched, expert-backed insights for all your informational needs.