Home>Home Maintenance>How To Install A Split Air Conditioner System

Home Maintenance
How To Install A Split Air Conditioner System
Modified: March 7, 2024
Learn how to install a split air conditioner system with our comprehensive guide. Save money on home maintenance by doing it yourself.
(Many of the links in this article redirect to a specific reviewed product. Your purchase of these products through affiliate links helps to generate commission for Storables.com, at no extra cost. Learn more)
Introduction
Welcome to our comprehensive guide on how to install a split air conditioning system! Whether you’re looking to beat the summer heat or create a comfortable living space year-round, a split air conditioner can be a great addition to your home. These systems are known for their energy efficiency, quiet operation, and flexibility in cooling multiple rooms.
In this article, we will walk you through the step-by-step process of installing a split air conditioning system. While it may seem like a daunting task, with the right tools and knowledge, you can easily tackle this DIY project. So, let’s get started!
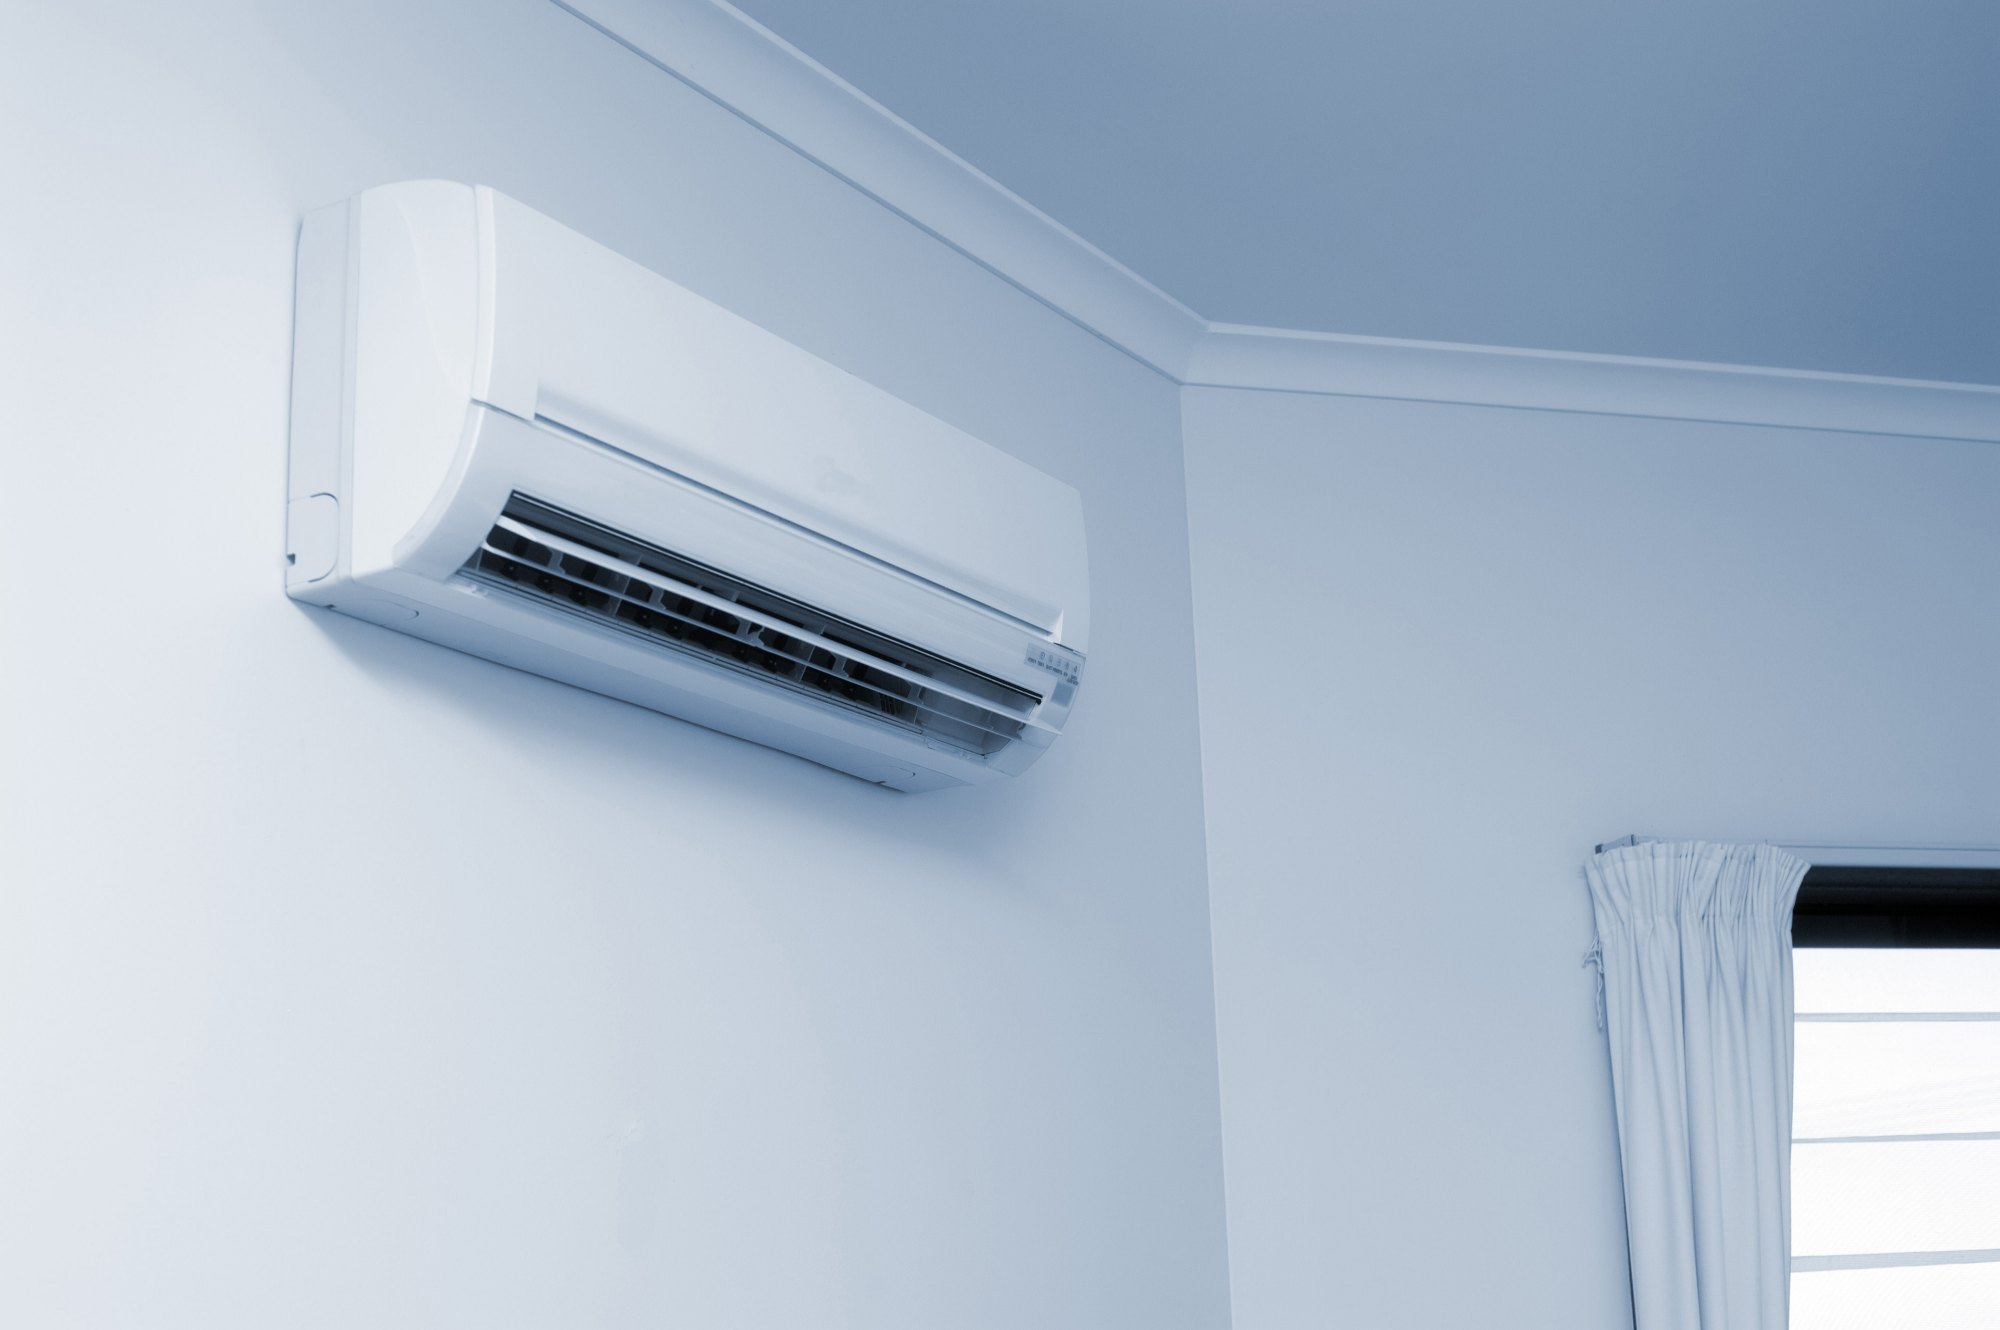
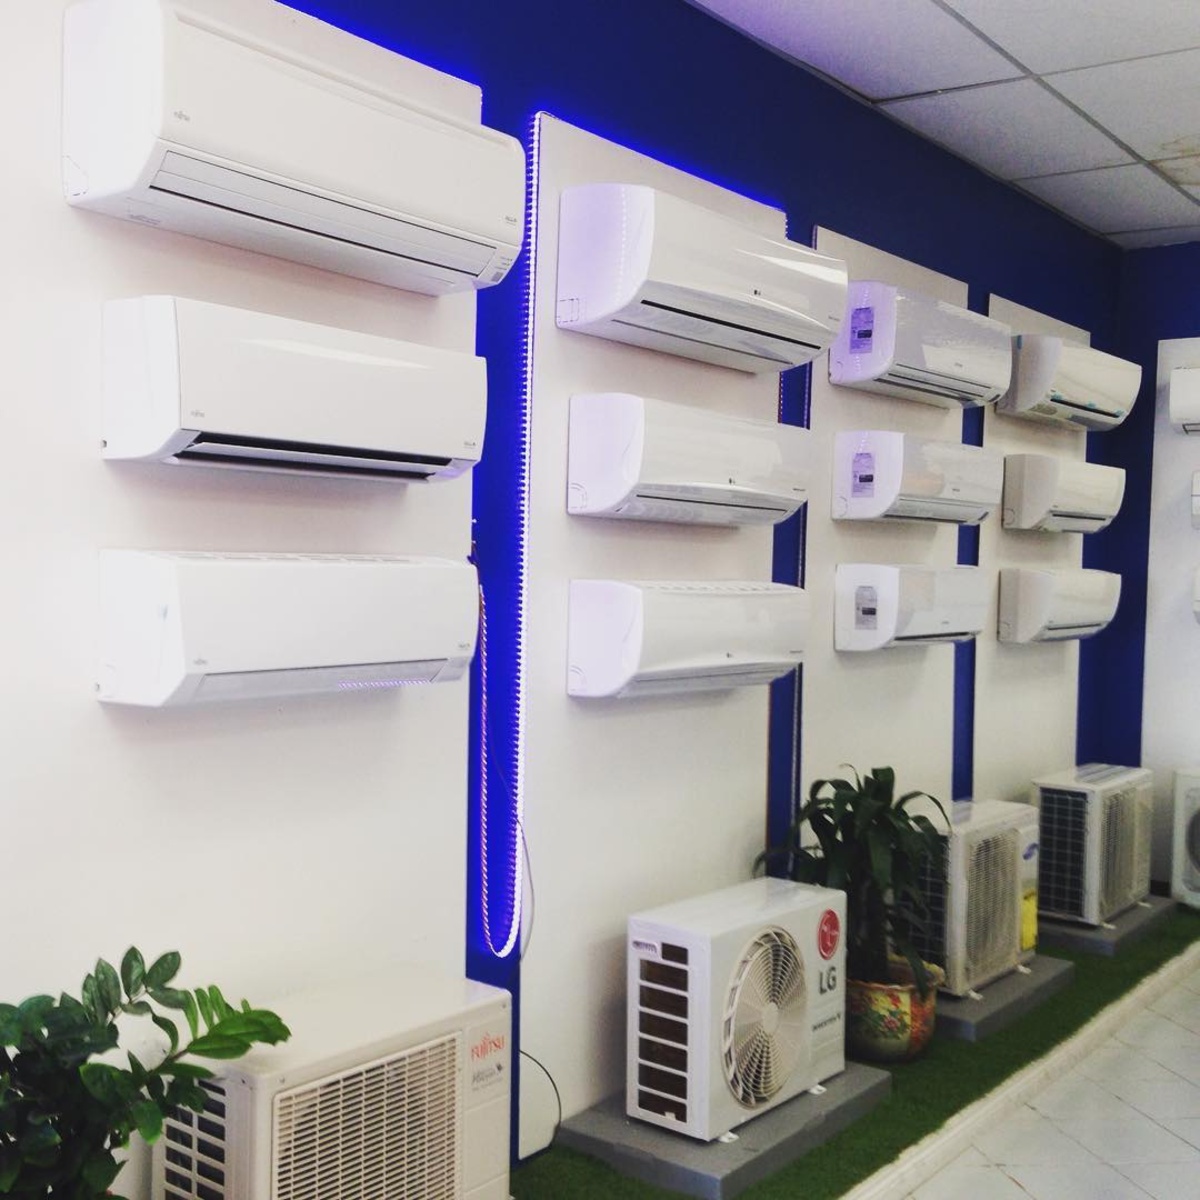
Before we dive into the installation process, it’s essential to understand what a split air conditioning system is. Unlike traditional window units or central air conditioning systems, split AC systems are divided into two main components – the indoor unit and the outdoor unit.
The indoor unit consists of the evaporator coil, which cools the air, and the fan, which circulates the conditioned air into the room. On the other hand, the outdoor unit houses the compressor, condenser coil, and a fan that dissipates the heat generated during the cooling process.
Now that you have a basic understanding of how a split air conditioning system works, let’s move on to the first step – gathering the necessary tools and materials.
Key Takeaways:
- Installing a split air conditioning system involves gathering tools, choosing the right location, preparing the area, and connecting the units. It’s a DIY project that can bring long-term comfort to your home.
- After installation, testing the system, securing connections, and scheduling regular maintenance are crucial. Following the manufacturer’s instructions and seeking professional help when needed ensures a successful outcome.
Read more: What Is A Split Unit Air Conditioner
Step 1: Gather the necessary tools and materials
Before you begin the installation process, it’s important to have all the required tools and materials at hand. This will ensure a smooth and efficient installation. Here’s a list of what you’ll need:
1. Split air conditioner system: Purchase a high-quality split air conditioner system that suits the cooling needs of your space. Consider factors such as the size of the room and the BTU (British Thermal Unit) rating of the unit.
2. Mounting brackets: These brackets are used to secure the outdoor unit to the wall. Choose sturdy brackets that can support the weight of the unit.
3. Power drill: A power drill with appropriate drill bits will be necessary for mounting the brackets and making holes for the refrigerant lines and wiring.
4. Screwdriver: Make sure to have both flathead and Phillips head screwdrivers as they may be needed for different aspects of the installation.
5. Level: A level will help ensure that the brackets and the indoor unit are installed correctly and in a level position.
6. Measuring tape: Accurate measurements are crucial for proper placement and alignment of the indoor and outdoor units.
7. Refrigerant line set: This set includes the copper tubing and insulation required to connect the indoor and outdoor units. It’s important to choose the right size line set for your specific air conditioner model.
8. Electrical wiring: You will need appropriate electrical wires and cables to connect the outdoor unit to the indoor unit and the power supply.
9. Condensate pump and tubing: If your installation requires a condensate pump, make sure to have the pump and necessary tubing to drain the condensate properly.
10. Safety equipment: Don’t forget to prioritize safety! Have gloves, safety glasses, and a ladder or step stool ready for the installation process.
By gathering all the necessary tools and materials before you start, you’ll be well-prepared to move on to the next step – choosing the installation location for your split air conditioning system.
Step 2: Choose the installation location
Choosing the right installation location for your split air conditioning system is crucial for optimal cooling efficiency and performance. Here are some factors to consider when selecting the installation location:
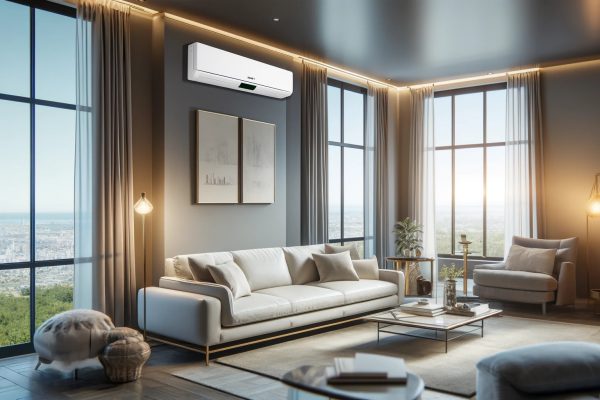
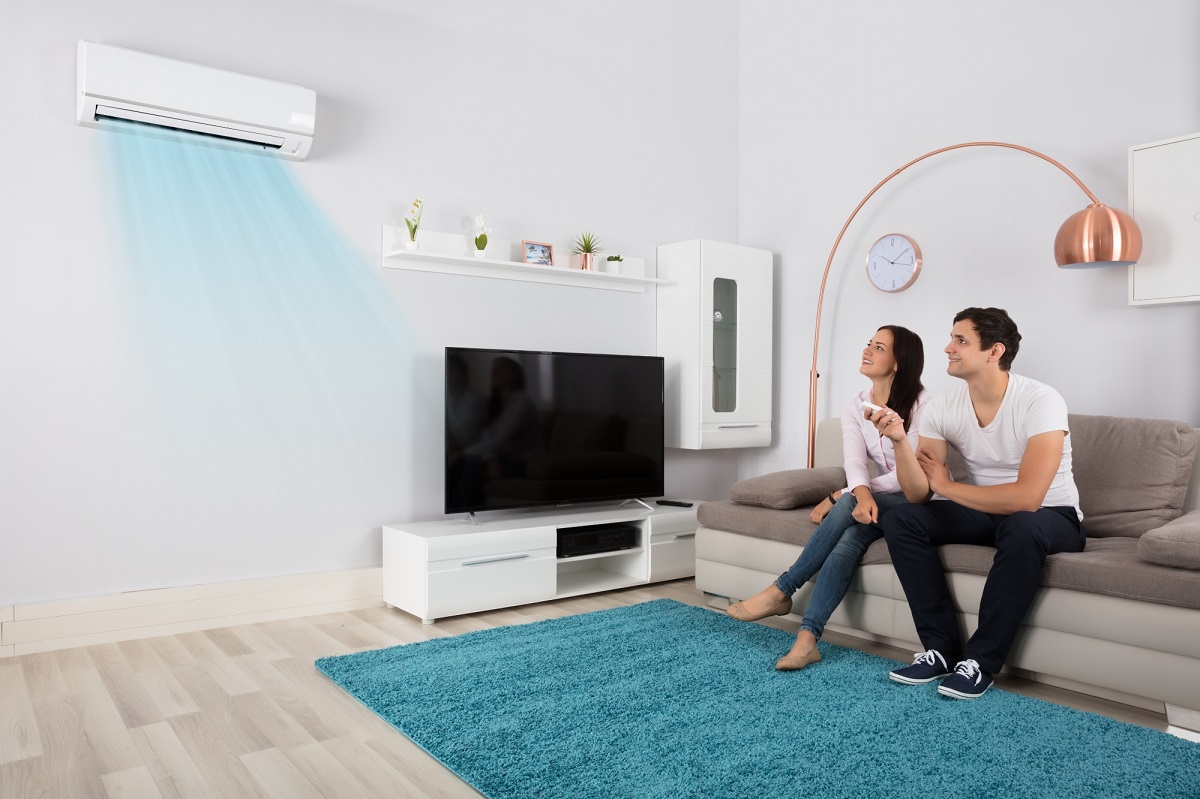
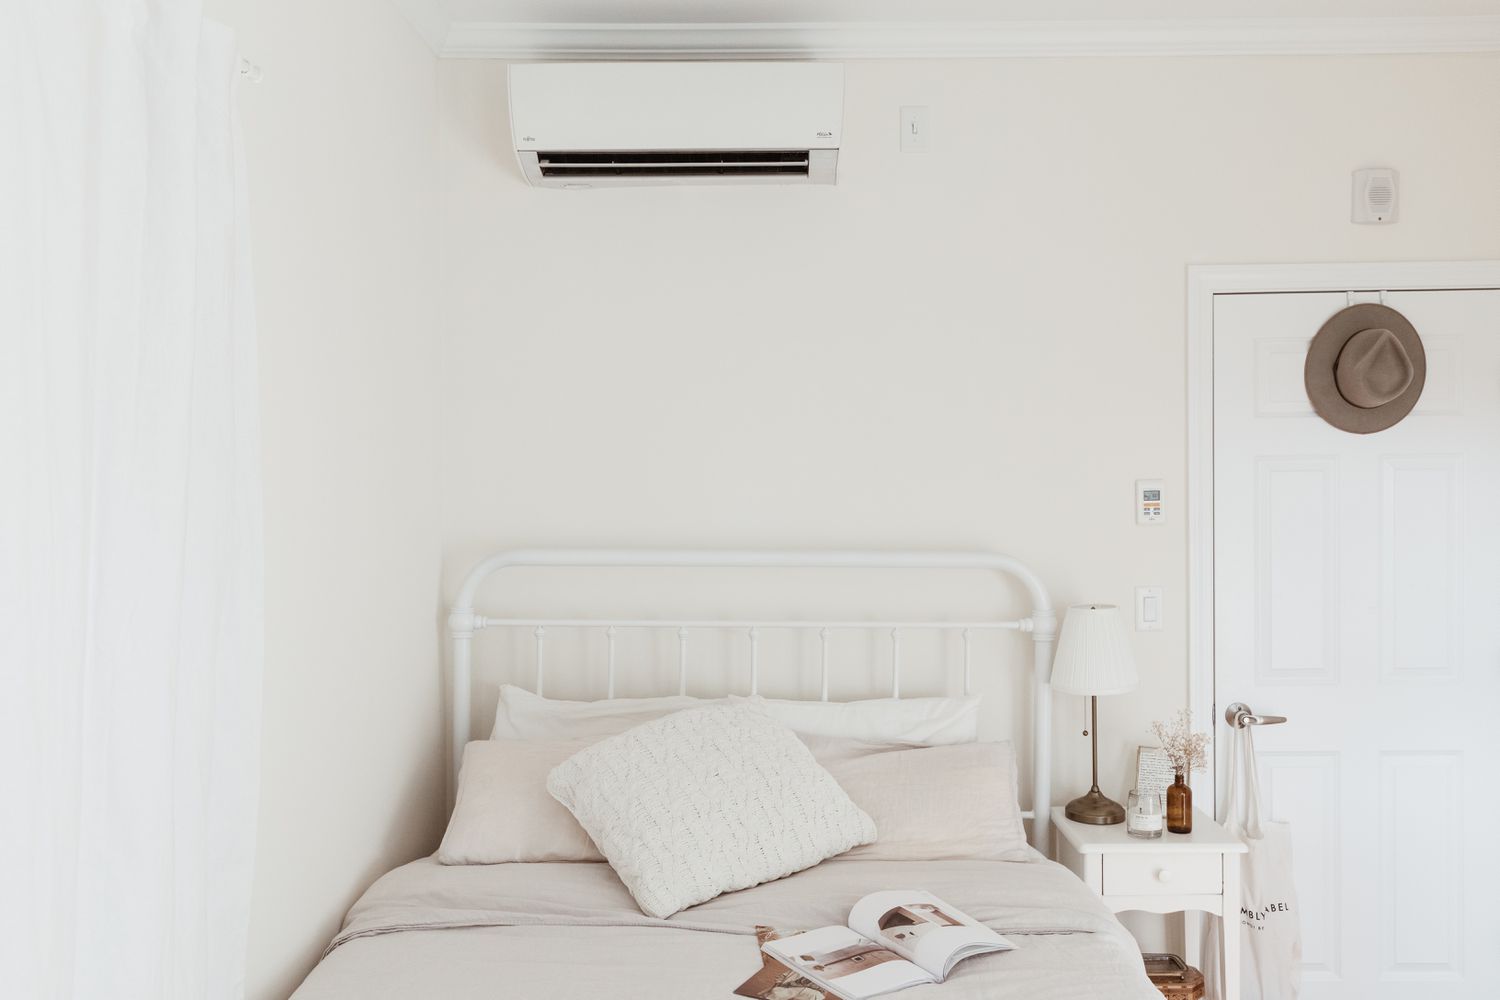
1. Indoor unit placement: The indoor unit is typically installed on a wall in the room you want to cool. Choose a location that is central to the room and allows for even airflow distribution. Avoid placing it near obstacles such as furniture or curtains that could obstruct the airflow.
2. Outdoor unit placement: The outdoor unit should be installed in a well-ventilated area, away from direct sunlight and any obstructions. It should also be positioned on a stable surface, such as a concrete pad or mounting brackets, to minimize vibrations and noise.
3. Accessibility: Consider how accessible the installation location is for maintenance and repairs. Keep in mind that the outdoor unit may require regular cleaning and servicing. Ensure there is enough space around the unit for easy access.
4. Noise considerations: While split air conditioning systems are generally quiet, you may still want to avoid placing the indoor unit near bedrooms, study areas, or any other space where noise could be a concern. Similarly, position the outdoor unit away from neighboring properties to minimize noise disturbances.
5. Safety considerations: Ensure the installation location meets electrical and building safety codes. Depending on local regulations, there may be specific guidelines for distances from windows, electrical panels, and other structures.
Once you have identified the ideal locations for the indoor and outdoor units, it’s time to prepare the installation area in the next step.
Step 3: Prepare the installation area
Before you begin installing the split air conditioning system, it’s essential to properly prepare the installation area. This will ensure a smooth and trouble-free installation process. Here’s what you need to do:
1. Clear the area: Remove any obstacles or clutter from the installation area. This includes furniture, decorations, and any other items that may impede the installation process.
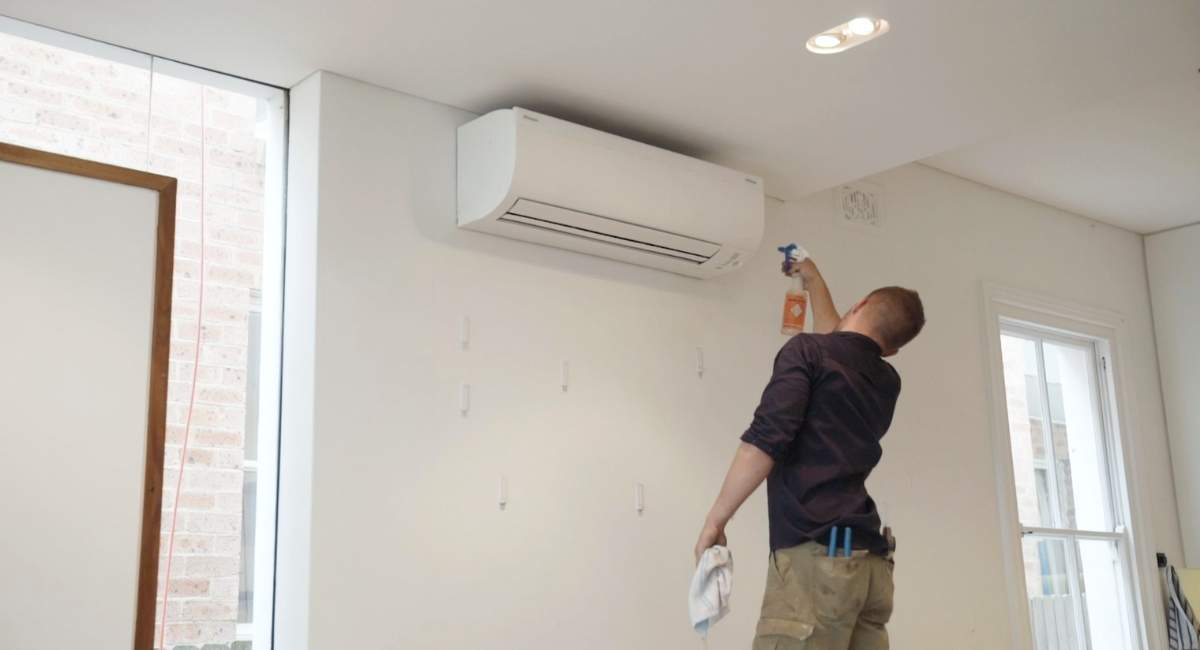
2. Clean the walls: Wipe down the walls where the indoor unit will be installed. This ensures a clean surface for mounting the unit and prevents dust or dirt from interfering with the installation process.
3. Measure and mark the installation points: Use a measuring tape to accurately measure and mark the positions for mounting the indoor and outdoor units. Make sure the measurements are level and aligned properly.
4. Install mounting brackets: If your outdoor unit requires mounting brackets, securely install them on the wall using the appropriate screws and anchors. Follow the manufacturer’s instructions for proper bracket placement and spacing.
5. Create a drainage path: If your split air conditioning system requires a condensate drain, create a suitable drainage path. Install a condensate drain pipe if needed or ensure that the existing drainage system can accommodate the condensate generated by the system.
6. Check electrical connections: If you are installing the system near an electrical outlet, ensure that the outlet is functioning correctly and can safely accommodate the power requirements of the air conditioning unit.
By properly preparing the installation area, you can ensure that the installation process will be smooth and efficient. Once the area is ready, you can move on to the next steps of installing the indoor and outdoor units.
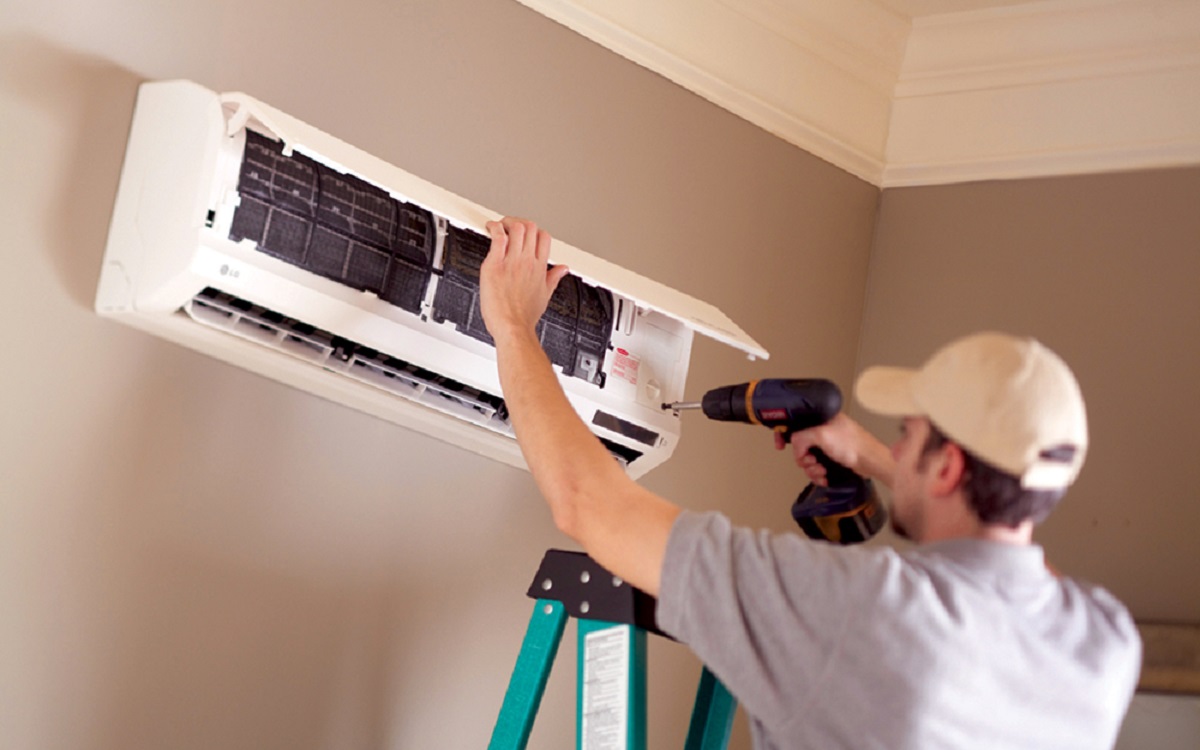
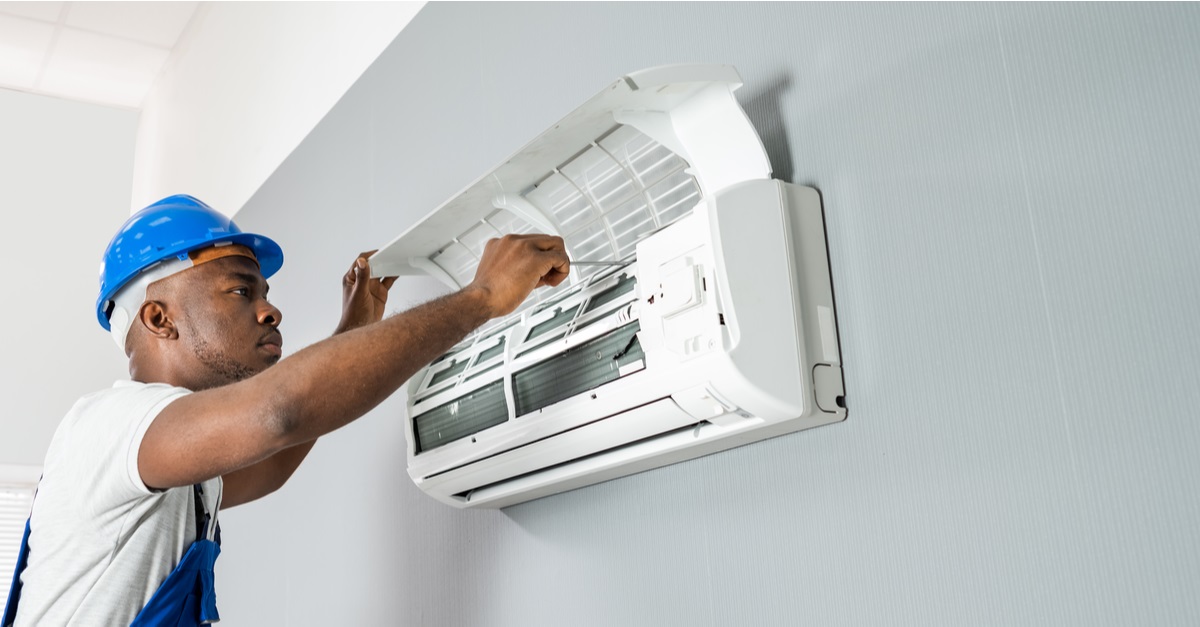
Step 4: Install the indoor unit
Installing the indoor unit of your split air conditioning system is a crucial step in the overall installation process. Here are the steps to follow:
1. Attach the mounting plate: Start by attaching the mounting plate to the wall at the marked installation point. Use the appropriate screws and ensure that the plate is level and secure.
2. Connect the refrigerant lines: Carefully connect the refrigerant lines from the outdoor unit to the indoor unit. Refer to the manufacturer’s instructions for proper connection methods and ensure that the lines are securely fastened.
3. Secure the indoor unit: Lift the indoor unit and hook it onto the mounting plate. Make sure it is properly aligned and securely attached. Use the screws provided by the manufacturer to secure the unit to the mounting plate.
4. Insulate the refrigerant lines: Insulate the refrigerant lines with the insulation material provided. This helps prevent energy loss and ensures efficient cooling. Wrap the insulation material around the lines, paying attention to covering any exposed areas.
5. Connect the drain pipe: If your system requires a condensate drain, connect the drain pipe from the indoor unit to the designated drainage area. Ensure a proper slope for drainage and use fittings and clamps to securely connect the pipe.
6. Check for level and alignment: Use a level to check that the indoor unit is horizontally level. Adjust the unit if needed, ensuring that it is properly aligned with the mounting plate and the room.
7. Test the unit: Once the indoor unit is installed, test it to make sure it is functioning correctly. Turn on the unit and check that it is blowing cool air. Listen for any unusual noises or vibrations and ensure that the airflows evenly throughout the room.
It’s important to note that the installation process may vary depending on the specific model and manufacturer instructions. Always refer to the provided installation manual or consult with a professional if you have any doubts or uncertainties during the installation process.
With the indoor unit installed, it’s time to move on to the next step of installing the outdoor unit.
Read more: How To Install A Portable Air Conditioner
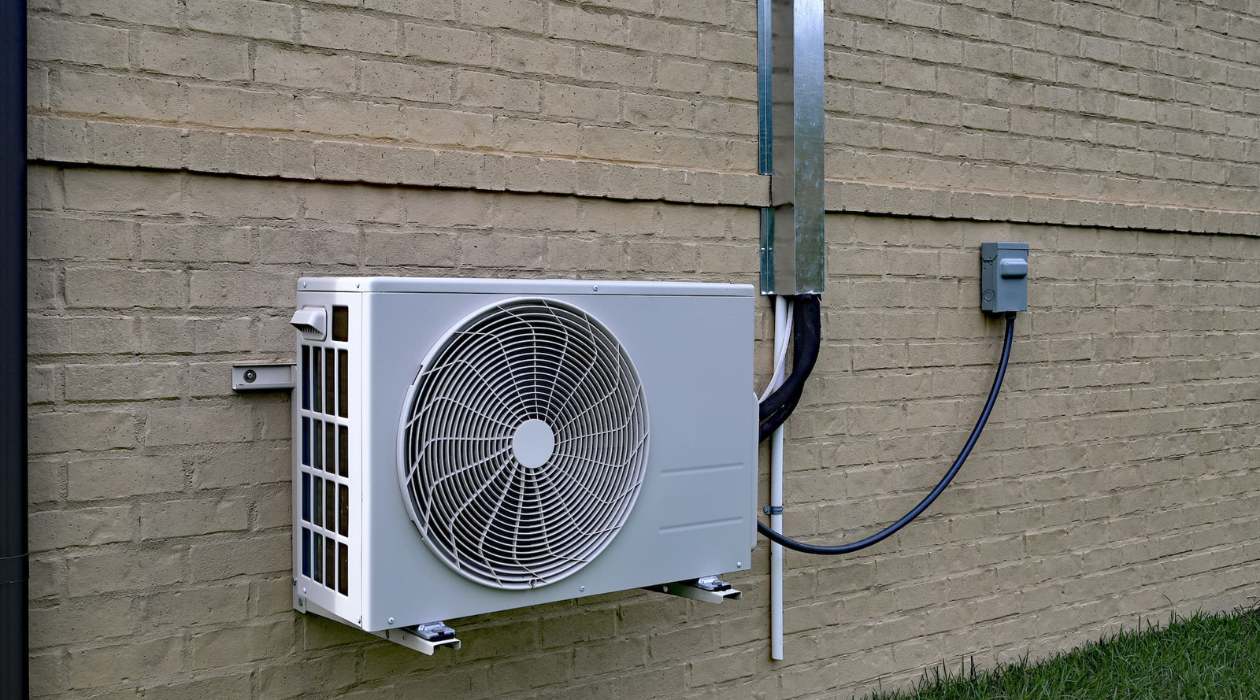
Step 5: Install the outdoor unit
Installing the outdoor unit of your split air conditioning system is a critical step to ensure proper functionality and performance. Here’s how to install the outdoor unit:
1. Position the unit: Select the designated area for the outdoor unit installation. Ensure the location provides adequate space and ventilation, away from direct sunlight, debris, or obstructions. Place the unit on a stable surface, such as a concrete pad or mounting brackets.
2. Mount the unit: If your outdoor unit requires mounting brackets, securely attach them to the wall using the appropriate screws and anchors. Ensure the brackets are level and firmly anchored. Carefully lift the outdoor unit onto the brackets and make sure it is level and stable.
3. Connect the refrigerant lines: Connect the refrigerant lines from the indoor unit to the outdoor unit. Follow the manufacturer’s instructions for the specific connection method. Ensure all connections are tight and secure to prevent any refrigerant leakage.
4. Connect the electrical wiring: Consult the manufacturer’s instructions to determine the proper electrical wiring connections for your specific model. Connect the electrical wires from the outdoor unit to the corresponding wires from the indoor unit or power source. Use appropriate wire connectors and ensure a secure and watertight connection.
5. Check the refrigerant lines: Inspect the refrigerant lines for any signs of damage or leaks. Ensure they are properly insulated to prevent energy loss and condensation. Make any necessary adjustments or repairs before proceeding.
6. Secure the unit and cover: Once all connections are made and inspected, secure the outdoor unit to the mounting brackets or surface. Use the provided mounting screws to ensure it is in place and stable. Additionally, consider installing a protective cover or shelter for the unit to shield it from harsh weather conditions, dust, and debris.
7. Test the unit: Before completing the installation, test the system to ensure proper functionality. Turn on the split air conditioner and verify that it starts and operates smoothly. Feel the air discharged from the outdoor unit to confirm cool air is being expelled.
Remember, if you’re unsure about any step or encounter difficulty during the installation process, it’s always recommended to consult a professional or refer to the manufacturer’s instructions for guidance.
With the outdoor unit successfully installed, we can move on to the next step – connecting the refrigerant lines.
Make sure to properly size the unit for the space and install it on a sturdy wall to support its weight. Follow the manufacturer’s instructions carefully to ensure proper installation and avoid any potential issues.
Step 6: Connect the refrigerant lines
Connecting the refrigerant lines is a crucial step in the installation of a split air conditioning system. Properly connecting these lines ensures the efficient transfer of refrigerant between the indoor and outdoor units. Here’s how to connect the refrigerant lines:
1. Prepare the refrigerant lines: Check the manufacturer’s instructions for the specific requirements of your split air conditioning system. Cut the refrigerant lines to the appropriate length, ensuring they are long enough to reach between the indoor and outdoor units without being overly stretched or coiled.
2. Remove the insulation: Carefully remove the insulation covering on the refrigerant lines, exposing the bare copper tubing. Pay close attention to avoiding any kinks, bends, or damage to the lines during this process.
3. Install the flare nuts: On the ends of the refrigerant lines, attach the flare nuts provided by the manufacturer. Make sure the nuts are tightly threaded onto the tubing but be careful not to overtighten, as it may cause damage to the flare.
4. Apply refrigerant line fittings: Apply refrigerant line fittings to the indoor and outdoor units, ensuring they are compatible with the specific connections required by your system. Follow the manufacturer’s instructions for tightening the fittings securely, using the appropriate tools if necessary.
5. Connect the refrigerant lines: Carefully connect the refrigerant lines to the corresponding fittings on the indoor and outdoor units. Ensure that the connections are tight and leak-free. Avoid bending or kinking the lines during the installation process.
6. Check for leaks: After connecting the refrigerant lines, perform a thorough check for any potential leaks. Use a refrigerant leak detector or a soapy water solution to identify any leaks in the connections. If a leak is detected, tighten the fittings or seek professional assistance to resolve the issue before proceeding.
7. Insulate the refrigerant lines: Once the connections are securely in place, reapply insulation to the refrigerant lines. This insulation helps prevent energy loss, regulates temperature, and minimizes condensation. Ensure that the insulation is properly positioned and covers the entire length of the lines.
By accurately connecting the refrigerant lines, you ensure the smooth flow of refrigerant and the overall efficiency of your split air conditioning system. Once the refrigerant lines are connected, you can move on to the next step – wiring the system.
Step 7: Wire the system
Wiring the split air conditioning system is a critical step to ensure proper electrical connections and functionality. Here’s a step-by-step guide on how to wire the system:
1. Turn off the power: Before starting any electrical work, make sure to turn off the power to the circuit you’ll be working on. Locate the circuit breaker or disconnect switch for the air conditioning system and flip it to the “Off” position.
2. Identify the wiring components: Familiarize yourself with the different wiring components of your split air conditioning system. These typically include the indoor unit, outdoor unit, thermostat, and power supply connections.
3. Read the wiring diagrams: Refer to the manufacturer’s wiring diagrams and instructions for your specific model. These diagrams provide guidance on how to connect the various wires correctly.
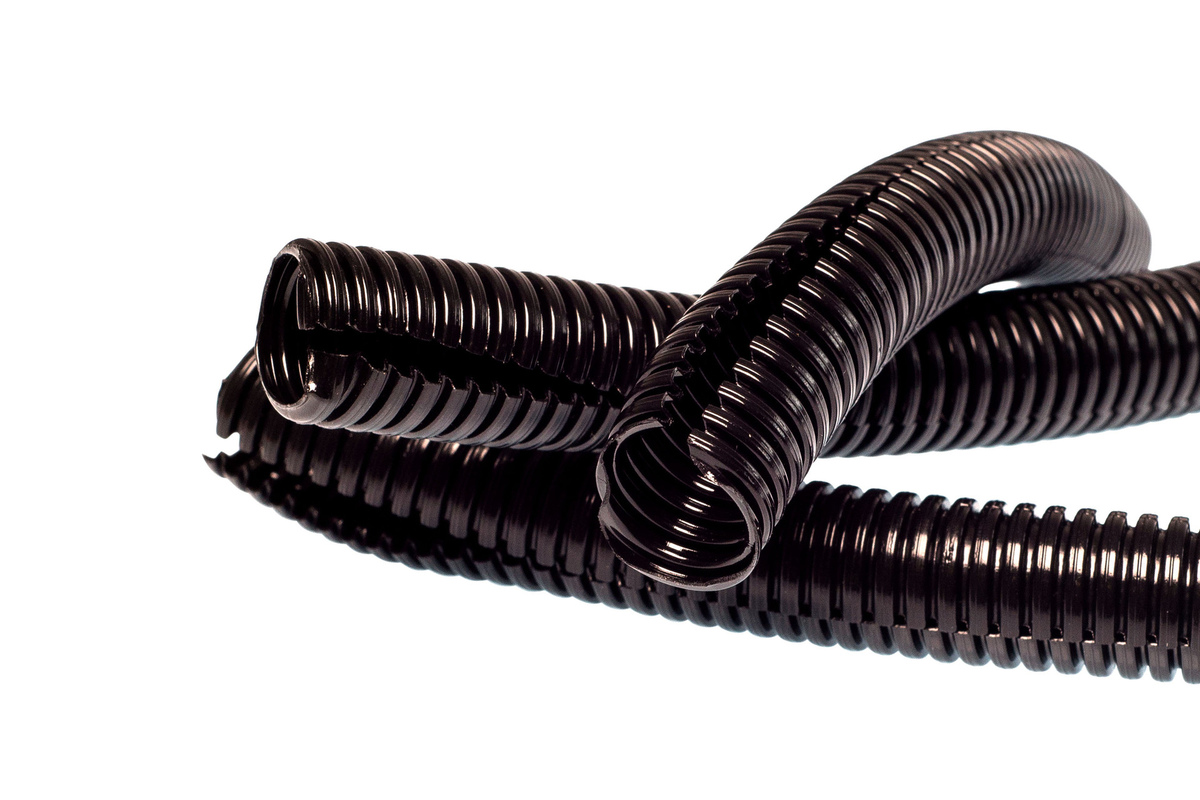
4. Run the wires: Carefully run the necessary wires from the indoor unit to the outdoor unit and thermostat location. Ensure that the wires are properly protected and secured along their path to prevent damage.
5. Connect the power supply: Connect the wires from the power supply to the appropriate terminals on the outdoor unit and indoor unit. Follow the wiring diagrams and double-check the connections to ensure they are properly aligned.
6. Wire the thermostat: If your split air conditioning system includes a thermostat, wire it according to the manufacturer’s instructions. Connect the wires from the thermostat to the corresponding terminals on the indoor unit, following the labeled wiring diagram.
7. Double-check the connections: Once all the wires are connected, double-check all the wiring connections. Make sure they are secure and properly tightened. Loose or faulty connections can lead to system malfunctions or electrical hazards.
8. Restore the power: After verifying all the wiring connections, restore the power to the air conditioning system by turning on the circuit breaker or reconnecting the disconnect switch. Ensure that the power is working correctly and that the system turns on without any issues.
9. Test the system: Test the split air conditioning system by adjusting the thermostat settings and ensuring that the indoor and outdoor units are communicating properly. Monitor the system for any irregularities or malfunctions.
If you are unsure about any step during the wiring process, it’s recommended to seek the assistance of a professional electrician or HVAC technician to ensure safe and correct wiring connections.
With the system successfully wired, it’s time to move on to the next step – testing the system.
Step 8: Test the system
Once the installation and wiring of your split air conditioning system are complete, it’s crucial to thoroughly test the system to ensure proper functionality and performance. Here’s how to test the system:
1. Power on the system: Turn on the power to the air conditioning system by flipping the circuit breaker or reconnecting the disconnect switch. Verify that power is reaching both the indoor and outdoor units.
2. Set the thermostat: Set the thermostat to the desired temperature and mode (cooling or heating, depending on the system). Ensure that the thermostat is functioning correctly and communicating with the indoor unit.
3. Check for airflow and temperature: As the system starts up, verify that air is flowing from the indoor unit. Feel the air to ensure that it is cooling or heating as desired. If the air does not feel as expected, double-check the thermostat settings and ensure that the correct mode is selected.
4. Monitor system operation: Observe the system as it operates to ensure that there are no unusual noises, vibrations, or odors. Pay attention to the outdoor unit and check for proper fan operation and the release of warm air, which indicates that heat is being expelled.
5. Test different modes and settings: Experiment with different temperature settings, fan speeds, and mode selections to confirm that the system responds accordingly. Test heating and cooling modes, as well as different fan speed options, to ensure they are functioning correctly.
6. Monitor for consistent performance: Allow the system to run for an extended period, typically 15-30 minutes, and monitor its performance. Ensure that the temperature remains consistent and that the system maintains the desired comfort level in the room.
7. Check for any issues: Watch out for any signs of malfunction, such as frequent cycling on and off, excessively loud operation, or inadequate cooling/heating. If you notice any issues, consult the manufacturer’s troubleshooting guide or seek professional assistance to diagnose and resolve the problem.
It’s essential to conduct a thorough test of the system to ensure that everything is functioning properly. If any issues or discrepancies are detected during the testing phase, it’s recommended to reach out to a professional HVAC technician for further inspection and necessary adjustments.
Once you are satisfied with the performance of the split air conditioning system, you can proceed to the final step – completing the installation.
Read more: How Does A Split Air Conditioner Work
Step 9: Complete the installation
Completing the installation of your split air conditioning system involves a few final steps to ensure the system is fully functional and the installation area is clean and safe. Here’s what you need to do:
1. Secure all connections: Double-check all the connections, including the refrigerant lines, electrical wiring, and drain pipe. Ensure that all connections are tight, secure, and free from any leaks or loose ends.
2. Insulate exposed pipes and wiring: Insulate any exposed refrigerant lines, drain pipes, and electrical wiring using the appropriate insulating materials. This helps prevent energy loss and protects the components from external elements.
3. Clean the installation area: Remove any debris, dust, or construction materials from the installation area. Wipe down the units and surrounding surfaces to ensure a clean and visually appealing installation.
4. Dispose of packaging and waste: Properly dispose of any packaging materials, such as cardboard boxes or plastic wraps, in an environmentally friendly manner. Collect any waste materials from the installation process and dispose of them appropriately.
5. Review the user manual: Take the time to review the user manual provided by the manufacturer. Familiarize yourself with the operation, maintenance, and troubleshooting instructions specific to your split air conditioning system.
6. Schedule regular maintenance: Regular maintenance is crucial to ensure the long-term performance and efficiency of your air conditioning system. Follow the manufacturer’s recommendations for routine maintenance tasks and consider scheduling professional maintenance checks at least once a year.
7. Keep documentation and warranties: Store all the relevant documentation, including warranties, invoices, and manuals, in a safe and easily accessible location. This will come in handy for future reference, maintenance, or warranty claims.
Once you have completed these final steps, you can sit back, relax, and enjoy the cool comfort provided by your newly installed split air conditioning system. Remember to follow proper maintenance practices to extend the lifespan of your system and maximize its performance for years to come.
Congratulations on successfully installing your split air conditioning system!
Conclusion
Installing a split air conditioning system may seem like a complex task, but with the right tools, knowledge, and careful execution, it can be successfully accomplished as a DIY project. By following the step-by-step guide outlined in this article, you can confidently install a split air conditioning system and enjoy the comfort it provides for years to come.
Remember to begin by gathering all the necessary tools and materials, ensuring you have everything needed for a smooth installation process. Choose the right location for both the indoor and outdoor units, considering factors such as airflow, accessibility, noise, and safety.
Prepare the installation area by clearing the space, cleaning the walls, and marking the installation points. Then, install the indoor and outdoor units, making sure to properly connect the refrigerant lines and wire the system according to the manufacturer’s instructions.
After completing the installation, it’s essential to thoroughly test the system, ensuring that it functions correctly, provides the desired cooling or heating, and operates quietly and efficiently.
Lastly, don’t forget to complete the installation by securing all connections, insulating exposed pipes and wiring, and cleaning the installation area. Review the user manual for maintenance guidelines and store all relevant documentation and warranties for future reference.
As with any home improvement project, if you encounter any difficulties or feel unsure about any step, it’s always recommended to consult with a professional HVAC technician who can provide expert guidance and assistance.
With your split air conditioning system successfully installed, you can now enjoy a comfortable and climate-controlled environment in your home, even during the hottest or coldest days of the year.
Stay cool and enjoy the benefits of your newly installed split air conditioning system!
Frequently Asked Questions about How To Install A Split Air Conditioner System
Was this page helpful?
At Storables.com, we guarantee accurate and reliable information. Our content, validated by Expert Board Contributors, is crafted following stringent Editorial Policies. We're committed to providing you with well-researched, expert-backed insights for all your informational needs.
