Home>Home Maintenance>How To Install A Window Air Conditioner Without Screws
Home Maintenance
How To Install A Window Air Conditioner Without Screws
Modified: March 6, 2024
Learn how to easily install a window air conditioner without the need for screws with our helpful home maintenance guide. Keep cool and comfortable all summer long!
(Many of the links in this article redirect to a specific reviewed product. Your purchase of these products through affiliate links helps to generate commission for Storables.com, at no extra cost. Learn more)
Introduction
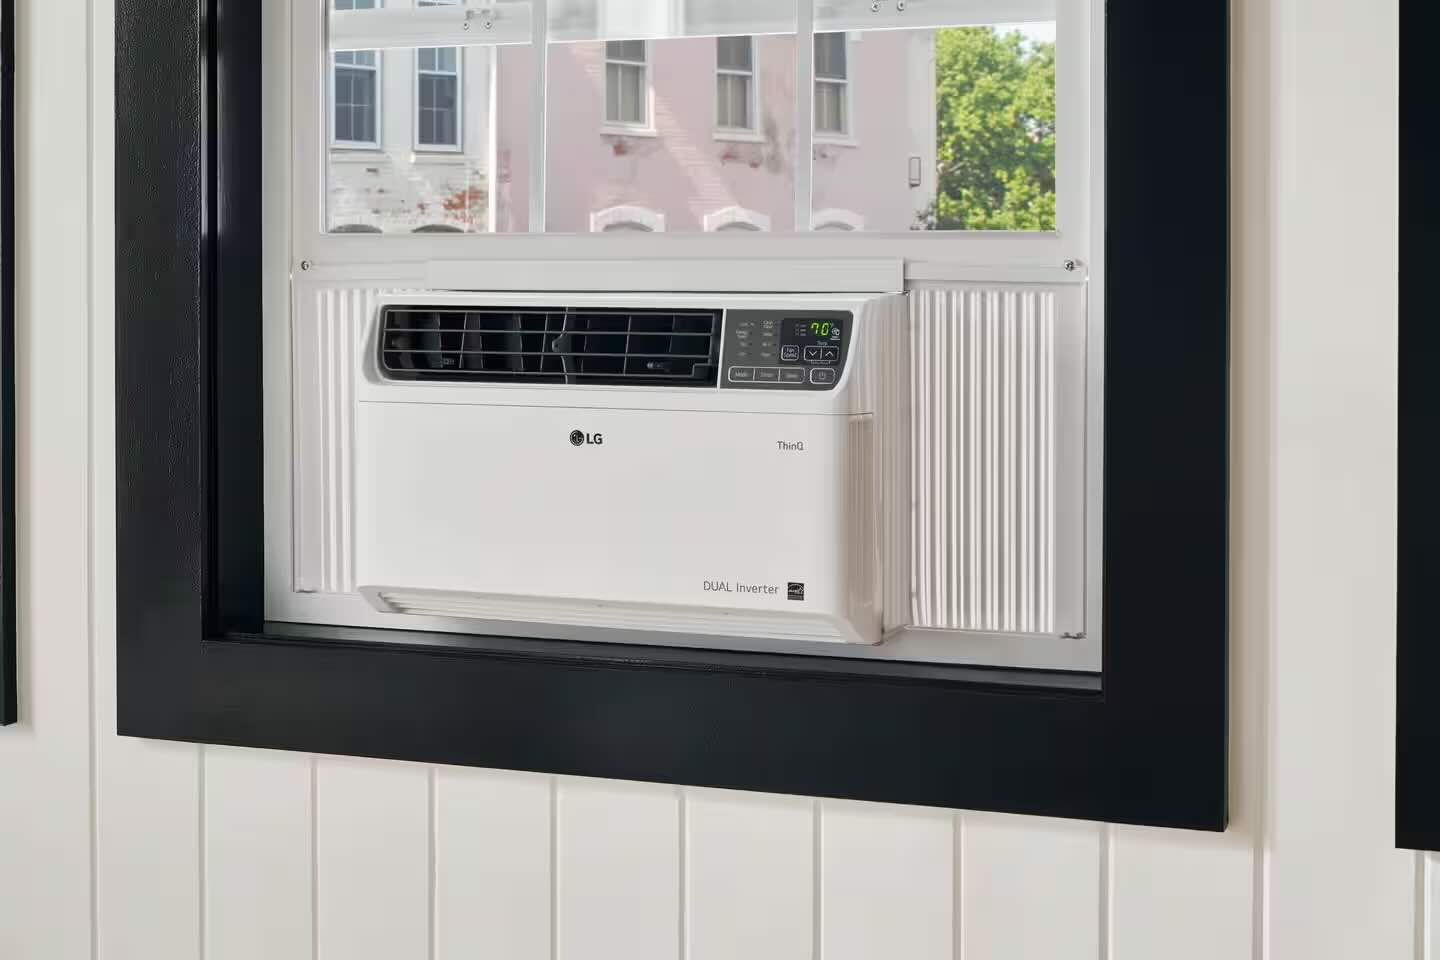
Welcome to our comprehensive guide on how to install a window air conditioner without screws. Window air conditioners are a convenient and cost-effective way to cool down specific areas of your home, providing much-needed relief during hot summer months. However, many people are hesitant to install a window air conditioner because they don’t want to drill holes or use screws that may damage their window frames or walls.
In this article, we will walk you through a step-by-step process of installing a window air conditioner without screws. By using alternative methods and tools, you can achieve a secure and stable installation without compromising the integrity of your windows or walls. Whether you’re a renter looking for a temporary cooling solution or a homeowner concerned about potential damages, this guide is for you!
Before we dive into the installation process, it’s important to note that not all window air conditioners are suitable for screwless installation. In general, lightweight and portable units are better suited for this method. It’s also crucial to read and follow the manufacturer’s instructions specific to your air conditioner model to ensure safe installation and operation.
Now, without further ado, let’s get started on installing your window air conditioner without screws!
Key Takeaways:
- Stay cool without damaging your windows! Follow our step-by-step guide to install a window air conditioner without screws, keeping your home comfortable and your windows intact.
- Enjoy hassle-free installation! With our tips, you can securely install a window air conditioner without screws, providing relief during hot summer months without the need for drilling or potential damage.
Step 1: Measure the Window Opening
The first step in installing a window air conditioner without screws is to accurately measure the window opening. This is crucial to ensure the air conditioner fits properly and securely. Here’s a simple guide to help you measure your window:
- Begin by opening the window fully and removing any screens or obstacles.
- Using a measuring tape, measure the width of the window from one side to the other. Take this measurement at the narrowest point of the window opening, usually near the middle.
- Next, measure the height of the window from the sill to the top of the window opening. Again, take this measurement at the shortest point to ensure a snug fit.
- Record both measurements, as you will need them when selecting an air conditioner that fits your window dimensions.
Once you have the accurate measurements, you can refer to them when choosing the right window air conditioner for your needs. It’s essential to select an air conditioner unit that matches or slightly exceeds the width and height of your window opening for a proper fit. Keep in mind that having a bit of extra space is better than having an air conditioner that is too large for the window, as it may compromise stability and efficiency.
Having the correct measurements will also help you determine the size of window seal kit you will need to effectively seal any gaps around the air conditioner. Proper sealing is essential to prevent air leaks and maintain the cooling efficiency of your unit.
Now that you have measured your window opening, it’s time to move on to the next step: cleaning the window area.
Step 2: Clean the Window Area
Before installing your window air conditioner, it’s crucial to ensure that the window area is clean and free from any dirt, debris, or obstructions. Cleaning the window will not only provide a clean surface for installation but also help establish a proper seal and prevent any air leaks. Here’s how you can clean the window area:
- Start by removing any dirt, dust, or grime from the window sill and frame using a damp cloth or sponge. Make sure to clean both the interior and exterior parts of the window.
- If there are any stubborn stains or sticky residue, you can use a mild window cleaner or a mixture of water and vinegar to remove them. Alternatively, you can use a non-abrasive cleaner that is safe for your window material.
- Pay extra attention to the area surrounding the window opening. Remove any loose paint, peeling caulk, or old adhesive that may interfere with the installation process.
- Once the window area is clean and dry, inspect it for any cracks or gaps. Fill any noticeable gaps or cracks with a suitable caulking material to ensure a tight seal when the air conditioner is installed.
By cleaning the window area thoroughly, you will create a clean and smooth surface that will allow the window air conditioner to adhere securely. This step is particularly essential if you are using adhesive strips or other methods that rely on a strong bond between the air conditioner and the window frame.
Now that you have a clean window area, you can move on to the next step: attaching the window bracket.
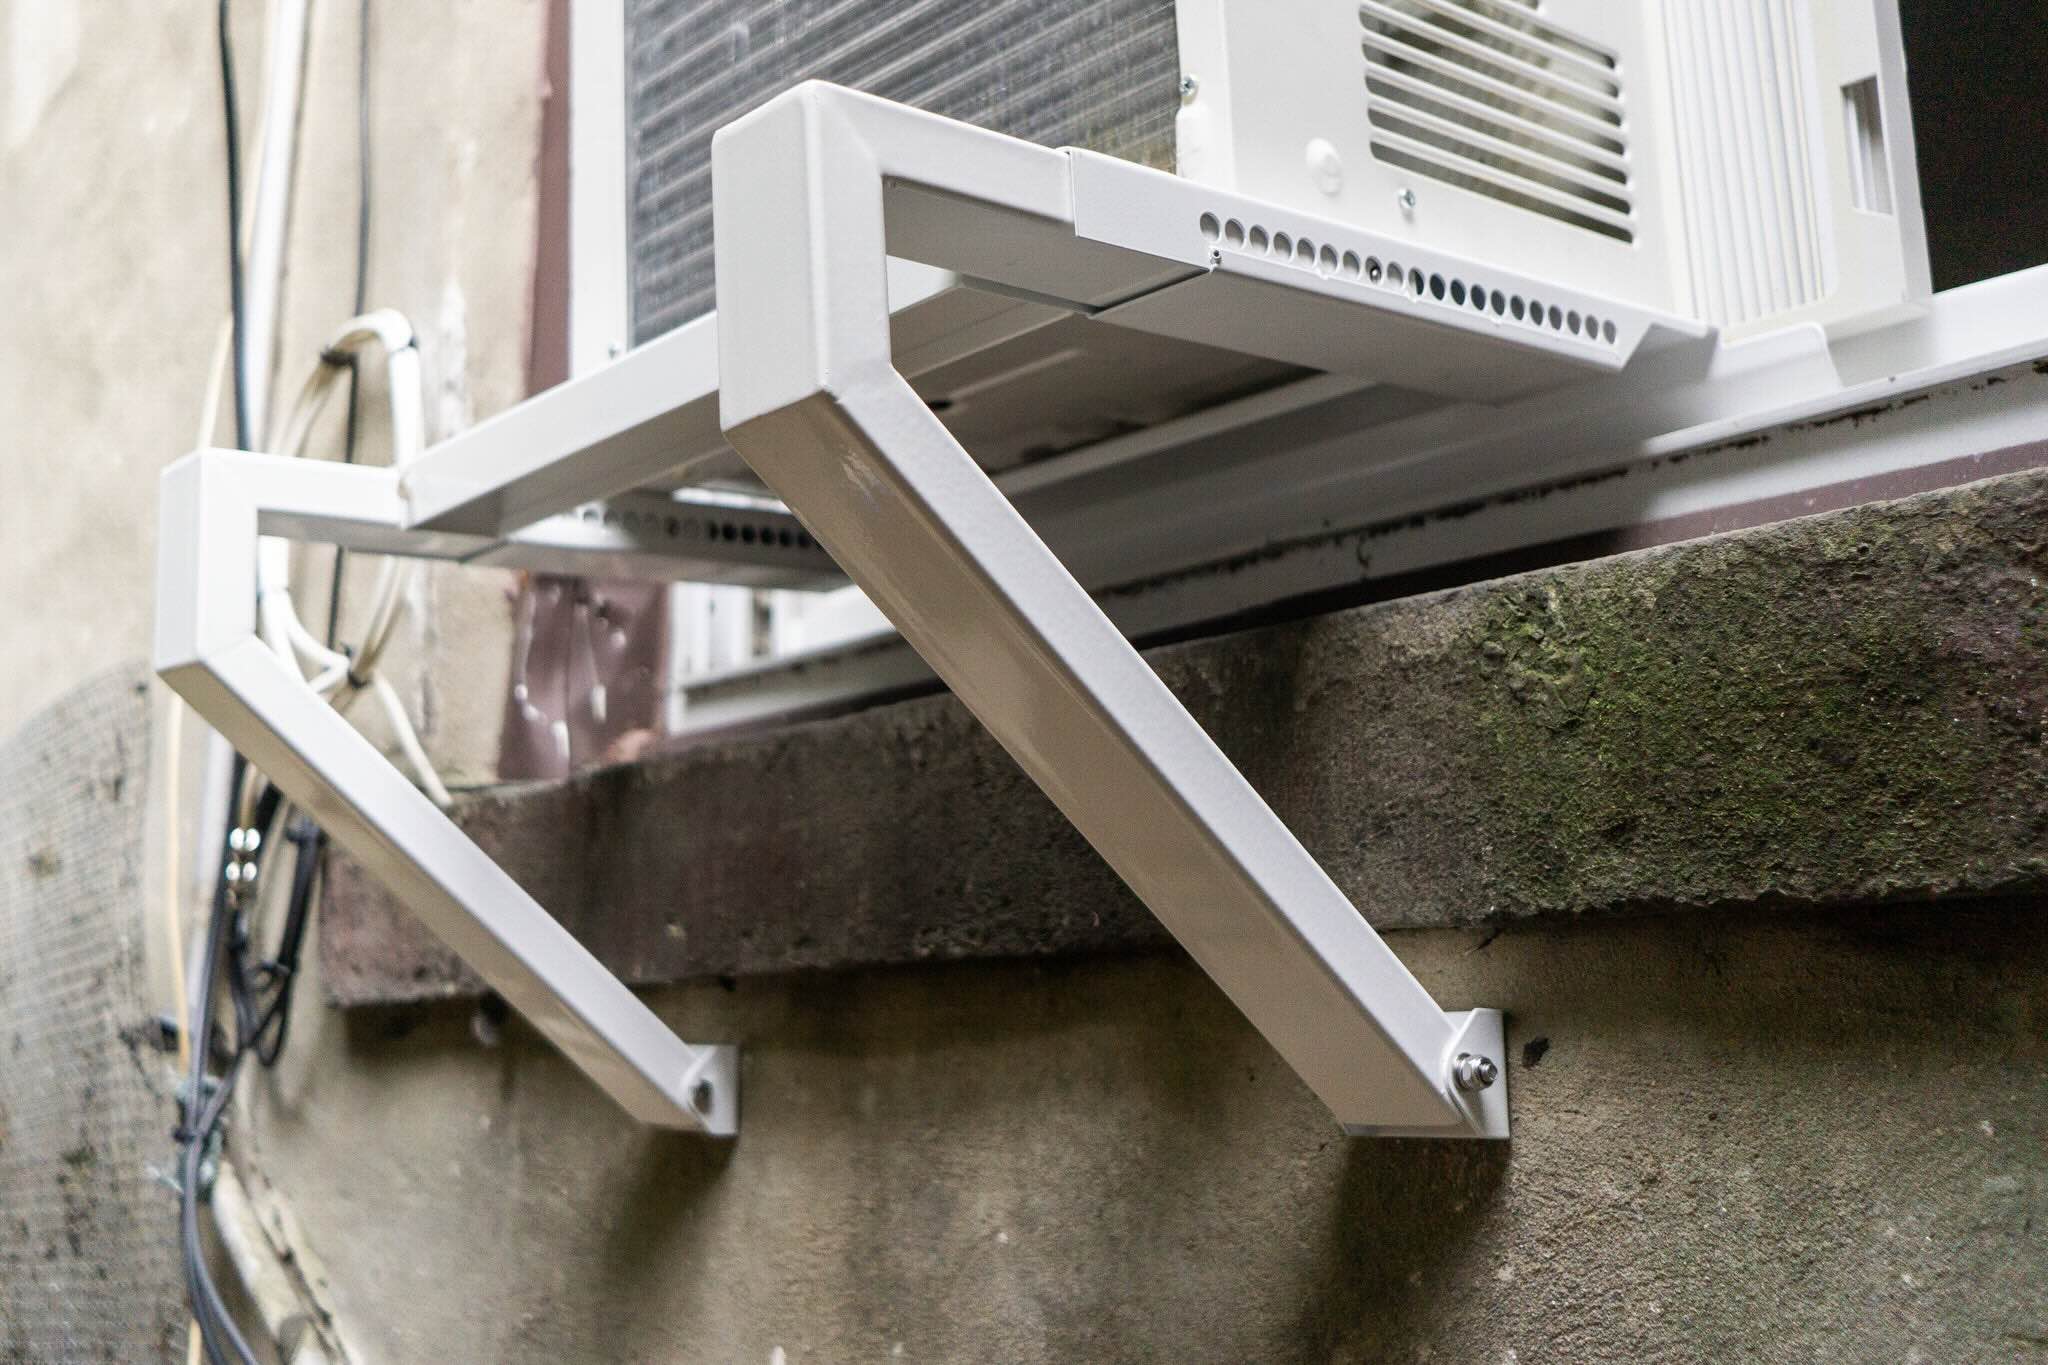
Step 3: Attach the Window Bracket
In this step, you will attach the window bracket, which provides support and stability for your window air conditioner. The window bracket serves as a platform to hold the air conditioner in place and prevent it from falling out of the window. Here’s how you can attach the window bracket:
- Start by positioning the bracket on the window sill. Make sure it is centered and aligned with the window opening.
- Depending on the type of bracket you have, you may need to adjust the width to match the width of your window. Follow the manufacturer’s instructions to make any necessary adjustments.
- Once the bracket is properly aligned, use a level to ensure it is perfectly horizontal. This will ensure that your air conditioner sits level and operates efficiently.
- Most window brackets come with pre-drilled holes. Use a suitable screwdriver or drill to secure the bracket to the window sill using the provided screws. Make sure the bracket is firmly attached and doesn’t wobble.
- If your window bracket doesn’t require screws, make sure to follow the manufacturer’s instructions for secure installation. This may involve using adhesive strips or other alternative methods to affix the bracket to the window sill securely.
Attaching the window bracket is an important step in ensuring the stability and safety of your window air conditioner. It provides a solid foundation for the unit and prevents it from tipping or falling out of the window. Take your time to properly align and secure the bracket to ensure a secure installation.
With the window bracket securely attached, you can now move on to the next step: positioning the air conditioner.
Step 4: Position the Air Conditioner
With the window bracket in place, it’s time to position your window air conditioner onto the bracket. Proper positioning is crucial for optimal cooling performance and to ensure a secure fit. Here’s how you can position the air conditioner:
- Ensure that the air conditioner is turned off and unplugged before starting the positioning process.
- Carefully lift the air conditioner and place it onto the window bracket, making sure that it rests securely and evenly.
- Slide the air conditioner as far back into the window opening as possible to provide a better seal and minimize potential air leaks.
- If your air conditioner has adjustable accordion panels on either side, extend them to cover any gaps between the air conditioner and the window frame. This will help improve the efficiency of the cooling and prevent warm air from entering.
- Ensure that the air conditioner is centered in the window opening and aligned with the bracket. It should sit level to prevent any strain or imbalance.
Properly positioning the air conditioner is crucial for ensuring its stability and effective cooling. The unit should be securely seated on the bracket and centered in the window opening. Taking the time to position it correctly will prevent any potential issues and enhance the overall performance of the air conditioner.
Now that your air conditioner is properly positioned, you can move on to the next step: securing the air conditioner in place.
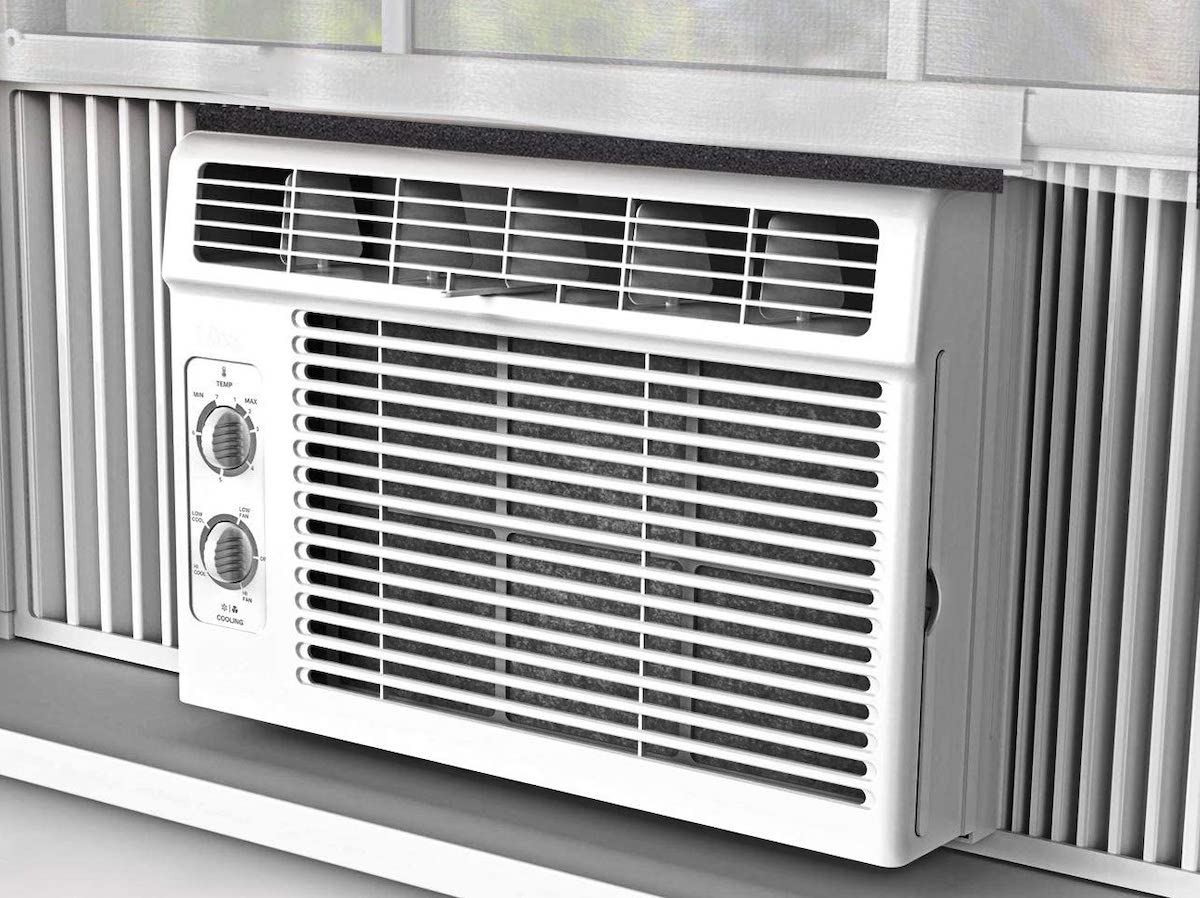
Use foam weather stripping to create a tight seal between the window frame and the air conditioner. This will help support the unit without the need for screws.
Step 5: Secure the Air Conditioner in Place
Once you have positioned your window air conditioner, it’s important to secure it in place to prevent any movement or accidents. This step will ensure the stability and safety of the unit during operation. Here’s how you can secure the air conditioner:
- Check the sides of the air conditioner to identify any screw holes or mounting points. These are usually located on the outer edges of the unit.
- If your window air conditioner comes with screws or brackets for extra security, use a screwdriver or drill to attach them to the window frame or sash. Make sure to follow the manufacturer’s instructions for proper screw placement.
- If your air conditioner doesn’t have screw holes or mounting points, you can consider using adjustable window locks or sliding window locks. These can help secure the air conditioner in place by preventing the window from being opened or moved.
- Another option to enhance the security of your air conditioner is using adhesive strips or foam weatherstripping. Apply these along the sides and top of the air conditioner to create additional friction and prevent it from sliding or shifting.
It’s important to ensure that the air conditioner is securely fastened and cannot be accidentally bumped, moved, or dislodged. Taking these measures will give you peace of mind and mitigate any potential safety hazards.
Once the air conditioner is securely in place, you can proceed to the next step: extending the window seal kit.
Step 6: Extend the Window Seal Kit
Extending the window seal kit is an essential step in the installation process as it helps create a tight seal between the window frame and the air conditioner. This seal prevents warm air from entering your home while maximizing the cooling efficiency of the unit. Here’s how you can extend the window seal kit:
- Start by identifying the window seal kit that came with your air conditioner. It typically consists of adhesive foam strips or panels that can be trimmed to fit your window dimensions.
- Carefully measure the width and height of your window opening, taking into account any gaps or spaces around the air conditioner.
- Using scissors or a utility knife, trim the foam strips or panels according to your measurements. It’s better to trim them slightly longer than needed to ensure a snug fit.
- Peel off the adhesive backing from the foam strips or panels, and attach them to the top and sides of the window frame, creating a seal between the window and the air conditioner.
- Make sure to press the foam strips or panels firmly against the window frame to ensure a secure attachment.
- If there are any gaps between the window sill and the air conditioner, use additional foam or weatherstripping to fill those gaps.
Extending the window seal kit is crucial for maintaining the energy efficiency of your window air conditioner. It helps prevent warm air infiltrations and ensures that the cool air generated by the unit remains inside your home. Taking the time to properly extend the window seal kit will enhance the cooling performance and make your space more comfortable.
With the window seal kit properly extended, you can now proceed to the next step: sealing the gaps around the window.
Step 7: Seal the Gaps around the Window
To ensure maximum energy efficiency and to prevent any air leaks, it’s important to seal any gaps or cracks around the window. This step will help create a tight seal and minimize the exchange of air between the indoors and outdoors. Here’s how you can seal the gaps around the window:
- Inspect the area around the window for any visible gaps or cracks. Common areas where gaps may occur include the window frame, window sash, and window sill.
- Identify the type of material used for your window frame and sill, such as wood, vinyl, or metal. This will help determine the appropriate sealing method and material.
- For small gaps or cracks, you can use caulk or weatherstripping. Apply a bead of caulk along the gaps, and smooth it out with a caulk tool or your finger. For weatherstripping, measure and cut the strips to fit the gaps, and firmly press them into place.
- If you have larger gaps or openings, you may need to use expandable foam sealant. Spray the foam into the gaps, allowing it to expand and fill the space. Trim any excess foam once it has cured.
- Make sure to seal both the interior and exterior gaps around the window to create a complete barrier.
- Allow the caulk or foam sealant to cure fully before moving on to the next step. This may take a few hours or according to the manufacturer’s instructions.
Sealing the gaps around the window will help minimize air infiltration, enhance the energy efficiency of your window air conditioner, and maintain the desired temperature indoors. It will also prevent drafts and potential water leaks during rainy weather.
Now that you have sealed the gaps around the window, it’s time to move on to the final step: testing the air conditioner operation.
Step 8: Test the Air Conditioner Operation
After completing the installation process, it’s important to test the operation of your window air conditioner to ensure that it is functioning properly. This step will allow you to verify that the unit is producing cool air and that the installation was successful. Follow these steps to test the air conditioner:
- Make sure the air conditioner is plugged into a functioning electrical outlet.
- Set the air conditioner to your desired temperature and turn it on.
- Listen for the sound of the compressor kicking in and the air conditioner fan turning on.
- Feel the air coming out of the air conditioner vents to ensure that it is cool.
- Check for any unusual smells, sounds, or vibrations that could indicate a problem with the air conditioner.
- Monitor the room temperature to see if it starts to cool down within a few minutes of operation.
- Observe the air conditioner for any signs of leaks or excessive condensation.
If you notice any issues during the testing process, such as the air conditioner not cooling properly or unusual noises, it may indicate a problem that requires further troubleshooting or professional assistance. Refer to the manufacturer’s manual or contact a qualified technician for guidance.
Once you have confirmed that your window air conditioner is operating effectively, congratulations! You have successfully installed and tested your window air conditioner without screws. Enjoy the cool comfort it provides during hot summer days!
As a final note, it’s essential to perform regular maintenance of your air conditioner, such as cleaning or replacing filters, to maintain its efficiency and prolong its lifespan. Refer to the manufacturer’s instructions for specific maintenance recommendations.
We hope this guide has been helpful in assisting you with the installation of your window air conditioner without screws. Stay cool and comfortable!
Conclusion
Installing a window air conditioner without screws is a convenient and practical solution for cooling specific areas of your home. By following the step-by-step process outlined in this guide, you can achieve a secure and stable installation without the need for drilling holes or potentially damaging your window frames or walls.
Throughout this guide, we have covered the essential steps for installing a window air conditioner without screws, including measuring the window opening, cleaning the window area, attaching the window bracket, positioning the air conditioner, securing it in place, extending the window seal kit, sealing the gaps around the window, and testing the air conditioner operation.
By carefully following each step and taking your time, you can enjoy the benefits of a window air conditioner while maintaining the integrity of your windows and walls. Remember to refer to the manufacturer’s instructions for your specific air conditioner model and to use the appropriate tools and materials for your installation.
We hope that this comprehensive guide has provided you with the guidance and knowledge you need to successfully install your window air conditioner without screws. By doing so, you can enjoy a cool and comfortable living space throughout the hot summer months. Stay cool!
Frequently Asked Questions about How To Install A Window Air Conditioner Without Screws
Was this page helpful?
At Storables.com, we guarantee accurate and reliable information. Our content, validated by Expert Board Contributors, is crafted following stringent Editorial Policies. We're committed to providing you with well-researched, expert-backed insights for all your informational needs.