Home>Gardening & Outdoor>Outdoor Structures>How To Install A Portable Air Conditioner In An Awning Window
Outdoor Structures
How To Install A Portable Air Conditioner In An Awning Window
Modified: September 1, 2024
Learn how to properly install a portable air conditioner in an awning window to keep your outdoor structures cool and comfortable. Follow our step-by-step guide for easy installation.
(Many of the links in this article redirect to a specific reviewed product. Your purchase of these products through affiliate links helps to generate commission for Storables.com, at no extra cost. Learn more)
Introduction
When the sweltering heat of summer arrives, staying cool becomes a top priority. While central air conditioning is a popular choice for many households, it's not always feasible or cost-effective. This is where portable air conditioners come to the rescue, offering a flexible cooling solution that can be easily installed in various settings. One common installation scenario involves placing a portable air conditioner in an awning window, which presents a unique set of challenges and considerations.
In this comprehensive guide, we will walk you through the step-by-step process of installing a portable air conditioner in an awning window. Whether you're a seasoned DIY enthusiast or a novice looking to tackle a new project, this guide will equip you with the knowledge and confidence to complete the installation successfully. From gathering the necessary tools and materials to testing the air conditioner, each step is carefully outlined to ensure a seamless and efficient installation process.
By following this guide, you'll be able to create a comfortable and cool environment within your living space, allowing you to escape the oppressive heat and enjoy a refreshing oasis indoors. So, roll up your sleeves and get ready to embark on this rewarding journey of installing a portable air conditioner in an awning window. With the right guidance and a can-do attitude, you'll soon be basking in the cool, crisp air provided by your newly installed portable air conditioner. Let's dive in and make your home a haven from the summer heat!
Key Takeaways:
- Stay cool in the summer by installing a portable air conditioner in an awning window. Gather tools, prepare the window and unit, and secure the air conditioner for a refreshing indoor oasis.
- Transform your home into a cool oasis by installing a portable air conditioner in an awning window. Gather tools, prepare the window and unit, and enjoy a comfortable indoor environment.
Step 1: Gather Necessary Tools and Materials
Before diving into the installation process, it's crucial to gather all the essential tools and materials to ensure a smooth and efficient workflow. Here's a comprehensive list of items you'll need:
Tools:
- Screwdriver: Both flathead and Phillips screwdrivers may be required for different components of the installation.
- Tape Measure: This will help you accurately assess the dimensions of the window and the air conditioner unit.
- Utility Knife: Useful for cutting and trimming materials as needed during the installation.
- Level: Ensures that the air conditioner and window kit are installed evenly and securely.
- Pliers: Helpful for gripping and securing components during the installation process.
- Power Drill: If additional holes need to be made for securing the window kit, a power drill will be essential.
Materials:
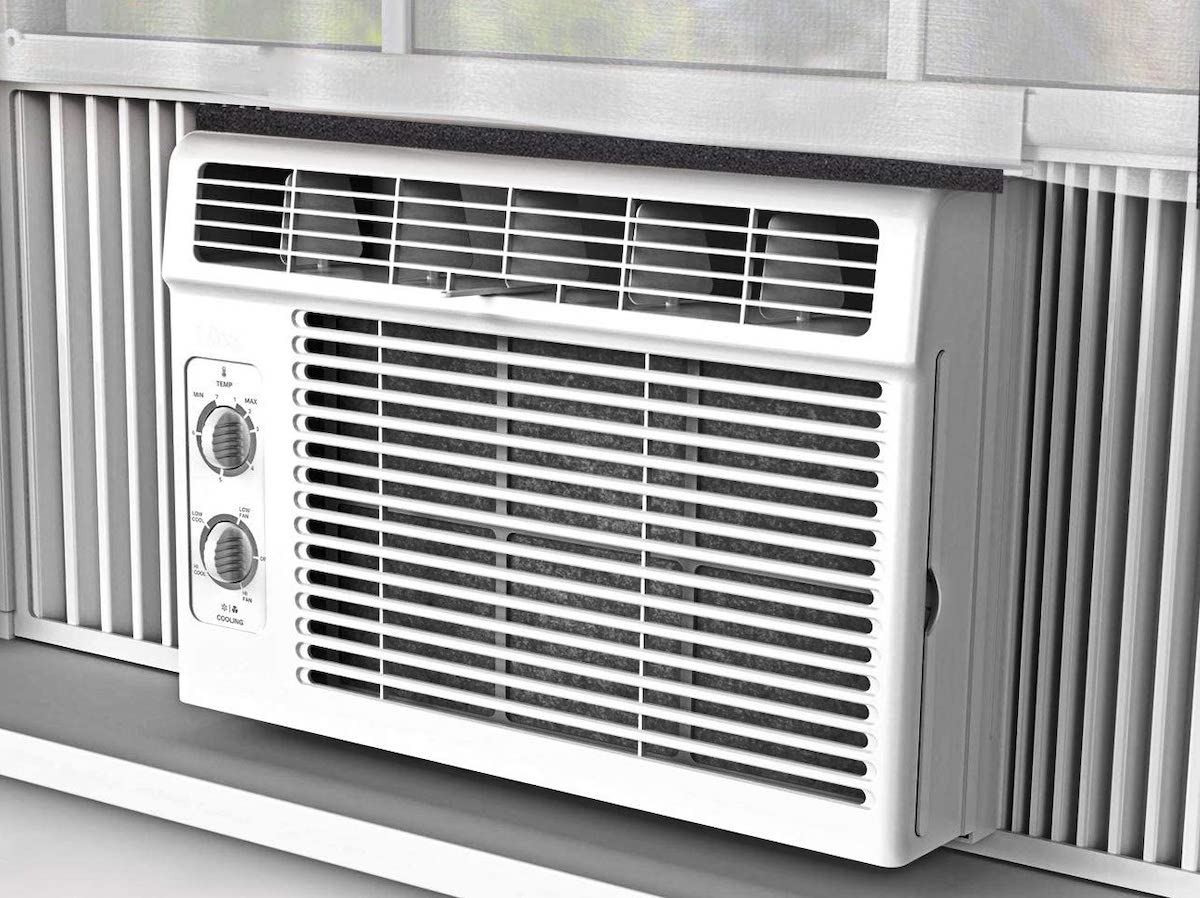
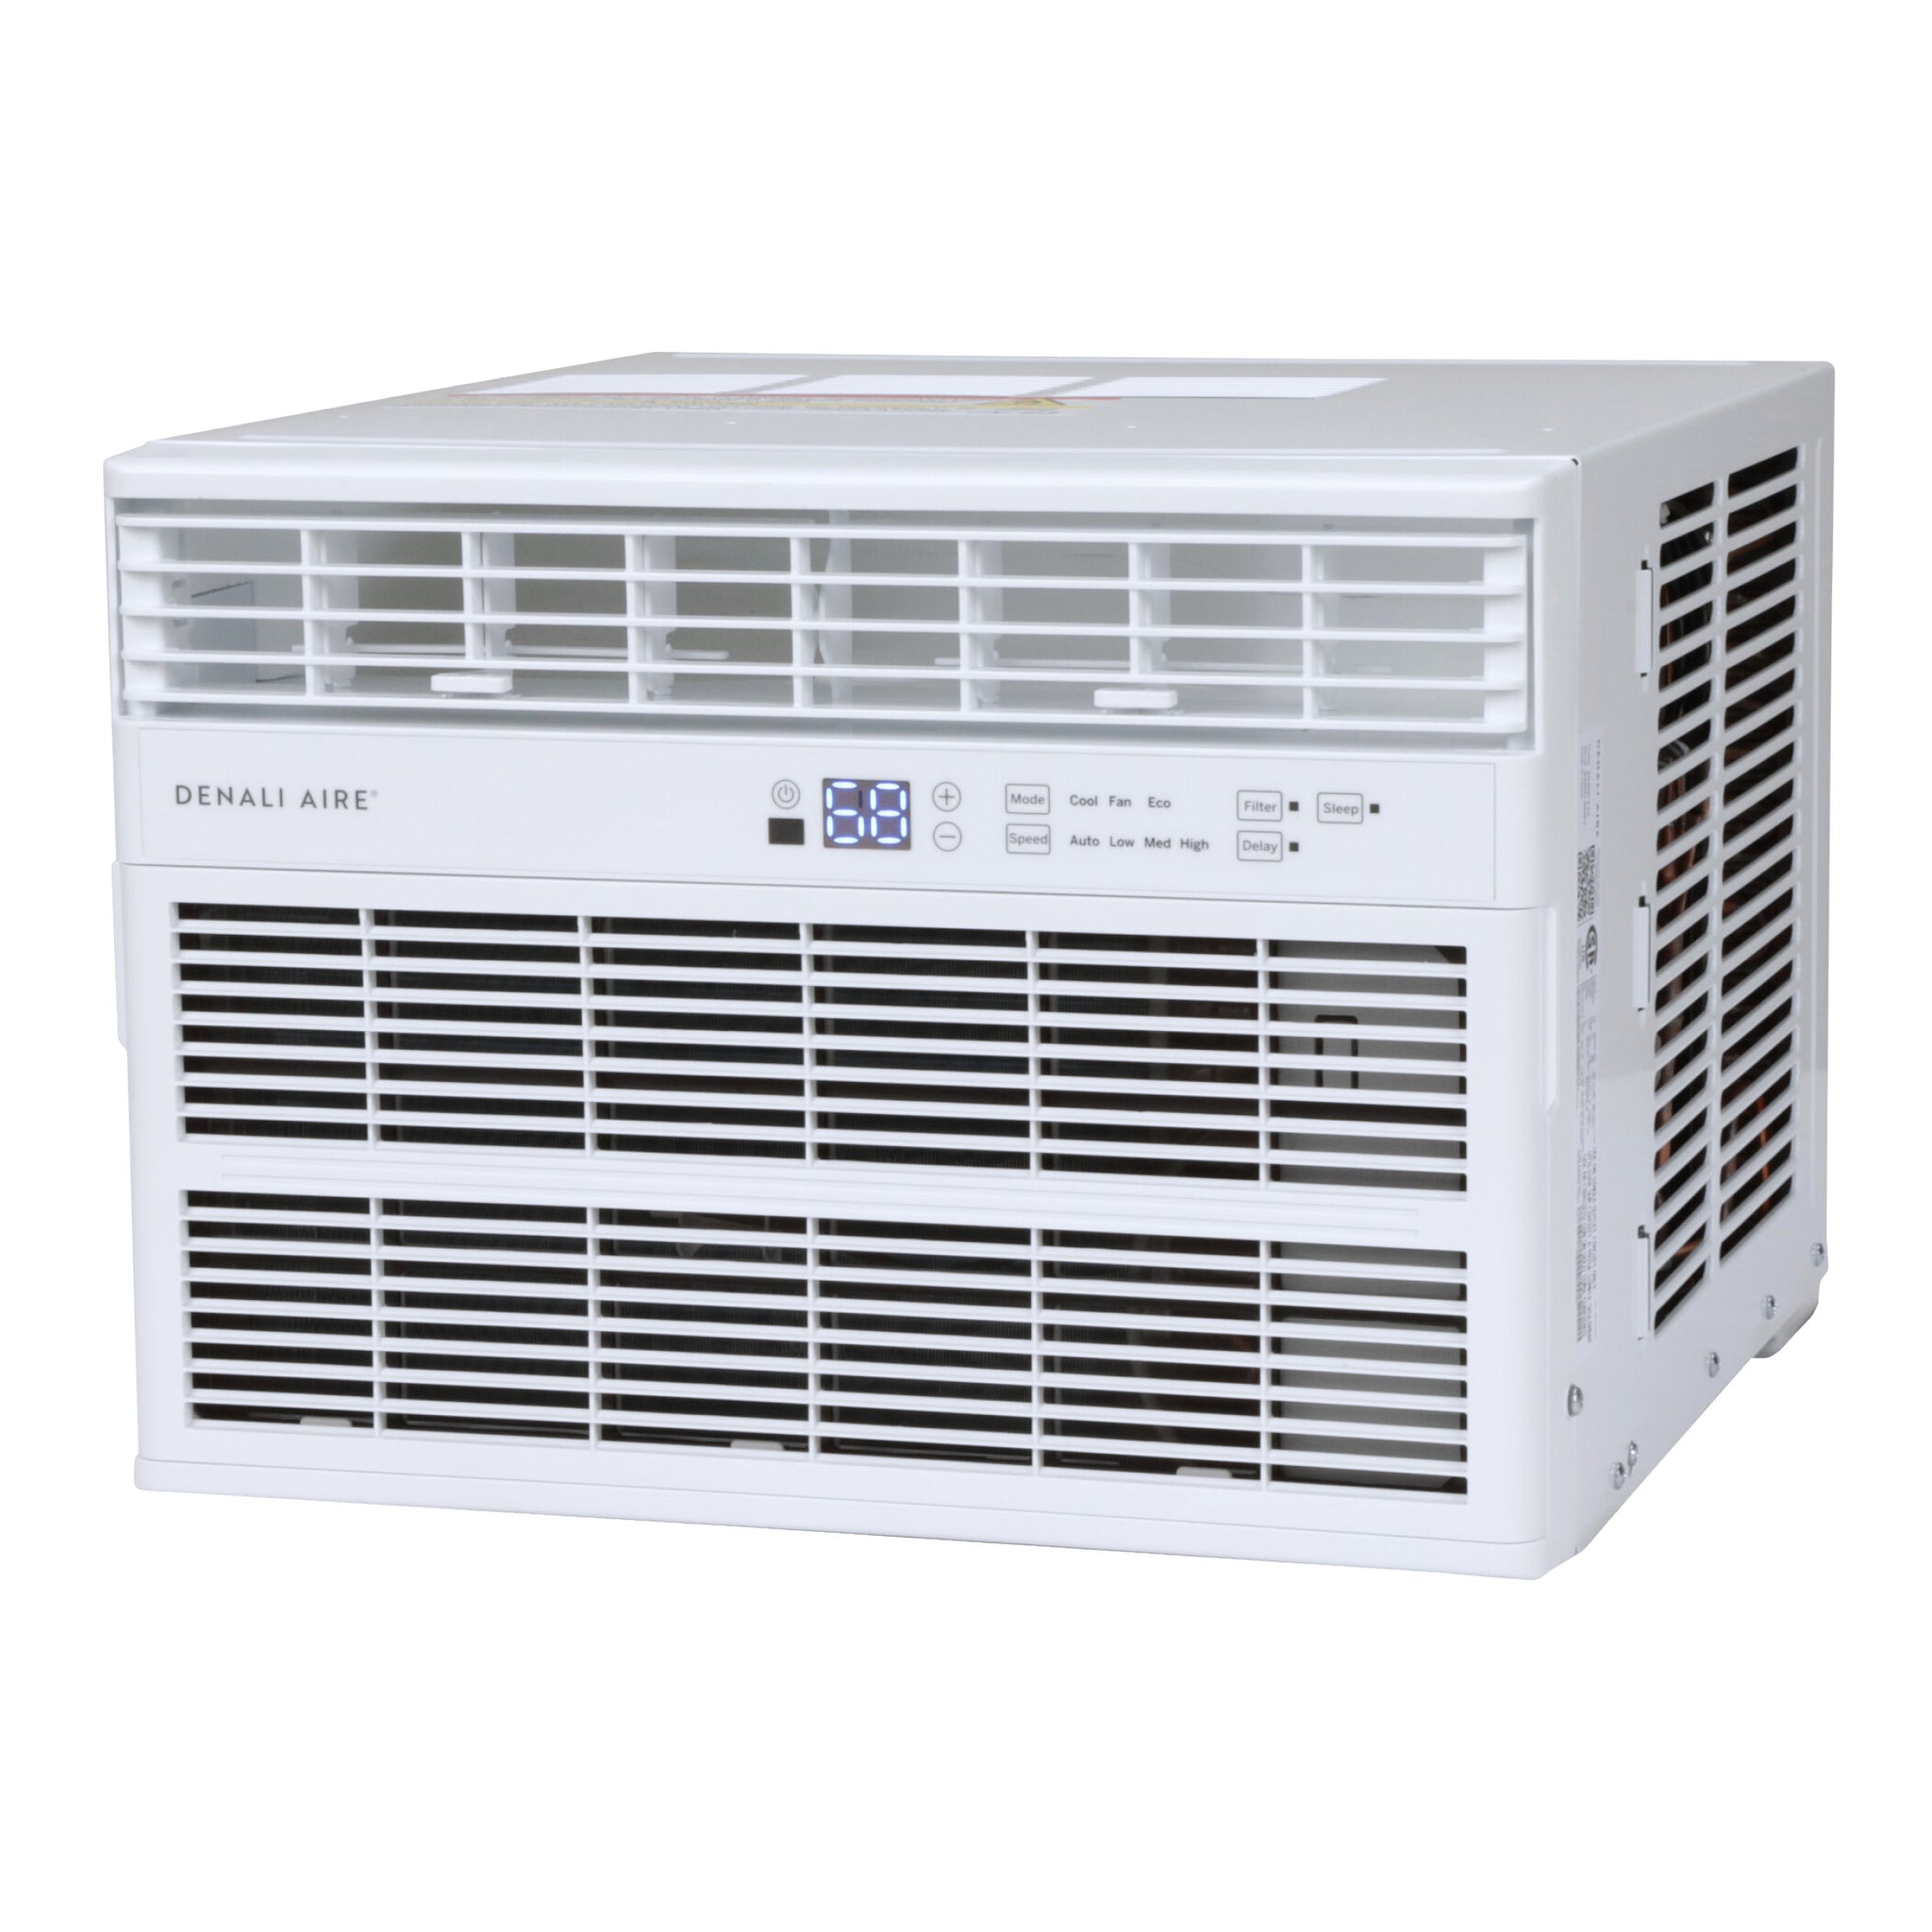
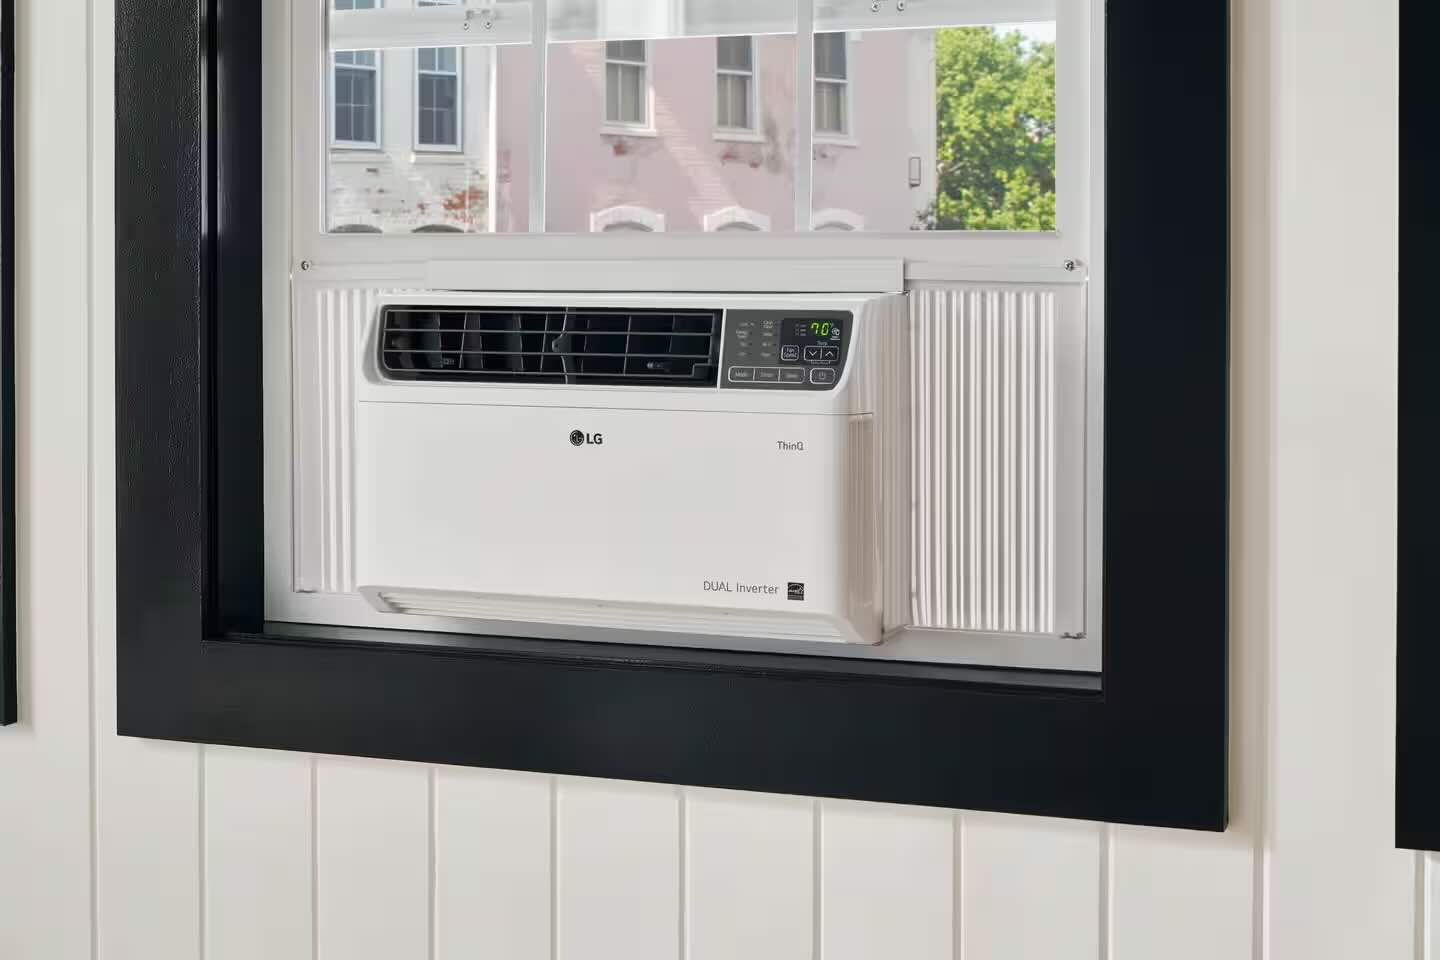
- Portable Air Conditioner: Select a unit that is suitable for the size of the space you intend to cool. Check the manufacturer's specifications for compatibility with awning windows.
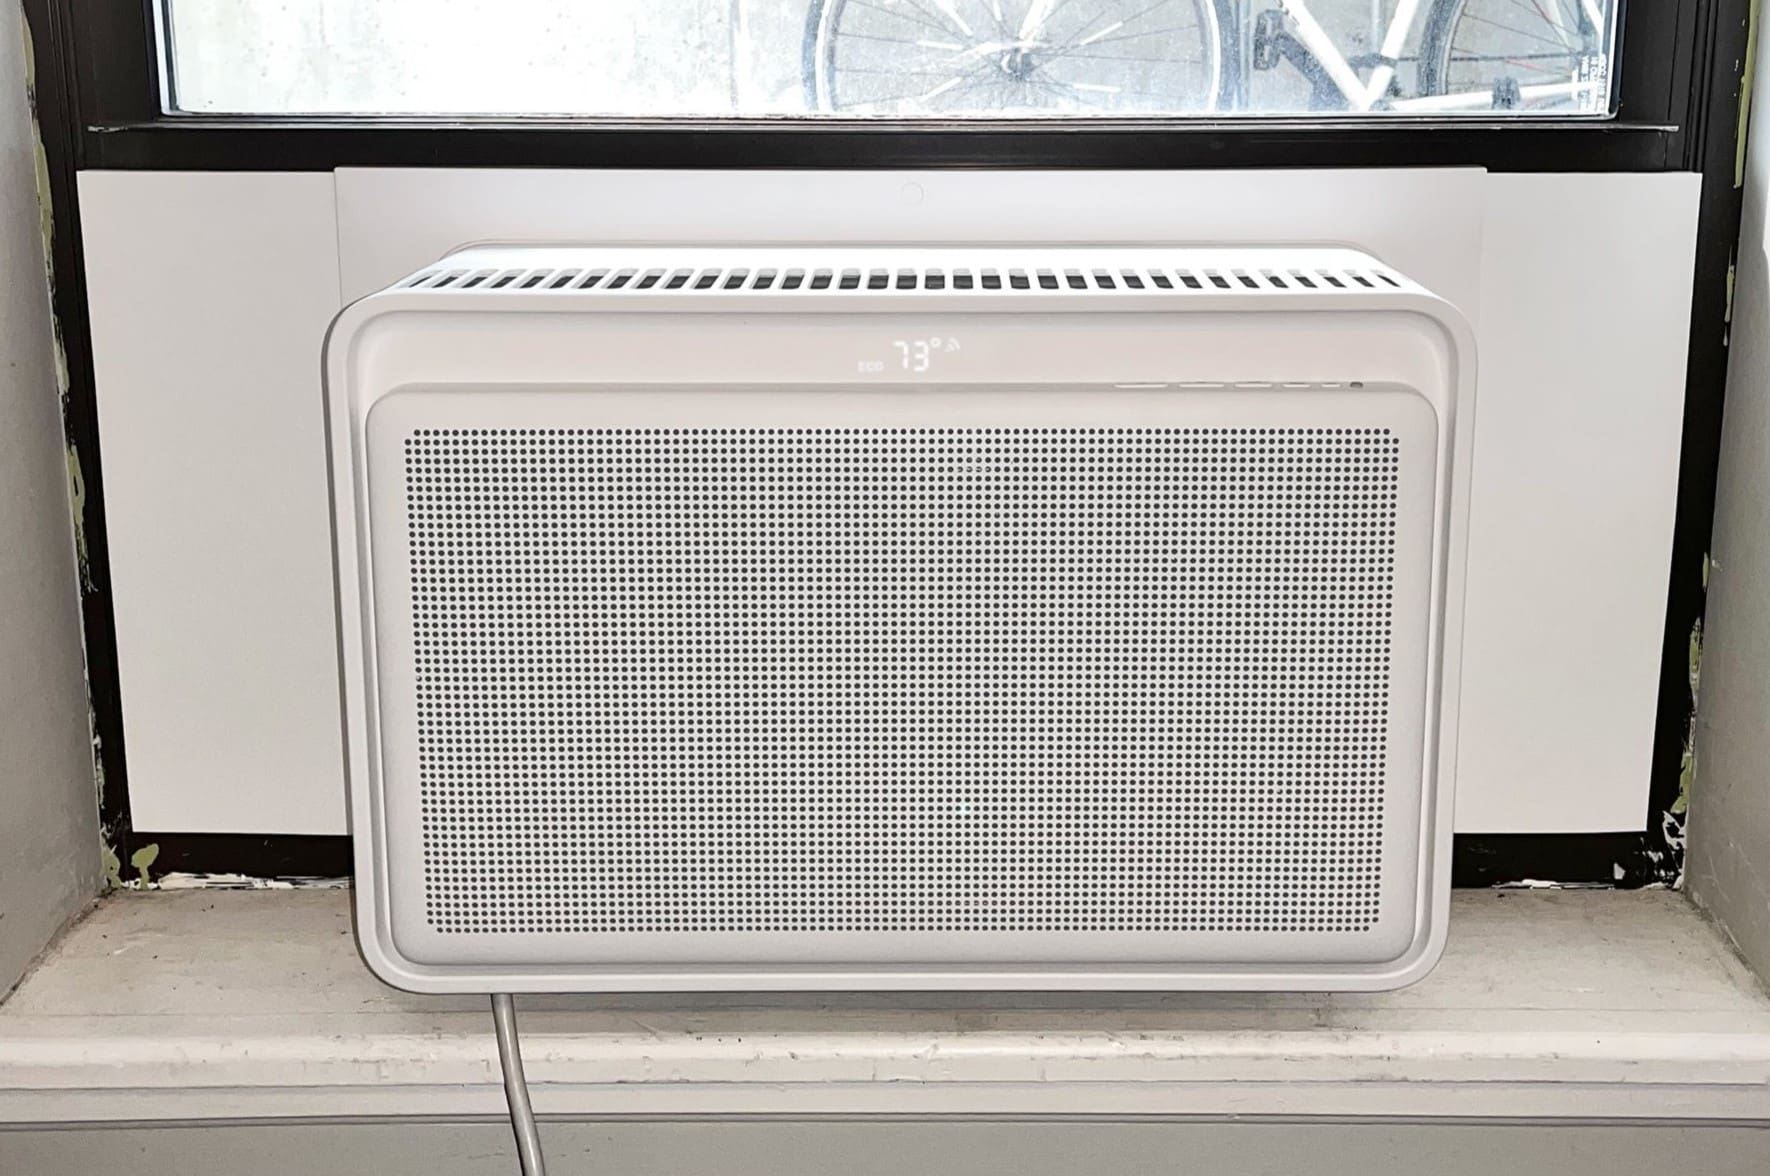
- Window Kit: Ensure that the window kit is designed for use with awning windows and is compatible with your specific air conditioner model.
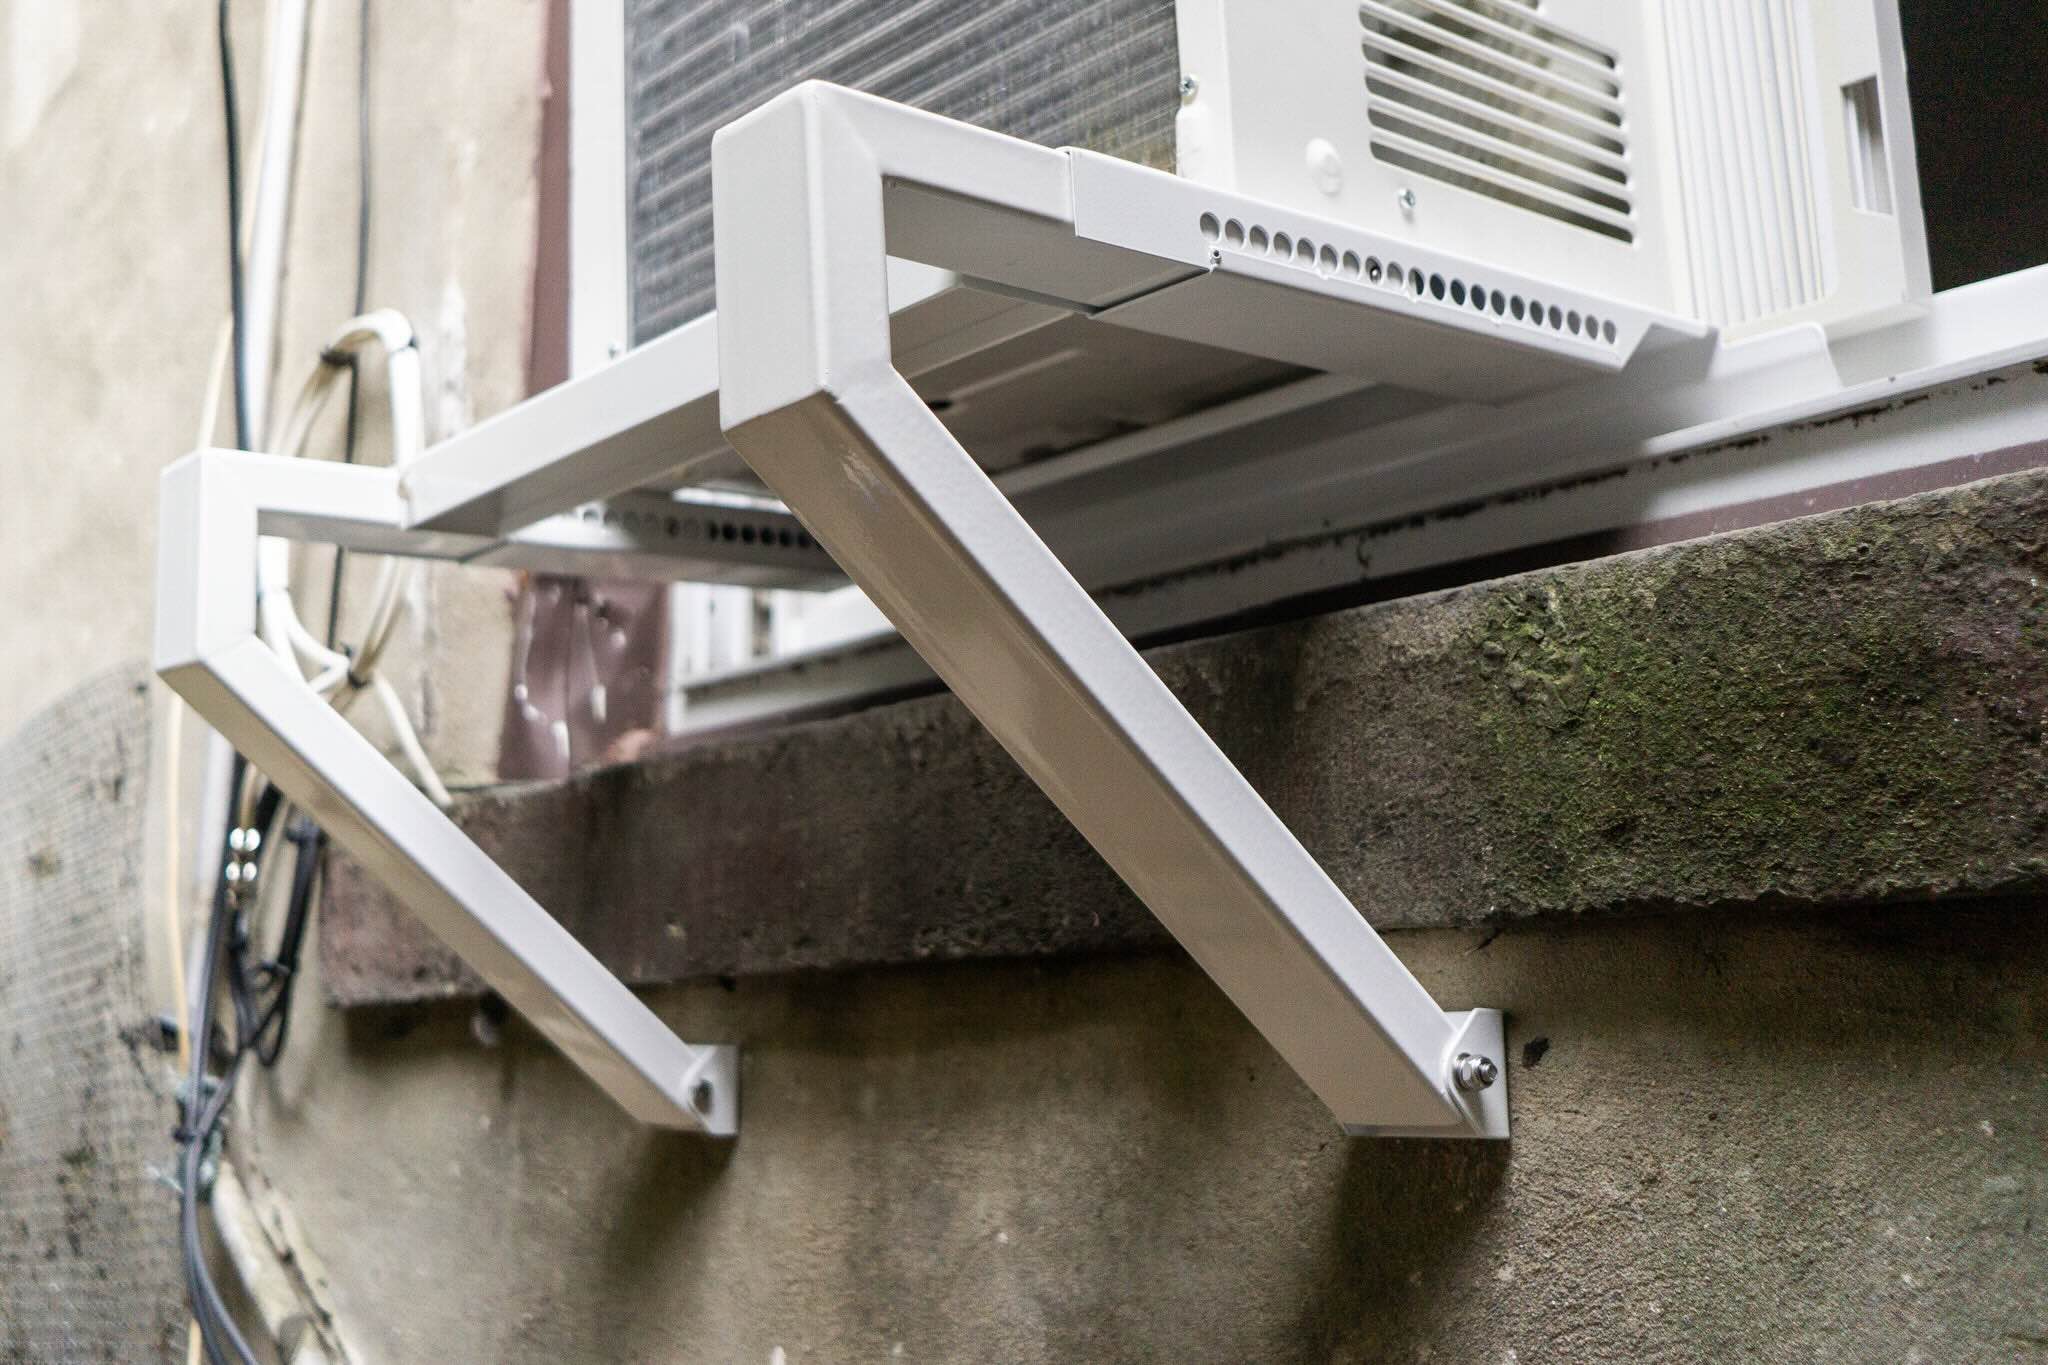
- Support Brackets: If the air conditioner unit requires additional support, ensure that the appropriate brackets are included or purchase them separately.
- Weather Stripping: This will help seal any gaps between the window and the window kit, preventing hot air from entering and cool air from escaping.
- Screws and Anchors: Depending on the window kit and support brackets, you may need screws and anchors for secure installation.
- Foam Insulation Strips: These strips can be used to fill any gaps around the window kit, improving insulation and energy efficiency.
By gathering these tools and materials in advance, you'll be well-prepared to tackle each step of the installation process with confidence. Having everything at your disposal will minimize interruptions and ensure that the installation proceeds smoothly, allowing you to enjoy the cooling benefits of your portable air conditioner in no time.
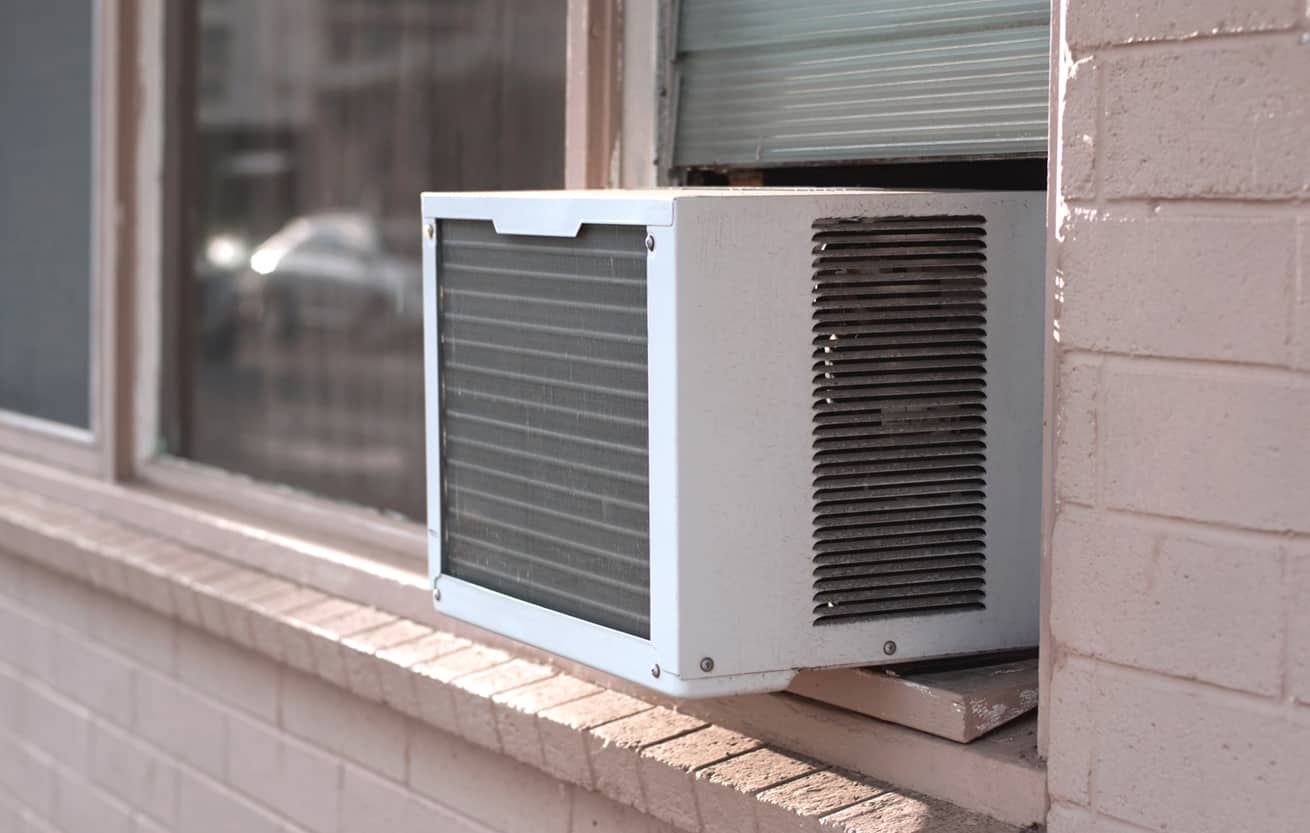
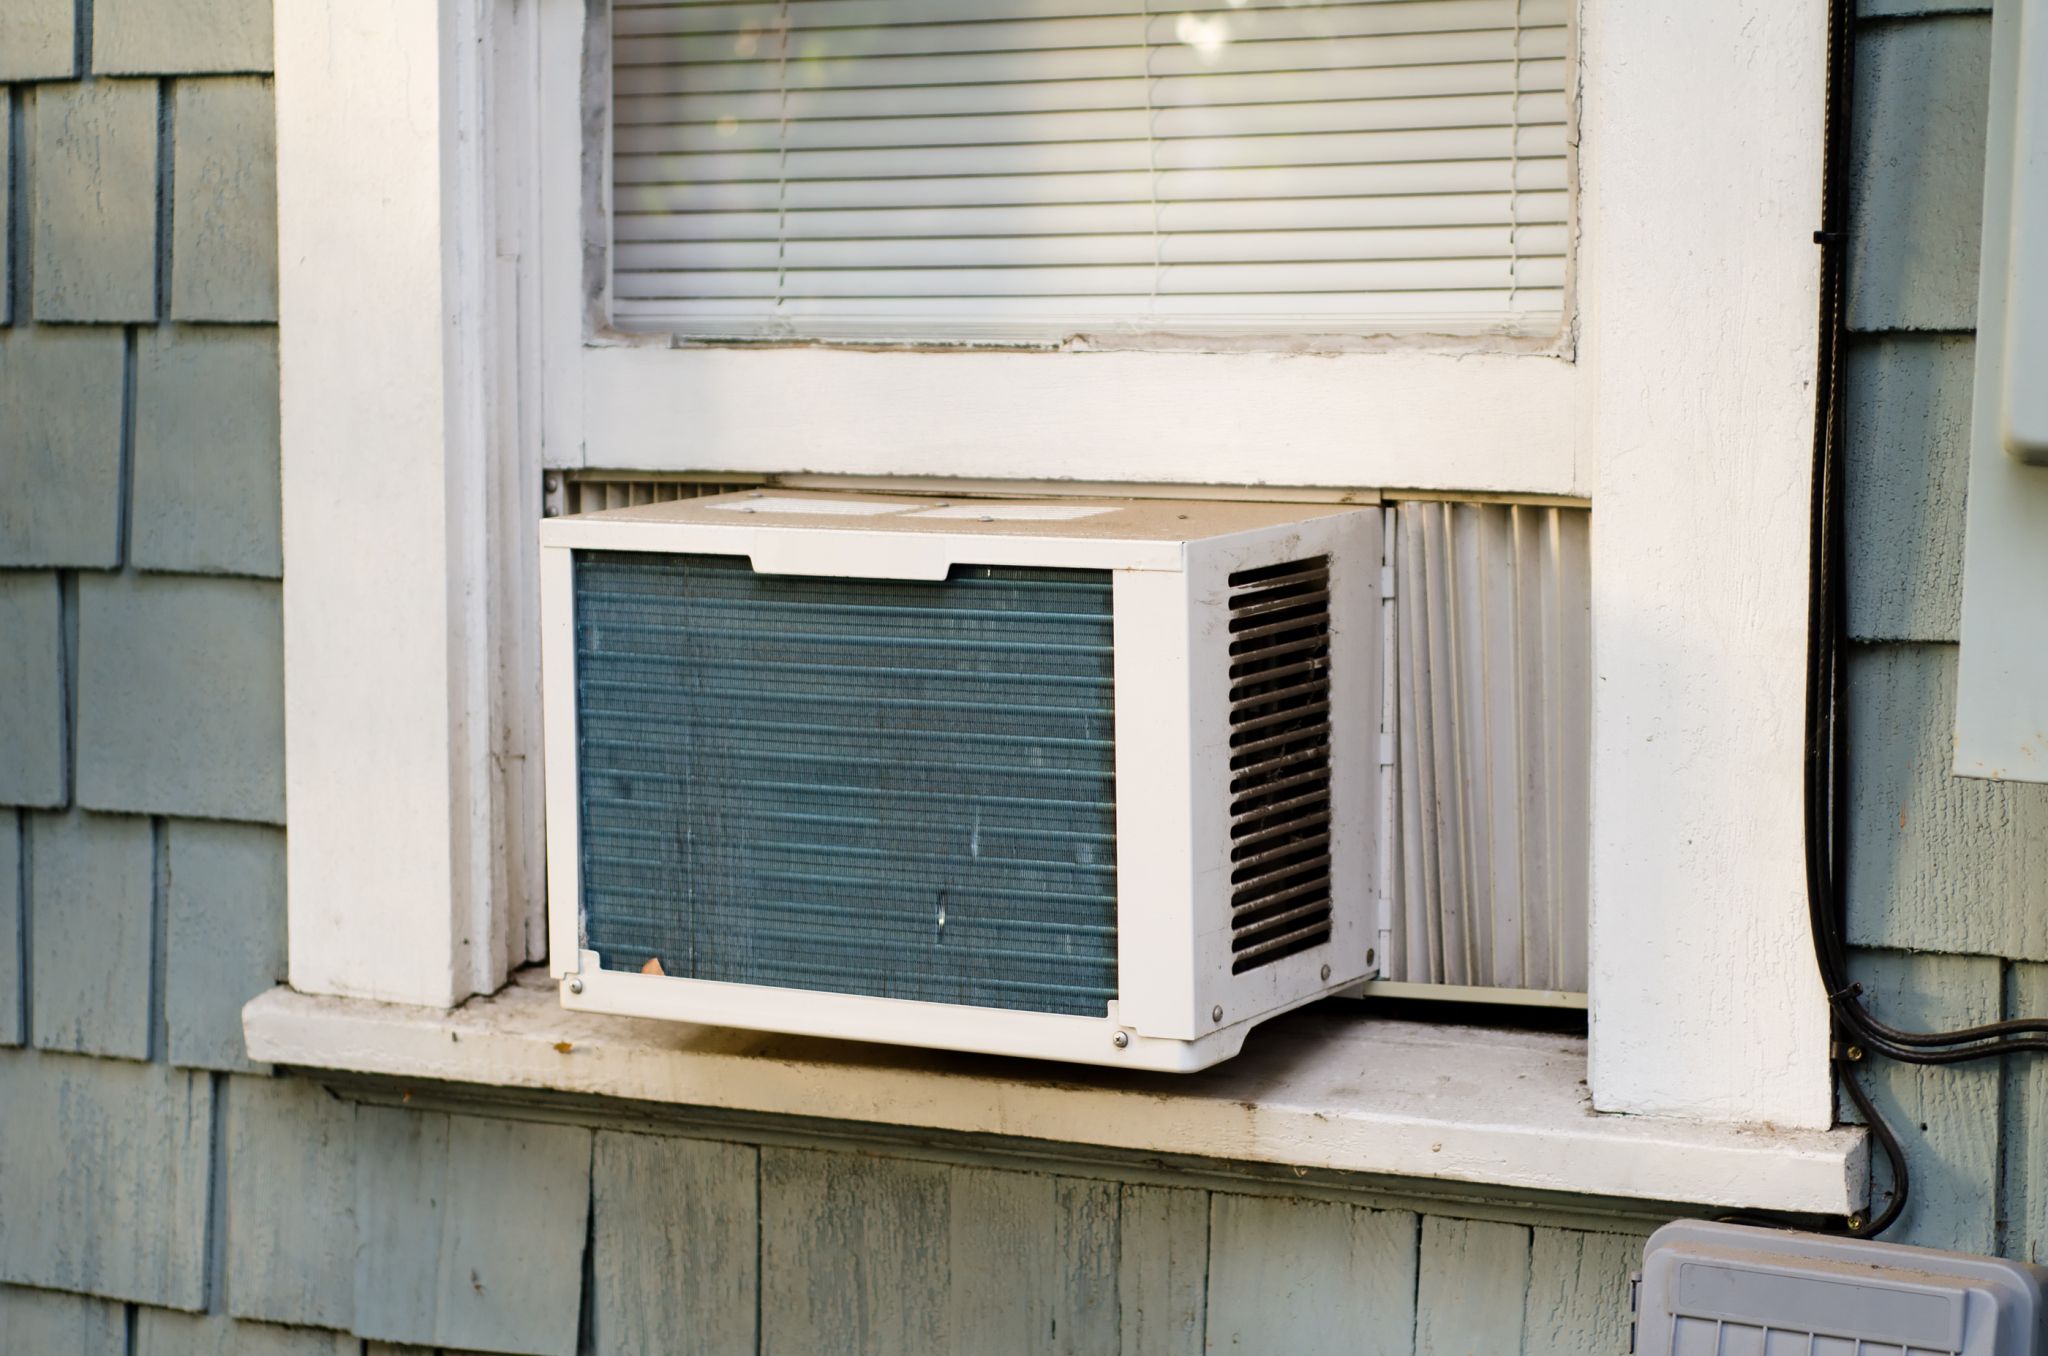
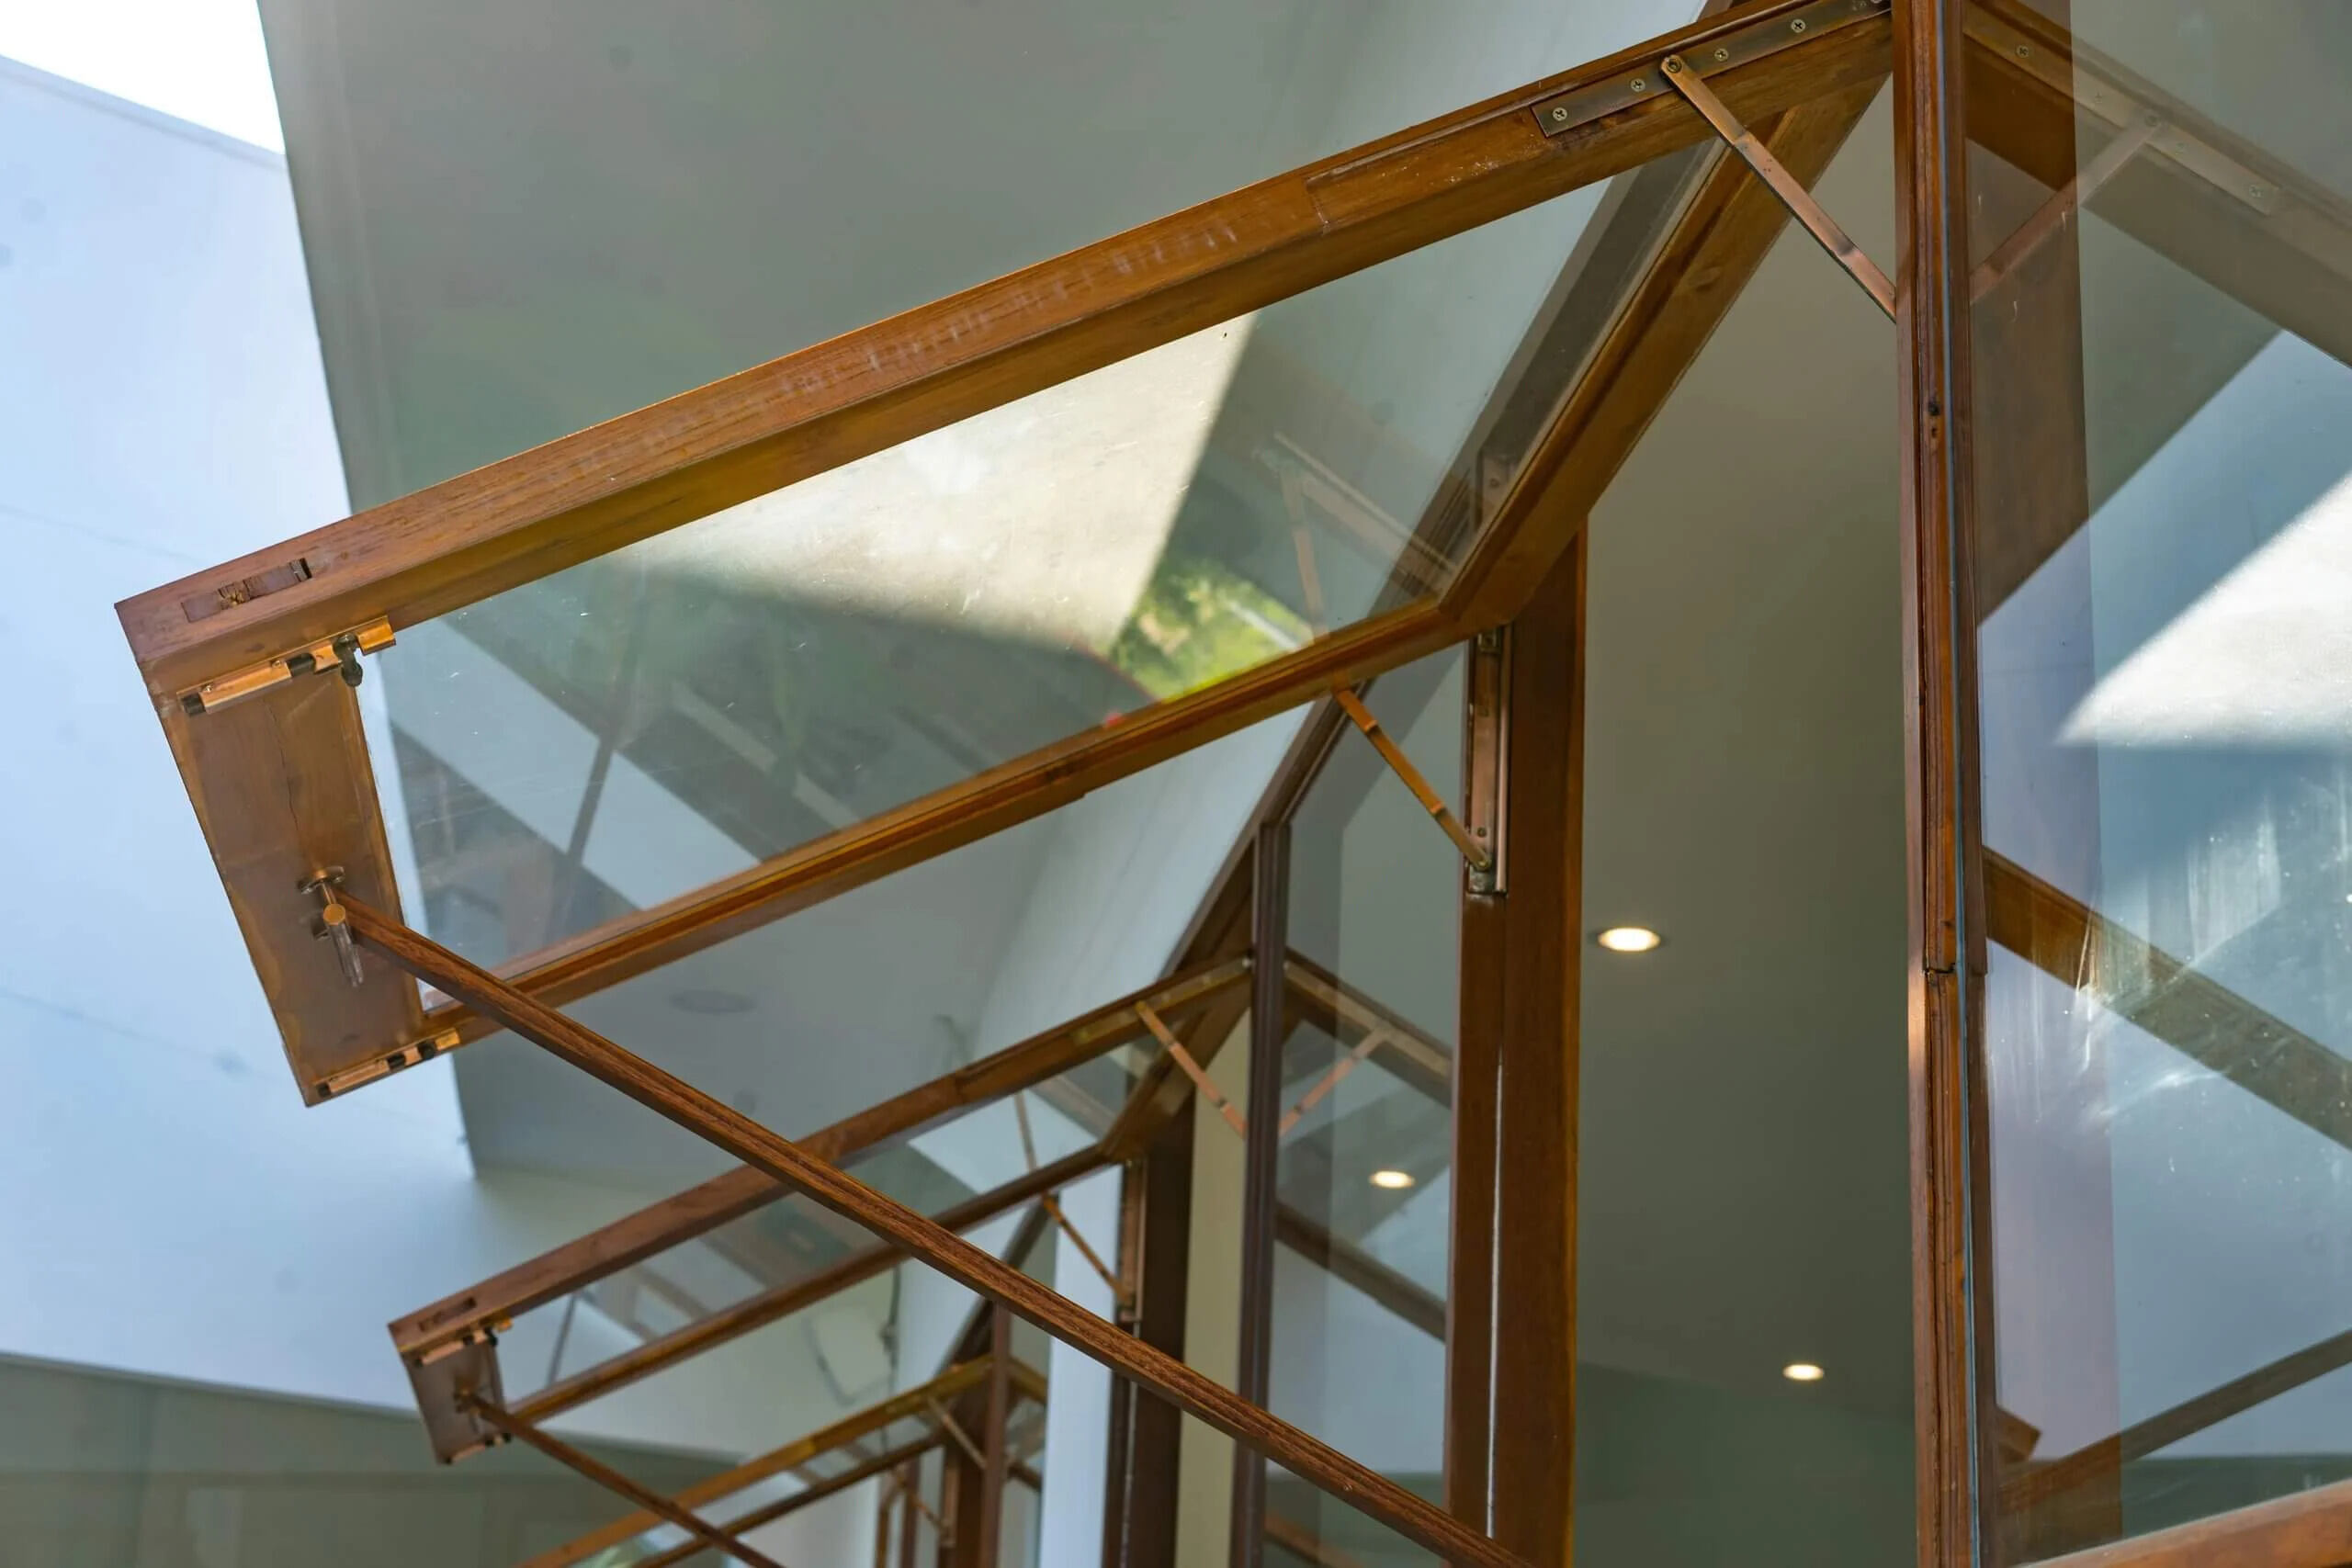
Step 2: Prepare the Window and Air Conditioner
Before diving into the physical installation of the portable air conditioner, it's crucial to prepare both the window and the air conditioner unit to ensure a seamless and secure fit. This step sets the foundation for a successful installation, allowing you to address any potential challenges and create an optimal environment for the air conditioner to operate effectively.
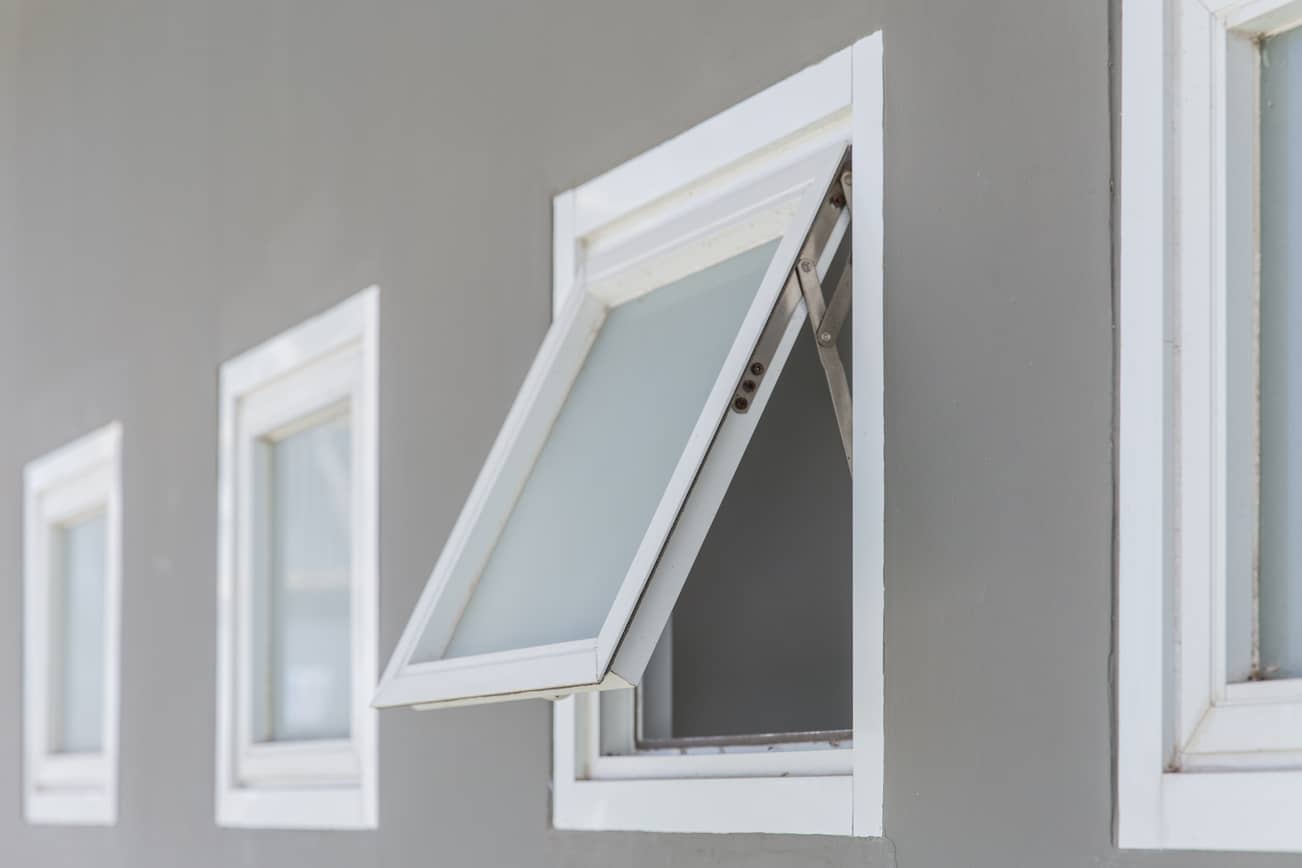
Window Preparation
Begin by thoroughly inspecting the awning window to assess its condition and suitability for accommodating the portable air conditioner. Ensure that the window is structurally sound and capable of supporting the weight of the air conditioner unit. Additionally, check for any obstructions or debris that may impede the installation process, clearing the area around the window to provide ample space for maneuvering during the installation.
Next, clean the window and its surrounding frame to remove any dirt, dust, or debris that could interfere with the installation or create an imperfect seal. A clean surface will promote better adhesion and sealing when the window kit is installed, minimizing the risk of air leaks and maximizing the air conditioner's efficiency.
Air Conditioner Preparation
With the window ready, shift your focus to the portable air conditioner unit. Carefully inspect the unit for any visible damage or defects, ensuring that all components are intact and functioning properly. Pay close attention to the seals and gaskets around the air conditioner, as these play a crucial role in preventing air leakage and maintaining optimal cooling performance.
If the air conditioner unit features adjustable louvers or vents, take the time to position them in a configuration that aligns with the window kit's design and installation requirements. This proactive adjustment will streamline the installation process and contribute to the air conditioner's overall effectiveness in distributing cool air within the space.
Additionally, familiarize yourself with the specific installation instructions provided by the manufacturer for your portable air conditioner model. Understanding the unit's unique requirements and recommended installation practices will empower you to proceed with confidence and precision, setting the stage for a successful installation.
By meticulously preparing both the window and the air conditioner unit, you'll lay the groundwork for a smooth and efficient installation process. This proactive approach minimizes potential obstacles and ensures that the subsequent steps unfold seamlessly, bringing you closer to the rewarding experience of a cool and comfortable indoor environment.
Step 3: Install the Window Kit
With the window and air conditioner unit prepared, it's time to focus on installing the window kit, a pivotal component that facilitates the secure and efficient integration of the portable air conditioner with the awning window. The window kit serves as a bridge between the air conditioner unit and the window, allowing for proper ventilation and sealing to create an airtight environment. Follow these detailed steps to ensure a successful installation of the window kit:
-
Assemble the Window Kit: Begin by assembling the window kit according to the manufacturer's instructions. This typically involves connecting the adjustable panels to create a custom fit for your awning window. Ensure that the panels are securely fastened and aligned to match the dimensions of the window, providing a snug and stable foundation for the air conditioner unit.
-
Position the Window Kit: Carefully position the assembled window kit in the awning window, ensuring that it sits flush and level within the window frame. Take precise measurements to confirm that the window kit aligns accurately with the window's dimensions, minimizing gaps and ensuring a secure fit.
-
Secure the Window Kit: Once the window kit is positioned correctly, secure it in place using the provided hardware or mounting accessories. Depending on the specific design of the window kit, this may involve using screws, brackets, or adhesive strips to anchor the kit firmly within the window frame. Pay close attention to the manufacturer's guidelines to ensure that the window kit is installed securely and in a manner that promotes optimal airflow and insulation.
-
Apply Weather Stripping: To further enhance the seal and insulation around the window kit, apply weather stripping along the edges where the kit meets the window frame. This weather stripping helps prevent air leaks and enhances the overall energy efficiency of the installation, creating a more controlled and comfortable indoor environment.
-
Adjust and Test: After securing the window kit, make any necessary adjustments to ensure that it forms a tight seal with the window. Test the stability and integrity of the installation by gently applying pressure to the window kit to confirm that it remains securely in place. Additionally, verify that the window can be opened and closed without compromising the integrity of the installation.
By meticulously following these steps, you'll successfully install the window kit, a critical component that facilitates the seamless integration of the portable air conditioner with the awning window. This installation sets the stage for the final step of securing the air conditioner in place, bringing you closer to the ultimate goal of enjoying a cool and comfortable indoor environment during the sweltering summer months.
Step 4: Secure the Air Conditioner in Place
With the window kit successfully installed, the next crucial step is to secure the portable air conditioner in place, ensuring stability, proper alignment, and a secure connection to the window kit. This step is essential for creating a reliable and efficient cooling setup that can withstand the demands of continuous operation. Follow these detailed guidelines to effectively secure the air conditioner in the awning window:
-
Position the Air Conditioner: Carefully lift the portable air conditioner and position it on the designated mounting location within the window kit. Take precise measurements to ensure that the unit aligns evenly with the window kit and sits securely within the window frame. This initial positioning sets the stage for the subsequent securing steps.
-
Secure the Air Conditioner: Depending on the specific design of the portable air conditioner and the window kit, use the provided hardware or accessories to secure the unit in place. This may involve attaching support brackets to the window frame or utilizing adjustable panels within the window kit to create a snug fit around the air conditioner. Follow the manufacturer's instructions to ensure that the unit is securely anchored and stable.
-
Check for Stability: Once the air conditioner is secured, perform a thorough stability check to confirm that the unit is firmly positioned and does not wobble or shift within the window. Gently apply pressure to different parts of the air conditioner to assess its stability and resistance to movement. A stable installation is essential for safe and effective operation.
-
Seal Any Gaps: Inspect the area surrounding the air conditioner within the window kit to identify any gaps or openings. Use foam insulation strips or additional weather stripping to seal these gaps, preventing air leaks and enhancing the overall insulation of the installation. A well-sealed setup promotes energy efficiency and maintains the desired indoor temperature.
-
Test the Air Conditioner: Once the air conditioner is securely in place, power on the unit and test its functionality. Verify that the airflow is directed as intended and that the cooling performance meets expectations. Additionally, confirm that the air conditioner operates quietly and without any unusual vibrations or noises, indicating a successful and secure installation.
By meticulously following these steps, you'll effectively secure the portable air conditioner in the awning window, creating a reliable and efficient cooling solution for your living space. This secure installation sets the stage for enjoying the refreshing benefits of a cool and comfortable indoor environment, providing respite from the oppressive summer heat.
Step 5: Test the Air Conditioner
With the portable air conditioner securely installed in the awning window, it's time to put the unit to the test and ensure that it delivers the cooling performance you need to combat the summer heat. Testing the air conditioner is a critical step that allows you to verify its functionality, assess its cooling capacity, and address any potential issues before relying on it to keep your indoor environment comfortable. Follow these detailed guidelines to effectively test the air conditioner and confirm its operational excellence:
-
Power On the Unit: Begin by powering on the portable air conditioner and allowing it to initiate the cooling cycle. Depending on the specific model, familiarize yourself with the control panel and settings to activate the cooling mode. As the unit starts up, listen for any unusual sounds or vibrations that may indicate operational issues.
-
Assess Airflow and Temperature: Position yourself within the cooled space and assess the airflow and temperature distribution. Verify that the air conditioner effectively circulates cool air throughout the room, reaching all desired areas. Use a thermometer to measure the temperature near the air conditioner's outlet and compare it to the set temperature on the unit, ensuring that the cooling performance aligns with your expectations.
-
Check for Leaks and Condensation: Inspect the area around the air conditioner and the window kit for any signs of water leaks or excessive condensation. While some condensation is normal during the cooling process, excessive moisture or leaks may indicate improper installation or a malfunction. Address any leaks promptly to prevent damage to the surrounding area and ensure the air conditioner operates efficiently.
-
Evaluate Noise Levels: Pay attention to the noise levels produced by the air conditioner during operation. While some noise is expected, particularly during compressor cycles, excessive or disruptive sounds may indicate mechanical issues. A well-installed and functioning air conditioner should operate quietly, allowing you to enjoy a peaceful and comfortable indoor environment.
-
Adjust Settings and Airflow Direction: Experiment with the air conditioner's settings and airflow direction to optimize its performance. Test different fan speeds, cooling modes, and directional adjustments to find the most comfortable and efficient configuration for your specific space. Additionally, ensure that the louvers or vents effectively direct the airflow where needed, maximizing the cooling impact.
By meticulously testing the portable air conditioner and evaluating its performance across various parameters, you can gain confidence in its ability to provide reliable and effective cooling. Address any issues or discrepancies promptly to ensure that the air conditioner operates optimally, delivering the refreshing and comfortable indoor environment you desire during the hottest days of the year.
When installing a portable air conditioner in an awning window, make sure to use a support bracket to secure the unit in place and prevent it from falling. Also, use weatherstripping to seal any gaps and prevent hot air from entering the room.
Conclusion
In conclusion, the successful installation of a portable air conditioner in an awning window represents a significant achievement in creating a cool and comfortable indoor environment, especially during the scorching summer months. By following the comprehensive steps outlined in this guide, you've gained the knowledge and confidence to tackle this installation project with precision and efficiency. From gathering the necessary tools and materials to testing the air conditioner, each step has been carefully crafted to ensure a seamless and rewarding installation experience.
As you stand back and admire your newly installed portable air conditioner, it's important to reflect on the transformative impact it will have on your living space. The ability to escape the oppressive heat and retreat into a cool oasis within your home is a luxury that enhances comfort and well-being. Whether you're relaxing, working, or entertaining guests, the presence of a reliable cooling solution elevates the overall experience and allows you to fully enjoy your indoor environment.
Furthermore, the successful installation of a portable air conditioner in an awning window represents a testament to your DIY prowess and problem-solving skills. Taking on such a project not only enhances your home's comfort but also empowers you with valuable hands-on experience and a sense of accomplishment. The satisfaction of overcoming challenges and mastering the intricacies of installation resonates with the rewarding feeling of self-sufficiency and the ability to shape your living space according to your needs.
As you revel in the cool, refreshing air provided by your newly installed portable air conditioner, take a moment to appreciate the seamless integration of technology and craftsmanship that has brought this comfort to fruition. The careful preparation, precise installation, and thorough testing have culminated in a reliable and efficient cooling solution that enhances your quality of life.
In the end, the installation of a portable air conditioner in an awning window transcends the mere placement of a cooling appliance. It represents a commitment to creating a comfortable and inviting home environment, where the relentless heat of summer is met with a refreshing and revitalizing counterbalance. With this installation complete, you can look forward to enjoying a cool and comfortable indoor sanctuary, shielded from the sweltering temperatures outside.
So, as you bask in the cool embrace of your newly installed portable air conditioner, take pride in the knowledge that you've successfully navigated the installation process and emerged with a heightened sense of comfort, capability, and contentment within your home.
Frequently Asked Questions about How To Install A Portable Air Conditioner In An Awning Window
Was this page helpful?
At Storables.com, we guarantee accurate and reliable information. Our content, validated by Expert Board Contributors, is crafted following stringent Editorial Policies. We're committed to providing you with well-researched, expert-backed insights for all your informational needs.


0 thoughts on “How To Install A Portable Air Conditioner In An Awning Window”