Home>Home Maintenance>How To Take Off An Air Conditioner Cover
Home Maintenance
How To Take Off An Air Conditioner Cover
Modified: August 23, 2024
Learn how to safely remove an air conditioner cover with our home maintenance tips. Protect your unit during the off-season and ensure optimal performance.
(Many of the links in this article redirect to a specific reviewed product. Your purchase of these products through affiliate links helps to generate commission for Storables.com, at no extra cost. Learn more)
Introduction
Welcome to our guide on how to take off an air conditioner cover! As the seasons change and the temperature begins to rise, it’s essential to have your air conditioner in top-notch condition. One of the crucial steps in maintaining your air conditioner is safely removing the cover, which may have been protecting it during the colder months.
Removing an air conditioner cover might seem like a simple task, but it’s important to do it correctly to avoid any damage to your unit or injury to yourself. In this article, we will guide you through the step-by-step process of taking off an air conditioner cover, ensuring a smooth transition into the warmer months.
Before we dive into the details, it’s important to note that safety should always be your top priority. Make sure to wear appropriate protective gear such as gloves, goggles, and sturdy shoes before beginning any maintenance tasks involving your air conditioner.
Now, let’s get started with the process of preparing for removing the cover!
Key Takeaways:
- Safely remove the air conditioner cover by following step-by-step instructions, ensuring a smooth transition into warmer weather while prioritizing safety and proper maintenance.
- Clean and store the air conditioner cover properly to maintain its quality, prolong the lifespan of your unit, and ensure optimal performance for years to come.
Read more: How To Cover An Air Conditioner Outside
Preparing for Removal
Before taking off the air conditioner cover, there are a few essential steps you should take to ensure a seamless process. These steps will help protect your unit and make the removal process much easier.
- Turn Off the Power: Start by disconnecting the power supply to your air conditioner. This can usually be done by turning off the circuit breaker or unplugging the unit from its power source. This step is crucial to ensure your safety throughout the entire process.
- Inspect the Cover: Before removing the cover, take a close look at its condition. Check for any signs of damage such as cracks, tears, or loose parts. If you notice any significant issues, it’s best to address them before attempting to remove the cover. In some cases, you may need to contact a professional for repairs.
- Clear the Surrounding Area: Remove any debris or obstructions near the air conditioner unit. This includes fallen leaves, branches, or any other objects that may have accumulated around it. Ensuring a clear and tidy work area will make the removal process much more manageable.
- Gather Necessary Tools: Prepare the tools you’ll need for removing the cover. Depending on your specific air conditioner model, you may need a screwdriver, wrench, or Allen key. It’s always a good idea to have these tools on hand and ready before proceeding.
Once you’ve completed these preparatory steps, you’re ready to move on to the next stage: removing the screws or clips that secure the air conditioner cover.
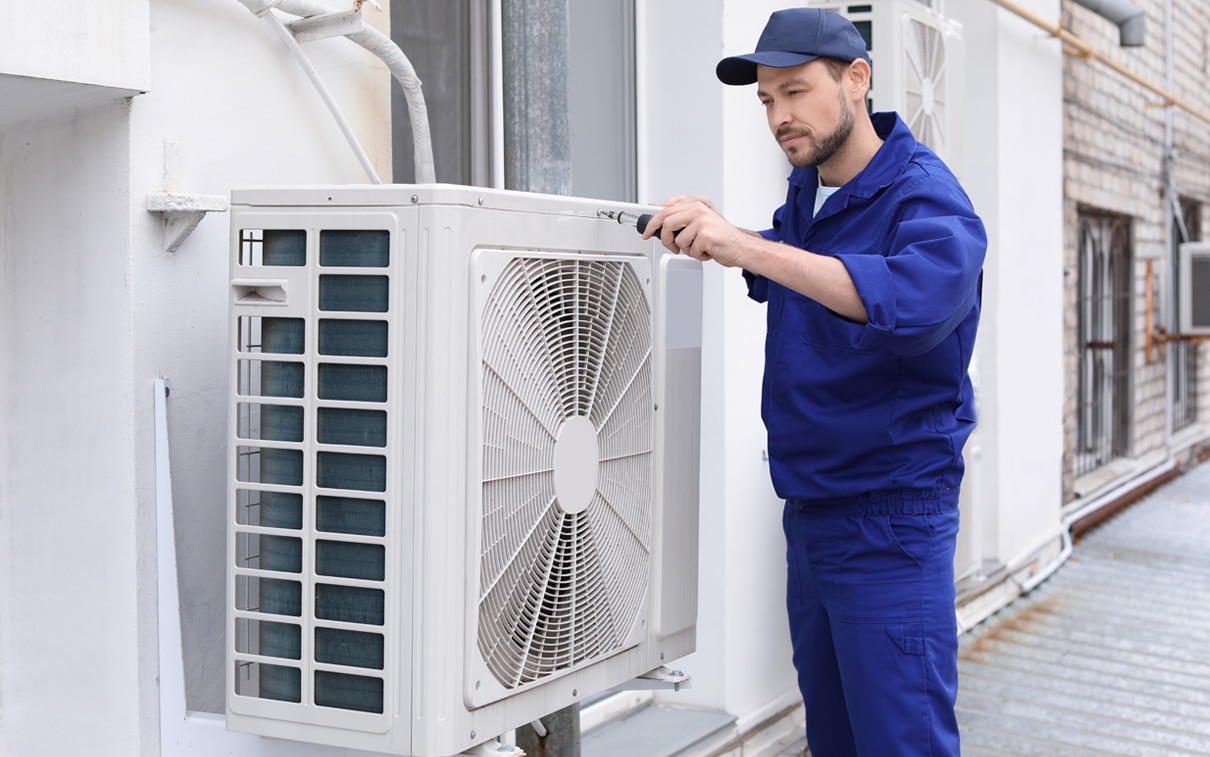
Removing the Screws or Clips
Now that you’ve prepared the necessary tools and cleared the surrounding area, it’s time to remove the screws or clips that secure the air conditioner cover in place. The method of attachment may vary depending on your air conditioner model, so be sure to refer to your unit’s user manual for specific instructions. However, the general process is as follows:
- Locate the Attachment Points: Inspect the cover to identify the screws or clips that hold it in place. These attachment points are typically located on the sides or corners of the cover. Keep in mind that some covers may have multiple attachment points.
- Use the Appropriate Tool: Based on the type of attachment points, select the appropriate tool for the job. This may be a screwdriver, wrench, or Allen key. Ensure that the tool fits securely and can effectively remove the screws or loosen the clips.
- Remove the Screws or Loosen the Clips: Carefully unscrew the screws or loosen the clips in a counterclockwise direction. Take your time to avoid damaging the cover or the unit beneath it. If any of the screws or clips are difficult to remove, apply gentle pressure and make sure you have a good grip on the tool to prevent slipping.
- Set Aside the Screws or Clips: As you remove the screws or loosen the clips, be sure to keep them in a safe place. It’s easy for small hardware pieces to get lost or misplaced, so designate a container or bag specifically for storing them.
Once you have successfully removed all the screws or clips, the next step is to lower the air conditioner cover without causing any damage. Let’s move on to the next section to learn how to do this properly.
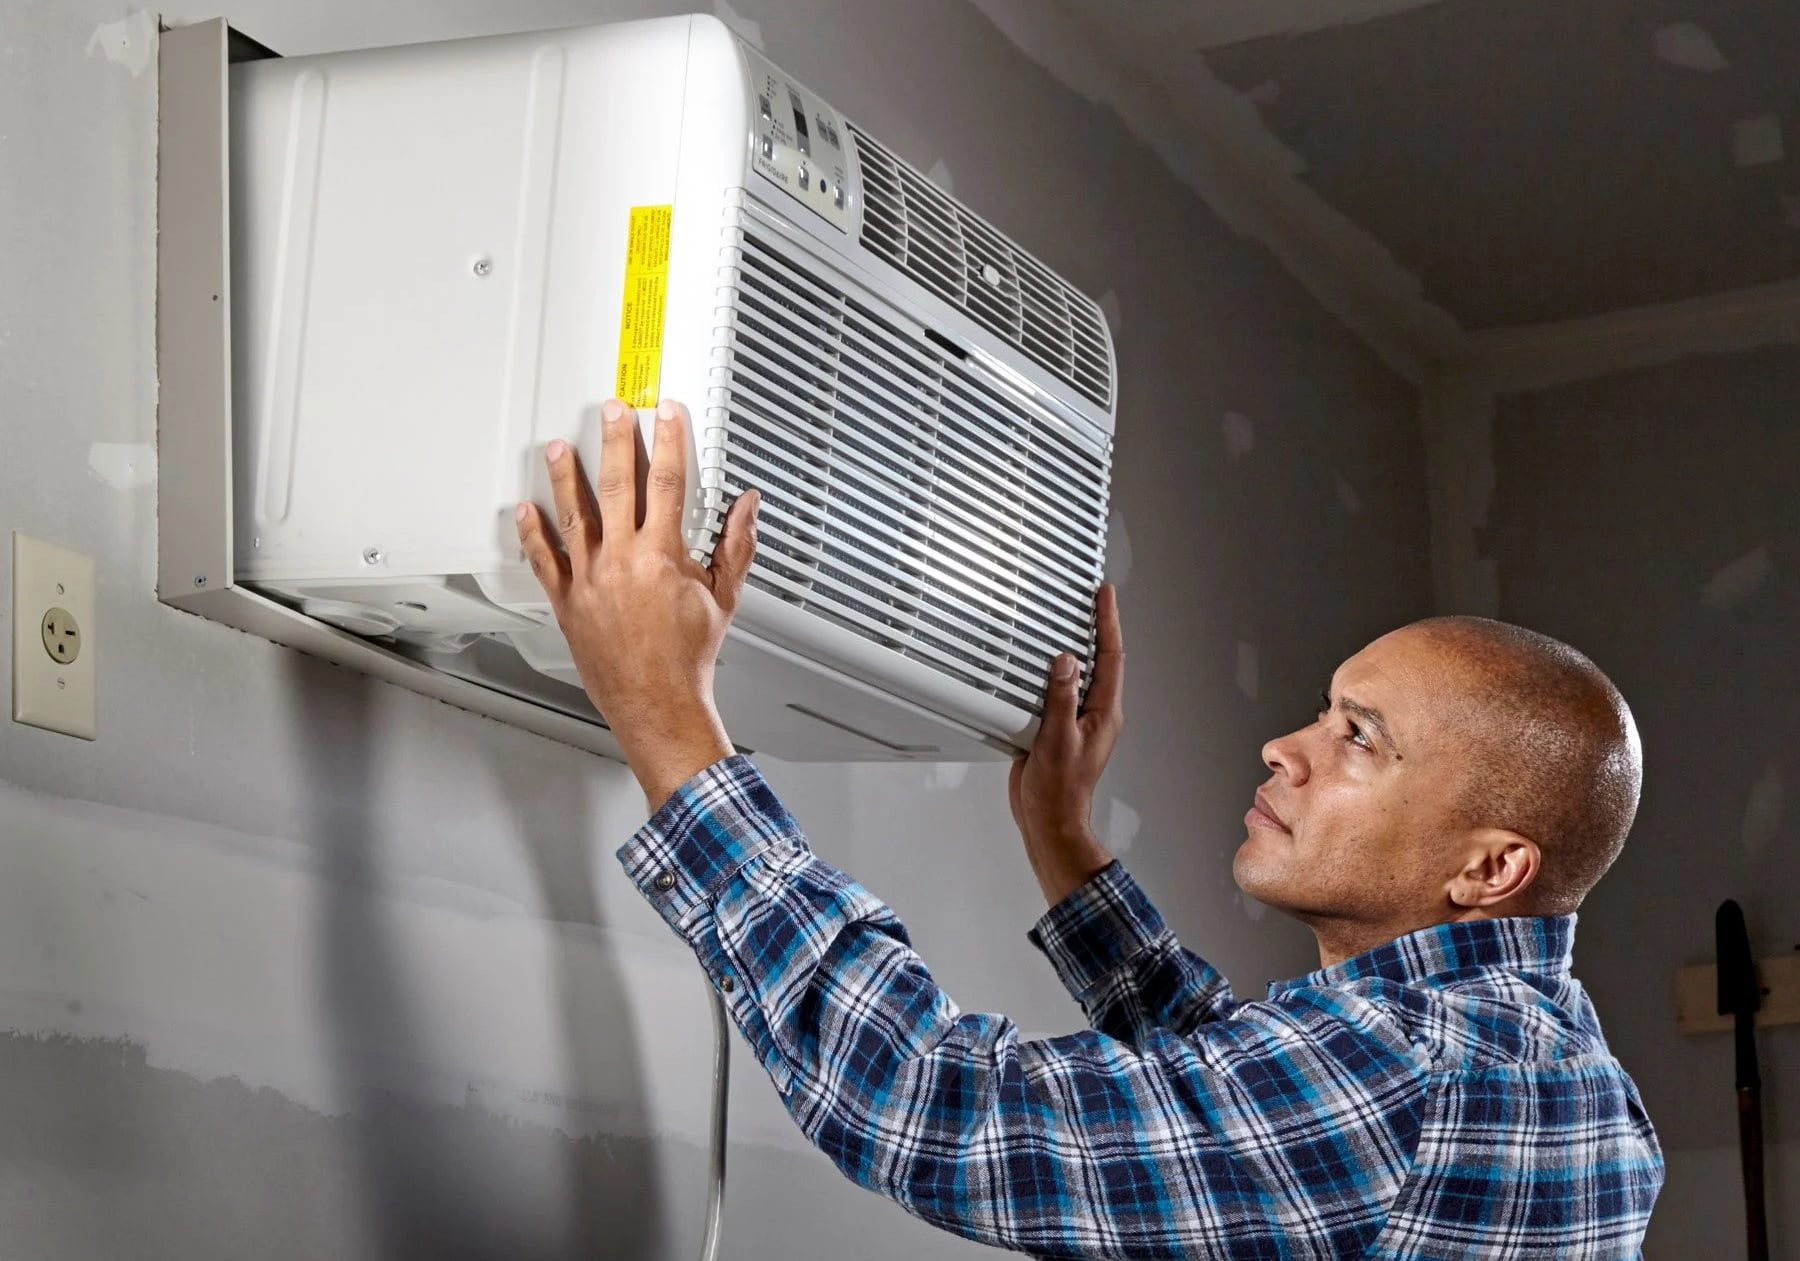
Lowering the Air Conditioner Cover
With the screws or clips removed, it’s time to carefully lower the air conditioner cover without causing any harm to the unit or yourself. Follow these steps to ensure a smooth and safe transition:
- Enlist Assistance: Depending on the size and weight of the air conditioner cover, it may be beneficial to have someone help you with the lowering process. Having an extra set of hands can make it easier to control the cover and prevent any accidents.
- Support the Cover: Place your hands on either side of the air conditioner cover, ensuring a firm and stable grip. Be cautious of any sharp edges or protruding parts that may cause injury. If necessary, wear protective gloves to protect your hands.
- Slowly Lower the Cover: Begin to lower the air conditioner cover in a controlled manner. Take your time and be mindful of any obstacles or delicate components underneath. Make sure the cover is being lowered evenly to prevent it from getting caught on any parts of the unit.
- Set Aside the Cover: Once the air conditioner cover is fully lowered, set it aside in a safe area away from the work zone. Placing it on a clean and flat surface will protect it from damage and make it easier to clean before storing it for future use.
By following these steps, you can safely lower the air conditioner cover without causing any unnecessary damage to your unit. Now that the cover is off, it’s a good time to do some thorough cleaning and maintenance on your air conditioner. Let’s move on to the next section to learn how to do this effectively.
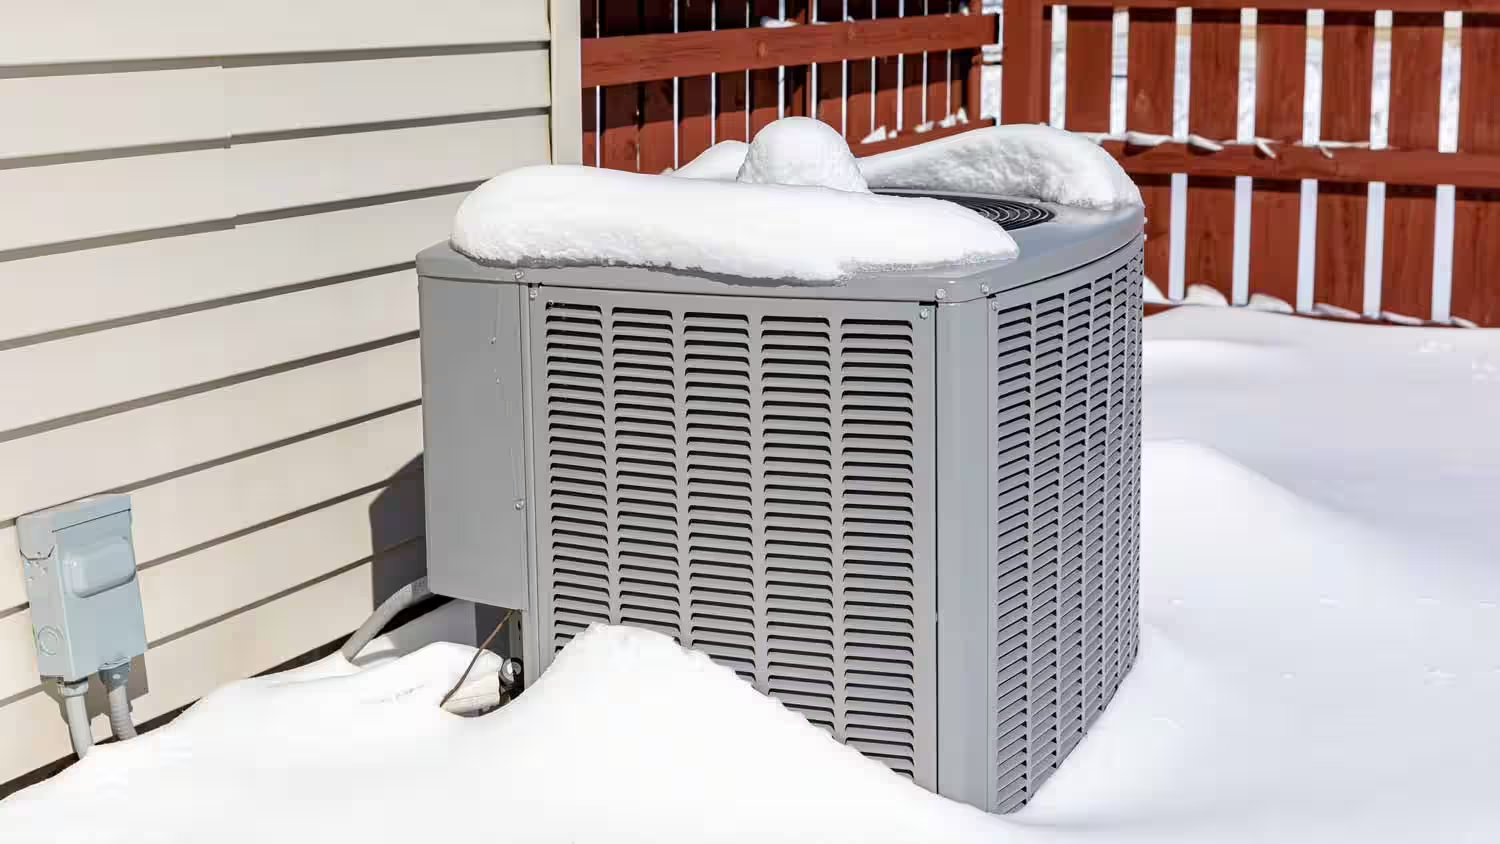
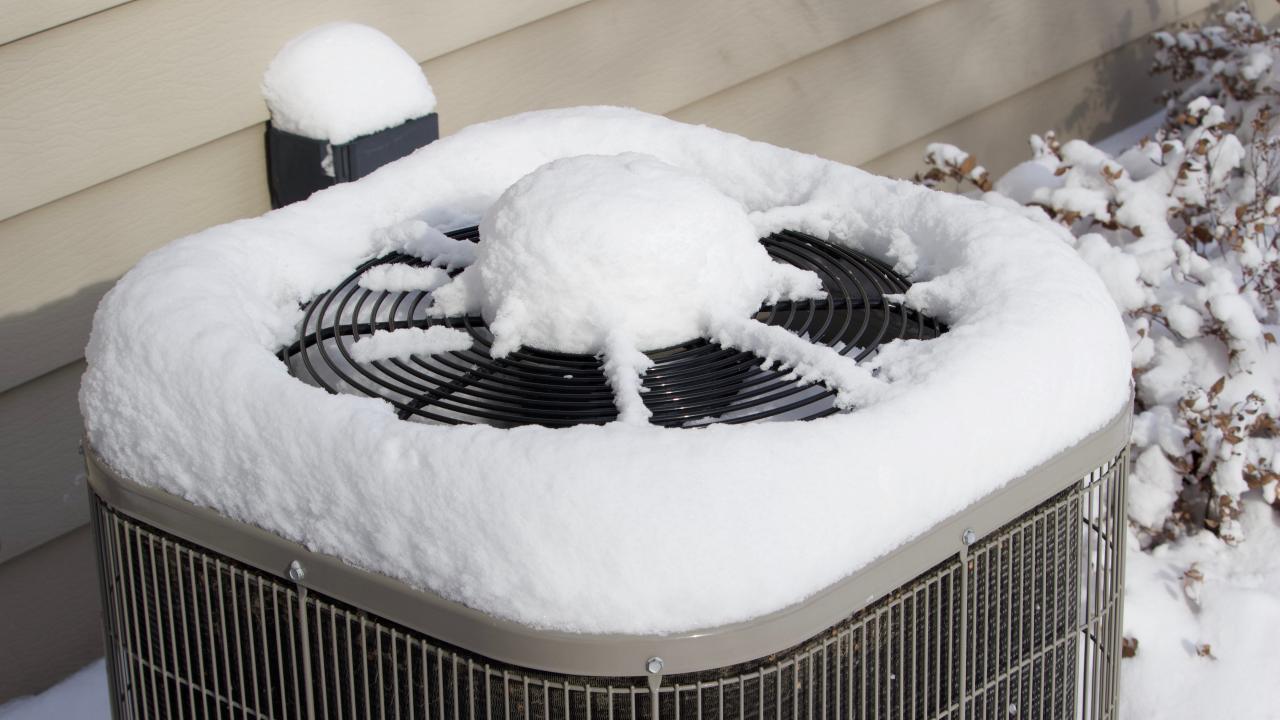
Before removing the air conditioner cover, make sure to turn off the power to the unit. Then, carefully lift the cover straight up and off the unit to avoid damaging any components.
Cleaning the Air Conditioner
Now that you have successfully removed the air conditioner cover, it’s important to take the opportunity to clean and maintain your unit. Regular cleaning helps to improve the efficiency and lifespan of your air conditioner. Here are the steps to follow:
- Inspect for Debris: Take a close look at the interior of the air conditioner unit for any dirt, debris, or dust that may have accumulated over time. Use a flashlight if necessary to properly assess the condition.
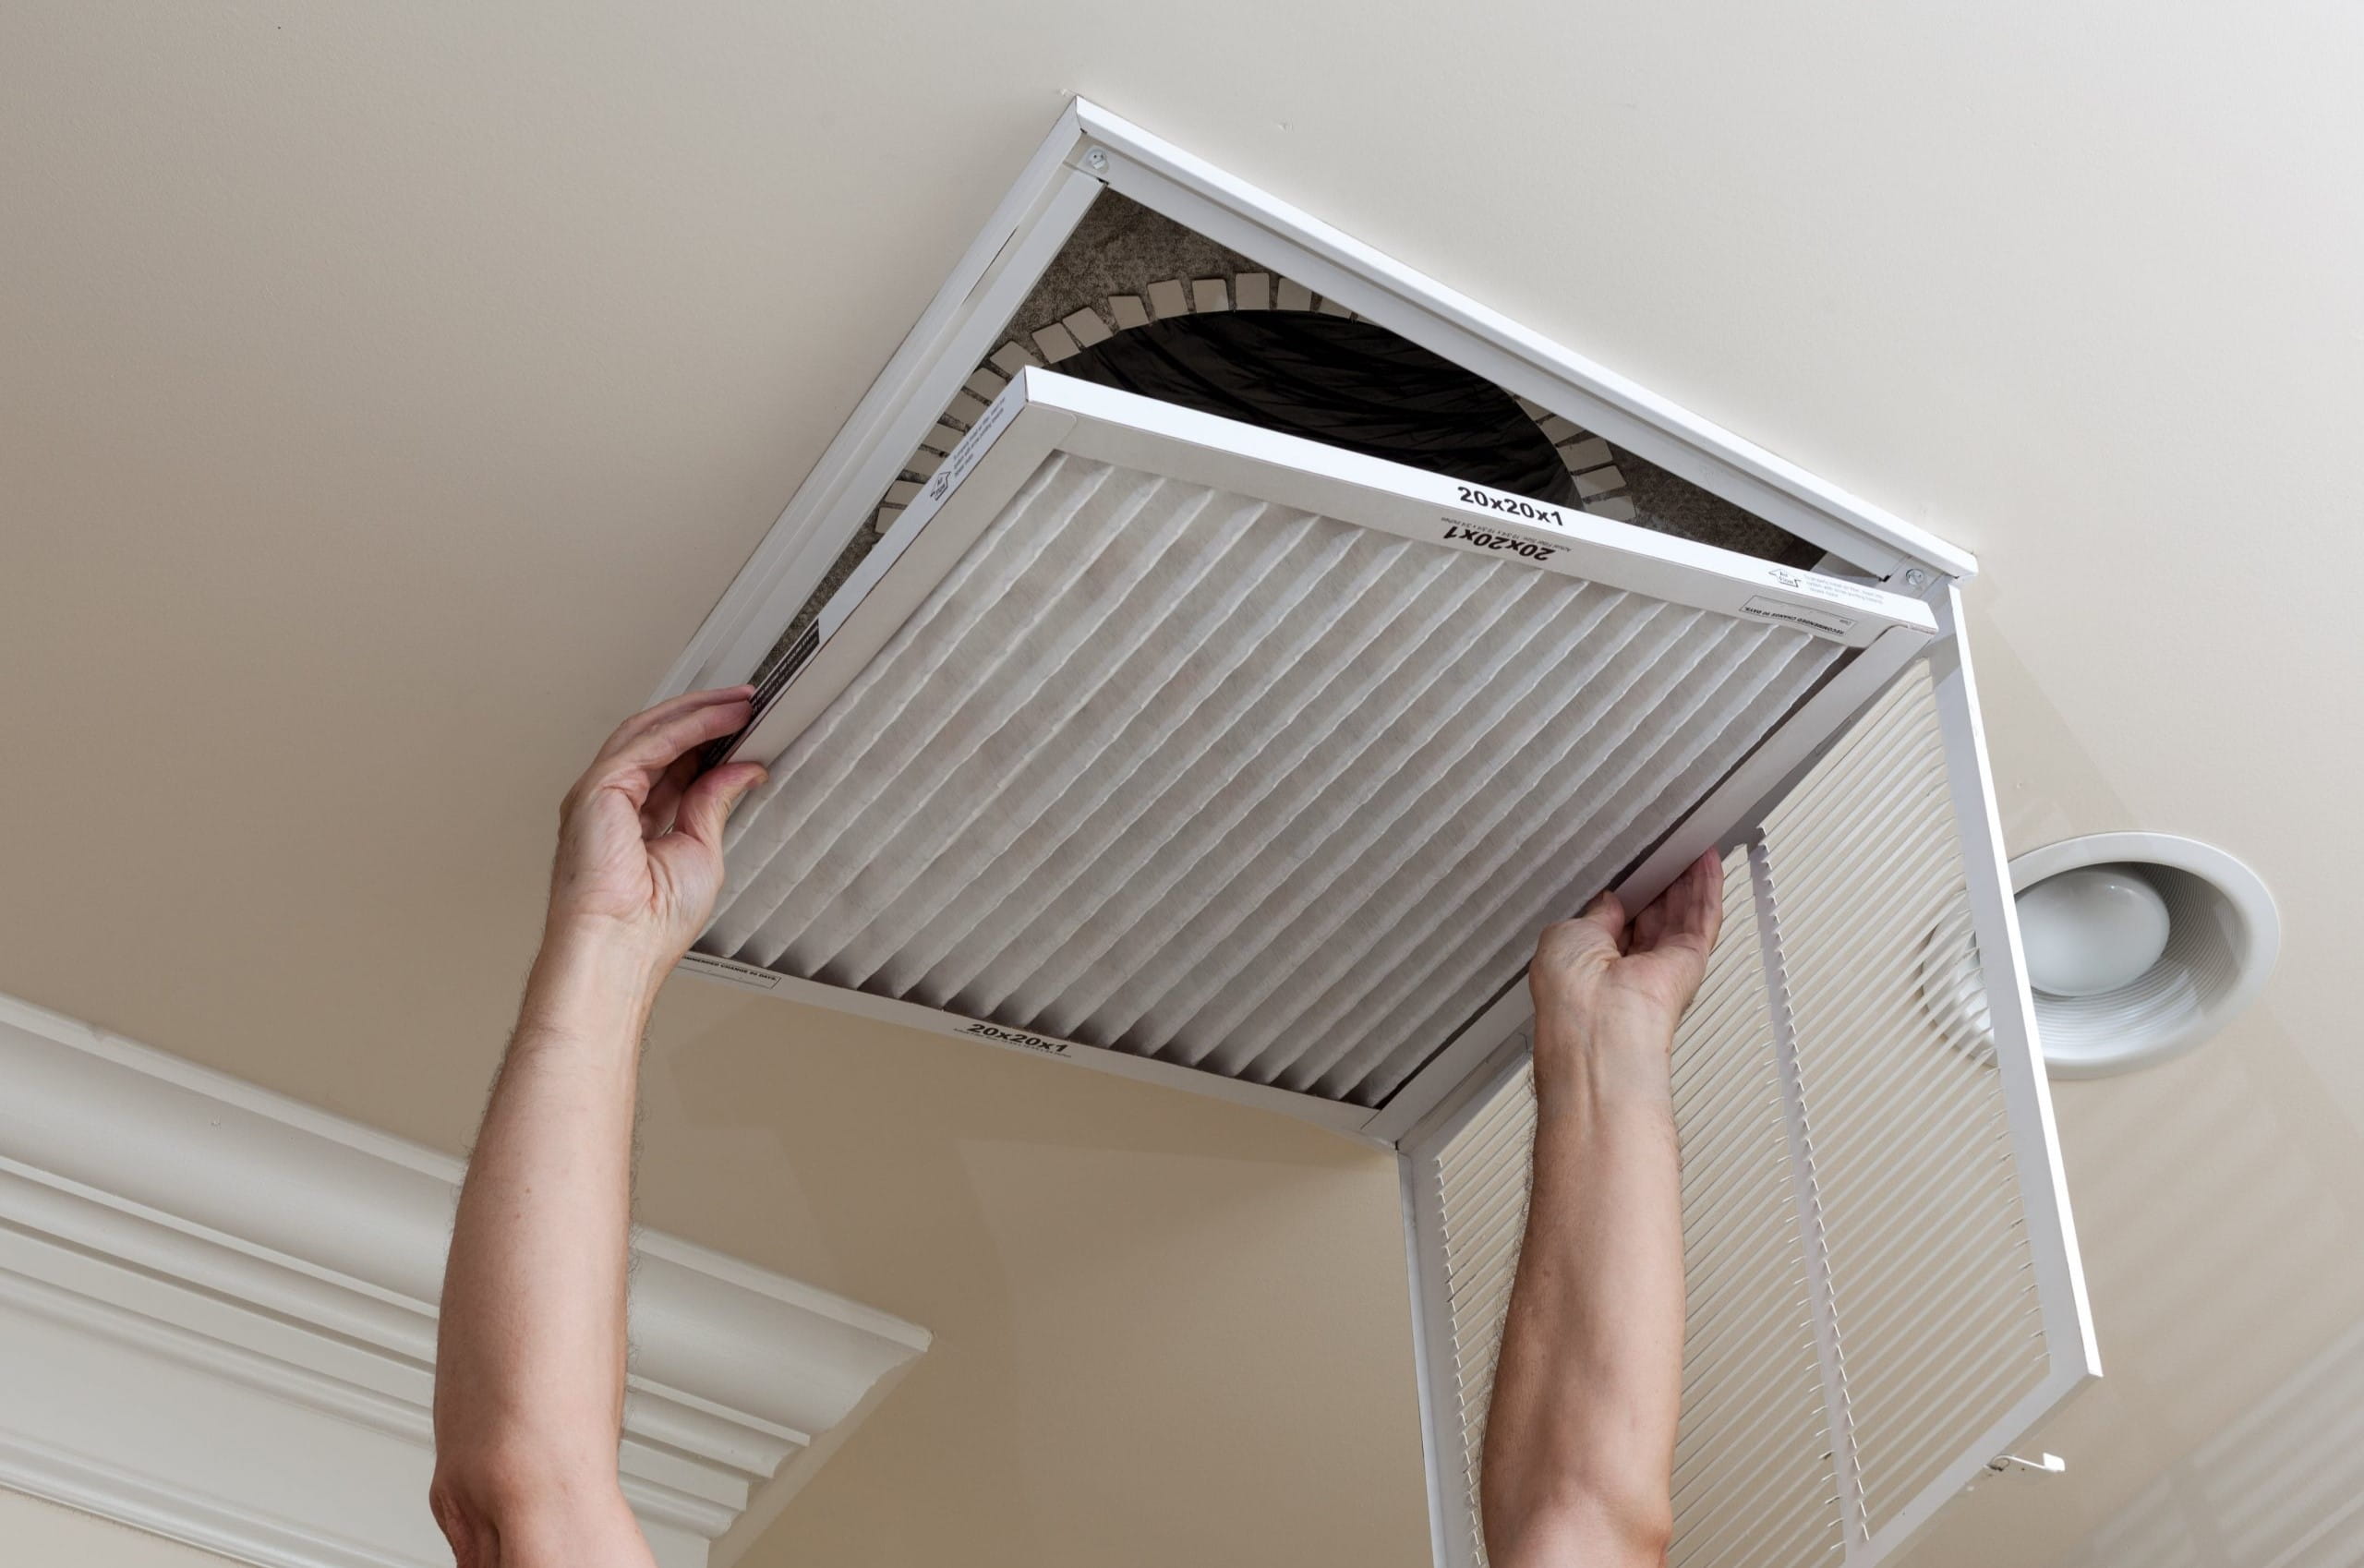
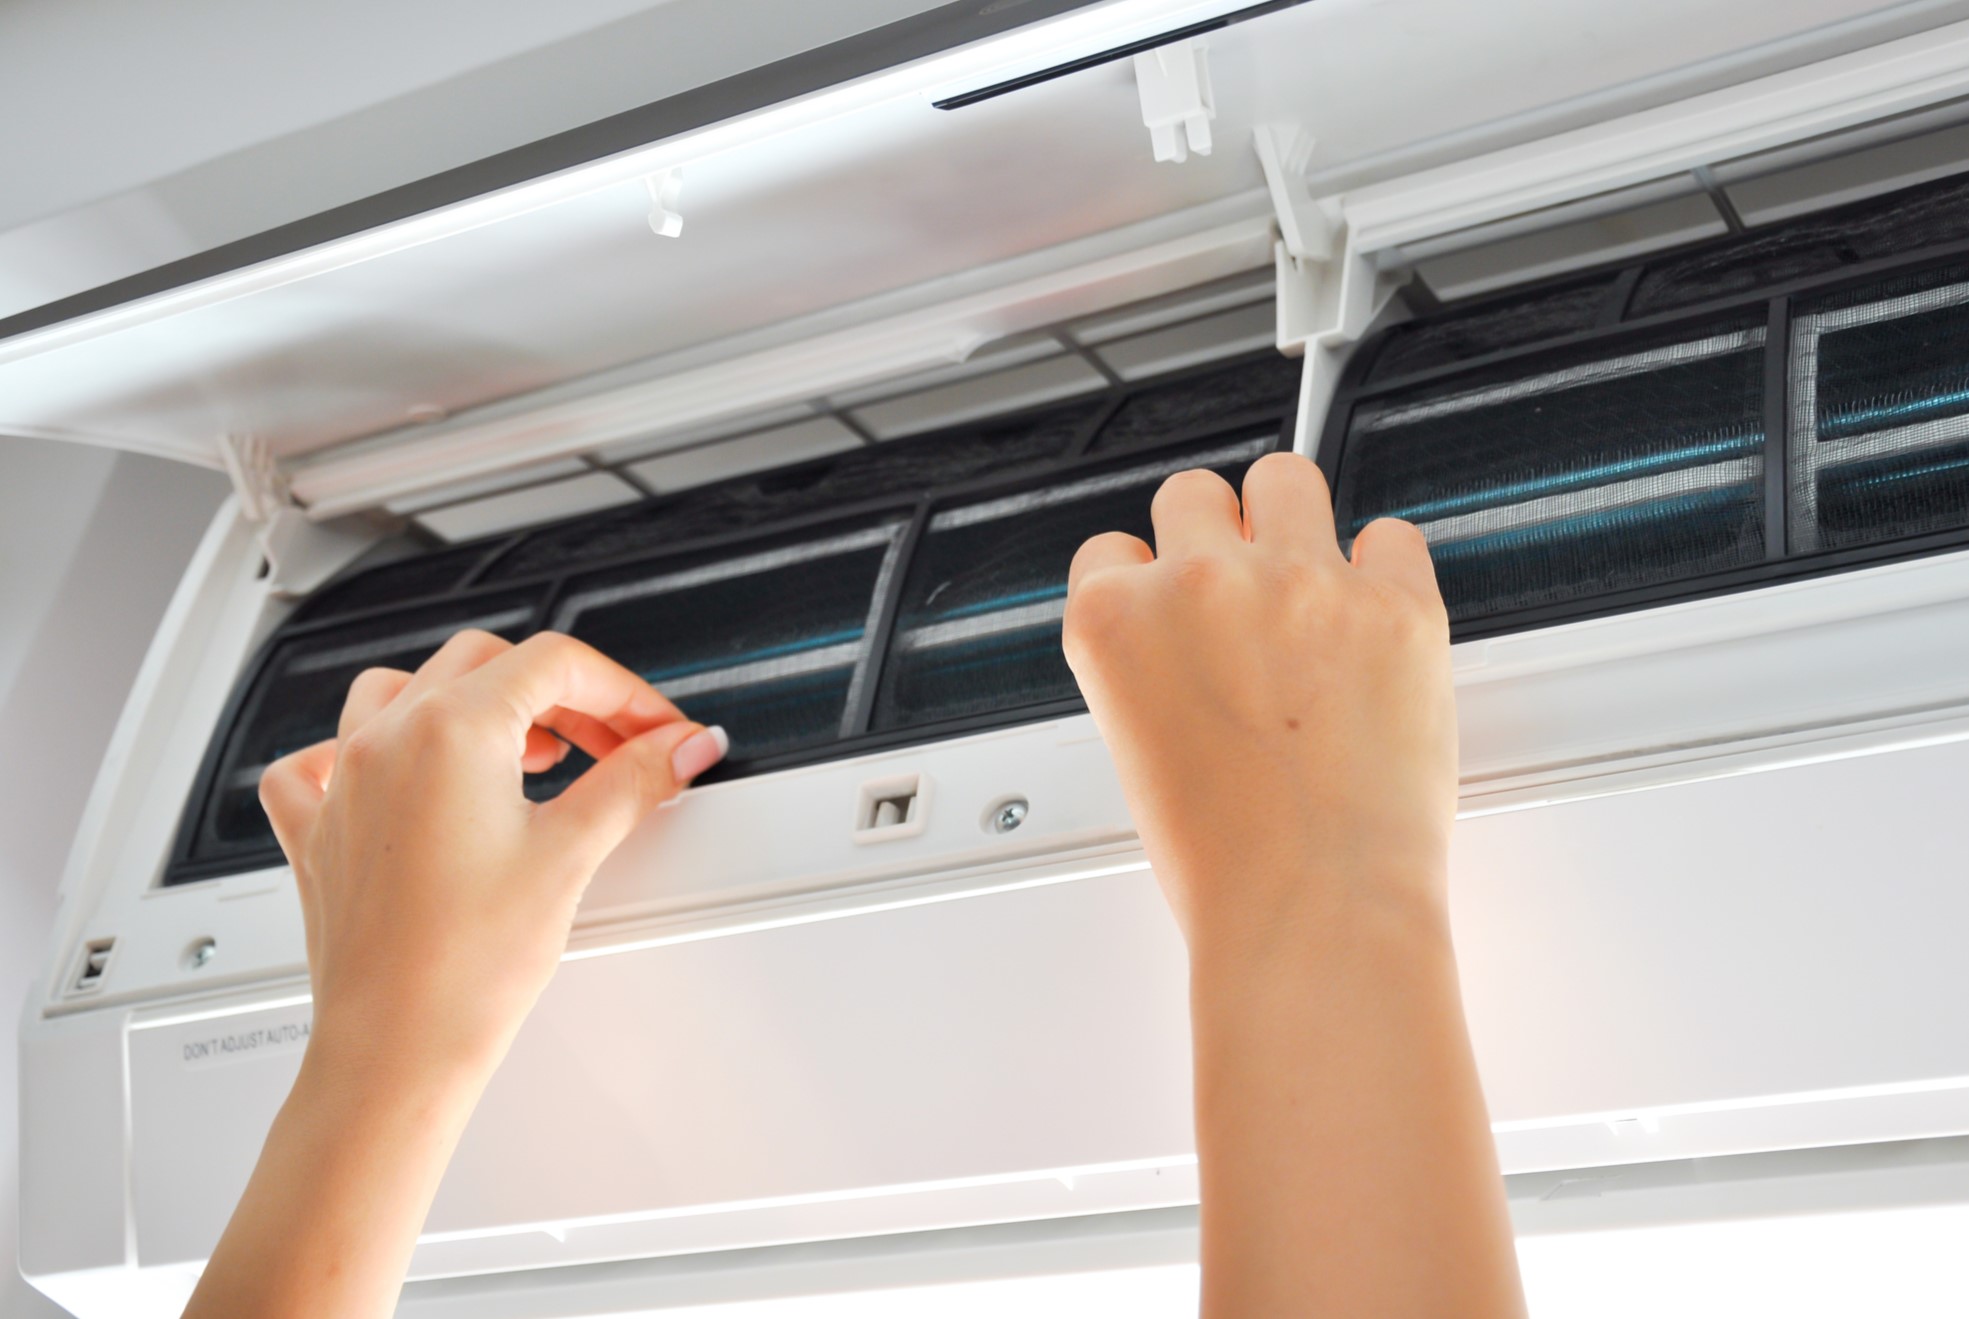
- Remove Loose Debris: With a soft brush or vacuum cleaner, gently remove any loose debris or dust from the interior of the unit. Pay special attention to the fan blades, coils, and filters, as these areas tend to collect the most dirt.
- Clean the Filters: Remove the air filters from the air conditioner and inspect them for dirt and buildup. If the filters are washable, rinse them under running water or clean them according to the manufacturer’s instructions. If the filters are disposable, replace them with new ones.
- Clean the Coils: Using a coil cleaning solution and a soft brush, carefully clean the evaporator and condenser coils. Be sure to follow the manufacturer’s instructions and avoid using excessive force or harsh chemicals that could damage the coils.
- Check the Drainage System: Inspect the condensate drain pan and drain line for any clogs or blockages. If necessary, use a pipe cleaner or a small brush to remove any debris and ensure proper drainage.
- Reinstall the Air Filters: Once the filters are clean and dry, reinstall them back into the air conditioner unit. Make sure they are properly aligned and securely in place.
By following these cleaning steps, you can help maintain the efficiency and performance of your air conditioner. Now that you’ve cleaned the unit, it’s time to store the air conditioner cover until it’s needed again. Let’s move on to the next section to learn how to do this correctly.
Read more: How To Turn Off An Air Conditioner
Storing the Air Conditioner Cover
Properly storing the air conditioner cover when it’s not in use is crucial to ensure its longevity and protect it from damage. Follow these steps to store the cover correctly:
- Clean and Dry the Cover: Before storing the air conditioner cover, make sure it is free from any dirt, debris, or moisture. Use a damp cloth or gentle detergent if necessary to clean the cover. Allow it to fully dry before proceeding.
- Fold or Roll the Cover: Depending on the size and flexibility of the cover, fold it into a neat and compact shape or roll it up tightly. This will help save space and prevent any unnecessary wrinkles or creases.
- Choose a Storage Container: Select a storage container that is large enough to accommodate the folded or rolled-up cover. Ideally, the container should be clean, dry, and made of a durable material to provide proper protection.
- Label the Container: To easily identify the air conditioner cover later on, attach a label or tag to the storage container indicating its contents. This will save you time and effort when you need to access the cover in the future.
- Store in a Dry and Safe Location: Find a dry and secure location to store the container. This can be a garage, basement, or shed where the cover will be protected from moisture, extreme temperatures, and potential damage.
By following these storage steps, you can ensure that your air conditioner cover remains in good condition and ready for use when the colder months arrive. Remember to store it in a clean and safe location to maintain its quality.
Now that you’ve learned how to take off an air conditioner cover, properly clean the unit, and store the cover, you can enjoy the benefits of a well-maintained air conditioner. Regular maintenance will prolong the lifespan of your unit and ensure optimal performance for years to come.
Remember, it’s always a good idea to consult the manufacturer’s instructions for your specific air conditioner model and to seek professional assistance if you encounter any difficulties or concerns. Stay cool and comfortable all year round!
Conclusion
Taking off an air conditioner cover is a crucial step in maintaining your unit and preparing it for the warmer months. By following the step-by-step process outlined in this guide, you can safely and effectively remove the cover without causing any damage to your air conditioner or yourself.
Remember to prioritize safety throughout the entire process by wearing appropriate protective gear and disconnecting the power supply to your unit. Inspect the cover for any damage before removing it, and clear the surrounding area to create a safe workspace.
Take your time when removing the screws or clips, ensuring a firm grip and using the appropriate tools. Lower the air conditioner cover in a controlled manner, enlist assistance if needed, and set the cover aside in a safe location.
Once the cover is off, take the opportunity to clean and maintain your air conditioner. Remove any debris, clean the filters and coils, and check the drainage system for blockages. Proper maintenance will enhance the efficiency and performance of your unit.
After cleaning, store the air conditioner cover properly to protect it from damage. Clean and dry the cover, fold or roll it up, and store it in a labeled container in a dry and safe location.
By following these steps, you can ensure that your air conditioner remains in excellent condition and provides optimal cooling throughout the warmer months. Regular maintenance will extend the lifespan of your unit and save you from unnecessary repair costs.
Remember to consult the manufacturer’s instructions for your specific air conditioner model and seek professional assistance if needed. With proper care and maintenance, your air conditioner will keep you cool and comfortable for years to come!
Frequently Asked Questions about How To Take Off An Air Conditioner Cover
Was this page helpful?
At Storables.com, we guarantee accurate and reliable information. Our content, validated by Expert Board Contributors, is crafted following stringent Editorial Policies. We're committed to providing you with well-researched, expert-backed insights for all your informational needs.