Home>Home Appliances>Lighting Appliances>How To Take Off A Ceiling Light

Lighting Appliances
How To Take Off A Ceiling Light
Modified: August 27, 2024
Learn the step-by-step process of removing a ceiling light fixture with our comprehensive guide. Upgrade your lighting appliances hassle-free!
(Many of the links in this article redirect to a specific reviewed product. Your purchase of these products through affiliate links helps to generate commission for Storables.com, at no extra cost. Learn more)
Introduction
Removing a ceiling light may seem like a daunting task, but with the right guidance and a bit of know-how, it can be a straightforward process. Whether you're looking to replace an outdated fixture, perform maintenance, or make way for a new lighting installation, understanding the steps involved is crucial for a safe and successful outcome.
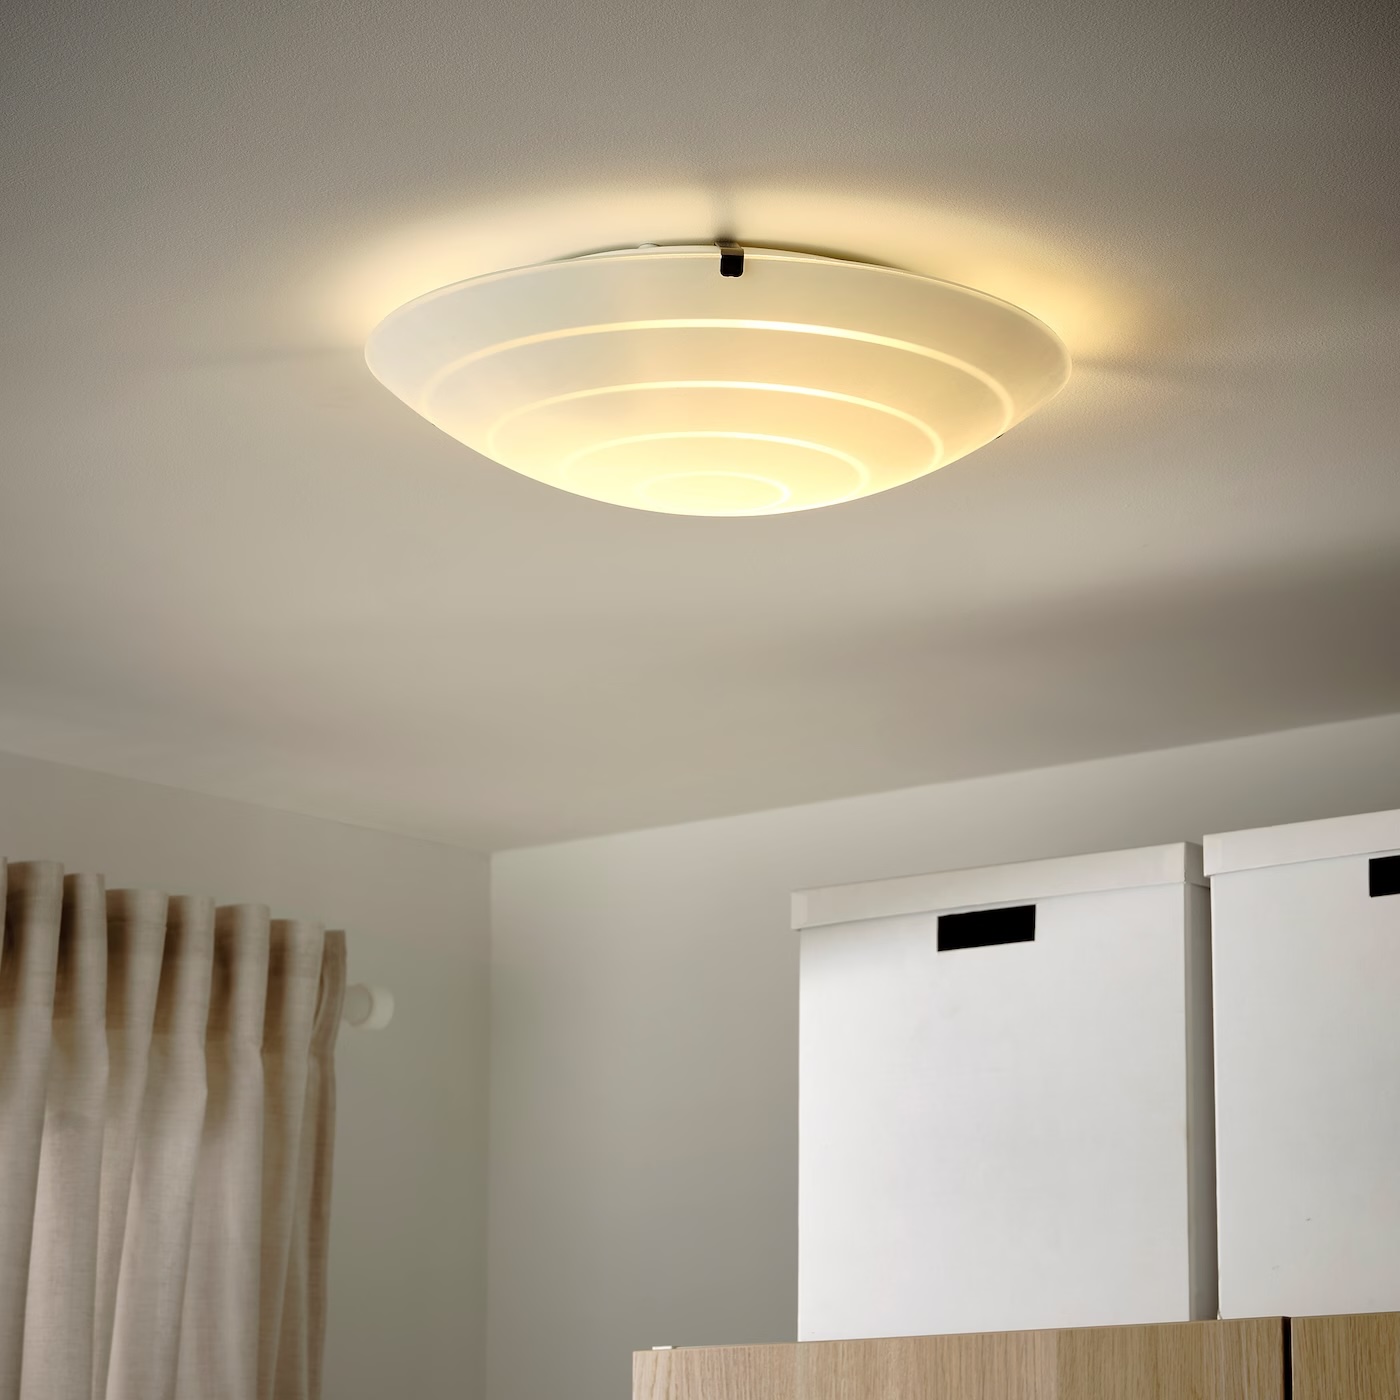
Ceiling lights come in various designs, from elegant chandeliers to modern recessed fixtures, and each type may require slightly different removal methods. However, the fundamental steps for taking off a ceiling light remain consistent across most models. By following a systematic approach and prioritizing safety, you can effectively dismantle the fixture without encountering unnecessary complications.
In this guide, we will walk you through the essential steps for removing a ceiling light. From ensuring the power is switched off to disconnecting the wires and safely detaching the fixture, each stage is crucial for a smooth and hazard-free removal process. By adhering to these instructions, you can confidently tackle this task and gain a deeper understanding of the inner workings of your lighting system.
So, whether you're a seasoned DIY enthusiast or a novice homeowner eager to learn new skills, this comprehensive guide will equip you with the knowledge needed to take off a ceiling light with confidence and precision. Let's dive into the step-by-step process and empower you to transform your lighting fixtures with ease.
Key Takeaways:
- Safety First!
Before removing a ceiling light, always turn off the power and verify it’s off. This prevents electrical shock and ensures a secure working environment for a smooth removal process. - Step-by-Step Removal
Removing a ceiling light involves systematic steps like unscrewing the light cover, disconnecting wires, and removing the fixture. Each step requires precision and attentiveness for a successful removal.
Read more: How To Take Off Light Cover On Ceiling Fan
Step 1: Turn off the power
Before embarking on the task of removing a ceiling light, it is paramount to prioritize safety by turning off the power supply to the fixture. This crucial step mitigates the risk of electrical shock and ensures a secure working environment for the subsequent removal process.
To begin, locate the circuit breaker or fuse box in your home. It is typically situated in a utility area, garage, or basement. Once you have identified the circuit breaker panel, carefully open the door to reveal the array of switches or fuses. Take a moment to familiarize yourself with the layout, ensuring you can easily identify the switch or fuse corresponding to the ceiling light you intend to remove.
Next, switch off the circuit breaker associated with the ceiling light. If your home utilizes fuses, carefully unscrew the fuse linked to the fixture. It is advisable to use a flashlight if the area is dimly lit, allowing you to clearly see the labels and avoid any confusion with other switches or fuses.
After deactivating the power supply, it is prudent to verify that the electricity to the ceiling light has been successfully cut off. You can do this by using a non-contact voltage tester, a handy tool that detects the presence of electrical current without direct contact. Simply hold the tester close to the light switch and the ceiling light fixture to confirm that there is no active current running through the wires.
It is important to exercise caution and double-check that the power is indeed off before proceeding with the removal process. This extra layer of diligence minimizes the risk of accidental exposure to live wires and reinforces the overall safety of the task at hand.
By diligently following these steps to turn off the power, you establish a secure foundation for the subsequent stages of removing the ceiling light. Prioritizing safety from the outset sets the tone for a smooth and hazard-free removal process, allowing you to proceed with confidence and peace of mind.
Step 2: Remove the light cover
The light cover, also known as the light shade or globe, is the decorative and protective element that encases the light bulb(s) within a ceiling fixture. Removing the light cover is a crucial step in the process of taking off a ceiling light, as it grants access to the internal components and facilitates the subsequent stages of dismantling the fixture.
To begin, carefully inspect the light cover to identify the method of attachment. Many light covers are secured in place using screws, clips, or a twist-lock mechanism. Depending on the design of the fixture, the removal process may vary slightly, but the fundamental principles remain consistent.
If the light cover is held in position by screws, use a suitable screwdriver to loosen and remove them. It is advisable to support the light cover with one hand while unscrewing the fasteners to prevent it from unexpectedly falling once detached. Once the screws are removed, gently lower the light cover and set it aside in a safe location to avoid accidental damage.
In the case of a clip-on or twist-lock light cover, carefully apply the appropriate technique to disengage it from the fixture. For clip-on covers, gently press or squeeze the clips to release them from their secured position, allowing the cover to be lifted away. Similarly, twist-lock covers can be removed by carefully twisting them counterclockwise to unlock and detach them from the fixture.
It is important to exercise caution and patience during this step, as some light covers may be fragile or intricately designed. Avoid applying excessive force or sudden movements that could lead to breakage or damage to the fixture.
Once the light cover is successfully removed, take a moment to inspect the interior of the fixture. This provides an opportunity to assess the condition of the light bulbs, sockets, and any accumulated dust or debris that may require attention. Additionally, it allows for a clear view of the mounting hardware and wiring, setting the stage for the subsequent steps in the removal process.
By methodically removing the light cover with care and precision, you pave the way for the seamless progression of the ceiling light removal process. This deliberate approach ensures that the internal components are accessible and sets the stage for the subsequent stages of dismantling the fixture with confidence and efficiency.
Step 3: Unscrew the light bulb
With the light cover successfully removed, the next pivotal step in the process of taking off a ceiling light involves unscrewing the light bulb(s). This step is essential for safely detaching the bulb from its socket and preparing the fixture for subsequent disassembly.
Begin by assessing the type of light bulb(s) installed in the fixture. Common types include incandescent, compact fluorescent (CFL), and light-emitting diode (LED) bulbs, each with distinct characteristics and handling requirements. It is important to identify the appropriate method for removing the specific type of bulb to ensure a smooth and damage-free process.
If the fixture is equipped with an incandescent bulb, carefully grasp the bulb's base, ensuring a firm grip, and gently rotate it counterclockwise. This rotational movement allows the bulb to disengage from the socket's threads, gradually loosening its connection. Once the bulb is free from the socket, carefully lift it out of the fixture and set it aside in a secure location, taking care to avoid accidental breakage.
For CFL and LED bulbs, the removal process may vary slightly due to their design and construction. In the case of a CFL bulb, it is advisable to handle it with care due to the presence of a small amount of mercury vapor. While wearing gloves, gently twist the bulb counterclockwise to release it from the socket, taking care to avoid excessive force that could lead to breakage. Once removed, place the CFL bulb in a protective container for safe disposal or recycling, in accordance with local regulations.
Similarly, LED bulbs can be unscrewed from the socket by applying gentle counterclockwise rotation, ensuring a steady and controlled movement to prevent damage to the bulb or the fixture. Once detached, handle the LED bulb with care, as its delicate internal components require protection from impact or rough handling.
It is important to note that regardless of the bulb type, allowing the bulb to cool down if it has been in use is advisable to prevent accidental burns or damage during the removal process. Additionally, inspect the socket for any signs of damage or corrosion, as this presents an opportunity to address any maintenance or replacement needs before reinstallation.
By methodically unscrewing the light bulb with precision and care, you effectively prepare the ceiling light fixture for the subsequent stages of disassembly. This deliberate approach ensures the safe removal of the bulb and sets the stage for the seamless progression of the overall removal process, empowering you to navigate each step with confidence and proficiency.
Before taking off a ceiling light, make sure to turn off the power at the circuit breaker to avoid any electrical shock. Use a ladder to reach the light, then carefully unscrew the mounting screws and disconnect the wires.
Step 4: Remove the mounting screws
Once the light cover and bulb have been safely removed, the next crucial step in the process of taking off a ceiling light involves removing the mounting screws that secure the fixture to the electrical box or mounting bracket. These screws play a pivotal role in maintaining the stability and positioning of the fixture, and their removal is essential for detaching the fixture from its mounting point.
To begin, carefully inspect the perimeter of the ceiling light fixture to locate the mounting screws. Depending on the design of the fixture, there may be multiple screws evenly distributed around the base or a central screw securing the fixture in place. It is important to approach this step with attentiveness and a clear understanding of the fixture's construction to ensure a methodical and efficient removal process.
Using an appropriate screwdriver that matches the type and size of the mounting screws, carefully loosen and remove each screw in a systematic manner. It is advisable to support the weight of the fixture with one hand while removing the screws to prevent it from unexpectedly detaching and causing damage or injury. If the fixture is particularly heavy or cumbersome, enlisting the assistance of a second person to support it during this step is recommended to ensure safety and ease of handling.
As each mounting screw is removed, set it aside in a designated container or secure location to prevent misplacement. This organized approach minimizes the risk of losing the screws and facilitates a smooth reassembly process if the fixture is to be reinstalled or replaced in the future.
In some cases, the mounting screws may be accompanied by decorative elements or trim pieces that conceal the attachment points. If this is the case, carefully remove these additional components to access the mounting screws, taking care to preserve their integrity for potential reuse or reinstallation.
Once all the mounting screws have been successfully removed, gently lower the fixture to expose the wiring and electrical connections. It is important to handle the fixture with care during this transition to prevent damage to the internal components or the ceiling surface.
By methodically removing the mounting screws with precision and attentiveness, you effectively prepare the ceiling light fixture for the subsequent stages of disassembly. This deliberate approach ensures the secure detachment of the fixture from its mounting point and sets the stage for the seamless progression of the overall removal process, empowering you to navigate each step with confidence and proficiency.
Read more: Ceiling Light Flickers When Turned Off
Step 5: Disconnect the wires
With the mounting screws removed and the fixture accessible, the next critical step in the process of taking off a ceiling light involves disconnecting the electrical wires that supply power to the fixture. This step is pivotal for safely detaching the fixture from the electrical system and preparing it for removal or replacement.
To begin, carefully inspect the wiring connections within the fixture. You will typically encounter a set of wires, including the black (hot) wire, white (neutral) wire, and, in some cases, a green or bare copper wire for grounding. It is essential to approach the disconnection process with caution and a clear understanding of electrical wiring principles to ensure a safe and seamless procedure.
Before proceeding, it is advisable to use a non-contact voltage tester to verify that the power supply to the fixture has been successfully turned off. This additional precaution minimizes the risk of accidental exposure to live wires and reinforces the overall safety of the disconnection process.
Once the absence of electrical current is confirmed, carefully identify each wire and its corresponding connection point. Using a suitable screwdriver or wire stripper, carefully loosen the wire connectors or terminal screws to release the wires. It is important to exercise patience and precision during this step to prevent damage to the wires or the fixture's internal components.
As each wire is disconnected, gently separate them from the fixture, taking care to avoid tangling or strain on the wires. If the wires are secured with wire nuts, carefully unscrew and remove them, allowing the wires to be freed from their connections. It is crucial to handle the wires with care and avoid excessive bending or twisting, as this can compromise their integrity and electrical conductivity.
In some cases, the fixture may be hardwired directly into the electrical box, requiring the removal of wire nuts or terminal screws to release the connections. It is important to approach this process methodically and attentively, ensuring that each wire is safely and completely disconnected from the electrical supply.
Once the wires are successfully disconnected, carefully guide them out of the electrical box or mounting bracket, allowing the fixture to be fully detached. Take a moment to inspect the condition of the wires, checking for any signs of damage, wear, or corrosion. This provides an opportunity to address any maintenance or replacement needs before reinstallation or disposal of the fixture.
By methodically disconnecting the wires with precision and attentiveness, you effectively prepare the ceiling light fixture for safe removal from the electrical system. This deliberate approach ensures the secure detachment of the fixture's electrical connections and sets the stage for the seamless progression of the overall removal process, empowering you to navigate each step with confidence and proficiency.
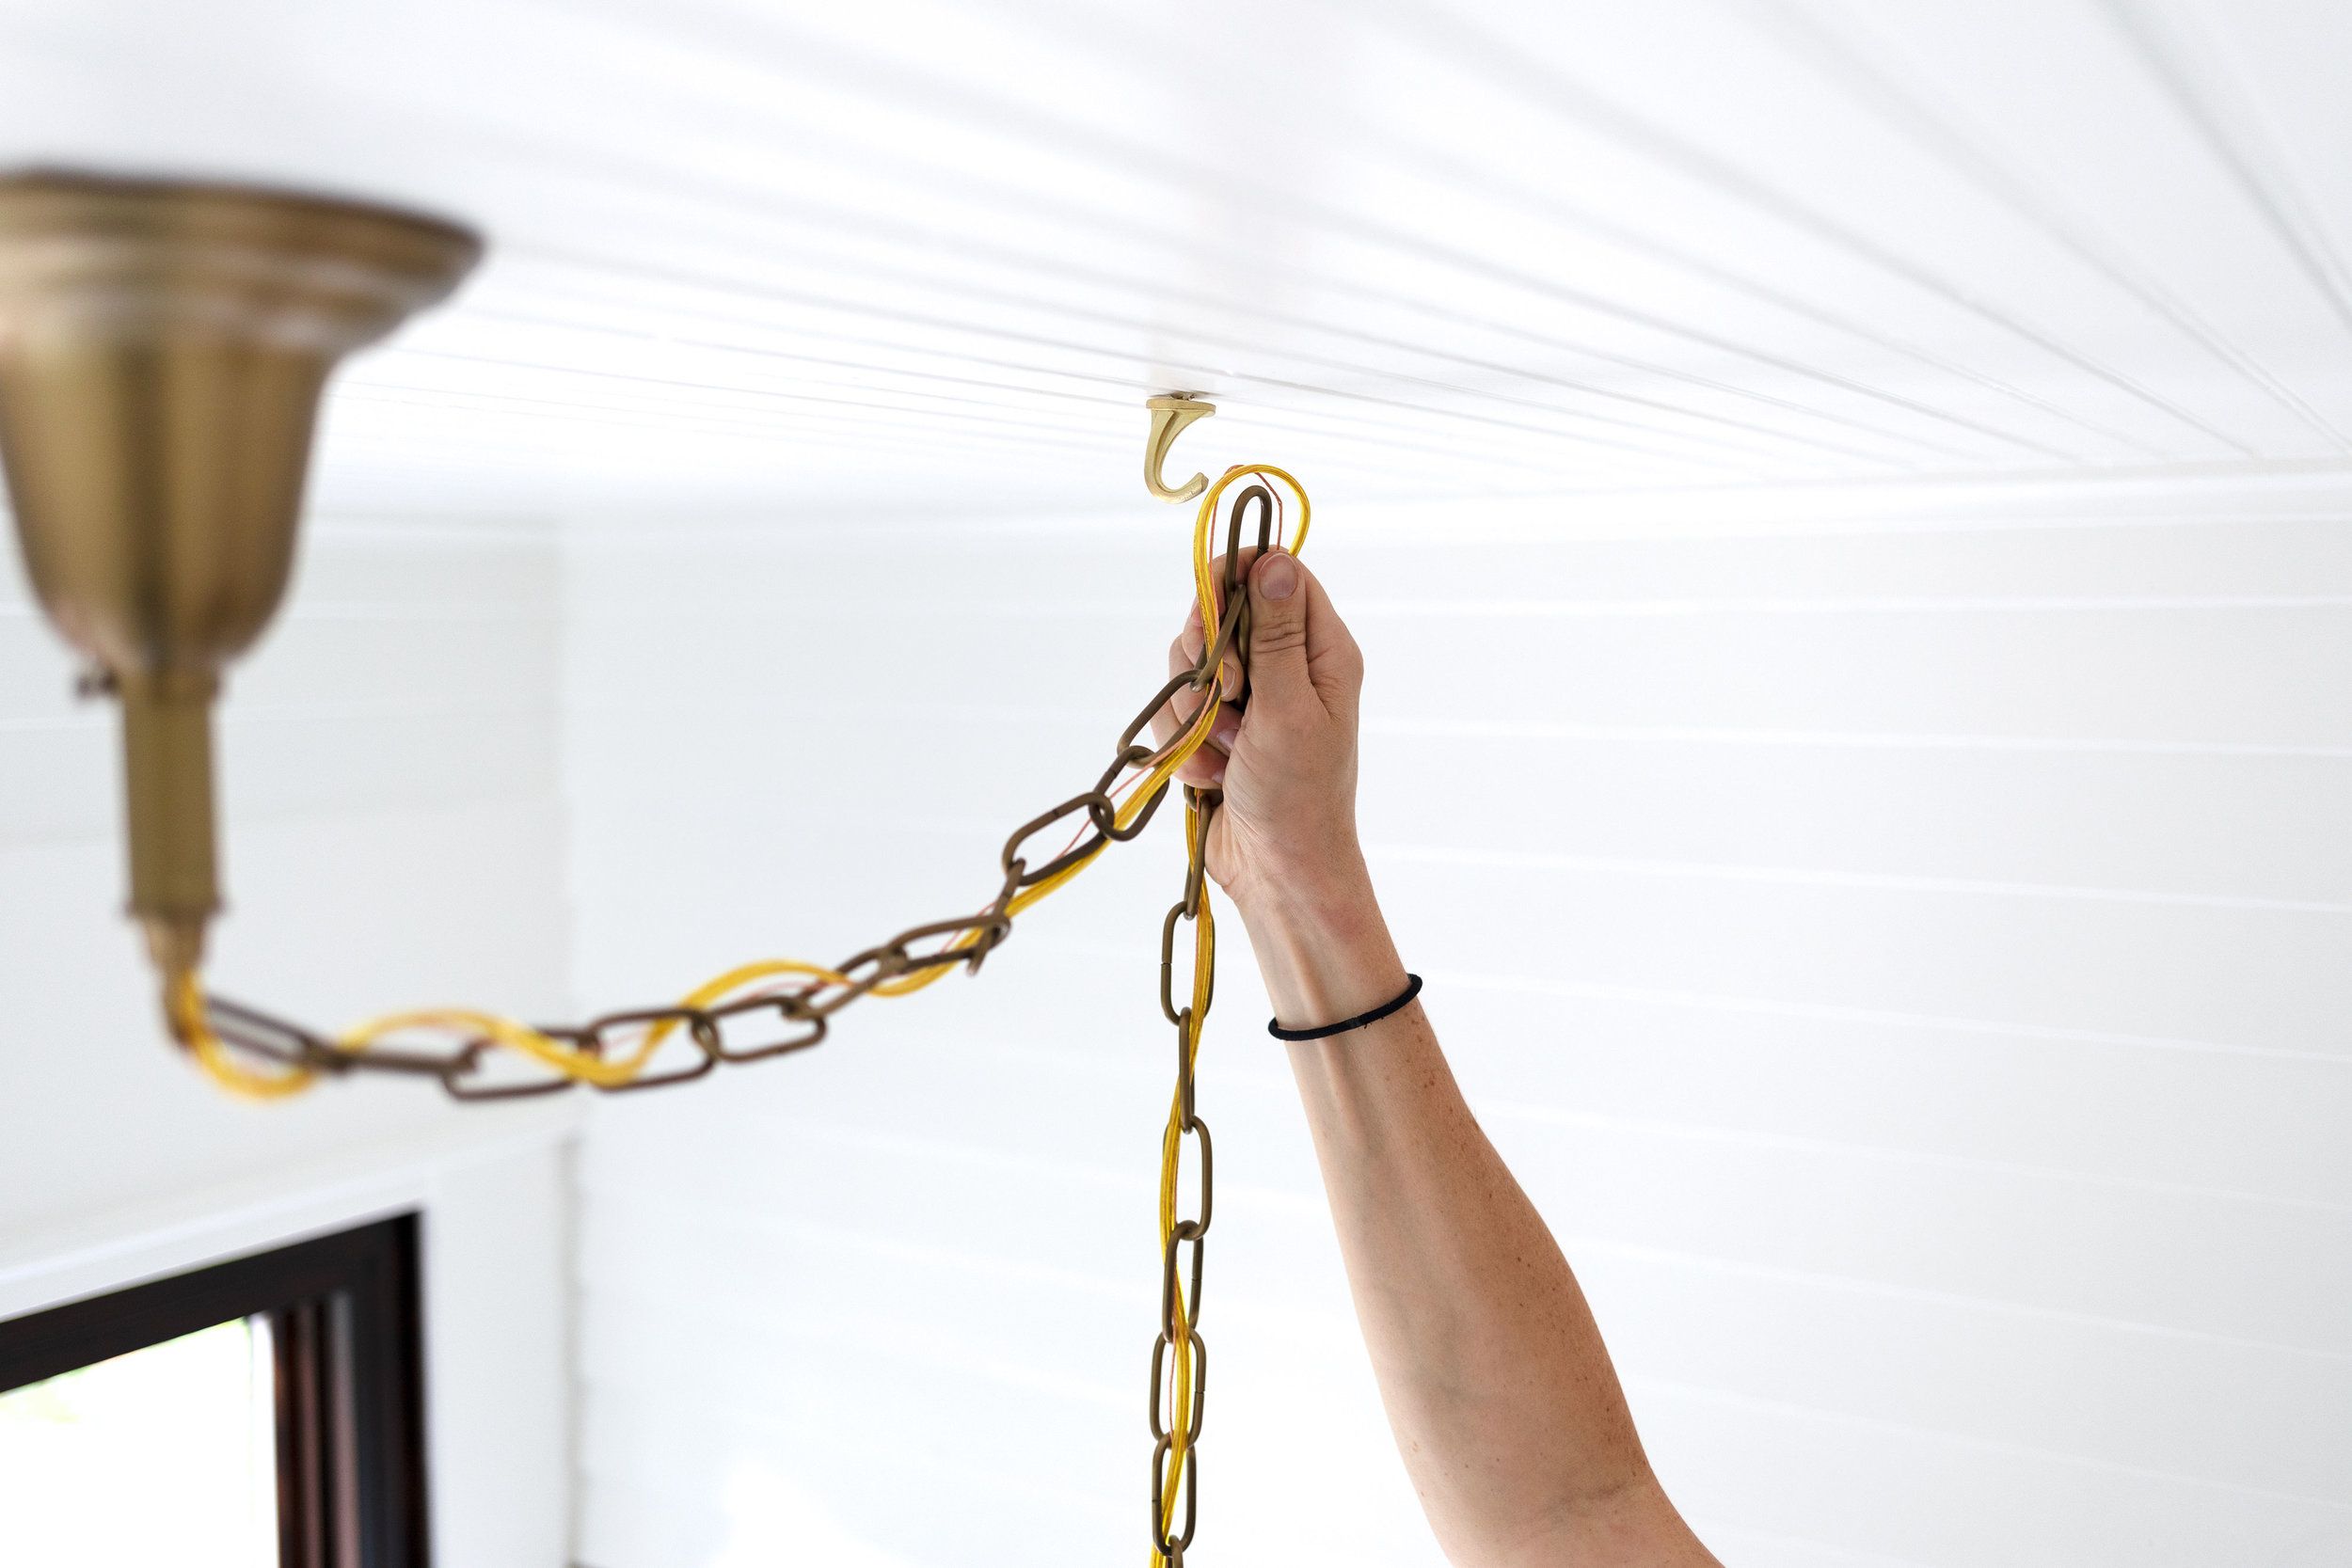
Step 6: Remove the ceiling light
With the power turned off, the light cover and bulb removed, the mounting screws loosened, and the electrical wires disconnected, the final step in the process of taking off a ceiling light involves the physical removal of the fixture from its mounting point. This pivotal step culminates the meticulous preparation and sets the stage for the safe and seamless detachment of the ceiling light.
To begin, carefully lift the fixture away from the mounting bracket or electrical box, taking care to support its weight and maintain control throughout the process. If the fixture is particularly heavy or cumbersome, enlisting the assistance of a second person to facilitate the removal is advisable to ensure safety and ease of handling. It is important to approach this step with attentiveness and a clear understanding of the fixture's dimensions and weight to prevent accidental damage or injury.
As the fixture is lifted away, take note of any additional components or trim pieces that may be attached to the ceiling or the fixture itself. These elements may require careful maneuvering or removal to ensure a smooth and unobstructed detachment. It is important to handle the fixture with care and precision, avoiding sudden movements or excessive force that could lead to damage to the ceiling surface or the fixture's structural integrity.
Once the fixture is fully detached, carefully guide any remaining wires or components through the opening, ensuring a clear path for the fixture's removal. Take a moment to inspect the mounting bracket or electrical box, checking for any signs of damage, wear, or corrosion that may require attention before reinstallation of a new fixture.
With the ceiling light successfully removed, set it aside in a secure location, taking care to avoid accidental damage or misplacement. If the fixture is to be replaced, this presents an opportunity to assess its condition and determine the need for repairs or maintenance. Alternatively, if the removal is part of a renovation or upgrade, the cleared space allows for the seamless installation of a new lighting fixture, bringing a fresh aesthetic and functionality to the environment.
By methodically removing the ceiling light with precision and attentiveness, you successfully conclude the removal process with confidence and proficiency. This deliberate approach ensures the safe and seamless detachment of the fixture from its mounting point, empowering you to navigate each step with ease and precision.
Conclusion
In conclusion, the process of taking off a ceiling light encompasses a series of systematic steps that prioritize safety, precision, and attentiveness. By following the outlined guidelines, you can confidently navigate each stage of the removal process, from turning off the power supply to safely detaching the fixture from its mounting point. This comprehensive approach empowers you to gain a deeper understanding of your lighting system while ensuring a smooth and hazard-free removal experience.
As you embark on the journey of removing a ceiling light, it is essential to approach each step with patience and diligence. Prioritizing safety from the outset by turning off the power supply and verifying the absence of electrical current sets the foundation for a secure working environment. This initial precaution mitigates the risk of electrical shock and establishes a safe context for the subsequent stages of the removal process.
The careful removal of the light cover, unscrewing of the light bulb, and detachment of the mounting screws contribute to the systematic disassembly of the fixture. Each step is characterized by precision and attentiveness, ensuring the safe handling of components and the preservation of the fixture's integrity.
Disconnecting the electrical wires marks a critical phase in the removal process, emphasizing the importance of understanding electrical connections and exercising caution during disconnection. This step sets the stage for the final act of physically removing the ceiling light, culminating in the successful detachment of the fixture from its mounting point.
As the ceiling light is removed, it presents an opportunity to assess its condition, address maintenance needs, or prepare for the installation of a new fixture. Whether you are replacing the fixture, performing maintenance, or embarking on a renovation project, the knowledge and skills gained from this process empower you to approach lighting-related tasks with confidence and proficiency.
By embracing a methodical and attentive approach to taking off a ceiling light, you not only enhance your understanding of lighting fixtures but also cultivate a sense of accomplishment and self-reliance in managing home improvement projects. The ability to navigate the removal process with confidence and precision reflects a commitment to safety, knowledge, and practical skill application, laying the groundwork for future endeavors in home maintenance and enhancement.
Frequently Asked Questions about How To Take Off A Ceiling Light
Was this page helpful?
At Storables.com, we guarantee accurate and reliable information. Our content, validated by Expert Board Contributors, is crafted following stringent Editorial Policies. We're committed to providing you with well-researched, expert-backed insights for all your informational needs.


0 thoughts on “How To Take Off A Ceiling Light”