Home>Home Maintenance>Why Is My Portable Air Conditioner Leaking Water
Home Maintenance
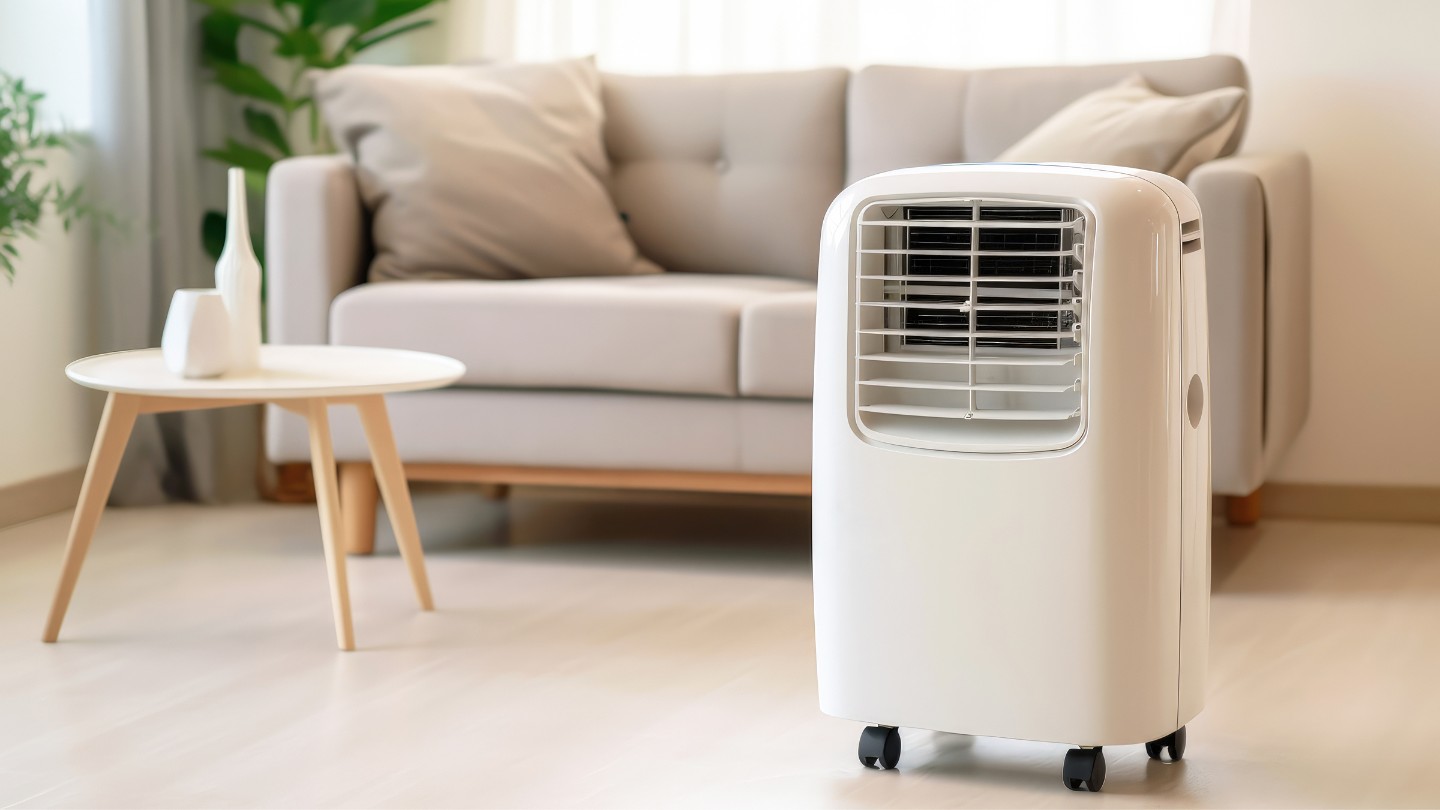
Why Is My Portable Air Conditioner Leaking Water
Modified: October 20, 2024
Learn about the common issue of portable air conditioners leaking water and discover effective home maintenance tips to fix the problem.
(Many of the links in this article redirect to a specific reviewed product. Your purchase of these products through affiliate links helps to generate commission for Storables.com, at no extra cost. Learn more)
Introduction
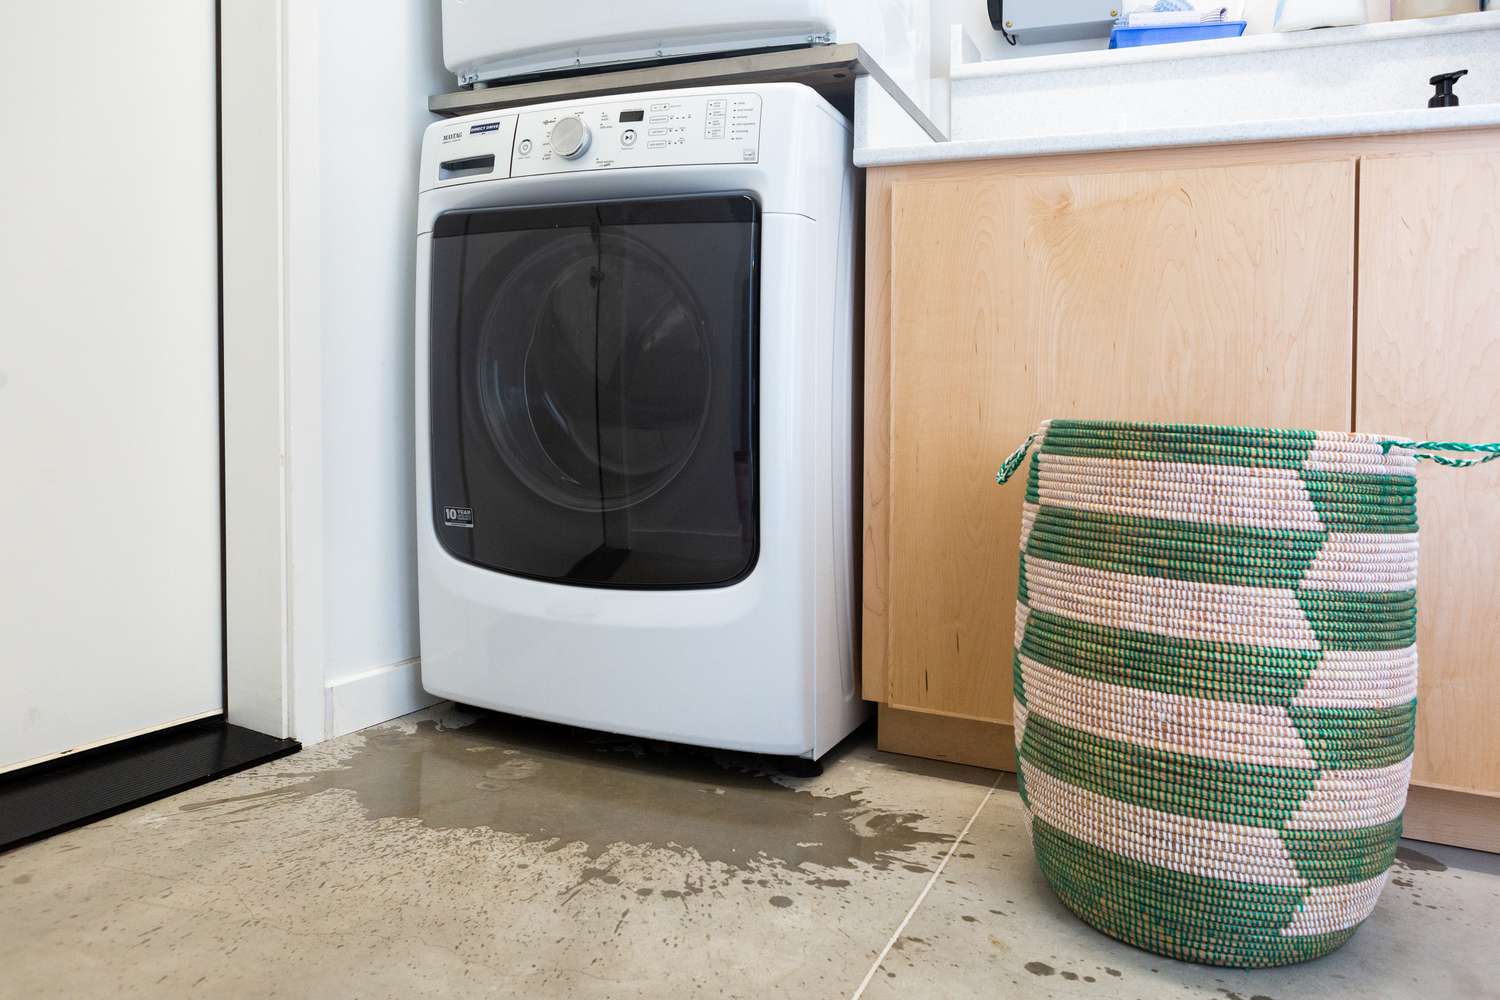
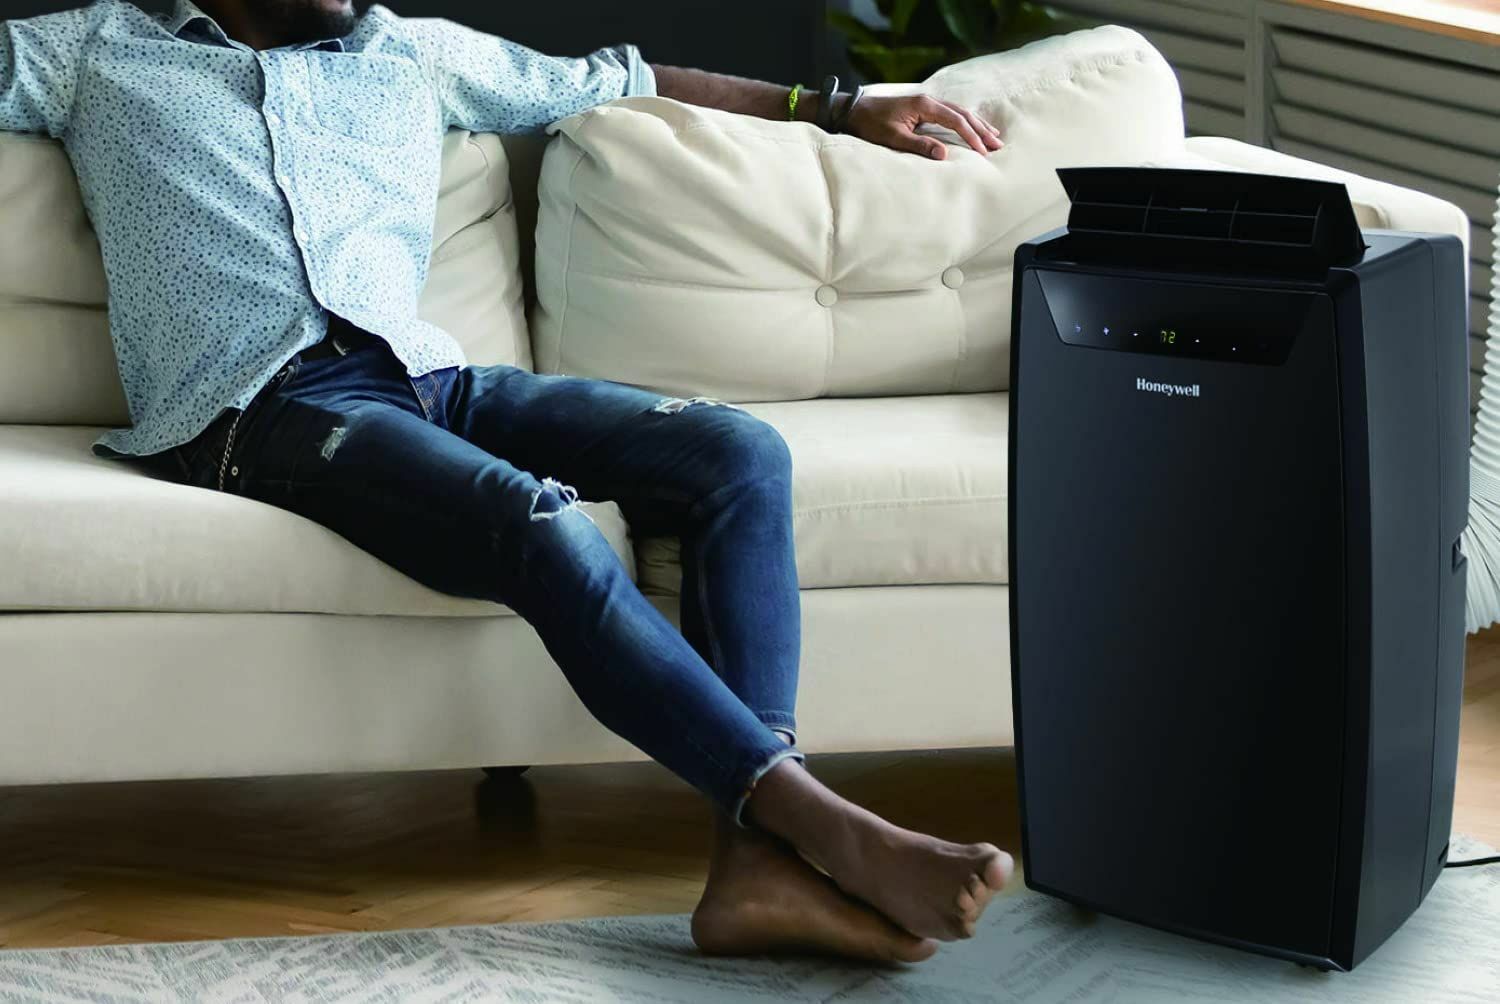
Portable air conditioners have become a popular choice for homeowners looking to stay cool during the hot summer months. These versatile units offer the convenience of being able to move them from room to room, providing instant relief from the sweltering heat. However, one common issue that many portable air conditioner owners encounter is water leakage.
Water leakage from a portable air conditioner can not only be inconvenient but also pose potential risks such as damaging your floorings or furniture. Understanding the causes of water leakage and how to troubleshoot and fix the problem can help ensure that your portable air conditioner operates efficiently and without any water-related issues.
Let’s take a closer look at the most common causes of water leakage in portable air conditioners and explore the steps you can take to troubleshoot and resolve the issue.
Key Takeaways:
- Regularly cleaning and maintaining your portable air conditioner’s drainage system, cooling coil, and installation can prevent water leakage and ensure efficient operation, keeping your home cool and comfortable.
- To troubleshoot water leakage, unclog the drainage system, ensure proper installation, reduce humidity levels, and clean the cooling coil. Regular maintenance and professional assistance can help resolve the issue effectively.
Read more: Why Is My Water Pump Leaking
Causes of Water Leakage in Portable Air Conditioners
Water leakage in a portable air conditioner can be attributed to various factors. Understanding these causes can help you identify and address the issue effectively. Here are the most common reasons for water leakage in portable air conditioners:
- Clogged drainage system: Over time, dirt, dust, and debris can accumulate in the drainage system of your air conditioner, leading to a blockage. When the system becomes clogged, the water that condenses from the cooling process cannot flow out properly, resulting in leakage. Regular maintenance and cleaning of the drainage system can prevent this issue.
- Improper installation: Improper installation of your portable air conditioner can also lead to water leakage. If the unit is not mounted correctly or is tilted at an incorrect angle, the condensation that forms may not drain properly, causing water to drip or pool inside the unit. Ensuring proper installation according to the manufacturer’s guidelines is crucial in preventing this problem.
- Excessive humidity in the room: High humidity levels in the room where the portable air conditioner is being used can contribute to water leakage. When the air conditioner cools the air, it removes moisture from the room. If the humidity levels are too high, the unit may not be able to manage the excess moisture effectively, resulting in water leakage. Using a dehumidifier or reducing humidity through other means can help alleviate this issue.
- Condensation buildup: During the cooling process, condensation naturally forms on the evaporator coil inside the air conditioner. The condensation is typically collected and drained away through the unit’s drainage system. However, if there is an issue with the drainage system or if it becomes overwhelmed, the excess condensation can drip or leak from the unit.
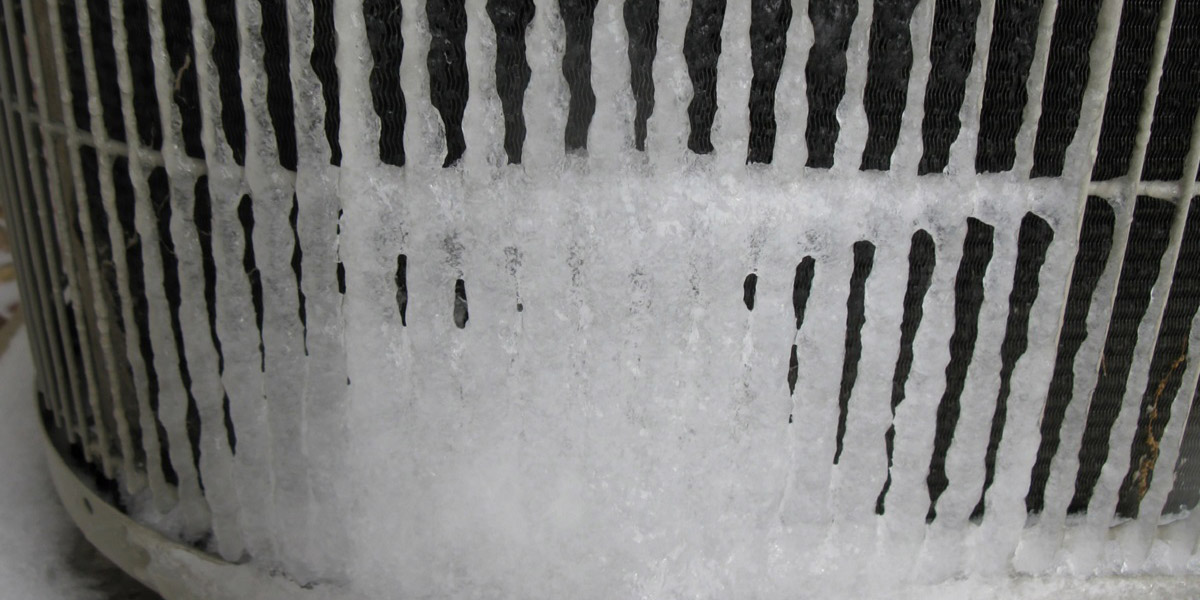
- Cooling coil issues: If the cooling coil inside the portable air conditioner is dirty or covered in dust and debris, it can hinder the proper functioning of the unit. A dirty coil can cause the condensation to freeze and eventually melt, leading to water leakage. Regular cleaning and maintenance of the cooling coil can help prevent this issue.
By identifying the specific cause of water leakage in your portable air conditioner, you can take appropriate measures to resolve the issue effectively. In the following sections, we will discuss how to troubleshoot and fix water leakage based on the different causes outlined above.
Clogged Drainage System
One of the most common causes of water leakage in a portable air conditioner is a clogged drainage system. Over time, dirt, dust, and debris can accumulate in the drainage system, impeding the flow of water and leading to leakage. Fortunately, this is a relatively easy problem to troubleshoot and fix. Here’s what you can do:
- Inspect the drain pan: Start by locating the drain pan, which is usually located at the bottom of the unit. Remove the access panel or grille to access the drain pan. Check for any visible debris or blockage in the pan.
- Clear the drain hole: Locate the drain hole in the drain pan and use a small brush or pipe cleaner to clear any obstructions. Gently insert the brush or pipe cleaner into the drain hole and move it back and forth to remove any dirt or debris that may be blocking the flow of water.
- Clean the drainage tube: Once the drain hole is clear, it’s essential to ensure that the drainage tube is also free from blockages. The drainage tube is the tube that connects the drain pan to the outside of the unit. Use a brush or pipe cleaner to clear any obstructions from the tube. If the tube is detachable, consider removing it for thorough cleaning.
- Flush the drainage system: After clearing the drain hole and tube, you can flush the drainage system with warm water to remove any remaining debris or buildup. Use a funnel or a water bottle with a narrow nozzle to pour warm water into the drain hole. Let the water flow through the system and out of the drainage tube, flushing away any remaining dirt or debris.
- Regular maintenance: To prevent future clogs and water leakage, make it a habit to clean and maintain the drainage system regularly. This includes clearing the drain pan, drain hole, and drainage tube of any dirt or debris. It’s also a good idea to check the drainage system periodically for any signs of clogging or blockage.
By taking these steps to unclog the drainage system, you can effectively resolve water leakage issues in your portable air conditioner. However, if the problem persists or if you are unsure about performing these steps yourself, it’s recommended to seek professional assistance to avoid further damage to the unit.
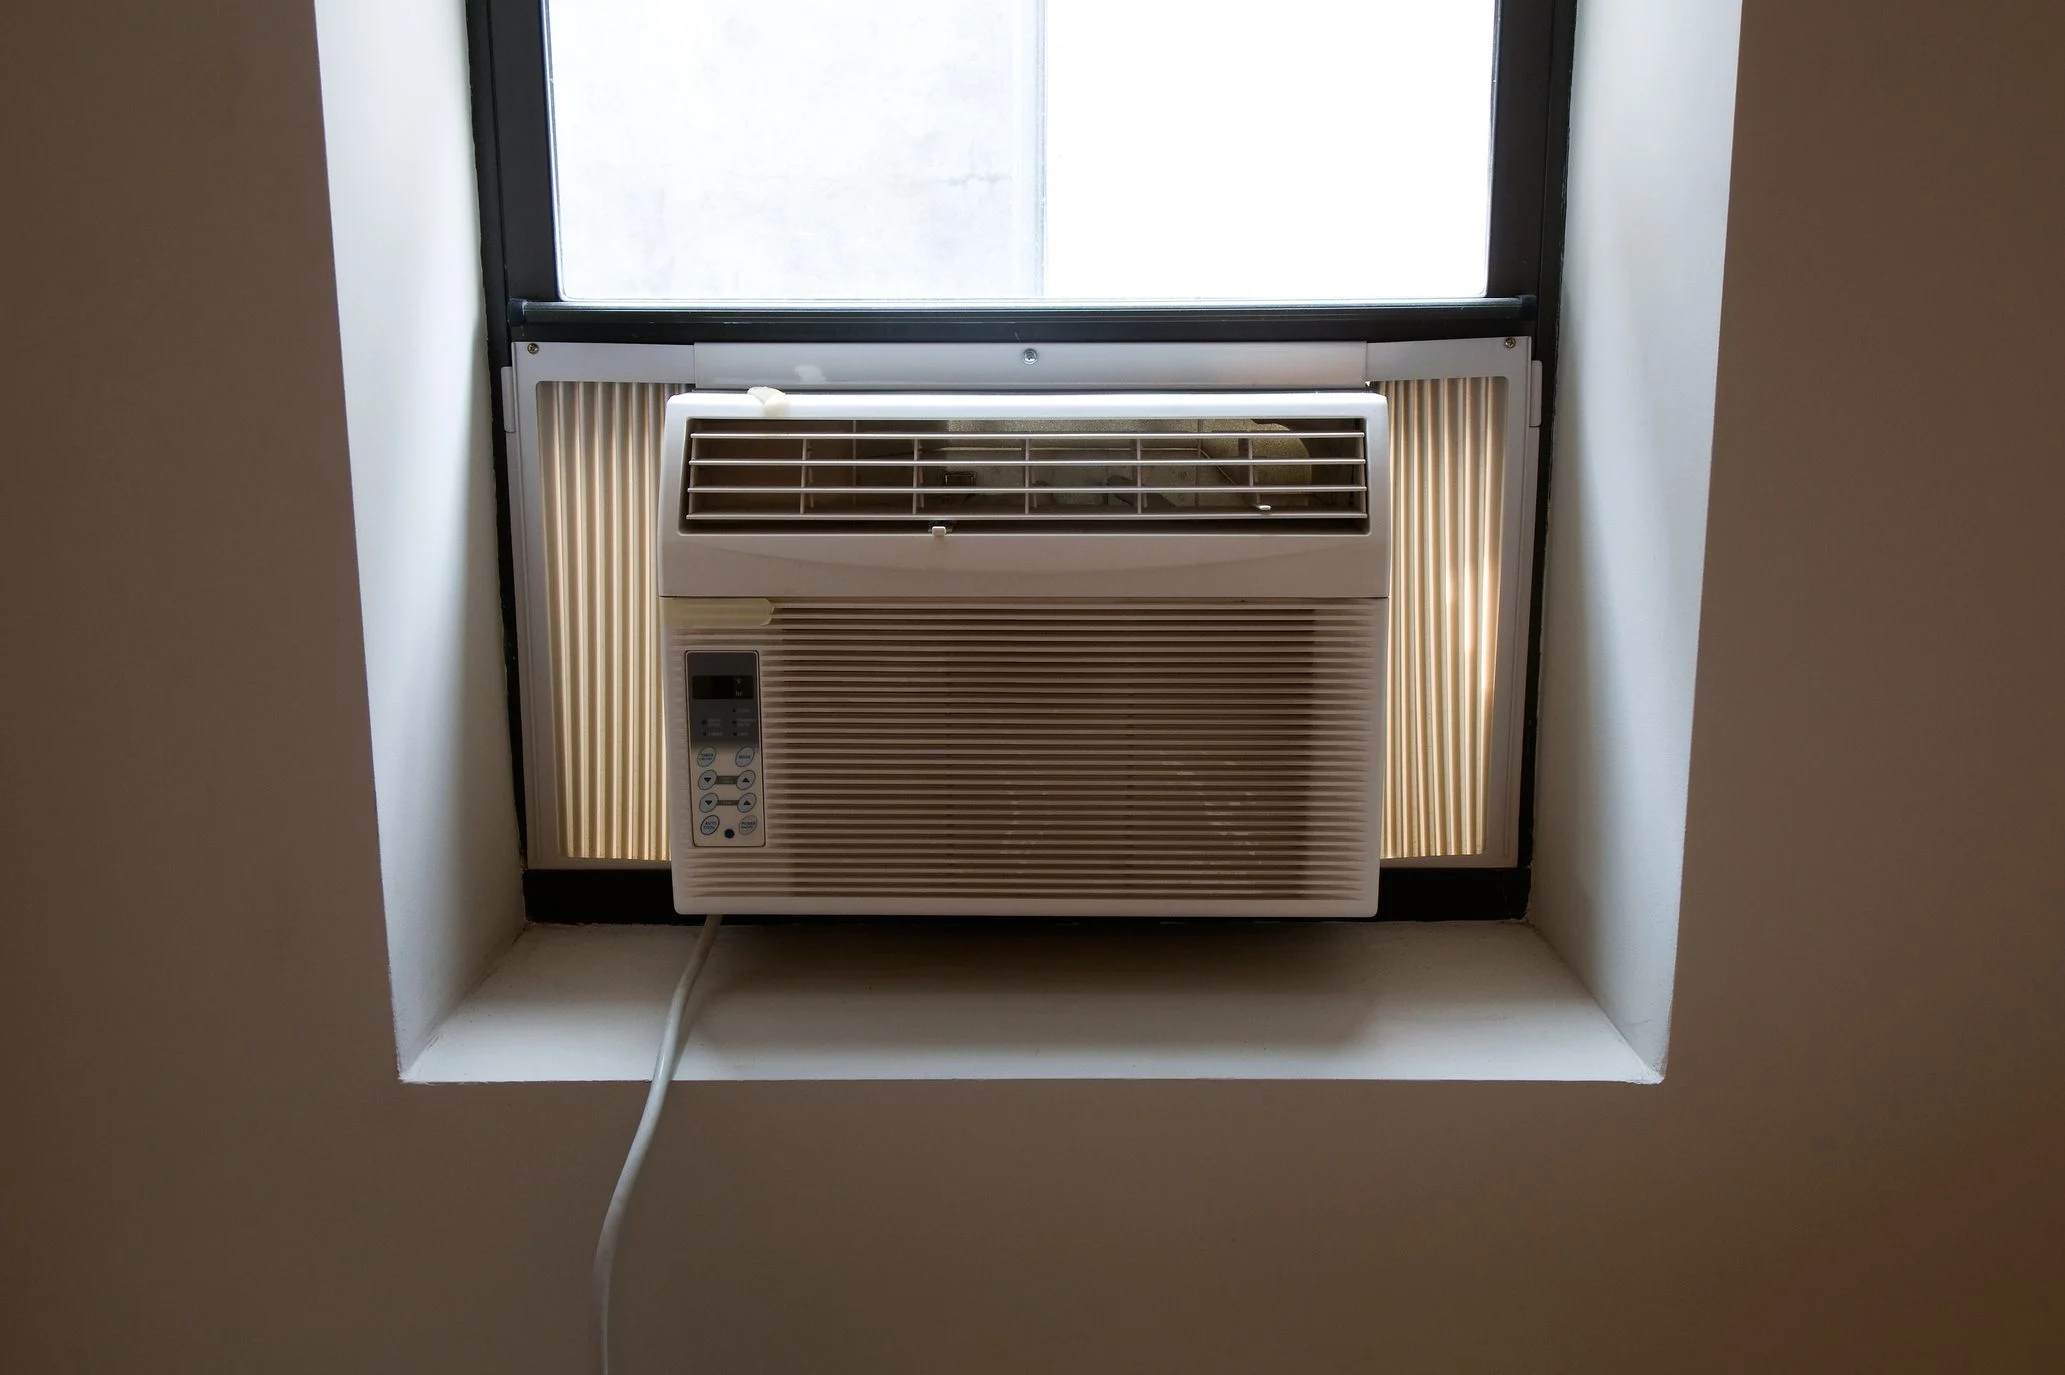
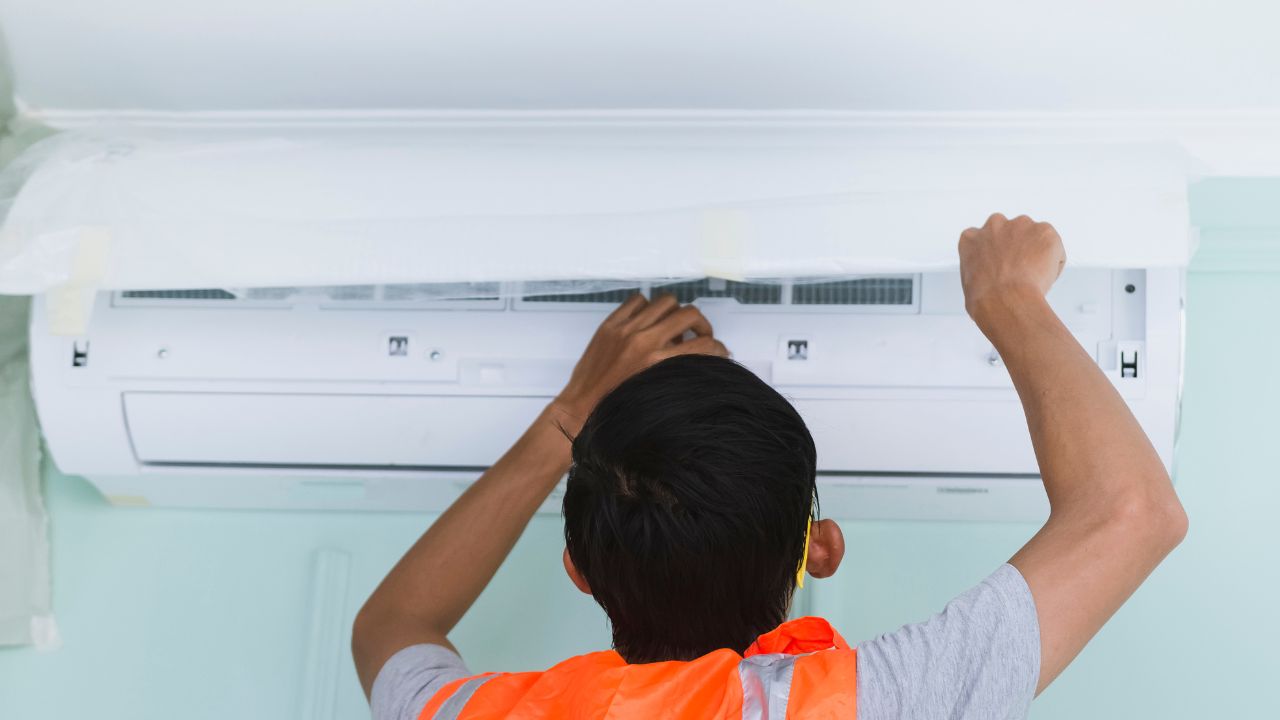
Improper Installation
Another common cause of water leakage in a portable air conditioner is improper installation. If the unit is not installed correctly or is tilted at an incorrect angle, the condensation that forms during the cooling process may not drain properly, leading to water leakage. Fortunately, addressing this issue is relatively straightforward. Here’s what you can do to ensure proper installation:
- Check the positioning: Start by examining the position of your portable air conditioner. Ensure that it is placed on a flat and level surface. If the unit is tilting in any direction, adjust it to ensure it is level. This will help facilitate proper drainage.
- Inspect the drainage outlet: Check the drainage outlet or hole on the back or bottom of the unit. Make sure that it is not blocked or obstructed in any way. If there is any dirt or debris blocking the drainage outlet, clean it out gently using a brush or a soft cloth.
- Consider using a slope: If the floor where your portable air conditioner is placed does not allow for proper drainage, you can create a slight slope to encourage water to flow towards the drainage outlet. This can be achieved by placing a small wedge or shim under the unit’s front feet.
- Follow manufacturer’s guidelines: Refer to the manufacturer’s installation instructions and guidelines to ensure that you are setting up the portable air conditioner correctly. Each unit may have specific requirements and recommendations regarding installation angles and clearances.
- Secure the exhaust hose: If your portable air conditioner has an exhaust hose that leads to the outside, make sure it is properly connected and sealed. Any gaps or leaks in the hose can cause warm outside air to enter the unit, leading to increased condensation and potential water leakage. Use tape or hose clamps to secure the hose and prevent any leaks.
By following these steps and ensuring proper installation, you can prevent water leakage issues caused by an improperly positioned or tilted portable air conditioner. If you are unsure about the installation process or need assistance, consult the manufacturer’s instructions or consider seeking professional help to ensure correct setup and avoid potential problems.
Excessive Humidity in the Room
High humidity levels in the room where your portable air conditioner is being used can contribute to water leakage. When the air conditioner cools the air, it removes moisture from the room. If the humidity levels are too high, the unit may not be able to manage the excess moisture effectively, resulting in water leakage. Here are some steps you can take to address this issue:
- Use a dehumidifier: Running a dehumidifier in conjunction with your portable air conditioner can help reduce humidity levels in the room. Dehumidifiers work by extracting moisture from the air, making it easier for your air conditioner to cool and dehumidify the room effectively.
- Close windows and doors: Ensure that all windows and doors in the room are closed tightly while the portable air conditioner is in use. This will help prevent outside humid air from entering the room and exacerbating the humidity levels.
- Seal air leaks: Inspect the room for any air leaks or gaps that may be allowing humid air to seep in. Common areas for air leaks include windows, doors, and electrical outlets. Seal these areas with weatherstripping or caulk to keep the moisture out.
- Use ventilation fans: If the room has a bathroom or kitchen that generates a lot of humidity, utilize the ventilation fans to remove the moist air. This will help maintain a lower humidity level in the overall space.
- Monitor indoor plants: Indoor plants release moisture through a process known as transpiration. While plants can add beauty and freshness to a space, they can also contribute to increased humidity levels. If you notice excessive condensation on windows or water accumulation near your portable air conditioner, consider reducing the number of plants or relocating them to a different area.
By implementing these strategies to reduce excessive humidity levels in the room, you can help alleviate water leakage issues in your portable air conditioner. Lowering the overall humidity will enable your air conditioner to work more efficiently and effectively remove moisture from the air, minimizing the likelihood of water leakage.
If despite your efforts the humidity levels remain high, it may be worth considering consulting with a professional to evaluate your home and provide specialized recommendations to address the issue.
Read more: Why Is My Freezer Leaking Water
Condensation Buildup
Condensation buildup is another common cause of water leakage in portable air conditioners. During the cooling process, moisture in the air condenses on the evaporator coil inside the unit. Normally, this condensation is collected and drained away through the unit’s drainage system. However, if there is an issue with the drainage system or if it becomes overwhelmed, the excess condensation can result in water leakage. Here’s what you can do to address condensation buildup:
- Check the drain pan: Start by inspecting the drain pan, which is located at the bottom of the portable air conditioner. Ensure that it is not overflowing with water. If it is full or close to full, you may need to empty the drain pan and clear any debris that could be preventing proper drainage.
- Clean the evaporator coil: The evaporator coil is responsible for absorbing heat and moisture from the air. Over time, dust and dirt can accumulate on the coil, hindering its efficiency and causing condensation to build up. Cleaning the evaporator coil with a soft brush or a vacuum cleaner can improve airflow and enhance the unit’s ability to manage condensation effectively.
- Inspect the drainage system: Examine the drainage system, including the drain hole and drainage tube. Ensure that they are clear of any blockages or obstructions that could be impeding the flow of condensation. Use a brush or a pipe cleaner to remove any dirt or debris that may be clogging the system.
- Verify proper insulation: Check that the insulation around the drainage components, particularly the drain pan and drainage tube, is intact. Damaged or deteriorated insulation can cause condensation to accumulate and potentially result in water leakage. If necessary, replace the insulation to prevent further issues.
- Consider using a condensate pump: If you frequently experience condensation buildup and water leakage, you may want to invest in a condensate pump. A condensate pump automatically pumps out the collected condensation, ensuring that it does not overwhelm the drainage system and cause leakage. Consult the manufacturer’s instructions or seek professional assistance to install the condensate pump correctly.
By addressing condensation buildup and ensuring proper drainage, you can effectively reduce the risk of water leakage in your portable air conditioner. Regular maintenance, including cleaning the evaporator coil and checking the drainage system, will help keep the unit functioning optimally and minimize the potential for condensation-related issues.
If you are unsure about performing these steps or if the condensation buildup persists, it is advisable to consult with a professional HVAC technician who can assess the situation and provide appropriate solutions to resolve the problem.
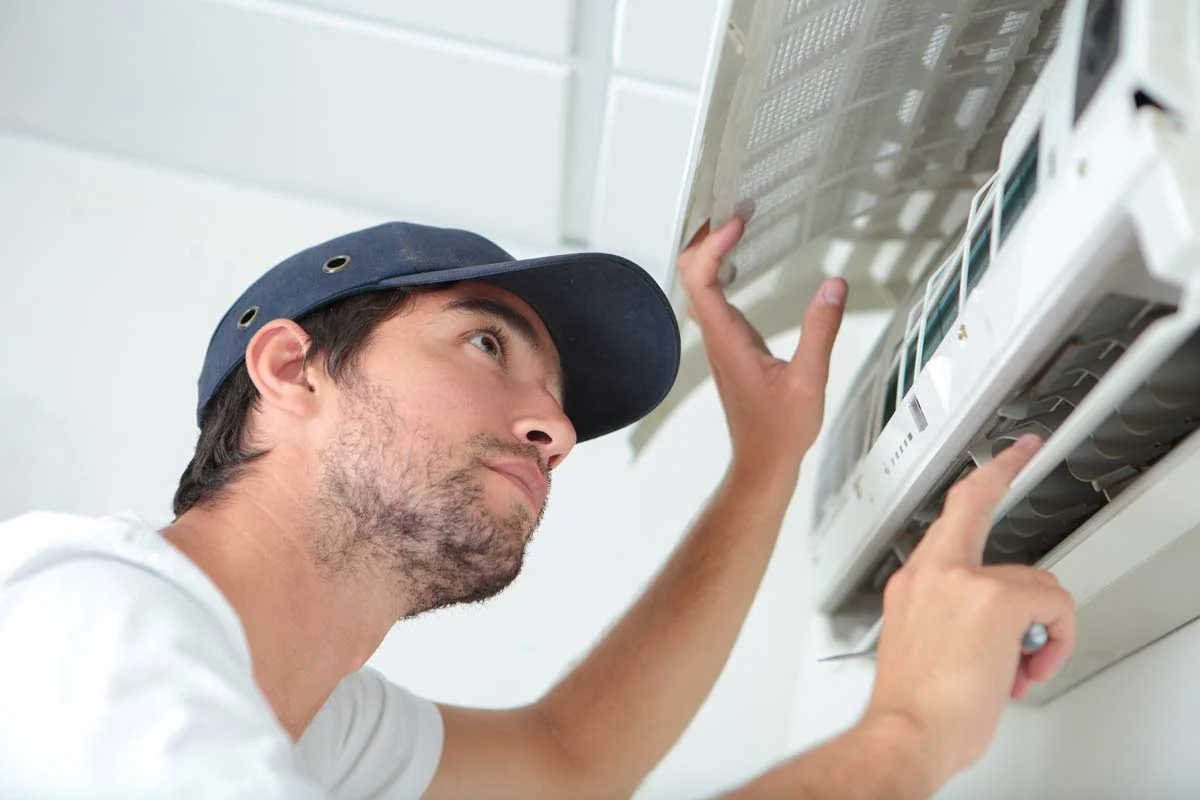
Cooling Coil Issues
Cooling coil issues can also contribute to water leakage in a portable air conditioner. The cooling coil, also known as the evaporator coil, plays a crucial role in removing heat and moisture from the air. However, if the coil becomes dirty or covered in dust and debris, it can hinder the proper functioning of the unit and lead to condensation and water leakage. Here’s what you can do to address cooling coil issues:
- Turn off and unplug the unit: Before performing any maintenance or cleaning on your portable air conditioner, ensure that it is turned off and unplugged for safety purposes.
- Access the cooling coil: Locate the access panel or grille that provides access to the cooling coil. Depending on the model, it may be on the front, side, or back of the unit. Consult the manufacturer’s instructions for guidance.
- Inspect the cooling coil: Take a close look at the cooling coil to check for any visible dirt, dust, or debris. If you see a significant buildup, it is essential to clean the coil to restore its efficiency.
- Clean the cooling coil: Use a soft brush or a vacuum cleaner with a brush attachment to gently remove the accumulated dirt and debris from the cooling coil. Be careful not to damage the delicate fins of the coil while cleaning. If necessary, you can also use a mild detergent diluted in water to clean the coil. Ensure that the coil is completely dry before reassembling the unit.
- Consider professional cleaning: If you are unsure about cleaning the cooling coil yourself or if the buildup is severe, it is advisable to seek professional assistance. HVAC technicians have the expertise and specialized equipment necessary to clean the cooling coil thoroughly without causing any damage.
Regular cleaning and maintenance of the cooling coil will help improve the airflow and energy efficiency of your portable air conditioner. By ensuring that the coil remains free from dirt and debris, you can prevent condensation-related issues that may lead to water leakage.
Additionally, it is recommended to follow the manufacturer’s guidelines and schedule regular maintenance for your portable air conditioner. This may include professional inspections and cleanings to keep the unit in optimal condition and minimize the risk of cooling coil issues and water leakage.
Check if the drain hole is blocked or the unit is not level. Clean the drain hole and ensure the unit is on a level surface to prevent water leakage.
How to Troubleshoot and Fix Water Leakage
Experiencing water leakage from your portable air conditioner can be frustrating, but it’s a problem that can often be resolved with some troubleshooting and basic maintenance. Here are the steps you can take to troubleshoot and fix water leakage issues:
- Identify the source of the water: Start by locating where the water is coming from. Is it dripping from the front or back of the unit? Is it pooling on the floor? Understanding the source of the water can help narrow down the potential causes.
- Check the drainage system: Inspect the drain pan, drain hole, and drainage tube for any blockages or clogs. Clearing out debris and ensuring that these components are clear can resolve water leakage caused by a clogged drainage system.
- Verify proper installation: Double-check that your portable air conditioner is installed correctly and level. Ensure that the drainage outlet is unobstructed and that the unit is not tilted at an incorrect angle. Realigning or adjusting the installation can help facilitate proper drainage and prevent water leakage.
- Address excessive humidity: If high humidity levels in the room are contributing to water leakage, use a dehumidifier or employ other methods to reduce humidity, such as closing windows and doors, sealing air leaks, or using ventilation fans. Lowering the humidity can help the portable air conditioner operate more efficiently and minimize condensation buildup.
- Clean the cooling coil: If the cooling coil is dirty or covered in dust and debris, cleaning it can improve airflow and prevent condensation-related water leakage. Use a soft brush or a vacuum cleaner to gently remove dirt and debris. Consider professional cleaning if the buildup is severe or if you are unsure about doing it yourself.
- Maintain regular upkeep: Preventative maintenance is key to avoiding water leakage issues in the future. Regularly clean and maintain the drainage system, cooling coil, and other components of your portable air conditioner as per the manufacturer’s recommendations. Keeping up with maintenance can help ensure optimal performance and minimize the risk of water leakage.
It’s important to note that if you are uncomfortable or unsure about performing any troubleshooting or maintenance tasks, it’s best to seek professional assistance. HVAC technicians have the knowledge and expertise to handle complex issues and ensure proper resolution of water leakage problems in your portable air conditioner.
By following these troubleshooting steps and taking preventive measures, you can effectively troubleshoot and fix water leakage issues in your portable air conditioner. Enjoy a cool and comfortable environment without the inconvenience of water leakage!
Unclogging the Drainage System
A clogged drainage system is a common cause of water leakage in portable air conditioners. Fortunately, unclogging the drainage system is a straightforward process that you can do yourself. Here’s how to unclog the drainage system in your portable air conditioner:
- Gather the necessary tools: To unclog the drainage system, you’ll need a small brush or pipe cleaner and warm water.
- Turn off and unplug the unit: Before starting any maintenance, ensure that your portable air conditioner is turned off and unplugged for safety.
- Access the drainage system: Locate the drain pan, which is usually located at the bottom of the unit. Remove the access panel or grille to access the drain pan and the drainage components.
- Inspect the drain pan: Check the drain pan for any visible debris or blockage. Remove any debris or standing water in the pan.
- Clear the drain hole: Locate the drain hole in the drain pan. Use a small brush or pipe cleaner to gently clear any obstructions. Insert the brush or pipe cleaner into the drain hole and move it back and forth to dislodge any clogs. Be cautious not to damage the drain hole or the drainage components.
- Clean the drainage tube: Examine the drainage tube, which connects the drain pan to the outside of the unit. Use a brush or pipe cleaner to clear any blockages in the tube. If the tube is detachable, consider removing it for a more thorough cleaning.
- Flush with warm water: After clearing the drain hole and tube, you can flush the drainage system with warm water to remove any remaining debris. Use a funnel or a water bottle with a narrow nozzle to pour warm water into the drain hole. Let the water flow through the system and out of the drainage tube, flushing away any remaining dirt or debris.
- Regular maintenance: To prevent future clogs and water leakage, it’s important to perform regular maintenance on the drainage system. This includes cleaning the drain pan, drain hole, and drainage tube periodically. Check for signs of clogging or blockage and clear them as necessary.
By following these steps, you can effectively unclog the drainage system in your portable air conditioner, restoring proper water flow and preventing water leakage. Regular maintenance of the drainage system is key to ensuring the efficient operation of your unit and avoiding future issues.
If you are unsure about performing any of these steps or if the clog persists, it’s recommended to seek professional assistance. HVAC technicians have the expertise and tools to unclog drainage systems and resolve water leakage problems effectively.
Read more: Why Is My Air Conditioner Spitting Out Water
Properly Installing the Unit
Improper installation is a common cause of water leakage in portable air conditioners. Ensuring that your unit is installed correctly is crucial to prevent water-related issues. Here are some important steps to follow for proper installation:
- Choose the right location: Select a suitable location for your portable air conditioner. It should be placed on a flat and level surface, preferably near a window or an opening where the hot air exhaust can be vented outside.
- Secure the unit: Once you’ve determined the location, secure the portable air conditioner using the provided window sealing kit or brackets. This will help ensure that the unit remains stable and properly positioned.
- Check for proper clearance: Verify that there is adequate clearance around the unit. Leave at least 20 inches of space between the unit and any furniture or obstacles to allow for proper airflow.
- Seal any gaps: Make sure that there are no gaps or openings around the unit where warm air from outside can enter or cool air from inside can escape. Use weatherstripping or caulk to seal any gaps and ensure proper insulation.
- Position the drainage system: Ensure that the drainage system is properly positioned and connected. The drainage tube should be directed towards a suitable drainage point or connected to a drain pan. It should not be kinked or bent, as this can impede the flow of water.
- Set the unit to the correct angle: Properly tilting the unit can aid in effective drainage. Most portable air conditioners require a slight tilt towards the back to encourage water to flow towards the drainage outlet. Refer to the manufacturer’s instructions for the recommended angle.
- Follow the manufacturer’s guidelines: Always refer to the manufacturer’s installation instructions and guidelines specific to your portable air conditioner model. These instructions will provide valuable information on the proper installation process and any specific considerations or requirements.
Properly installing your portable air conditioner is essential to ensure optimal performance and avoid water leakage issues. By following these installation steps and adhering to the manufacturer’s instructions, you can significantly reduce the risk of water-related problems and enjoy a trouble-free cooling experience.
If you are uncertain about the installation process or encounter any difficulties, it is recommended to consult the manufacturer’s instructions or seek professional assistance. HVAC technicians have the expertise to install portable air conditioners correctly, ensuring efficient operation and minimizing the potential for water leakage due to improper installation.
Reducing Humidity Levels in the Room
Excessive humidity in the room can contribute to water leakage in portable air conditioners. To prevent water-related issues and maintain a comfortable environment, it’s important to reduce humidity levels. Here are some effective methods to lower humidity in the room:
- Use a dehumidifier: Running a dehumidifier alongside your portable air conditioner can significantly reduce humidity levels in the room. Dehumidifiers work by extracting moisture from the air, helping your air conditioner operate more efficiently and preventing water leakage.
- Ensure proper ventilation: Proper ventilation is key to reducing humidity. Use exhaust fans in bathrooms and kitchens to remove moist air generated from activities like showering and cooking. Opening windows or using fans can also promote air circulation and alleviate humidity in the room.
- Close windows and doors: When operating the portable air conditioner, keep windows and doors closed to prevent humid outdoor air from entering the room. This will help maintain a controlled environment and minimize the impact of external humidity.
- Seal air leaks: Inspect the room for any air leaks, such as gaps around windows, doors, or electrical outlets. Seal these areas with weatherstripping or caulk to prevent humid air from infiltrating the room and adding to the overall humidity level.
- Limit activities that generate humidity: Activities like drying clothes indoors, using a lot of water, or boiling water can increase humidity in the room. Minimize these activities or take steps to contain the moisture, such as using vented dryers or covering pots while boiling water.
- Monitor indoor plants: While indoor plants offer various benefits, they can also release moisture through a process called transpiration. Consider limiting the number of plants in the room or relocating them to areas with better airflow to reduce humidity levels.
- Use moisture-absorbing products: Use moisture-absorbing products like desiccant bags or silica gel in areas prone to excess moisture, such as closets or basements. These products help absorb moisture from the air and mitigate humidity levels in the room.
Implementing these methods to reduce humidity levels in the room will not only help prevent water leakage in your portable air conditioner but also create a more comfortable and healthier living environment. Regularly monitoring and managing humidity levels is important for maintaining optimal indoor air quality.
If you continue to experience high humidity levels despite implementing these measures, consult with a professional to assess the situation and provide targeted solutions to address the humidity problem and prevent water leakage.
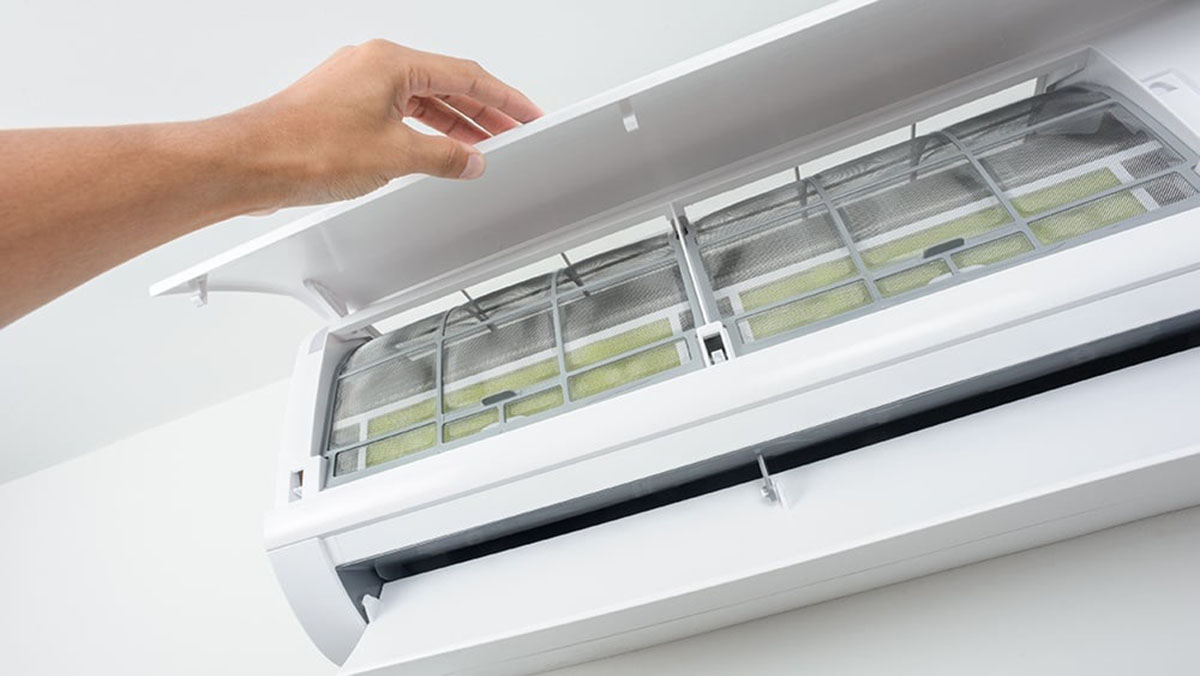
Cleaning and Maintaining the Cooling Coil
The cooling coil, also known as the evaporator coil, plays a vital role in the cooling process of your portable air conditioner. Over time, dust, dirt, and debris can accumulate on the coil, impeding its efficiency and potentially leading to water leakage. Regular cleaning and maintenance of the cooling coil are essential to ensure optimal performance. Here’s how you can clean and maintain the cooling coil:
- Turn off and unplug the unit: Before performing any maintenance on your portable air conditioner, ensure that it is turned off and unplugged for safety.
- Access the cooling coil: Locate the access panel or grille that provides access to the cooling coil. Refer to the manufacturer’s instructions to determine the correct way to access the coil in your particular unit.
- Inspect the cooling coil: Take a close look at the cooling coil to check for any visible dirt, dust, or debris accumulation. Pay attention to the areas between the coil fins where debris can easily build up.
- Clean the cooling coil: Use a soft brush or a vacuum cleaner with a brush attachment to gently remove the accumulated dirt and debris from the cooling coil. Start from the top and work your way down, ensuring all areas of the coil are thoroughly cleaned. Be careful not to damage the delicate fins while cleaning.
- Use a coil cleaner if necessary: If the cooling coil is heavily soiled or the dirt is difficult to remove with a brush or vacuum cleaner, you may need to use a coil cleaner. Follow the manufacturer’s instructions and guidelines for using the cleaner effectively and safely. After applying the cleaner, rinse the coil with water to remove any residue.
- Allow the coil to dry: After cleaning, allow the cooling coil to dry completely before reassembling the unit. Moisture on the coil can contribute to condensation and potential water leakage. Ensure that the coil is completely dry to avoid any adverse effects.
- Regular maintenance: Make it a habit to include the cleaning of the cooling coil in your regular maintenance routine. Clean the coil at least once every season or more often if you notice a significant buildup of dirt or if the performance of the air conditioner is affected.
Regularly cleaning and maintaining the cooling coil of your portable air conditioner is vital for optimal airflow and efficient operation. By keeping the coil clean, you not only help prevent water leakage but also improve the cooling capacity and energy efficiency of the unit.
If you are unsure about performing these cleaning steps or if the dirt buildup is significant, it is recommended to consult the manufacturer’s instructions or seek professional assistance. HVAC technicians have the expertise and specialized equipment to clean the cooling coil effectively and safely, ensuring optimal performance and longevity of the unit.
Conclusion
Water leakage in a portable air conditioner can be a frustrating issue, but with proper understanding and maintenance, it can be effectively resolved. By identifying the causes of water leakage, such as a clogged drainage system, improper installation, excessive humidity, condensation buildup, or cooling coil issues, you can take appropriate steps to troubleshoot and fix the problem.
Regular cleaning and maintenance are crucial in preventing water leakage. Unclogging the drainage system by clearing the drain pan, drain hole, and drainage tube helps ensure proper water flow. Proper installation, including positioning the unit correctly, sealing air leaks, and setting the correct tilt angle, can prevent water leakage caused by improper installation.
Reducing humidity levels in the room through the use of dehumidifiers, ventilation, and sealing air leaks can minimize excess moisture and mitigate water leakage risks. Additionally, cleaning and maintaining the cooling coil are vital in maintaining optimal airflow and preventing dirt and debris buildup that can lead to water leakage.
Remember to follow manufacturer’s guidelines and recommendations for installation, maintenance, and cleaning of your portable air conditioner. If you encounter persistent water leakage issues or are unsure about performing maintenance yourself, it is advisable to consult with a professional HVAC technician for assistance.
By addressing the underlying causes and implementing proper maintenance, you can keep your portable air conditioner running efficiently and avoid the inconvenience and potential damage caused by water leakage. Stay cool, comfortable, and worry-free all summer long!
Frequently Asked Questions about Why Is My Portable Air Conditioner Leaking Water
Was this page helpful?
At Storables.com, we guarantee accurate and reliable information. Our content, validated by Expert Board Contributors, is crafted following stringent Editorial Policies. We're committed to providing you with well-researched, expert-backed insights for all your informational needs.