Home>Home Security and Surveillance>Eufy Security Camera: How To Charge
Home Security and Surveillance
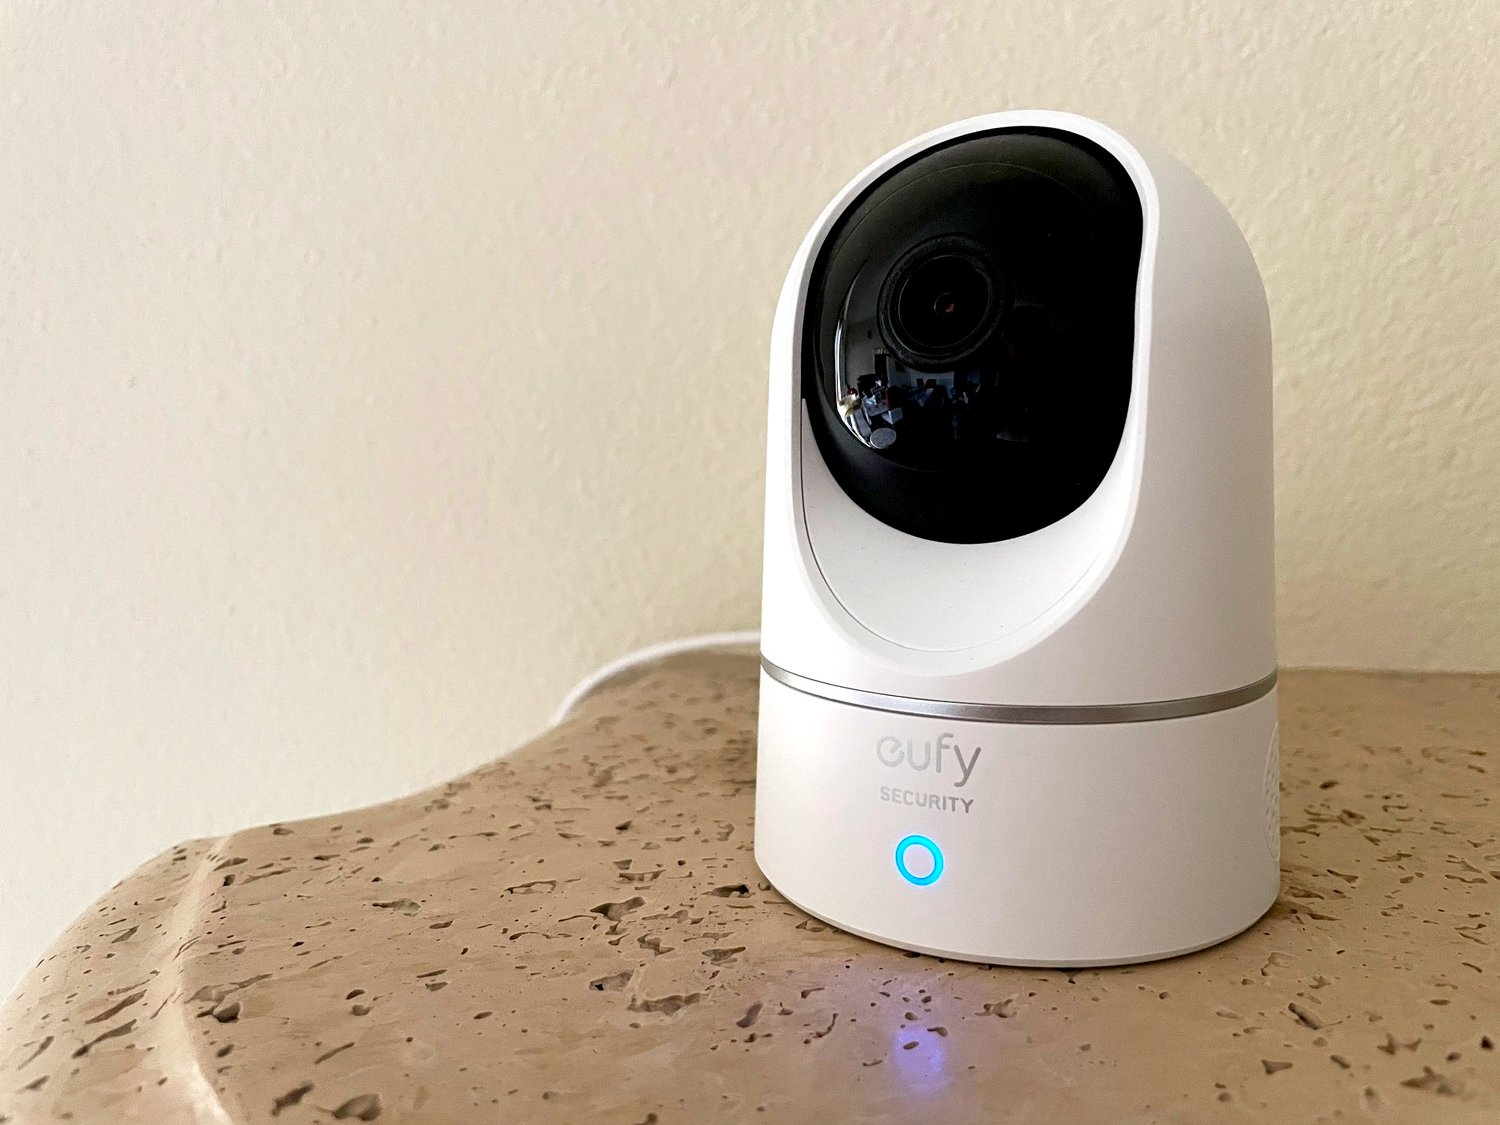
Eufy Security Camera: How To Charge
Modified: March 6, 2024
Learn how to charge your Eufy Security Camera effortlessly and ensure uninterrupted home security and surveillance. Simplify your security system with our step-by-step guide.
(Many of the links in this article redirect to a specific reviewed product. Your purchase of these products through affiliate links helps to generate commission for Storables.com, at no extra cost. Learn more)
Introduction
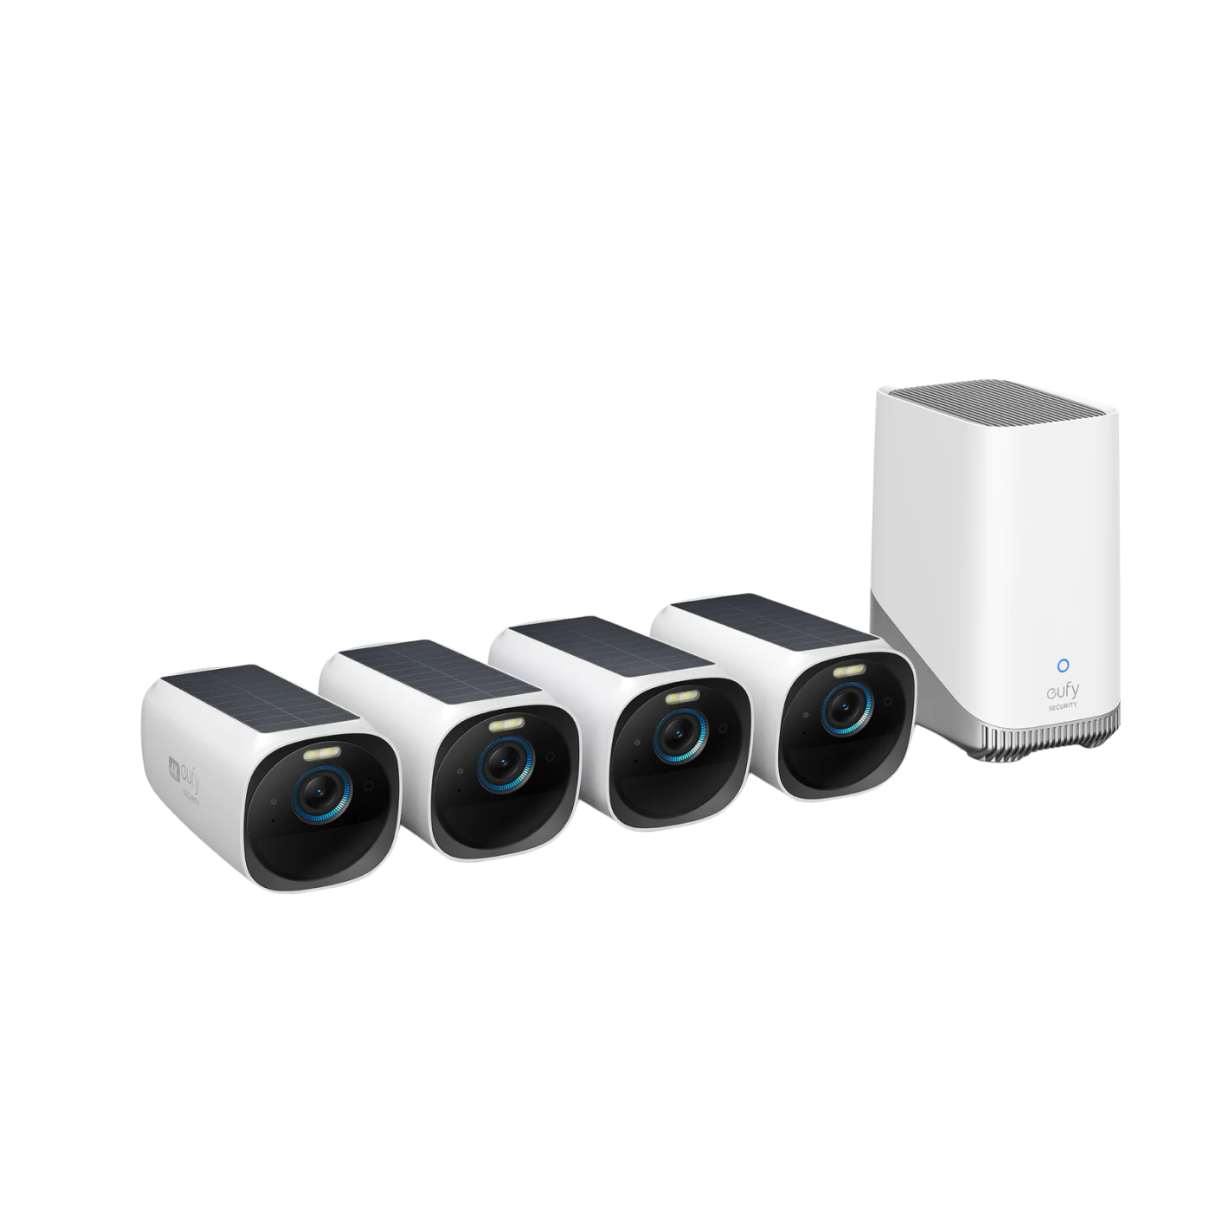
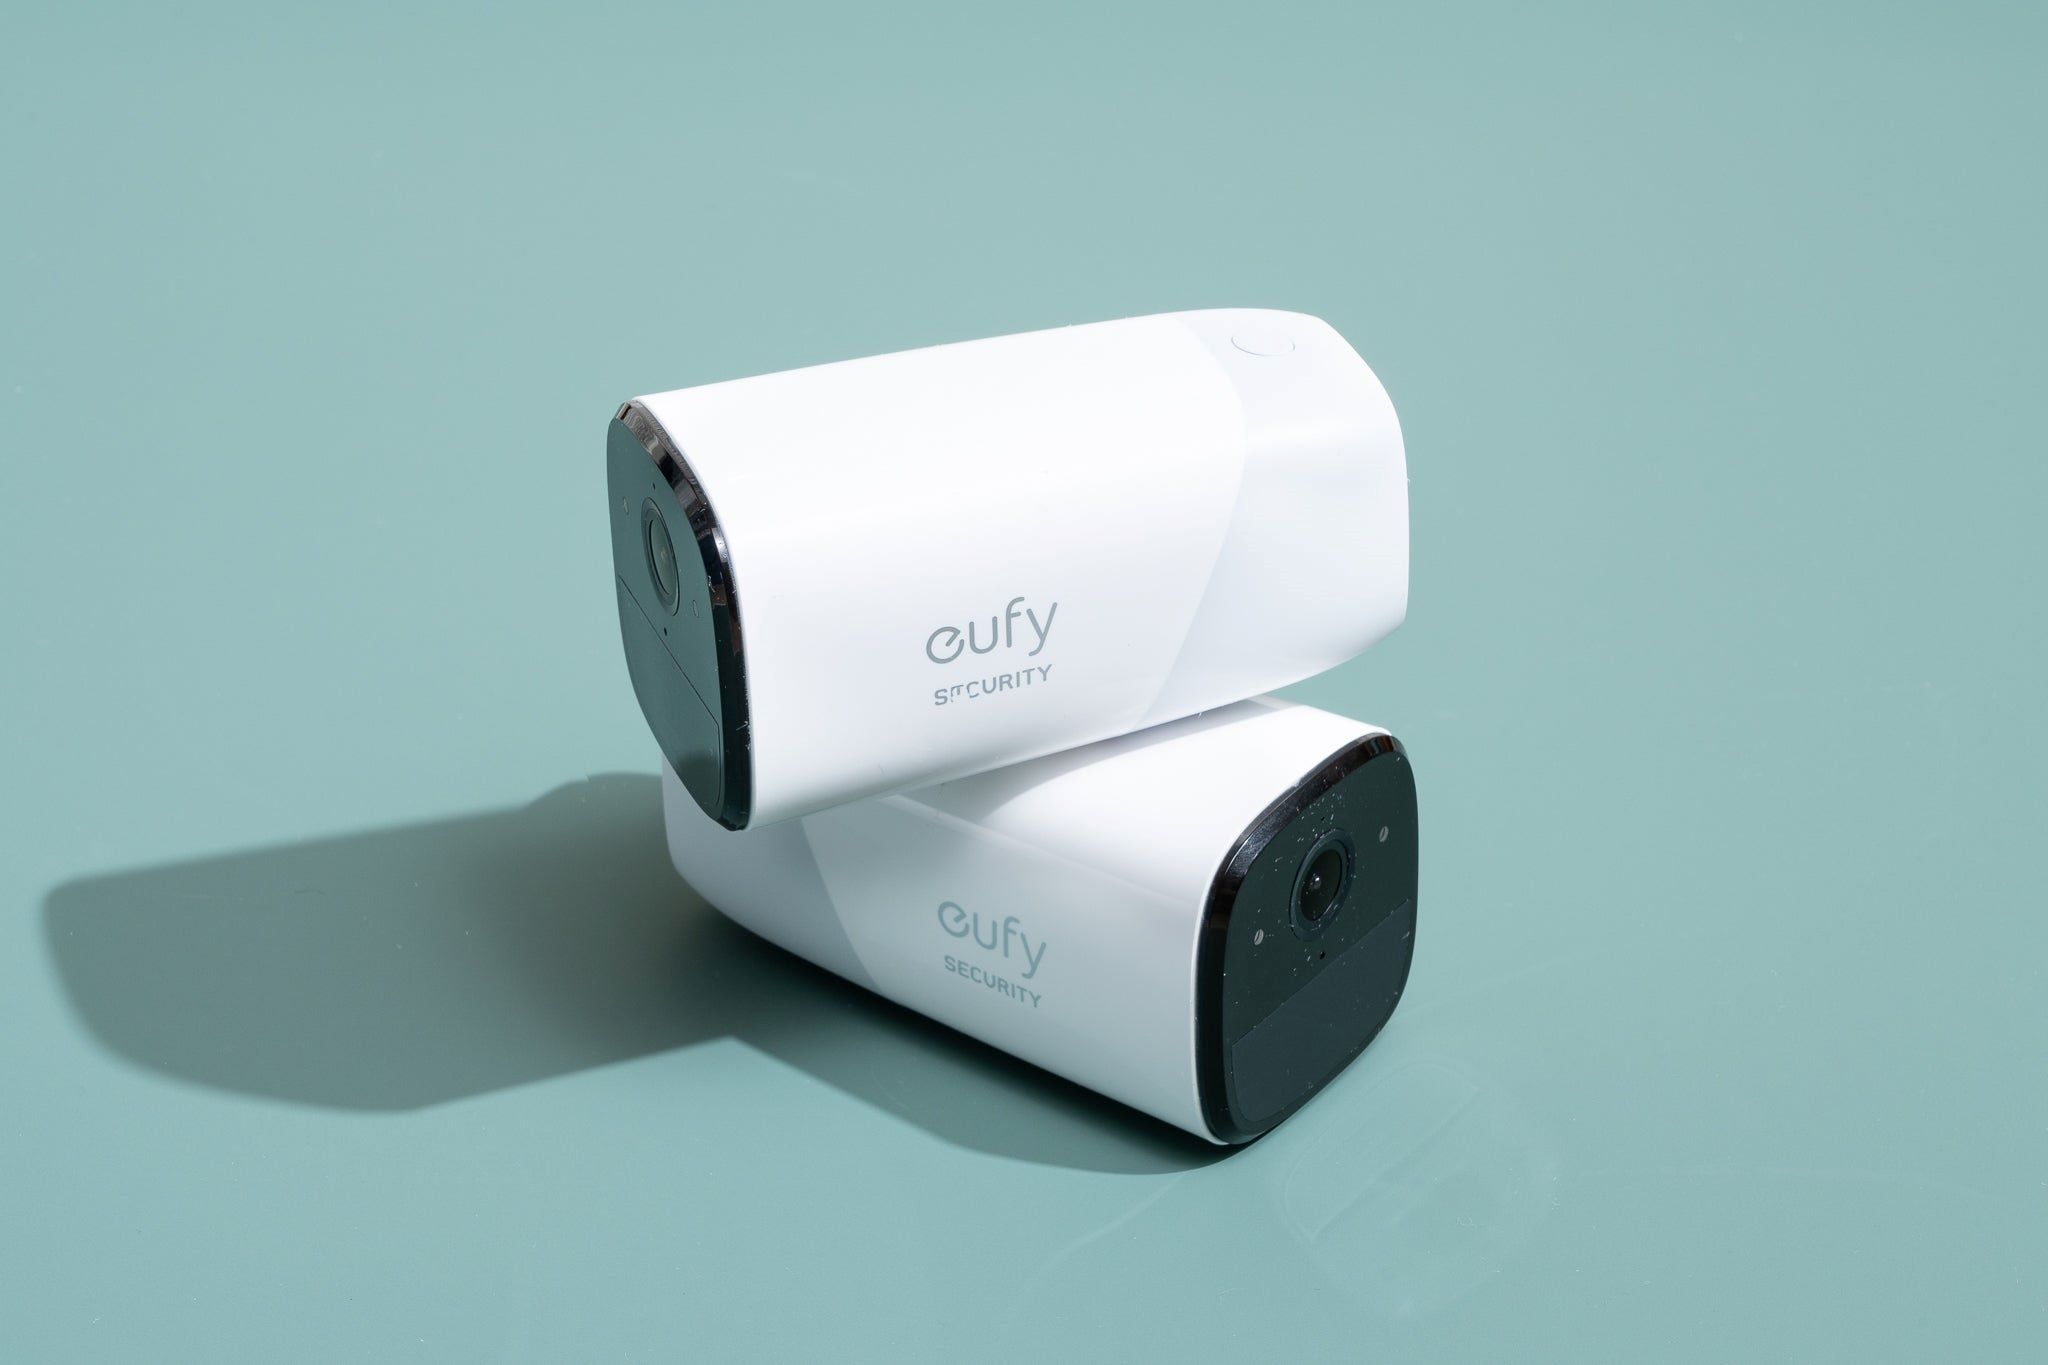
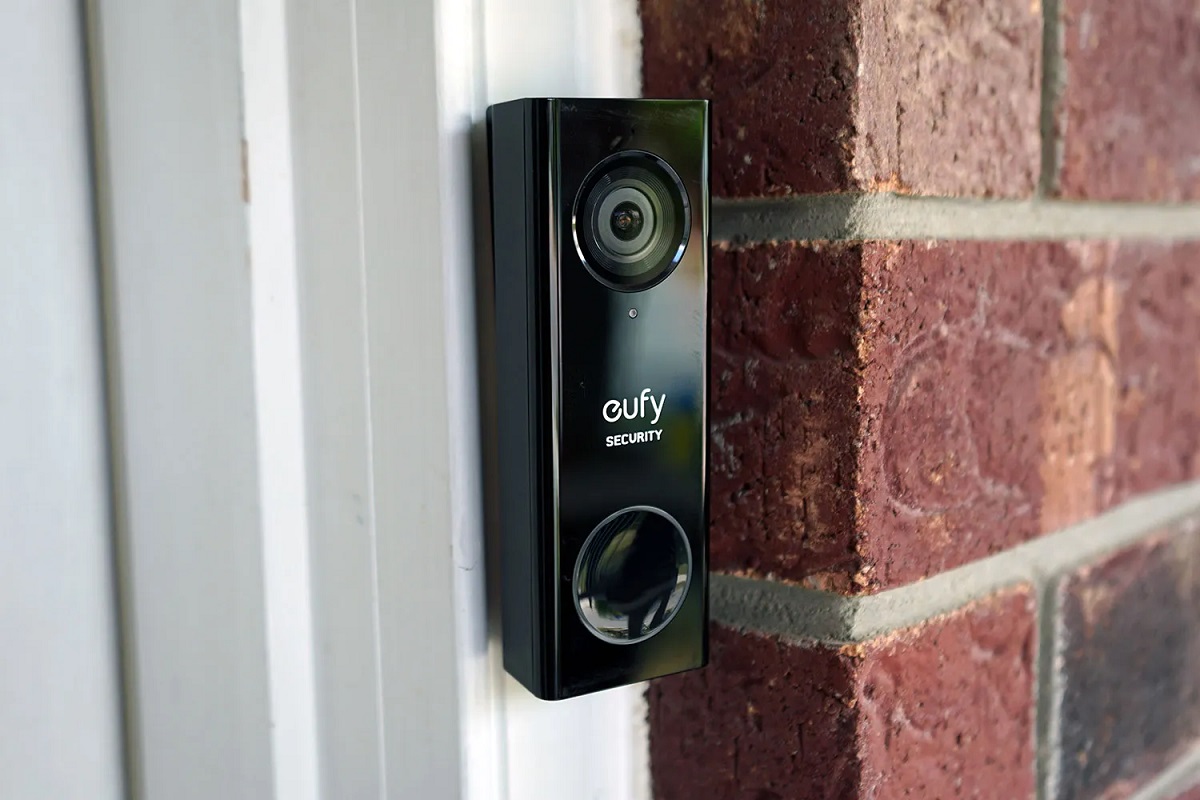
Home security and surveillance systems have become increasingly popular in recent years, as homeowners seek to protect their property and loved ones. Among the leading brands in the market, Eufy Security stands out for its innovative approach and advanced features. One crucial aspect of maintaining a reliable security system is ensuring that the cameras are powered and operational at all times.
In this article, we will focus on one essential aspect: how to charge your Eufy Security camera. While these cameras are known for their long battery life, it is important to understand the charging process to avoid any downtime in your surveillance system. Whether you’re a new Eufy Security camera owner or just need a refresher, we will take you through the step-by-step process of charging your camera effectively.
Before we dive into the specifics, it’s worth mentioning that Eufy Security cameras are designed with user convenience in mind. From the initial setup to ongoing maintenance, the brand aims to provide a seamless experience for homeowners, ensuring peace of mind when it comes to home security. With that said, let’s get started on how to charge your Eufy Security camera.
Key Takeaways:
- Keep an eye on your Eufy Security camera’s battery level and charge it when it falls below 20% to ensure uninterrupted surveillance.
- Handle your Eufy Security camera and its battery with care during the charging process to maintain optimal performance and extend their lifespan.
Read more: Who Sells Eufy Security Cameras
Step 1: Check the Battery Level
Before you begin the charging process, it’s important to check the battery level of your Eufy Security camera. This will give you an idea of how much charge is remaining and how long it might take to fully recharge the battery.
To check the battery level, open the Eufy Security app on your smartphone or tablet. Navigate to the camera settings and find the battery status indicator. This will show you the current battery percentage. If the battery level is below 20%, it’s a good time to start charging.
Regularly monitoring the battery level of your Eufy Security camera is essential for ensuring uninterrupted surveillance. It’s also a good idea to set up notifications in the app to receive alerts when the battery level falls below a certain threshold, so you can charge it in a timely manner.
Once you have checked the battery level and confirmed it’s time to charge, you can proceed with the next steps to ensure a smooth and efficient charging process.
Step 2: Disconnect the Camera
Before you begin the charging process, it is important to disconnect the Eufy Security camera from its mounting or placement. This ensures that you have easy access to the camera and can handle it safely during the charging process.
To disconnect the camera, follow these steps:
- First, make sure the camera is turned off. You can do this by opening the Eufy Security app and navigating to the camera settings. From there, select the option to turn off the camera.
- Next, locate the mounting bracket or stand that the camera is attached to. Depending on the model, this may involve loosening screws or releasing a locking mechanism.
- Gently remove the camera from the mounting bracket or stand, taking care not to damage any cables or connections.
Once you have disconnected the camera, place it in a safe and convenient location where you can easily access it for the remainder of the charging process.
This step is crucial because it allows you to handle the camera more effectively during the charging process. It also prevents any potential damage to the camera or its mounting system.
Step 3: Remove the Battery
Now that you have disconnected the Eufy Security camera, it’s time to remove the battery. Removing the battery is necessary to access the charging port and ensure a proper connection for charging.
Follow these steps to remove the battery from your Eufy Security camera:
- Locate the battery compartment on the camera. This is typically located on the back or underside of the camera, depending on the model.
- Open the battery compartment cover. This may involve sliding it open, lifting a latch, or removing screws, depending on the design of your camera.
- Gently lift the battery out of the compartment, being careful not to damage any of the connectors or components.
It’s important to handle the battery with care, as it is a delicate and essential component of your Eufy Security camera. Avoid dropping or applying excessive pressure to the battery, as this can cause damage.
Once you have removed the battery from the camera, set it aside in a safe place. Keep it away from any liquids or extreme temperatures that could potentially damage the battery.
Removing the battery allows you to easily access the charging port of your Eufy Security camera, ensuring a smooth and hassle-free charging process.
Step 4: Connect the Charging Cable
With the battery removed, it’s time to connect the charging cable to your Eufy Security camera. The charging cable is typically provided with the camera and is designed to fit the specific charging port of your model.
Follow these steps to connect the charging cable:
- Take the charging cable and locate the charging port on the camera. The charging port is usually located on the side or bottom of the camera, depending on the model.
- Align the charging cable connector with the charging port on the camera.
- Gently insert the charging cable connector into the charging port. Be sure to align the pins correctly and avoid applying excessive force, as this could damage the charging port.
- Ensure that the charging cable is securely connected to the camera. Give it a slight tug to confirm that it is properly attached.
Once the charging cable is connected, you’re ready to move on to the next step of the charging process. However, before proceeding, ensure that the charging cable is in good condition and free from any damages or frayed wires. Using a damaged cable can result in slow or ineffective charging and may even pose a safety risk.
Connecting the charging cable is a crucial step in the charging process, as it allows the battery to receive power and begin charging. Make sure the connection is secure to ensure optimal charging efficiency.
Read more: How To Charge Eufy Doorbell
Step 5: Plug into Power Source
Once the charging cable is securely connected to your Eufy Security camera, it’s time to plug it into a power source. This step allows the camera’s battery to receive the necessary power to recharge.
Follow these steps to plug your Eufy Security camera into a power source:
- Locate a suitable power outlet near the location where you plan to charge the camera.
- Take the other end of the charging cable (the one with the power plug) and insert it into the power outlet.
- Ensure that the plug is firmly inserted into the power outlet and that it’s receiving electricity. You may check if the outlet is functional by plugging in a different device or using a portable socket tester.
It’s important to note that the power source should provide a steady and reliable flow of electricity to ensure efficient charging. Using an unstable power source or a power outlet that frequently experiences power surges can potentially damage the camera or lead to unpredictable charging times.
In addition, ensure that the power source you are using is compatible with the voltage requirements of your Eufy Security camera. Using the wrong voltage can cause damage to the camera’s battery or internal components.
Once the camera is plugged into a power source, you can proceed to the next step and allow the battery to charge fully.
To charge your Eufy security camera, use the provided USB cable and connect it to a power source such as a wall outlet or a power bank. Make sure to fully charge the camera before use for optimal performance.
Step 6: Charge the Battery
Now that your Eufy Security camera is connected to a power source, it’s time to let the battery charge. The duration of the charging process will depend on the current battery level and the specific model of your camera.
Here are some general guidelines to keep in mind while charging the battery:
- Allow sufficient time for the battery to charge fully. It is recommended to leave the camera charging for several hours or even overnight, especially if the battery level is significantly low.
- During the charging process, it’s normal for the camera to feel warm to the touch. This is due to the energy transfer and is not a cause for concern. However, if the camera becomes excessively hot or shows signs of overheating, remove it from the charging source immediately and contact Eufy customer support.
- Avoid using the camera or attempting to power it on while it is connected to the charging cable. Let the battery charge undisturbed to ensure faster and more efficient charging.
- If possible, try to charge the camera in a cool and well-ventilated area. Exposing it to high temperatures or direct sunlight can affect the charging process and potentially damage the camera or battery.
- Keep an eye on the charging progress. Some Eufy Security cameras have built-in LED indicators or status lights that show the charging status. These lights may blink or change colors to indicate the charging process. Check the user manual or the Eufy Security app for specific information regarding the charging status indicators.
Once the battery is fully charged, the camera will be ready for use again. Disconnect the charging cable from the camera and proceed to the next step to reinstall the battery.
Remember, the charging time may vary depending on factors such as battery capacity, power source stability, and camera usage. Patience is key to ensure a complete and effective charge.
Step 7: Reinstall the Battery
Now that the battery of your Eufy Security camera is fully charged, it’s time to reinstall it. Reinserting the battery is a crucial step before reconnecting your camera and ensuring it is ready for use.
Follow these steps to reinstall the battery:
- Take the fully charged battery and carefully align it with the battery compartment of your Eufy Security camera.
- Gently slide the battery into the compartment, making sure it is inserted correctly and securely.
- If there is a latch or locking mechanism to hold the battery in place, ensure it is properly engaged to prevent the battery from coming loose during camera operation.
- Close the battery compartment cover by sliding, latching, or screwing it back into place, depending on the design of your camera.
It’s important to ensure the battery is properly inserted and secured in the camera to avoid any disruptions during use. Proper alignment and a secure connection will ensure the camera operates optimally and allows for uninterrupted surveillance.
Once the battery is reinstalled and the battery compartment is securely closed, you’re ready to move on to the next step and reconnect the camera to its mounting or placement.
Note that the battery’s longevity will depend on various factors, such as camera usage, settings, and environmental conditions. Regularly monitoring the battery level and following the appropriate charging procedures will help maintain optimal performance and extend the battery’s lifespan.
Step 8: Reconnect the Camera
With the battery securely installed, it’s time to reconnect your Eufy Security camera. Reconnecting the camera involves placing it back in its original position or mounting it according to your preferred setup.
Follow these steps to reconnect your Eufy Security camera:
- Ensure that the camera is turned off. If it’s still powered on, you can navigate to the camera settings in the Eufy Security app and select the option to turn it off.
- Take the camera and align it with the mounting bracket or stand that you previously disconnected it from.
- Slowly and carefully position the camera onto the mounting bracket or stand, ensuring the connectors align properly.
- If necessary, use any screws or locking mechanisms to secure the camera in place. Make sure it is firmly attached and stable to prevent any accidental dislodging.
Once the camera is securely reconnected to its mounting or placement, you can proceed to power it back on. This can typically be done through the Eufy Security app or by pressing the designated power button on the camera.
Reconnecting the camera ensures that it resumes its surveillance functionality and is ready to monitor your home or property effectively.
It’s a good idea to check the camera’s functionality and connectivity by accessing the Eufy Security app or viewing the camera’s live feed to ensure everything is working as expected. If you encounter any issues, refer to the camera’s user manual or contact Eufy customer support for assistance.
With your Eufy Security camera properly reconnected, you can now move on to the final step and check the charging status to ensure a successful charging process.
Step 9: Check the Charging Status
After reconnecting your Eufy Security camera, it’s important to check the charging status to ensure that the battery has been successfully charged and is ready for use. Checking the charging status will give you peace of mind and assurance that your camera is fully powered and operational.
Follow these steps to check the charging status of your Eufy Security camera:
- Open the Eufy Security app on your smartphone or tablet.
- Navigate to the camera settings for the camera you want to check.
- Look for the battery status indicator or charging status information.
- The app will display the current battery percentage and any relevant charging information, such as “Fully Charged” or “Charging in Progress.”
If the battery status indicates that the camera is fully charged, congratulations! You have successfully charged your Eufy Security camera, and it is now ready for use. You can close the app and begin utilizing your camera for home security and surveillance.
If the battery status indicates that the camera is still charging, you may choose to wait a little longer or repeat the charging process if needed. In some cases, it may take additional time to reach a full charge, especially if the battery level was initially very low.
Keep in mind that the charging speed and time may vary depending on factors such as the camera model, battery capacity, and power source stability. If you notice any unusual behavior or concerns regarding the charging process, it is recommended to refer to the camera’s user manual or contact Eufy customer support for assistance.
Regularly monitoring the battery level and charging status of your Eufy Security camera will help ensure continuous operation and optimal performance. Additionally, consider setting up notifications in the app to receive alerts when the battery is running low, allowing you to recharge it promptly.
By checking the charging status, you can confirm that your Eufy Security camera is ready to provide reliable surveillance and peace of mind for your home or property.
Conclusion
Charging your Eufy Security camera is a crucial aspect of maintaining a reliable home security and surveillance system. By following the step-by-step process outlined in this article, you can ensure that your camera’s battery remains fully charged and ready for use, providing you with peace of mind and a sense of security.
From checking the battery level to disconnecting the camera, removing the battery, connecting the charging cable, plugging it into a power source, and allowing the battery to charge fully, each step plays a vital role in the charging process.
Remember to handle your Eufy Security camera and its battery with care, ensuring proper alignment and secure connections during the various stages. Additionally, keep an eye on the charging status and monitor the progress to ensure optimal charging efficiency.
Regularly maintaining your Eufy Security cameras, including charging them when needed, is essential for continuous operation and effective surveillance. By taking proper care of your cameras and their batteries, you can maximize their lifespan and performance, ensuring uninterrupted protection for your valuable property and loved ones.
Lastly, if you have any concerns or encounter any difficulties during the charging process, don’t hesitate to refer to the camera’s user manual or reach out to Eufy customer support for assistance. They are there to provide helpful guidance and address any questions you may have.
With a properly charged Eufy Security camera, you can enjoy the benefits of a reliable home security system, knowing that you have taken the necessary steps to ensure its seamless operation.
Frequently Asked Questions about Eufy Security Camera: How To Charge
Was this page helpful?
At Storables.com, we guarantee accurate and reliable information. Our content, validated by Expert Board Contributors, is crafted following stringent Editorial Policies. We're committed to providing you with well-researched, expert-backed insights for all your informational needs.