Home>Home Security and Surveillance>How To Connect Swann Security Cameras To Phone
Home Security and Surveillance
How To Connect Swann Security Cameras To Phone
Modified: May 6, 2024
Learn how to easily connect your Swann security cameras to your phone for convenient home security and surveillance. Follow our step-by-step guide now!
(Many of the links in this article redirect to a specific reviewed product. Your purchase of these products through affiliate links helps to generate commission for Storables.com, at no extra cost. Learn more)
Introduction
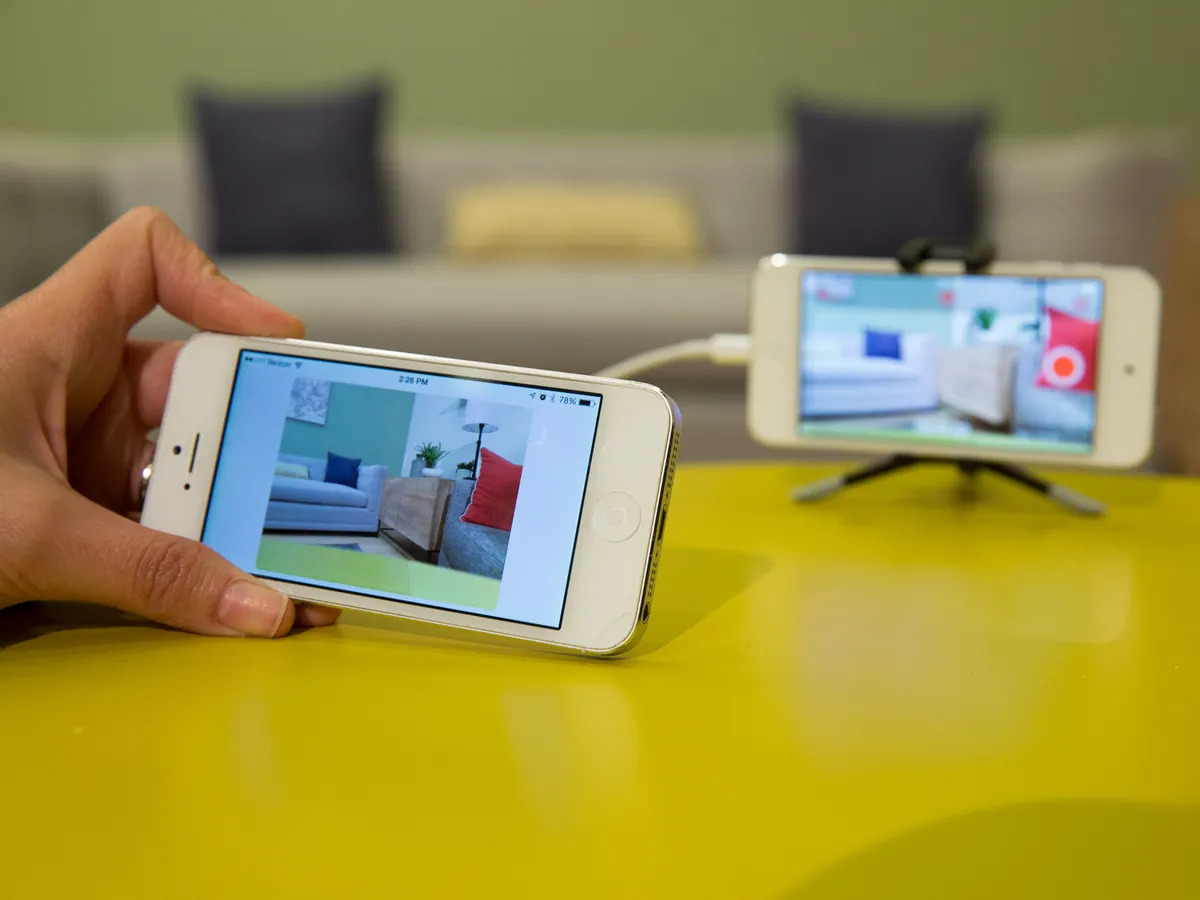
Welcome to the world of home security and surveillance! In today’s fast-paced and interconnected world, it is more important than ever to ensure the safety and protection of our homes and loved ones. With the advancements in technology, we now have access to a wide range of home security cameras that can be easily connected to our phones, providing us with real-time monitoring and peace of mind.
One of the most reputable brands in the market is Swann, which offers a range of high-quality security cameras that are known for their reliability and performance. In this article, we will guide you through the process of connecting Swann security cameras to your phone, so you can keep an eye on your home no matter where you are.
Before we dive into the steps, it’s important to note that the process may vary slightly depending on the specific model of your Swann security camera. However, the general steps outlined in this article should be applicable to most Swann cameras.
So, let’s get started on the journey to connecting your Swann security cameras to your phone!
Key Takeaways:
- Stay connected to your home with Swann security cameras by following simple steps to connect them to your phone. Enjoy real-time monitoring and peace of mind, no matter where you are.
- Easily access live camera feeds, adjust settings, and troubleshoot any issues with Swann security cameras connected to your phone. Keep your home safe and secure with these simple steps.
Step 1: Downloading the Swann Security App
The first step to connecting your Swann security camera to your phone is to download the Swann Security app. This app is available for both iOS and Android devices and allows you to access and control your Swann cameras from your phone.
To download the app, simply open the App Store or Google Play Store on your phone and search for “Swann Security.” Once you find the app, tap on the install button to begin the download and installation process.
Once the app is successfully installed on your phone, open it to begin the setup process.
Note: It is recommended to connect your phone to a strong and stable Wi-Fi network before proceeding with the setup.
Next, you will need to create an account in the Swann Security app. This account will allow you to securely connect and control your cameras from your phone.
In the Swann Security app, tap on the “Sign Up” or “Create an Account” option. You will be prompted to enter your email address, create a password, and provide any other required information. Make sure to choose a strong and unique password to ensure the security of your account.
Once you have entered all the necessary information, tap on the “Create Account” button to complete the account creation process.
Congratulations! You have now successfully downloaded the Swann Security app and created an account. In the next step, we will show you how to add your cameras to the app.
Step 2: Creating an Account
Before you can start enjoying the benefits of connecting your Swann security cameras to your phone, you’ll need to create an account in the Swann Security app. This account is essential for securely accessing and controlling your cameras from your phone.
To create an account, follow these simple steps:
- Open the Swann Security app on your phone and tap on the “Sign Up” or “Create an Account” option.
- You will be prompted to enter your email address. Make sure to provide a valid and accessible email address as this will be used for account verification and communication purposes.
- Create a strong password for your account. A secure password should be a combination of uppercase and lowercase letters, numbers, and special characters. Avoid using common words or personal information to ensure the security of your account.
- Fill in any other required information, such as your name and contact details.
- Review the terms and conditions and privacy policy of the app, and if you agree, check the box to confirm your acceptance.
- Tap on the “Create Account” or “Sign Up” button to complete the account creation process.
Once you have successfully created your account, you will be prompted to verify your email address. Check your email inbox for a verification link from Swann Security and follow the instructions to verify your account.
After verifying your account, you can proceed to the next step of adding your cameras to the Swann Security app.
Note: It is important to keep your account credentials safe and secure. Avoid sharing your account information with others and consider enabling two-factor authentication for an extra layer of security.
Now that you have successfully created an account in the Swann Security app, let’s move on to the next step of adding your cameras to the app.
Step 3: Adding Cameras to the App
Now that you have your Swann Security app downloaded and your account set up, it’s time to add your cameras to the app. This process allows you to connect and control your cameras from your phone, providing you with easy access to live camera feeds and recorded footage.
To add your cameras to the Swann Security app, follow these steps:
- Open the Swann Security app on your phone and log in to your account.
- In the app’s dashboard, look for the option to add a new camera. This may vary slightly depending on the app version, but it is typically represented as a plus (+) button or an “Add Camera” option.
- Tap on the “Add Camera” option, and you will be prompted to enter the camera’s details.
- Enter the necessary information for your camera, such as the name of the camera, the location where it is installed, and its unique identifier, which can usually be found on the camera or in the camera’s packaging.
- If required, set a password for your camera. This password will be used to securely access the camera’s settings and video feeds.
- Once you have entered all the necessary information, tap on the “Save” or “Add” button to add the camera to your app.
- Repeat this process for each additional camera you want to connect to the app.
After adding your cameras, the app will attempt to connect to them and establish a secure connection. This process may take a few moments, so be patient.
Once the cameras are successfully added and connected to the app, you will be able to see them listed in the app’s camera list or dashboard. From there, you can access live camera feeds, view recorded footage, and adjust camera settings.
Now that your cameras are added to the Swann Security app, let’s move on to the next step of connecting the cameras to your Wi-Fi network.
Step 4: Connecting Cameras to Your Wi-Fi Network
Once you have added your cameras to the Swann Security app, the next step is to connect the cameras to your Wi-Fi network. This is crucial for enabling remote access and real-time monitoring of your cameras from your phone.
Here’s how you can connect your cameras to your Wi-Fi network:
- Open the Swann Security app on your phone and select the camera you want to connect to your Wi-Fi network.
- In the camera’s settings menu, look for the option to connect to Wi-Fi or network settings.
- Tap on the Wi-Fi option and select your home Wi-Fi network from the list of available networks.
- Enter your Wi-Fi network’s password when prompted.
- Wait for the camera to establish a connection with your Wi-Fi network. This may take a few moments.
- Once the camera is successfully connected to your Wi-Fi network, you will see a confirmation message in the app.
- Repeat this process for each camera you want to connect to your Wi-Fi network.
It is important to ensure that your Wi-Fi network has a strong and stable signal in the area where your cameras are installed. This will help to maintain a reliable connection and minimize any disruptions in the camera’s performance.
If you encounter any issues while connecting your cameras to your Wi-Fi network, make sure to check the following:
- Ensure that your Wi-Fi network is functioning properly and has internet access.
- Verify that you are entering the correct Wi-Fi network name and password.
- Keep the camera within range of the Wi-Fi router to maintain a strong signal.
- Restart your router and camera if needed.
Once your cameras are successfully connected to your Wi-Fi network, you are now ready to access live camera feeds and control your cameras from your phone.
In the next step, we will show you how to access the live camera feeds on your phone.
To connect Swann security cameras to your phone, download the Swann Security app, create an account, and follow the in-app instructions to add your cameras to the app. Make sure your phone and cameras are on the same Wi-Fi network for the initial setup.
Step 5: Accessing Live Camera Feeds on Your Phone
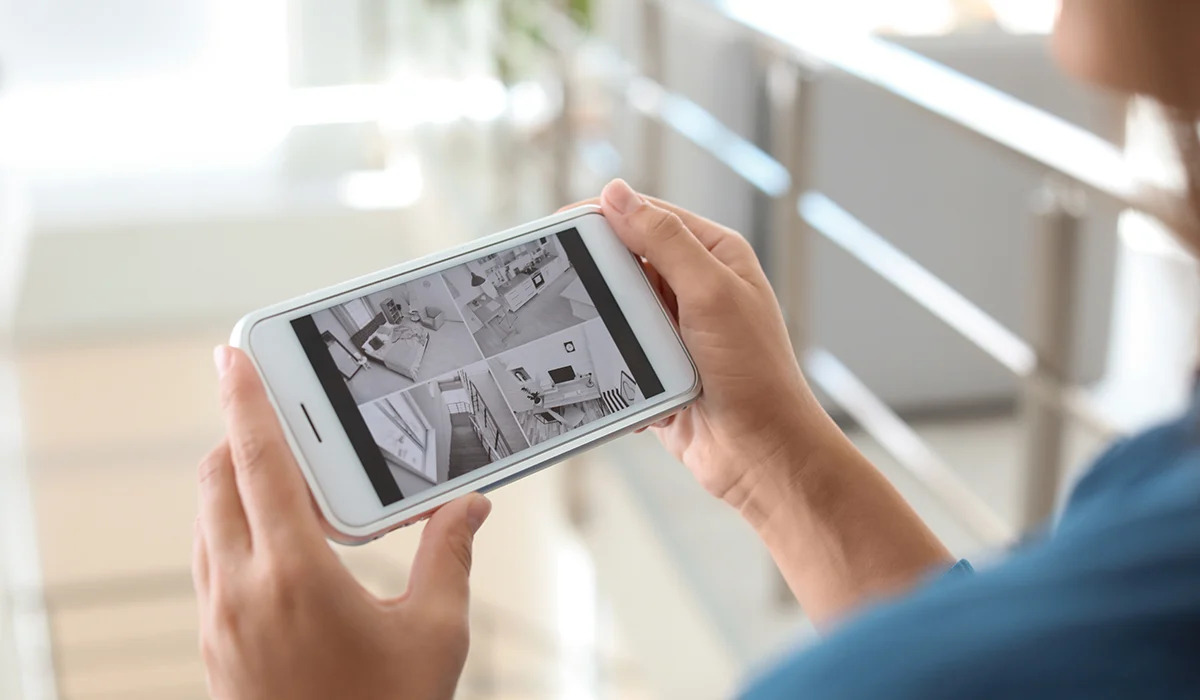
Now that you have connected your Swann security cameras to your Wi-Fi network, it’s time to access the live camera feeds on your phone. With the Swann Security app, you can easily monitor your cameras and keep an eye on your home or property from anywhere at any time.
To access the live camera feeds on your phone, follow these steps:
- Open the Swann Security app on your phone.
- Login to your account if prompted.
- On the app’s dashboard or camera list, select the camera you want to view the live feed from.
- The app will connect to the camera and display the live camera feed on your phone’s screen. Depending on your camera and app settings, you may be able to view the feed in full screen or in a split-screen mode if you have multiple cameras.
- You can now monitor the live camera feed, take screenshots, or even record the footage directly from the app.
With the Swann Security app, you can also access additional features and functionalities, such as:
- Viewing recorded footage from your cameras.
- Adjusting camera settings, including motion detection sensitivity, recording schedules, and more.
- Setting up push notifications to receive alerts on your phone when motion or activity is detected by the cameras.
- Enabling two-way audio to communicate with people near the camera.
- And much more, depending on the specific features of your Swann security camera model.
Now that you know how to access the live camera feeds on your phone, you can stay connected and keep an eye on your home or property no matter where you are.
In the next step, we will explore how to adjust camera settings according to your preferences.
Step 6: Adjusting Camera Settings
After successfully connecting your Swann security cameras to your phone and accessing the live camera feeds, you may want to customize and fine-tune the camera settings according to your preferences. The Swann Security app provides a range of options to help you optimize your camera’s performance and enhance your home security.
To adjust the camera settings, follow these steps:
- Open the Swann Security app on your phone.
- Login to your account if prompted.
- Select the camera you want to adjust the settings for.
- Tap on the settings icon or menu corresponding to the selected camera. This icon is usually represented by a gear or cogwheel symbol.
- Explore the various settings available, such as:
- Video quality: Adjust the resolution and image quality of the camera.
- Recording settings: Configure the recording mode, duration, and storage options.
- Motion detection: Set up motion detection sensitivity, detection zones, and notifications when motion is detected.
- Alert settings: Enable push notifications or email alerts for specific events or activities detected by the camera.
- Night vision: Adjust the sensitivity or mode of the camera’s night vision capabilities.
- Audio settings: Enable or adjust two-way audio functionality.
- Privacy zones: Configure areas where the camera’s view should be blocked for privacy reasons.
Each Swann security camera model may have varying settings and features available, so make sure to explore the options specific to your camera within the Swann Security app.
Remember to save your changes after adjusting the camera settings to ensure that the new configurations are applied.
By customizing the camera settings, you can tailor the functionality of your Swann security cameras to suit your specific needs and preferences. Whether you want to prioritize motion detection, optimize video quality, or fine-tune the camera’s behavior, the Swann Security app offers the flexibility to make these adjustments.
In the next and final step, we will provide some troubleshooting tips to help you overcome any potential challenges you may encounter during the setup process.
Step 7: Troubleshooting Tips
While setting up and connecting your Swann security cameras to your phone, you may encounter some common challenges. Don’t worry, as we have compiled a list of troubleshooting tips to help you overcome these issues and ensure a smooth and successful setup.
Here are some troubleshooting tips to consider:
- Check your Wi-Fi network: Ensure that your Wi-Fi network is working properly and that you have a stable internet connection. Restart your router if necessary.
- Positioning of the cameras: Ensure that the cameras are within range of your Wi-Fi network and positioned in areas with a strong signal. If you are experiencing connection issues, try moving the cameras closer to the Wi-Fi router.
- Verify camera credentials: Double-check that you have entered the correct username and password for your cameras. If you are having trouble logging in, reset the camera password and try again.
- Power cycle the cameras: Sometimes, power cycling the cameras can help resolve connectivity issues. Simply unplug the cameras from the power source, wait a few seconds, and plug them back in.
- Update the app and camera firmware: Ensure that you are using the latest version of the Swann Security app and that your cameras have the latest firmware installed. Check for any available updates and install them if necessary.
- Reset the cameras: If all else fails, you can try resetting the cameras to their factory settings. Consult the camera’s manual or the Swann support website for instructions on how to perform a reset.
- Contact support: If you are still experiencing issues, don’t hesitate to reach out to Swann customer support. They can provide further assistance and troubleshooting guidance specific to your camera model.
Remember, setting up and connecting security cameras can sometimes involve technical complexities. It’s important to remain patient and follow the instructions carefully. With the right troubleshooting steps, you’ll be able to overcome any challenges and enjoy the benefits of your Swann security cameras connected to your phone.
Congratulations! You have reached the end of the setup guide for connecting Swann security cameras to your phone. By following these steps, you are now able to monitor your home or property with ease, even when you’re away.
Keep in mind that home security is an ongoing process, and it’s always a good idea to stay informed about the latest security practices and updates from Swann. Regularly check the app for any firmware updates or new features.
Enjoy the peace of mind that comes with having a reliable and accessible home security system right at your fingertips!
Should you have any additional questions, feel free to consult the Swann support website or contact their customer support for further assistance.
Stay safe and secure!
Conclusion
In conclusion, connecting your Swann security cameras to your phone offers a convenient and effective way to protect and monitor your home or property. By following the steps outlined in this guide, you can easily set up and access your cameras from your phone, providing you with real-time monitoring and peace of mind.
From downloading the Swann Security app to creating an account, adding cameras, connecting them to your Wi-Fi network, and adjusting the settings, each step plays a crucial role in ensuring a seamless and efficient setup process. Troubleshooting tips are also provided to help you overcome any challenges that may arise.
The ability to access live camera feeds, view recorded footage, and customize camera settings provides you with an enhanced level of control and security. You can monitor your home even when you’re away, receive instant alerts for any detected motion, and communicate through two-way audio if needed.
Remember to keep your account credentials secure and update your cameras and app to the latest firmware versions for optimal performance and security. Regularly check for any new features and stay updated on home security best practices.
Whether you’re looking to protect your family, deter potential intruders, or keep an eye on your property, Swann security cameras connected to your phone provide the tools you need to maintain a safe and secure environment.
By following this comprehensive guide, you now have the knowledge and confidence to connect your Swann security cameras to your phone and enjoy the benefits of remote monitoring and control. Take the next step in enhancing your home security and enjoy the peace of mind that comes with it.
Stay safe, stay vigilant, and protect what matters most!
Now that you've mastered setting up your Swann security cameras, consider exploring the benefits of having a robust home security system. Securing your residence offers peace of mind and can deter potential threats. Our detailed guide on why implementing security measures is critical for every household provides insights that could change the way you view your home's safety. Don’t miss out; learn more about protecting your living space today.
Frequently Asked Questions about How To Connect Swann Security Cameras To Phone
Was this page helpful?
At Storables.com, we guarantee accurate and reliable information. Our content, validated by Expert Board Contributors, is crafted following stringent Editorial Policies. We're committed to providing you with well-researched, expert-backed insights for all your informational needs.