Articles
How To Remove A Eufy Doorbell
Modified: October 20, 2024
Learn how to remove a Eufy Doorbell with our step-by-step guide. Read our articles for helpful tips and tricks.
(Many of the links in this article redirect to a specific reviewed product. Your purchase of these products through affiliate links helps to generate commission for Storables.com, at no extra cost. Learn more)
Introduction
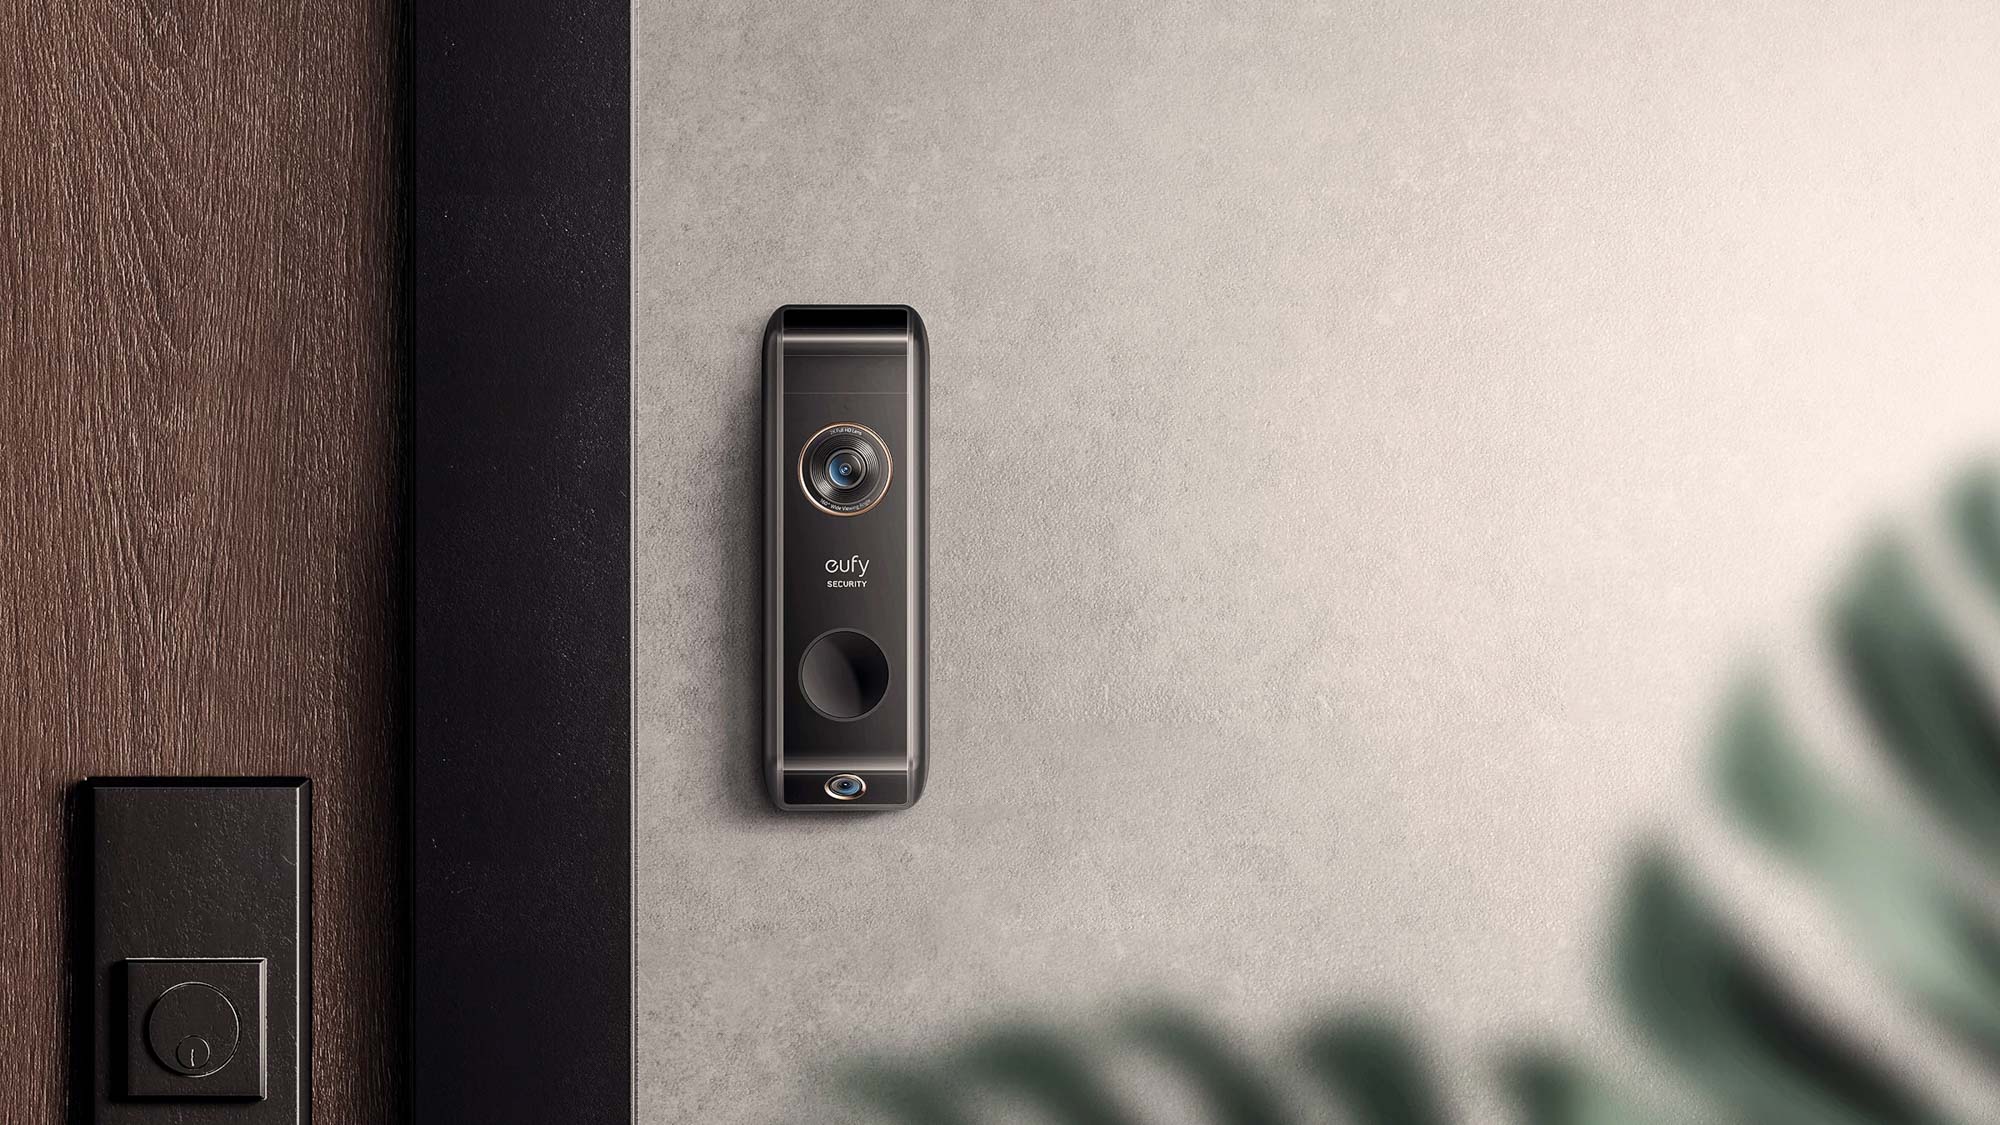
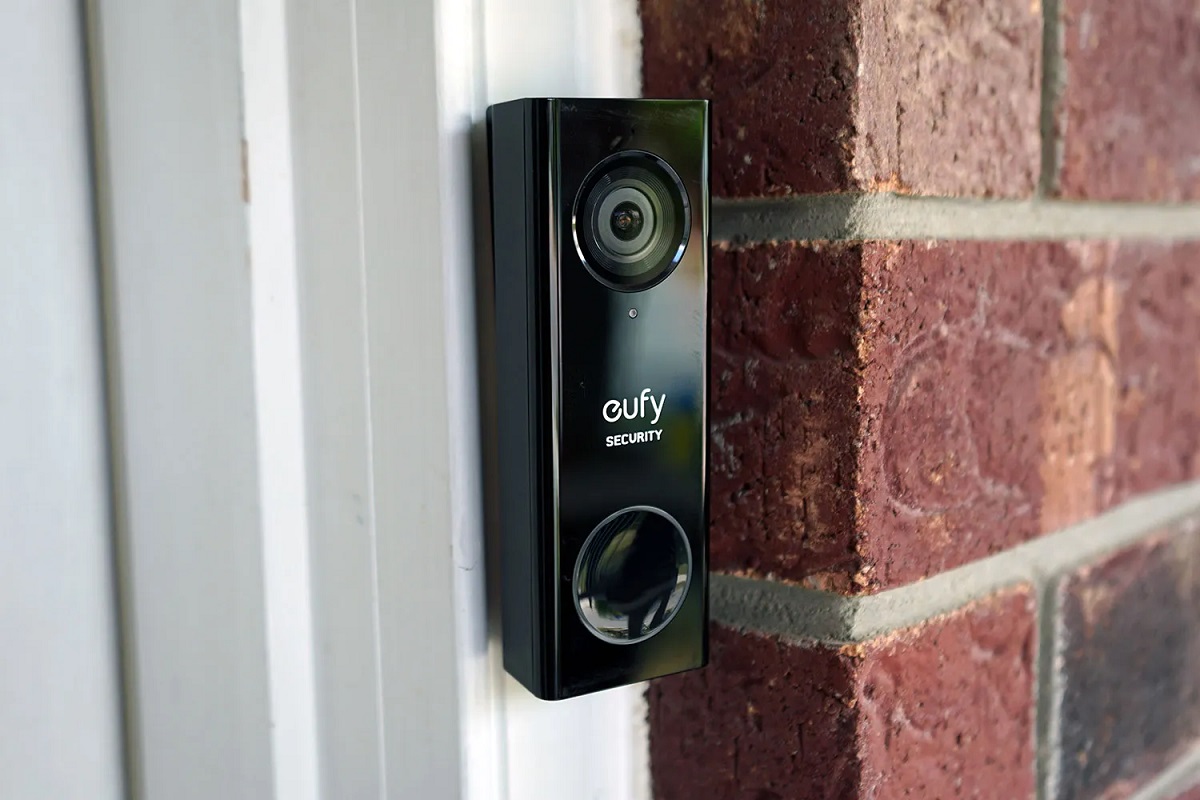
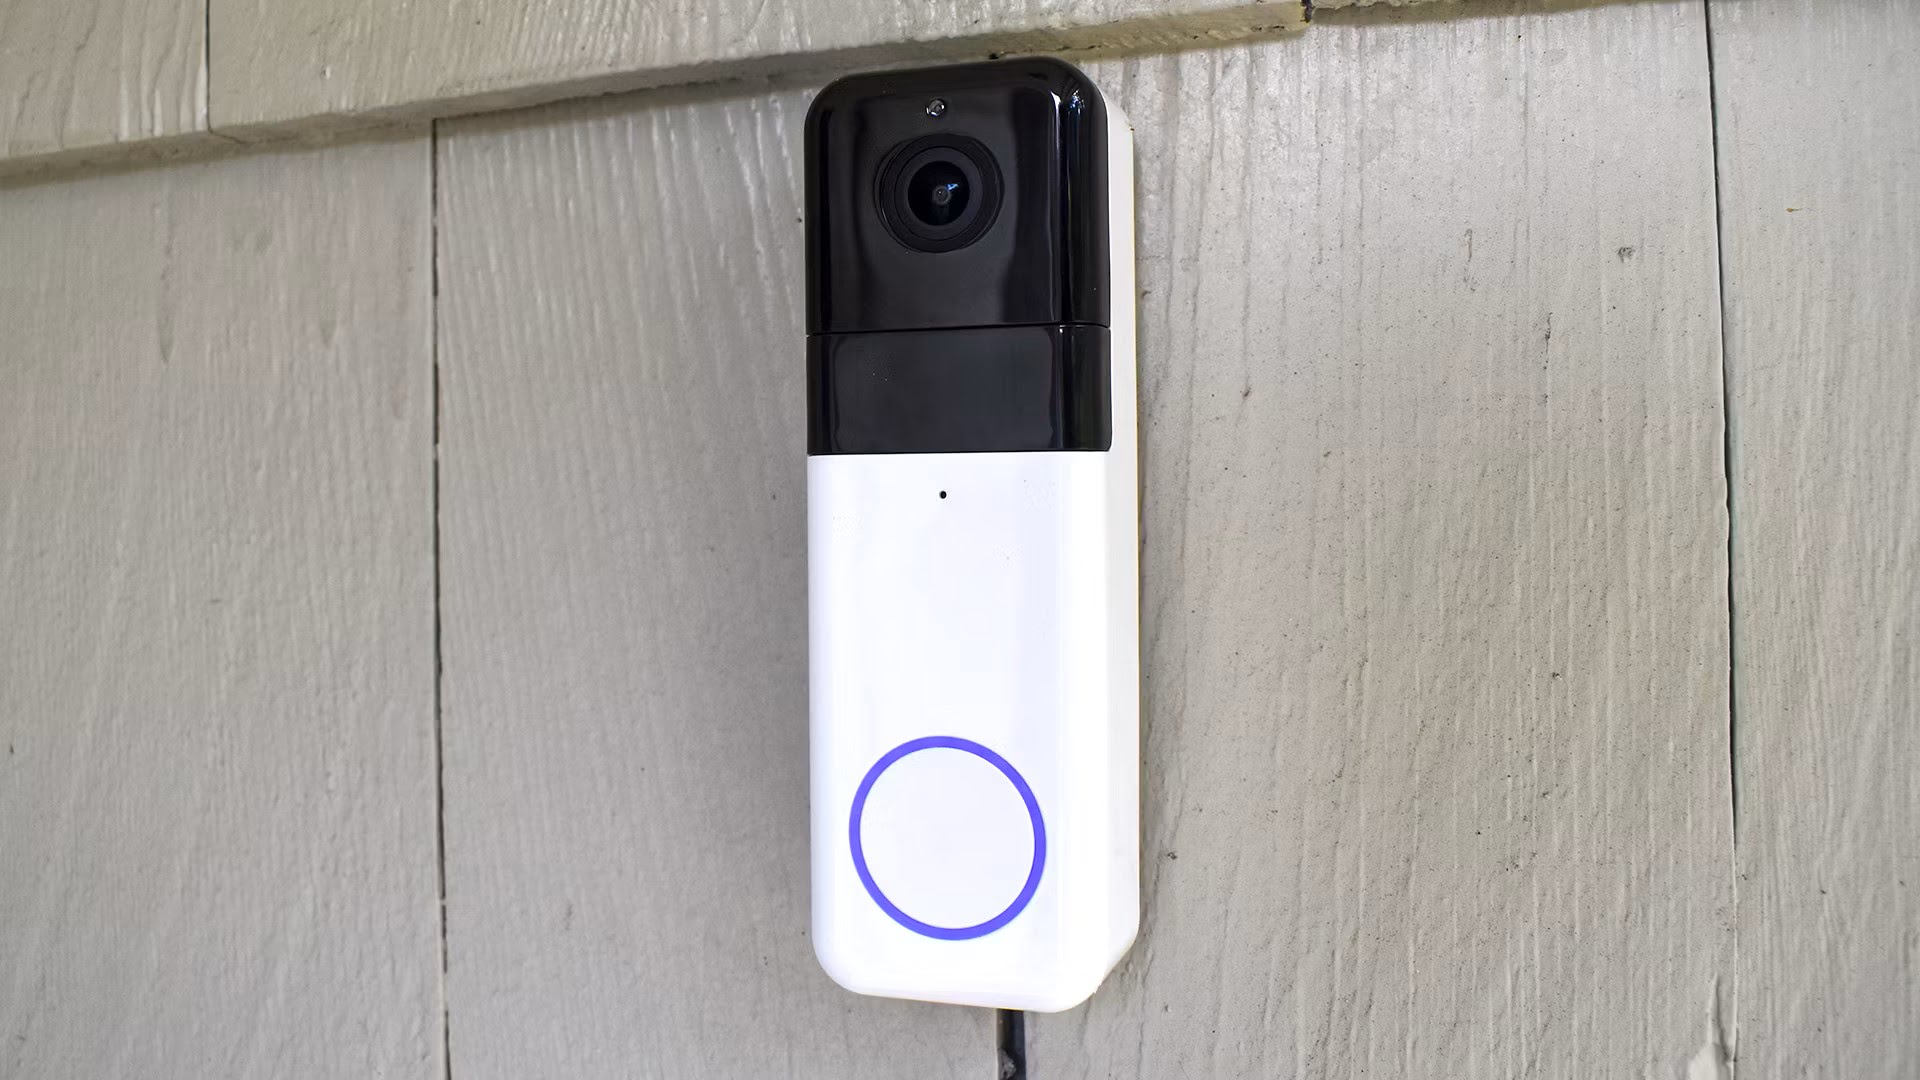
Welcome to our guide on how to remove a Eufy doorbell. Whether you’re upgrading to a new doorbell model, relocating your existing one, or simply need to remove it for maintenance purposes, this step-by-step tutorial will provide you with the guidance you need.
Eufy doorbells are known for their sleek design, easy installation, and advanced features. However, situations may arise where you need to remove your Eufy doorbell. But don’t worry – we’ve got you covered. By following these simple steps, you’ll be able to successfully remove your Eufy doorbell in no time.
Please note that before you proceed with removing the doorbell, it’s important to consider safety precautions. Ensure that you turn off the power supply to the doorbell to prevent electric shock or damage to the system. Additionally, have the necessary tools and supplies ready to make the process smoother.
Let’s dive into the step-by-step instructions to remove your Eufy doorbell and explore the necessary precautions along the way.
Key Takeaways:
- Safely remove your Eufy doorbell by following step-by-step instructions, prioritizing safety, and gathering necessary tools. Consider installing a cover plate for a polished look after removal.
- Prioritize safety by turning off the power, disconnecting wires, and removing the Eufy doorbell from its mounting bracket. Consider installing a cover plate for a seamless finish.
Read more: How To Reset Eufy Doorbell
Step 1: Gather necessary supplies
Before you begin the process of removing your Eufy doorbell, it’s important to gather all the necessary supplies and tools. Having these items readily available will make the removal process smoother and more efficient. Here’s a list of the supplies you’ll need:
- Flathead screwdriver
- Philips screwdriver
- Wire nuts or electrical tape
- Voltage tester (optional, but recommended)
Ensure that you have these supplies on hand before you proceed with the removal process. It’s also a good idea to wear safety gloves and goggles to protect yourself during the procedure. Once you have everything ready, we can move on to the next step.
Step 2: Turn off the power
Before you start working on removing your Eufy doorbell, it is crucial to turn off the power supply to ensure your safety. Follow these steps to turn off the power:
- Locate your breaker box or fuse box. It is usually found near the main entrance or in the basement of your home.
- Open the breaker box or fuse box cover.
- Search for the circuit breaker that powers the doorbell. Look for labels or markings that indicate the doorbell circuit.
- Flip the switch connected to the doorbell circuit to the “off” position. This will cut off the power supply.
Once you have turned off the power, it is essential to double-check if the doorbell is no longer functional. Test the doorbell by pressing the doorbell button. If it does not ring or light up, then you have successfully turned off the power. If the doorbell still operates, return to the breaker box and try again.
Remember, safety should always be your top priority when working with electrical systems. Turning off the power prevents potential accidents or electrical shocks during the removal process.
With the power supply successfully turned off, we can now proceed to the next step: disconnecting the doorbell wires.
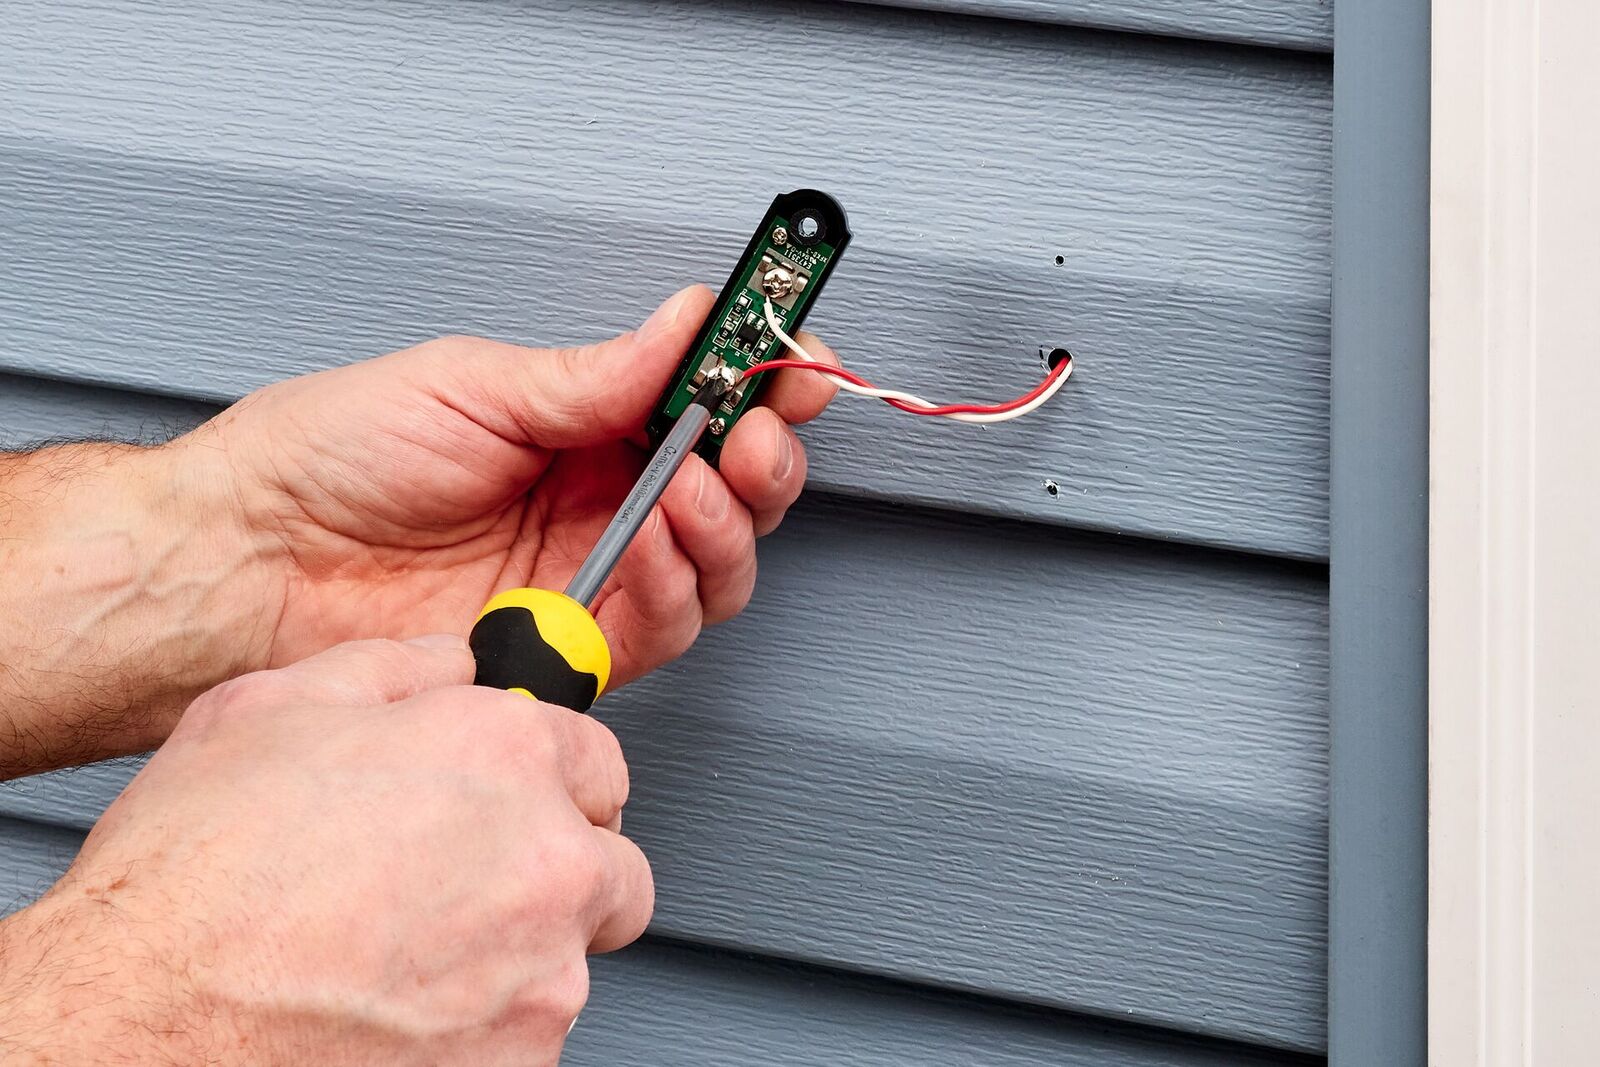
Step 3: Disconnect the doorbell wires
Now that you have turned off the power, it’s time to disconnect the doorbell wires. Follow these steps:
- Locate the doorbell chime unit inside your home. It is usually found near the main entrance or in a hallway.
- Remove the cover of the doorbell chime unit by unscrewing or gently prying it open.
- Inside the doorbell chime unit, you will see a set of wires connected to terminal screws. These wires are typically color-coded – there will be a red wire or a wire marked “R,” a white wire or a wire marked “W,” and possibly other wires as well.
- Take a picture or make a note of the wire connections. This will help you reconnect the wires correctly when installing a new doorbell or if you decide to reinstall the same doorbell later.
- Using a screwdriver, loosen the terminal screws that secure the wires. This will detach the wires from the doorbell chime unit.
- Once the wires are disconnected from the chime unit, carefully feed them through the hole in the mounting bracket, keeping them out of the way.
By disconnecting the doorbell wires from the chime unit, you have successfully prepared the doorbell for removal. But we aren’t finished just yet – there are a few more steps to go. Next, we will remove the doorbell from the mounting bracket.
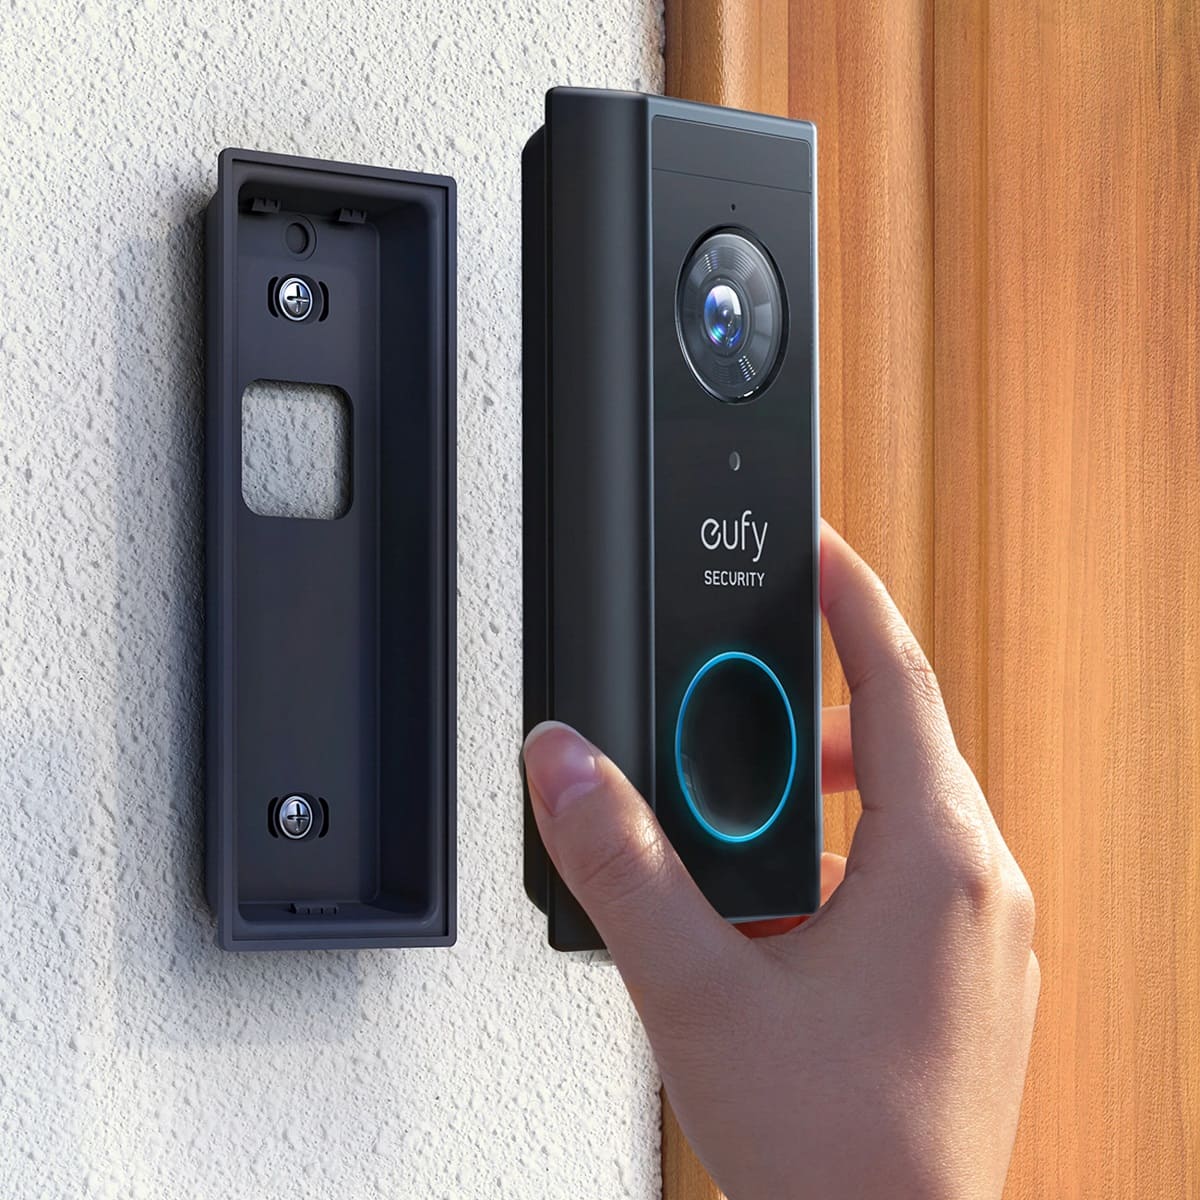
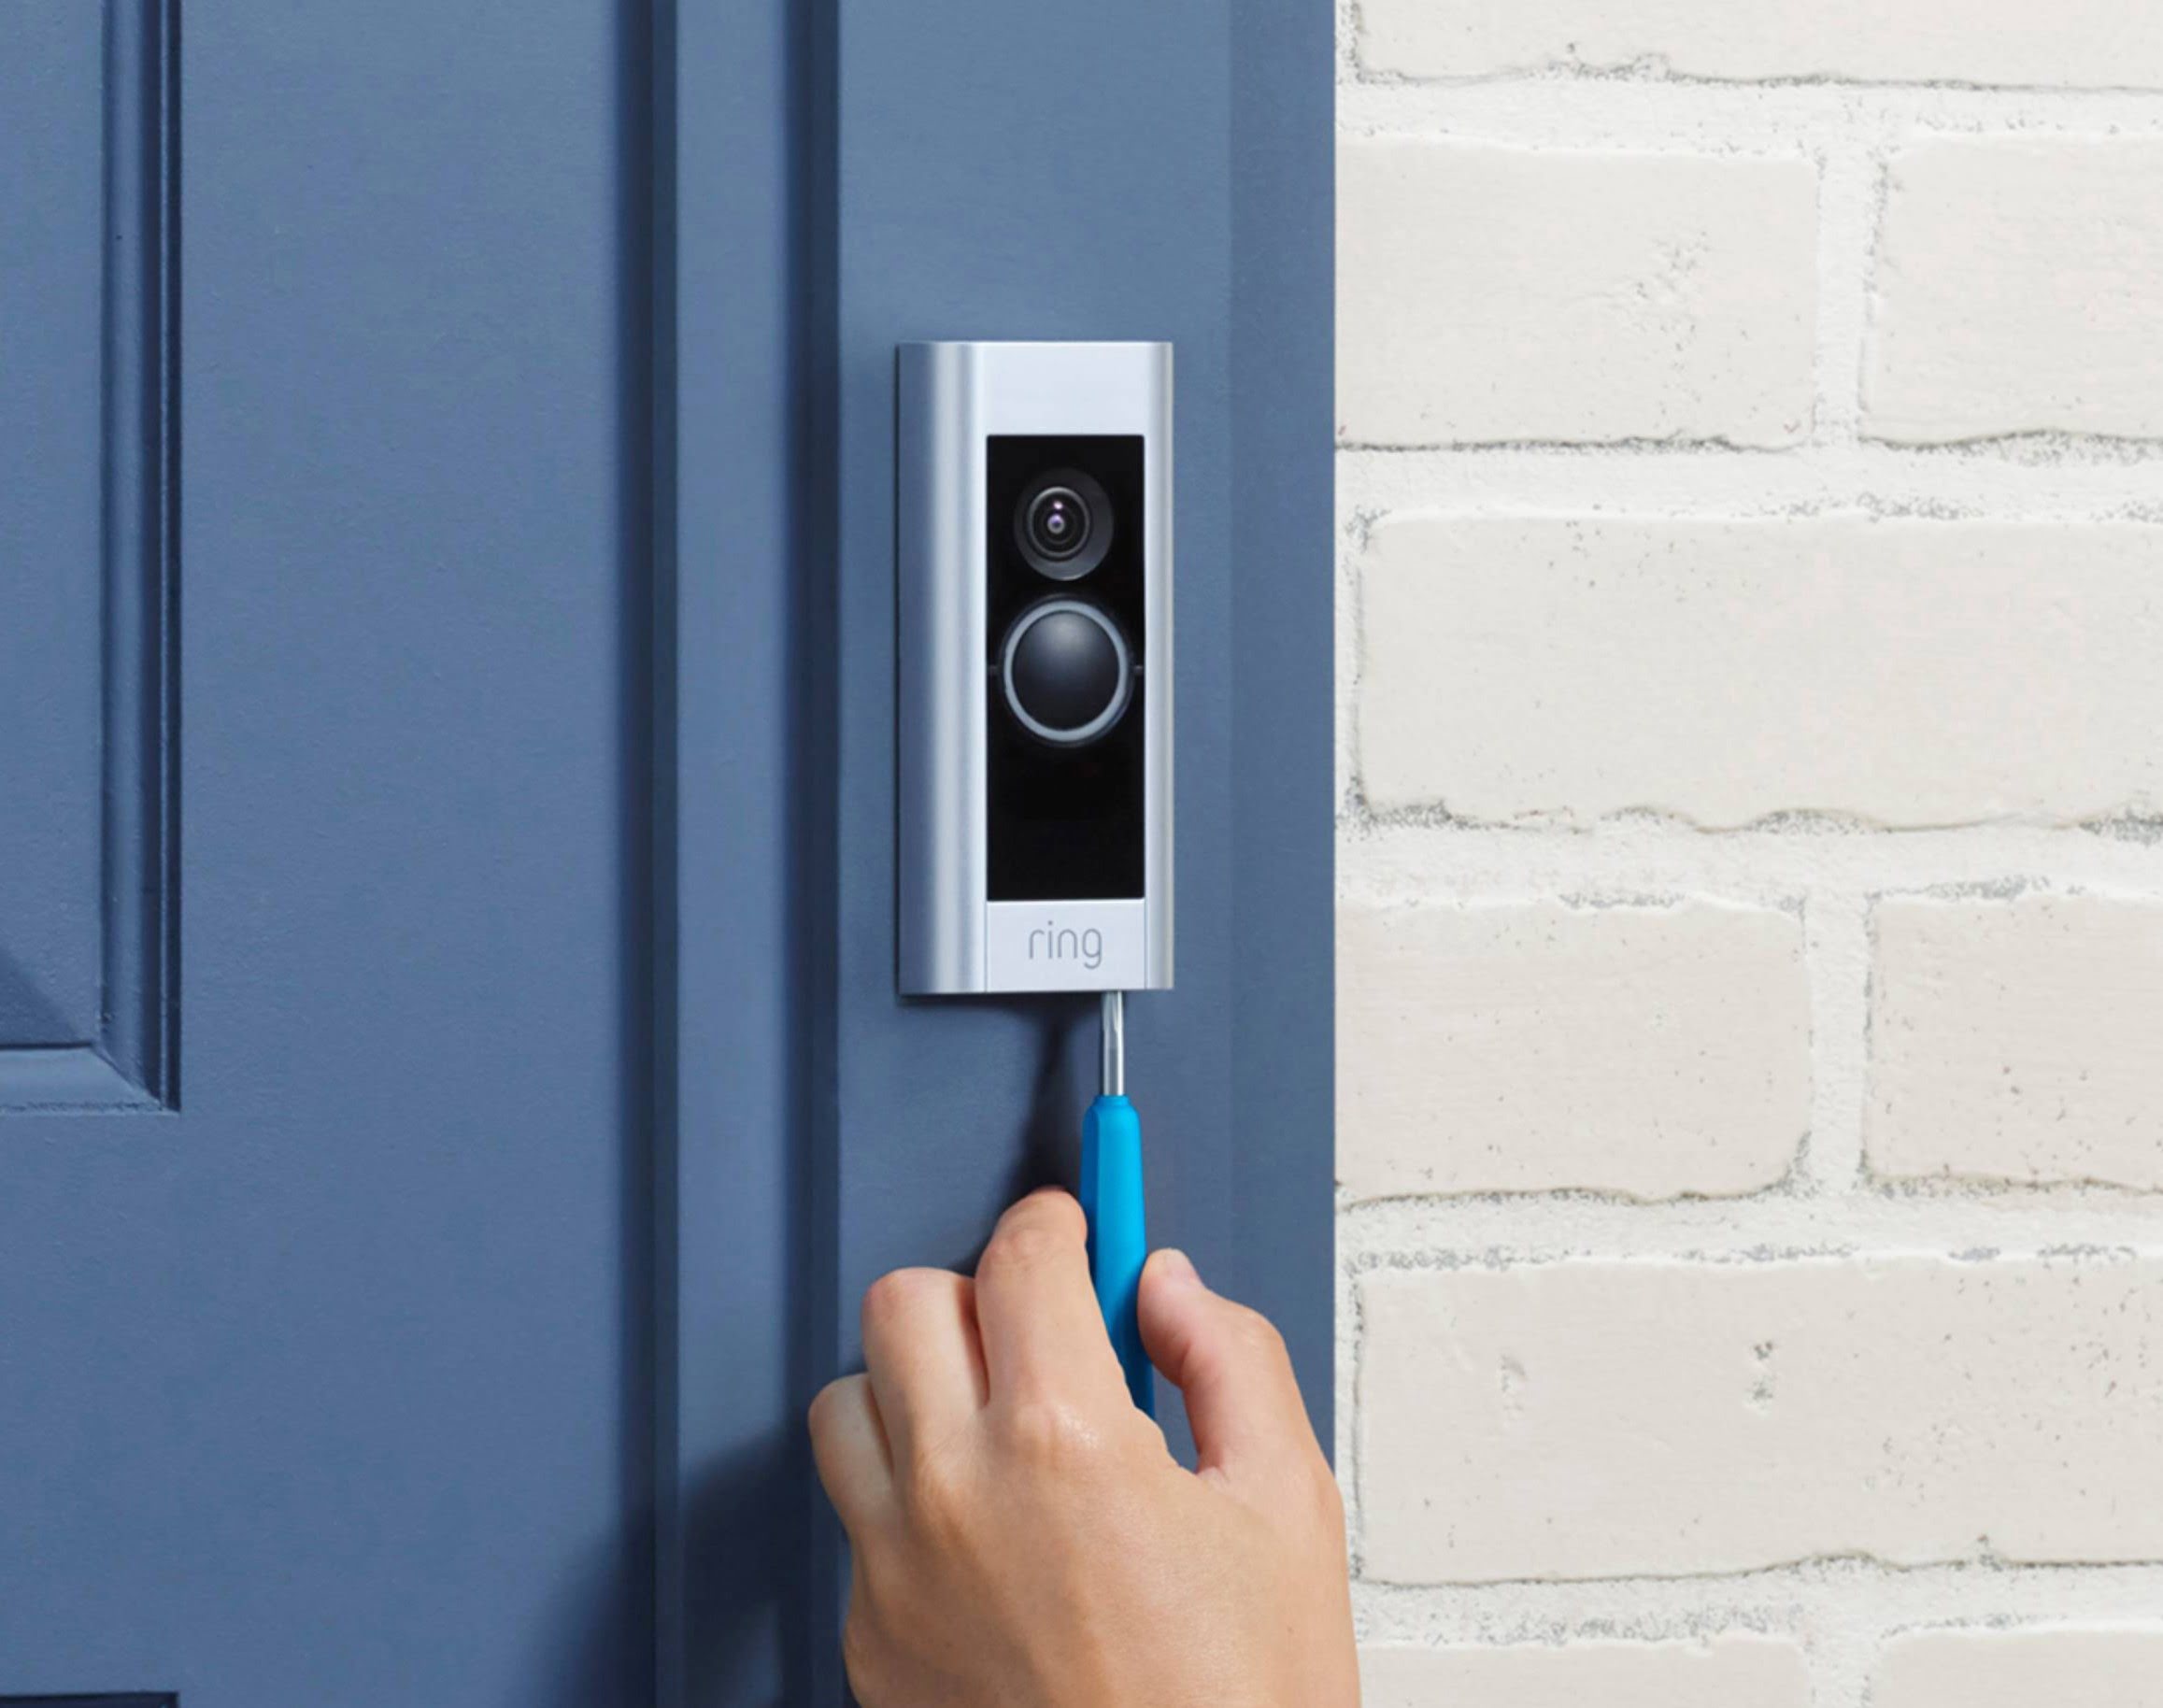
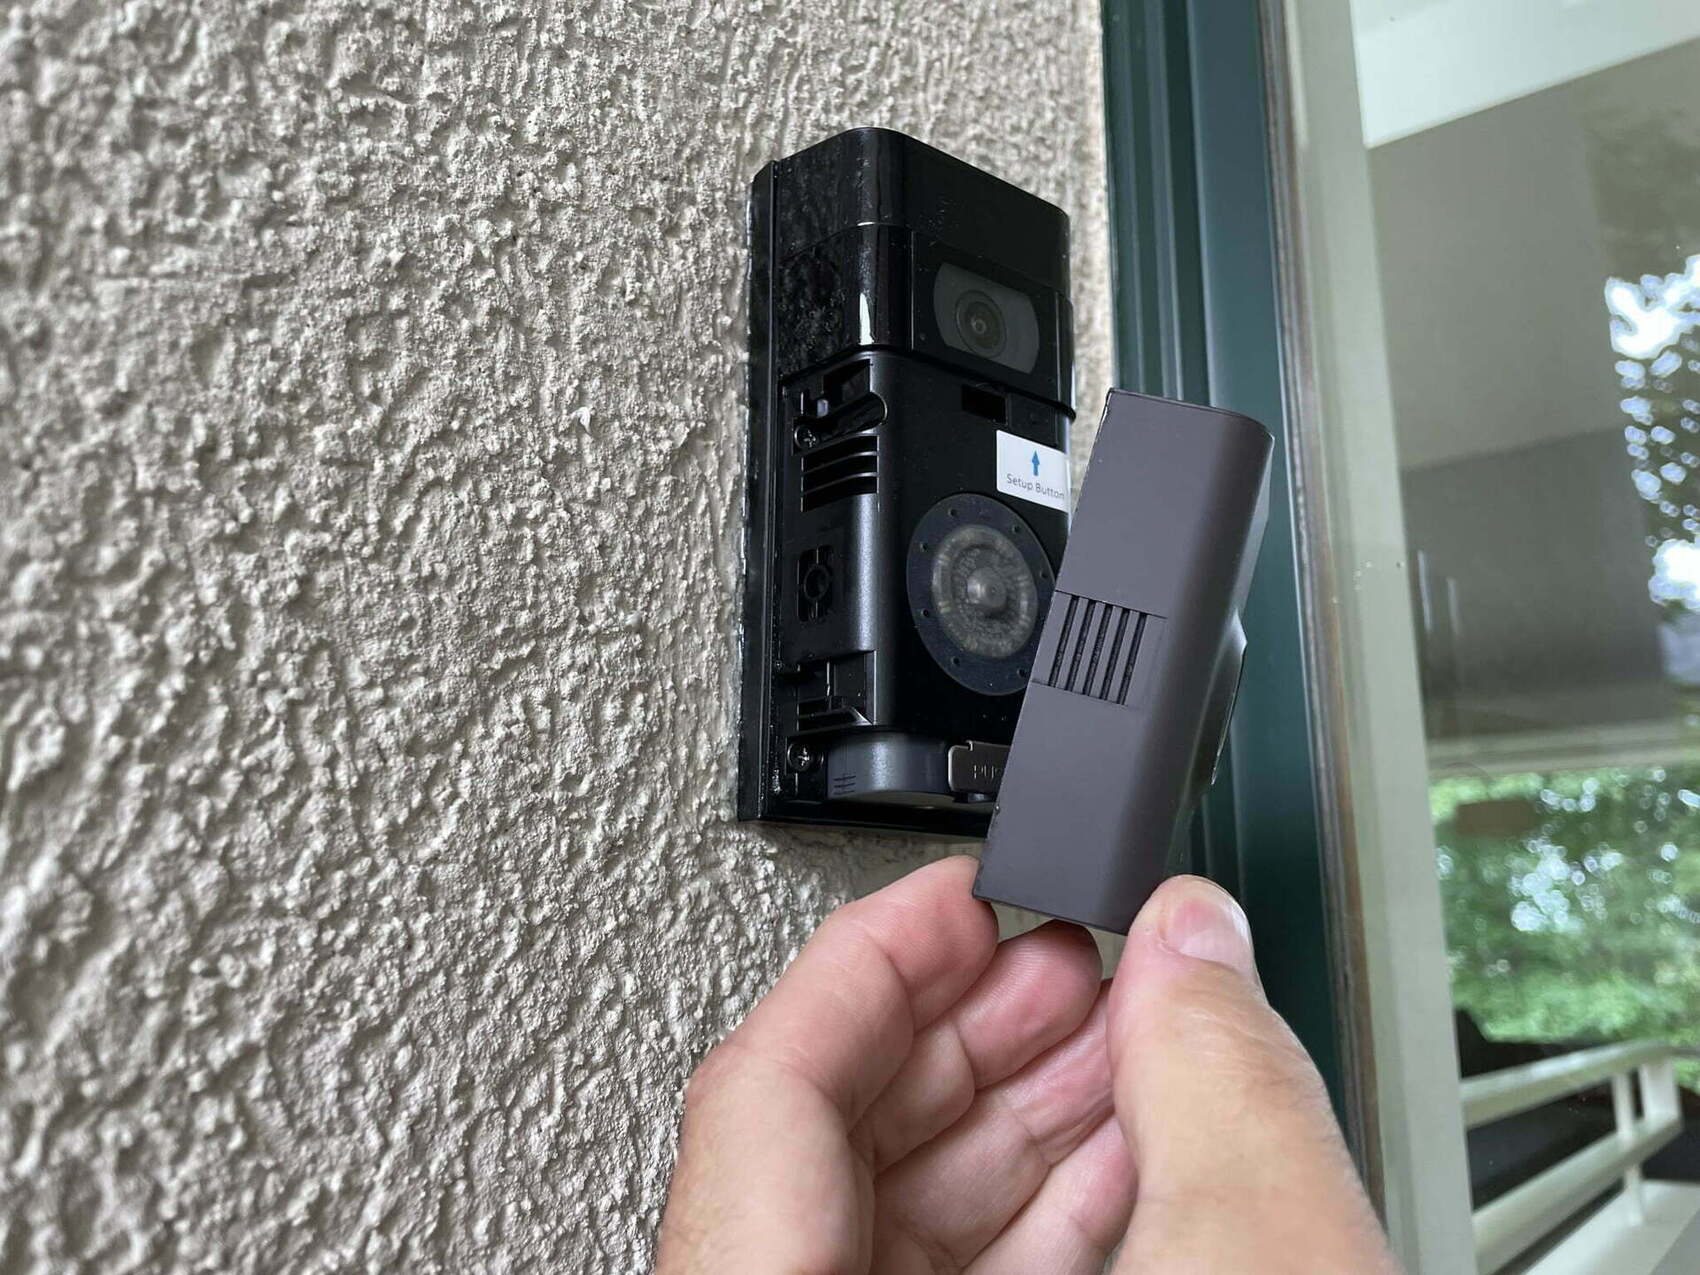
Step 4: Remove the doorbell from the mounting bracket
Now that the doorbell wires are disconnected, it’s time to remove the Eufy doorbell from its mounting bracket. Follow these steps:
- Locate the mounting bracket that holds the doorbell in place. It is usually attached to the wall or door frame near your front entrance.
- Inspect the mounting bracket to identify any screws or clips securing the doorbell in place.
- Using a screwdriver, carefully remove the screws or unclip the doorbell from the mounting bracket. Pay attention to the orientation of the doorbell as you remove it.
- Once the doorbell is detached from the mounting bracket, gently pull it away from the wall or door frame.
Take extra care during this step to avoid damaging the doorbell or the mounting bracket. If you encounter any difficulties, refer to the Eufy doorbell’s user manual for specific instructions on removing the device.
With the doorbell removed from the mounting bracket, we are now ready to proceed to the next step: disconnecting the wires from the doorbell unit.
When removing a Eufy doorbell, make sure to turn off the power supply to the doorbell first. Then, use a screwdriver to remove the mounting screws and gently disconnect the wires. Finally, carefully lift the doorbell off the mounting bracket.
Read more: How To Charge Eufy Doorbell
Step 5: Disconnect the wires from the doorbell unit
Now that the doorbell is removed from the mounting bracket, it’s time to disconnect the remaining wires from the doorbell unit itself. Follow these steps:
- Hold the doorbell unit in your hand, ensuring that you have a firm grip on it.
- Inspect the back of the doorbell unit to locate the wire terminals. These terminals are where the wires from the home’s electrical system are connected.
- Using a screwdriver, loosen the terminal screws that secure the wires to the doorbell unit.
- Gently pull the wires out of the terminal screws, disconnecting them from the doorbell unit.
Be careful when disconnecting the wires to avoid damaging them or the doorbell unit. Take note of the wire colors and their corresponding terminal connections, as this will be helpful when installing a new doorbell or reconnecting the wires later. Additionally, if the wires are connected using wire nuts or electrical tape, safely remove them following the manufacturer’s instructions.
With the wires now disconnected from the doorbell unit, we are ready for the next step: installing a cover plate (optional).
Step 6: Install a cover plate (optional)
Installing a cover plate is an optional step in the process of removing a Eufy doorbell. A cover plate can be used to cover the hole left behind by the removed doorbell, providing a clean and finished look to your wall or door frame. If you prefer to leave the hole as is or if you plan to install a new doorbell immediately, you can skip this step.
If you choose to install a cover plate, follow these steps:
- Measure the dimensions of the hole left by the removed doorbell.
- Purchase a cover plate that matches the size and style of the hole. There are various options available, including blank cover plates or ones designed specifically for covering doorbell holes.
- Position the cover plate over the hole, ensuring it aligns properly and covers the entire opening.
- Using a screwdriver, secure the cover plate in place by tightening the screws provided with the cover plate.
Make sure the cover plate is securely fastened and flush with the wall or door frame. Double-check for any gaps or misalignments, and adjust the cover plate if necessary.
Installing a cover plate is a simple yet effective way to enhance the aesthetics of your wall or door frame after removing a Eufy doorbell. However, it’s important to note that this step is optional and can be skipped if desired.
Now that the cover plate (if installed) is in place, we are ready for the final step: turning on the power.
Step 7: Turn on the power
With the Eufy doorbell successfully removed and any optional cover plate installed, it’s time to turn the power back on. Follow these steps:
- Return to the breaker box or fuse box in your home.
- Locate the circuit breaker that controls the power supply to the doorbell.
- Flip the switch connected to the doorbell circuit back to the “on” position.
As you turn on the power, it’s important to listen and observe for any signs of the doorbell receiving power. Check if the doorbell chime unit rings or if the doorbell unit itself lights up. This will ensure that the doorbell is properly connected and functioning.
If the doorbell does not ring or light up, double-check the wire connections and ensure they are properly secured in the terminal screws. If needed, refer back to the earlier steps to reconnect the wires correctly.
Now that the power is restored and the doorbell is ready for use, you have successfully completed the process of removing your Eufy doorbell. You can now proceed with installing a new doorbell or leave the space as is if you no longer require a doorbell in that location.
Remember, if you plan to install a new doorbell, consult the manufacturer’s instructions and follow the recommended installation process. This will ensure a smooth and successful installation of your new doorbell.
We hope this step-by-step guide has been helpful in assisting you with the removal of your Eufy doorbell. If you have any further questions or need additional assistance, don’t hesitate to reach out for support.
Happy removing!
Conclusion
Removing a Eufy doorbell can be a straightforward process with the right guidance and tools. By following our step-by-step instructions, you can safely and effectively remove your Eufy doorbell for various reasons, including upgrading, relocation, or maintenance purposes.
Remember to always prioritize safety by turning off the power before starting the removal process. Gather the necessary supplies and tools, such as screwdrivers, wire nuts or electrical tape, and a voltage tester (optional but recommended). Take your time to disconnect the doorbell wires, remove the doorbell from the mounting bracket, and disconnect the wires from the doorbell unit itself.
If desired, you can install a cover plate to provide a finished look to the hole left behind by the removed doorbell. Additionally, ensure that you turn the power back on after completing the removal process and verify that the doorbell receives power and functions correctly.
We hope that this guide has been helpful to you in successfully removing your Eufy doorbell. If you have any questions or need further assistance, don’t hesitate to reach out for support or consult the manufacturer’s instructions. Whether you are installing a new doorbell or leaving the space as is, we wish you the best of luck with your home improvement journey.
Thank you for reading and happy removing!
Frequently Asked Questions about How To Remove A Eufy Doorbell
Was this page helpful?
At Storables.com, we guarantee accurate and reliable information. Our content, validated by Expert Board Contributors, is crafted following stringent Editorial Policies. We're committed to providing you with well-researched, expert-backed insights for all your informational needs.


0 thoughts on “How To Remove A Eufy Doorbell”