Home>Furniture & Design>Outdoor Furniture>How To Record On Wyze Outdoor Camera

Outdoor Furniture
How To Record On Wyze Outdoor Camera
Published: January 13, 2024
Learn how to record on your Wyze outdoor camera with our easy step-by-step guide. Capture every moment with outdoor furniture, furniture, and design.
(Many of the links in this article redirect to a specific reviewed product. Your purchase of these products through affiliate links helps to generate commission for Storables.com, at no extra cost. Learn more)
Introduction
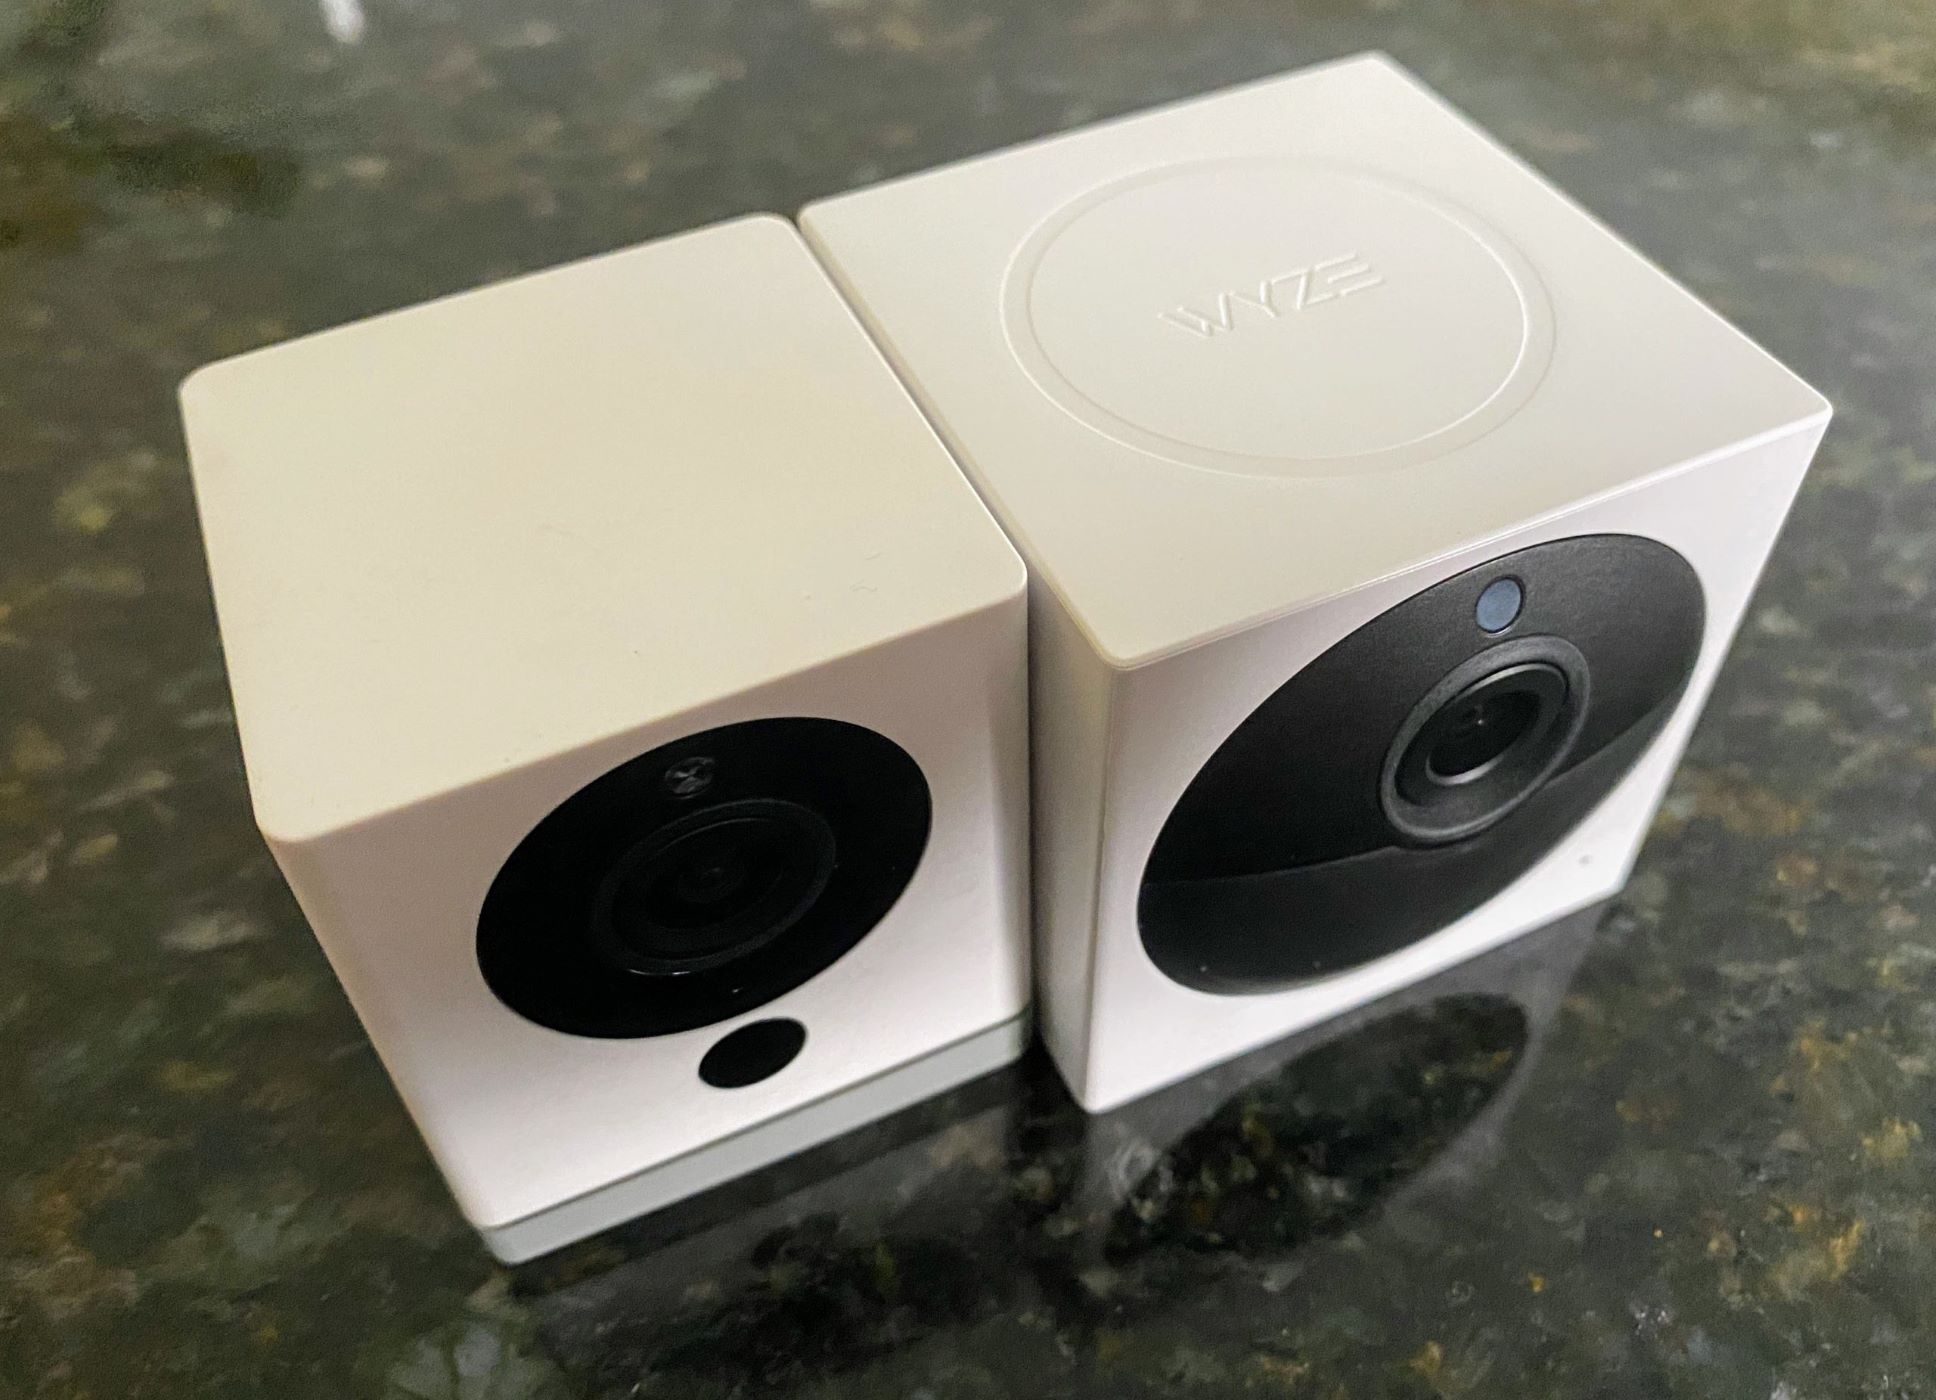
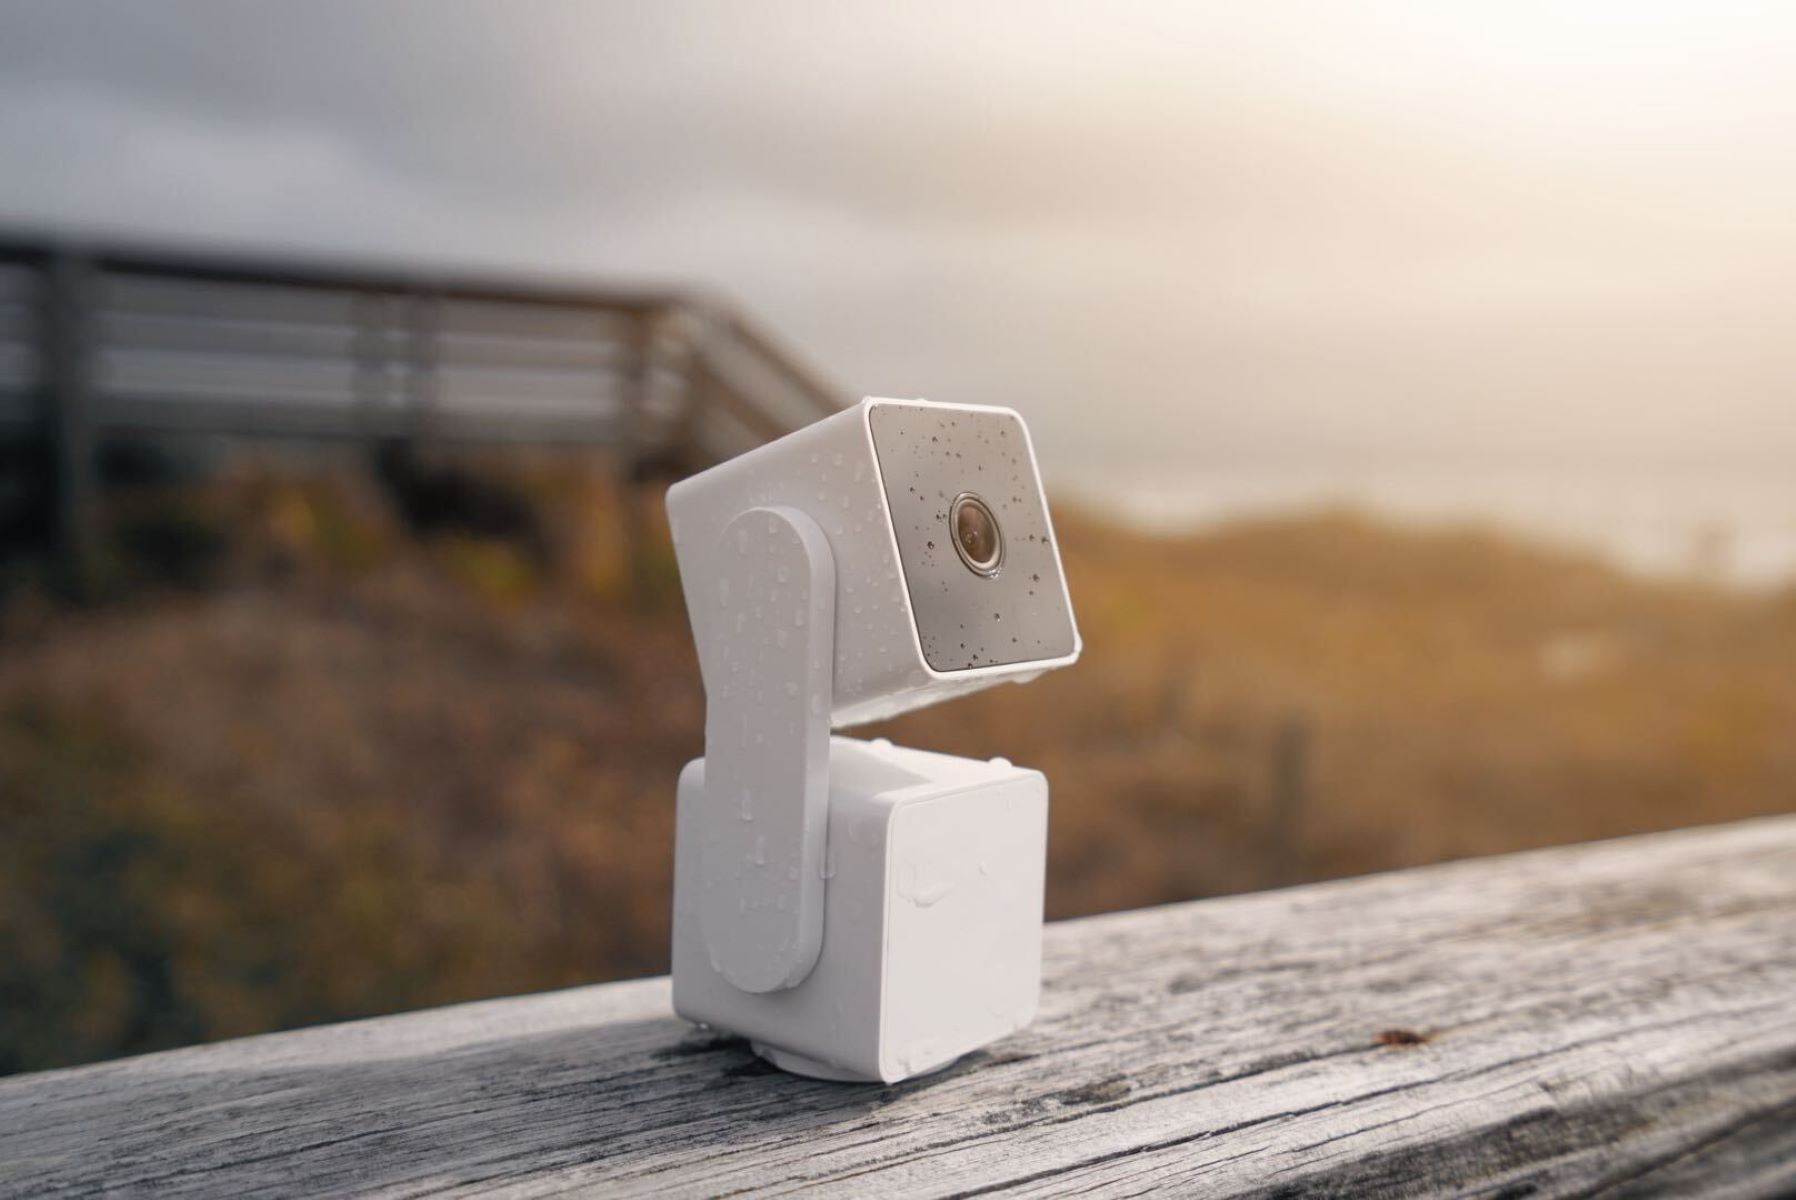
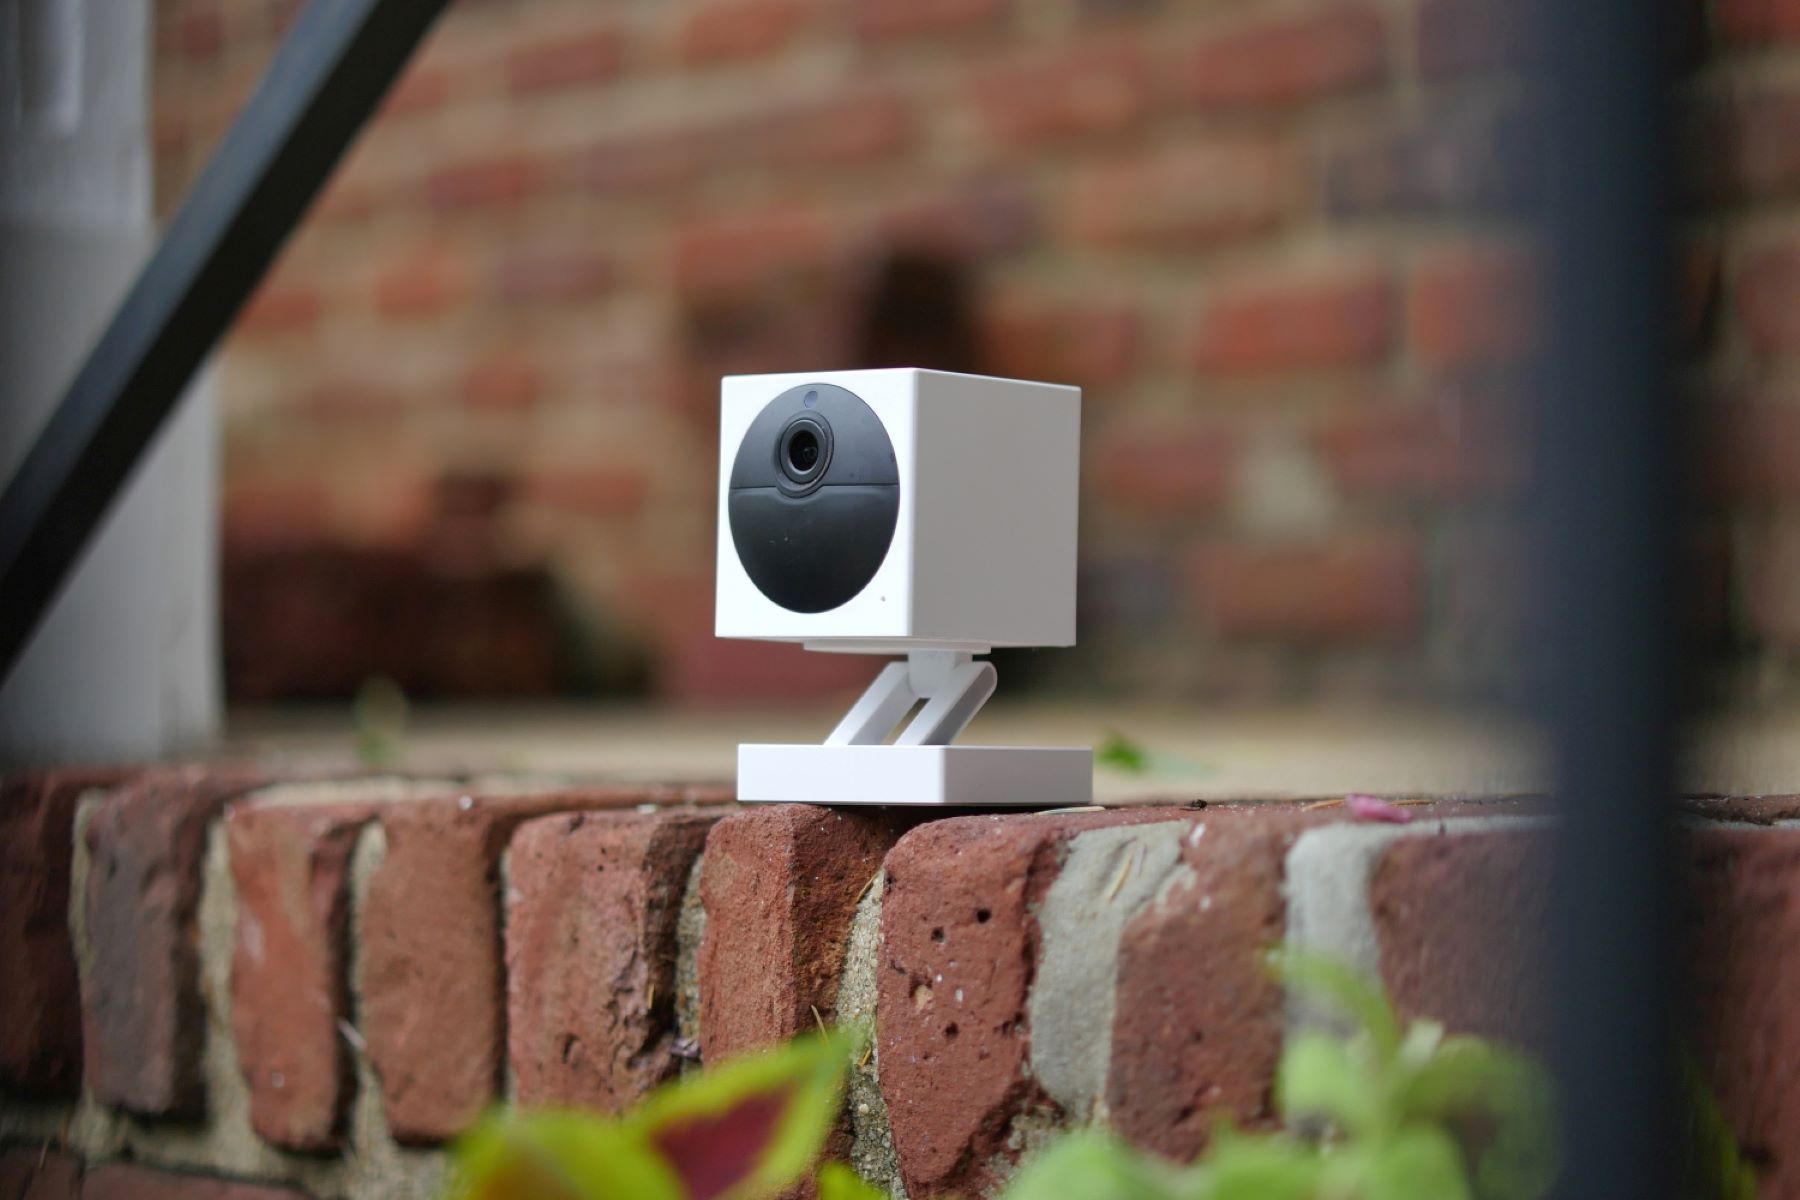
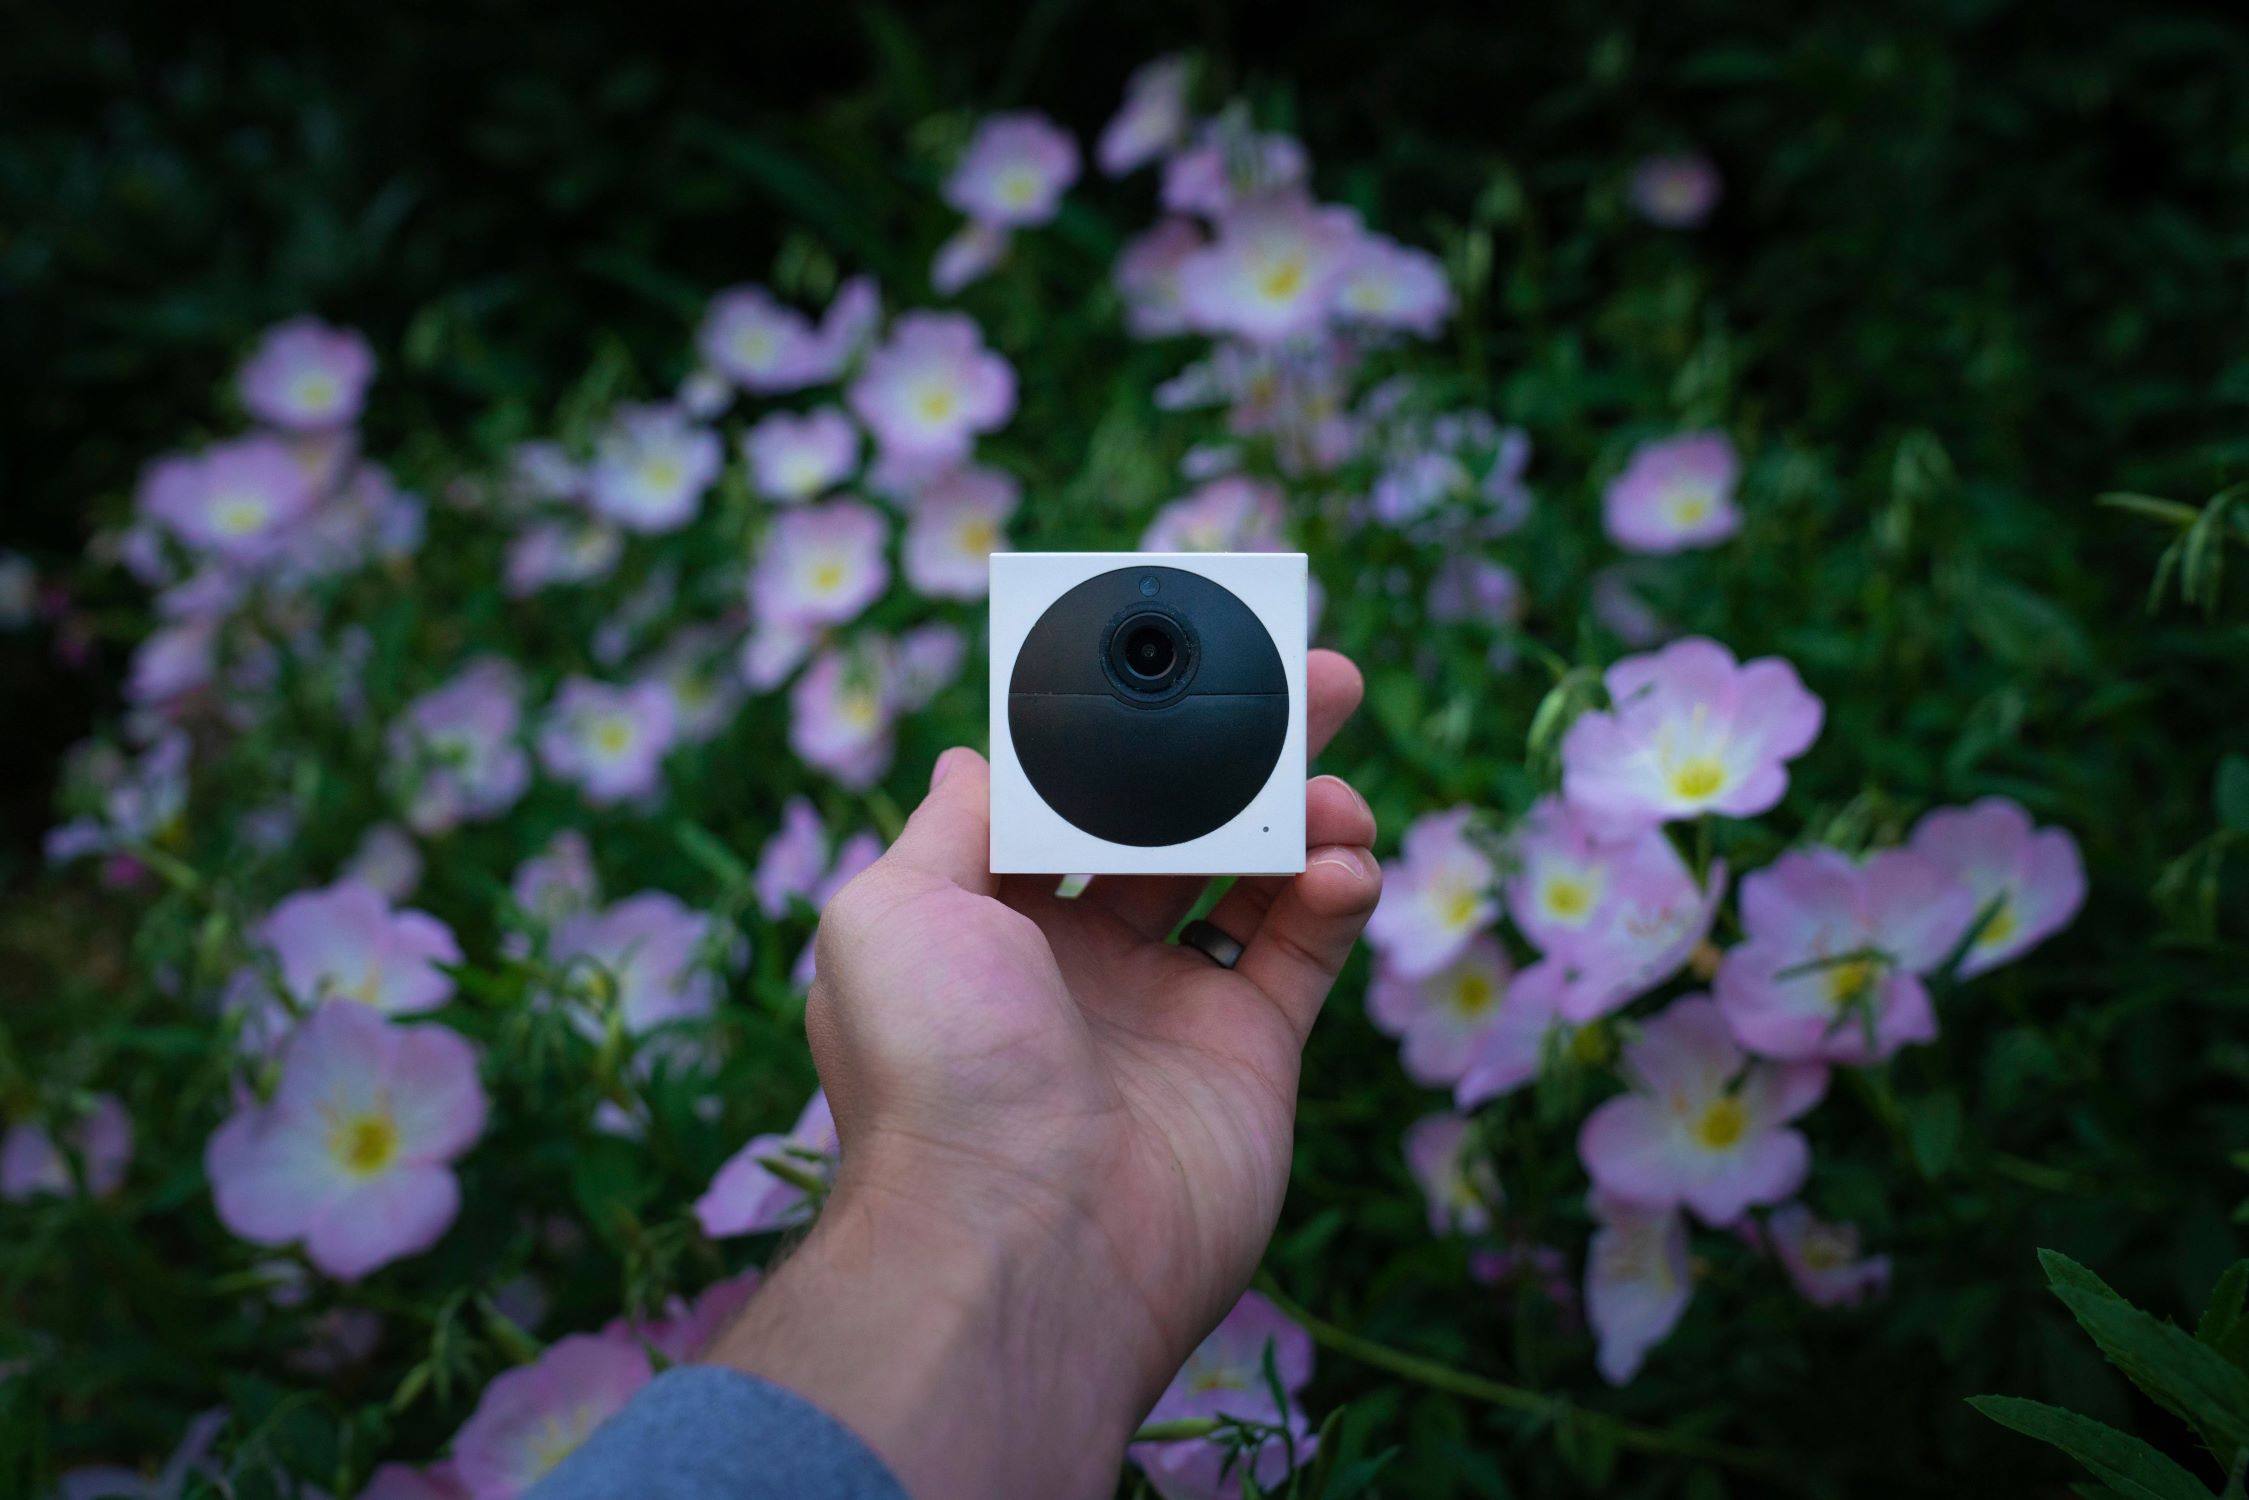
Welcome to the world of outdoor security and surveillance with the Wyze Outdoor Camera. This innovative device brings peace of mind to homeowners, outdoor enthusiasts, and businesses alike, offering a comprehensive solution for monitoring and recording outdoor activities. Whether you’re safeguarding your property, keeping an eye on pets, or simply enjoying the beauty of nature, the Wyze Outdoor Camera is designed to meet your needs.
In this comprehensive guide, we’ll walk you through the process of setting up and optimizing the recording features of your Wyze Outdoor Camera. From installing a microSD card for local storage to configuring recording settings and accessing footage, you’ll gain a deep understanding of how to make the most of this cutting-edge device.
By the end of this guide, you’ll be equipped with the knowledge and skills to seamlessly record and manage outdoor footage, ensuring that you never miss a moment, whether it’s a breathtaking sunset, a playful pet, or a potential security threat. Let’s dive in and unlock the full potential of your Wyze Outdoor Camera.
Key Takeaways:
- Master the art of outdoor recording with Wyze Outdoor Camera by setting up, configuring, and managing its features for seamless monitoring and capturing of precious moments.
- Ensure optimal performance by addressing common recording issues and staying attuned to firmware updates, storage management, and environmental factors for sustained functionality.
Read more: How To Connect Wyze Outdoor Camera
Setting up your Wyze Outdoor Camera
Before delving into the recording features, it’s crucial to ensure that your Wyze Outdoor Camera is properly set up. The initial steps are vital in establishing a strong foundation for seamless recording and monitoring. Here’s a step-by-step guide to help you get started:
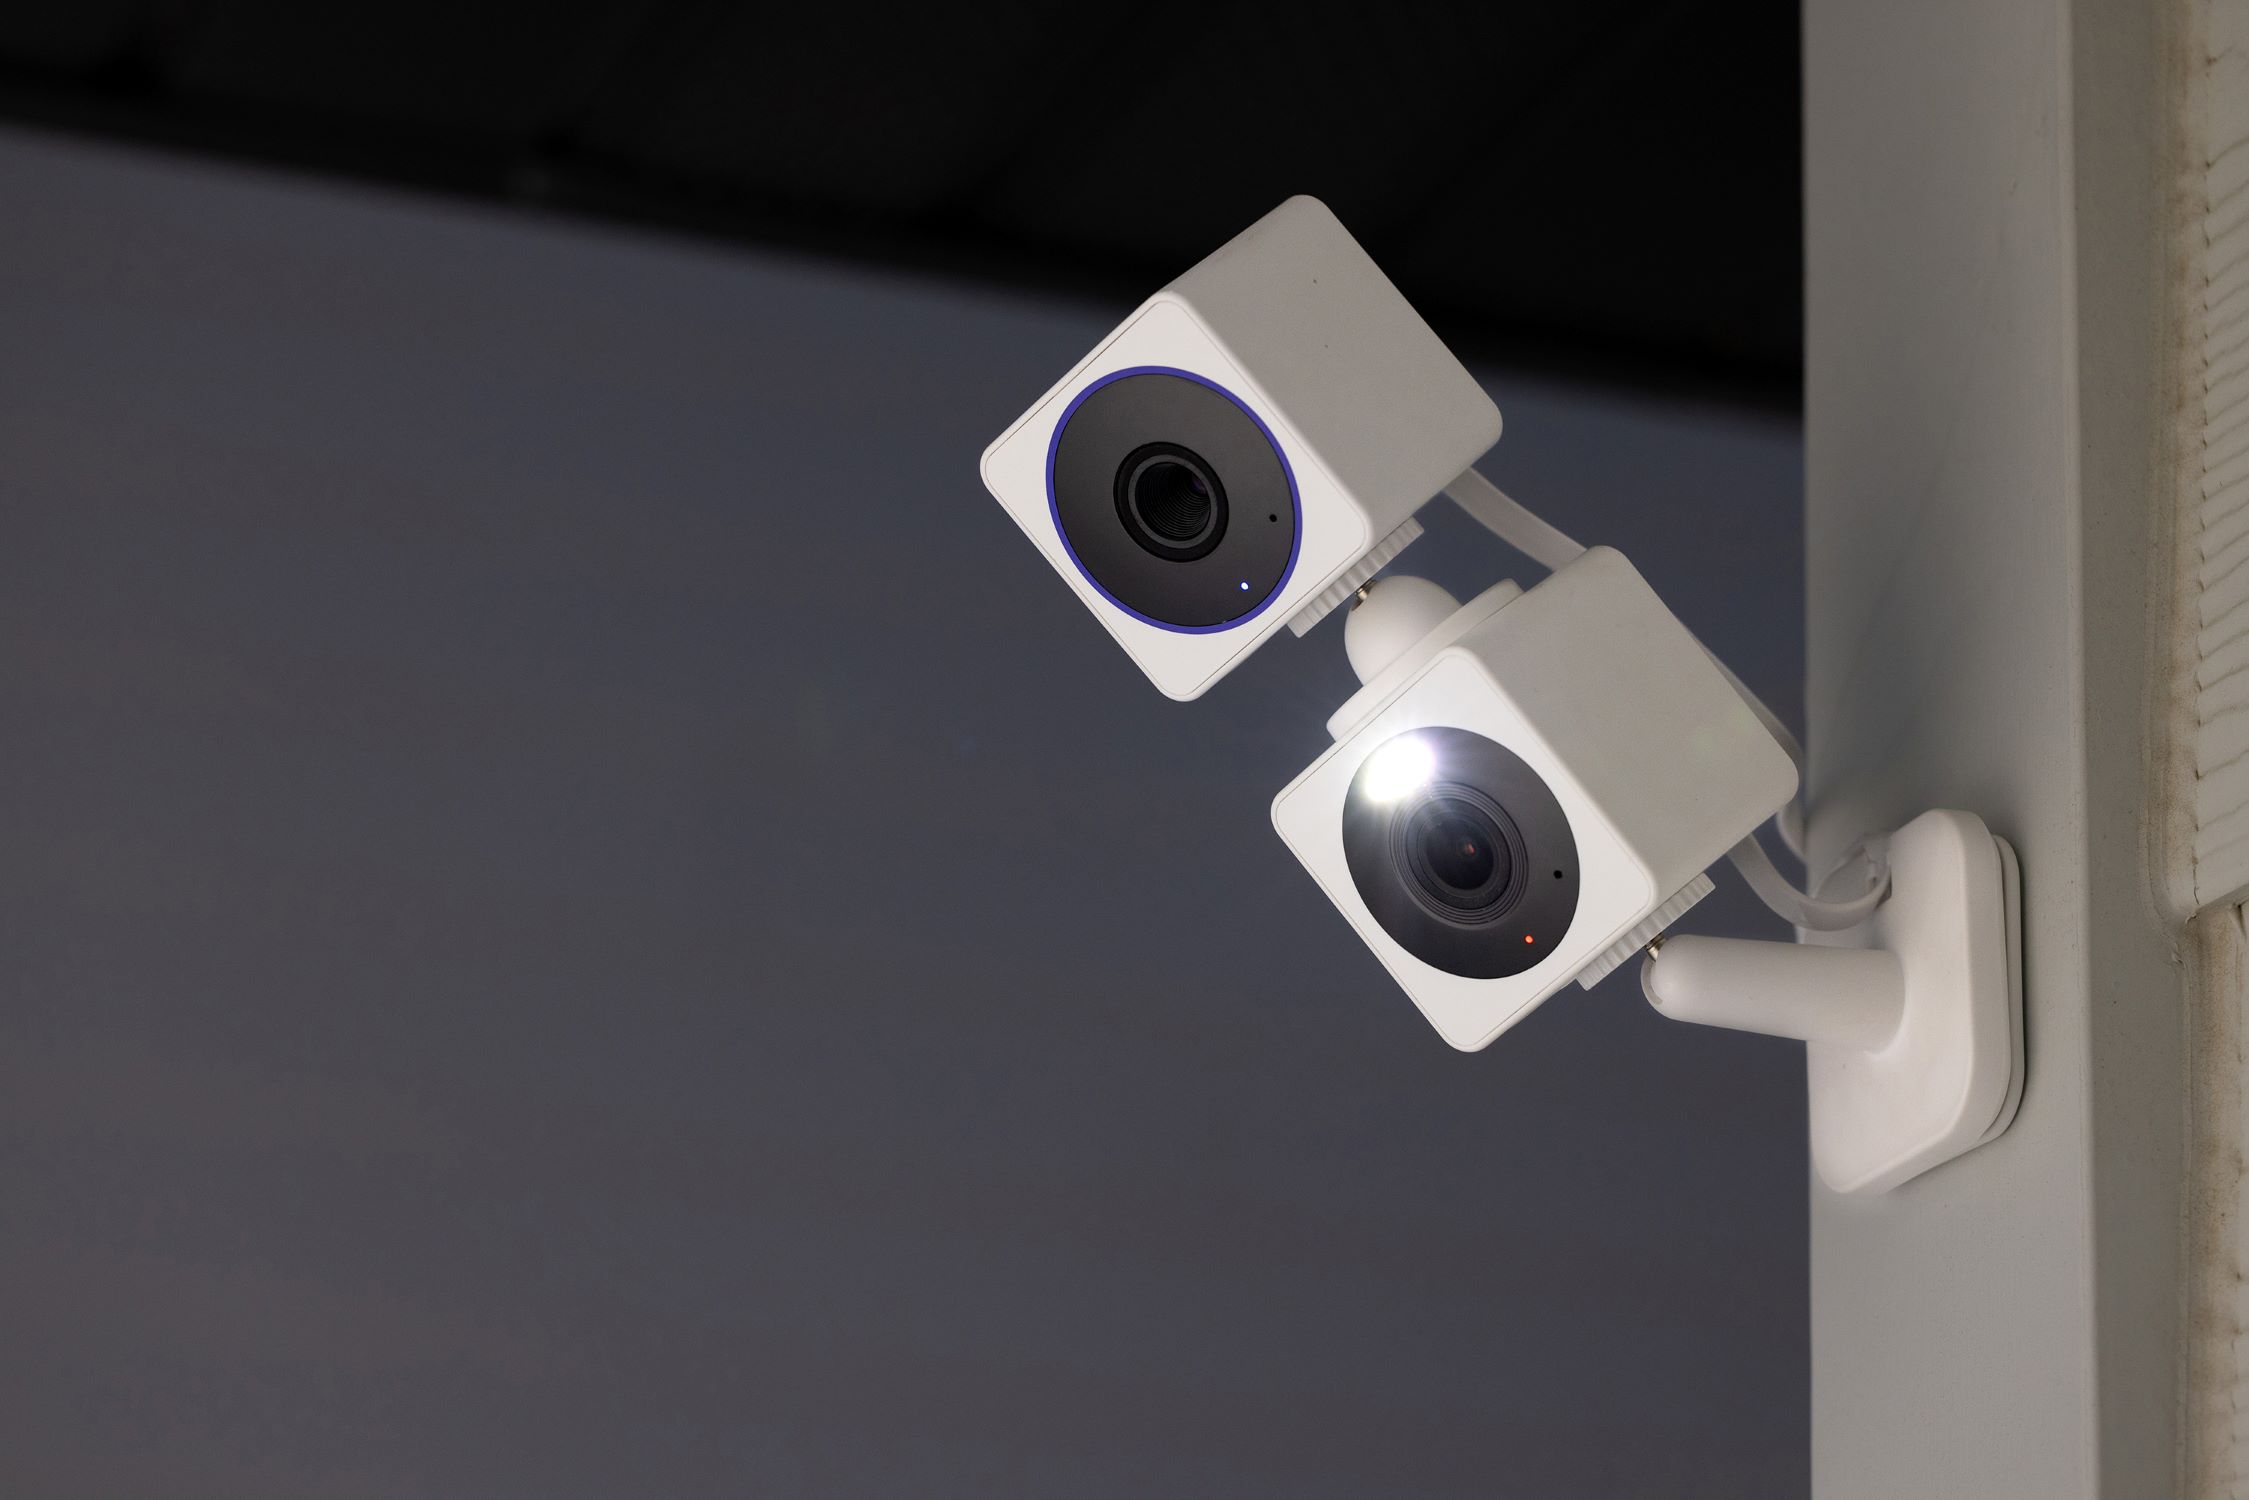
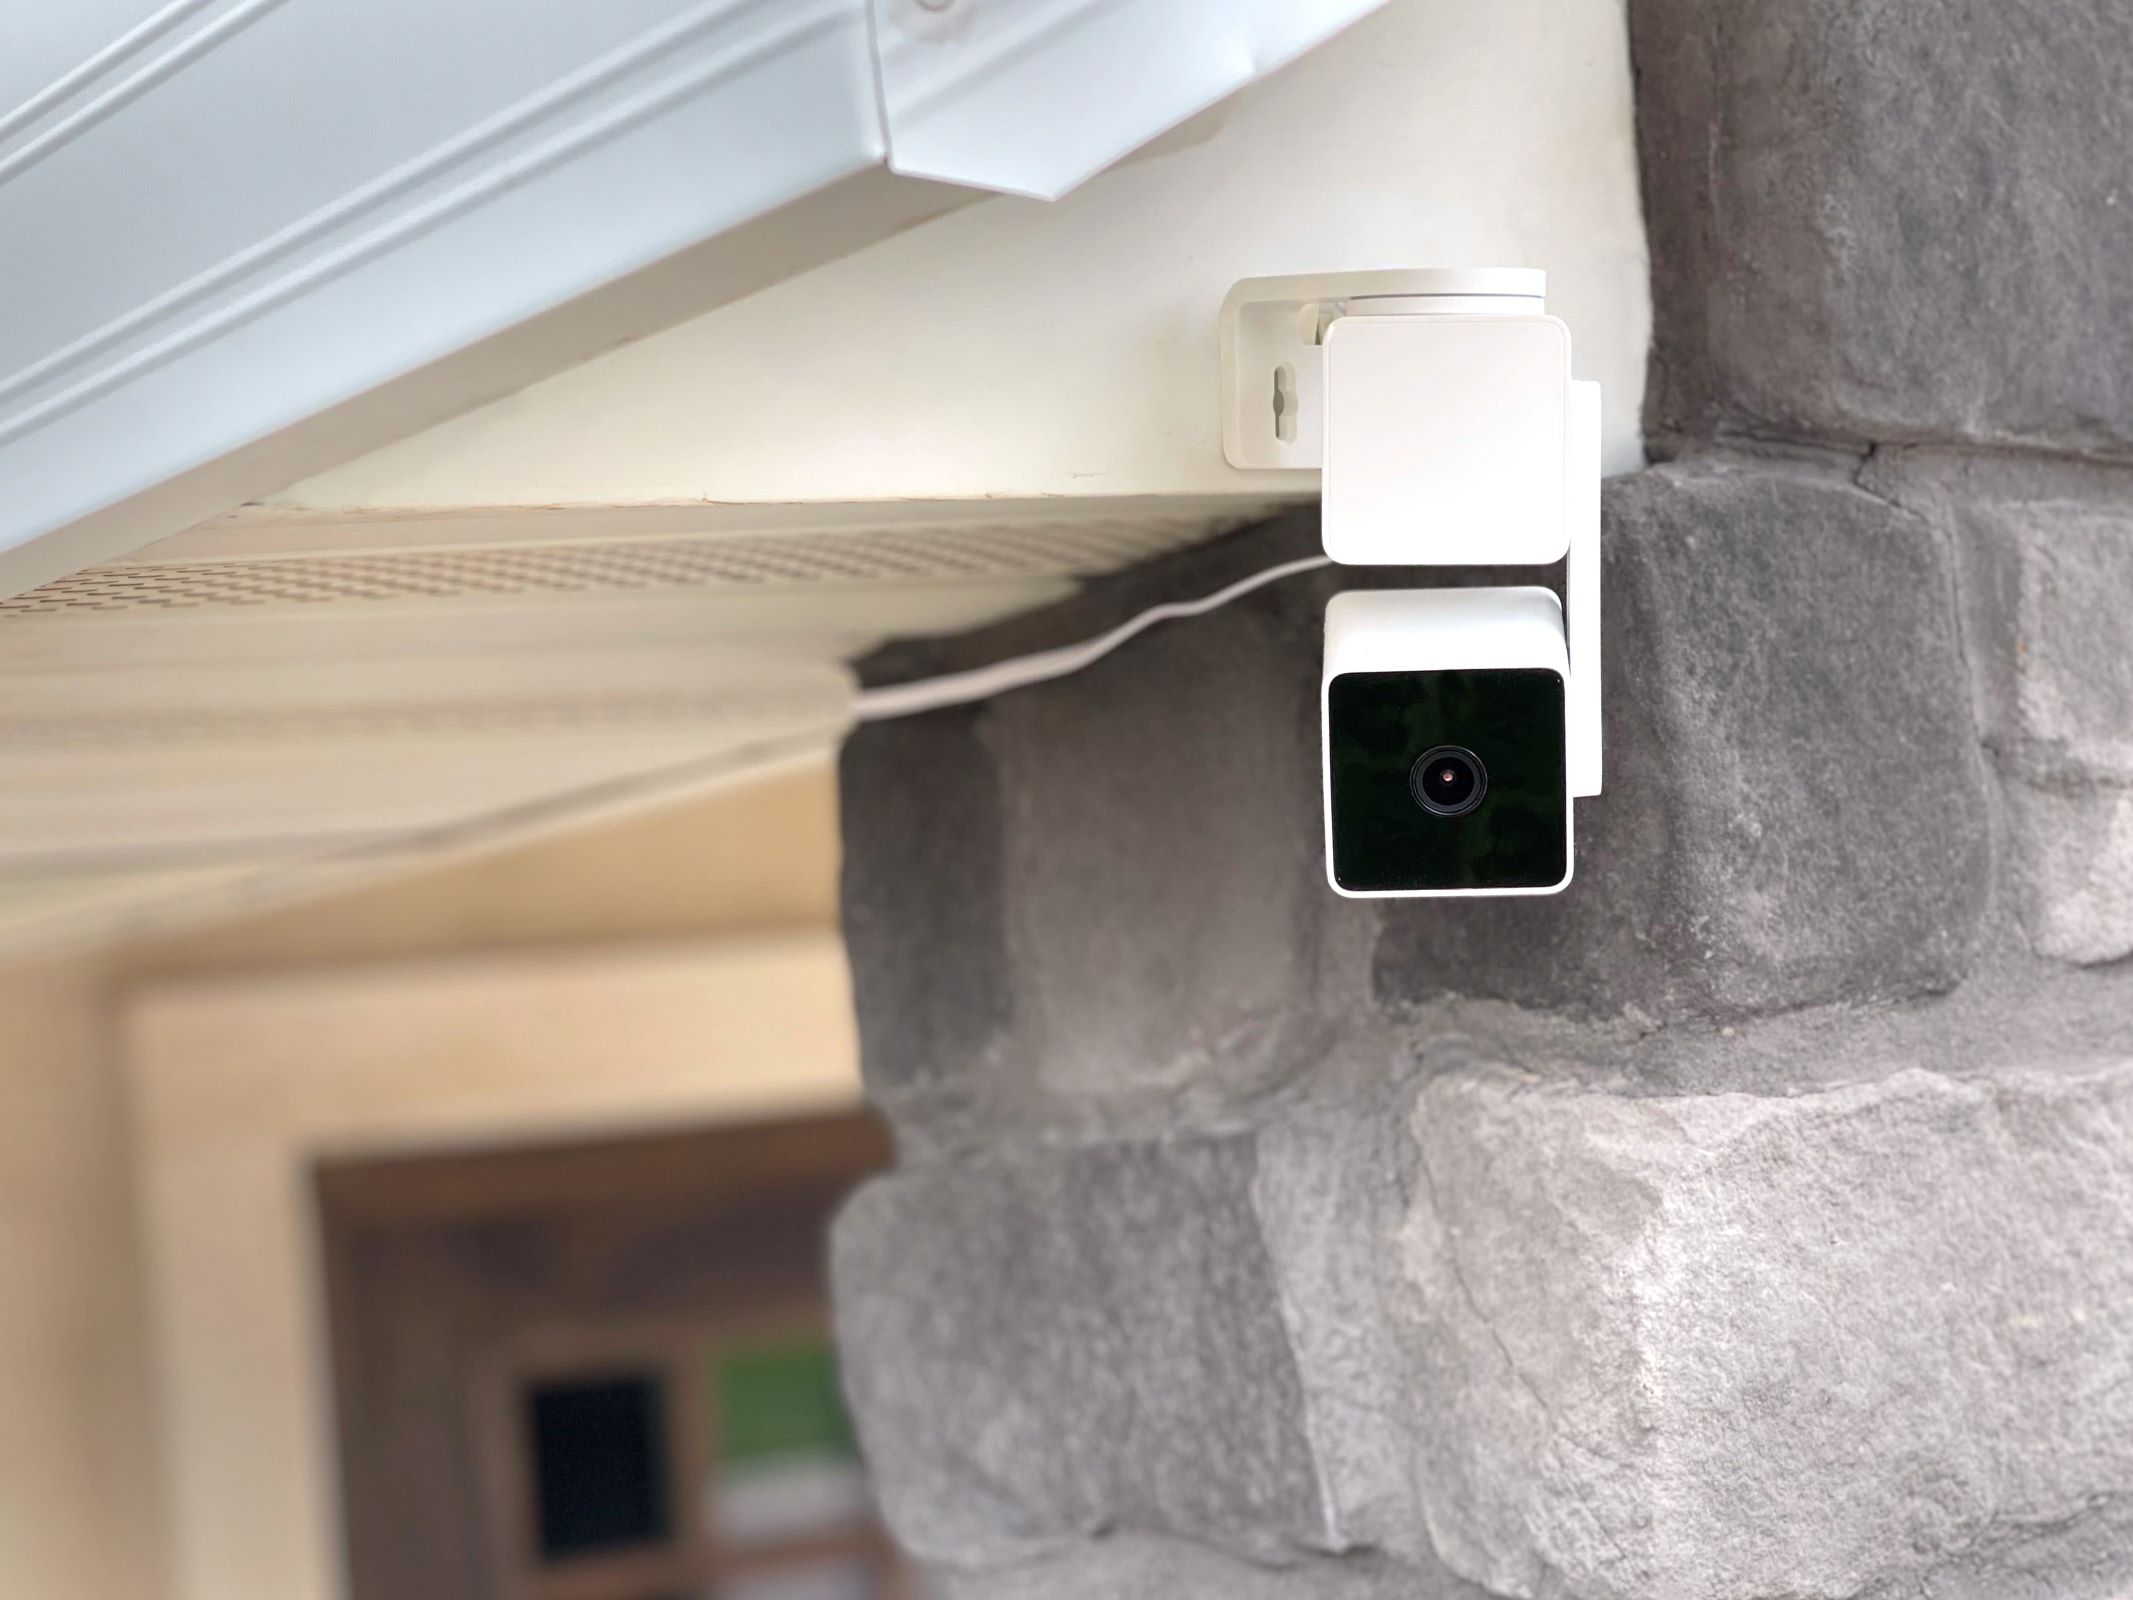
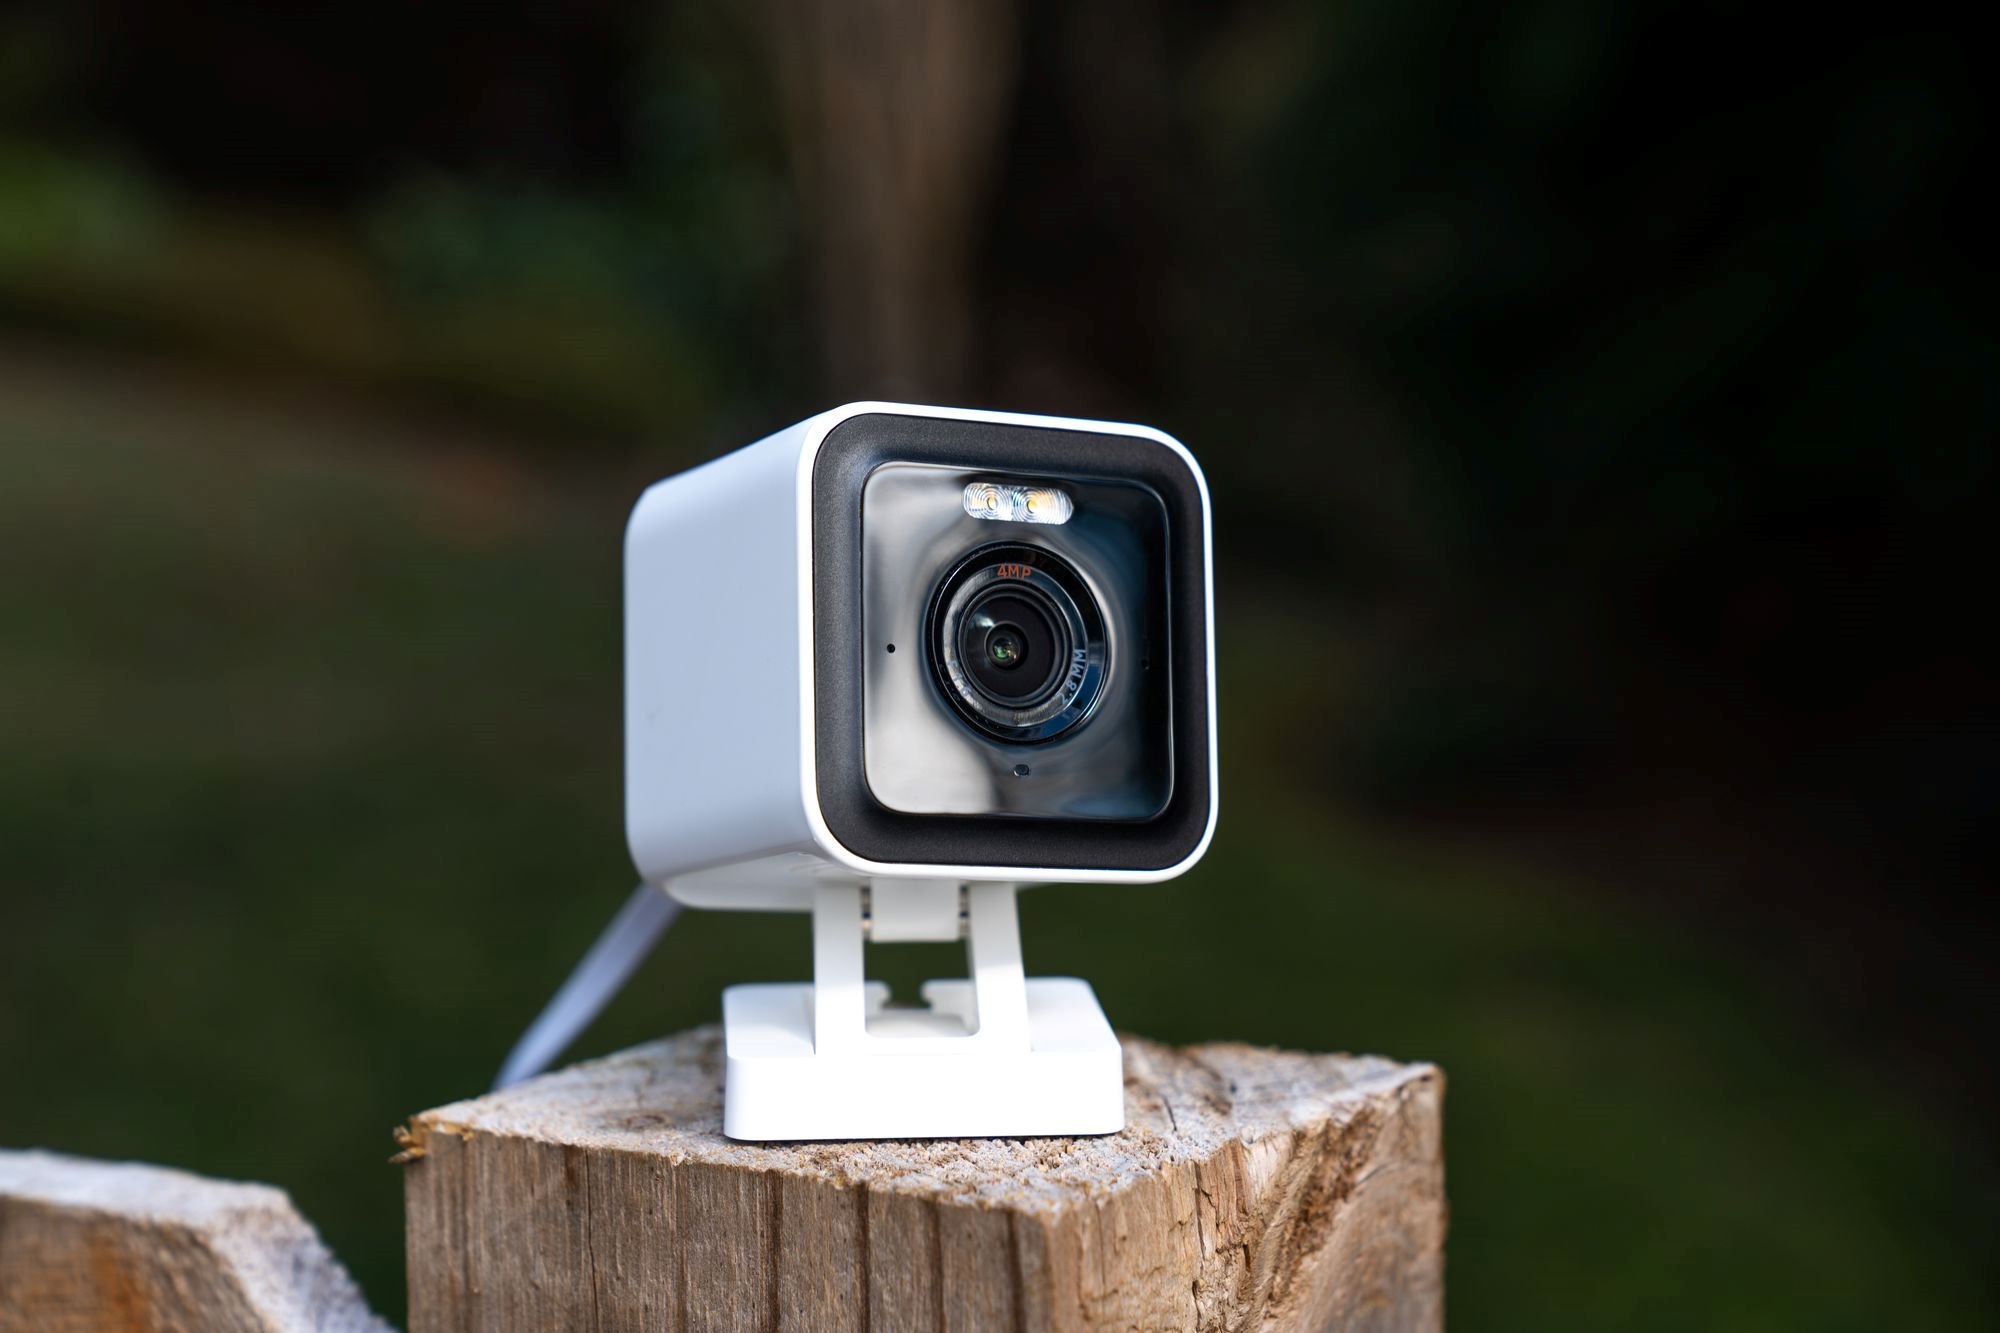
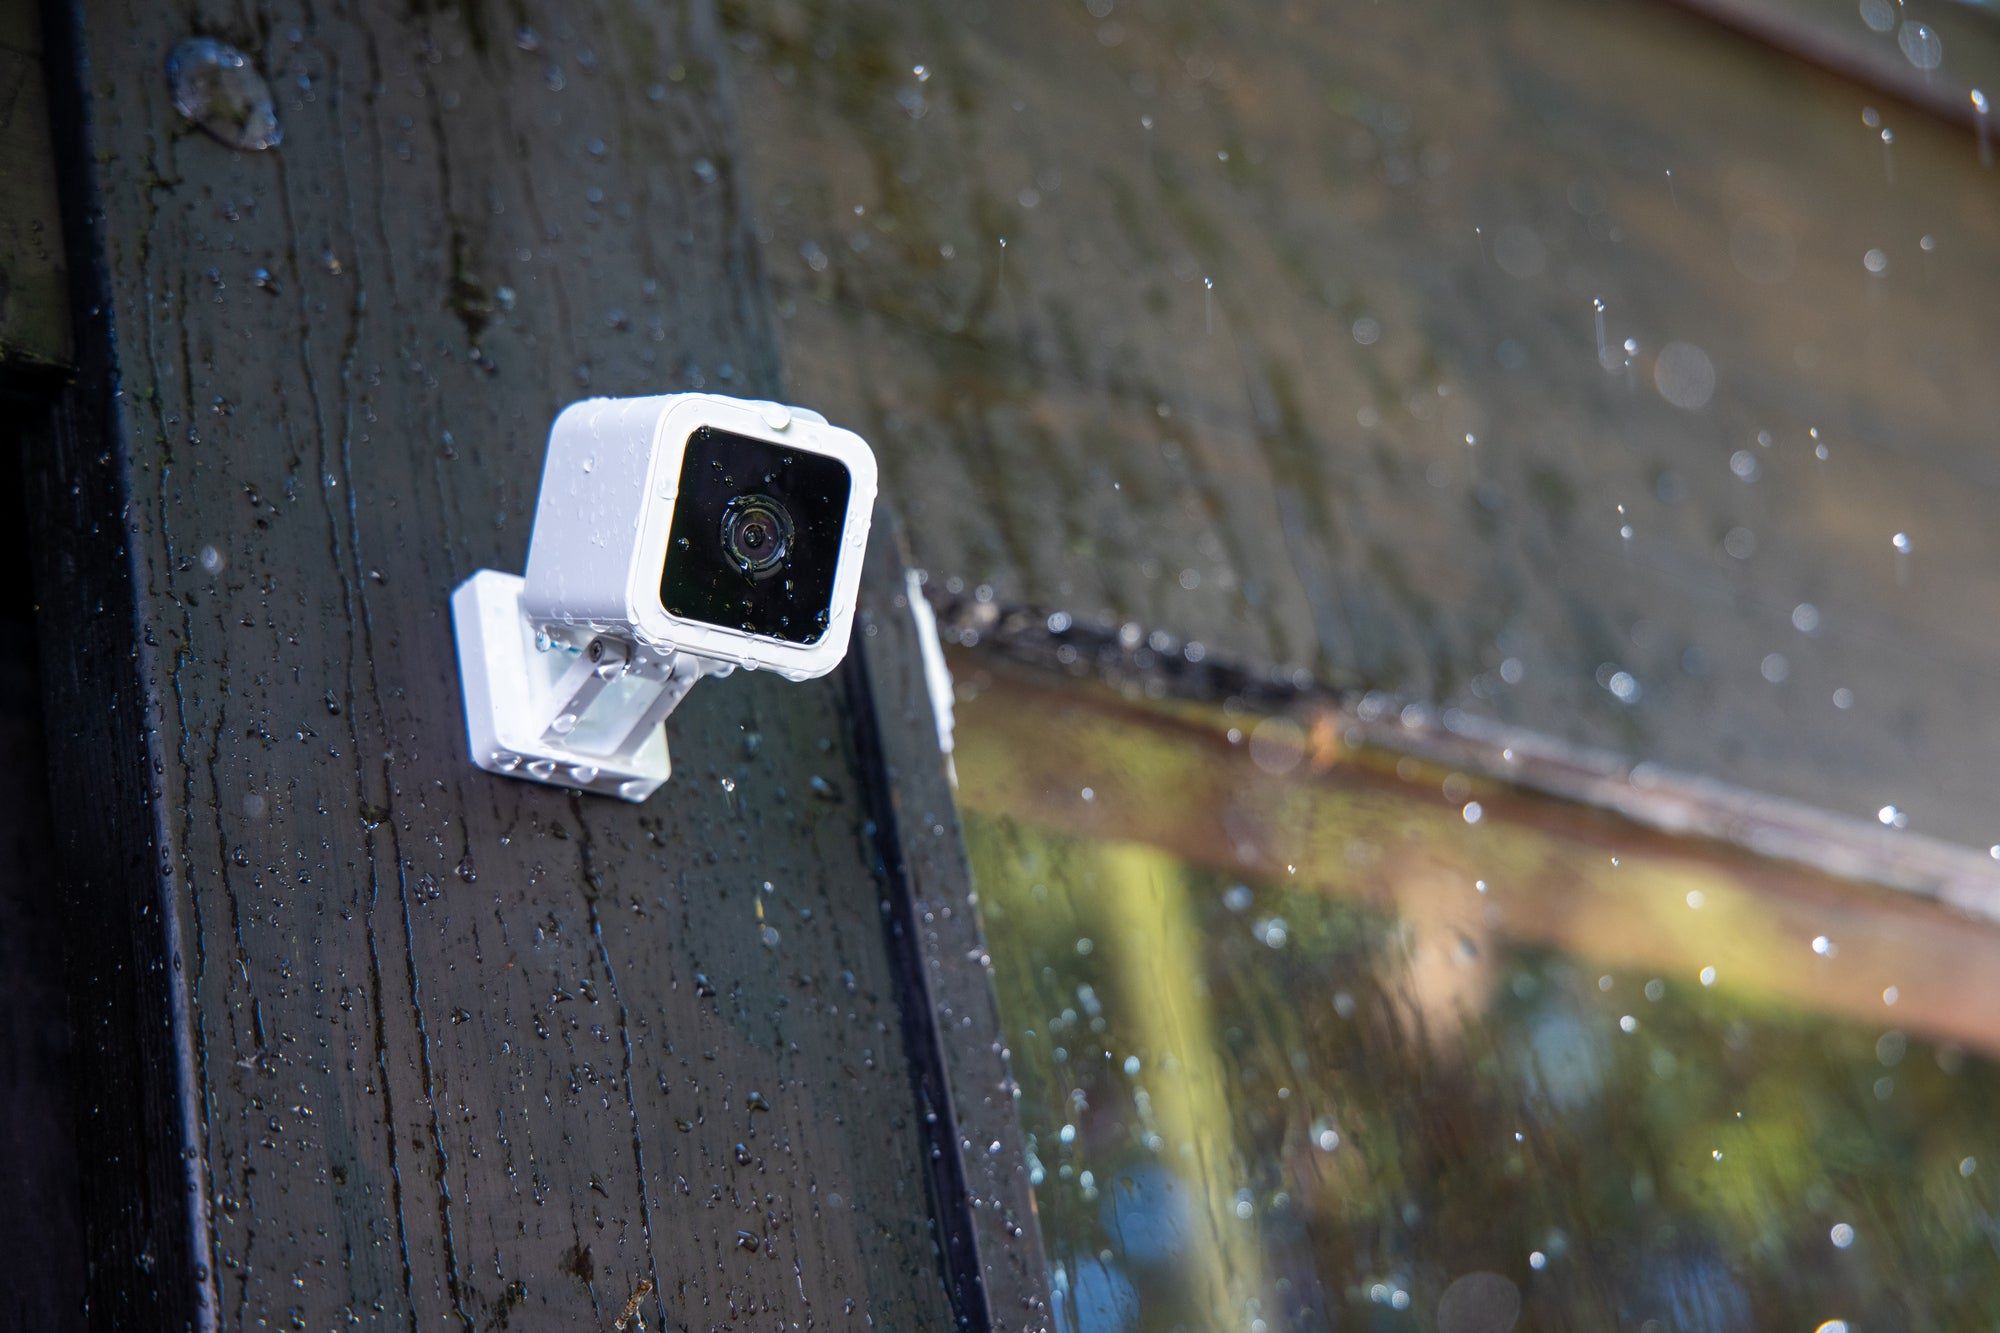
- Choose the Ideal Location: Select a strategic location for your Wyze Outdoor Camera, considering factors such as the field of view, Wi-Fi signal strength, and the presence of obstructions. This will ensure optimal coverage and connectivity.
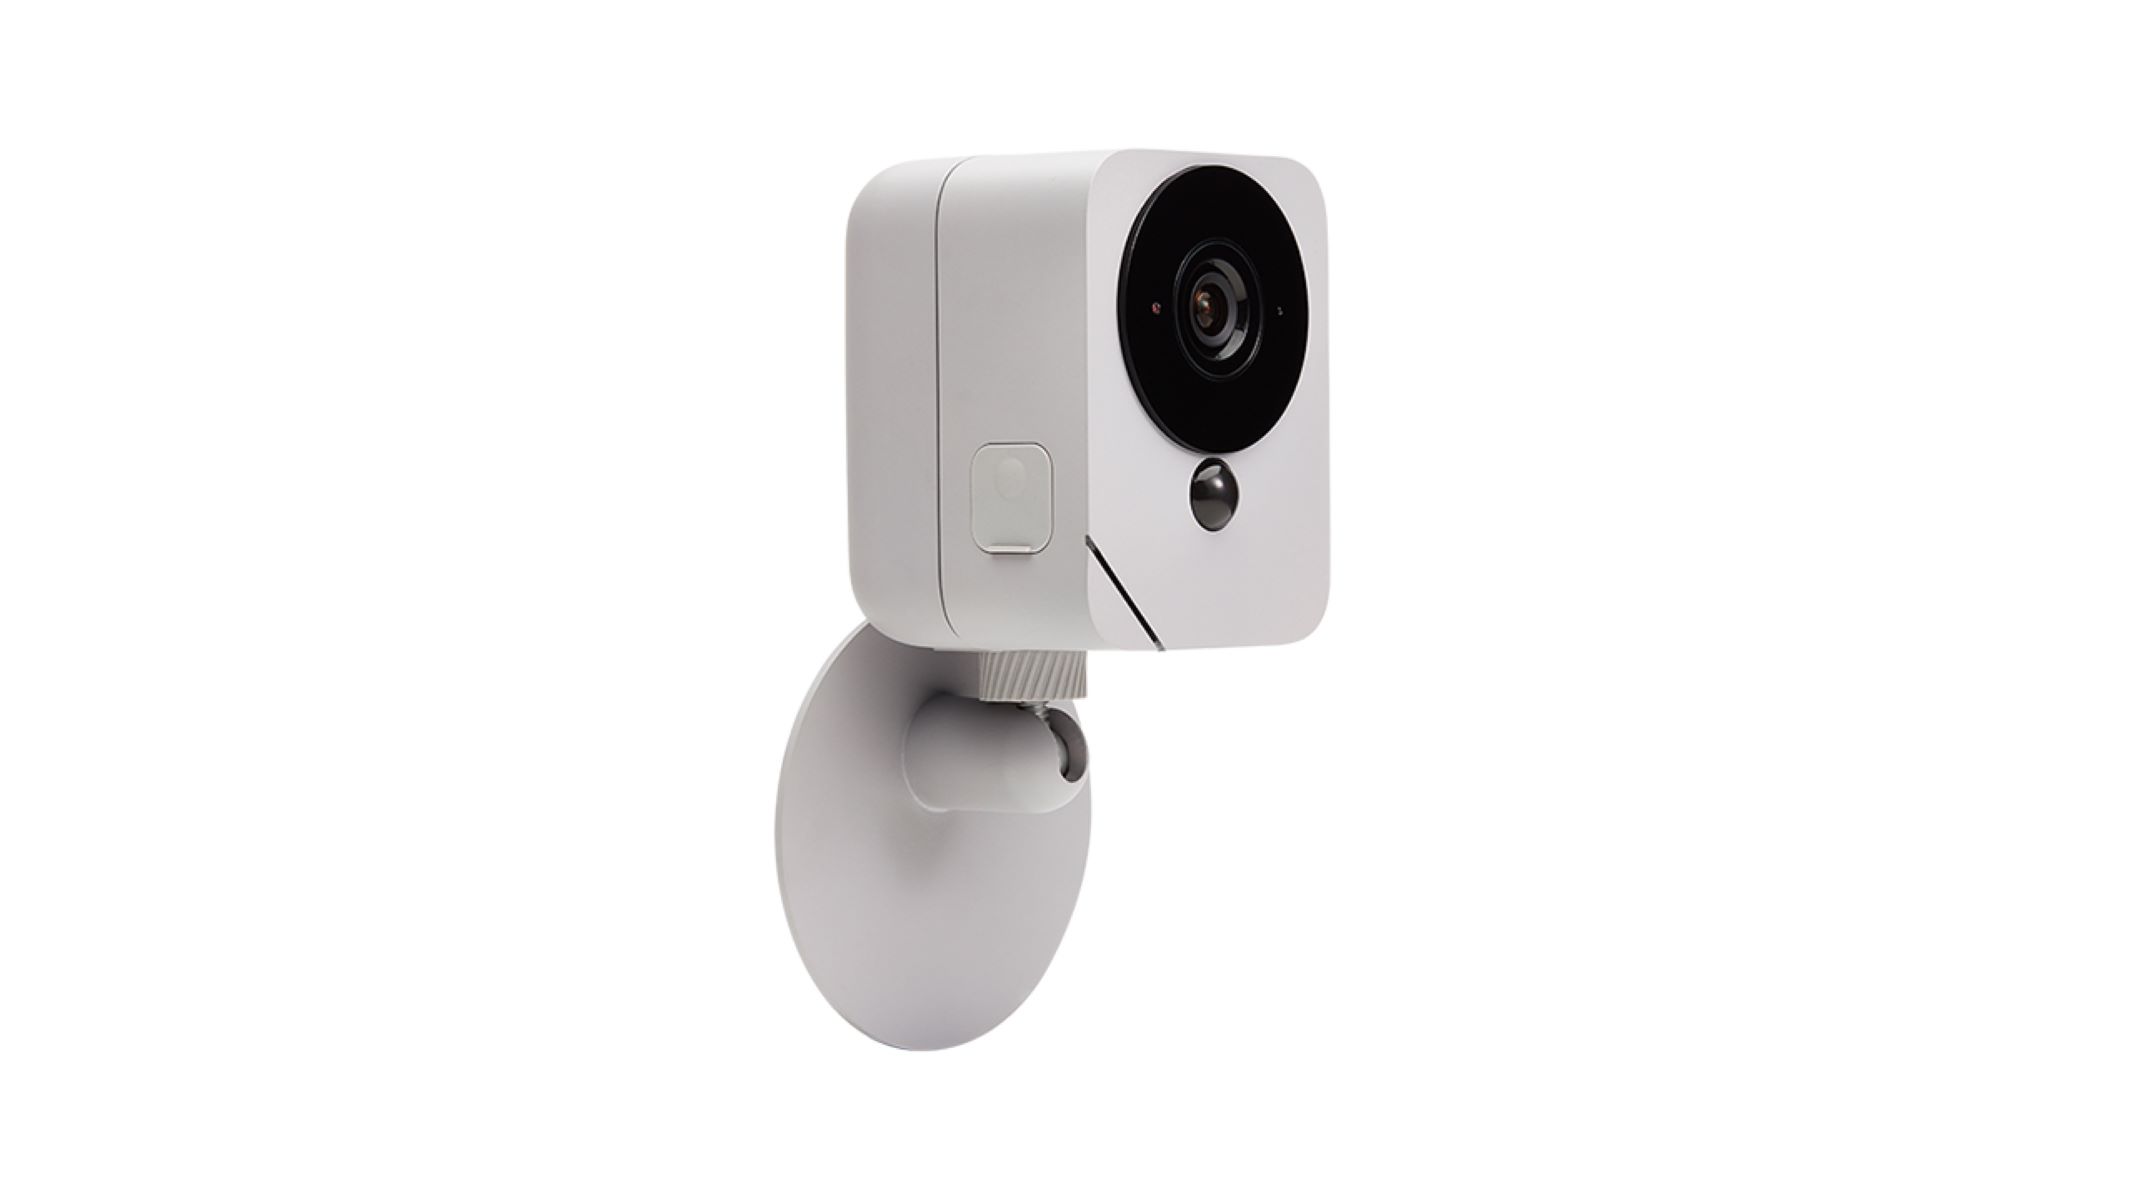
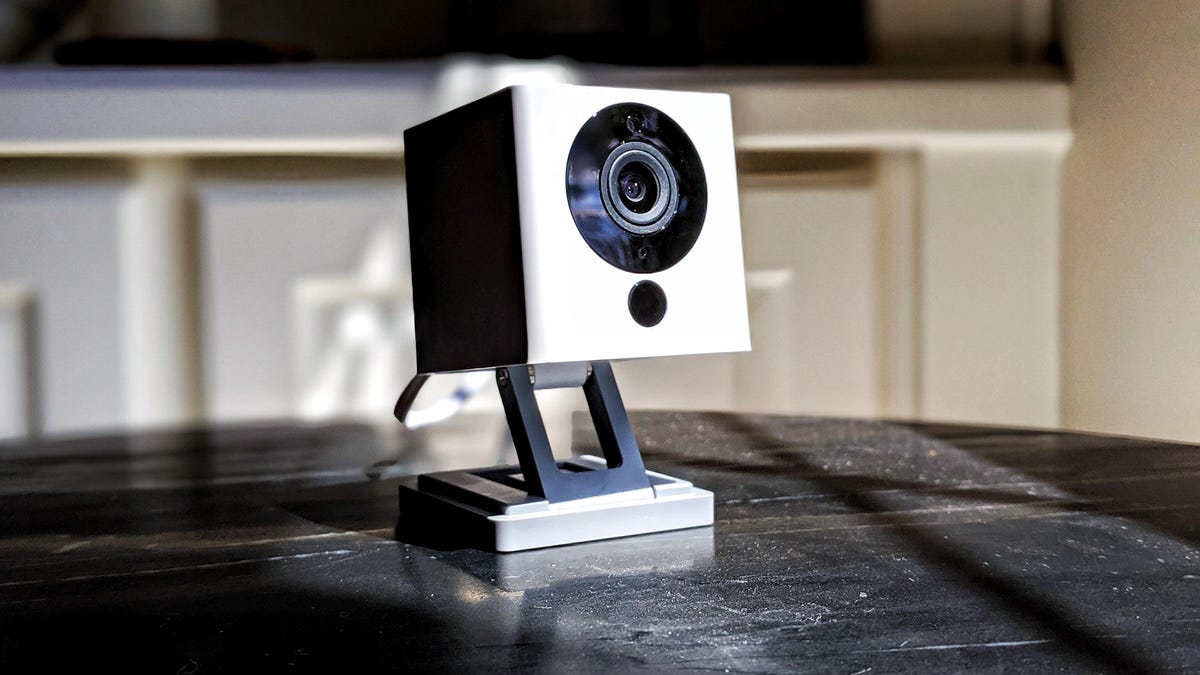
- Mounting the Camera: Utilize the provided mounting kit to securely install the camera in the chosen location, ensuring that it is protected from the elements and positioned for clear visibility.
- Powering Up: Connect the camera to a power source using the included cable and adapter. Ensure that the power supply is reliable and easily accessible for future maintenance.
- Syncing with the Wyze App: Download the Wyze app, create an account, and follow the on-screen instructions to sync your Wyze Outdoor Camera with the app. This will enable remote access and management.
- Testing Connectivity: Verify that the camera is successfully connected to the app and is transmitting live footage. This step ensures that the camera is functioning as intended before proceeding to the recording setup.
By following these steps, you can establish a strong and reliable foundation for your Wyze Outdoor Camera, setting the stage for seamless recording and monitoring capabilities. Once your camera is set up, you can proceed to the next crucial step: installing a microSD card for local storage.
Installing a microSD card
Adding a microSD card to your Wyze Outdoor Camera is a pivotal step in enhancing its recording capabilities. By incorporating local storage, you can ensure continuous recording even in the absence of a stable internet connection. Here’s a detailed guide on installing a microSD card:
- Choose a Compatible microSD Card: Ensure that you select a microSD card that is compatible with the Wyze Outdoor Camera. Refer to the camera’s specifications to identify the supported storage capacities and recommended brands for optimal performance.
- Power Off the Camera: Safely power off the camera before proceeding with the installation of the microSD card. This precautionary step prevents potential data corruption and ensures a smooth installation process.
- Locate the microSD Card Slot: Identify the microSD card slot on the Wyze Outdoor Camera. It is typically located beneath a protective cover, designed to shield the card from environmental elements.
- Insert the microSD Card: Gently insert the microSD card into the designated slot, ensuring that it is properly aligned and securely fitted. Exercise caution to avoid damaging the card or the slot during this process.
- Power On and Verify: Power on the camera and access the Wyze app to confirm that the microSD card has been successfully recognized. The app will typically display a notification indicating the presence of the installed card.
By following these steps, you can seamlessly integrate a microSD card into your Wyze Outdoor Camera, unlocking the potential for local storage and continuous recording capabilities. With the microSD card in place, you are now ready to configure the recording settings to align with your specific preferences and requirements.
Configuring recording settings
Customizing the recording settings of your Wyze Outdoor Camera allows you to tailor the device to your specific needs, ensuring that it captures the desired footage while optimizing storage efficiency. Here’s a comprehensive guide to configuring the recording settings:
- Accessing the Wyze App: Open the Wyze app and navigate to the settings menu for your Wyze Outdoor Camera. This is where you can access and adjust the recording settings to align with your preferences.
- Setting Recording Mode: Choose between continuous recording or event-based recording based on your requirements. Continuous recording ensures that the camera captures footage continuously, while event-based recording focuses on specific triggers such as motion detection or sound alerts.
- Adjusting Recording Quality: Tailor the recording quality to strike a balance between clarity and storage efficiency. Opt for higher quality settings when detailed footage is essential, and consider lower settings for extended storage capacity.
- Defining Recording Schedule: Customize the recording schedule to align with your routine and specific monitoring needs. This feature enables you to specify the times and days when recording should be active, optimizing resource utilization.
- Enabling Motion Detection Zones: Define specific areas within the camera’s field of view where motion detection should be active. This targeted approach minimizes false alerts and ensures that relevant events are captured effectively.
- Setting Up Notifications: Configure notifications to receive alerts for important events, such as motion detection or sound triggers. This feature keeps you informed about relevant activities captured by the camera.
By customizing these recording settings, you can optimize the functionality of your Wyze Outdoor Camera, ensuring that it captures and stores footage in alignment with your preferences and requirements. With the recording settings tailored to your needs, you are now ready to access and manage the recorded footage seamlessly.
To record on Wyze Outdoor Camera, insert a microSD card into the camera, go to the Wyze app, select the camera, tap on “More”, then “Advanced Settings”, and turn on “Local Storage”.
Accessing and managing recorded footage
Once your Wyze Outdoor Camera is set up and the recording settings are configured, accessing and managing the recorded footage becomes a crucial aspect of maximizing its utility. Here’s a comprehensive guide to help you seamlessly navigate and manage the captured footage:
- Accessing Recorded Footage: Open the Wyze app and navigate to the designated section for recorded footage. This is where you can review and manage the captured videos and images, categorized based on the recording settings and triggers.
- Reviewing Playback: Select the desired footage for playback, utilizing the intuitive controls within the app to review specific events and timeframes. This feature enables you to thoroughly analyze the captured content for insights and monitoring purposes.
- Downloading Footage: If necessary, download specific recordings to your mobile device for offline access or archival purposes. This functionality allows you to retain important footage for future reference or sharing.
- Managing Storage: Monitor the storage utilization within the Wyze Outdoor Camera, ensuring that the available space aligns with your recording needs. Consider periodically reviewing and managing the stored footage to optimize storage efficiency.
- Sharing Footage: Utilize the sharing features within the Wyze app to seamlessly share specific recordings with relevant parties, such as family members, security personnel, or law enforcement, if necessary.
- Archiving and Deleting: Implement a systematic approach to archiving and deleting recorded footage based on relevance and retention policies. This proactive management ensures that the stored content remains organized and actionable.
By mastering the process of accessing and managing recorded footage, you can leverage the full potential of your Wyze Outdoor Camera, ensuring that the captured content remains accessible, organized, and actionable. With a robust understanding of these management capabilities, you are well-equipped to address common recording issues and optimize the camera’s performance.
Read more: How To Reset A Wyze Outdoor Camera
Troubleshooting common recording issues
While the Wyze Outdoor Camera offers robust recording capabilities, occasional challenges may arise, impacting the device’s performance. Understanding and addressing common recording issues is essential to maintain the camera’s functionality. Here’s a comprehensive troubleshooting guide to help you overcome potential hurdles:
- Check Connectivity: Verify the camera’s connectivity to the Wi-Fi network and ensure that the signal strength is adequate for seamless data transmission. Address any connectivity issues to restore recording functionality.
- Review Power Supply: Inspect the power source and connections to ensure consistent and reliable power supply to the camera. Unstable power can disrupt recording operations, necessitating immediate attention.
- Update Firmware: Check for available firmware updates for the Wyze Outdoor Camera and ensure that the device is running the latest software version. Updates often include fixes for recording-related issues.
- Verify microSD Card Status: Ensure that the microSD card is properly installed and recognized by the camera. Address any issues related to the card’s functionality or compatibility to restore recording capabilities.
- Review Recording Settings: Double-check the configured recording settings within the Wyze app to ensure that they align with your preferences. Adjust settings if necessary to optimize recording functionality.
- Clear Obstructions: Evaluate the camera’s placement and ensure that there are no physical obstructions impacting its field of view or motion detection capabilities. Clear any obstacles to facilitate effective recording.
By systematically addressing these common recording issues, you can maintain the optimal functionality of your Wyze Outdoor Camera, ensuring consistent and reliable recording capabilities. Additionally, staying informed about potential troubleshooting steps empowers you to address emerging challenges effectively, maximizing the camera’s utility.
Conclusion
Congratulations on mastering the art of recording with your Wyze Outdoor Camera. By following this comprehensive guide, you’ve gained the knowledge and skills to set up, configure, and manage the recording features of this innovative device. Whether you’re capturing breathtaking outdoor scenery, monitoring your property, or ensuring the safety of your surroundings, the Wyze Outdoor Camera empowers you to seize every moment.
From the initial setup and the installation of a microSD card for local storage to fine-tuning the recording settings and troubleshooting common issues, you’ve navigated the intricacies of outdoor recording with confidence. With the ability to access, manage, and share recorded footage seamlessly, you’re well-prepared to leverage the full potential of your Wyze Outdoor Camera.
As you continue to explore the diverse applications of outdoor recording, remember that ongoing maintenance and periodic optimization are key to sustaining the camera’s performance. Stay attuned to firmware updates, storage management, and environmental factors to ensure that your Wyze Outdoor Camera remains a steadfast guardian of your outdoor experiences.
Embrace the versatility and reliability of the Wyze Outdoor Camera as you embark on your outdoor adventures, safeguard your property, and cherish the beauty of nature. With its advanced recording capabilities at your fingertips, you’re poised to capture, preserve, and relive the moments that matter most.
Thank you for entrusting us with your journey into the realm of outdoor recording, and may your experiences be enriched by the seamless functionality and unwavering vigilance of the Wyze Outdoor Camera.
Frequently Asked Questions about How To Record On Wyze Outdoor Camera
Was this page helpful?
At Storables.com, we guarantee accurate and reliable information. Our content, validated by Expert Board Contributors, is crafted following stringent Editorial Policies. We're committed to providing you with well-researched, expert-backed insights for all your informational needs.


0 thoughts on “How To Record On Wyze Outdoor Camera”