Home>Home Security and Surveillance>How Do You Set Up A Blink Outdoor Camera
Home Security and Surveillance
How Do You Set Up A Blink Outdoor Camera
Modified: August 28, 2024
Enhance your home security and surveillance with a Blink Outdoor Camera. Discover how to set it up easily and effectively for ultimate peace of mind.
(Many of the links in this article redirect to a specific reviewed product. Your purchase of these products through affiliate links helps to generate commission for Storables.com, at no extra cost. Learn more)
Introduction
When it comes to home security and surveillance, having the right equipment in place is crucial. The Blink Outdoor Camera is a popular choice for many homeowners looking to enhance the security of their property. With its easy installation and advanced features, it offers a reliable solution for monitoring and protecting your home.
In this article, we will guide you through the step-by-step process of setting up a Blink Outdoor Camera. Whether you are a DIY enthusiast or a novice, this guide will help you get your camera up and running in no time.
Before we dive into the installation process, it’s important to briefly mention the benefits of having a home security camera system in place. A Blink Outdoor Camera allows you to keep an eye on your property, both inside and outside, providing peace of mind and deterring potential intruders. With its motion detection capabilities and high-quality video recording, you can capture any suspicious activity and have the evidence needed in case of an incident.
Now, let’s get started with the step-by-step guide to setting up your Blink Outdoor Camera.
Key Takeaways:
- Setting up a Blink Outdoor Camera is easy! Unbox, choose the right spot, connect the sync module, install the camera, power it up, configure the app, adjust settings, and test it out for optimal home security.
- With a Blink Outdoor Camera, you can monitor your property with ease. Choose the perfect location, customize settings through the app, and ensure the camera captures the desired area for maximum security and peace of mind.
Read more: How Do Blink Outdoor Cameras Work
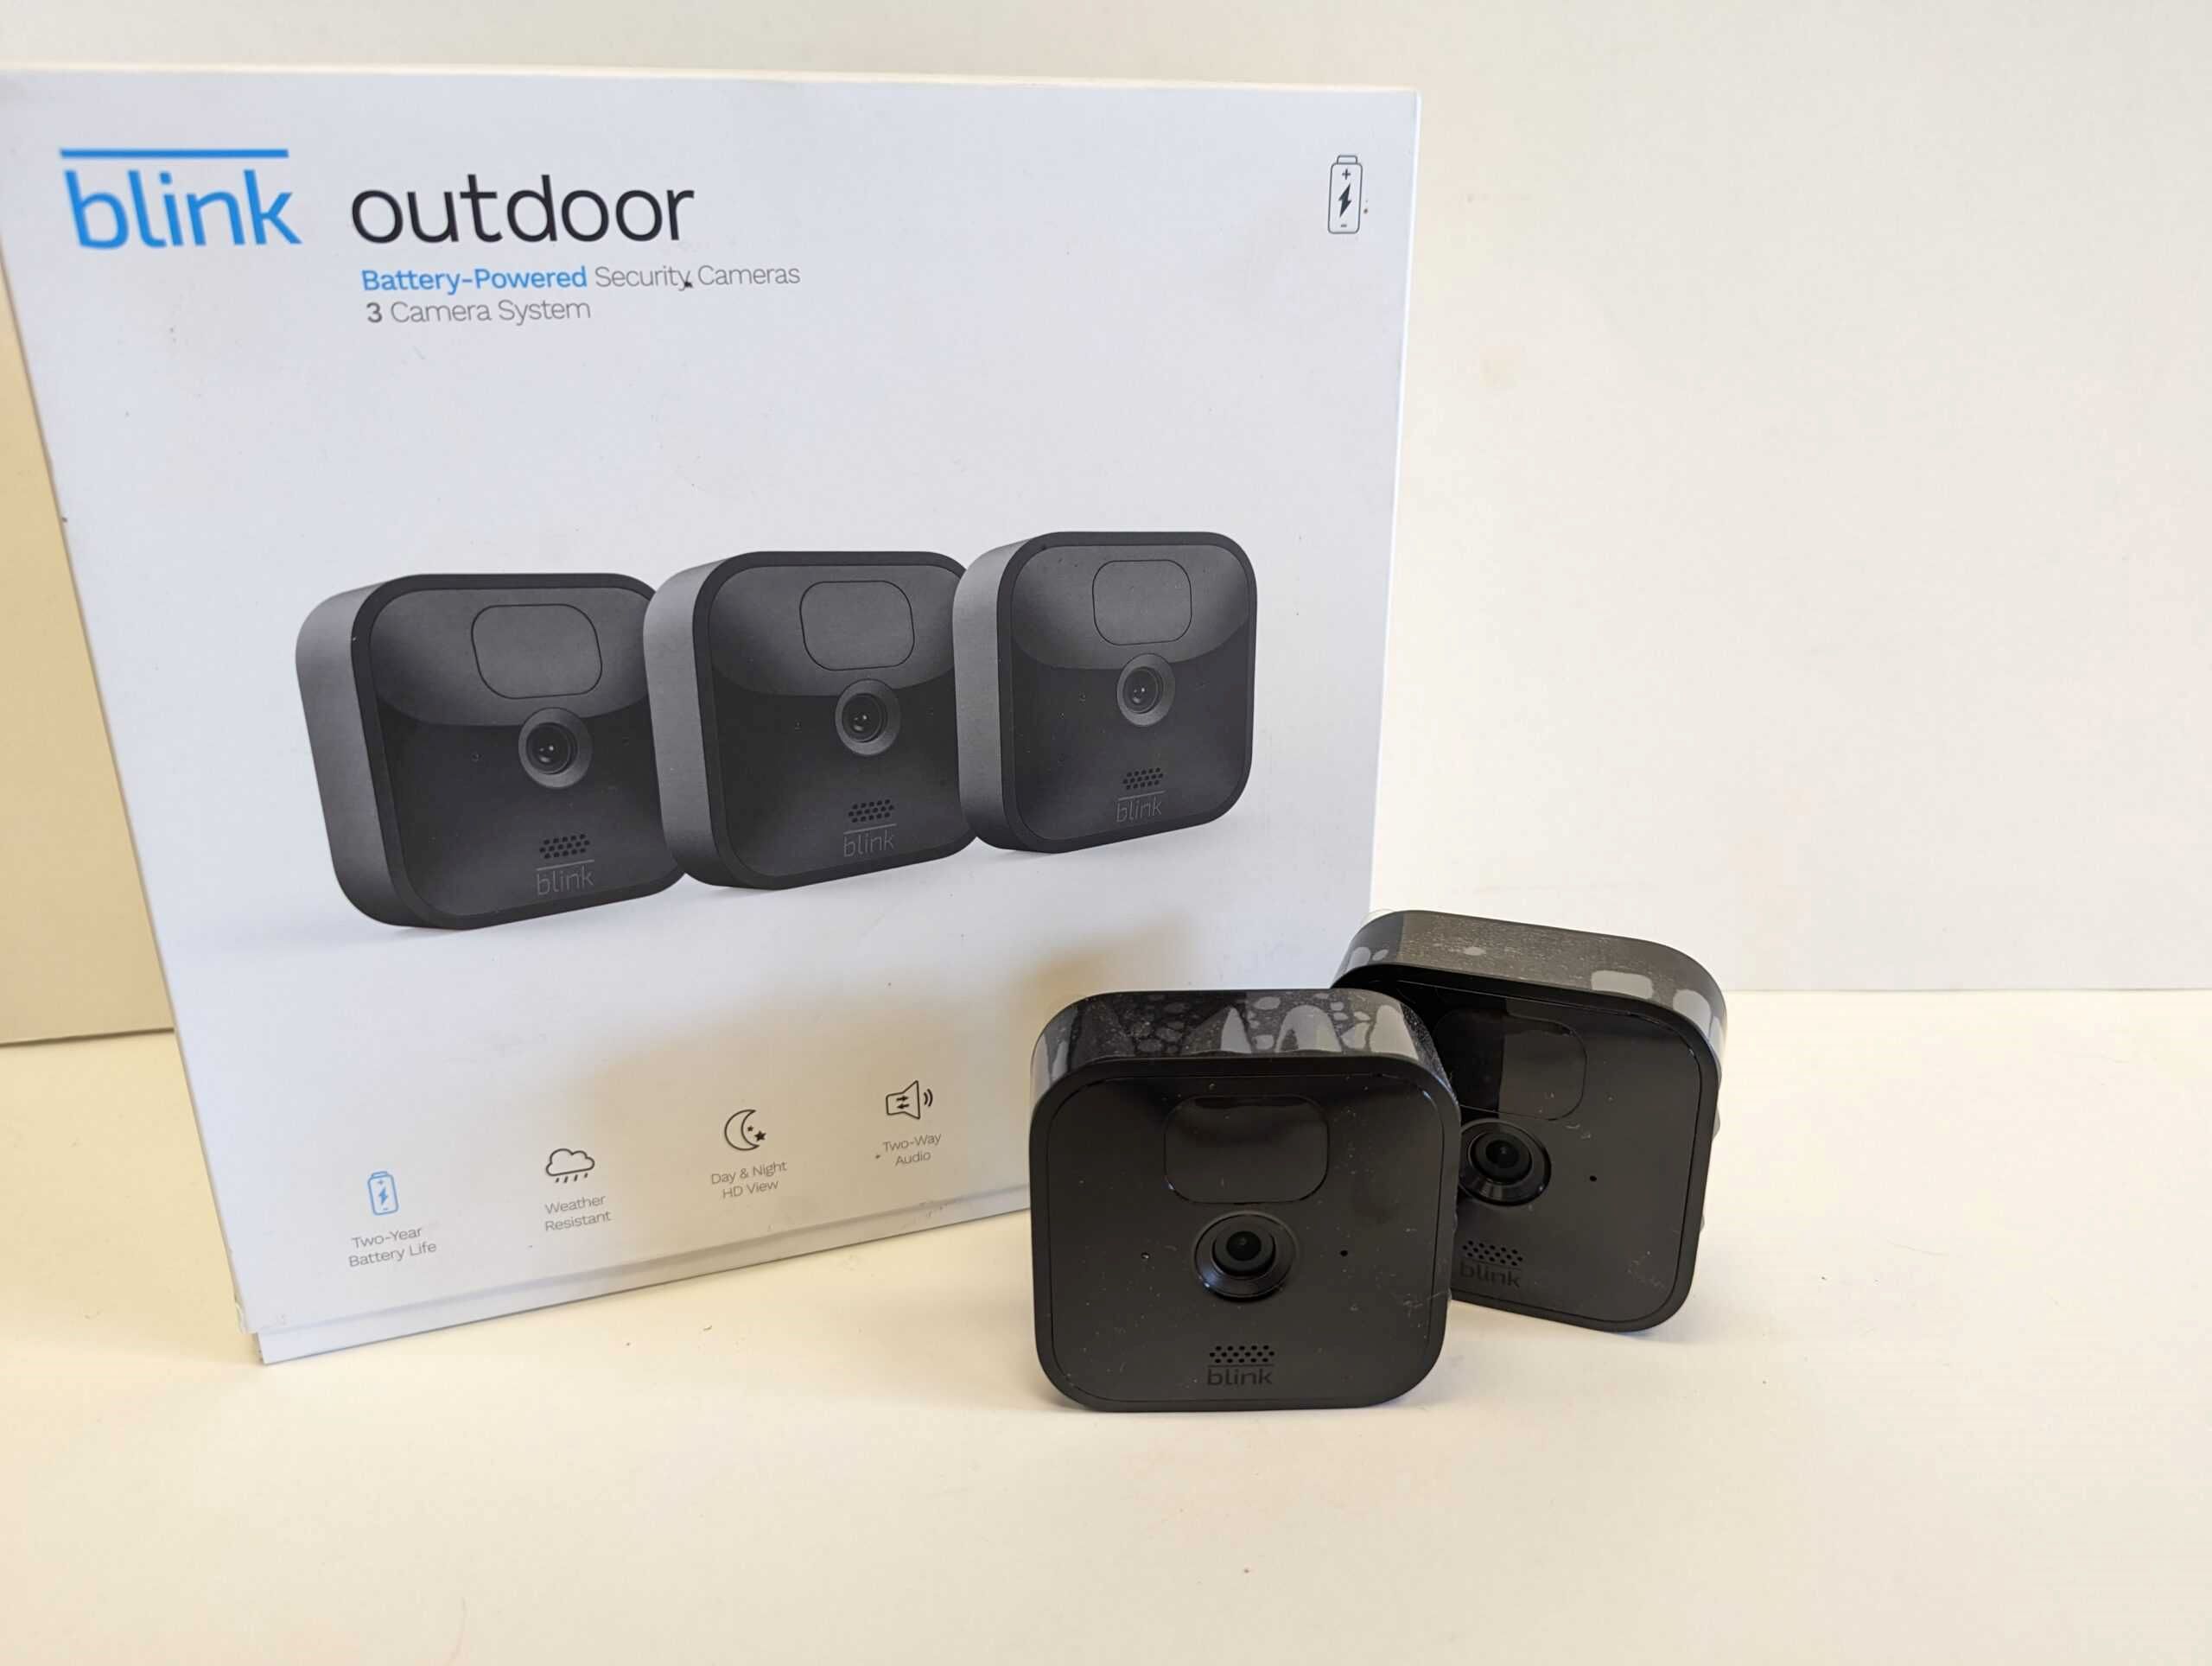
Step 1: Unboxing the Blink Outdoor Camera
The first step in setting up your Blink Outdoor Camera is to unbox the package. Here’s what you need to do:
- Open the package: Find a flat surface and carefully open the package using a pair of scissors or a utility knife. Be cautious not to damage any components inside.
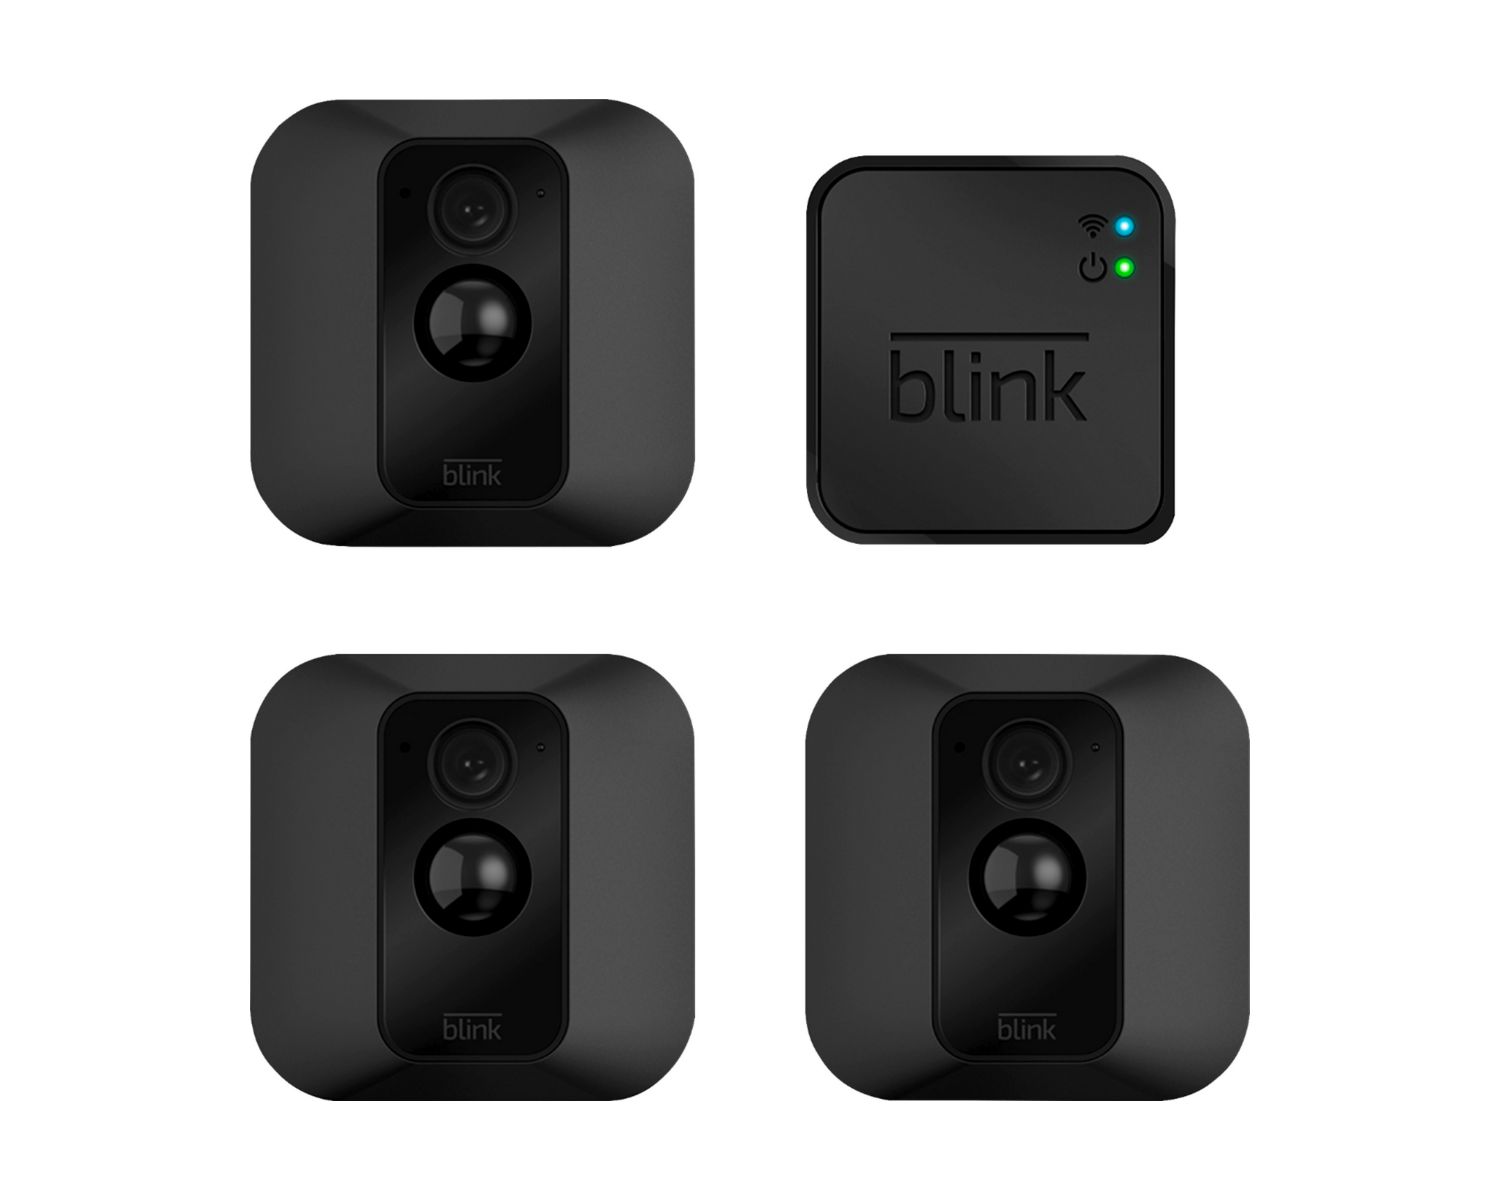
- Contents of the package: Once you’ve opened the package, you should find the following items:
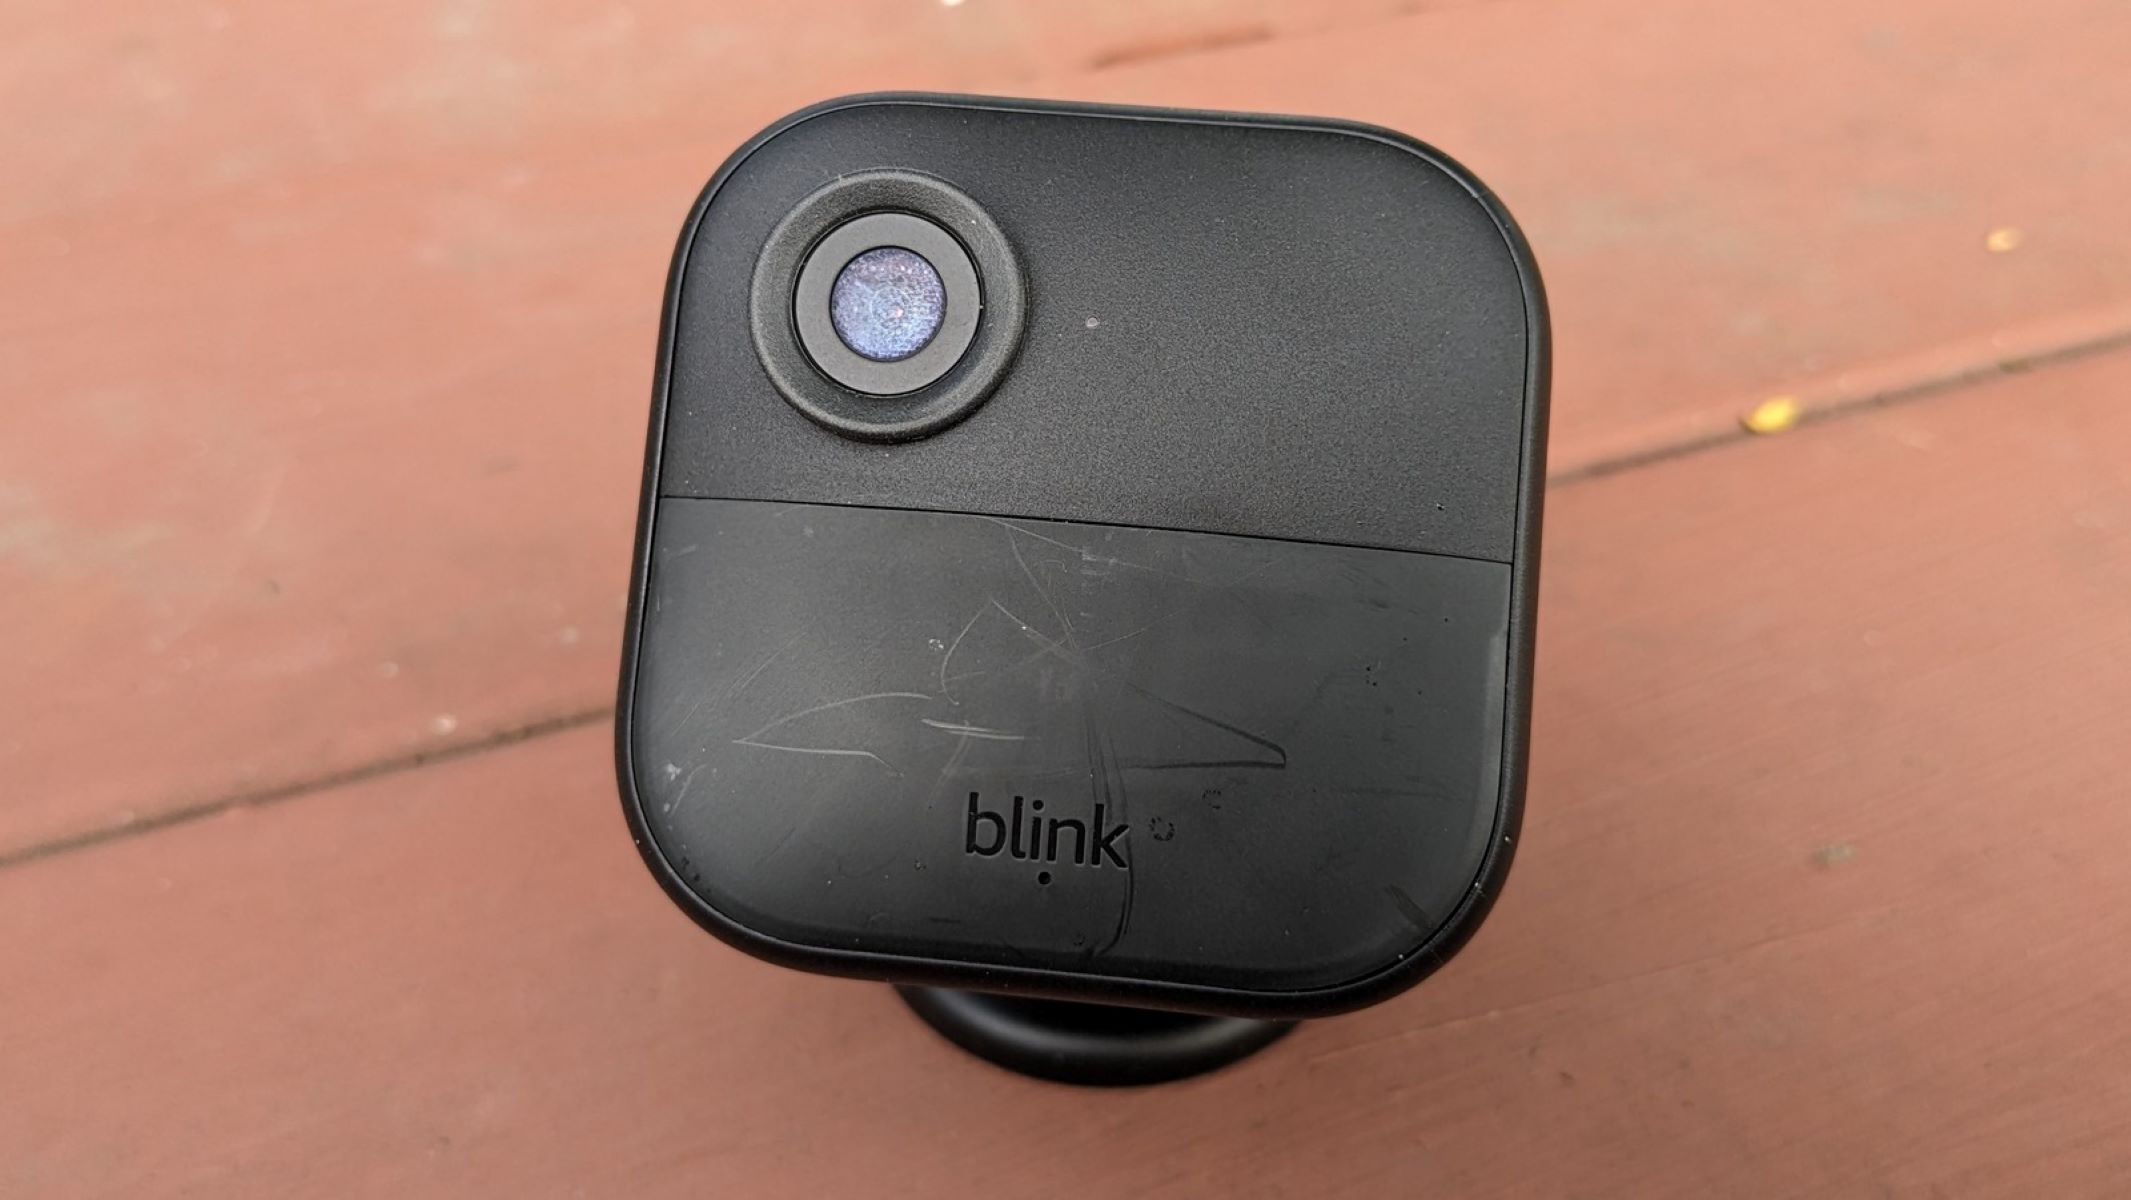
- Blink Outdoor Camera: This is the main camera unit.
- Mounting bracket: The mounting bracket allows you to attach the camera to a wall or another surface.
- Screw set: The screw set includes the screws and anchors needed for the installation process.
- Sync module: The sync module is the hub that connects your Blink Outdoor Camera to your home Wi-Fi network.
- USB cable: The USB cable is used to power the sync module.
- Power adapter: The power adapter plugs into a wall outlet and provides power to the sync module.
- Quick-start guide: The quick-start guide provides basic instructions on setting up your Blink Outdoor Camera.
Make sure to check that all the components are present and in good condition. If anything is missing or damaged, contact the Blink customer support for assistance.
Once you have verified the contents, you are ready to move on to the next step: choosing the mounting location for your Blink Outdoor Camera.
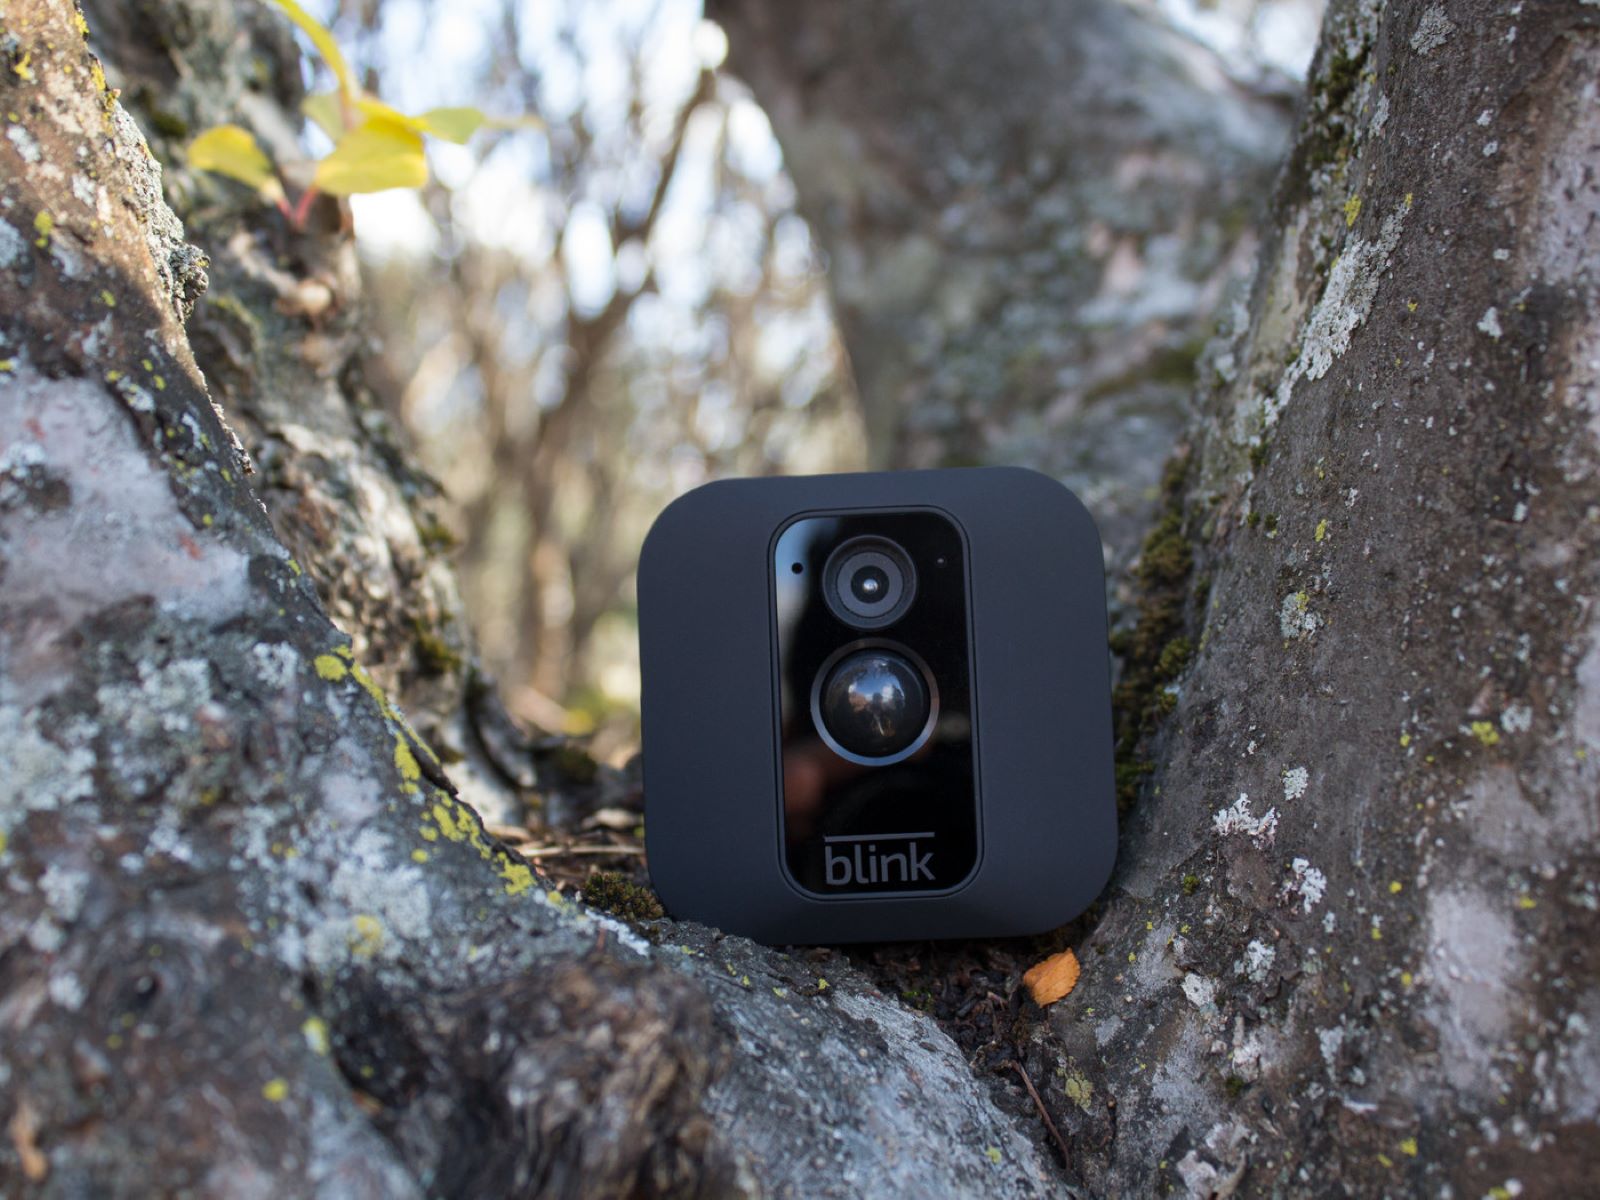
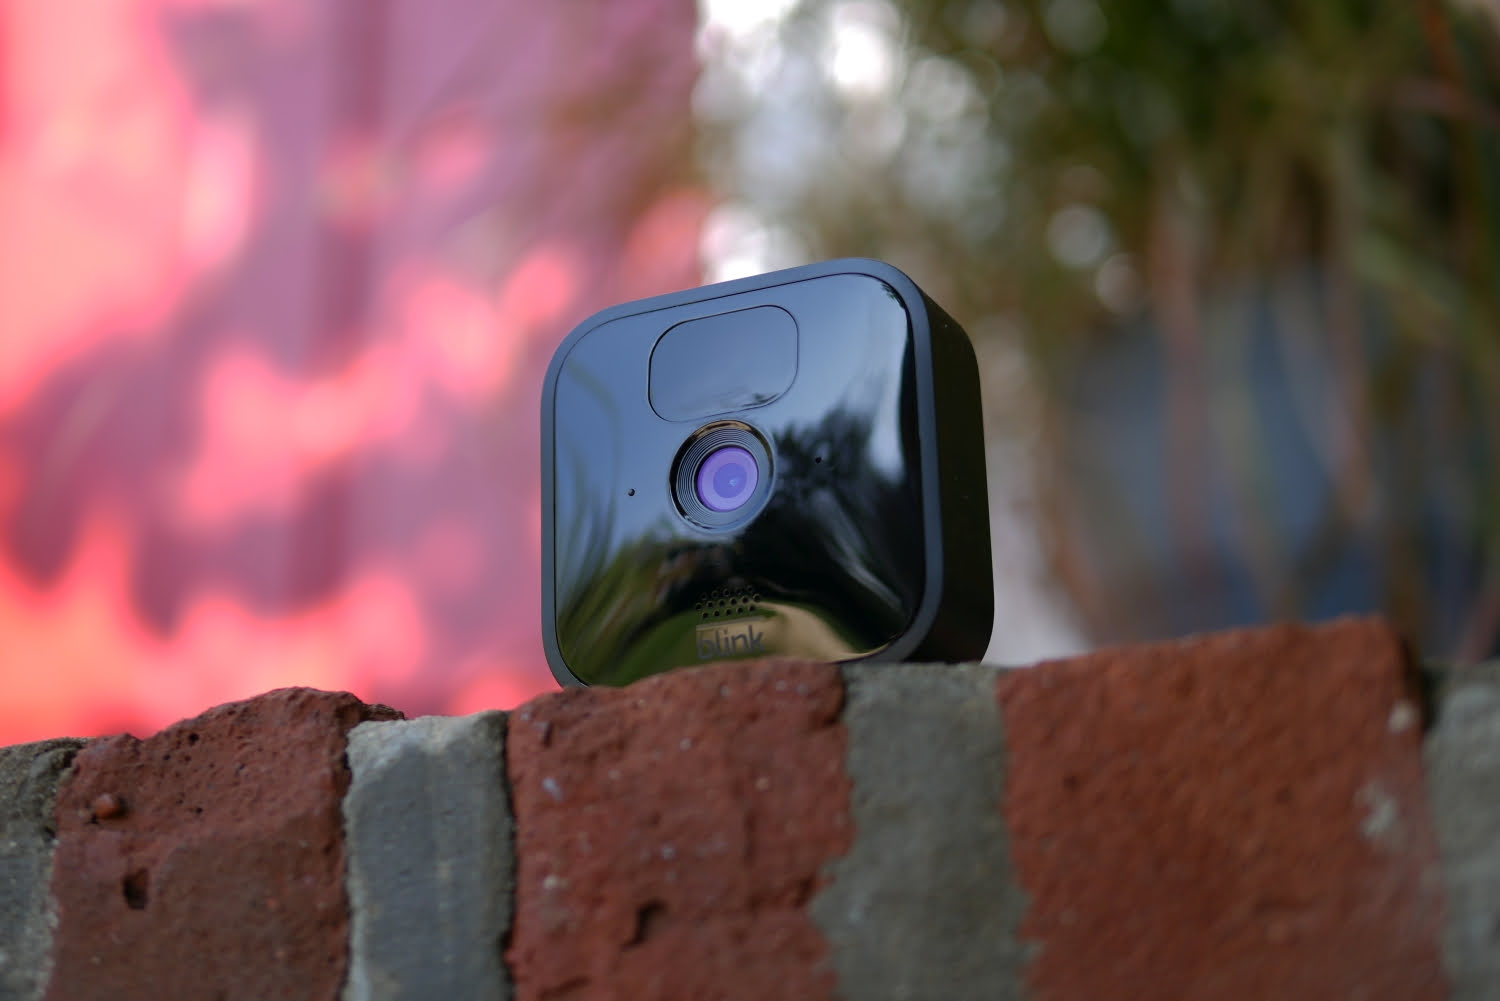
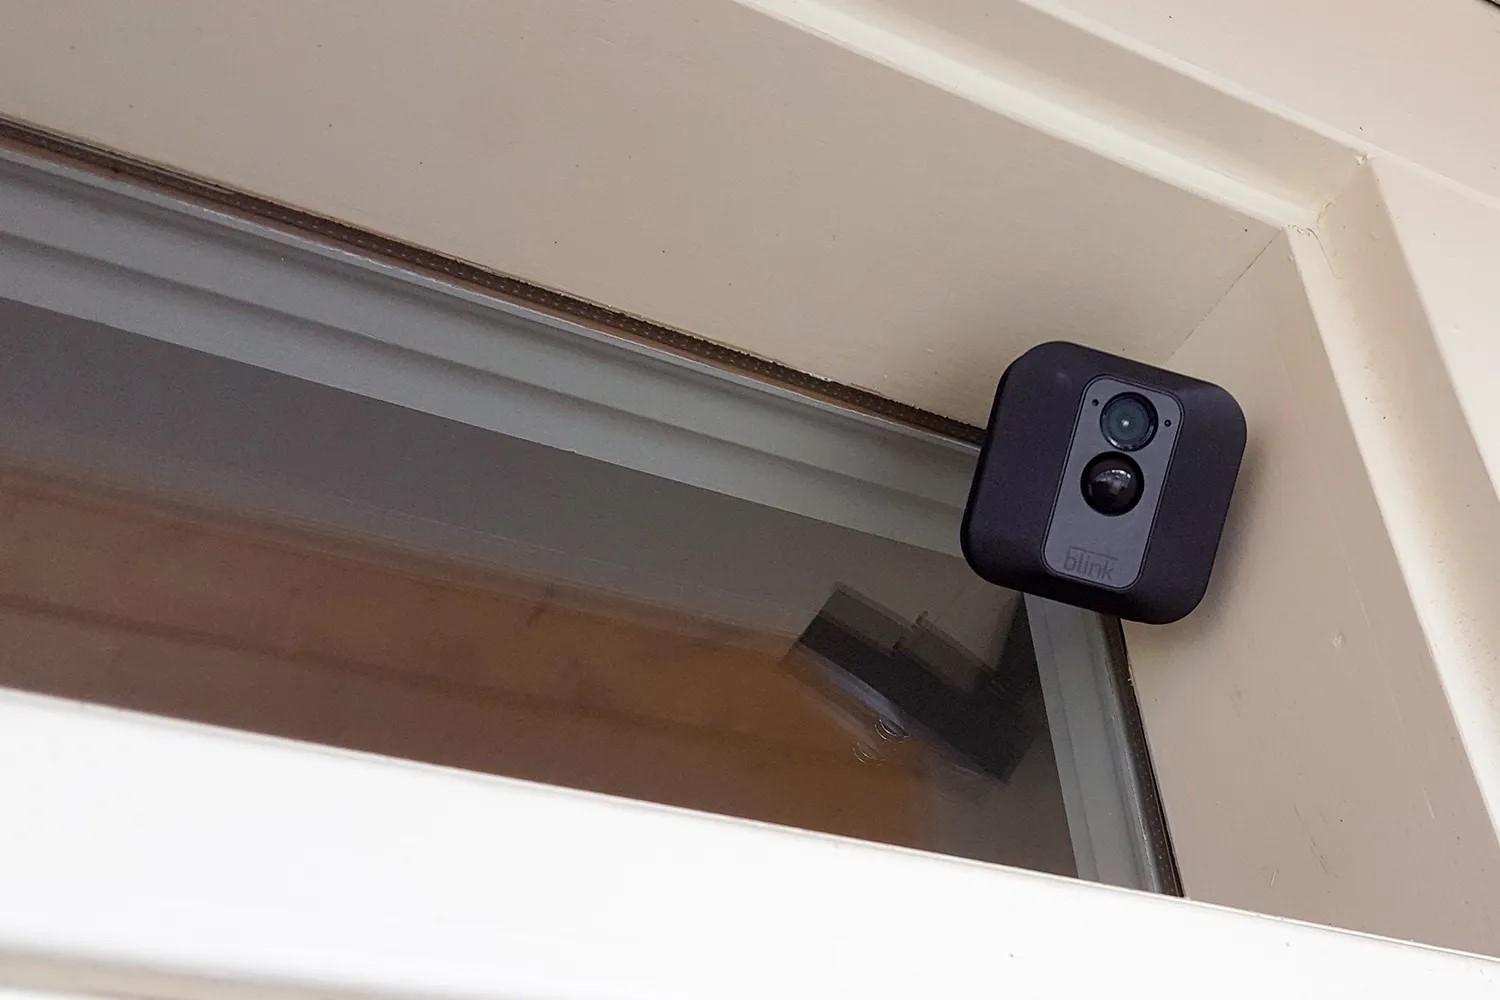
Step 2: Choosing the Mounting Location
Choosing the right mounting location for your Blink Outdoor Camera is crucial for maximizing its surveillance capabilities. Here are some factors to consider and ideal locations for installation:
Factors to consider:
- Visibility: Place the camera in a location where it has a clear view of the area you want to monitor. Avoid obstructions such as tree branches or walls that could obstruct the camera’s line of sight.
- Height: Mount the camera at an appropriate height to capture a wide-angle view of the area. Depending on the specific location, a height of 7 to 10 feet is generally recommended.
- Accessibility: Ensure that the camera is easily accessible for maintenance and battery replacement. Avoid mounting it in hard-to-reach areas or places that require a ladder to access.
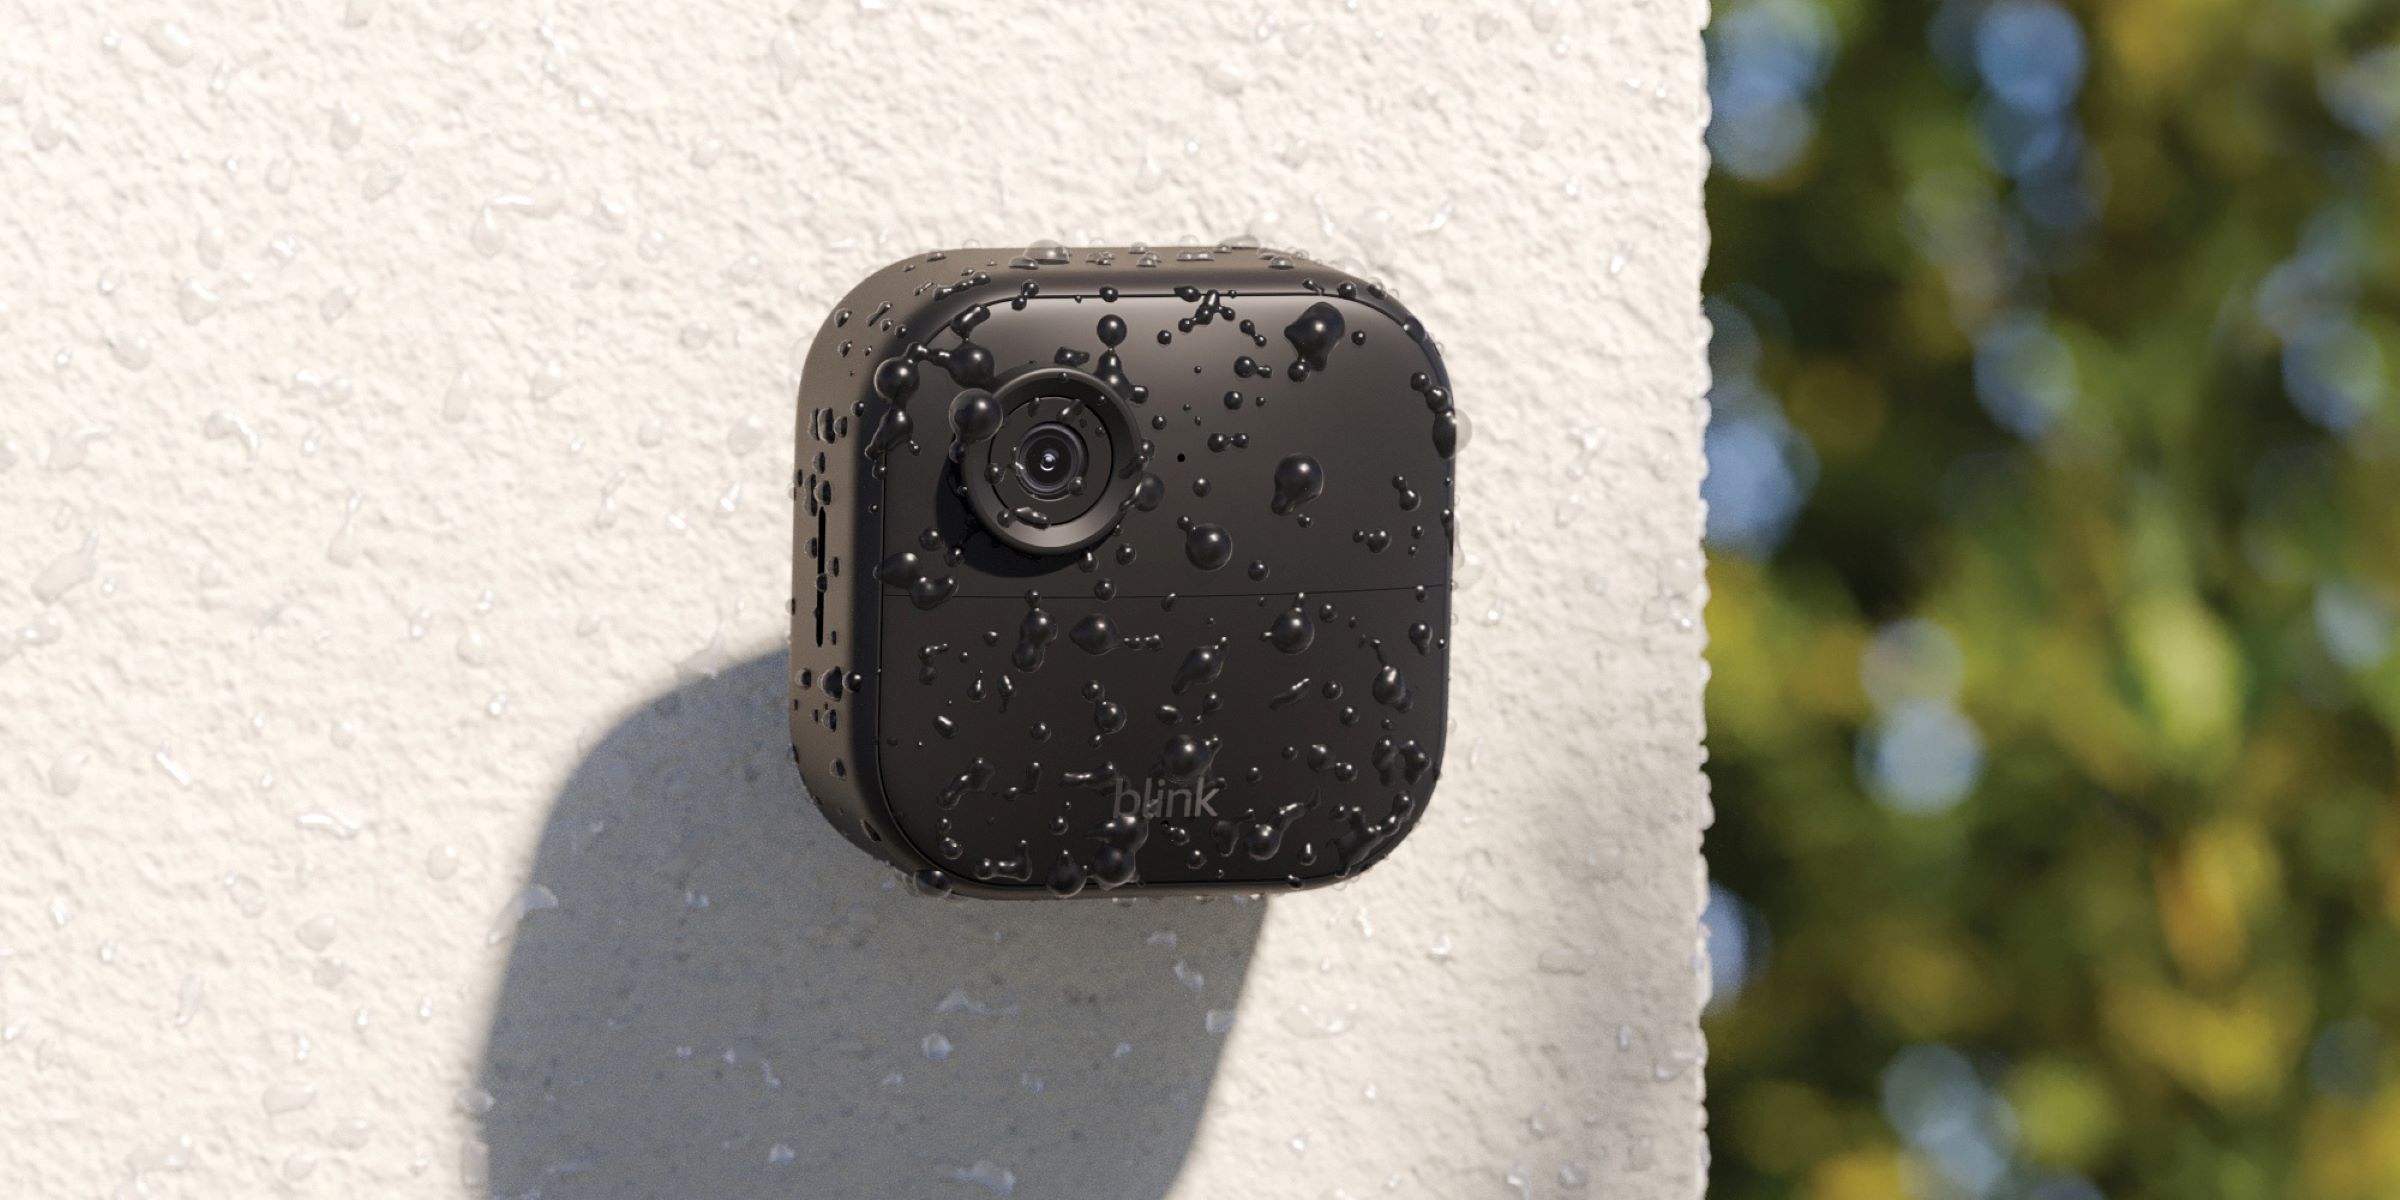
- Weather resistance: The Blink Outdoor Camera is designed to withstand outdoor conditions, but it’s still important to consider its exposure to elements such as rain, direct sunlight, or extreme temperatures. Choose a location that provides some level of protection from harsh weather conditions.
Ideal locations for installation:
- Front door: Placing the camera near your front door allows you to monitor visitors, package deliveries, and potential intruders.
- Backyard: Installing a camera in your backyard provides surveillance for outdoor living spaces, sheds, or any other areas of interest.
- Garage: If you have a detached garage or carport, mounting a camera can help in monitoring your vehicles and deterring theft.
- Driveway: A camera positioned to capture your driveway can help in identifying any vehicles entering or leaving your property.
- Side entrance: If you have a side entrance or gate, installing a camera can enhance security and monitor any suspicious activity.
Consider these factors and identify the ideal location that meets your specific needs. Once you have chosen the mounting location, you can proceed to the next step: connecting the sync module.
Step 3: Connecting the Sync Module
Now that you have chosen the mounting location for your Blink Outdoor Camera, it’s time to connect the sync module. The sync module acts as the hub that connects your camera to your home’s Wi-Fi network. Follow these steps to complete the sync module setup process:
- Find a suitable location: Select a spot near an electrical outlet and within range of your Wi-Fi router to place the sync module.
- Plug in the sync module: Connect the USB cable to the sync module and plug the other end into an electrical outlet. The sync module should power on and display a solid blue light.
- Connect to the Blink app: Download and install the Blink app on your smartphone or tablet from the App Store or Google Play Store.
- Launch the Blink app: Open the Blink app and sign in to your Blink account. If you don’t have an account, you can create one within the app.
- Add a system: Tap on the “Add a system” button within the app and select the Blink Outdoor Camera system.
- Enter the serial number: Enter the serial number located on the back of the sync module or scan the QR code using the app to add the sync module to your Blink account.
- Connect to Wi-Fi: Follow the on-screen instructions to connect the sync module to your home’s Wi-Fi network. Make sure to enter the correct network name and password.
- Wait for the sync module to connect: The app will guide you through the process of connecting the sync module to your Wi-Fi network. Wait for the sync module to establish a connection, which may take a few moments.
Once the sync module is successfully connected to your Wi-Fi network, you’re now ready to move on to the next step: installing the Blink Outdoor Camera.
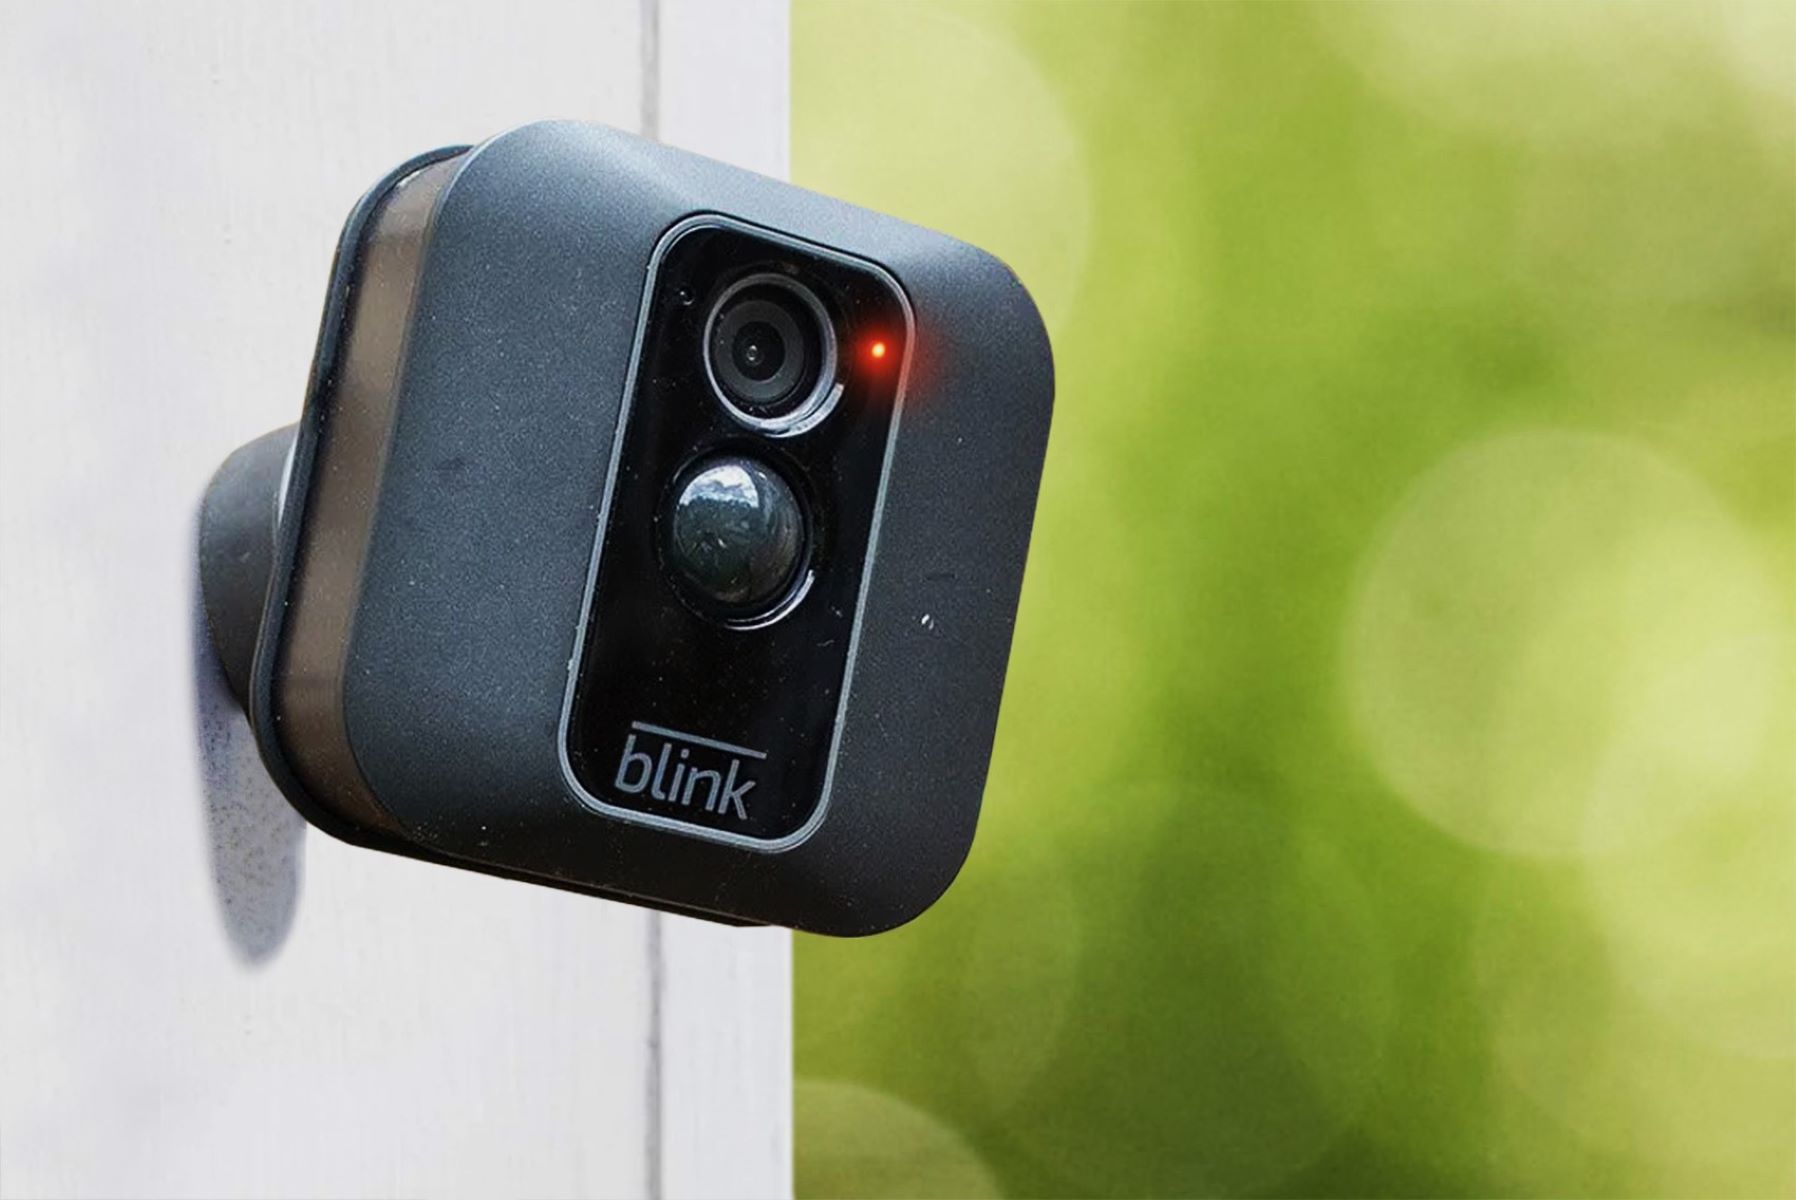
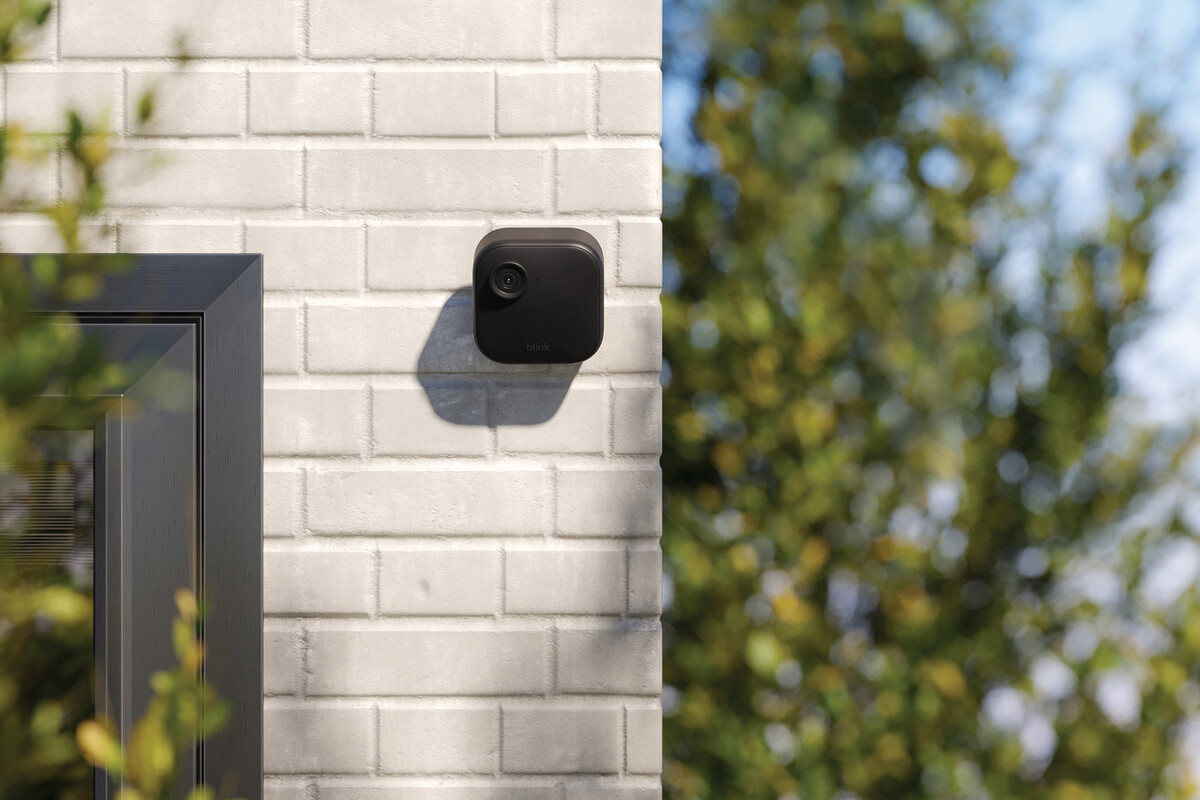
Step 4: Installing the Blink Outdoor Camera
With the sync module successfully connected, it’s time to proceed with installing the Blink Outdoor Camera. This step involves understanding mounting options and attaching the camera to the mount. Follow these instructions to complete the installation:
Mounting options explained:
The Blink Outdoor Camera offers two mounting options:
- Magnetic mount: The magnetic mount provides a quick and easy installation. Simply attach the magnetic part to a metal surface and place the camera onto the mount. This option is perfect for temporary installations or for environments where drilling holes is not desired.
- Screw mount: The screw mount offers a more secure and permanent installation. It requires drilling holes into the mounting surface to attach the camera mount using screws. This option ensures stability and is recommended for long-term placements.
Attaching the camera to the mount:
- Depending on your preferred mounting option, choose either the magnetic or screw mount.
- Magnetic mount: Peel off the adhesive backing from the magnetic portion of the mount and firmly press it onto a metal surface.
- Screw mount: Hold the mount against the desired location and use a pencil to mark the positions of the screw holes. Use a drill and the provided screws to secure the mount to the surface.
- Once the mount is securely installed, attach the Blink Outdoor Camera to the mount by aligning the camera’s magnetic base with the mount. The magnetic attraction will hold the camera in place.
- If you need to adjust the camera’s position, loosen the mounting screw on the back of the camera and tilt it to the desired angle. Then, tighten the screw to secure the camera in place.
Ensure that the camera is firmly attached to the mount and positioned correctly to capture the desired area. Once you have completed the installation, proceed to the next step: powering the camera.
When setting up a Blink Outdoor camera, make sure to place it within the Wi-Fi range, use the mounting kit for secure installation, and set up motion detection zones for accurate alerts.
Read more: How To Unscrew Blink Outdoor Camera
Step 5: Powering the Camera
Now that the Blink Outdoor Camera is securely mounted, it’s time to power it up. The camera can be powered either by batteries or through a wired connection. Here’s how to power your Blink Outdoor Camera:
Battery installation process:
- Remove the camera from the mount by carefully sliding it upwards or disengaging the magnetic connection. Place the camera on a flat surface.
- Locate the battery compartment on the back of the camera.
- Slide open the battery compartment door and insert the required number of AA lithium batteries, paying attention to the correct polarity.
- Close the battery compartment door securely.
- Ensure the batteries are properly seated by gently pressing on the compartment door.
Once the batteries are installed, you can choose to power the camera solely using batteries or connect it to a power source for continuous power. If you choose to use batteries, the camera will operate wirelessly. However, keep in mind that the battery life will vary depending on usage and environmental factors.
Connecting the camera to a power source:
- If you prefer a continuous power source for your camera, you can connect it to a power outlet using the provided micro USB cable and power adapter.
- Locate the micro USB port on the back of the camera.
- Connect one end of the micro USB cable to the camera’s USB port.
- Plug the other end of the micro USB cable into the power adapter.
- Insert the power adapter into an electrical outlet.
By connecting the camera to a power source, you ensure that it operates continuously without the need to replace batteries. This option is beneficial if you want uninterrupted surveillance or if the camera is mounted in a location that is difficult to access for battery replacements.
Now that the camera is powered, you can proceed to the next step: configuring the Blink app.
Step 6: Configuring the Blink App
To fully utilize the features of your Blink Outdoor Camera, you need to configure the Blink app on your smartphone or tablet. The Blink app allows you to control and customize your camera settings. Here’s how to get started:
Downloading and installing the Blink app:
- Open the App Store (for iOS) or Google Play Store (for Android) on your smartphone or tablet.
- Search for “Blink Home Monitor” in the search bar.
- Locate the official Blink Home Monitor app and tap on “Install” or “Get” to download and install it.
- Once the installation is complete, open the Blink app on your device.
Setting up the camera through the app:
- Launch the Blink app and sign in to your Blink account. If you don’t have an account, you can create one by following the on-screen instructions.
- Tap on the “+” icon or “Add a system” button to add your Blink Outdoor Camera to the app.
- Follow the on-screen instructions to set up your camera. This typically involves scanning the QR code or entering the camera’s serial number.
- Once the camera is successfully added, you can customize your camera settings through the app.
The Blink app provides various customization options, including motion detection sensitivity, recording length, and notification preferences. Take some time to explore the app’s features and adjust the settings according to your preferences.
With the Blink app successfully configured, you can now move on to the next step: adjusting camera settings.
Step 7: Adjusting Camera Settings
Now that your Blink Outdoor Camera is set up and connected to the app, you can start customizing the camera settings to meet your specific needs. Here’s how to adjust the camera settings through the Blink app:
Exploring the camera settings in the app:
- Open the Blink app on your smartphone or tablet.
- Select the Blink Outdoor Camera from the list of devices associated with your account.
- Tap on the camera settings icon or the “Settings” option within the app.
Customizing motion detection, recording, and notifications:
Within the camera settings, you’ll find several options for customizing your Blink Outdoor Camera:
- Motion detection sensitivity: Adjust the sensitivity level to determine how easily the camera detects motion. Higher sensitivity may capture more motion events, while lower sensitivity may prevent false alerts.
- Recording length: Set the duration for how long the camera records when motion is detected. You can choose between short, medium, or long recording durations.
- Clip length: Determine the length of video clips that are stored in the cloud. Choose from 5, 10, or 20-second clips.
- Activity zones: Define specific areas in the camera’s field of view where you want motion detection to be active. This helps eliminate unnecessary notifications from areas of low interest.
- Notification preferences: Customize the app’s notification settings to receive alerts for specific events, such as motion detection or when the camera’s battery is low.
- Camera status LED: Enable or disable the camera’s LED light to indicate when it is recording or in use.
Take some time to explore these settings and adjust them according to your preferences. This will optimize your camera’s performance and ensure that you receive relevant notifications and recordings.
Now that you have customized the camera settings, you’re ready to move on to the next step: testing the Blink Outdoor Camera.
Step 8: Testing the Blink Outdoor Camera
With the Blink Outdoor Camera fully set up and the settings adjusted, it’s time to test the camera’s functionality. This step involves verifying that the camera is working correctly and adjusting its position if necessary. Here’s what you need to do:
Verifying camera functionality:
- Open the Blink app on your smartphone or tablet.
- Select the Blink Outdoor Camera from the list of devices associated with your account.
- Tap on the live view option to see the camera’s live feed.
- Observe the live feed to ensure that the camera is capturing the desired area and that the image and video quality is satisfactory.
- Trigger a motion event in front of the camera to verify that it detects motion and starts recording.
- Check the app to ensure that you receive a notification for the motion event and that the recorded clip is saved in the cloud.
If the camera is functioning correctly and capturing the desired area, you can proceed to the next step. However, if you’re not satisfied with the camera’s position or the captured area, follow the steps below to adjust the camera:
Adjusting camera position, if required:
- Carefully remove the camera from its mount by sliding it upwards or detaching the magnetic connection.
- Reposition the camera to the desired angle and make any necessary adjustments to its tilt or rotation.
- Securely reattach the camera to the mount, ensuring it is firmly in place.
Repeat the verification process to ensure that the camera is now capturing the desired area. Make any further adjustments if needed until you are satisfied with the camera’s position and performance.
By testing and adjusting the Blink Outdoor Camera, you can ensure that it is working optimally and providing the surveillance coverage you require. With the camera successfully tested and adjusted, you have completed the final step of the setup process.
Congratulations! Your Blink Outdoor Camera is now fully set up and ready to help protect and monitor your home.
If you have any further questions or need assistance, refer to the Blink app support or reach out to Blink customer support.
Read more: How To Install Blink Outdoor Cameras
Conclusion
Setting up a Blink Outdoor Camera doesn’t have to be a daunting task. By following the step-by-step guide outlined in this article, you can easily install and configure your camera for optimal home security and surveillance.
We began by unboxing the Blink Outdoor Camera and familiarizing ourselves with the contents of the package. We then discussed the importance of choosing the right mounting location, considering factors such as visibility, height, accessibility, and weather resistance.
Next, we covered the process of connecting the sync module to your Wi-Fi network, which serves as the central hub for your Blink Outdoor Camera system. We then proceeded with the installation of the camera itself, exploring the mounting options and attaching it securely to the chosen mount.
To power the camera, we explained the battery installation process and the option to connect it to a power source for continuous operation. With the camera powered up, we moved on to configuring the Blink app, including downloading and installing the app on your smartphone or tablet, and setting up the camera through the app.
We then dove into adjusting the camera settings through the Blink app, covering options such as motion detection sensitivity, recording length, notification preferences, and more. These settings allow you to customize the camera’s functionality to suit your specific needs.
After customizing the camera settings, we emphasized the importance of testing the Blink Outdoor Camera to ensure that it functions as expected. We discussed the steps involved in verifying camera functionality and, if necessary, adjusting the camera’s position for optimal coverage.
In conclusion, with the Blink Outdoor Camera properly set up, you can enjoy enhanced home security and peace of mind. Whether you’re monitoring your front door, backyard, or garage, this camera system provides a reliable solution for keeping an eye on your property.
Remember, should you need assistance or have any questions, you can refer to the Blink app support or reach out to Blink customer support, who are available to provide guidance and resolve any issues you may encounter.
Thank you for joining us on this setup journey, and we hope you find great success in using your Blink Outdoor Camera to protect and secure your home.
Frequently Asked Questions about How Do You Set Up A Blink Outdoor Camera
Was this page helpful?
At Storables.com, we guarantee accurate and reliable information. Our content, validated by Expert Board Contributors, is crafted following stringent Editorial Policies. We're committed to providing you with well-researched, expert-backed insights for all your informational needs.