Home>Home Security and Surveillance>How Do You Drill A Hole In Your House For An Outdoor Camera
Home Security and Surveillance
How Do You Drill A Hole In Your House For An Outdoor Camera
Modified: October 20, 2024
"Ensure the safety of your home with expert tips on drilling a hole for an outdoor camera. Home security and surveillance made easy."
(Many of the links in this article redirect to a specific reviewed product. Your purchase of these products through affiliate links helps to generate commission for Storables.com, at no extra cost. Learn more)
Introduction
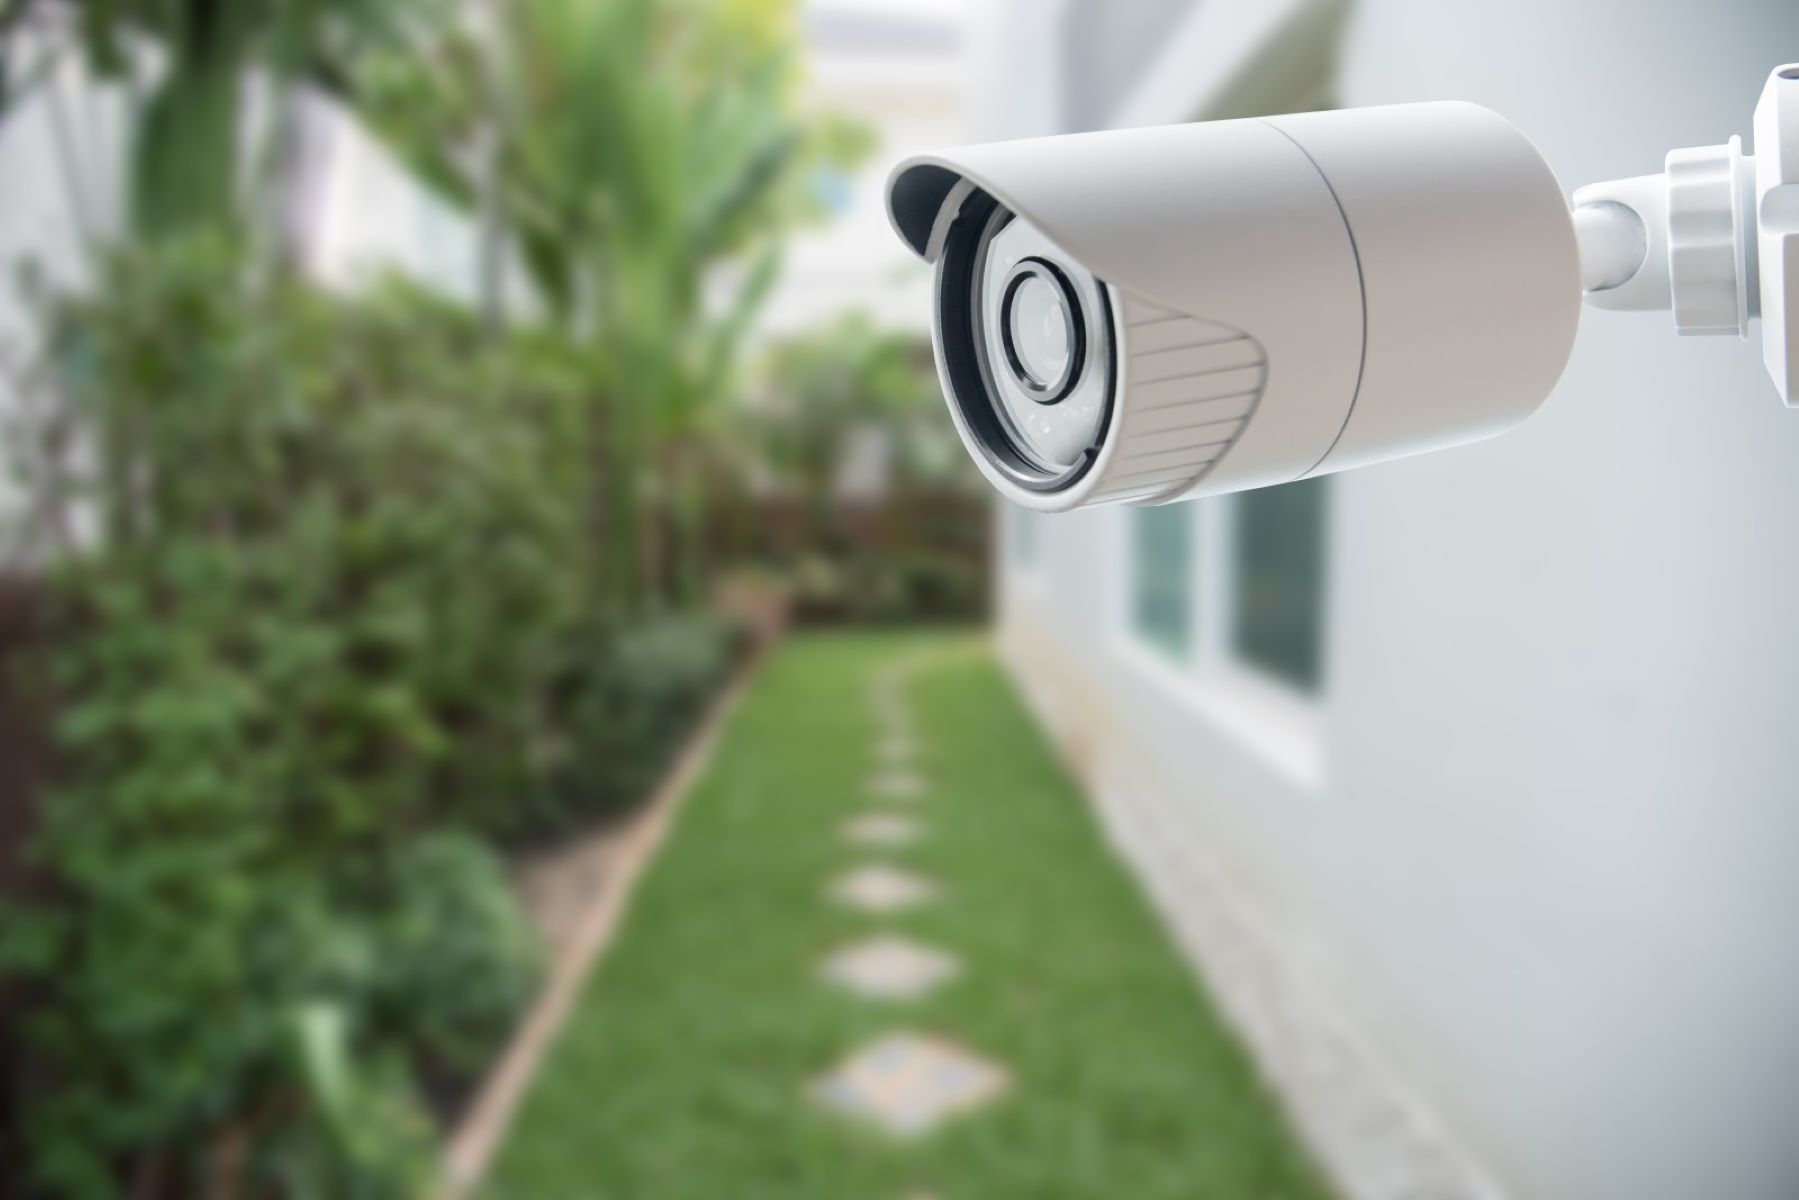
Welcome to the world of home security and surveillance systems! In today’s fast-paced world, keeping our homes safe and secure is of utmost importance. One effective way to enhance the security of your home is by installing outdoor cameras. These cameras not only act as a deterrent to potential intruders but also provide valuable evidence in the event of any suspicious activity.
However, before you can start reaping the benefits of outdoor cameras, you need to tackle one important step: drilling a hole in your house to install the camera. While it may seem like a daunting task, with the right tools and guidance, you can do it yourself and save money on professional installation.
In this article, we will guide you through the step-by-step process of drilling a hole in your house for an outdoor camera. You’ll learn about the necessary tools, choosing the camera location, marking the drilling spot, drilling the hole, securing the camera, connecting it to the power source, and testing its functionality.
So, let’s get started and empower ourselves with the knowledge and skills to enhance the security of our homes!
Key Takeaways:
- Drilling a hole for an outdoor camera requires the right tools, careful planning, and safety precautions. Choosing the camera location, marking the drilling spot, and securing the camera are crucial steps for a successful installation.
- After installing the outdoor camera, connecting it to a power source and testing its functionality are essential. Regular maintenance and testing will help maintain a reliable surveillance system for your home.
Read more: How Do You Record On Your Outdoor Camera
Step 1: Gather the necessary tools
Before you begin drilling a hole in your house for an outdoor camera, it’s essential to gather all the necessary tools. Having the right tools on hand will make the process smoother and ensure that you have everything you need to complete the installation.
Here’s a list of tools you will need:
- Power drill: A power drill is an indispensable tool for drilling holes in various materials, such as wood, brick, or siding. Make sure your drill is suitable for the type of surface you will be drilling into.
- Drill bits: Depending on the material of your house’s exterior, you may need different drill bits. For wood, a standard twist bit will suffice, while for brick or concrete, you will need a masonry bit.
- Camera mounting hardware: Typically, outdoor cameras come with their mounting hardware, including screws and anchors. Make sure you have the appropriate hardware for your camera model.
- Ladder: To reach the desired height for camera installation, you will likely need a ladder. Ensure that it is sturdy and suitable for outdoor use.
- Tape measure: Accurate measurements are crucial for marking the drilling spot. Use a tape measure to determine the desired camera location and the exact placement of the hole.
- Pencil or marker: Use a pencil or marker to mark the drilling spot on your house’s exterior. This will serve as a guide during the drilling process.
- Safety glasses: Protecting your eyes is essential when using power tools. Wear safety glasses to prevent any debris or dust from getting into your eyes.
- Protective gloves: It’s a good idea to wear protective gloves while handling the tools and materials. This will not only protect your hands from potential injuries but also provide a better grip.
By gathering these tools before you start the installation process, you can ensure a smooth and efficient experience. Now that you have everything you need, it’s time to move on to the next step: choosing the camera location.
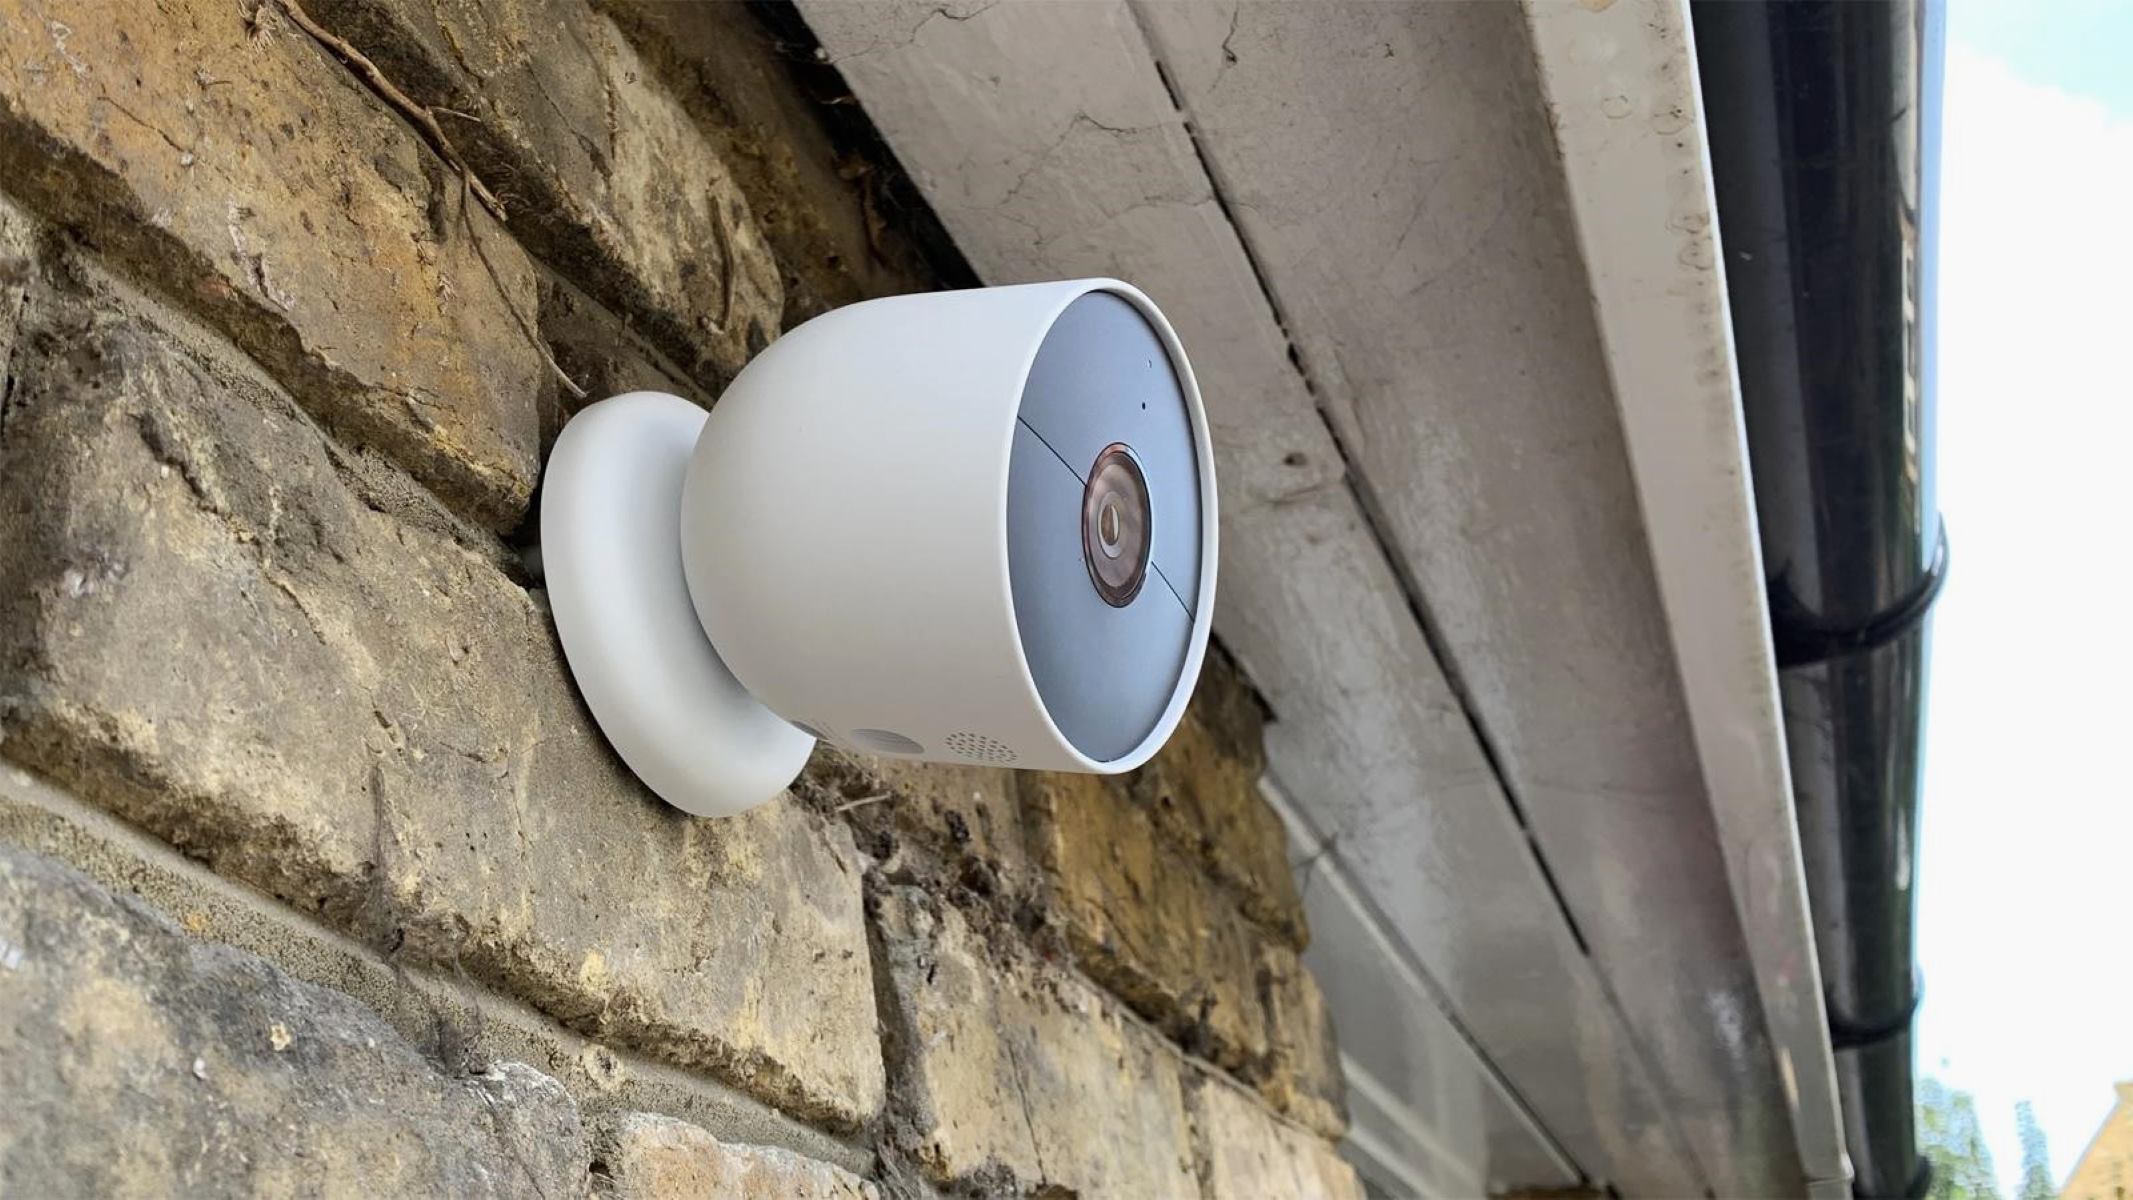
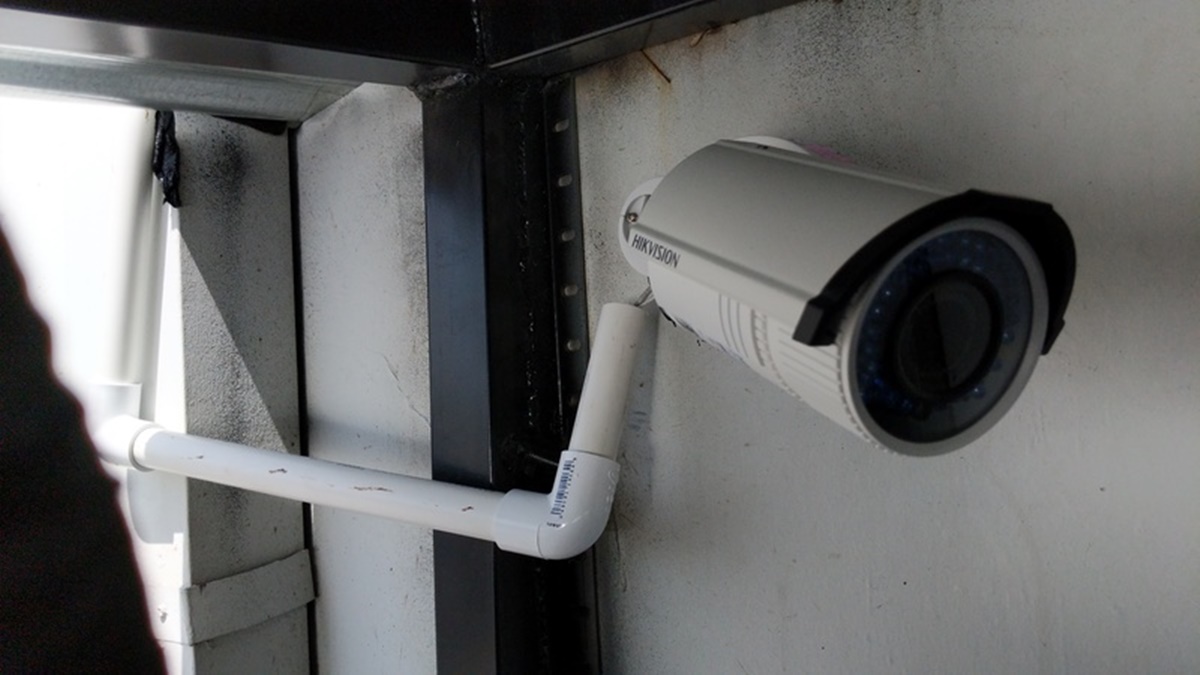
Step 2: Choose the camera location
Choosing the right location for your outdoor camera is crucial to ensure optimal surveillance coverage and security. Before drilling the hole, take some time to consider the following factors:
- Field of view: Evaluate the area you want the camera to cover. Consider the angle and range of the camera’s field of view to ensure it captures the desired area effectively.
- Entry points: Identify the potential entry points of your property, such as doors, windows, or gates. Install the camera in a location that provides a clear view of these areas to maximize security.
- Accessibility: Ensure the camera is easily accessible for maintenance and adjustments. Avoid placing it too high or in areas that require a lot of effort to reach.
- Weather resistance: Look for a location that offers some protection from harsh weather conditions, such as rain or direct sunlight. This will help prolong the lifespan of the camera and ensure its functionality.
- Power source: Consider the proximity to a power source. If your camera requires a constant power supply, make sure the chosen location allows for easy wiring.
- Obstructions: Check for any obstructions, such as trees, shrubs, or objects that could obstruct the camera’s view. Clear any obstacles that may hinder the camera’s effectiveness.
Once you’ve considered these factors, you can identify the ideal camera location. Use a ladder to reach the chosen spot and hold the camera in place to visualize the view. Ensure that the camera’s mounting holes align with the desired location.
Remember, the goal is to find a balance between optimal surveillance coverage and practical installation. Take your time in selecting the right location, as it plays a crucial role in the effectiveness of your outdoor camera system.
Now that you have chosen the camera location, the next step is to mark the drilling spot on your house’s exterior.
Step 3: Mark the drilling spot
After selecting the ideal location for your outdoor camera, it’s time to mark the drilling spot on your house’s exterior. This step ensures accuracy and helps you drill the hole in the correct position. Here’s how to do it:
- Hold the camera in place: Position the camera at the chosen location on the exterior wall. Use a ladder if needed to reach the desired height. Hold the camera firmly against the wall, aligning it with the desired angle and field of view.
- Mark the mounting holes: Once you have the camera in position, use a pencil or marker to mark the mounting holes on the wall. These holes will be used to secure the camera in place, so make sure the marks are clear and visible.
- Measure and confirm the position: Use a tape measure to double-check the measurements and ensure the camera is level. Verify that the marks align with the desired position and are symmetrically placed.
- Remove the camera: Once you have marked the drilling spot, carefully remove the camera from the wall. This will ensure that it doesn’t interfere with the drilling process or get damaged.
By marking the drilling spot accurately, you can proceed with confidence, knowing that the hole will be drilled in the correct position. Taking these extra steps to measure and confirm the location will ensure a professional and visually appealing installation.
With the drilling spot marked, it’s time to move on to the next step: drilling the hole in your house’s exterior. This step requires caution and precision to avoid any damage to the material.
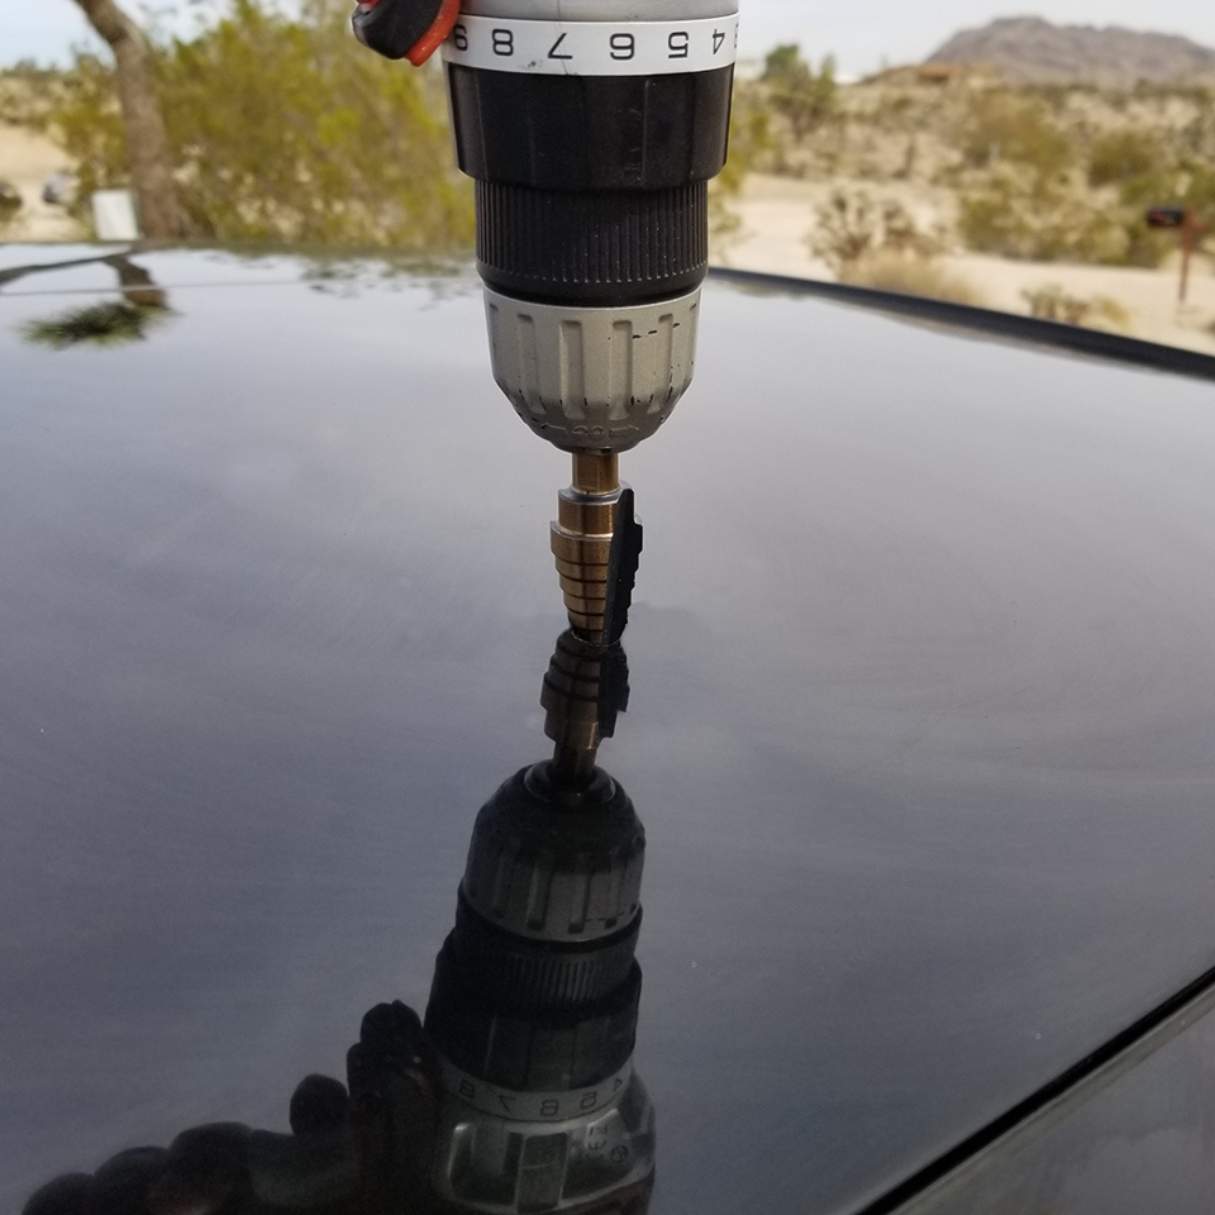
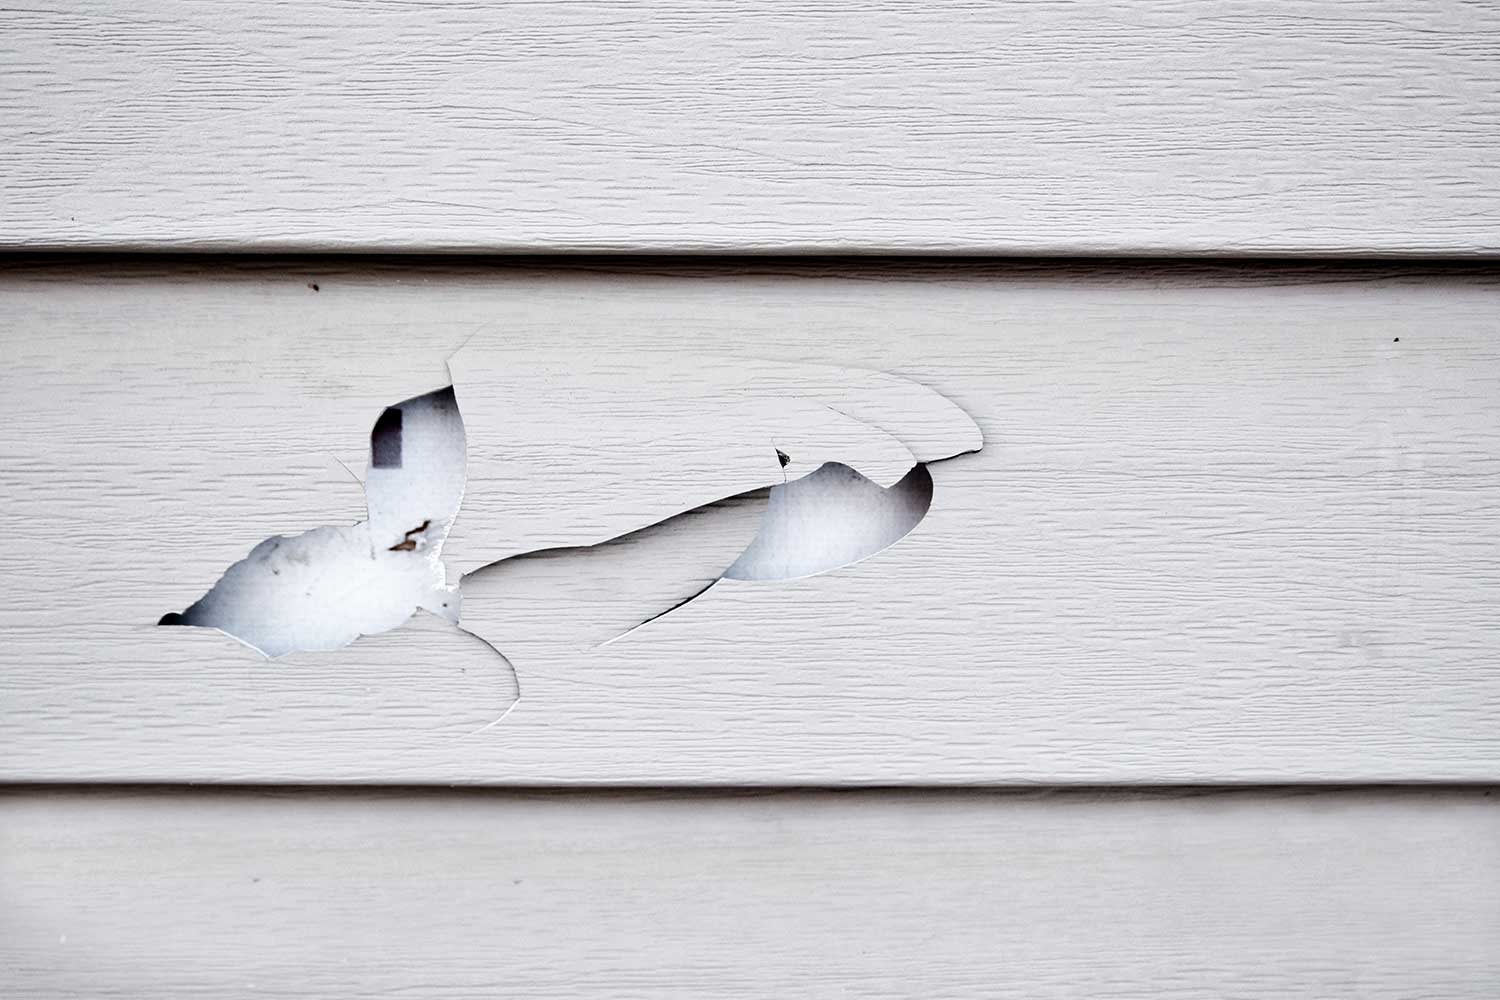
Step 4: Drill the hole
With the drilling spot marked on your house’s exterior, it’s time to proceed to the next crucial step: drilling the hole for your outdoor camera. Follow these steps to ensure a successful drilling process:
- Select the appropriate drill bit: Depending on the material of your house’s exterior, choose the right drill bit. For wood, a standard twist bit will work, while for brick or concrete, a masonry bit is required. Make sure the drill bit is compatible with your power drill.
- Put on safety gear: Before starting, put on safety glasses and gloves to protect yourself from any debris or injuries during the drilling process.
- Position the drill: Place the drill bit on the marked spot and hold the drill perpendicular to the wall surface. Ensure a firm grip on the drill to maintain control throughout the drilling process.
- Start drilling: Begin drilling at a slow speed to create a pilot hole. Apply gentle, steady pressure as you gradually increase the drilling speed. Keep the drill perpendicular to the wall as you work.
- Monitor the drilling depth: Pay attention to the depth as you drill. If you are drilling into wood, it’s important not to go too deep. For brick or concrete, you may need to drill deeper to accommodate anchors or screws.
- Clear debris: Periodically stop drilling to clear away any debris that may accumulate in the hole. This will ensure smooth progress and prevent the drill bit from getting stuck.
- Check the hole: Once you reach the desired depth, remove the drill and inspect the hole. Ensure it is clean and free of any obstructions before proceeding to the next step.
Remember to work slowly and steadily, allowing the drill bit to do the work. Rushing can lead to mistakes or damage to the material. Take breaks if needed to prevent the drill from overheating.
With the hole successfully drilled in your house’s exterior, you’re one step closer to completing the installation. The next step involves inserting the camera and securing it in place. Stay tuned!
Before drilling a hole for an outdoor camera, make sure to check for any electrical wires or pipes in the area. Use a stud finder to locate a suitable spot on the wall, and then drill carefully to avoid damaging any hidden utilities.
Read more: How To Drill A Hole In Glass
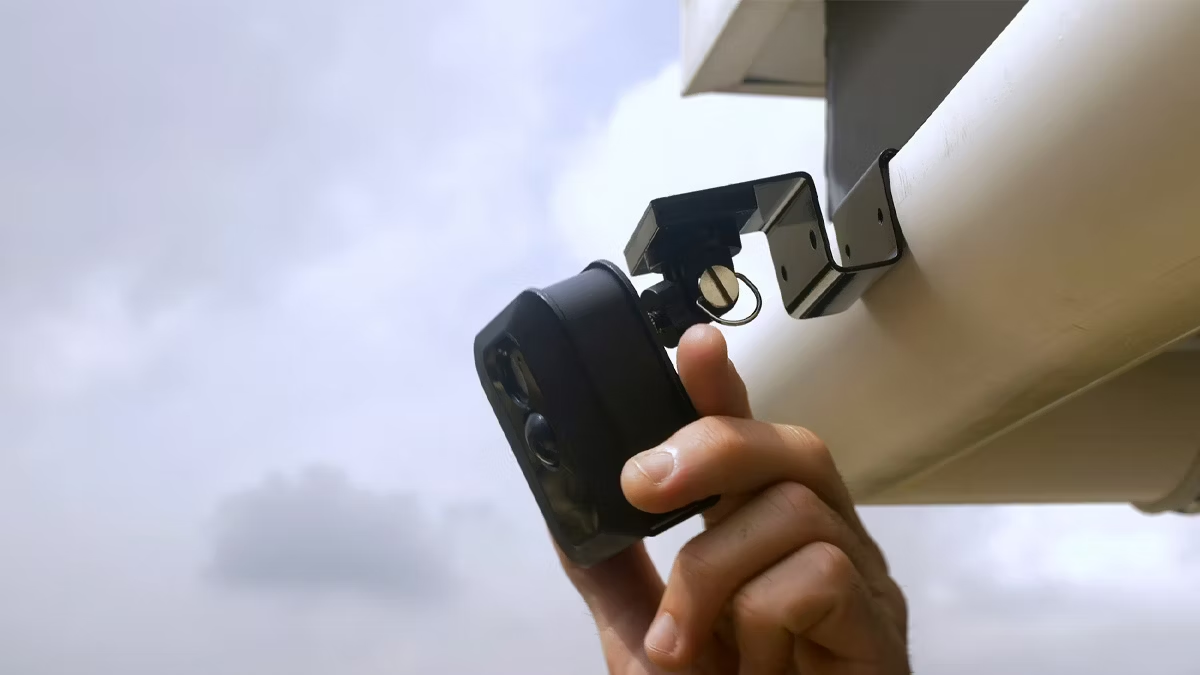
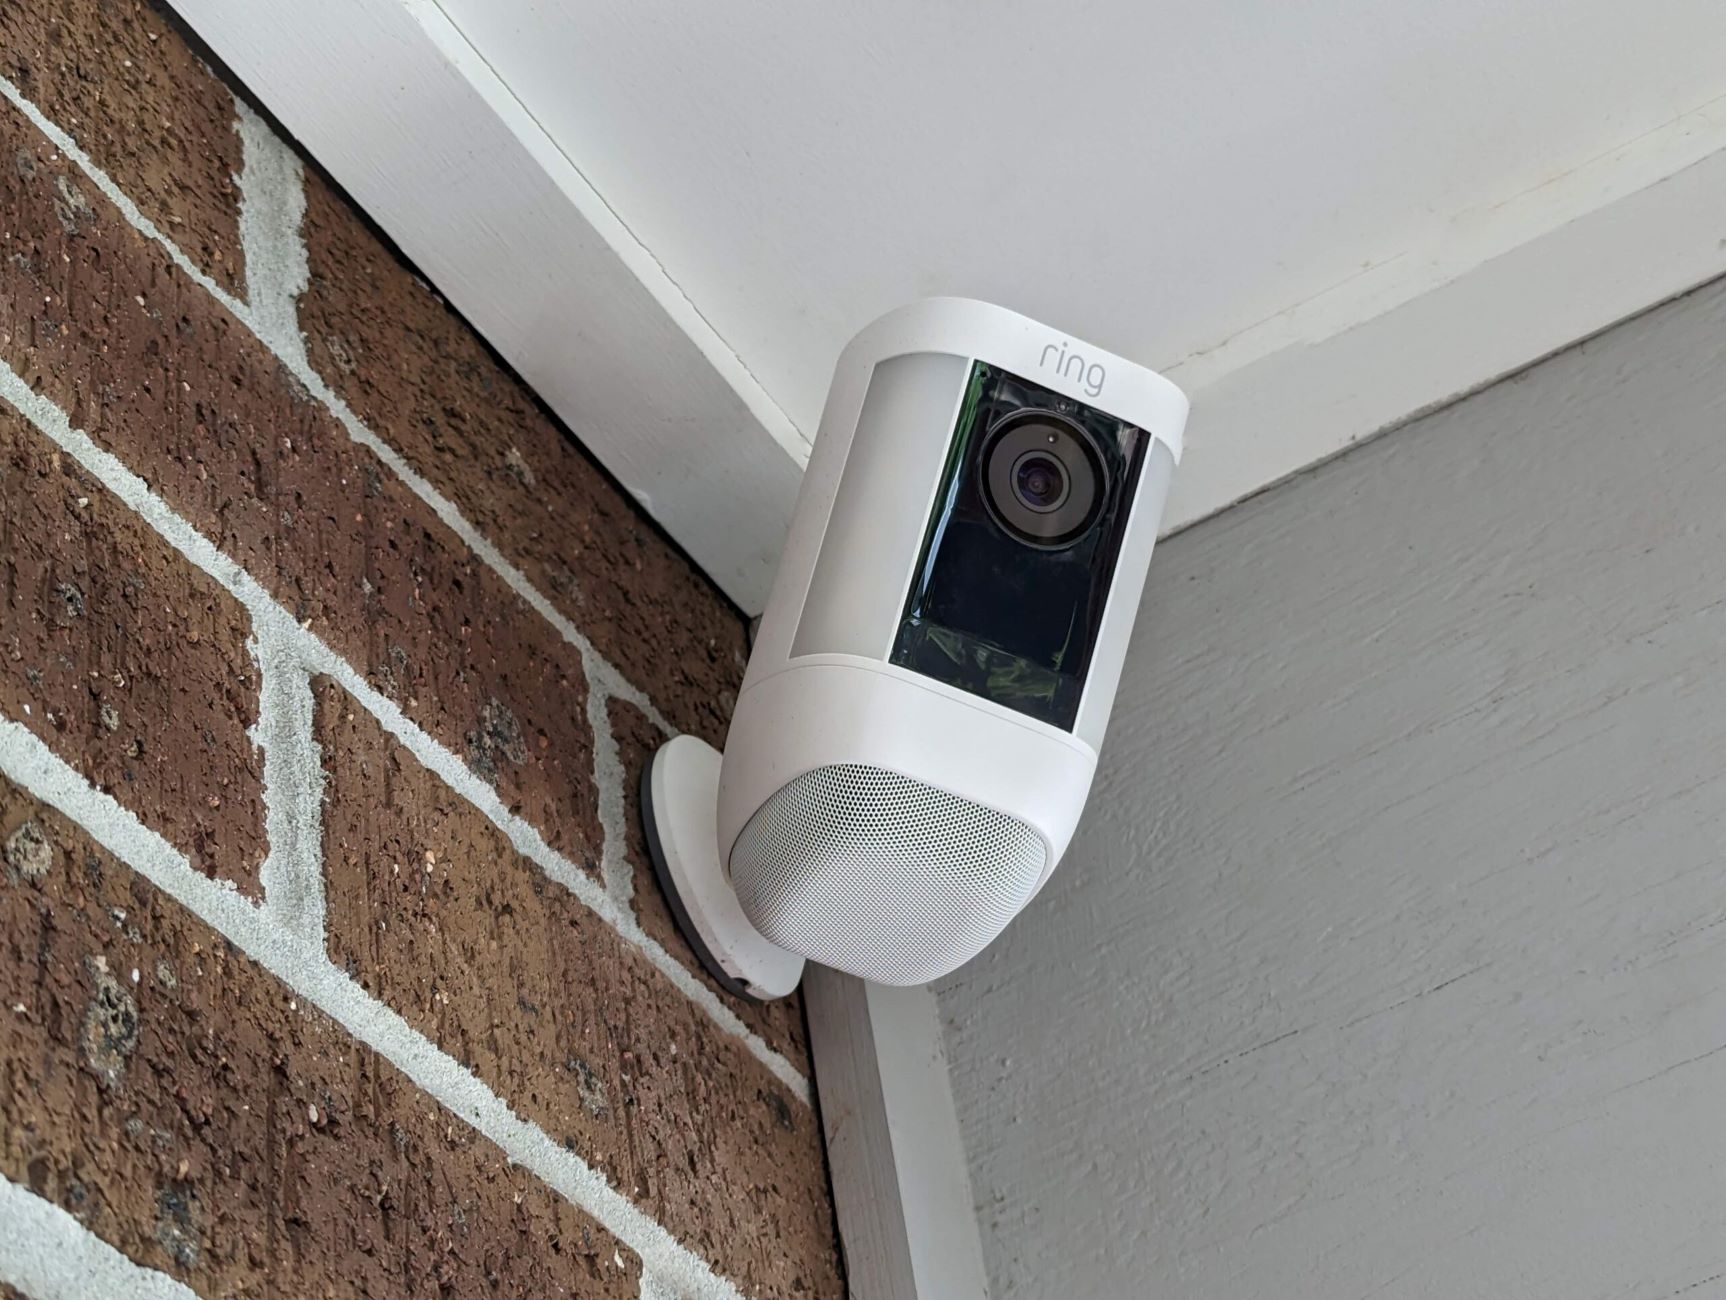
Step 5: Insert the camera and secure it
Now that you have drilled the hole in your house’s exterior, it’s time to move on to the next step: inserting the camera and securing it in place. Follow these steps to ensure a secure installation:
- Prepare the mounting hardware: Retrieve the camera mounting hardware that came with your outdoor camera. This typically includes screws and anchors for proper installation.
- Position the camera: Carefully insert the camera’s mounting bracket into the drilled hole. Ensure that it fits securely and aligns with the mounting holes you marked earlier.
- Secure the camera: Once the mounting bracket is in place, use the provided screws and anchors to secure the camera to the wall. Screw the camera tightly to ensure stability and prevent any unwanted movement.
- Tighten the screws: Use a screwdriver or appropriate tool to tighten the screws securely. This will ensure that the camera remains in place, even in harsh weather conditions or if tampered with.
- Test the camera position: After securing the camera, check its position to ensure that it is level and facing the desired area. Make any necessary adjustments to the camera angle or position for optimal surveillance coverage.
- Double-check the stability: Give the camera a gentle shake to verify that it is firmly mounted and does not wobble. A stable installation is crucial to ensure clear, steady footage.
It’s important to follow the manufacturer’s instructions when installing the camera. Different cameras may have specific mounting requirements, so refer to the user manual if needed.
By securely inserting and mounting the camera, you can have peace of mind knowing that it will capture high-quality footage and provide effective surveillance for your home.
The next step involves connecting the camera to a power source so that it can start recording. Stay tuned for more!
Step 6: Connect the camera to a power source
Now that you have successfully installed and secured your outdoor camera, it’s time to connect it to a power source. Follow these steps to ensure a proper and safe connection:
- Locate a nearby power outlet: Identify a power outlet in close proximity to the camera installation. This could be an exterior outlet or an indoor outlet with a waterproof conduit or extension cord running outside.
- Measure and cut the cable: Measure the distance between the camera and the power source. Cut a section of the appropriate cable length, leaving some extra length for flexibility and future adjustments.
- Strip the cable ends: Strip the insulation from the ends of the cable wires, exposing the bare copper wires underneath. Use wire cutters or stripping tools to remove the insulation carefully.
- Connect the wires: Connect the positive (usually red) wire from the camera to the positive wire from the power source. Follow the same process for the negative (usually black) wires. Ensure a secure connection by using wire connectors or electrical tape.
- Test the connection: Once the wires are connected, plug in the power source and ensure that the camera receives power. Check for any indicators or lights on the camera that indicate a successful connection.
- Secure and protect the cable: Use cable clips or zip ties to secure the cable along the wall or other surfaces, keeping it tidy and protected from damage. If necessary, use a waterproof conduit or cover to shield the cable from the elements.
Remember to follow electrical safety guidelines throughout the process. If you are unsure about electrical connections, it is recommended to consult a professional electrician for assistance.
By properly connecting the camera to a power source, you ensure that it receives the necessary power supply to function effectively. Now it’s time to move on to the final step: testing the camera and adjusting its angle.
Step 7: Test and adjust camera angle
With your outdoor camera installed, securely mounted, and connected to a power source, it’s time to test its functionality and adjust the camera angle for optimal surveillance coverage. Follow these steps to ensure your camera is set up correctly:
- Power on the camera: Ensure that the camera is powered on and ready for testing. Check if any indicator lights or display screens on the camera show signs of power.
- Access the camera’s viewing interface: Depending on the camera model, you may need to access the camera’s viewing interface through a computer, smartphone, or dedicated app. Consult the camera’s user manual for instructions on how to access this interface.
- Check the camera’s live feed: Once you’ve accessed the camera’s viewing interface, verify that you can see a live feed from the camera. Check for clarity, focus, and any potential obstructions in the camera’s view.
- Adjust the camera angle: If necessary, adjust the camera’s angle to cover the desired area. Refer to the camera’s user manual for instructions on how to adjust the angle. Take note of any pan, tilt, or zoom features that the camera may have to help fine-tune the angle.
- Test the camera’s motion detection: If your camera has motion detection capabilities, test this function by moving in front of the camera and ensuring that it detects your movement and starts recording accordingly.
- Check the camera’s night vision: If your camera has night vision capabilities, test this feature by checking the camera’s live feed in a low-light or dark setting. Ensure that the night vision feature provides clear and detailed footage.
- Review the recorded footage: If your camera has recording capabilities, review the recorded footage to ensure the camera captures high-quality video or images. Check for any issues such as blurriness, pixelation, or distortion.
By testing and adjusting the camera’s angle and settings, you can optimize its performance and ensure that it provides the intended surveillance coverage. This step is crucial to get the best results from your newly installed outdoor camera.
Congratulations! You’ve successfully completed the installation process and tested your outdoor camera. Enjoy the added sense of security and peace of mind that comes with having a reliable surveillance system for your home.
Conclusion
Installing an outdoor camera is a proactive step towards improving the security and surveillance of your home. With the right tools, careful planning, and following the step-by-step process, you can successfully drill a hole in your house’s exterior and install an outdoor camera yourself.
Throughout this article, we’ve provided you with a comprehensive guide on how to drill a hole for an outdoor camera. From gathering the necessary tools to choosing the camera location, marking the drilling spot, drilling the hole, securing the camera, connecting it to a power source, testing its functionality, and adjusting the camera angle, each step is vital for a successful installation.
Remember, safety should always be a priority during the installation process. Wear appropriate protective gear, follow electrical safety guidelines when connecting the camera to a power source, and take necessary precautions to avoid accidents or damage.
Having an outdoor camera not only acts as a deterrent to potential intruders but also provides valuable evidence in the event of any suspicious activity. It gives you peace of mind, knowing that you have an extra layer of security for your home and loved ones.
While the installation process may seem intimidating at first, with proper guidance and knowledge, you can confidently complete the installation yourself, saving money on professional installation fees.
Remember, it’s important to regularly maintain and update your outdoor camera system. Clean the lens periodically, check for any loose screws or cables, and ensure that the camera keeps functioning optimally. Regular testing and adjustments will help you maintain a reliable and efficient surveillance system.
Now that you have the know-how and the tools, it’s time to take action and enhance the security of your home with an outdoor camera. Stay vigilant, stay safe!
Frequently Asked Questions about How Do You Drill A Hole In Your House For An Outdoor Camera
Was this page helpful?
At Storables.com, we guarantee accurate and reliable information. Our content, validated by Expert Board Contributors, is crafted following stringent Editorial Policies. We're committed to providing you with well-researched, expert-backed insights for all your informational needs.