Home>Home Security and Surveillance>How Do You Install A Blink Outdoor Camera
Home Security and Surveillance
How Do You Install A Blink Outdoor Camera
Modified: April 23, 2024
Learn how to install a Blink Outdoor camera for your home security and surveillance needs. Simple steps and tips to ensure a seamless setup and maximum protection.
(Many of the links in this article redirect to a specific reviewed product. Your purchase of these products through affiliate links helps to generate commission for Storables.com, at no extra cost. Learn more)
Introduction
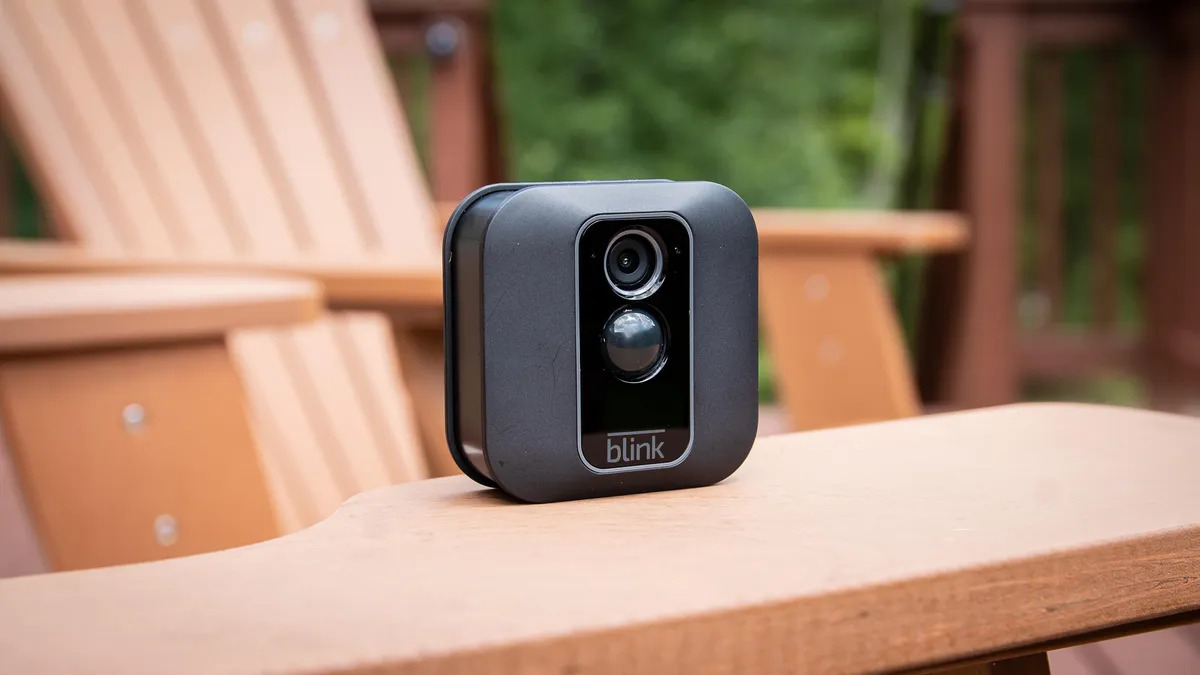
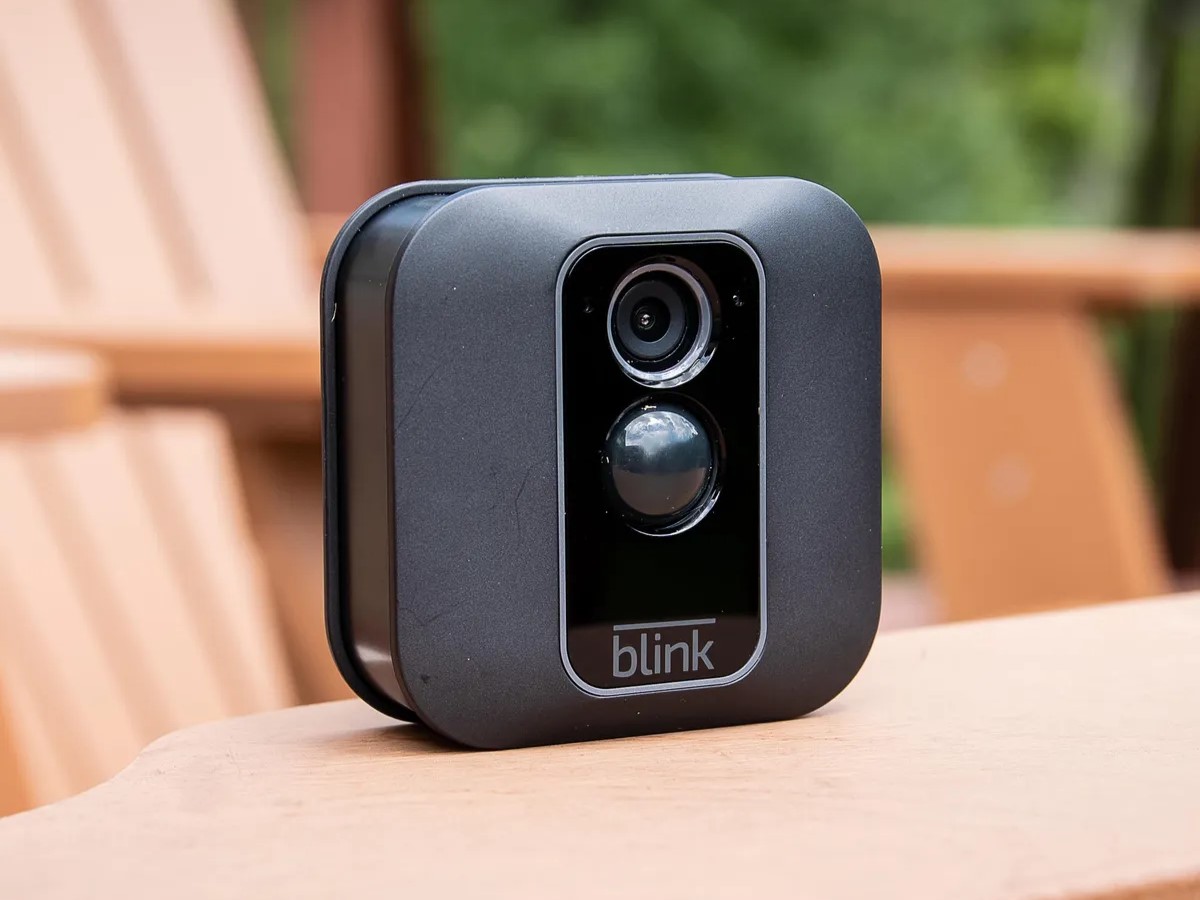
Welcome to this comprehensive guide on how to install a Blink Outdoor Camera, a popular choice for home security and surveillance. With its easy installation process, wireless capabilities, and high-quality video footage, the Blink Outdoor Camera offers peace of mind by allowing you to monitor your property remotely.
Whether you’re a tech-savvy homeowner or a beginner, this step-by-step guide will walk you through the process of setting up and installing the Blink Outdoor Camera. From unboxing the camera to connecting it to your Wi-Fi network, we’ll cover everything you need to know to get started.
But before we dive into the installation process, let’s take a moment to understand the benefits of having a home security and surveillance system in the first place.
Home security is crucial nowadays, as burglaries and break-ins continue to be common occurrences. By installing a home security system, you can deter potential intruders and safeguard your property. Additionally, surveillance systems provide valuable evidence in the event of a crime, increasing the chances of catching the perpetrator.
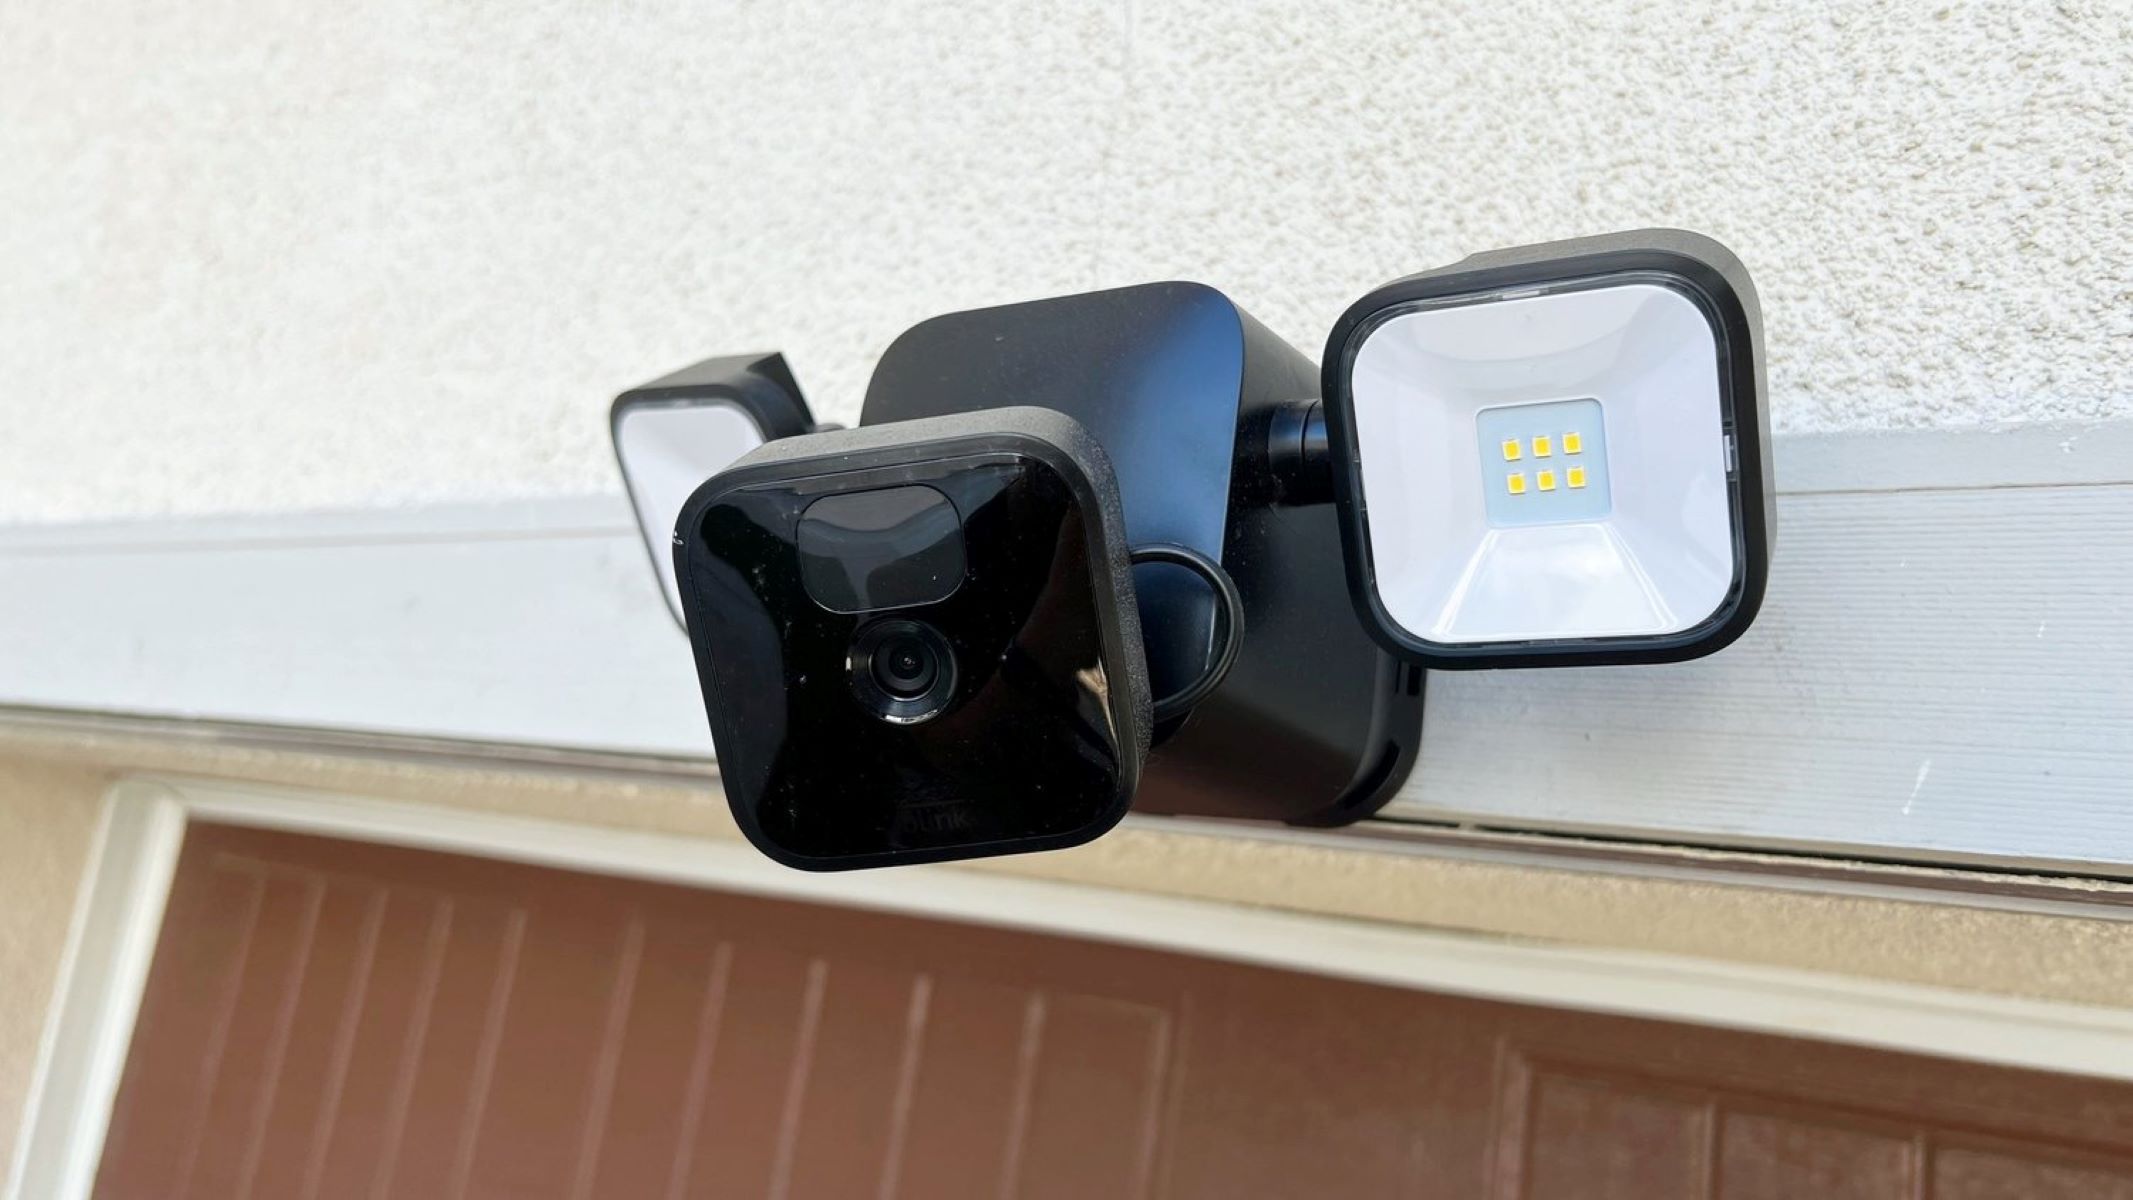
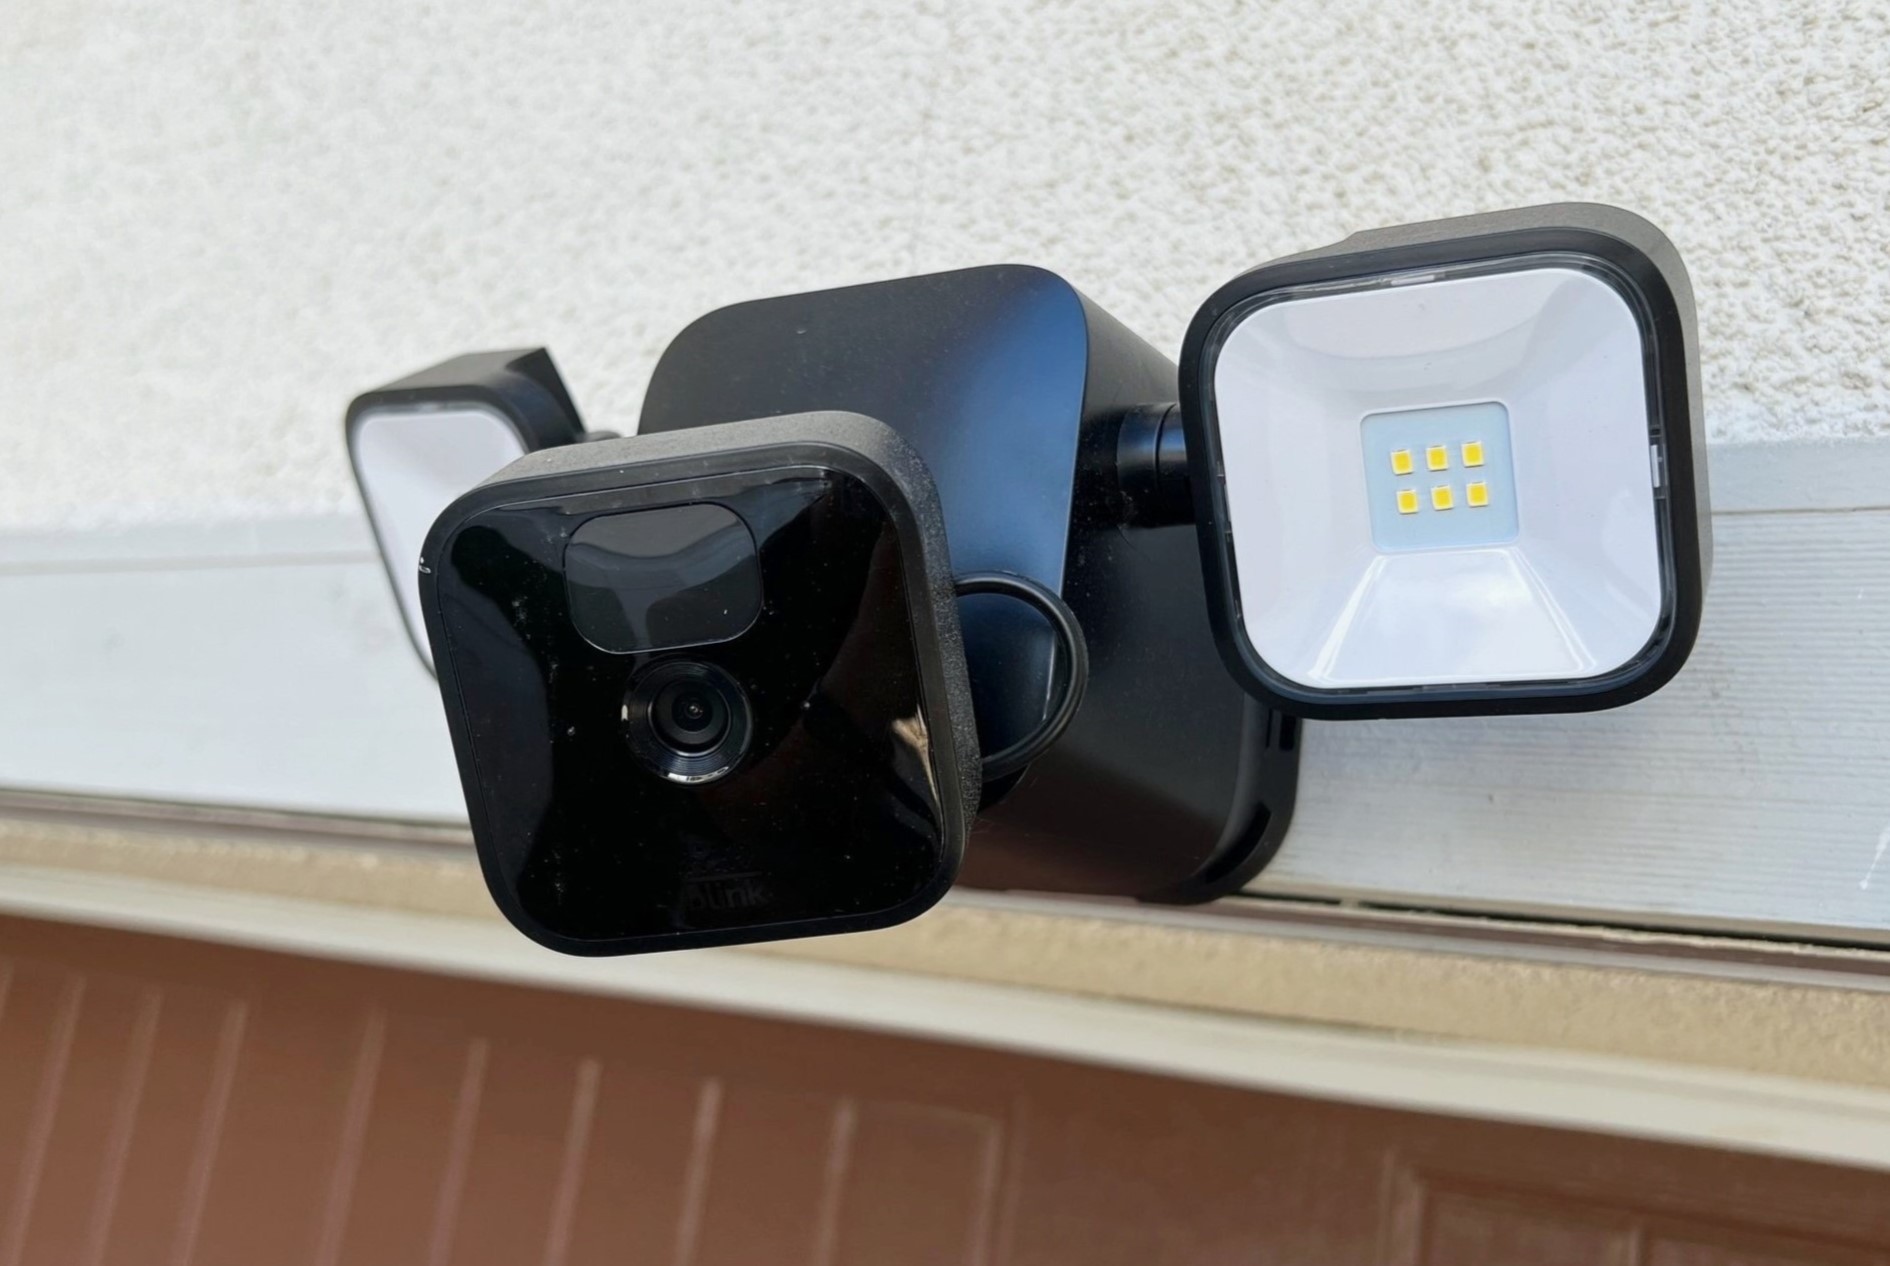
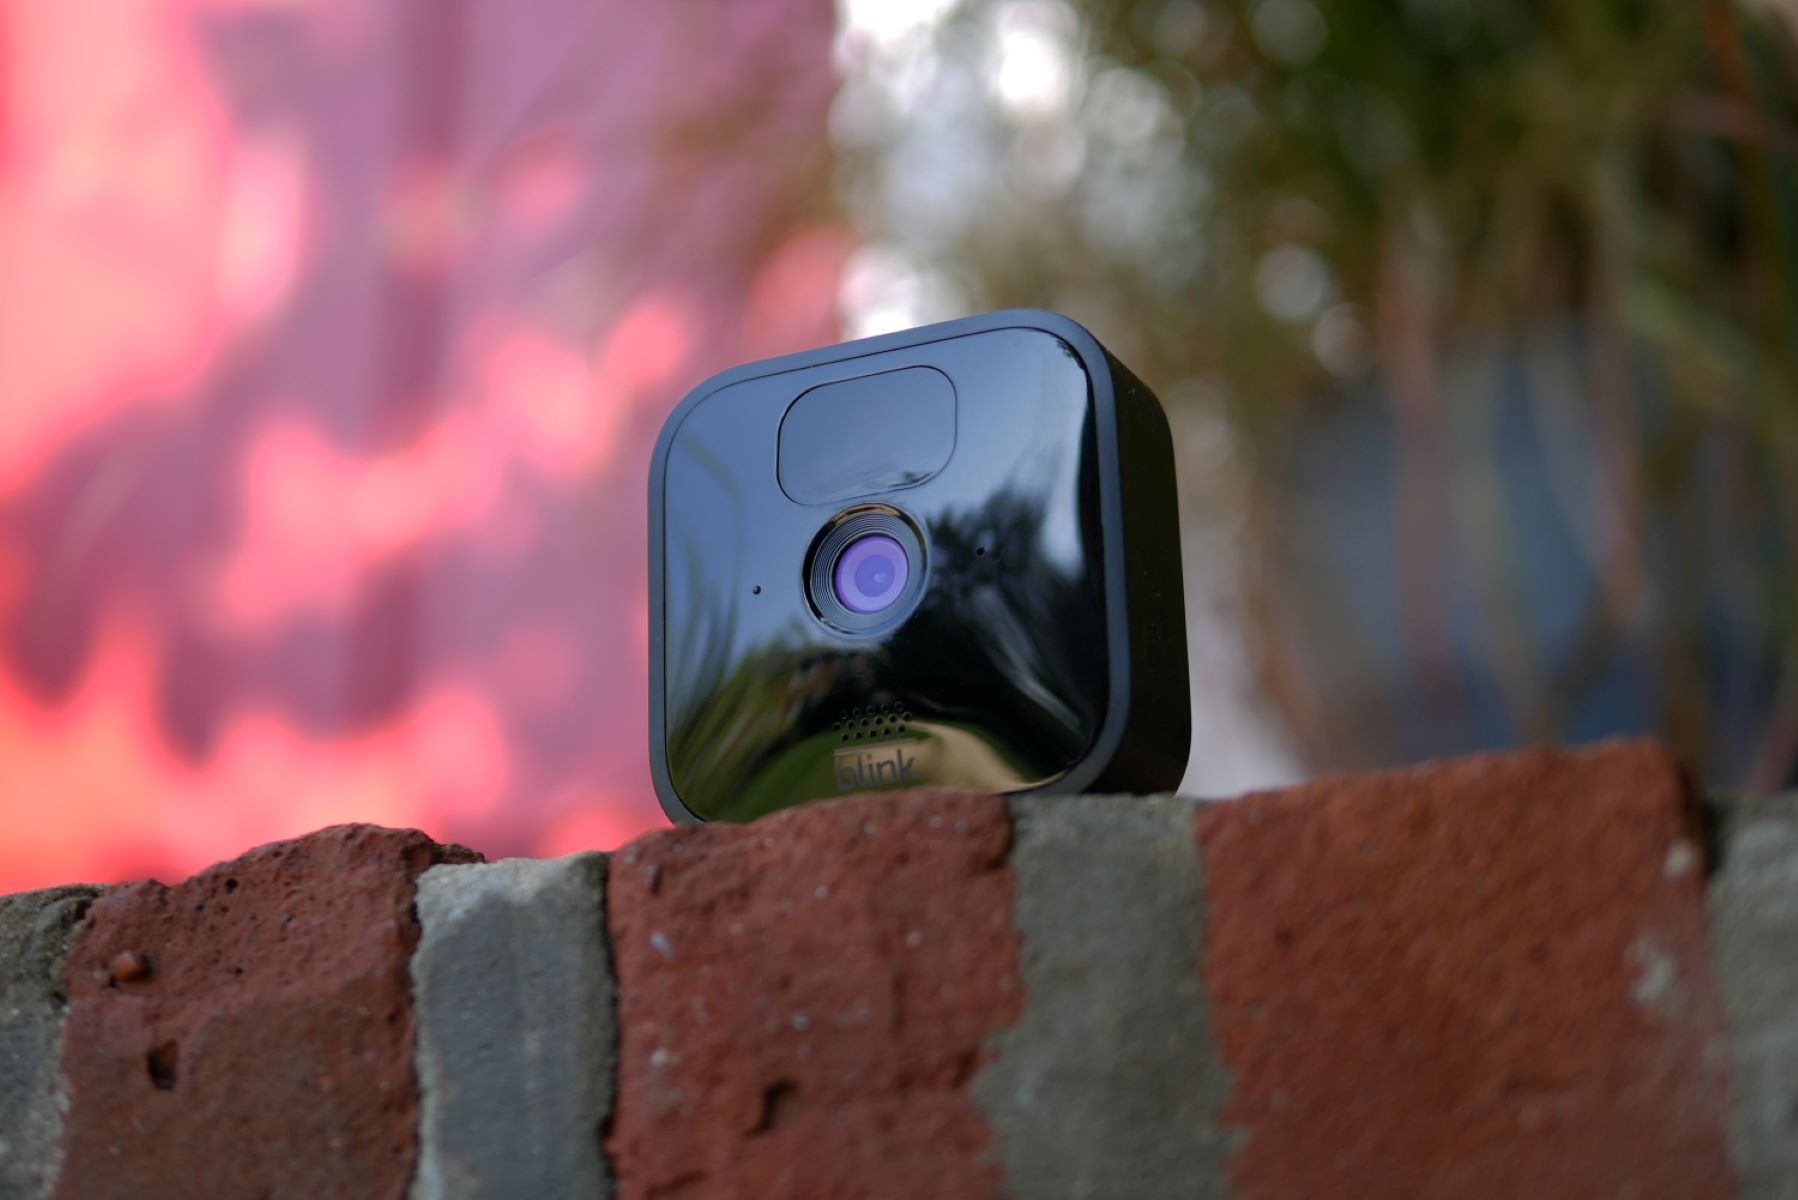
The Blink Outdoor Camera offers several key features that make it an excellent choice for home security. It is wireless, meaning you don’t have to worry about running power cords or drilling holes. The camera is also weather-resistant, ensuring reliable performance even in harsh outdoor conditions.
Moreover, the Blink Outdoor Camera syncs with the Blink App, allowing you to view live footage, receive motion alerts, and customize settings remotely from your smartphone or tablet. With its 1080p HD video resolution and infrared night vision, you can rest assured that you’re getting clear and detailed footage day or night.
Now that you have a good understanding of the importance of home security and the features of the Blink Outdoor Camera, let’s jump into the installation process. Grab your Blink Outdoor Camera and let’s get started!
Key Takeaways:
- Installing a Blink Outdoor Camera is easy and offers advanced features like wireless connectivity, weather resistance, and motion detection, providing reliable home security and peace of mind.
- By following the step-by-step guide, you can set up, customize, and test your Blink Outdoor Camera to ensure it effectively monitors your property, keeping you and your loved ones safe.
Read more: How To Install Blink Outdoor Cameras
Step 1: Unboxing the Blink Outdoor Camera
Congratulations on your purchase of the Blink Outdoor Camera! Before you can start setting it up, you’ll need to unbox the camera and ensure that you have all the necessary components.
When you open the package, you should find the following items:
- Blink Outdoor Camera
- Mounting bracket
- Screw kit
- Sync Module
- Power adapter
- USB cable
Take a moment to inspect the camera and its accessories for any signs of damage. If you notice any issues, contact customer support for assistance.
Once you’ve verified that everything is in good condition, it’s time to install the batteries. The Blink Outdoor Camera requires two AA lithium batteries, which are included in the package. Open the battery compartment on the back of the camera and insert the batteries according to the polarity markings.
After inserting the batteries, close the compartment securely. The camera will power on automatically. Keep in mind that the Blink Outdoor Camera is designed to conserve battery life by going into “sleep mode” when not in use. It will only activate when motion is detected.
The next step is to connect the Sync Module, which acts as the central hub for your Blink Outdoor Camera system. Find the Sync Module in the package and plug it into a power outlet using the provided power adapter and USB cable.
Take a moment to ensure that the Sync Module is in range of your Wi-Fi router for a strong and stable connection. If your Wi-Fi signal is weak in the location where you plan to install the Sync Module, consider using a Wi-Fi extender to boost the signal.
Once the Sync Module is powered on and connected to your Wi-Fi network, it will establish a secure connection with your Blink Outdoor Camera. This connection allows the camera to send video footage and receive commands from the Blink App on your mobile device.
With the Blink Outdoor Camera unboxed, powered on, and the Sync Module connected to your Wi-Fi network, you’re ready to move on to the next step: mounting the camera.
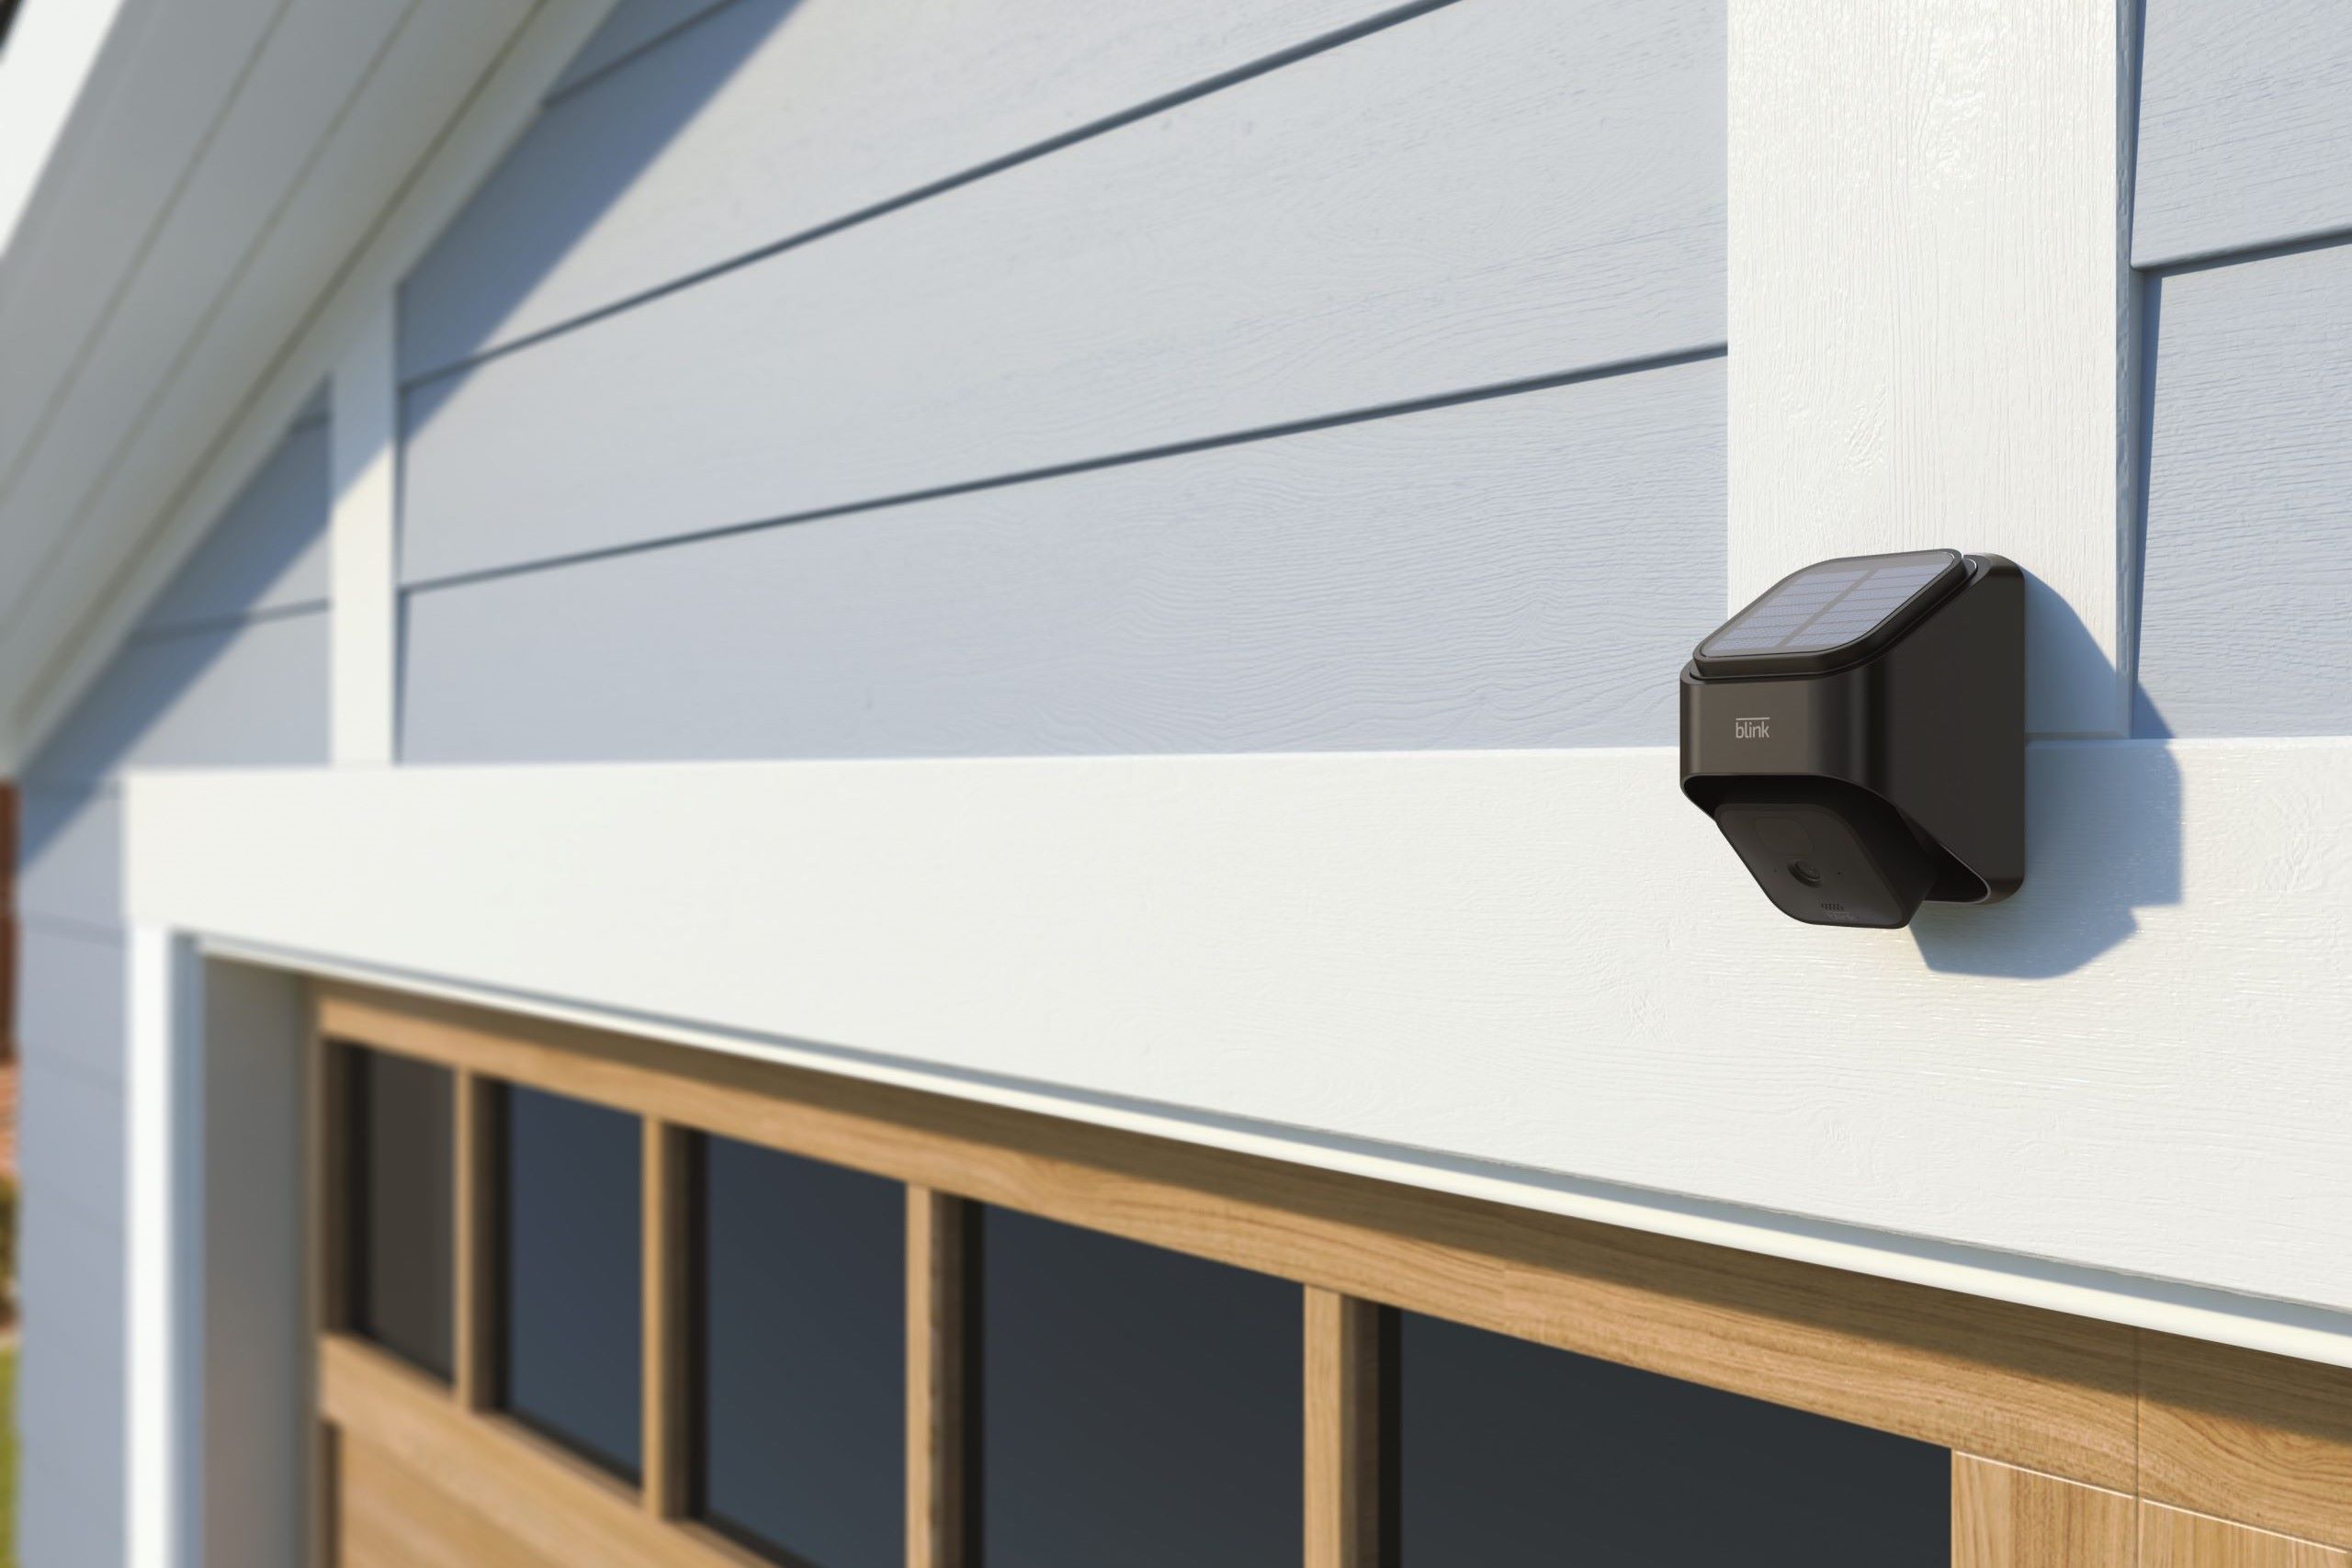
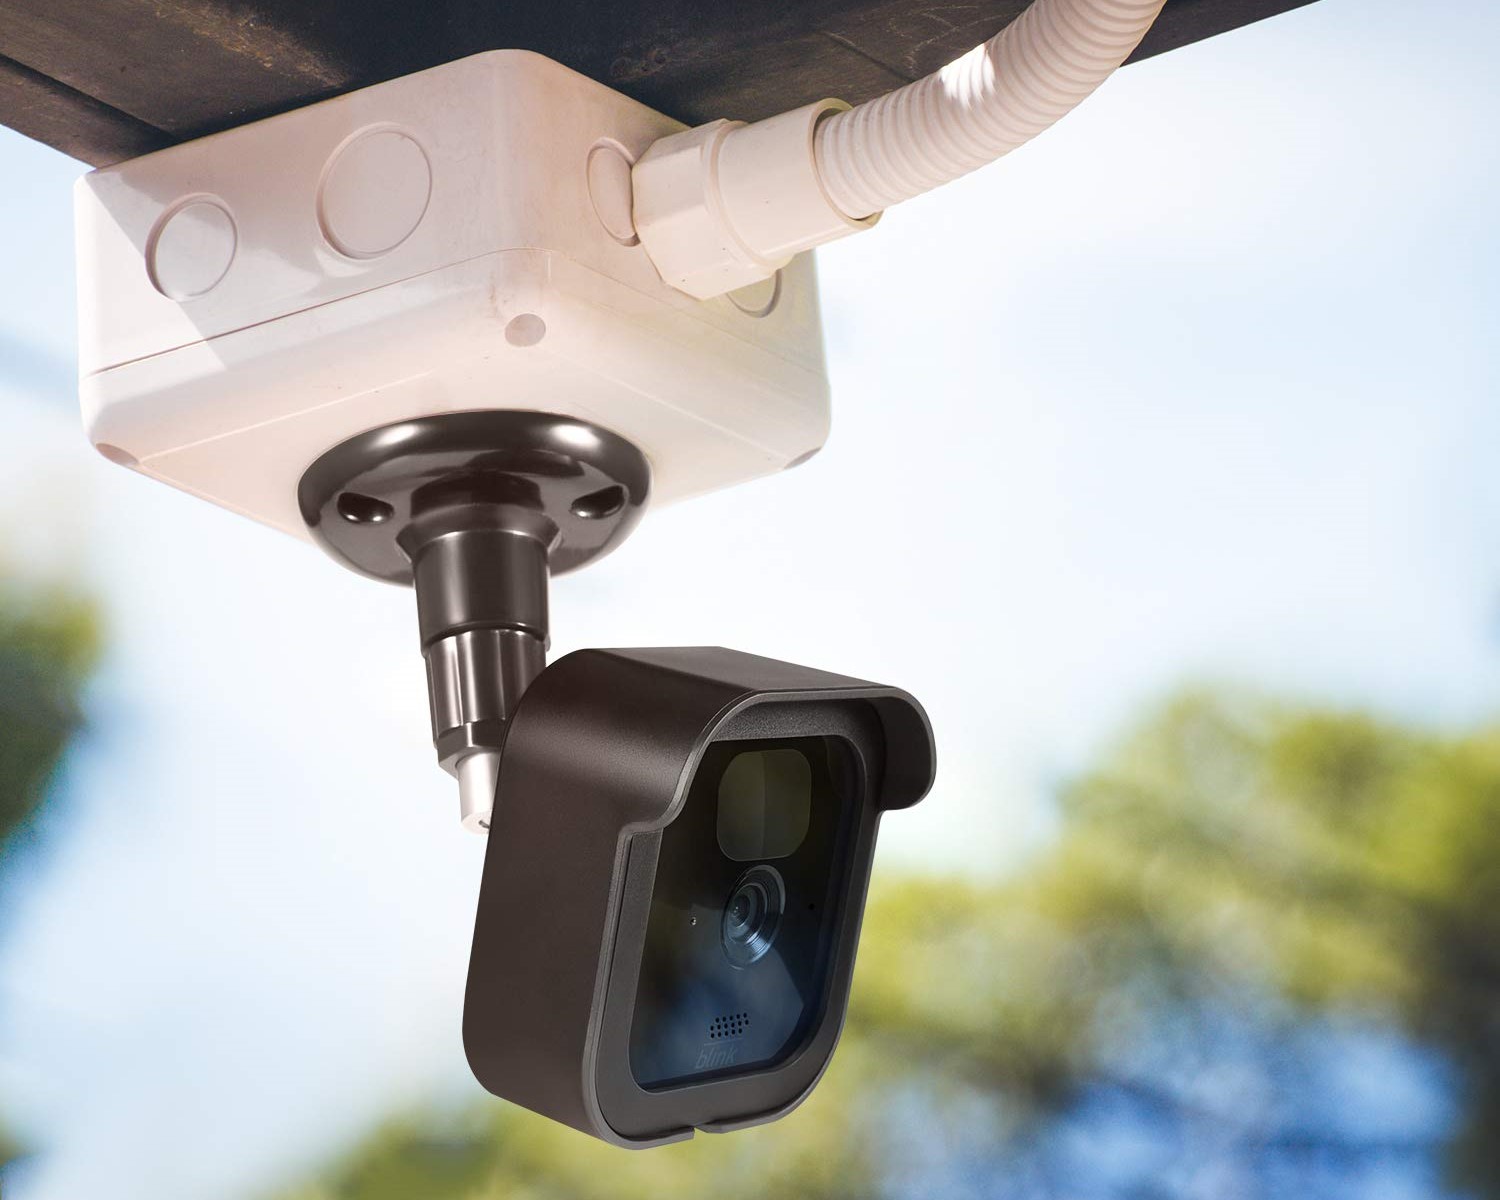
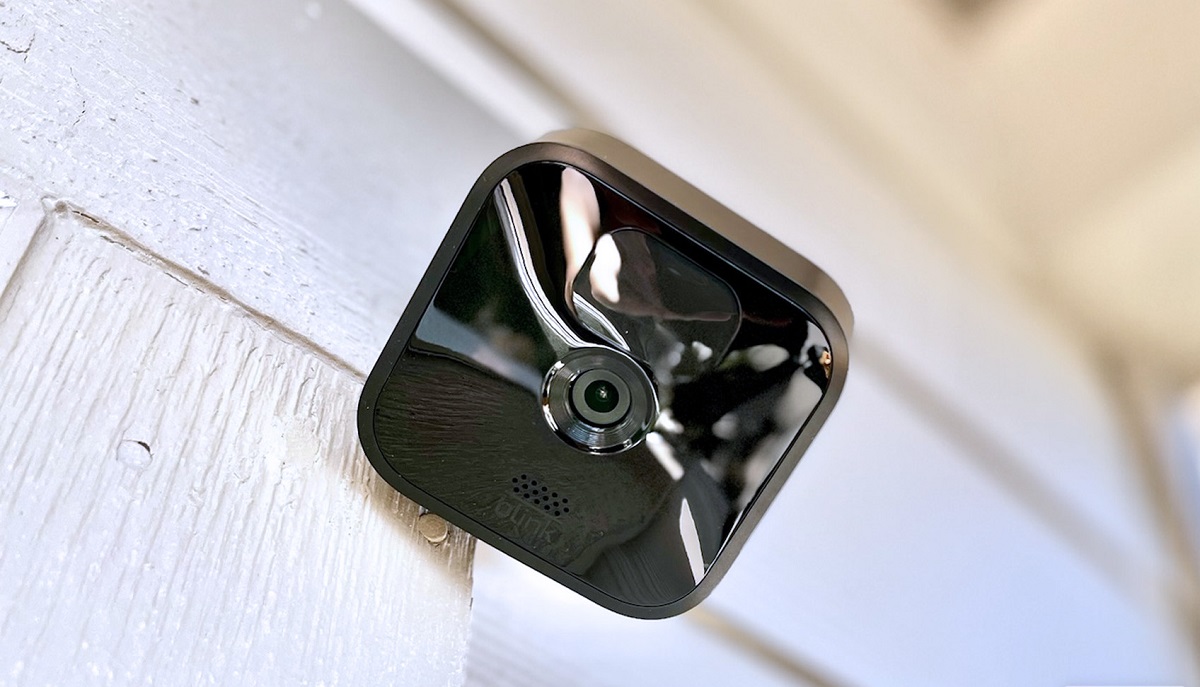
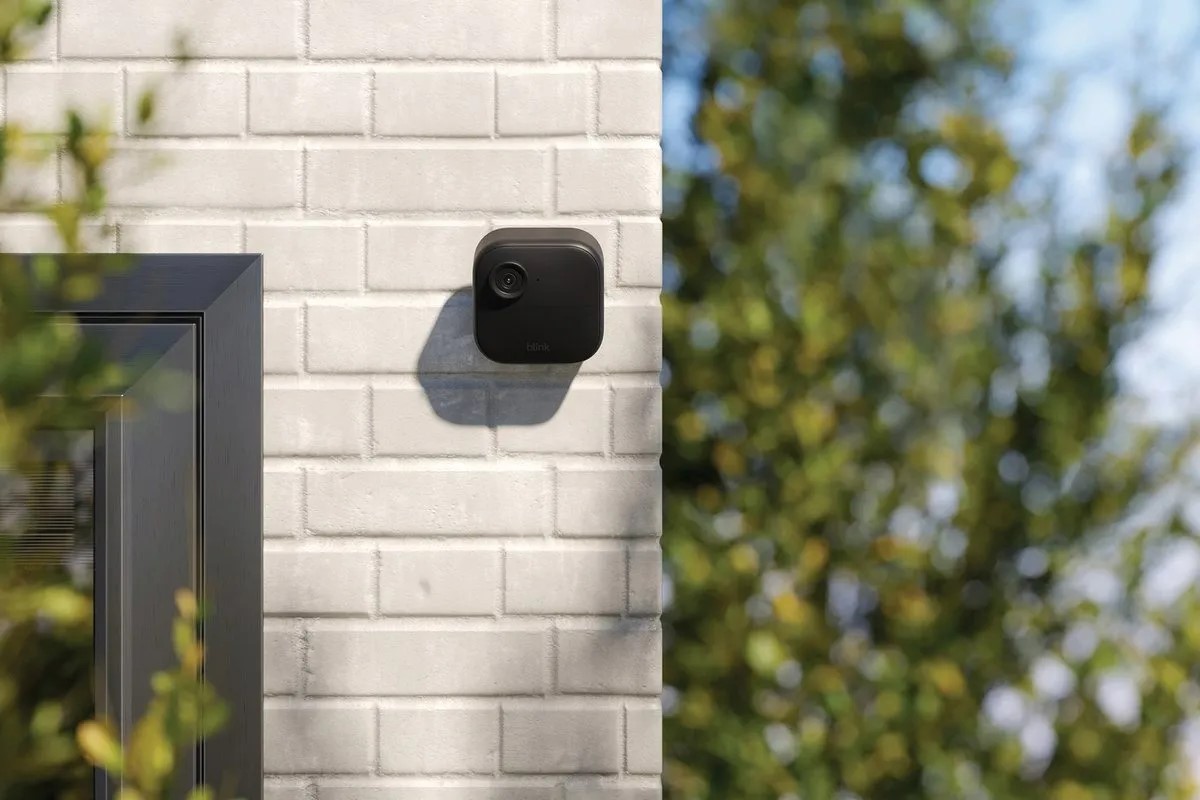
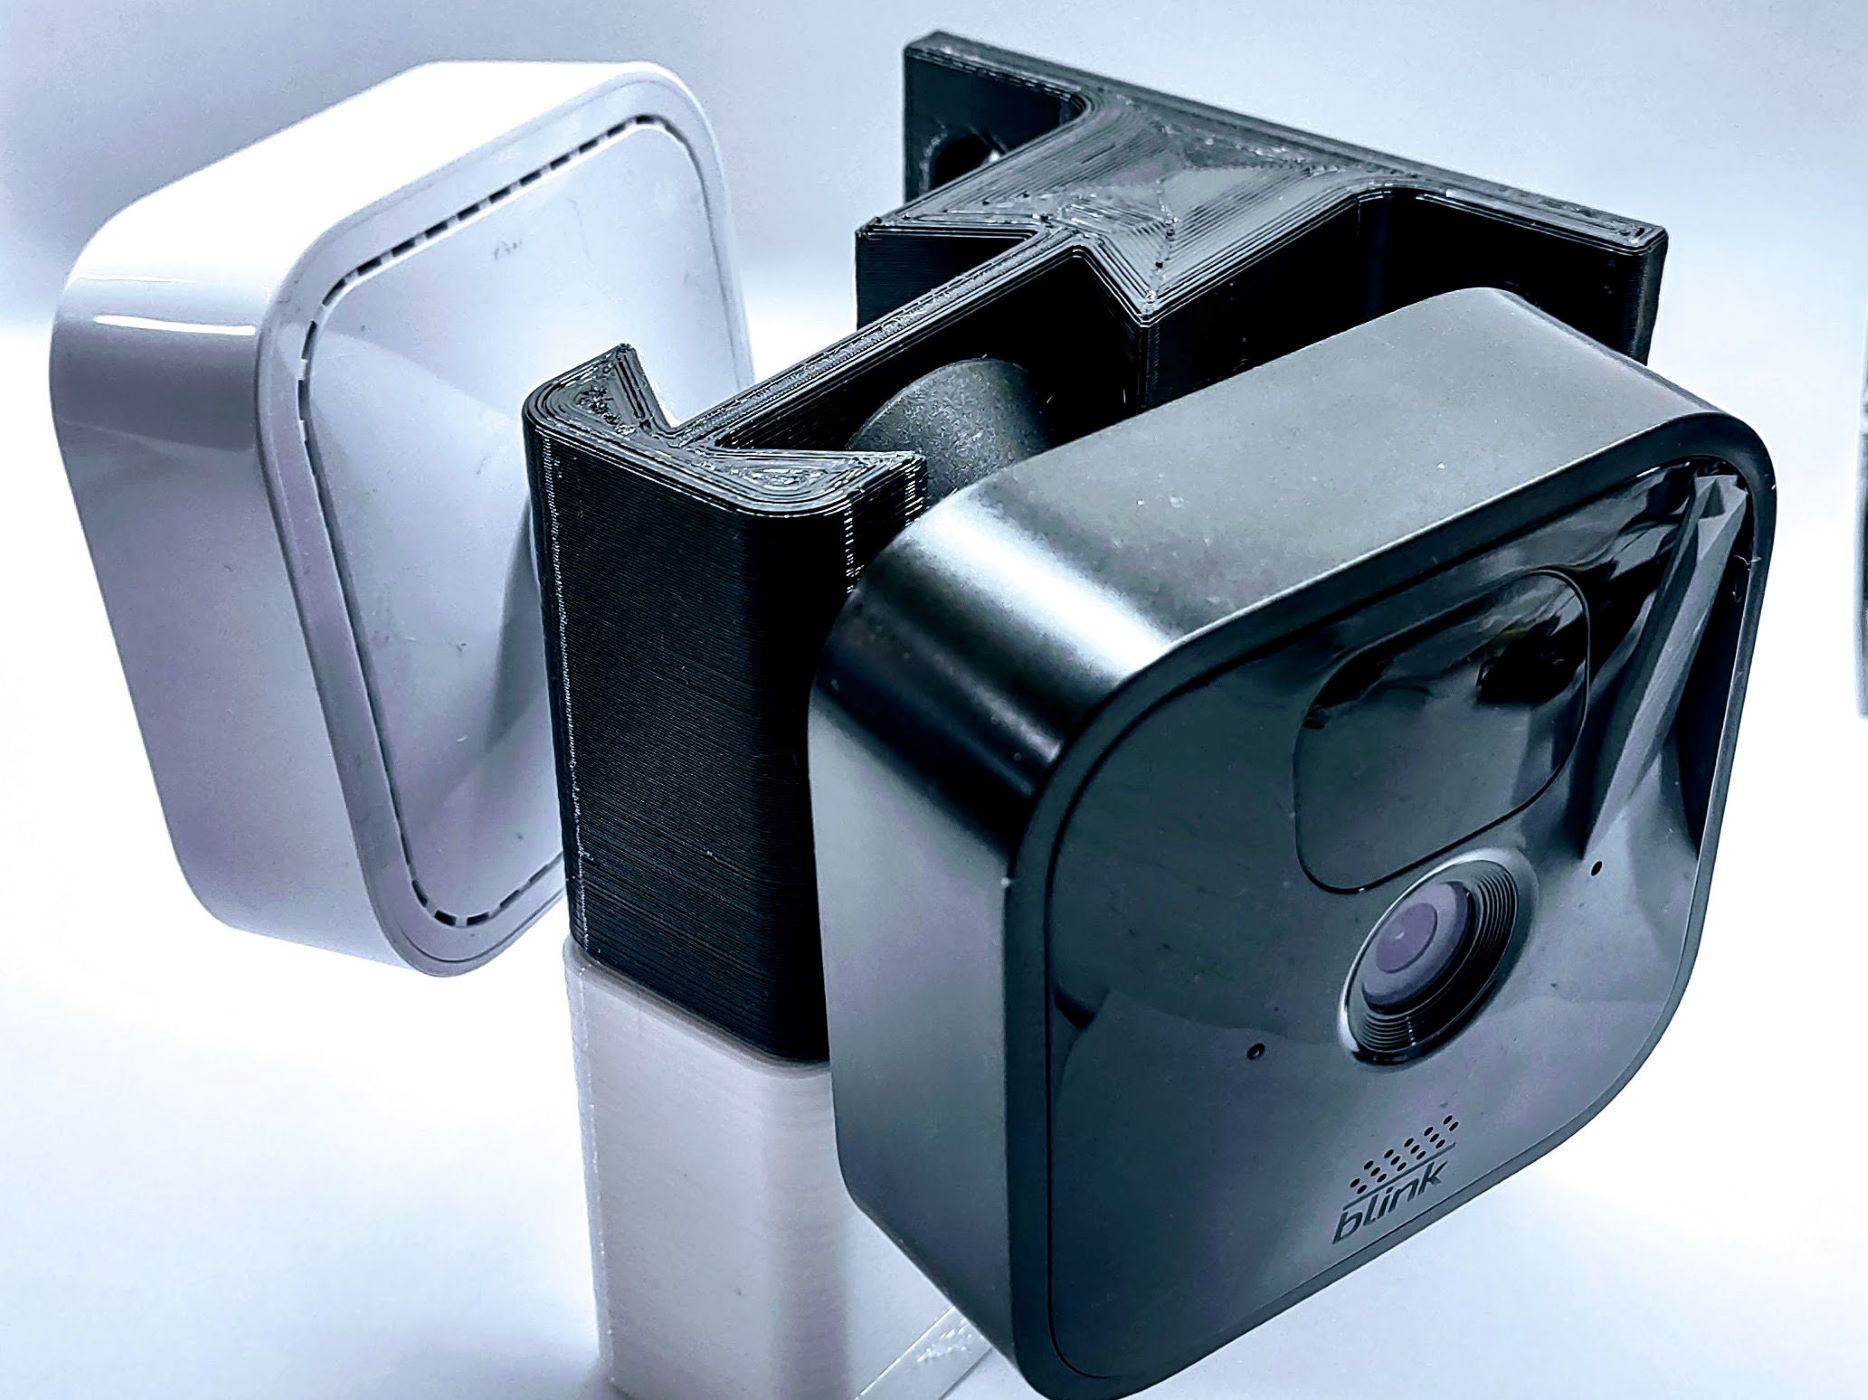
Step 2: Mounting the Blink Outdoor Camera
Mounting the Blink Outdoor Camera is a crucial step in ensuring optimal placement and coverage for your home security. The camera’s mounting bracket gives you the flexibility to position it at the perfect angle and height for maximum surveillance.
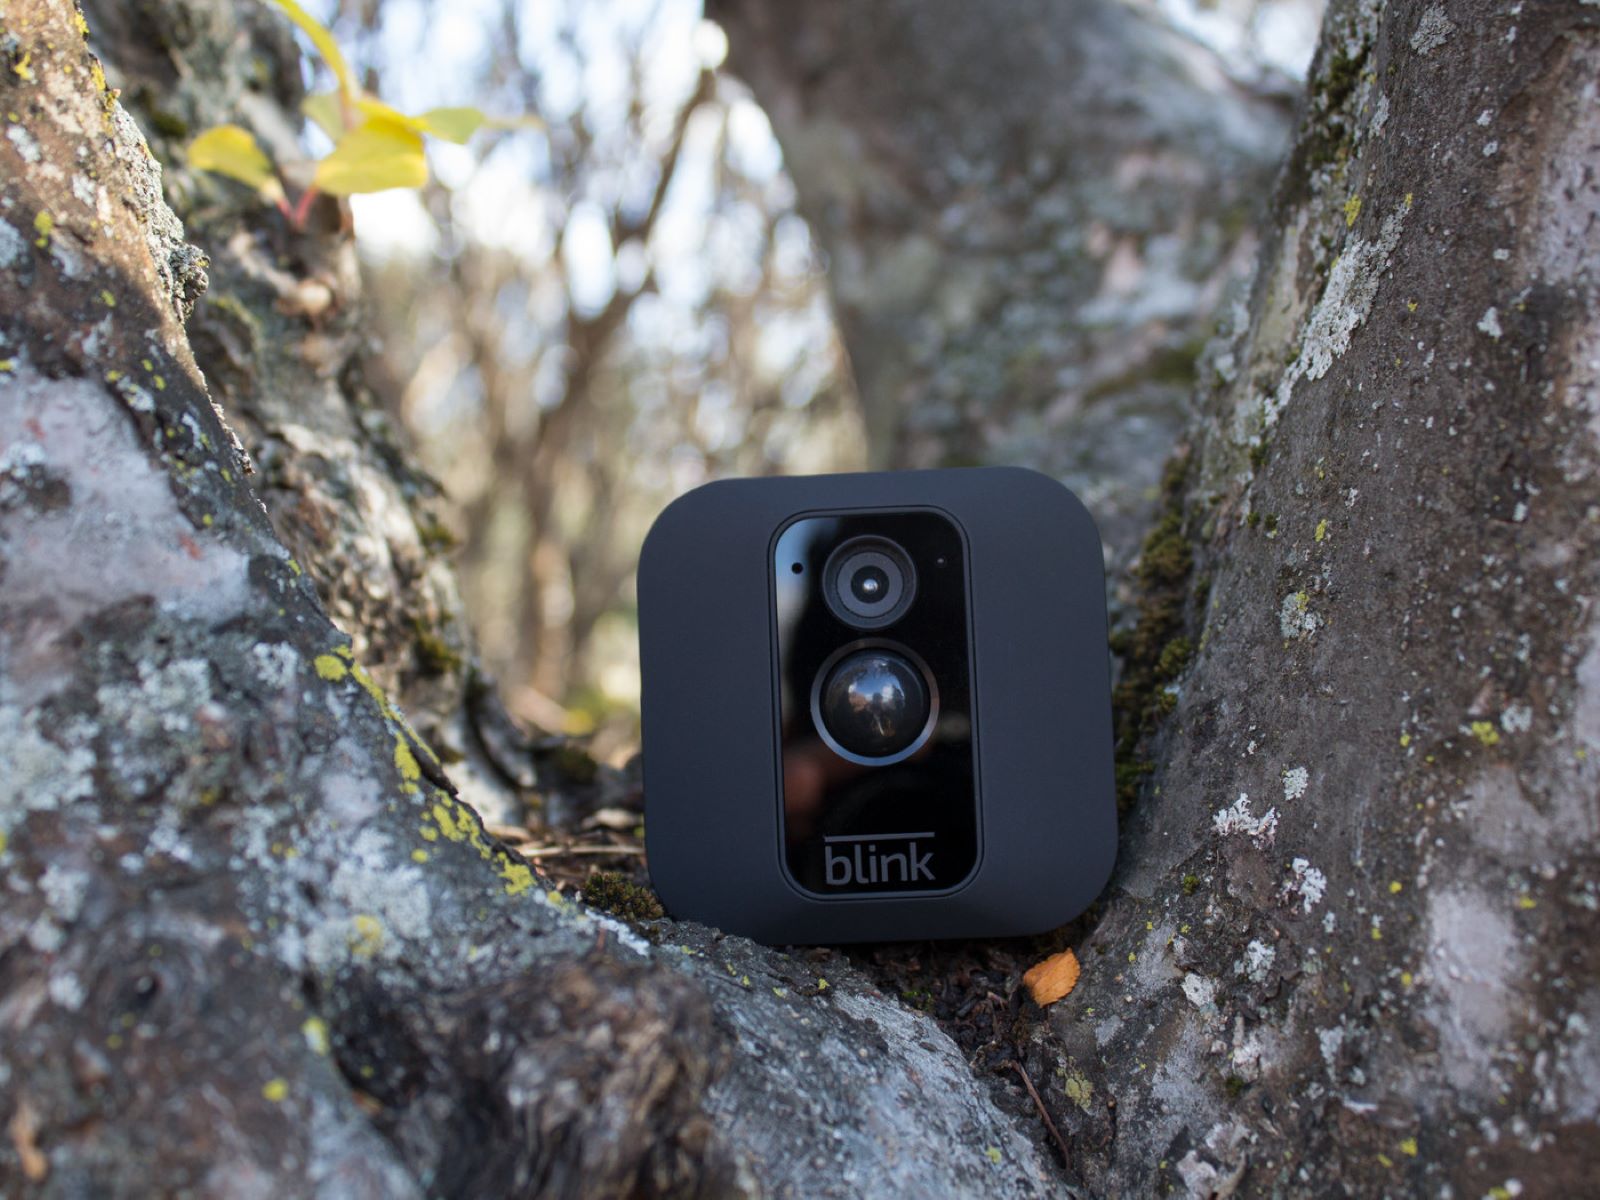
Before you begin, decide on the location where you want to install the camera. It should be an area that requires monitoring, such as the front or back entrance, driveway, or backyard. Keep in mind that the Blink Outdoor Camera is designed for outdoor use, so choose a spot that is exposed to the elements.
Here’s a step-by-step guide on how to mount the Blink Outdoor Camera:
- First, ensure that the sync module is properly set up and connected to your Wi-Fi network, as discussed in the previous step.
- Identify a suitable mounting surface, such as a wall, fence post, or eave. Make sure it is within range of your Wi-Fi signal and offers a clear view of the area you want to monitor.
- Using the screw kit provided, attach the mounting bracket to the chosen surface using the screws. Ensure that the bracket is securely fastened for stability.
- Position the Blink Outdoor Camera onto the mounting bracket, aligning the camera’s mount with the bracket’s slot. Slide the camera downward until it clicks into place.
- Once the camera is mounted, adjust the angle by tilting and swiveling it as needed to capture the desired field of view. The mounting bracket allows for easy adjustment to achieve the optimal camera positioning.
It’s important to consider a few factors when positioning the Blink Outdoor Camera:
- Avoid pointing the camera directly at bright light sources, as this can cause glare and affect the quality of the footage.
- Ensure that the camera is not obstructed by any objects or vegetation that may interfere with its view.
- If possible, position the camera at a height that is out of reach to prevent tampering or theft.
Once you have mounted the Blink Outdoor Camera and adjusted its position, you’re one step closer to enjoying the added security and peace of mind it brings. Now, let’s move on to the next step: connecting the Sync Module.
Step 3: Connecting the Sync Module
Now that you have successfully mounted the Blink Outdoor Camera, it’s time to connect the Sync Module. The Sync Module acts as the central hub that enables communication between your camera and the Blink App on your mobile device.
Follow these steps to connect the Sync Module:
- Ensure that the Sync Module is plugged into a power outlet and is in range of your Wi-Fi router.
- Open the Blink App on your smartphone or tablet.
- Tap the “+” button to add a new device.
- Select “Blink XT2” from the device list.
- Follow the on-screen instructions to set up the Sync Module. This typically involves scanning the QR code on the back of the Sync Module using your device’s camera.
- Once the QR code is scanned, the Blink App will detect the Sync Module and establish a connection.
- Wait for the Blink App to finish the setup process. This may take a few minutes as the Sync Module connects to your Wi-Fi network.
- Once the Sync Module is successfully connected, you should see a confirmation message in the Blink App.
It’s important to note that the Sync Module should be placed in an area with a strong Wi-Fi signal to ensure smooth communication between the camera and the app. If you notice any connectivity issues, consider relocating the Sync Module or using a Wi-Fi extender to improve the signal strength.
With the Sync Module connected, you can now take advantage of the full functionality of the Blink Outdoor Camera. You can view live video feeds, receive motion alerts, and customize various settings through the Blink App.
Now that the Sync Module is successfully connected, let’s move on to the next step: setting up the Blink App.
Step 4: Setting up the Blink App
The Blink App is an essential tool for managing and controlling your Blink Outdoor Camera. It allows you to access live video feeds, adjust camera settings, and receive motion alerts right from your smartphone or tablet. Setting up the Blink App is easy and straightforward.
Follow these steps to set up the Blink App:
- Download the Blink App from the App Store (for iOS devices) or Google Play Store (for Android devices) and install it on your smartphone or tablet.
- Open the Blink App and create a new account if you don’t already have one. This involves providing your email address, creating a password, and agreeing to the terms of service.
- Once you have created an account, sign in using your credentials.
- Tap the “Add Device” button to add your Blink Outdoor Camera to the app.
- Follow the on-screen instructions to complete the setup process. This includes confirming your Sync Module is connected and scanning the QR code on the back of the camera.
- After the camera is successfully added to the app, you can customize various camera settings, such as video quality, motion detection sensitivity, and activity zones.
- You can also set up motion alerts to receive notifications on your mobile device whenever the camera detects movement.
- Explore the different features and options within the Blink App to fully utilize the capabilities of your Blink Outdoor Camera.
The Blink App provides a user-friendly interface that makes it easy to navigate and control your camera settings. From the app, you can view live video feeds from your camera, playback recorded clips, and even arm or disarm the camera remotely.
Remember to keep your Blink App up to date to ensure you have access to the latest features and improvements. Regular app updates often include bug fixes, performance enhancements, and additional functionalities.
Now that you have successfully set up the Blink App, you can take full control of your Blink Outdoor Camera. The next step is to connect the camera to your Wi-Fi network. Let’s proceed to step 5.
When installing a Blink Outdoor camera, make sure to place it within the Wi-Fi range, use the mounting kit for a secure installation, and follow the app’s step-by-step instructions for setup.
Read more: How Do You Set Up A Blink Outdoor Camera
Step 5: Connecting the Camera to Wi-Fi
Now that you have your Blink Outdoor Camera mounted, the Sync Module connected, and the Blink App set up, it’s time to connect the camera to your Wi-Fi network. This step is crucial for enabling remote access and control of your camera through the app.
Follow these steps to connect the camera to Wi-Fi:
- Make sure your smartphone or tablet is connected to the same Wi-Fi network that you want to connect your Blink Outdoor Camera to.
- Open the Blink App on your device and sign in to your account.
- Select the Blink Outdoor Camera from the list of devices in the app.
- In the camera settings, tap on “Device Settings” or a similar option, depending on the app version.
- Look for the option to connect the camera to Wi-Fi and tap on it.
- Follow the on-screen instructions to enter your Wi-Fi network name (SSID) and password. Ensure that you enter the correct information to establish a successful connection.
- Once you have entered the Wi-Fi credentials, the camera will attempt to connect to your network.
- If the connection is successful, the Blink App will display a confirmation message, and the camera will be ready for remote viewing and control.
During the setup process, it’s important to keep the camera and your Wi-Fi router in close proximity to ensure a stable and reliable connection. Once the camera is successfully connected to your Wi-Fi network, you can move it to its intended location while still maintaining the connection.
If you encounter any issues during the Wi-Fi connection process, make sure that your Wi-Fi signal is strong enough in the camera’s location. Consider relocating the Sync Module or using a Wi-Fi extender to improve signal strength if necessary.
With the camera successfully connected to your Wi-Fi network, you can now enjoy the convenience of remote monitoring and access to live video feeds through the Blink App. The next step is to adjust the camera settings according to your preferences.
Step 6: Adjusting Camera Settings
Now that your Blink Outdoor Camera is connected to your Wi-Fi network, it’s time to customize its settings to ensure optimal performance and functionality. Adjusting the camera settings allows you to fine-tune its behavior according to your specific needs and preferences.
Follow these steps to adjust the camera settings:
- Open the Blink App on your smartphone or tablet and sign in to your account.
- Select the Blink Outdoor Camera from the list of devices in the app.
- In the camera settings, you’ll find various options to configure its behavior and performance.
- Video Quality: Adjust the video quality settings based on your bandwidth and storage preferences. Higher quality videos consume more bandwidth and storage space, while lower quality videos conserve resources.
- Motion Detection: Set the sensitivity level of motion detection to customize how the camera responds to movement. Higher sensitivity might result in more frequent notifications, while lower sensitivity may cause the camera to miss some events.
- Activity Zones: Define specific areas within the camera’s field of view where motion detection will be enabled. This helps to reduce false alerts caused by movement outside of specified zones, such as trees or roads.
- Clip Length: Determine the duration of recorded clips when motion is detected. Longer clip lengths provide more footage but consume more storage space.
- Arming Schedule: Schedule specific times for the camera to be armed or disarmed. This feature allows you to customize when the camera should be actively monitoring and when it should be in sleep mode.
- Notification Settings: Customize how and when you want to receive notifications for motion events. You can choose to receive push notifications, emails, or both.
Take some time to experiment with different settings to find the configuration that works best for your specific needs. Remember that you can always adjust the settings later if you need to make further modifications.
Keep in mind that optimizing the camera settings may involve finding the right balance between capturing important events and minimizing false alerts. It may require some trial and error to achieve the desired results.
Once you have adjusted the camera settings to your satisfaction, you can sit back and let your Blink Outdoor Camera do its job. It will monitor and capture any motion events within its field of view, providing you with valuable surveillance footage and peace of mind.
Now that you have completed the camera configuration, the next step is to test and troubleshoot if needed. Let’s move on to step 7.
Step 7: Testing and Troubleshooting
After setting up and adjusting the settings for your Blink Outdoor Camera, it’s important to thoroughly test its functionality to ensure everything is working as expected. Testing allows you to identify and address any issues or concerns before relying on the camera for your home security and surveillance needs.
Follow these steps for testing and troubleshooting:
- Open the Blink App on your smartphone or tablet and select the Blink Outdoor Camera from the list of devices.
- Tap on the live view option to see the real-time footage from the camera. Verify that the video quality is satisfactory and that the camera is capturing the intended area.
- Trigger a motion event in front of the camera to test the motion detection feature. Walk within the camera’s field of view and ensure that the camera starts recording and sends you a notification.
- Review the recorded clips in the Blink App to confirm that they are being saved and accessible for playback.
- If you encounter any issues during testing, try the following troubleshooting steps:
- Ensure that the Sync Module is still connected to your Wi-Fi network and has a strong signal.
- Check the camera’s battery level to ensure it is adequately powered. Replace the batteries if necessary.
- Make sure that there are no obstructions blocking the camera’s view, such as dirt, debris, or spiderwebs.
- Restart the camera and the Sync Module by unplugging them from the power source and then plugging them back in.
- Ensure that your Wi-Fi network is functioning properly and that other devices can connect to it without any issues.
- If you continue to experience problems, consult the Blink Outdoor Camera’s user manual or contact customer support for further assistance.
By thoroughly testing the camera and resolving any potential issues, you can have confidence in its performance and rely on it for your home security needs.
Congratulations! You have successfully set up, adjusted, and tested your Blink Outdoor Camera. You can now enjoy the benefits of remote surveillance, motion detection alerts, and peace of mind knowing that your home is being monitored.
Remember to periodically check the camera’s performance, update the Blink App, and maintain its surroundings to ensure optimal functionality. Regular maintenance and monitoring will help keep your home security system running smoothly and effectively.
Thank you for following this comprehensive guide. We hope it has been helpful in installing and utilizing your Blink Outdoor Camera. Stay safe and secure!
Conclusion
Installing a Blink Outdoor Camera for your home security and surveillance needs is a smart investment in the protection and peace of mind for you and your family. By following this comprehensive guide, you have learned how to unbox the camera, mount it, connect the Sync Module, set up the Blink App, connect the camera to Wi-Fi, adjust the camera settings, and test its functionality.
The Blink Outdoor Camera offers advanced features such as wireless connectivity, weather resistance, motion detection, and remote access through the Blink App. With its user-friendly interface and customizable settings, you can tailor the camera’s behavior to fit your specific requirements.
Remember to periodically review and update your camera’s settings, test its performance, and troubleshoot any issues that may arise. Keeping your Blink Outdoor Camera in optimal condition ensures that it continues to provide reliable and effective surveillance for your home.
With the Blink Outdoor Camera strategically positioned and connected to your Wi-Fi network, you can rest easy knowing that your property and loved ones are being monitored around the clock. Whether you’re at home or away, the Blink App keeps you connected, providing live video feeds and real-time motion alerts on your smartphone or tablet.
Don’t forget to consult the user manual or contact customer support if you encounter any challenges or require further assistance. They are there to help you make the most of your Blink Outdoor Camera and ensure your home security needs are met.
Thank you for choosing Blink Outdoor Camera as your home security solution. Enjoy the added peace of mind and security that it provides, and stay vigilant in protecting what matters most to you.
Frequently Asked Questions about How Do You Install A Blink Outdoor Camera
Was this page helpful?
At Storables.com, we guarantee accurate and reliable information. Our content, validated by Expert Board Contributors, is crafted following stringent Editorial Policies. We're committed to providing you with well-researched, expert-backed insights for all your informational needs.