Home>Home Security and Surveillance>How To Install Outside Wired Security Cameras Without Drilling Holes In The Walls
Home Security and Surveillance
How To Install Outside Wired Security Cameras Without Drilling Holes In The Walls
Modified: March 6, 2024
Learn how to easily install outside wired security cameras at your home without the need for drilling holes in the walls. Enhance your home security and surveillance with this hassle-free solution.
(Many of the links in this article redirect to a specific reviewed product. Your purchase of these products through affiliate links helps to generate commission for Storables.com, at no extra cost. Learn more)
Introduction
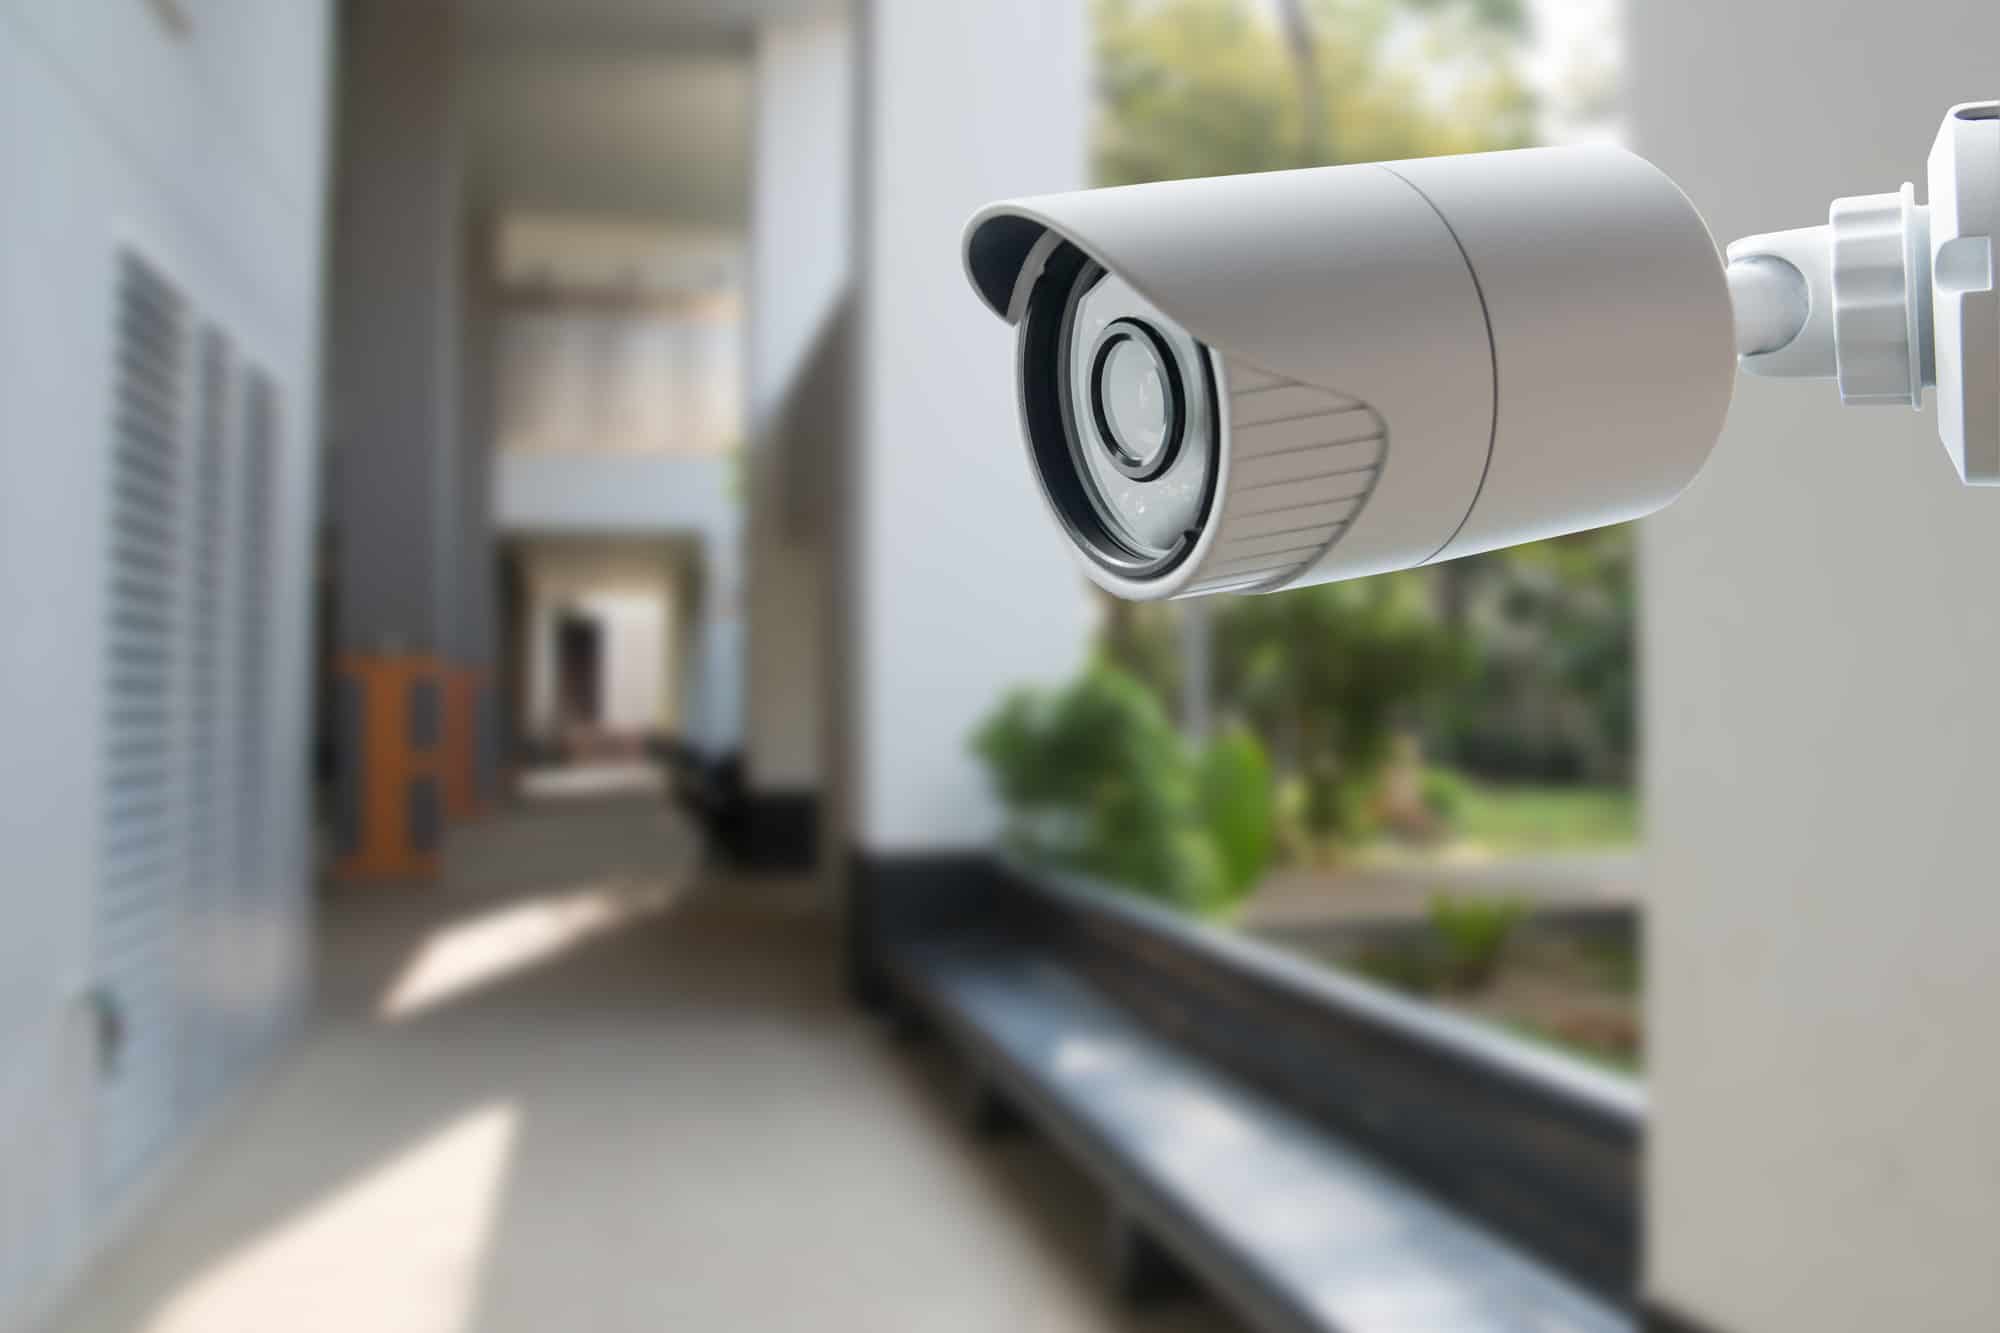
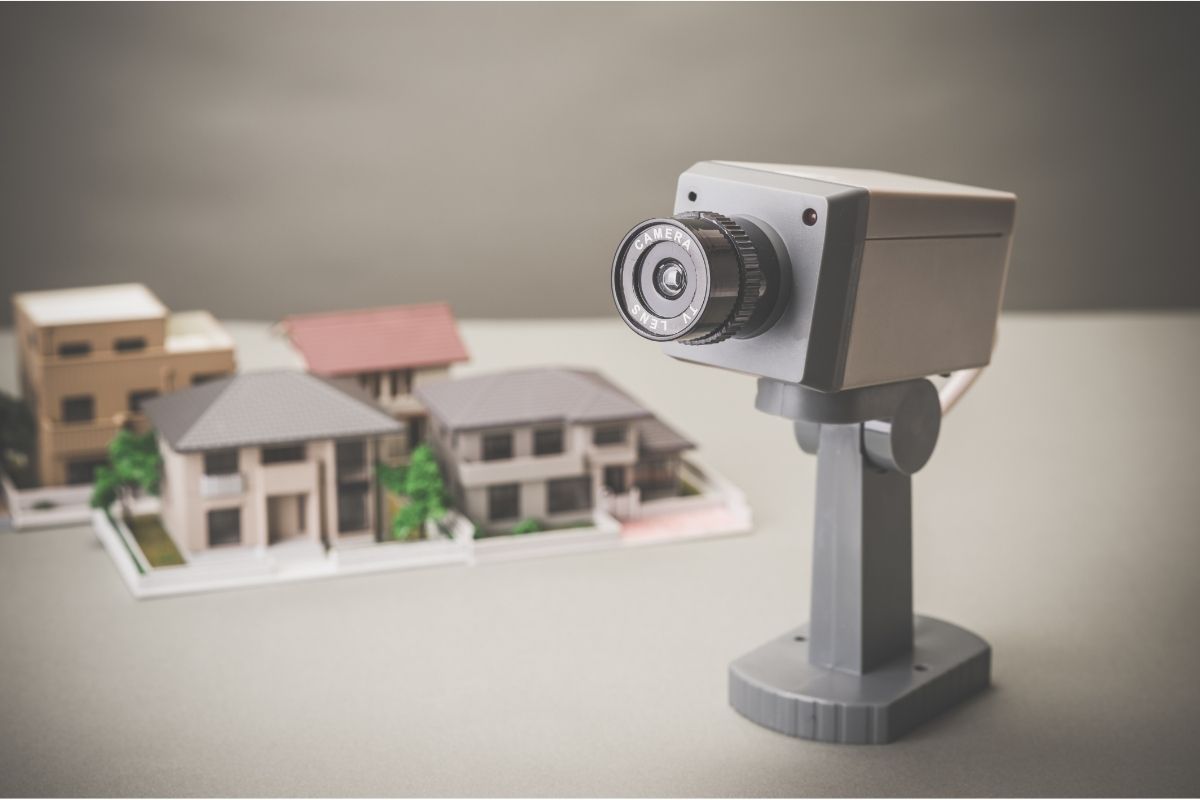
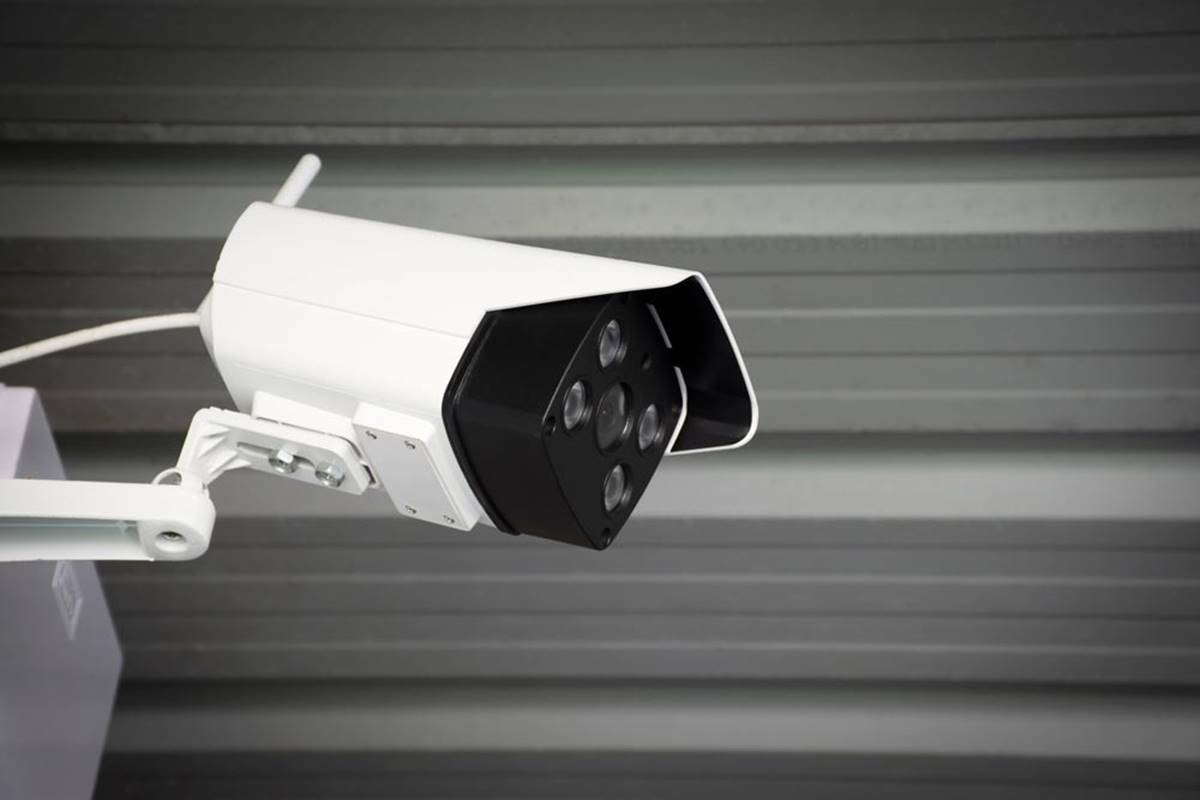
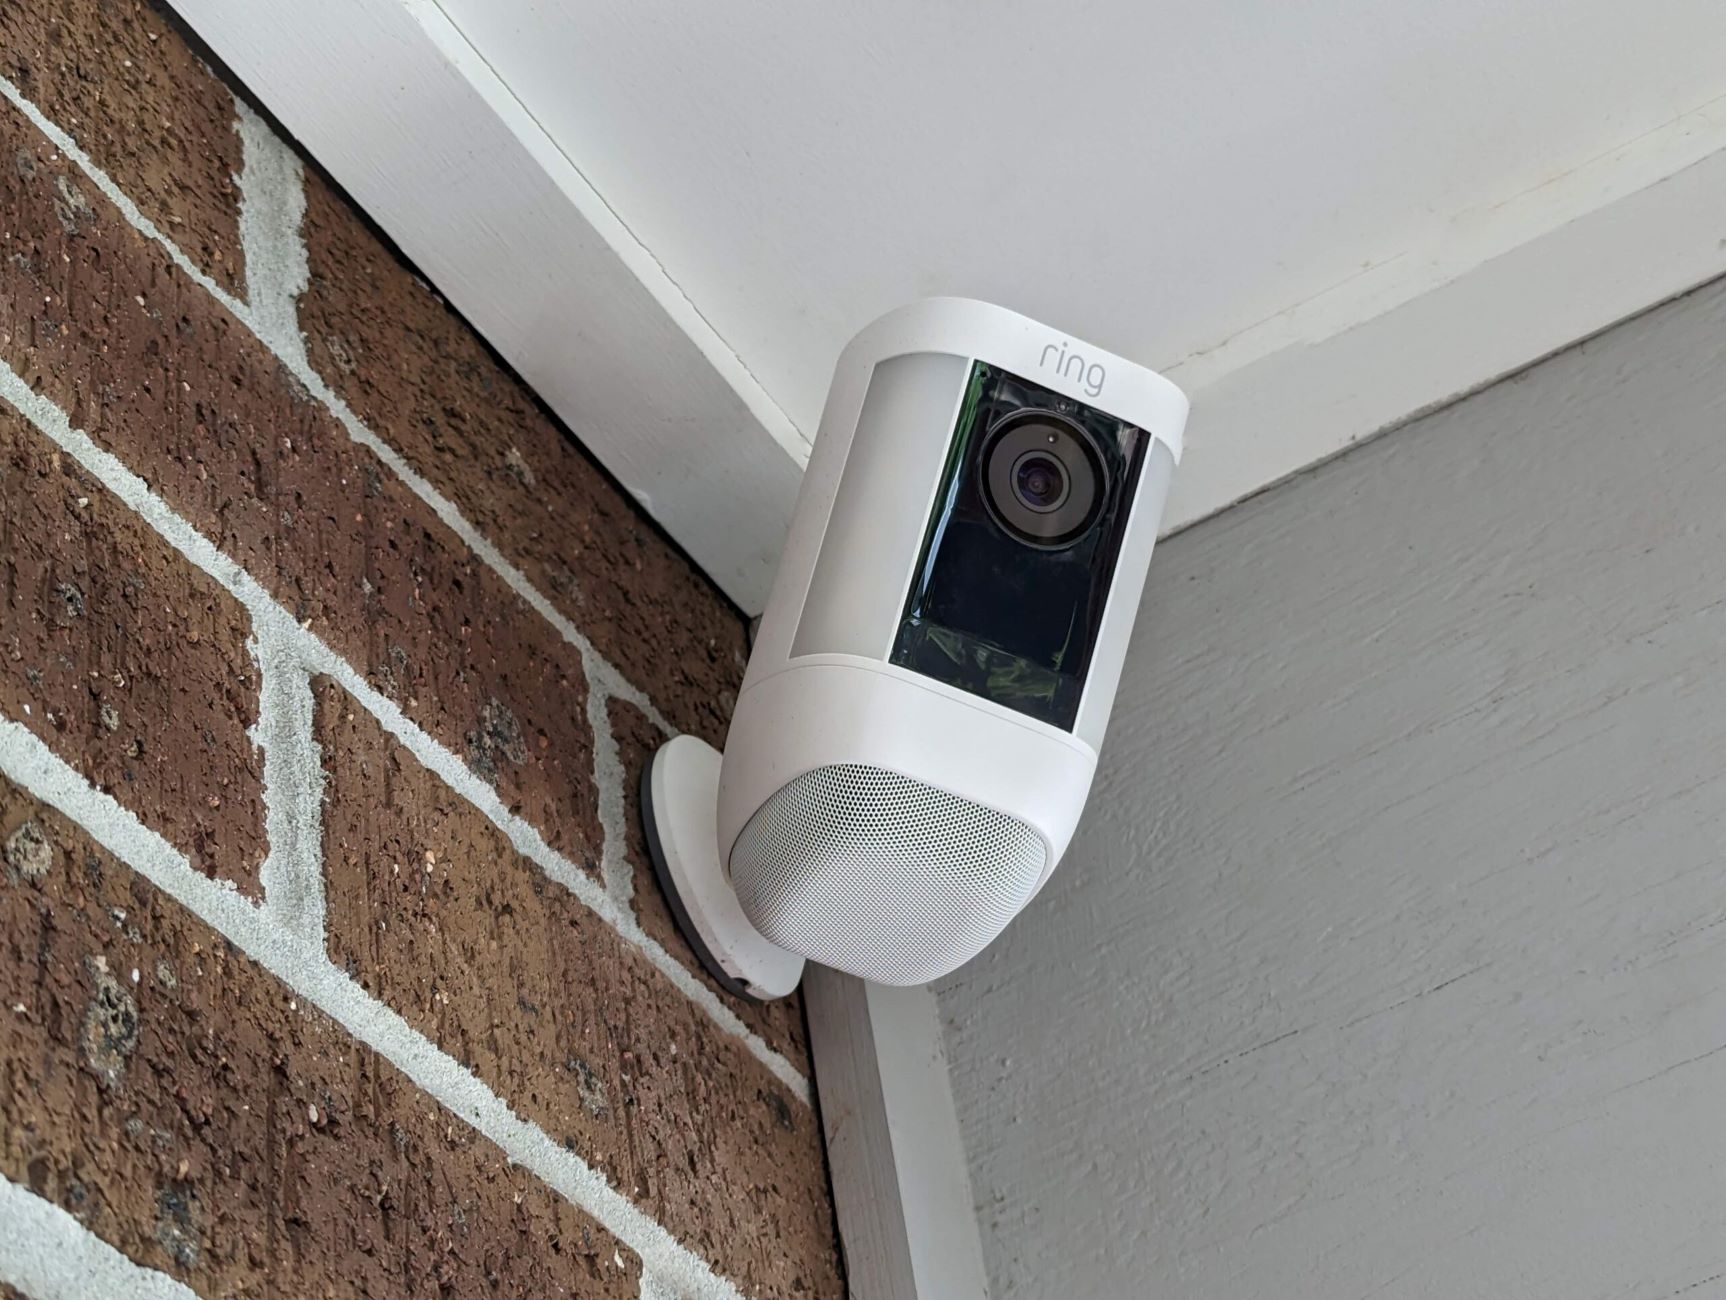
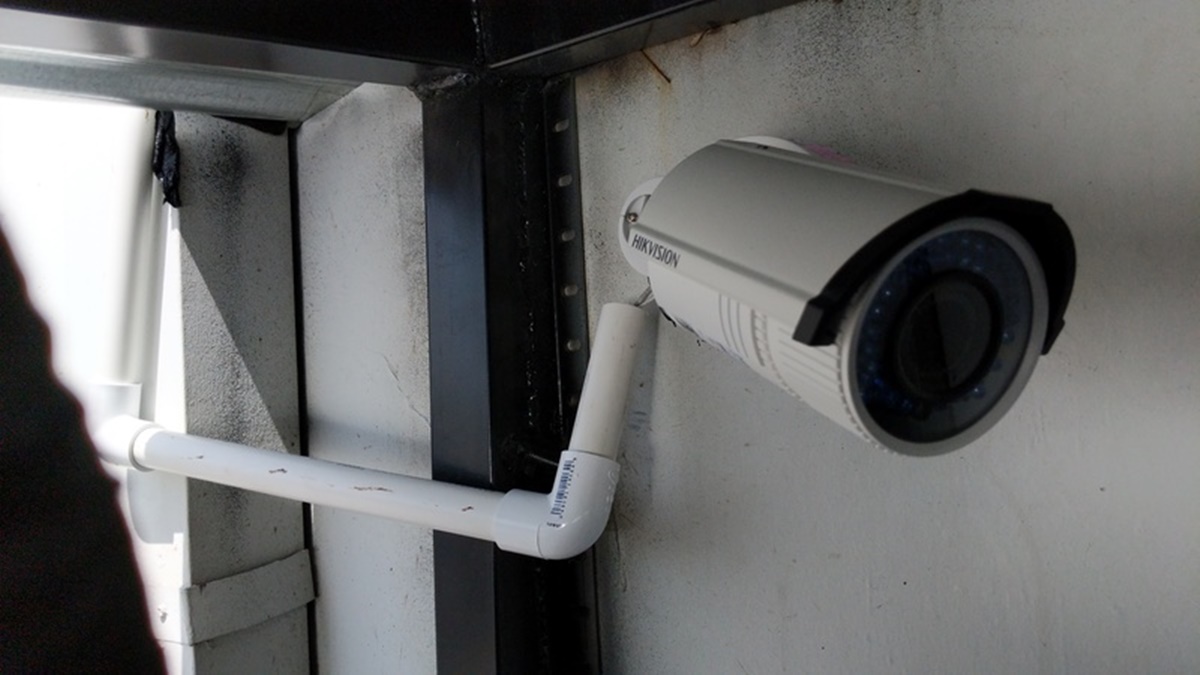
When it comes to home security and surveillance, installing outside wired security cameras is a popular choice for homeowners. These cameras provide a reliable and effective means of monitoring the exterior of your property, deterring potential intruders, and giving you peace of mind.
However, many homeowners are hesitant to install security cameras due to the misconception that it requires drilling holes in the walls, which can be a time-consuming and potentially damaging process. The good news is that there are alternative methods available that allow you to install outside wired security cameras without drilling holes in the walls.
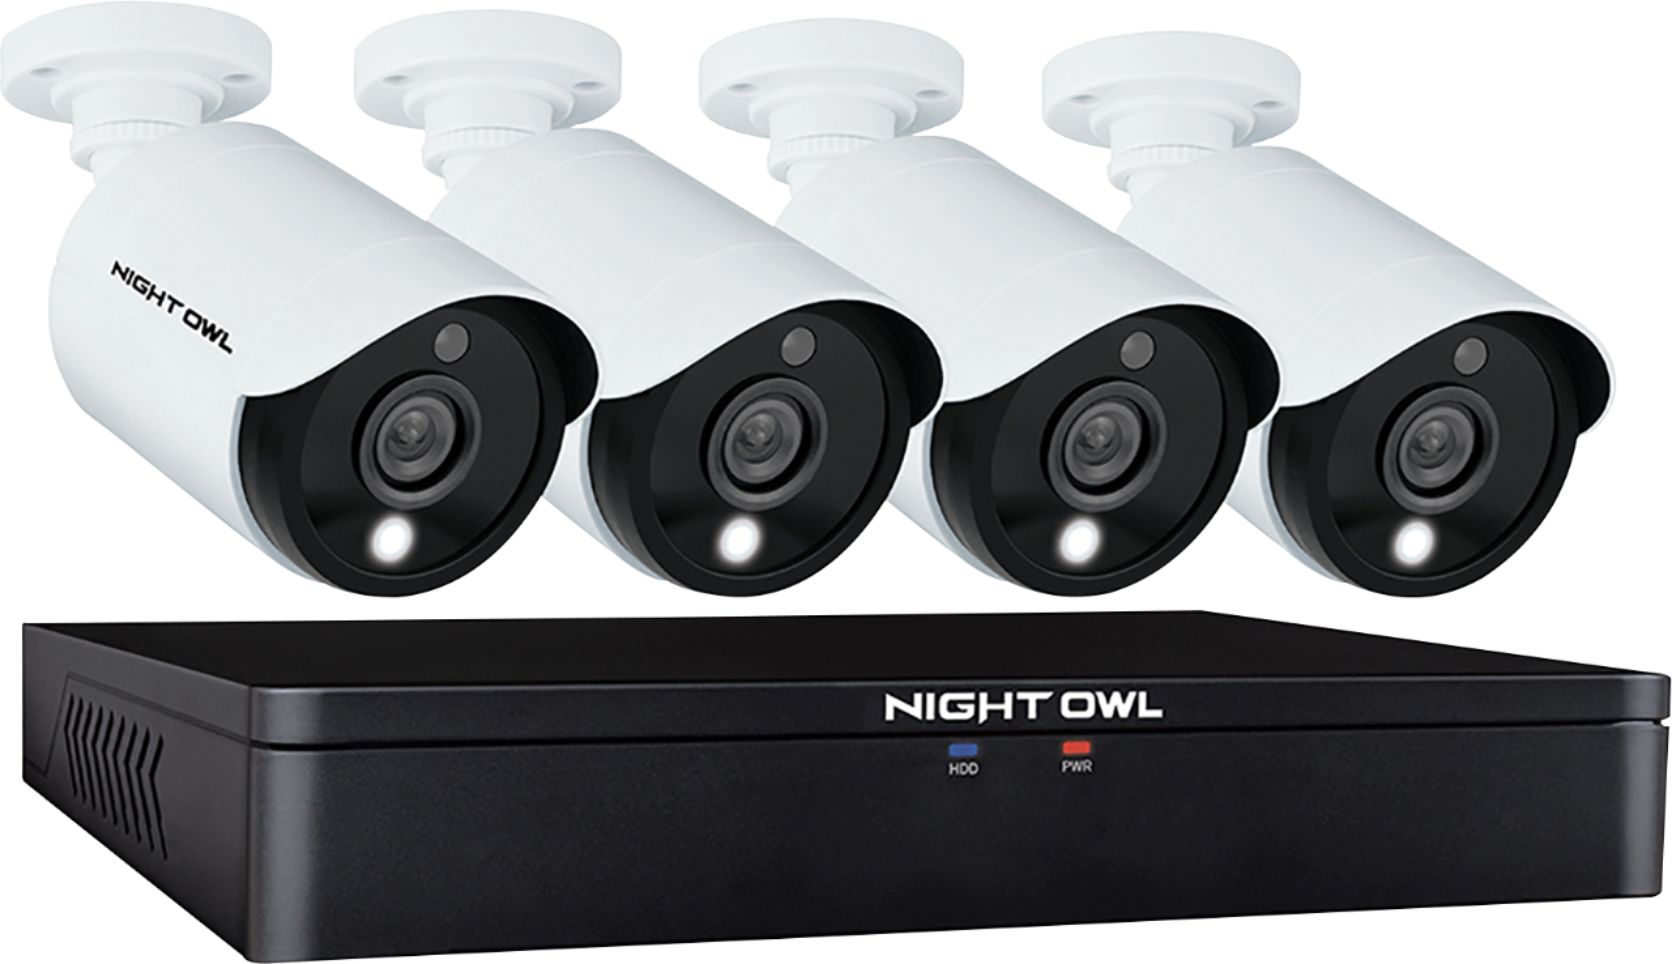
In this article, we will explore four effective methods for installing outside wired security cameras without drilling holes. These methods will not only help you avoid damaging your walls but also offer flexibility in camera placement and easy removal if needed.
Key Takeaways:
- Protect your home without drilling holes by using adhesive, suction cup, magnetic mounts, or existing fixtures for outside wired security cameras. Enjoy easy installation and flexibility while keeping your property secure.
- Choose the best method for your needs and respect local regulations. Enjoy peace of mind with outside wired security cameras, without the hassle of drilling holes in your walls.
Method 1: Using Adhesive Mounts
One of the easiest and most convenient ways to install outside wired security cameras without drilling holes is by using adhesive mounts. Adhesive mounts are designed to securely attach the camera to various surfaces, such as siding, brick, or stucco, without causing any damage.
To install the camera using adhesive mounts, follow these steps:
- Clean the mounting surface: Before applying the adhesive, make sure the surface is clean and free from dust or debris. Use a mild cleaning solution and a soft cloth to wipe down the area where you plan to attach the camera.
- Position the adhesive mount: Determine the desired location for your camera and place the adhesive mount on the surface. Ensure that it is level and in the correct orientation.
- Peel off the adhesive backing: Carefully remove the backing from the adhesive mount to expose the sticky side. Take care not to touch the adhesive with your fingers to maintain its effectiveness.
- Attach the camera: Once the adhesive mount is in position and the backing is removed, gently press the camera onto the mount. Apply even pressure for a few seconds to ensure a secure bond.
It’s important to note that adhesive mounts have weight limitations, so be sure to check the specifications provided by the camera manufacturer. Additionally, extreme temperatures or harsh weather conditions can affect the adhesive’s durability, so it’s advisable to choose an adhesive mount specifically designed for outdoor use.
Adhesive mounts offer the advantage of easy installation and removal, making them ideal for renters or those who frequently change their camera placement. However, they may not be suitable for all types of surfaces, so always check the compatibility before installing the camera.
Method 2: Utilizing Suction Cup Mounts
If you’re looking for a temporary and non-permanent solution to install outside wired security cameras, using suction cup mounts is a great option. Suction cup mounts provide a strong grip on smooth surfaces, such as windows or glass doors, without the need for drilling or adhesives.
Here’s how to install the camera using suction cup mounts:
- Clean the mounting surface: Thoroughly clean the surface where you plan to attach the camera. Ensure that it is free from dust, dirt, and any debris that may hinder suction.
- Moisten the suction cup: Wetting the suction cup with a small amount of water can help improve its suction. Simply run it under a faucet or use a damp cloth to moisten the cup.
- Press the suction cup onto the surface: Position the suction cup mount on the desired location and firmly press it against the surface. Apply even pressure to ensure a strong suction.
- Attach the camera to the mount: Once the suction cup mount is securely attached, simply attach the camera to the mount according to the manufacturer’s instructions.
Suction cup mounts provide a temporary installation option, making them ideal for situations where you might want to move the camera around or where drilling holes is not possible or desirable. However, keep in mind that suction cups are not suitable for rough or textured surfaces, and extreme temperatures can affect their suction strength.
It’s worth noting that suction cup mounts may not provide the same level of stability as adhesive or drilled mounts. Therefore, it is important to regularly check the suction and make sure the camera remains securely in place.
Consider using adhesive mounts or magnetic mounts to attach the security cameras to the outside of your home without drilling holes. These mounts provide a secure and non-permanent installation option.
Method 3: Employing Magnetic Mounts
Another convenient option to install outside wired security cameras without drilling holes is by using magnetic mounts. Magnetic mounts allow for quick and easy installation, as they securely attach the camera to metal surfaces without the need for any tools or additional accessories.
Follow these steps to install the camera using magnetic mounts:
- Find a suitable metal surface: Look for a metal surface on the exterior of your home, such as a metal doorframe or gutter, that is close to the area you want to monitor. Ensure that the surface is clean and free of any debris.
- Position the magnetic mount: Once you have identified the metal surface, position the magnetic mount in the desired location. Make sure it is level and aligned according to your needs.
- Attach the camera to the mount: With the magnetic mount in place, simply attach the camera to it by placing it near the magnet. The strong magnetic force will hold the camera securely in position.
Magnetic mounts offer a convenient installation method, as they allow you to quickly move and reposition the camera as needed. However, they are limited to metal surfaces, so make sure you have suitable areas for mounting before opting for this method.
It’s important to ensure that the magnetic mount is strong enough to hold the weight of the camera securely. Double-check the weight capacity specified by the camera manufacturer to avoid any accidental drops or damage.
Keep in mind that magnetic mounts may not offer the same level of stability as other mounting methods, so it’s a good idea to periodically check the camera’s positioning and ensure it hasn’t been affected by external factors like strong winds or vibrations.
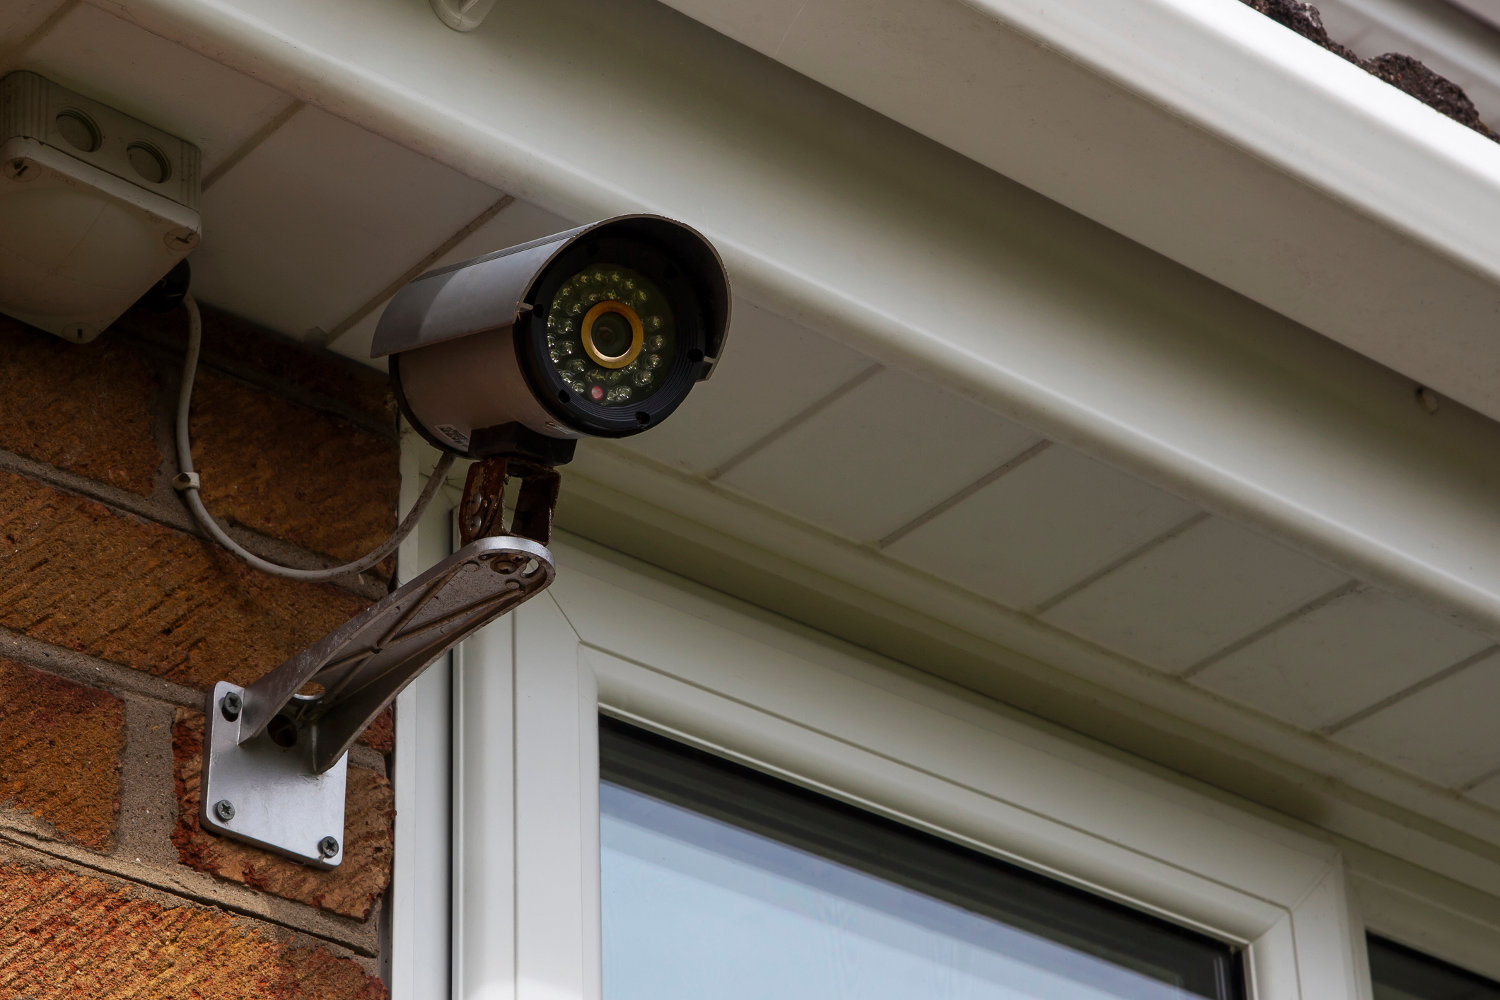
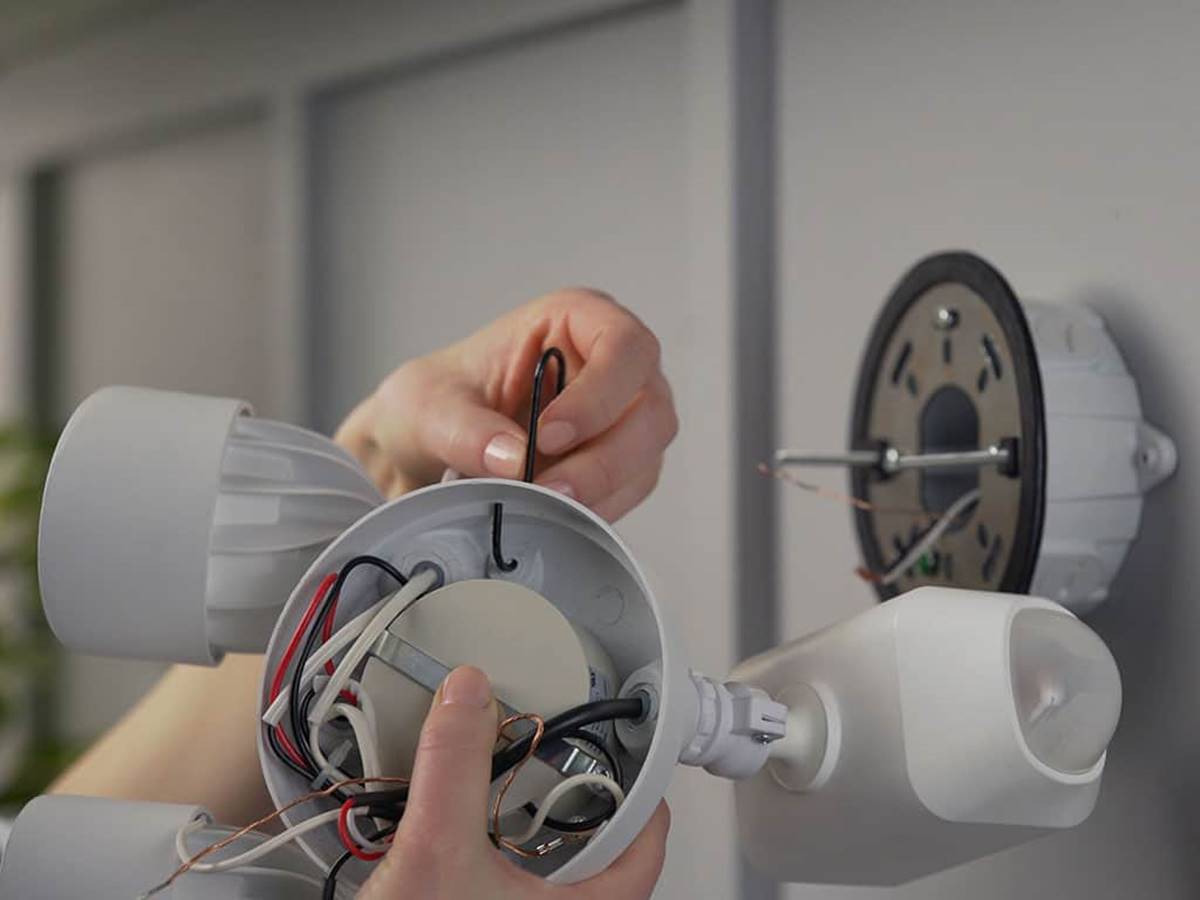
Method 4: Attaching Cameras on Existing Fixtures
If you prefer a more permanent and secure installation option for your outside wired security cameras without drilling holes, attaching the cameras on existing fixtures is a great approach. This method utilizes the existing structures or fixtures on the exterior of your home, such as a fence post or a light fixture, to mount the cameras.
Follow these steps to attach the camera on existing fixtures:
- Select a suitable fixture: Look for a sturdy and stable fixture on the exterior of your property, such as a fence post, a wall-mounted light fixture, or a gutter. Ensure that the fixture is capable of supporting the weight of the camera.
- Use mounting brackets or clamps: Depending on the camera and fixture, you may need to use specific mounting brackets or clamps to secure the camera in place. These accessories typically come with the camera or can be purchased separately.
- Position the camera and attach it: Once you have the appropriate mounting brackets or clamps, position the camera on the fixture in the desired location. Use screws or fasteners provided with the brackets or clamps to securely attach the camera.
Attaching cameras on existing fixtures offers a permanent and stable installation method, ensuring that the camera remains in place even during harsh weather conditions. It also eliminates the need for additional mounts or accessories, reducing the risk of damage to your property.
Remember to check the weight capacity of the fixture and ensure that it can support the camera’s weight. Additionally, make sure the camera is positioned at an optimal angle and height to capture the desired area effectively.
Before attaching the camera to any existing fixture, it’s important to check local regulations and guidelines concerning the placement of security cameras. Respect your neighbors’ privacy and avoid pointing the camera directly into their property.
Conclusion
Installing outside wired security cameras without drilling holes in the walls is not only possible but also easier than you might think. By utilizing alternative methods such as adhesive mounts, suction cup mounts, magnetic mounts, or attaching cameras on existing fixtures, you can enjoy the benefits of home security and surveillance without the need for complex installation processes.
Adhesive mounts offer a simple and non-permanent solution, allowing for easy installation and removal. Suction cup mounts provide flexibility and are ideal for temporary camera placement. Magnetic mounts offer quick and effortless installation on metal surfaces, while attaching cameras on existing fixtures results in a more secure and permanent setup.
Before choosing a method, consider the specific requirements of your home and the camera’s weight and durability. Ensure that you comply with any local regulations regarding camera placement and respect your neighbors’ privacy.
By following the methods outlined in this article, you can have peace of mind knowing that your home is protected with outside wired security cameras, all without the need for drilling holes in the walls. Choose the method that best suits your needs and get started on enhancing the security of your property today.
Frequently Asked Questions about How To Install Outside Wired Security Cameras Without Drilling Holes In The Walls
Was this page helpful?
At Storables.com, we guarantee accurate and reliable information. Our content, validated by Expert Board Contributors, is crafted following stringent Editorial Policies. We're committed to providing you with well-researched, expert-backed insights for all your informational needs.