Home>Home Security and Surveillance>How To Install Lorex Security Cameras

Home Security and Surveillance
How To Install Lorex Security Cameras
Modified: March 6, 2024
Learn how to easily install Lorex security cameras for your home security and surveillance needs. Enhance your safety with our step-by-step guide.
(Many of the links in this article redirect to a specific reviewed product. Your purchase of these products through affiliate links helps to generate commission for Storables.com, at no extra cost. Learn more)
Introduction
Welcome to the world of home security and surveillance! In today’s ever-changing world, it is essential to prioritize the safety and protection of our homes and loved ones. Installing a reliable security camera system can provide peace of mind and a level of security that is invaluable.
In this comprehensive guide, we will walk you through the process of installing Lorex security cameras – a popular and trusted brand known for its advanced technology and innovative features. Whether you are a DIY enthusiast or a beginner in the world of home security, this guide will equip you with the knowledge and step-by-step instructions to set up your Lorex security camera system with ease.
Before diving into the installation process, it’s important to understand the benefits of Lorex security cameras. These cameras offer a range of features designed to enhance your home security and surveillance experience. From high-definition video resolution to night-vision capabilities, Lorex cameras provide crystal-clear footage, even in low-light conditions.
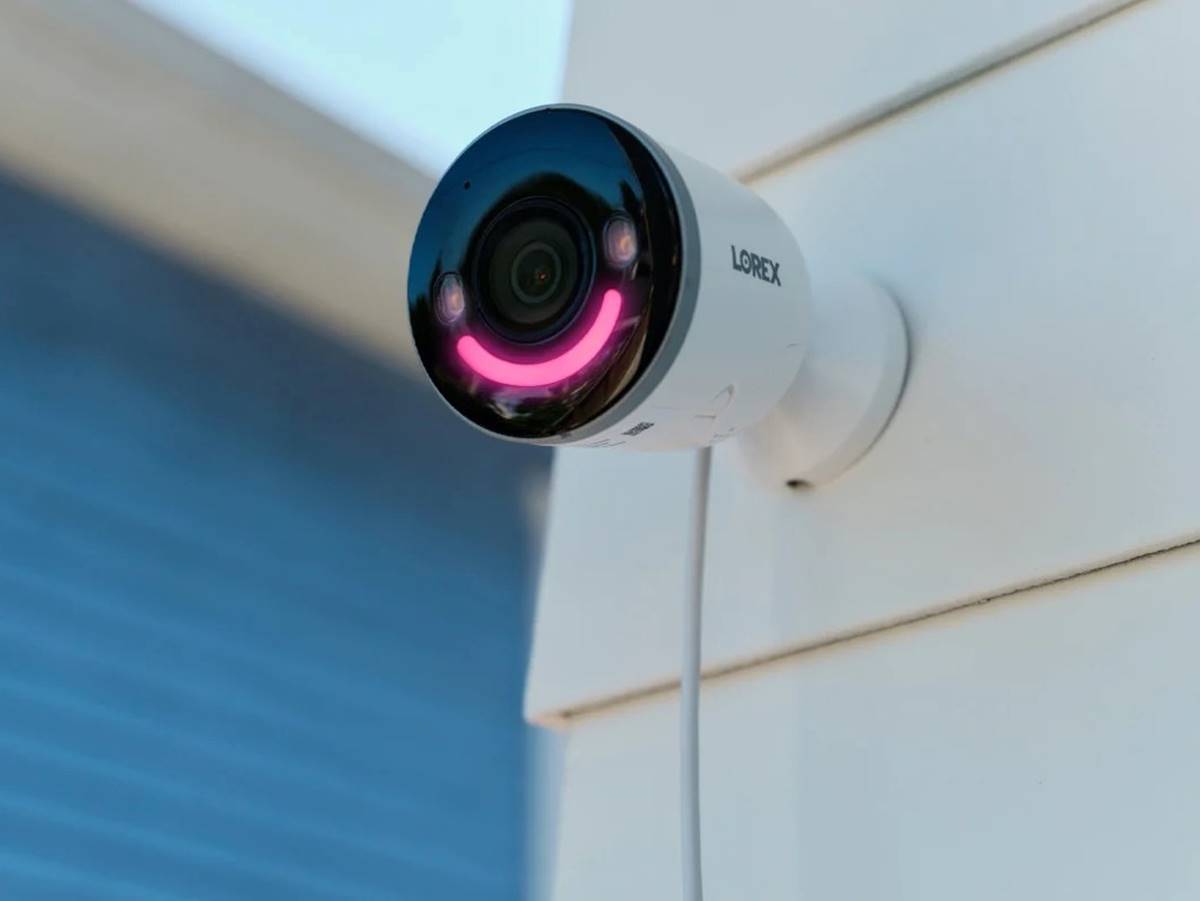
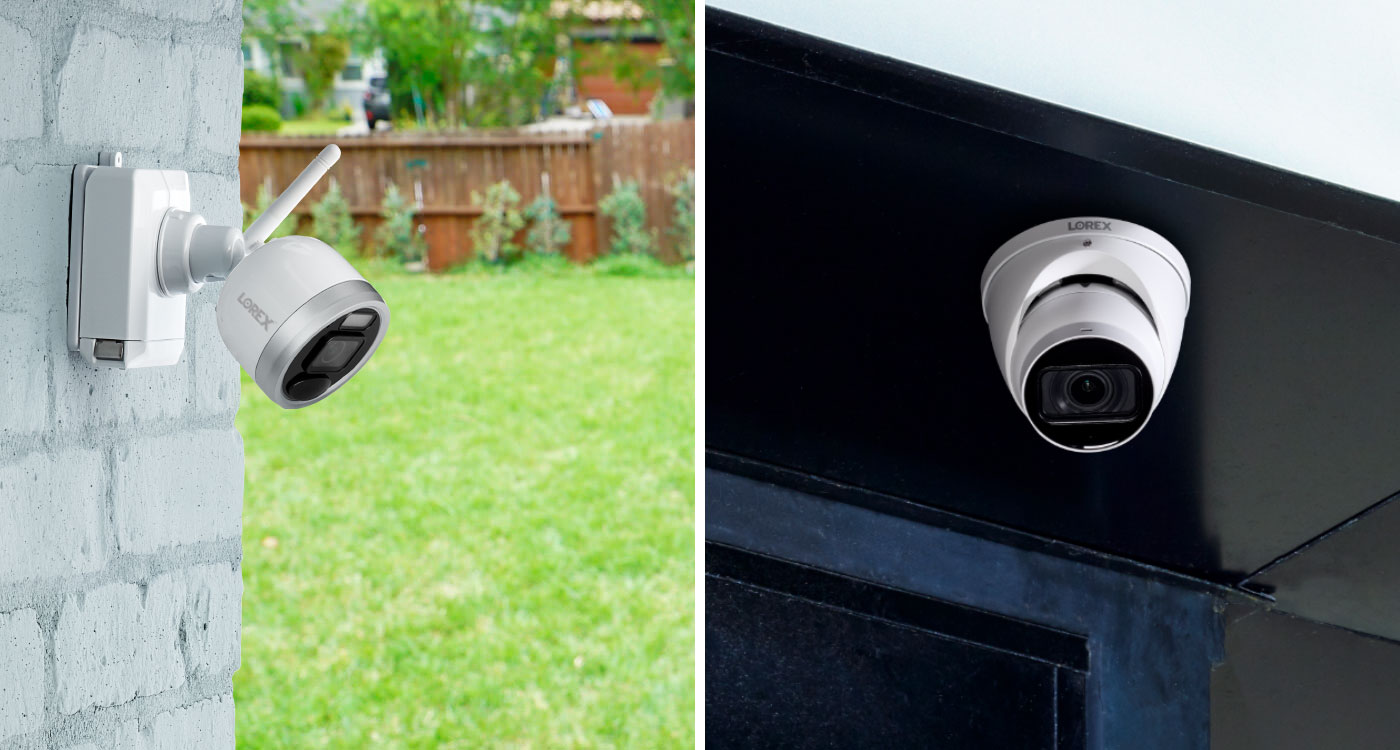
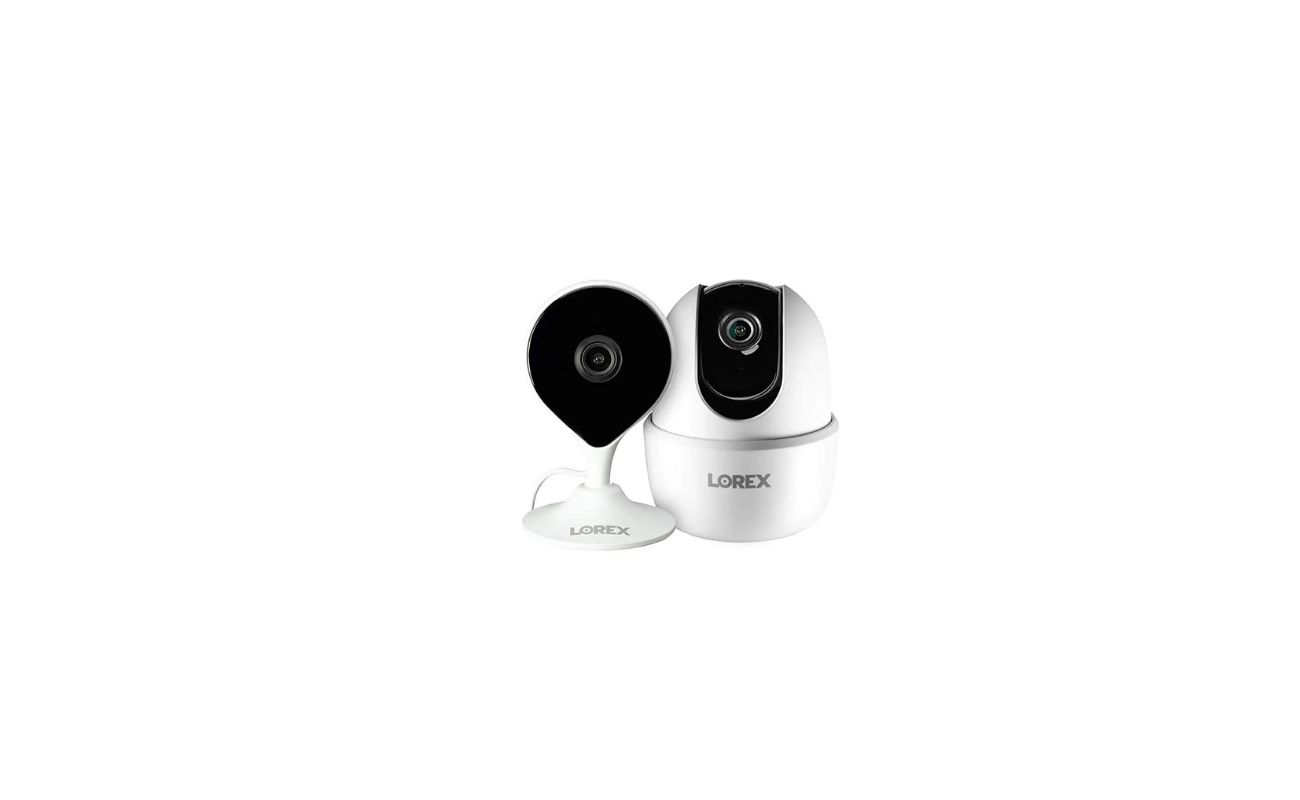
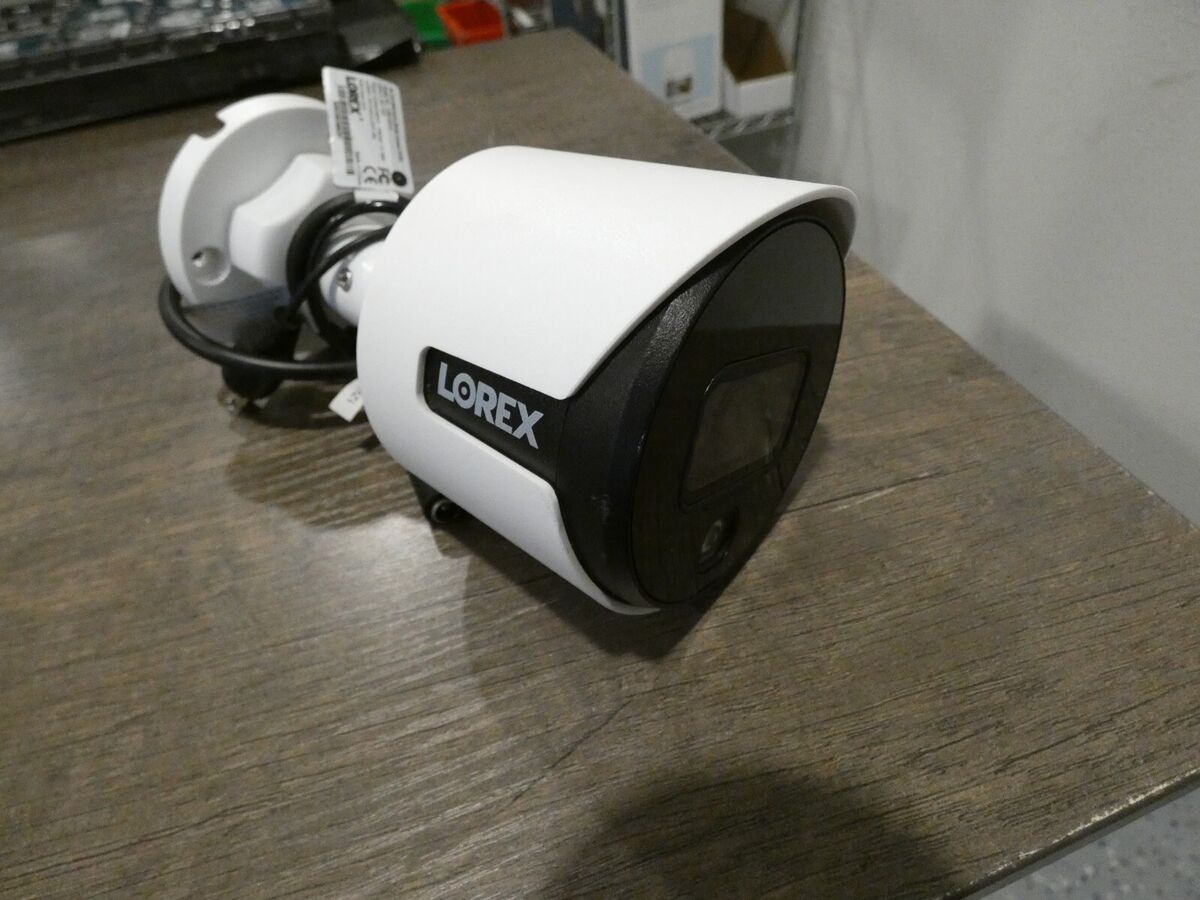
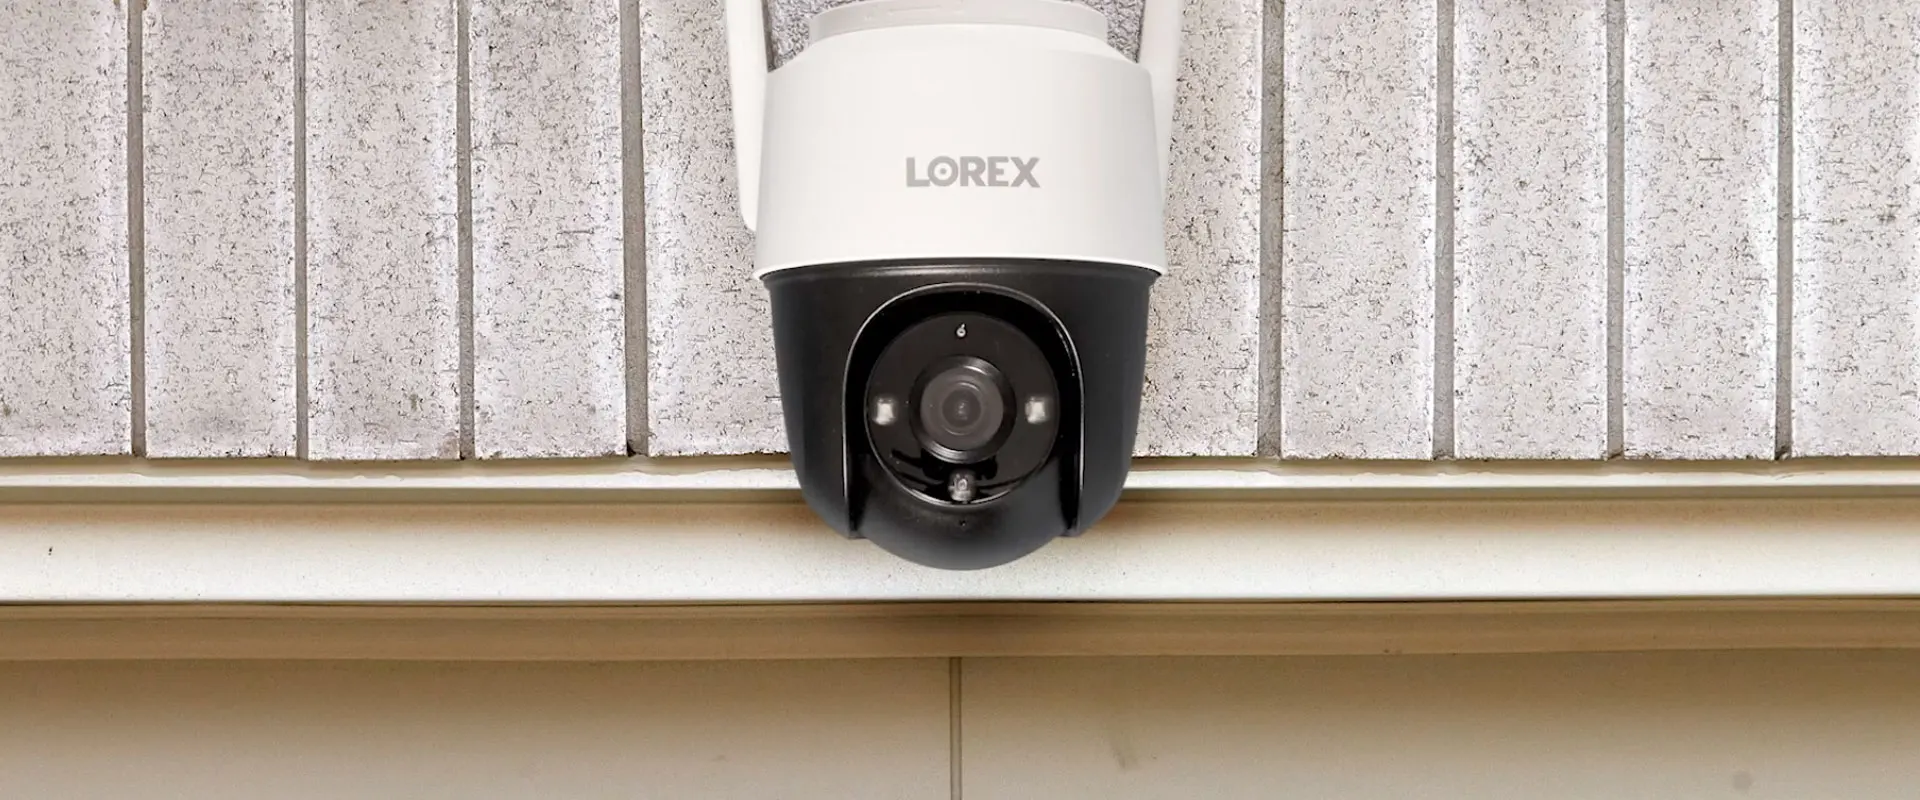
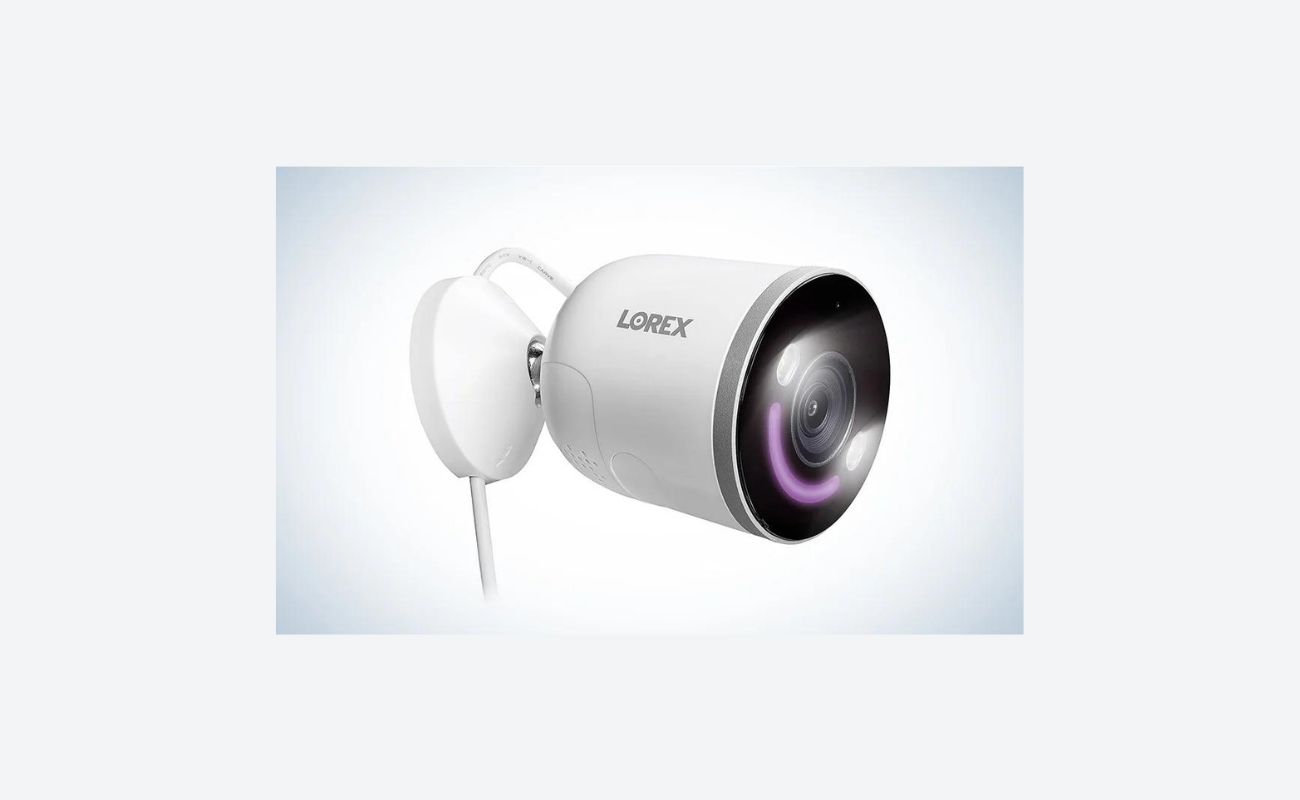
One of the key advantages of Lorex security cameras is their accessibility and ease of use. With their user-friendly interface and mobile app compatibility, Lorex cameras allow you to monitor your property remotely, whether you are at home or on the go. Additionally, Lorex offers a range of camera options, such as outdoor bullet cameras, dome cameras, and PTZ (pan-tilt-zoom) cameras, that can be tailored to your specific needs and preferences.
Now that we have covered the basics, let’s delve into the installation process. Before you begin, it is essential to gather all the necessary tools, equipment, and information to ensure a smooth installation process. This includes reviewing the user manual provided by Lorex, as well as preparing your property for the installation.
Remember, investing in a reliable security camera system is an investment in the safety and security of your home. By following the instructions in this guide and taking the time to properly install your Lorex security cameras, you will have peace of mind knowing that you are equipped with a robust surveillance system that will help protect your property and loved ones for years to come.
Key Takeaways:
- Installing Lorex security cameras involves preparing your property, mounting the cameras, connecting them to your system, and configuring settings. Regular testing and troubleshooting ensure optimal performance for enhanced home security.
- Lorex security cameras offer advanced features like high-resolution video, night vision, and remote monitoring. By following the installation guide, you can enjoy peace of mind knowing your home is protected.
Read more: How To Install Lorex Security Camera
Understanding Lorex Security Cameras
Before you embark on the installation process, it’s important to have a solid understanding of the key features and components of Lorex security cameras. This will enable you to make informed decisions and ensure that you are maximizing the benefits of your surveillance system.
Lorex security cameras are known for their cutting-edge technology and advanced features designed to enhance your home security. Here are some important aspects to consider:
- Video Resolution: Lorex security cameras offer various video resolutions, including HD (high-definition) and Ultra HD. HD cameras provide clear and detailed footage, while Ultra HD cameras deliver even higher resolution for exceptional quality.
- Night Vision: Many Lorex cameras are equipped with infrared (IR) LEDs, enabling them to capture clear footage even in low-light or complete darkness. This is especially important for outdoor surveillance during nighttime hours.
- Field of View: The field of view refers to the area that a camera can cover. Lorex cameras typically offer a wide-angle lens, allowing you to monitor a larger area without compromising on image quality.
- Weather Resistance: If you plan to install cameras outdoors, it’s important to choose weather-resistant models. Lorex offers cameras with IP65 or IP66 ratings, which means they are dust-tight and can withstand harsh weather conditions, including rain and snow.
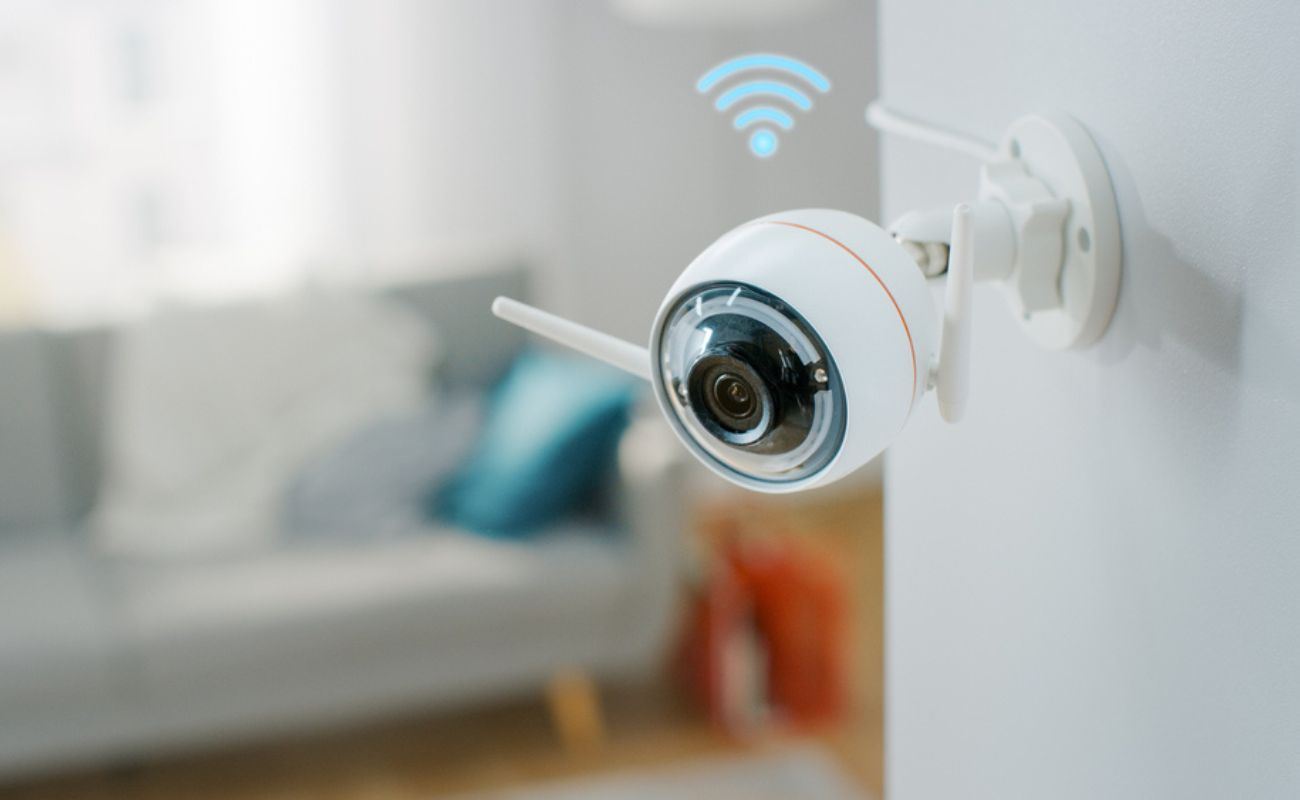
- Remote Monitoring: Lorex security cameras can be connected to your smartphone or tablet, allowing you to access live video feeds and recordings from anywhere, as long as you have an internet connection.
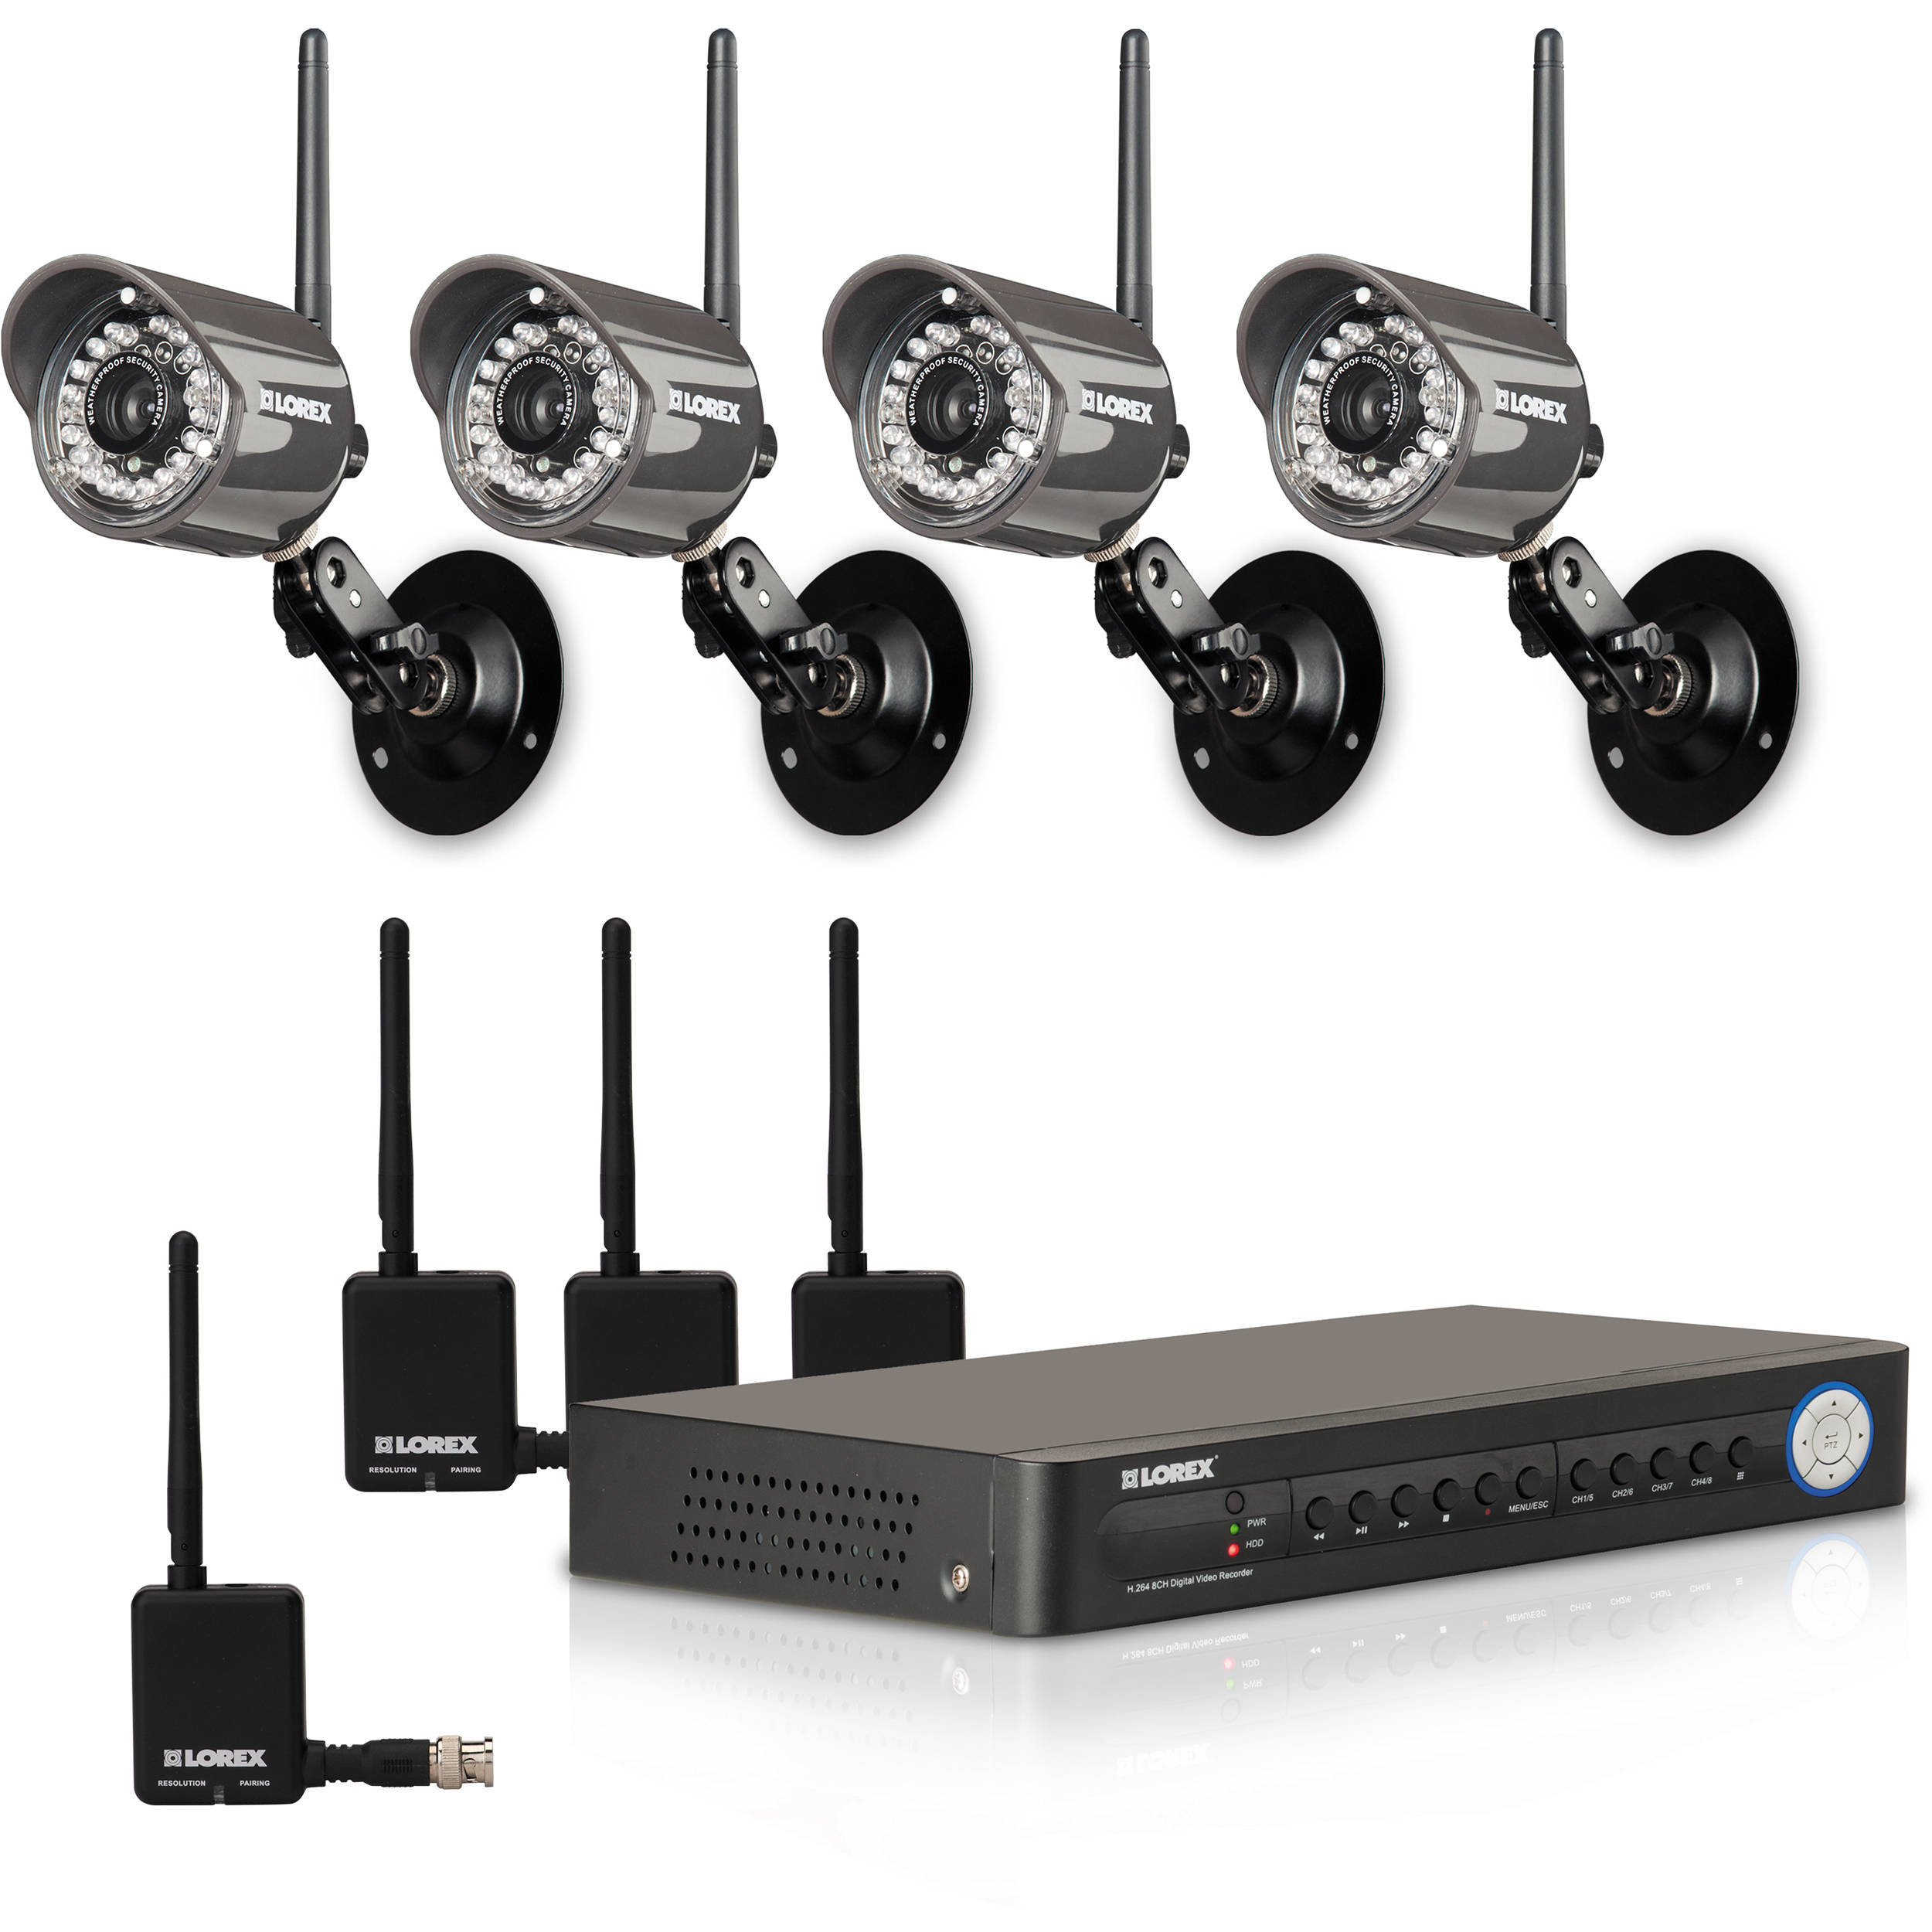
- Storage Options: Lorex provides various storage options for your camera footage. This includes built-in storage on the camera itself, as well as options for local storage on a digital video recorder (DVR) or network video recorder (NVR), or cloud storage for added convenience and backup.
By understanding these features, you can choose the Lorex security camera models that best suit your needs and preferences. Keep in mind the specific areas you want to monitor, whether it’s the front entrance, backyard, or multiple locations around your property.
Additionally, it’s worth noting that Lorex offers both wired and wireless camera options. Wired cameras require physical cabling for power and data transmission, while wireless cameras use Wi-Fi connectivity to transmit data. Consider your specific requirements, such as the distance between cameras or the need for flexibility, when choosing between wired and wireless models.
With a solid understanding of Lorex security cameras and their features, you are now ready to proceed with the installation process. This includes preparing your property, mounting the cameras, and connecting them to your monitoring system. Let’s explore these steps in detail in the upcoming sections.
Preparing for Installation
Before you begin the actual installation of your Lorex security cameras, it’s crucial to take some time to prepare your property. Proper preparation will ensure a smooth and efficient installation process, saving you time and potential complications down the line.
Here are some important steps to follow when preparing for the installation:
- Create a Security Plan: Start by assessing your property and identifying the key areas that require surveillance. This could include entry points such as doors and windows, driveways, and any vulnerable areas. Develop a security plan that outlines the placement of your cameras to maximize coverage and minimize blind spots.
- Review Camera Specifications: Familiarize yourself with the specifications and installation requirements of your specific Lorex cameras. This includes understanding the power source needed for each camera, the cabling requirements, and any additional components or accessories required for installation.
- Determine Mounting Locations: Based on your security plan, determine the optimal locations for mounting your cameras. Pay attention to factors such as line of sight, coverage area, and accessibility for maintenance and adjustments. Make sure there are no obstructions that could potentially block the camera’s view.
- Gather Tools and Equipment: Make a list of the tools and equipment you will need for installation. This may include a power drill, screws, screwdriver, cable clips, and a ladder or step stool for reaching higher mounting locations. Having all the necessary tools on hand will save you time and prevent interruptions during the installation process.
- Check Internet Connectivity: If you plan to connect your Lorex cameras to your home network for remote monitoring, ensure that you have a stable internet connection in the areas where the cameras will be installed. Weak Wi-Fi signals can affect the performance and reliability of your cameras, so consider boosting your Wi-Fi signal if necessary.
- Prepare Power Outlets: If you are installing wired cameras, ensure that there are power outlets available near the mounting locations. Consider the length and positioning of the power cables to avoid any trip hazards or potential damage to the cables.
- Secure Permits (If Necessary): Depending on your location and local regulations, you may need to obtain permits for installing security cameras. Check with your local authorities to determine if any permits are required and ensure that you comply with any applicable regulations.
By following these preparation steps, you will set yourself up for a successful installation process. Taking the time to plan and gather the necessary tools and information will help you avoid common pitfalls and ensure that your Lorex security camera system is installed effectively and securely.
Now that you’re prepared, it’s time to move on to the actual installation process. In the next section, we will guide you through the steps of mounting your Lorex security cameras.
Mounting the Cameras
Now that you’ve prepared your property for installation, it’s time to start mounting your Lorex security cameras. Properly mounting the cameras is crucial to ensuring optimal coverage and functionality. Follow these steps to effectively mount your cameras:
- Choose the Mounting Location: Refer to your security plan to determine the ideal mounting locations for each camera. Make sure that the area is clear of obstructions and provides a wide field of view. It’s important to mount the cameras at a height that allows for clear visibility while minimizing the risk of tampering.
- Mark the Mounting Points: Once you’ve identified the mounting location, use a pencil or marker to mark the spots where the mounting screws or brackets will be installed. Ensure that the marks are level and aligned according to your desired camera angle.
- Drill Pilot Holes: Using a power drill and the appropriate drill bit, carefully drill pilot holes at the marked mounting points. These pilot holes will serve as guides for installing the screws or brackets securely.
- Attach Mounting Brackets or Base: Depending on the camera model, you may need to attach mounting brackets or a base to the designated mounting points. Follow the manufacturer’s instructions to securely fasten these components into the pilot holes.
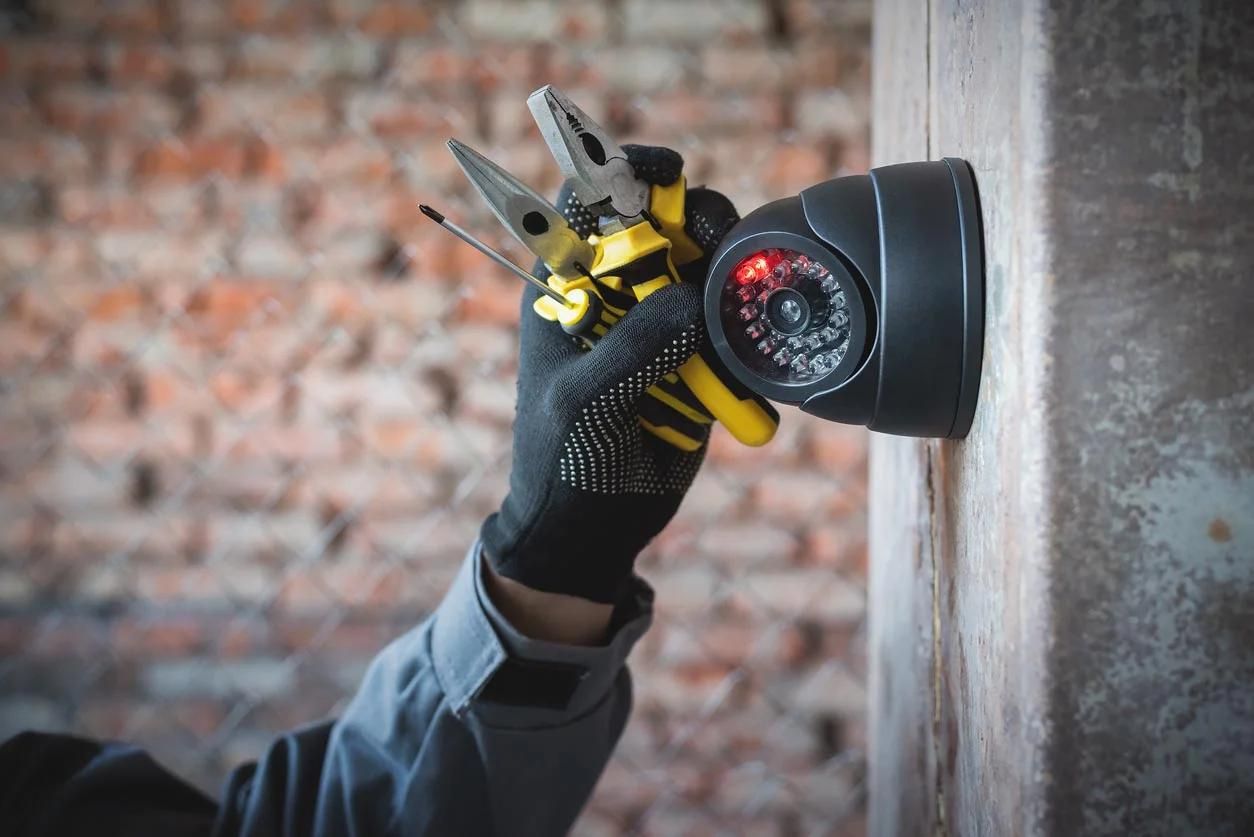
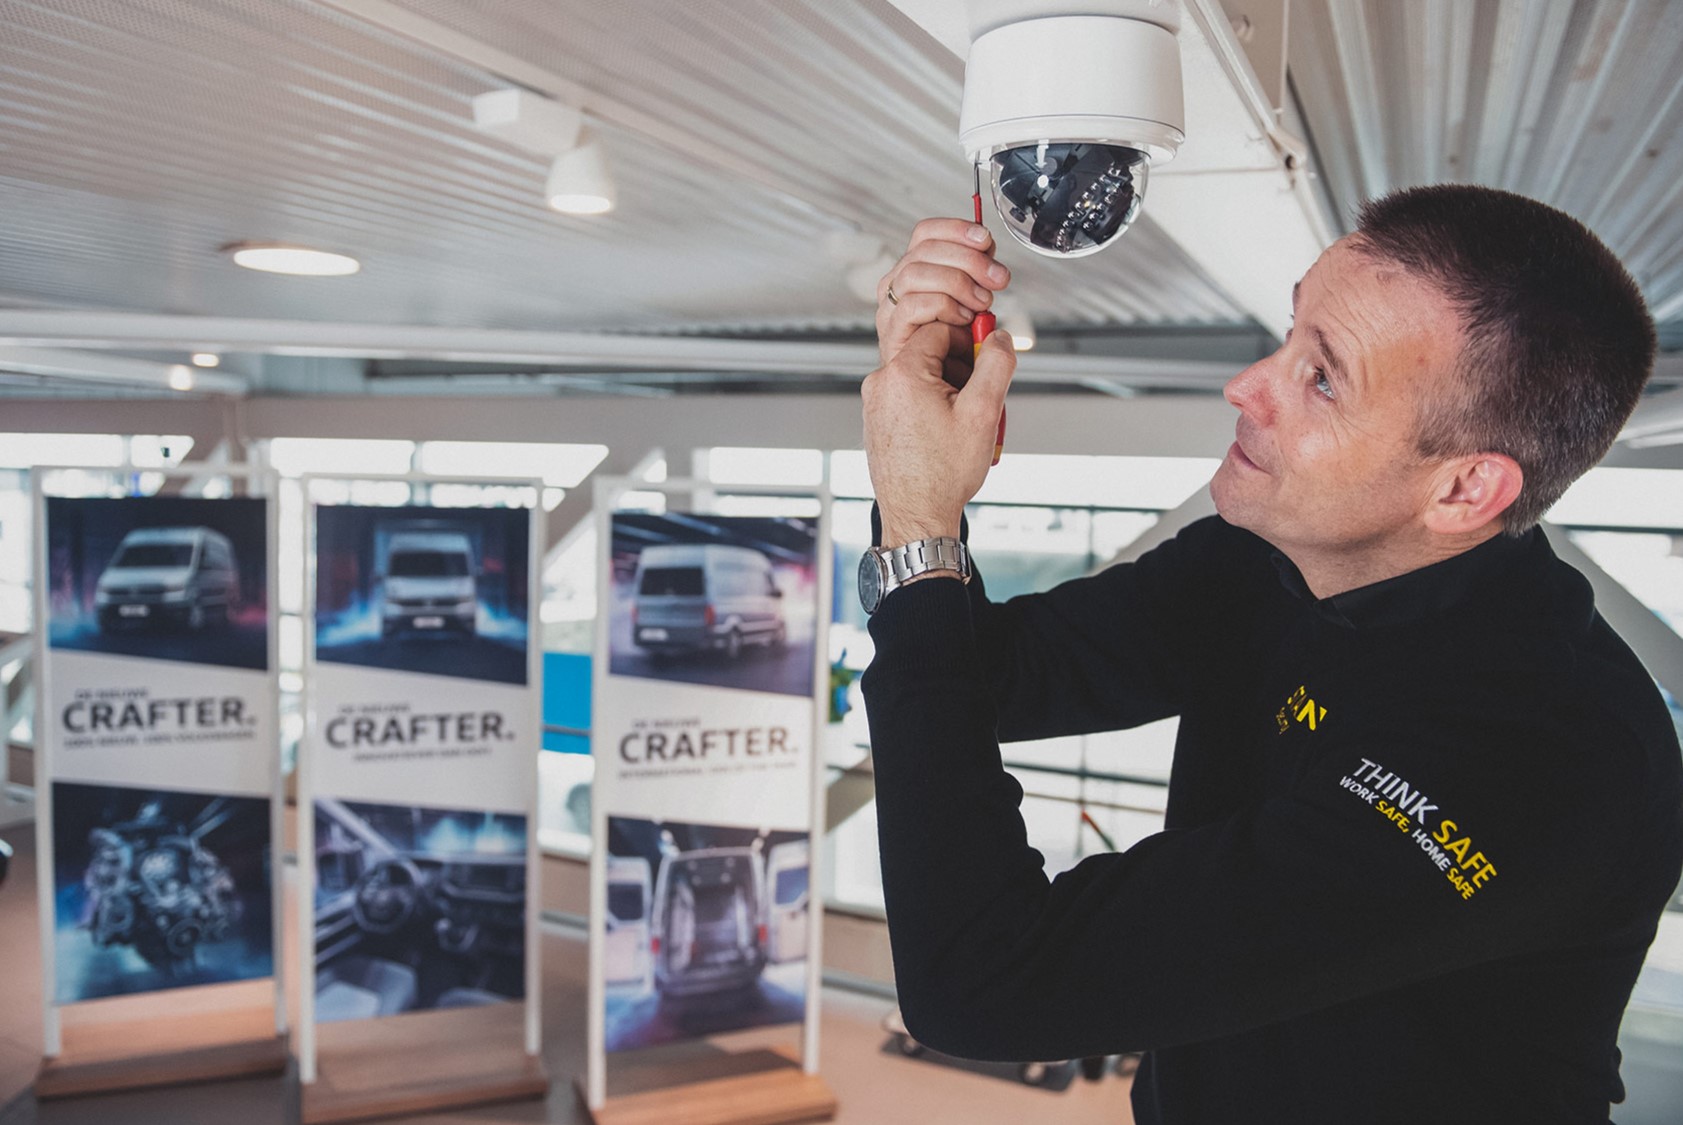
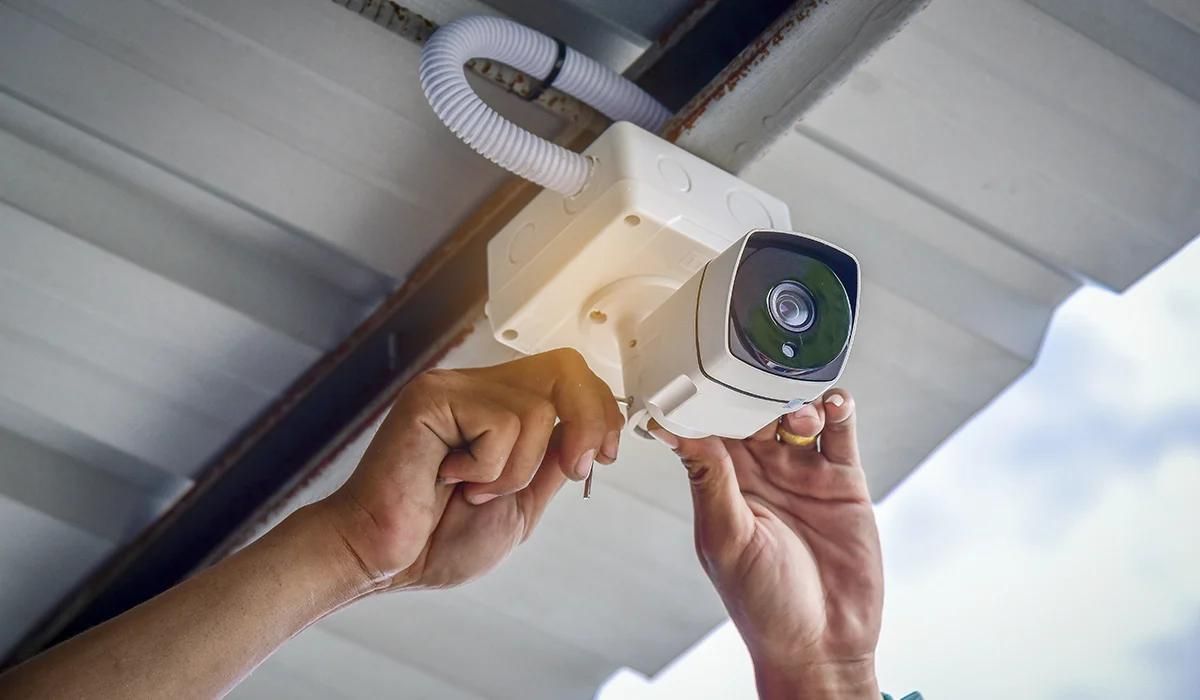
- Mount the Camera: Once the brackets or base are in place, carefully align the camera onto the mounting surface. Secure the camera to the brackets or base using the provided screws or mounting mechanism. Ensure that the camera is firmly attached and does not wobble or move.
- Adjust the Camera Angle: With the camera mounted, adjust the angle and orientation to achieve the desired field of view. Use a combination of tilting and swiveling to fine-tune the camera’s position for optimal coverage.
- Tighten Mounting Screws: Double-check the mounting screws or brackets to ensure they are tightened securely. This will prevent any accidental movement or rotation of the camera and maintain its intended position.
- Repeat for Other Cameras: Repeat the above steps for each additional camera according to your security plan. Take your time to ensure that each camera is mounted correctly and provides the desired coverage.
Remember, the quality and effectiveness of your surveillance system heavily rely on the positioning and mounting of your cameras. Take extra care to ensure that they are securely fastened and properly aligned to capture the desired areas.
Once you have successfully mounted all your Lorex security cameras, it’s time to move on to the next step: connecting the cameras.
When installing Lorex security cameras, make sure to carefully plan the placement of each camera to ensure optimal coverage of your property. Consider factors such as the camera’s field of view, potential obstructions, and the best vantage points for monitoring.
Connecting the Cameras
After mounting your Lorex security cameras, the next step is to connect them to your surveillance system. This involves establishing the necessary electrical and data connections to ensure proper functionality. Follow these steps to effectively connect your cameras:
- Power Connection: Start by connecting the power source to each camera. If you have wired cameras, plug the power adapter into a nearby power outlet, ensuring that the cable length is sufficient to reach the camera. If you opt for wireless cameras, make sure the batteries are fully charged or install fresh batteries.
- Data Connection: Depending on the camera model and system configuration, you may need to establish a data connection for your cameras. This can be done either through wired connections, such as Ethernet cables, or wireless connections, such as Wi-Fi or Bluetooth. Follow the manufacturer’s instructions to properly connect the data cables or configure the wireless settings.
- Connect to DVR or NVR: If you are using a digital video recorder (DVR) or network video recorder (NVR), establish a connection between the cameras and the recorder. This typically involves connecting the corresponding video output from each camera to the input ports on the DVR or NVR. Use the provided cables (usually BNC or RJ45) and follow the manufacturer’s instructions for proper connection.
- Verify Video Feed: Once the cameras are connected to the DVR or NVR, power on the surveillance system and check if the video feed from each camera is displaying correctly. Ensure that the camera images are clear, the colors are accurate, and there are no distortions or flickering.
- Configure System Settings: Access the system settings on your DVR or NVR to configure any additional preferences or features. This may include adjusting recording settings, motion detection sensitivity, or setting up remote access for monitoring your cameras from a smartphone or computer.
- Test Cameras: Perform a thorough test of each camera to ensure they are functioning properly. Walk around the monitored areas to evaluate the camera’s coverage and make any necessary adjustments to the angle or positioning. Test different camera features, such as zoom, motion detection, and night vision, to ensure they are working as intended.
By following these steps, you will ensure that your Lorex security cameras are connected effectively and ready to provide reliable surveillance. Double-check all connections to ensure they are secure and functioning correctly.
Once you have successfully connected your cameras, the next step is to configure the system settings according to your preferences. In the next section, we will guide you through the process of configuring your Lorex security camera system.
Configuring the System
Now that your Lorex security cameras are connected, it’s time to configure the system settings to maximize their effectiveness. Proper configuration will allow you to customize your surveillance system and tailor it to your specific needs. Follow these steps to effectively configure your Lorex security camera system:
- Access the System Settings: Depending on your specific system model, you can access the system settings through the DVR, NVR, or a dedicated software application. Refer to the user manual or manufacturer’s instructions for guidance on accessing the settings.
- Set Recording Preferences: Configure the recording settings according to your preference. Determine the recording mode (continuous, scheduled, or motion-activated), set the video quality, and specify the storage location for the recorded footage (internal storage, external hard drive, or cloud storage).
- Enable Motion Detection: Motion detection is a useful feature that allows the cameras to start recording when motion is detected within their field of view. Configure the motion detection settings, such as sensitivity level and the areas to monitor, to minimize false alerts.
- Configure Mobile Viewing: If you wish to monitor your Lorex security cameras remotely, configure the mobile viewing settings. Download the Lorex mobile app on your smartphone or tablet and follow the instructions to connect your cameras to the app. This will allow you to access live video feeds, view recorded footage, and receive push notifications for motion events.
- Set Up Email Notifications: Email notifications can alert you when specific events occur, such as motion detection or camera tampering. Configure the email notification settings and provide the necessary email address(es) to receive these notifications.
- Adjust Image Settings: Fine-tune the image settings to optimize the video quality. Adjust the brightness, contrast, saturation, and other image parameters to achieve clear and accurate video footage.
- Enable PTZ (Pan-Tilt-Zoom) Functionality: If you have PTZ cameras, configure the PTZ settings to control the camera’s movement and zoom capabilities. Follow the manufacturer’s instructions for controlling the PTZ features, either through the DVR/NVR or the mobile app.
- Set Up Backup and Redundancy: Consider setting up backup and redundancy options to ensure that your footage is protected in case of system failure or camera damage. This may involve connecting an external backup device, using a redundant storage system, or utilizing cloud storage services.
Take your time to thoroughly configure the system settings to align with your specific needs and preferences. Regularly review and update these settings as needed to adapt to changes in your security requirements.
Once the system is configured, it’s important to perform regular maintenance and updates to keep your Lorex security camera system in optimal condition. Regularly check for firmware updates, clean the camera lenses, and ensure that all connections are secure. By maintaining your system, you can enjoy continuous and reliable surveillance.
In the next section, we will discuss testing and troubleshooting your Lorex security cameras to ensure they are functioning properly.
Testing and Troubleshooting
After setting up and configuring your Lorex security camera system, it is crucial to perform thorough testing to ensure that everything is functioning properly. Testing will help identify any issues and allow you to troubleshoot and resolve them promptly. Follow these steps to effectively test and troubleshoot your Lorex security camera system:
- Check Camera Feeds: Start by checking the live camera feeds on your DVR, NVR, or mobile app. Ensure that each camera is displaying clear and accurate video footage. Check for any abnormalities, such as pixelation, flickering, or distorted images, which may indicate a connection or camera issue.
- Test Recording and Playback: Perform a test recording to ensure that the system is capturing and storing footage correctly. Start a recording manually, verify that the recordings are being saved in the designated location, and play back the recorded footage to confirm its quality and accessibility.
- Test Motion Detection: Verify that the motion detection feature is working accurately. Walk within the camera’s field of view and check if the system correctly detects and records motion events. Adjust the sensitivity settings if needed to minimize false alarms or ensure proper detection.
- Test Remote Viewing: If you have configured remote viewing on your Lorex security camera system, test this feature on your smartphone or tablet. Connect to the system using the mobile app and verify that you can access live video feeds and recorded footage from outside your home network.
- Check Camera Positioning: Walk around the monitored areas and evaluate the camera’s coverage. Look for any blind spots or areas that are not adequately captured by the cameras. Adjust the camera’s positioning or consider adding additional cameras if necessary to ensure full coverage.
- Monitor System Stability: Keep an eye on the stability of your Lorex security camera system. Check for any system crashes, freezes, or performance issues that may affect its reliability. Regularly reboot the system and ensure that all connections and cables are secure.
- Troubleshoot Connectivity Issues: If you encounter connectivity issues, such as cameras going offline or loss of remote access, troubleshoot the network connections. Ensure that the cameras are properly connected to your network, check the Wi-Fi signal strength, and reboot your router if needed.
- Consider Professional Assistance: If you are unable to resolve any issues or encounter technical difficulties, consider seeking professional assistance from Lorex customer support or a qualified technician. They can provide further guidance and troubleshooting steps specific to your system.
Regular testing and troubleshooting of your Lorex security camera system will help maintain its optimal performance and ensure the ongoing security of your property. Stay vigilant and address any issues promptly to maximize the effectiveness of your surveillance system.
With the completion of testing and troubleshooting, you can feel confident in the functionality and performance of your Lorex security camera system. In the final section, we will summarize the key points covered in this guide.
Conclusion
Congratulations! You have successfully installed, configured, and tested your Lorex security camera system. By following the steps outlined in this guide, you have taken a significant step towards enhancing the security and surveillance of your home.
Lorex security cameras offer a range of advanced features and cutting-edge technology to provide you with reliable and high-quality video footage. From their high-resolution video capabilities to their night vision functionality, Lorex cameras ensure that you can monitor your property with clarity and confidence.
Throughout the installation process, you have learned how to effectively prepare your property, mount the cameras in optimal locations, connect them to your surveillance system, and configure the system settings to align with your specific needs. In addition, you have become familiar with the importance of testing and troubleshooting to ensure the ongoing functionality of your security camera system.
Remember to regularly maintain and update your Lorex security camera system. This includes keeping firmware up to date, cleaning camera lenses to maintain optimal image quality, and checking connections to prevent any potential issues or malfunctions.
Investing in a reliable and robust security camera system, like Lorex, offers invaluable peace of mind and the assurance that your home is protected. By having the ability to monitor your property remotely, you can rest easy knowing that your loved ones and belongings are safe.
Thank you for embarking on this journey with us and taking the initiative to enhance your home security and surveillance. Now that you’re equipped with the knowledge and instructions, enjoy the peace of mind that comes with having a reliable Lorex security camera system safeguarding your home.
Frequently Asked Questions about How To Install Lorex Security Cameras
Was this page helpful?
At Storables.com, we guarantee accurate and reliable information. Our content, validated by Expert Board Contributors, is crafted following stringent Editorial Policies. We're committed to providing you with well-researched, expert-backed insights for all your informational needs.
