Home>Home Security and Surveillance>How To Install A Wireless Security Cameras
Home Security and Surveillance
How To Install A Wireless Security Cameras
Modified: March 6, 2024
Learn how to easily install wireless security cameras for home security and surveillance. Enhance the safety of your property with our step-by-step guide.
(Many of the links in this article redirect to a specific reviewed product. Your purchase of these products through affiliate links helps to generate commission for Storables.com, at no extra cost. Learn more)
Introduction
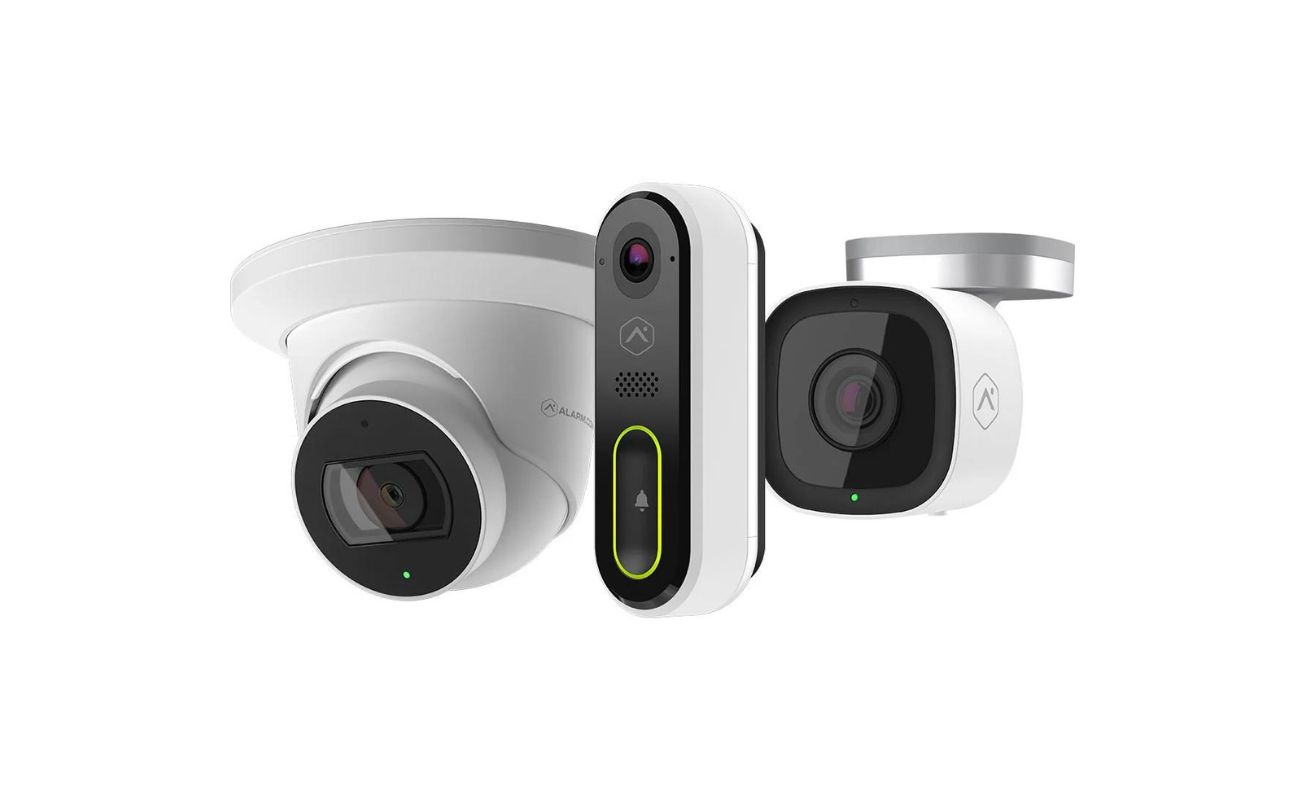
Welcome to the world of wireless security cameras, where protecting your home has become easier and more convenient than ever before. With advancements in technology, wireless surveillance systems have become increasingly popular, allowing homeowners to monitor their properties from anywhere at any time.
Installing a wireless security camera may seem like a daunting task, but with the right knowledge and tools, it can be a straightforward and rewarding experience. In this article, we will guide you through the step-by-step process of installing a wireless security camera to help you secure your home and bring peace of mind.
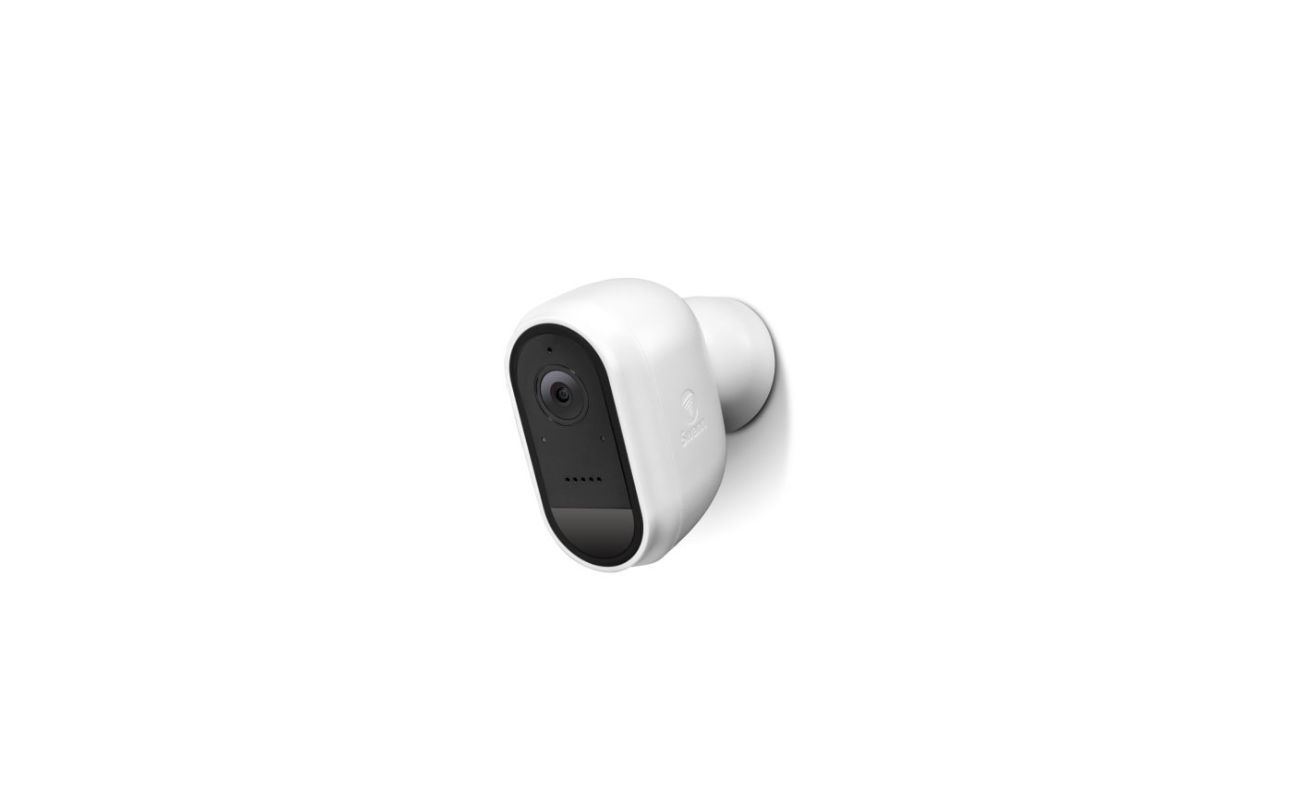
Whether you want to keep an eye on your front door, backyard, or any other area of your property, a wireless security camera is an excellent choice. These cameras are typically small, discreet, and easy to install, making them suitable for both indoor and outdoor use. By installing a wireless security camera, you can deter potential intruders, monitor your children and pets, and record any suspicious activity.
Before we dive into the installation process, it’s important to note that there is a wide range of wireless security cameras available on the market. Ensure that you carefully research and choose a camera that meets your specific needs in terms of resolution, field of view, night vision capability, and overall functionality.
Now, let’s get started on installing your wireless security camera!
Key Takeaways:
- Installing a wireless security camera is easier than ever, providing peace of mind and protection for your home. Choose the right location, gather tools, and follow step-by-step instructions for a successful installation.
- Ensure a stable and reliable wireless security camera installation by securely mounting the bracket, connecting to power, setting up the wireless connection, and testing the camera’s functionality. Regular maintenance and monitoring are essential for continued home protection.
Step 1: Determine the Installation Location
The first step in installing a wireless security camera is to determine the ideal location for installation. This will depend on the specific area you want to monitor and the type of camera you have.
Start by assessing the areas of your property that you want to keep an eye on. Common locations include entry points such as doors and windows, driveways, backyards, and high-traffic areas. Consider the angle and field of view of the camera when choosing the installation location.
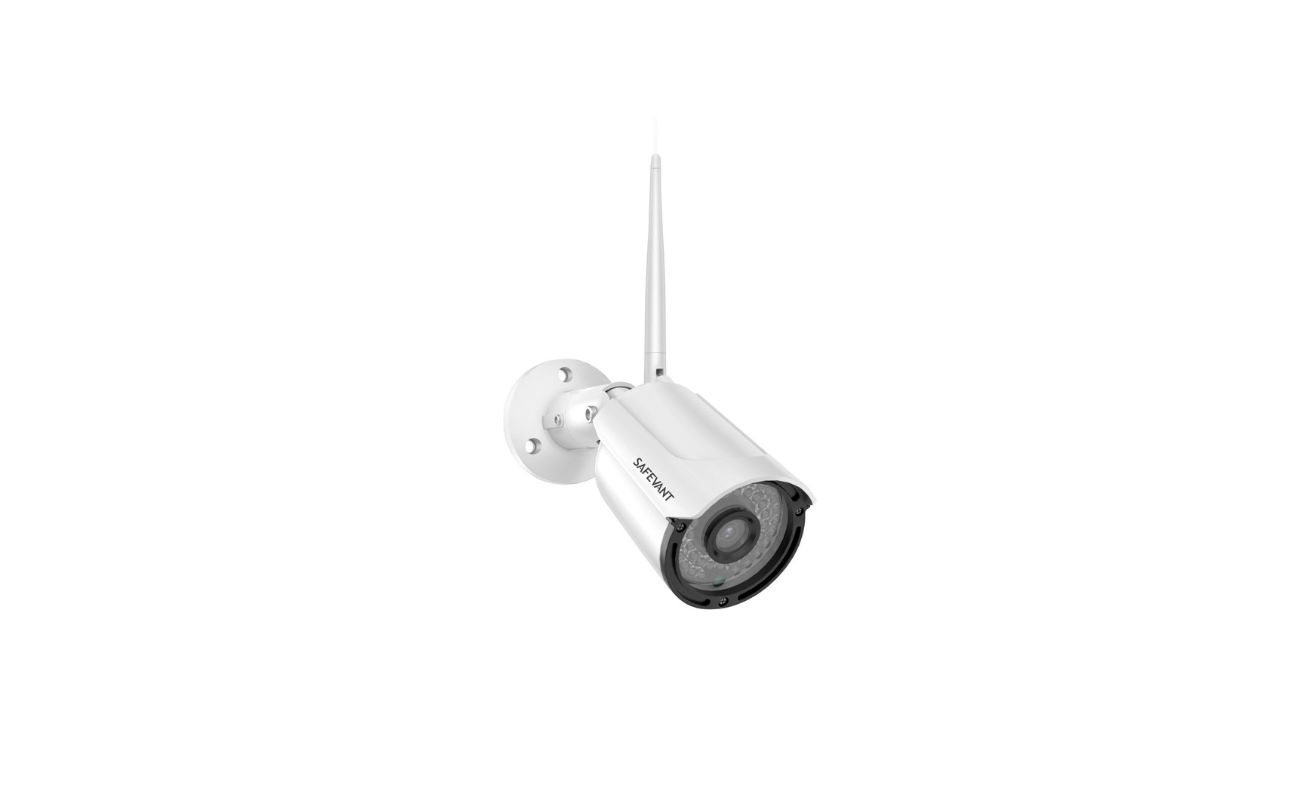
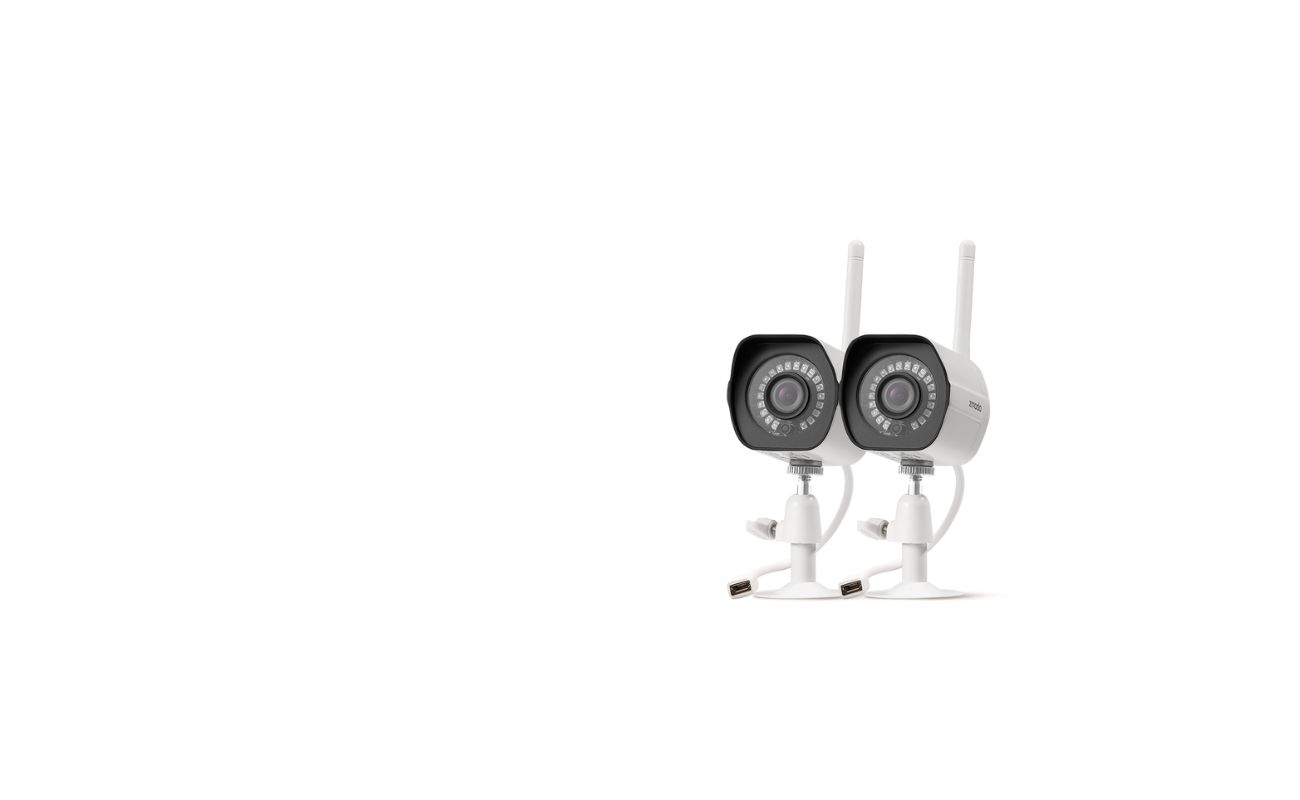
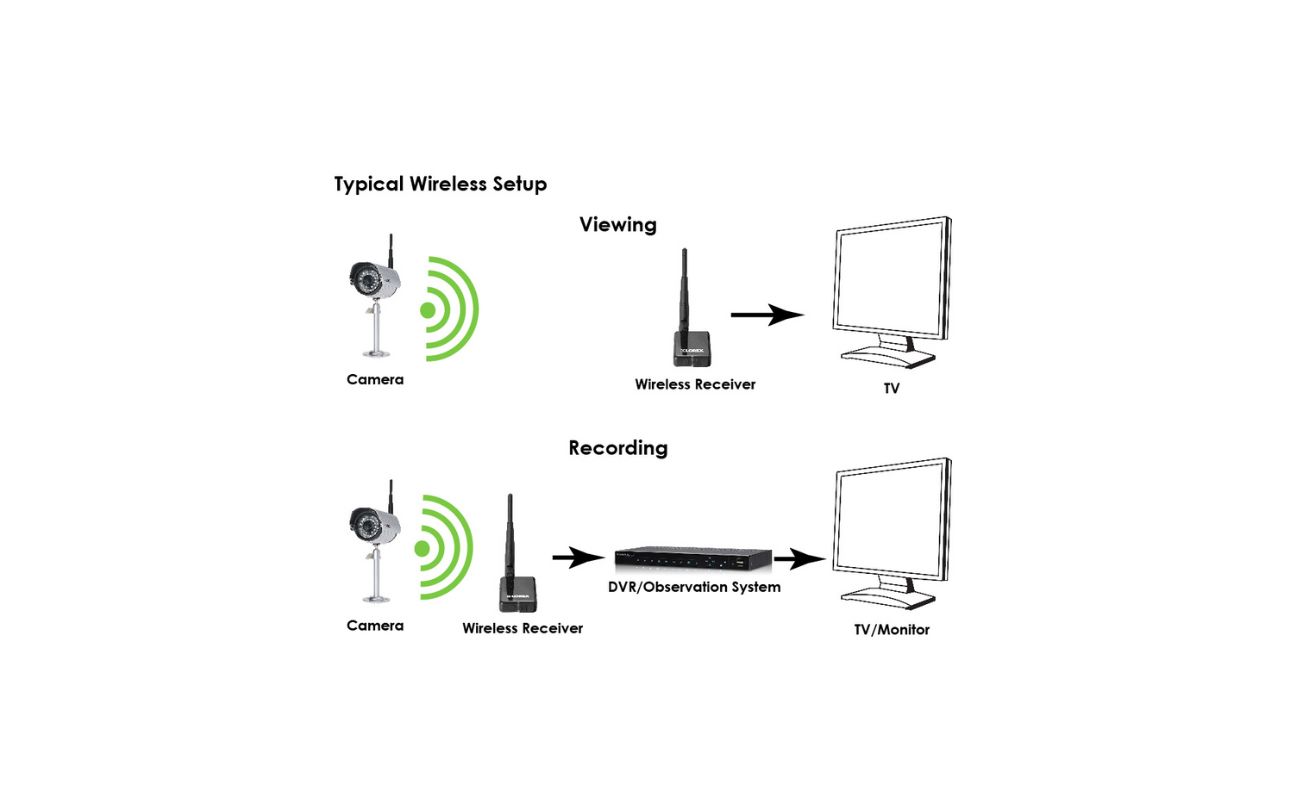
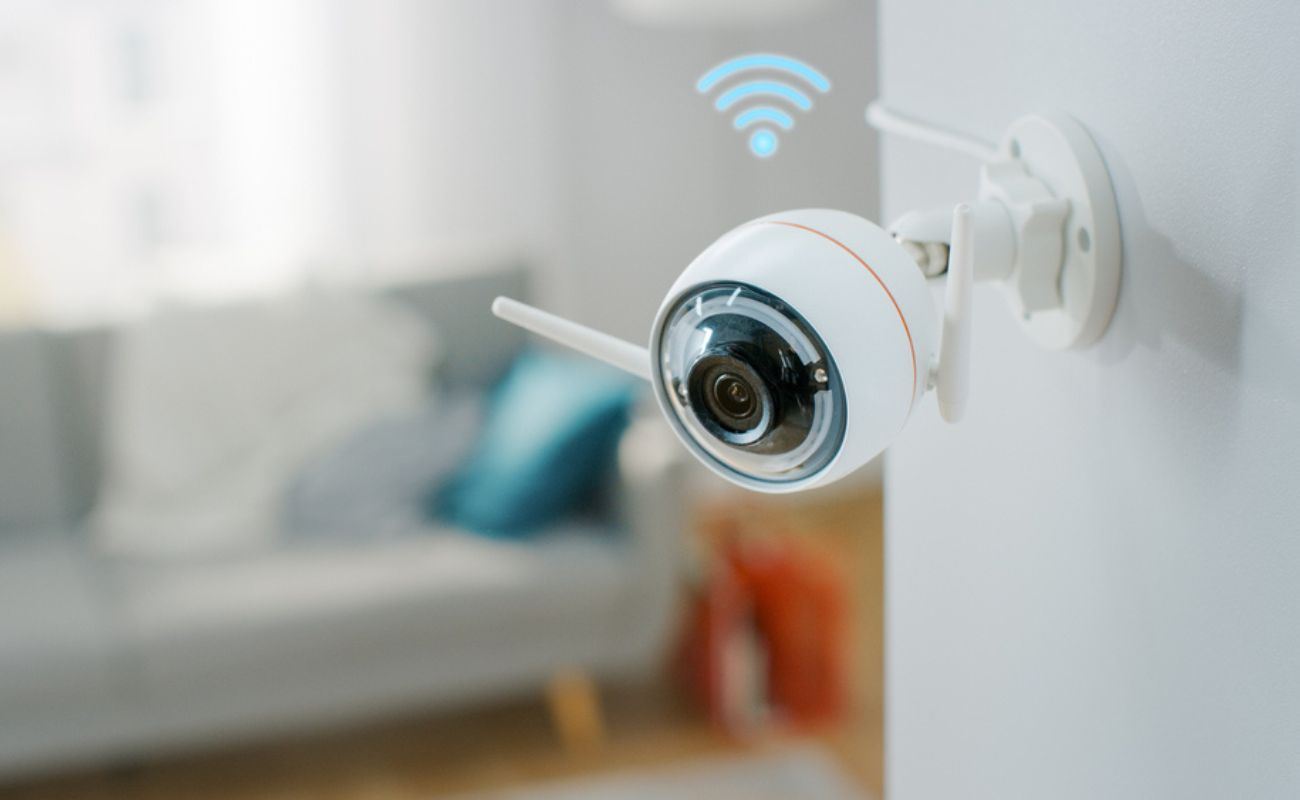
You’ll also need to consider the availability of power outlets and Wi-Fi signal strength. Position the camera within range of your Wi-Fi network to ensure a stable and reliable connection. If you’re installing the camera outdoors, make sure it is weatherproof and can withstand the elements.
Additionally, think about the height at which you want to install the camera. Mounting it too high may obstruct the field of view, while mounting it too low may be susceptible to tampering. Aim for a height that provides a clear view of the area while keeping it out of reach.
Lastly, consider any legal restrictions or privacy concerns that may affect your camera installation. Familiarize yourself with local regulations regarding the use of surveillance cameras to ensure compliance.
Take your time to evaluate all these factors and choose the best installation location for your wireless security camera. Once you have a clear idea of where to install, you can proceed to the next step.
Step 2: Gather the Necessary Tools and Equipment
Before you begin the installation process, it’s important to gather all the necessary tools and equipment. Having everything prepared ahead of time will make the installation smoother and more efficient.
Here are the essential tools and equipment you’ll need:
- Wireless security camera: Make sure you have the camera you wish to install along with any accompanying mounting brackets or accessories.
- Power supply: Check if your camera requires a separate power supply or if it is powered by batteries. If it requires a power supply, make sure you have the appropriate cables or power adapters.
- Mounting hardware: Depending on the type of camera and installation location, you may need screws, anchors, or other mounting hardware to secure the camera in place.
- Drill and screwdriver: A drill will be necessary if you need to drill pilot holes for the mounting hardware. A screwdriver will be needed to tighten screws and secure the camera.
- Network cable: If your camera requires a wired connection for initial setup or troubleshooting purposes, have a network cable on hand.
- Ladder or step stool: Depending on the height of the installation location, you may need a ladder or step stool to reach the desired position.
- Smartphone or computer: You’ll need a smartphone or computer to complete the camera’s initial setup and connect it to your Wi-Fi network.
Make sure you have all these tools and equipment readily available before you start the installation process. This will save you time and prevent any unnecessary interruptions during the installation.
Step 3: Mount the Camera Bracket
With the necessary tools and equipment gathered, you can now move on to mounting the camera bracket. The bracket is the component that holds the camera and allows you to adjust its position.
Follow these steps to mount the camera bracket:
- Choose the desired installation location and hold the camera bracket against the wall or surface. Ensure it is level and align it with any pre-existing holes or markings if available.
- Using a pencil or marker, mark the screw hole locations on the wall through the bracket’s mounting holes.
- If necessary, use a drill with a suitable drill bit to create pilot holes at the marked locations. The size of the drill bit should match the size of the screws or anchors you will be using.
- Insert the screws or anchors into the pilot holes, leaving a portion exposed for the bracket to hang onto.
- Align the screw holes on the bracket with the inserted screws or anchors and slide the bracket into place.
- Tighten the screws or secure the anchors to firmly attach the bracket to the wall. Ensure the bracket is stable and level.
Once the camera bracket is securely mounted, you can proceed to the next step of installing the wireless security camera itself.
It’s important to note that the specific mounting process may vary depending on the type and model of the camera and bracket you are using. Refer to the manufacturer’s instructions for any additional guidance or specific instructions tailored to your camera.
Step 4: Install the Camera
Now that the camera bracket is securely mounted, you can proceed with installing the wireless security camera itself. Follow these steps to install the camera:
- Ensure the camera is turned off or disconnected from its power source before proceeding with the installation.
- Place the camera onto the mounted bracket, aligning it with the mounting holes or slots on the camera and bracket.
- Depending on your camera and bracket, you may need to use screws, clamps, or other fastening mechanisms to secure the camera in place. Refer to the manufacturer’s instructions for the specific installation method.
- Double-check the stability of the camera by gently adjusting its position. Ensure that it is firmly attached to the bracket and does not wobble or move excessively.
- If necessary, make any final adjustments to the camera’s position to optimize the viewing angle and coverage area. Use a level or reference points to ensure it is properly aligned.
Once the camera is securely installed, you can move on to the next step of connecting it to a power source.
It’s important to handle the camera with care during the installation process to avoid any accidental damage. Be mindful of any cables or connectors and ensure they are not bent or strained during installation.
Keep in mind that the installation process may vary depending on the specific camera model and bracket you are using. Always refer to the manufacturer’s instructions for detailed installation guidelines tailored to your camera.
When installing a wireless security camera, make sure to position it in a high and unobstructed location for the best coverage. Also, ensure that it is within range of your Wi-Fi signal for a strong connection.
Step 5: Connect the Camera to Power
With the camera securely installed, it’s time to connect it to a power source. The method will depend on whether your wireless security camera is battery-powered or requires a direct power supply.
If your camera is battery-powered:
- Ensure the camera is turned off or in power-saving mode.
- Open the battery compartment of the camera and insert the required batteries as per the manufacturer’s instructions.
- Close the battery compartment securely.
- Turn on the camera and follow the camera’s setup instructions to complete the configuration process.
- Place the camera in the desired location and adjust its position if needed.
If your camera requires a direct power supply:
- Ensure the camera is turned off or disconnected from power before proceeding.
- Locate the power cable or adapter that came with the camera.
- Connect one end of the power cable to the appropriate port on the camera.
- Connect the other end of the power cable to a power outlet or to a power adapter that is plugged into a power source.
- Turn on the camera and follow the manufacturer’s instructions to complete the setup process.
- Adjust the camera’s position as needed to optimize the viewing angle.
Ensure that the power source is stable and reliable to ensure continuous operation of your wireless security camera. If using an extension cord or power strip, ensure that it can handle the power requirements of the camera and is positioned in a safe and secure location.
Remember to follow the manufacturer’s instructions for connecting the camera to power and adhere to safety precautions to avoid any electrical hazards.
With the camera successfully connected to power, you are one step closer to a fully operational wireless security system. Next, we’ll cover the process of setting up the wireless connection for your camera.
Step 6: Set up the Wireless Connection
Now that your wireless security camera is powered on and ready, it’s time to set up the wireless connection. This step will vary depending on the specific camera model and brand you are using. However, the general process involves the following steps:
- Access the camera’s settings or configuration menu. This can typically be done through a smartphone app, a web browser, or a dedicated software provided by the camera manufacturer.
- Select the option to set up a new wireless connection or connect to an existing Wi-Fi network.
- Scan for available Wi-Fi networks and select your home network from the list.
- Enter the Wi-Fi network password when prompted. Make sure to enter the correct credentials to establish a successful connection.
- Wait for the camera to connect to the Wi-Fi network. This process may take a few moments, so be patient.
- Once the camera successfully connects to the Wi-Fi network, you may be prompted to give the camera a unique name or assign it to a specific location for easy identification.
- Complete any additional setup steps, such as selecting the desired video resolution, enabling motion detection, or configuring other advanced settings.
During the setup process, make sure that the camera is within range of your Wi-Fi network for a stable connection. If the camera is facing connectivity issues, you may need to move it closer to the router or consider using Wi-Fi range extenders to boost the signal strength.
It’s important to follow the manufacturer’s instructions and guidelines for setting up the wireless connection. This will ensure a smooth and successful setup process.
Once the wireless connection is established, your wireless security camera will be ready to monitor and protect your home. However, before finalizing the installation, there are a few more steps to complete.
Step 7: Adjust Camera Settings and Test
With the wireless connection established, it’s time to adjust the camera settings and perform a test to ensure everything is functioning properly.
Follow these steps to adjust the camera settings and test its functionality:
- Access the camera’s settings or configuration menu through the provided software or app.
- Explore the different settings available, such as video quality, motion detection sensitivity, recording options, and notifications.
- Adjust the settings according to your preferences and needs. For example, you may want to enable motion detection and set up notifications to receive alerts on your smartphone when the camera detects activity.
- Once the settings are adjusted, it’s important to test the camera’s functionality.
- Monitor the camera feed through the app or software to ensure that the live video is clear and stable.
- Test the motion detection feature by walking or moving in front of the camera’s field of view. Verify that the camera correctly detects the motion and records it if configured to do so.
- Check if the camera’s night vision capability is working correctly by testing it in low-light conditions or in the dark.
- If your camera supports audio, test the two-way audio feature, if available, to ensure clear communication between you and anyone near the camera.
- Verify that the camera’s storage options, such as cloud storage or SD card, are functioning correctly. Test the recording and playback features.
Performing these tests will help ensure that your wireless security camera is working as expected and provides reliable surveillance for your home.
If you encounter any issues or have difficulty adjusting the settings, consult the camera’s user manual or contact the manufacturer’s technical support for assistance.
Once you are satisfied with the camera’s functionality and have tested all the essential features, congratulations! You have successfully installed and set up your wireless security camera.
Keep in mind that regular maintenance and monitoring of your camera’s performance is essential to ensure continuous protection for your home. Stay vigilant and make any necessary adjustments or updates as needed.
Remember to familiarize yourself with the local regulations and laws regarding surveillance cameras to ensure compliance with privacy and legal requirements.
Now sit back, relax, and enjoy the added peace of mind that comes with having a wireless security camera safeguarding your home and loved ones.
Conclusion
Installing a wireless security camera can provide you with enhanced peace of mind and increased protection for your home. With the advancements in technology, it has become easier than ever to set up and monitor your property remotely.
In this guide, we’ve walked you through the step-by-step process of installing a wireless security camera. From determining the installation location to connecting the camera to power and setting up the wireless connection, each step is crucial in ensuring a successful installation.
Remember to carefully choose the installation location, considering factors such as visibility, power availability, and Wi-Fi signal strength. Gathering the necessary tools and equipment ahead of time will save you time during the installation process.
Mounting the camera bracket securely and installing the camera properly are vital for stable and reliable operation. Follow the manufacturer’s instructions and guidelines to ensure a secure and precise installation.
Connecting the camera to power and setting up the wireless connection are key steps. Make sure to enter the correct Wi-Fi credentials and follow the setup instructions provided by the manufacturer to establish a successful connection.
Adjusting the camera settings, testing its functionality, and familiarizing yourself with the different features will optimize the camera’s performance and meet your specific needs. Regular maintenance and monitoring are essential to ensure that your wireless security camera continues to provide effective surveillance for your home.
Keep in mind the legal regulations and privacy considerations associated with the use of surveillance cameras. Be respectful of others’ privacy and follow local laws and regulations.
Now that you have completed the installation process and set up your wireless security camera, you can enjoy added peace of mind, knowing that your home is under constant surveillance. With remote access and real-time monitoring capabilities, you can keep a watchful eye on your property and loved ones from anywhere at any time.
Remember to regularly check the camera’s performance, update firmware as needed, and maintain a secure network to ensure the continued security of your wireless surveillance system. Enjoy the benefits of a safer and more secure home with your new wireless security camera installation.
Frequently Asked Questions about How To Install A Wireless Security Cameras
Was this page helpful?
At Storables.com, we guarantee accurate and reliable information. Our content, validated by Expert Board Contributors, is crafted following stringent Editorial Policies. We're committed to providing you with well-researched, expert-backed insights for all your informational needs.