Home>Home Security and Surveillance>What Cameras Work With Xfinity Home Security
Home Security and Surveillance
What Cameras Work With Xfinity Home Security
Modified: March 6, 2024
Looking for a camera that works with Xfinity Home Security? Discover the best options for home security and surveillance with Xfinity.
(Many of the links in this article redirect to a specific reviewed product. Your purchase of these products through affiliate links helps to generate commission for Storables.com, at no extra cost. Learn more)
Introduction
Welcome to the world of home security and surveillance, where peace of mind and the safety of your loved ones are of utmost importance. With advancements in technology, home security systems have become more advanced, accessible, and integrated into our daily lives. One such system is Xfinity Home Security, a comprehensive solution that offers protection and monitoring for your home.
When it comes to ensuring the security of your home, having the right cameras is crucial. Xfinity Home Security offers a range of options, but not all cameras are compatible with their system. In this article, we will explore the compatibility of various cameras with Xfinity Home Security and provide you with a guide to choosing the perfect camera for your needs.
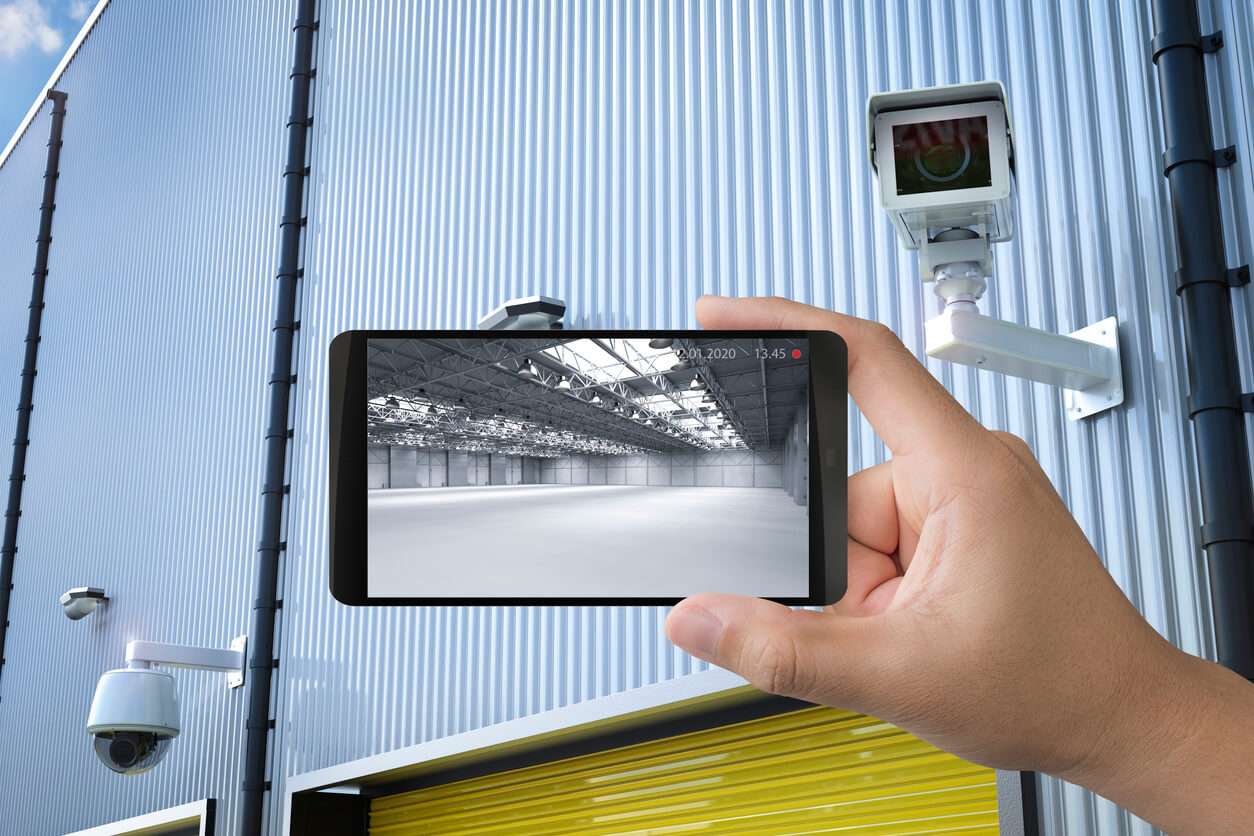
Before we dive into the specifics, it’s important to understand the benefits of integrating cameras into your Xfinity Home Security system. These cameras not only act as a deterrent to potential intruders but also provide you with remote monitoring capabilities. Whether you’re at work, on vacation, or simply out running errands, you can keep an eye on your home through the Xfinity Home Security app on your smartphone or tablet.
With Xfinity Home Security, you can receive real-time alerts and notifications in the event of any suspicious activity, giving you the ability to take immediate action. Additionally, with advanced features such as motion detection, night vision, and two-way audio, you can ensure that not only your home is secure but also that you can communicate with anyone at your doorstep from wherever you are.
Now that we understand the importance of having cameras as part of your Xfinity Home Security system, let’s delve into the compatibility of various camera options available to you.
Key Takeaways:
- Choose the right camera for your Xfinity Home Security system to keep your home safe. Consider factors like location, video quality, and budget to make the best choice.
- If you encounter camera issues, troubleshoot by checking for dirty lenses, internet connectivity, and motion detection settings. Seek help from Xfinity customer support if problems persist.
Compatibility with Xfinity Home Security
When it comes to choosing cameras for your Xfinity Home Security system, it’s crucial to ensure compatibility with the system. Xfinity Home Security integrates seamlessly with a range of camera options, providing you with a variety of choices to suit your specific needs and preferences.
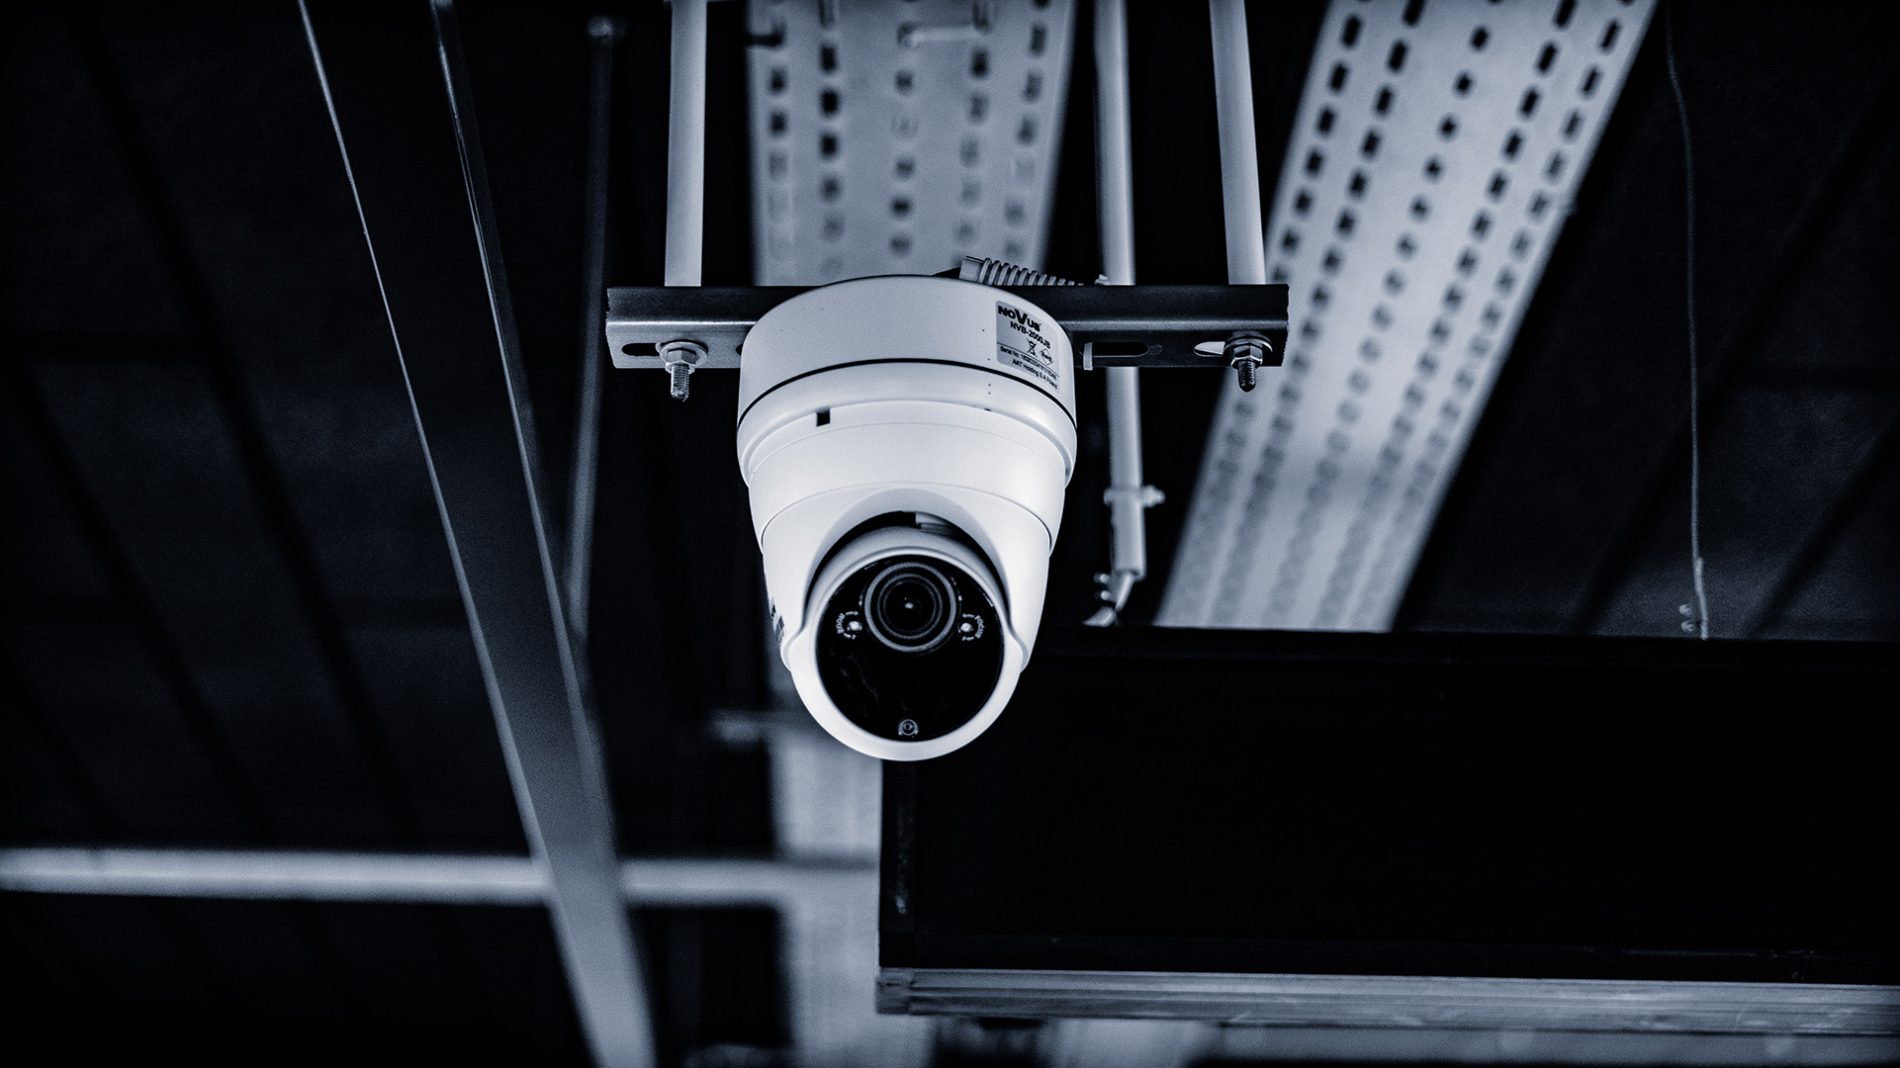
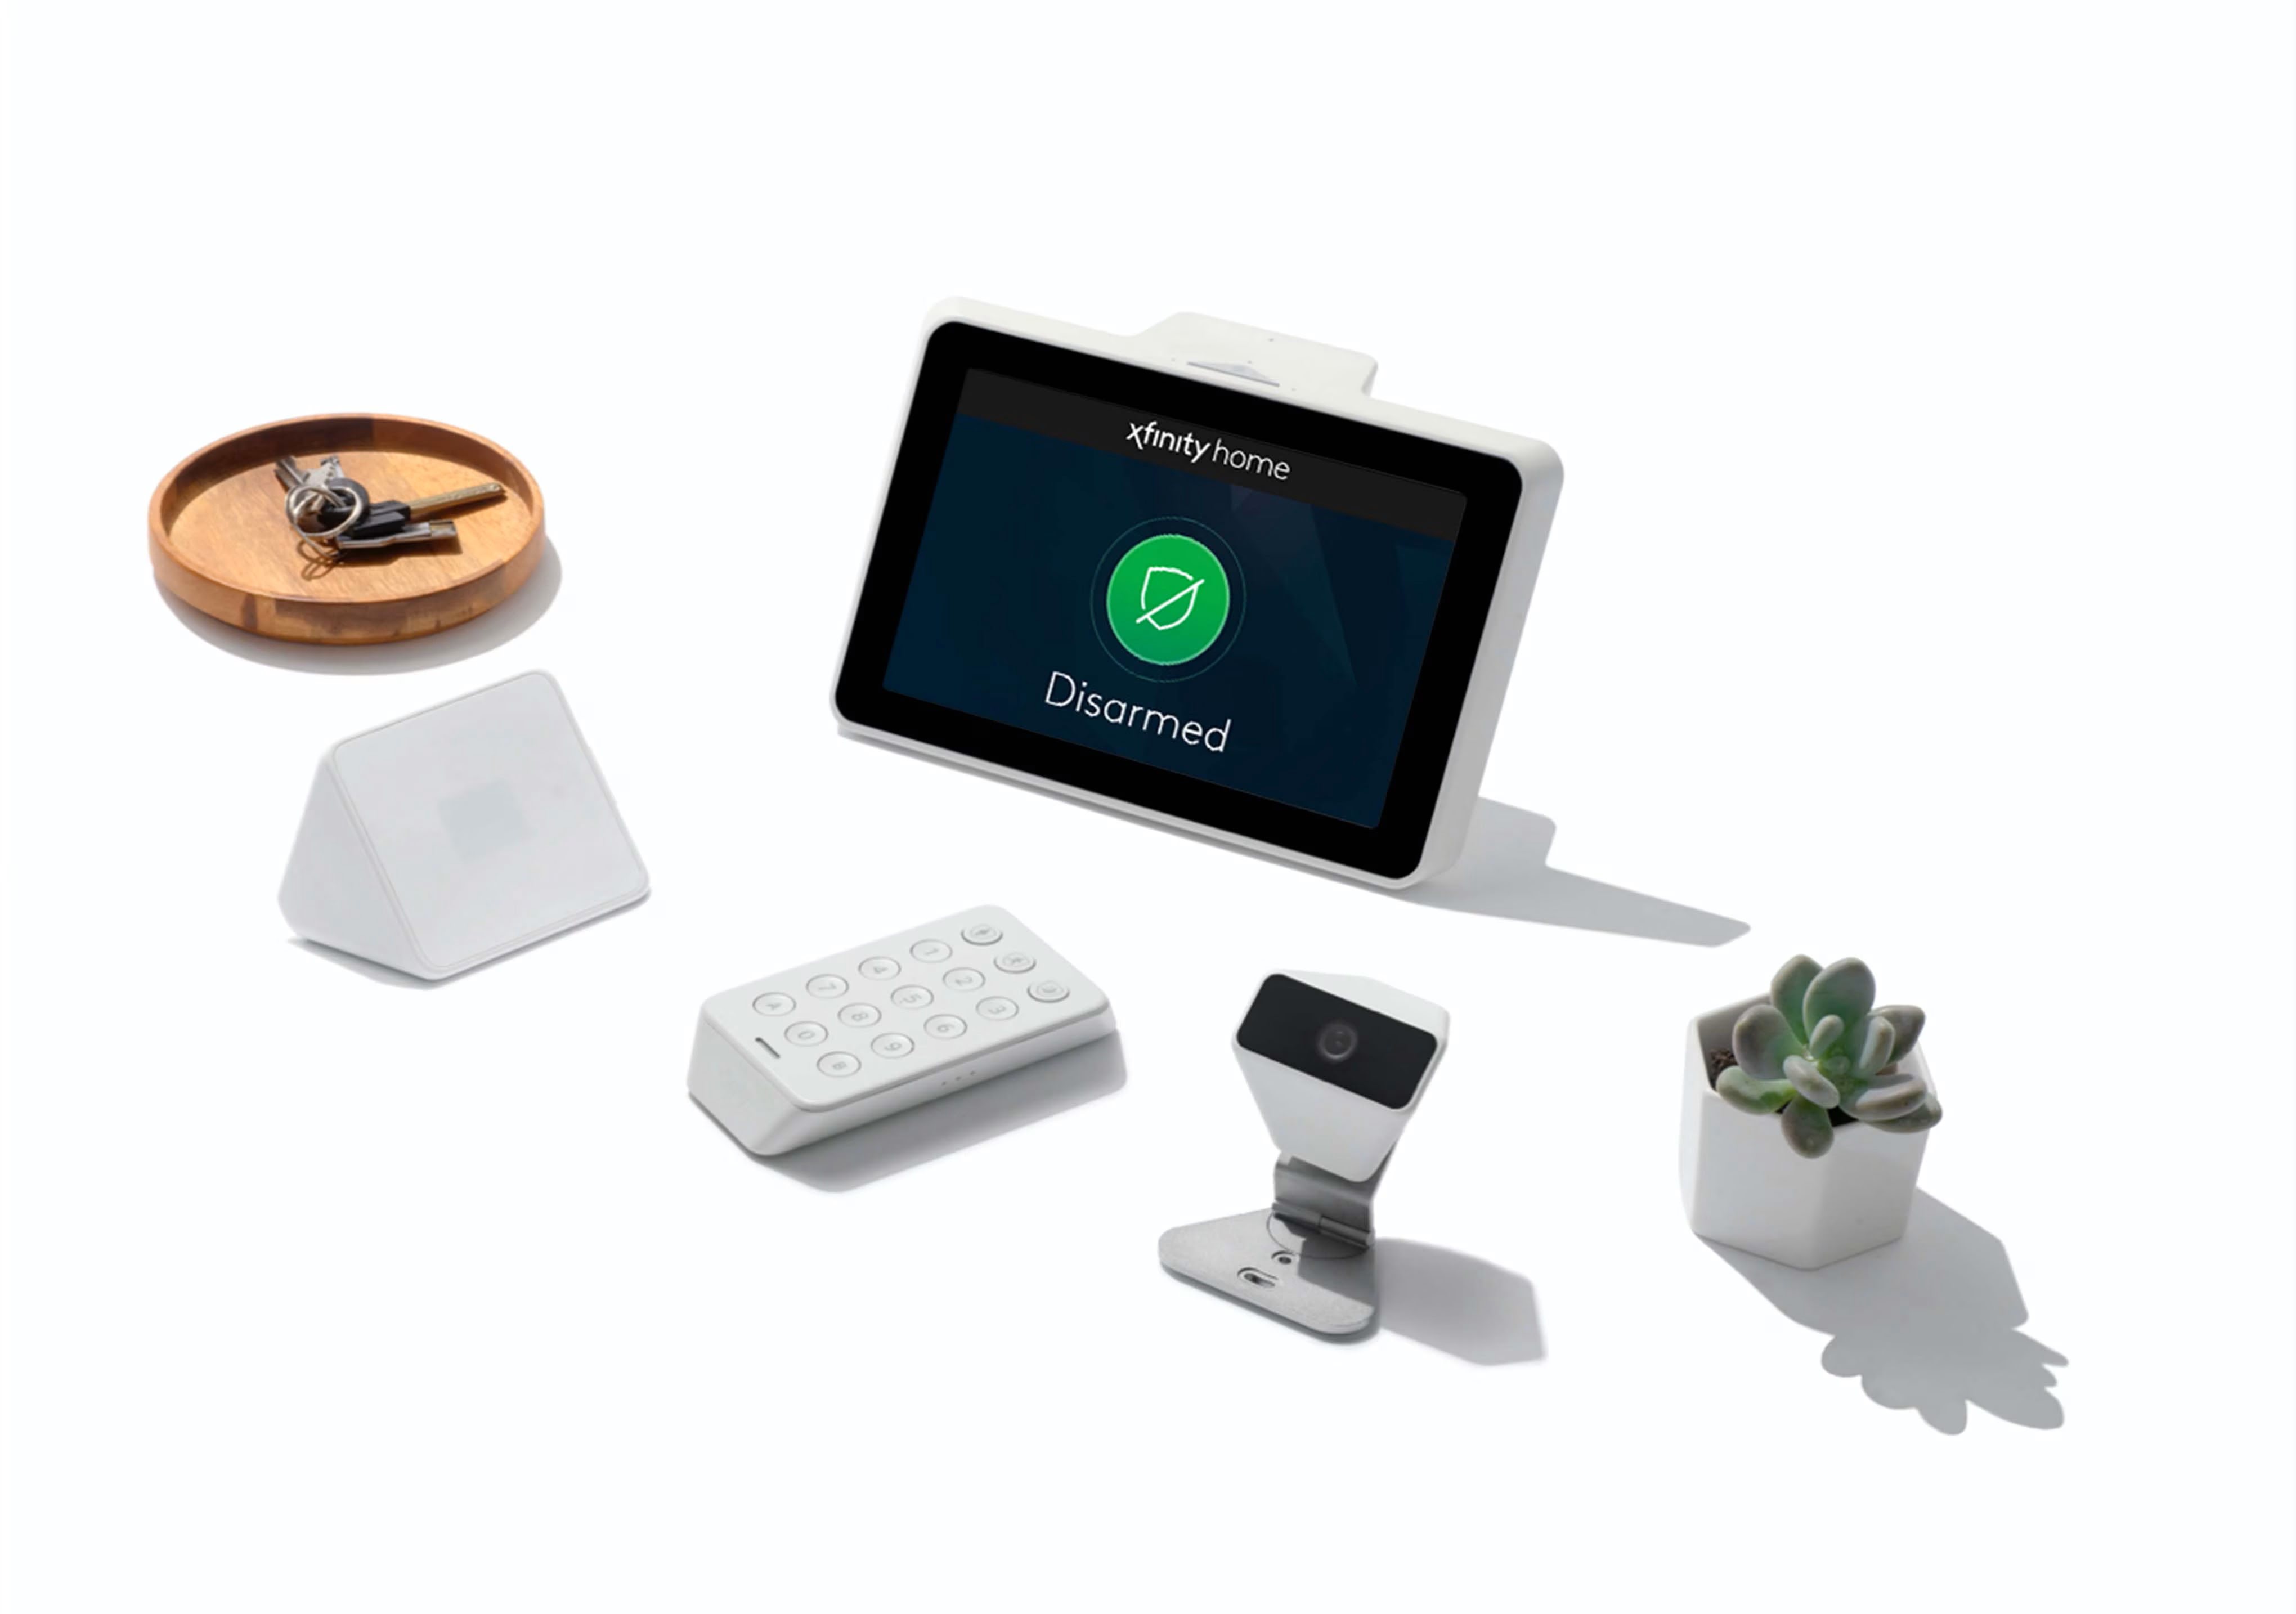
Xfinity Home Security is designed to work with both indoor and outdoor cameras, allowing you to cover all areas of your property. These cameras are connected to the Xfinity Home Security hub, which serves as the central control unit for your system.
One important consideration for compatibility is the need for an active Xfinity Home Security subscription. Without an active subscription, the cameras may not function properly or be accessible through the Xfinity Home Security app.
Additionally, Xfinity Home Security offers compatibility with cameras from reputable brands such as Arlo, Nest, and Ring. This means that if you already have cameras from these brands, you may be able to integrate them into your Xfinity Home Security system. However, it’s important to note that not all models from these brands may be compatible, so it’s recommended to check the compatibility list provided by Xfinity before making any purchases.
To ensure a seamless integration, Xfinity Home Security uses industry-standard protocols such as Wi-Fi and Bluetooth to connect to compatible cameras. This allows for easy installation and set-up, without the need for complex wiring or technical expertise.
Furthermore, Xfinity Home Security provides reliable and secure cloud storage options for recorded footage from compatible cameras. This allows you to access and review footage remotely, providing you with peace of mind and evidence in case of any incidents.
Now that we’ve discussed the compatibility of cameras with Xfinity Home Security, let’s explore the various camera options available to you.
Xfinity Home Security Camera Options
When it comes to selecting cameras for your Xfinity Home Security system, you have a range of options to choose from. Xfinity offers a selection of cameras that cater to different needs and provide various features to enhance your home security. Let’s take a closer look at some of these camera options:
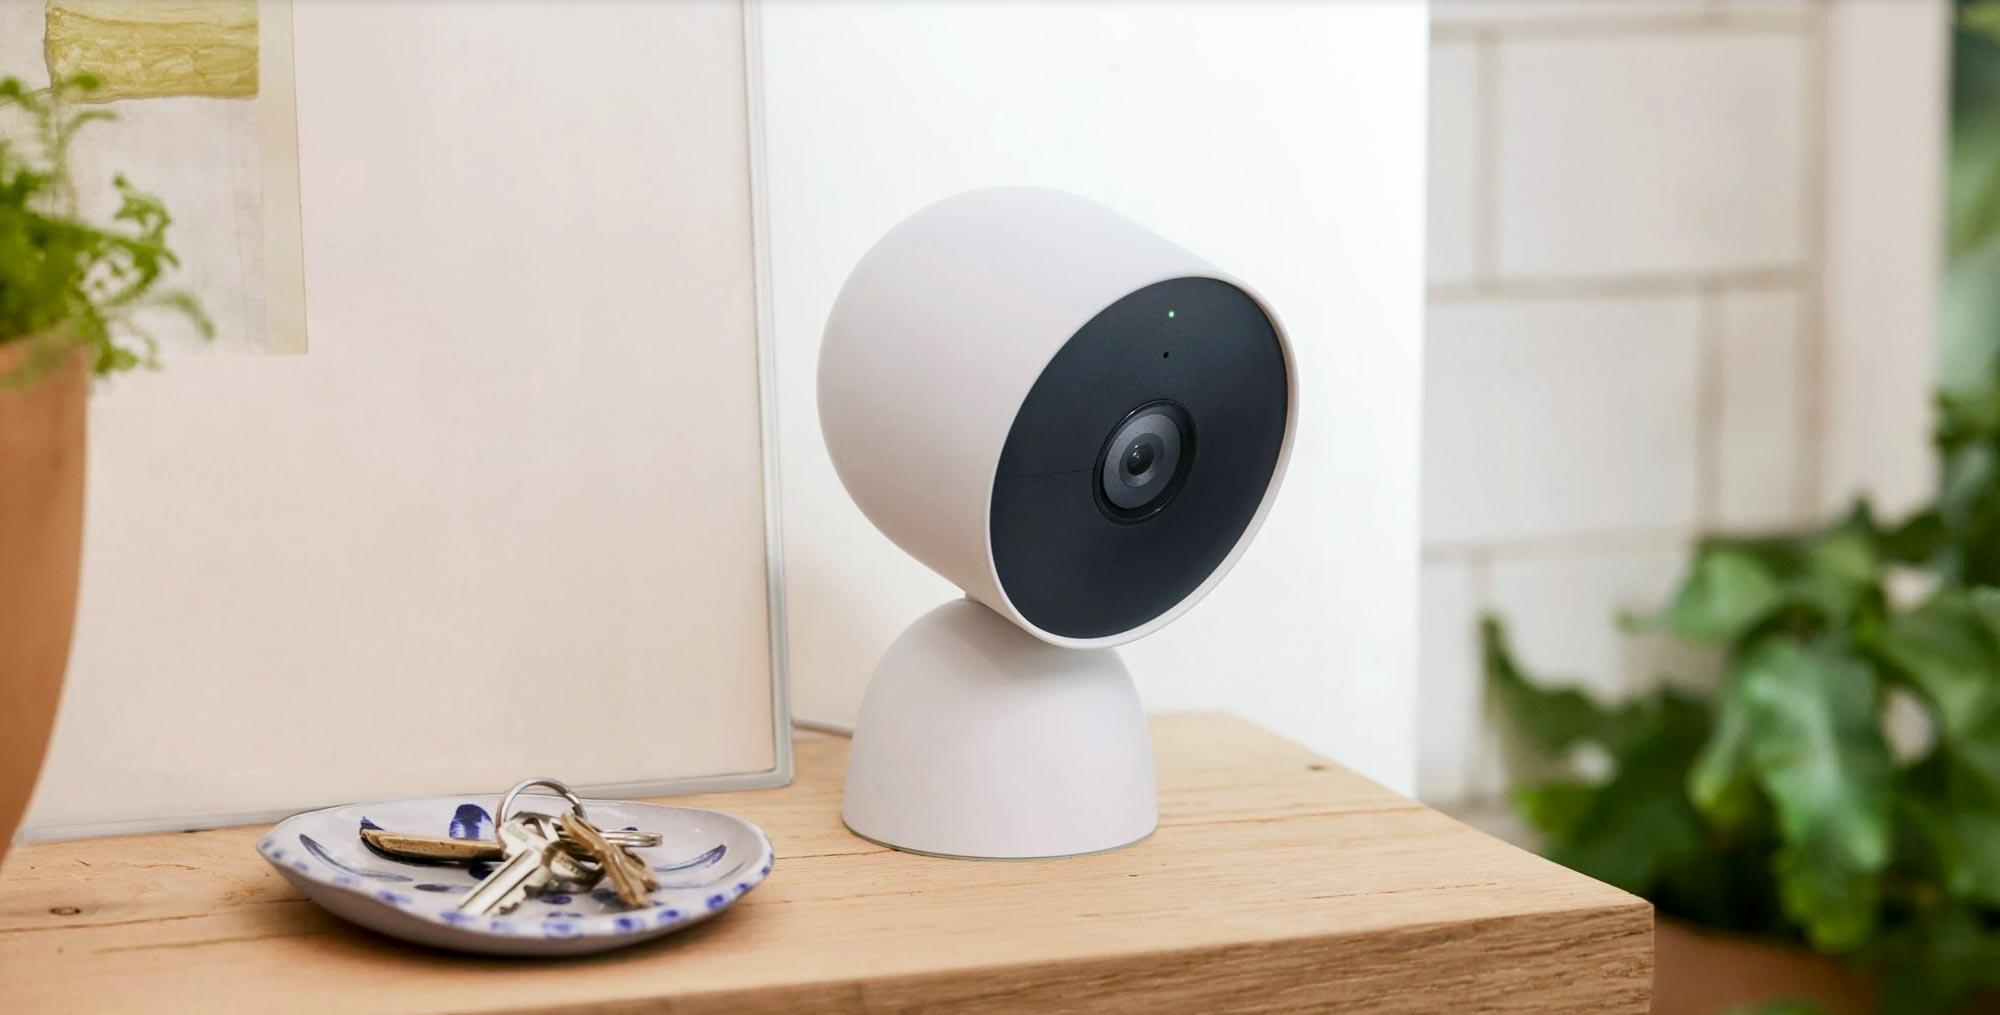
- Indoor Cameras: These cameras are designed to monitor the interior of your home. They are typically small and discreet, allowing you to place them in different rooms without being obtrusive. Indoor cameras offer features such as high-definition video quality, motion detection, and night vision, ensuring that you have a clear view of your home at all times.
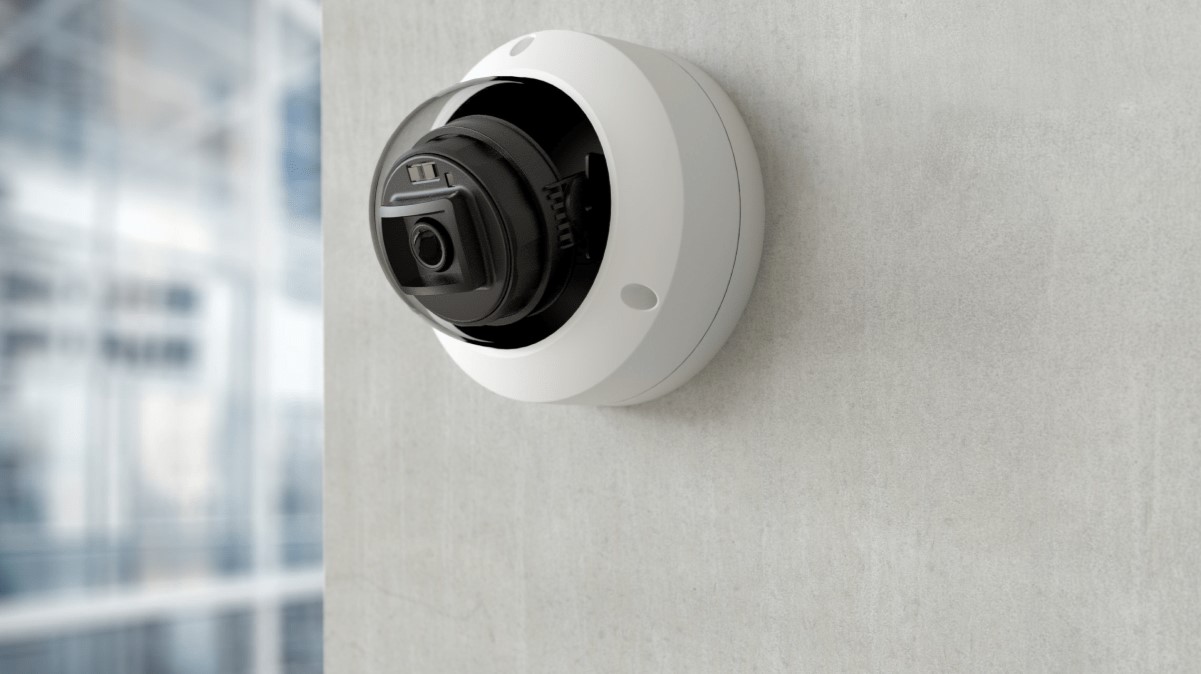
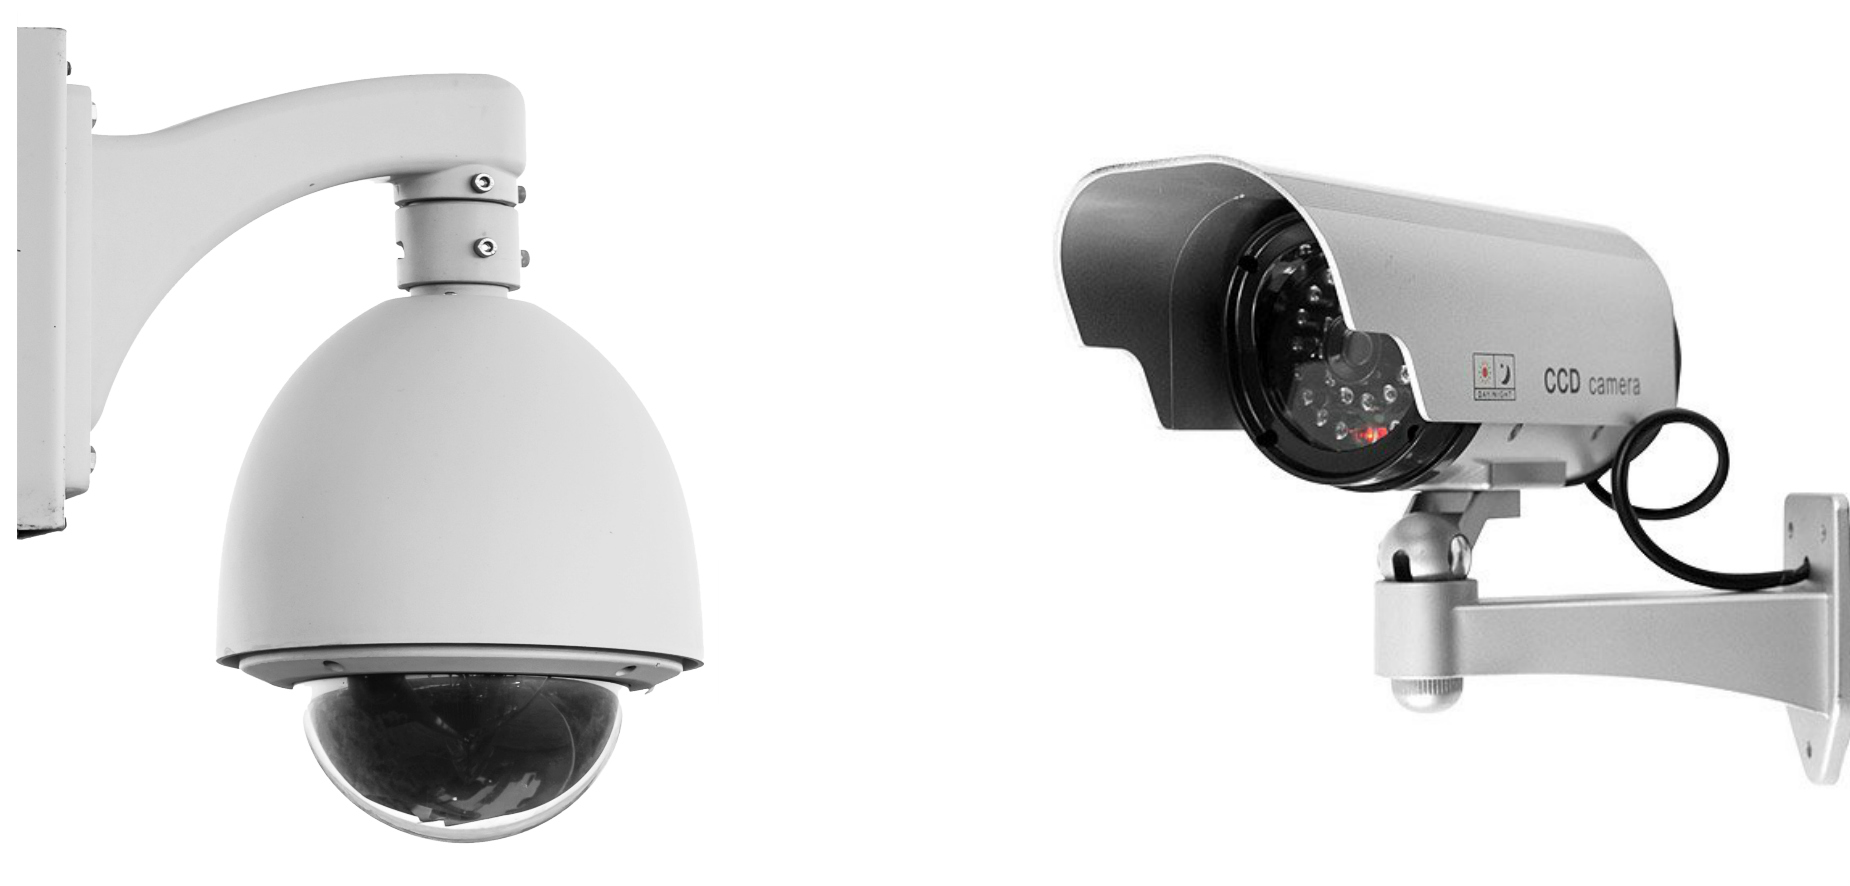
- Outdoor Cameras: For monitoring the exterior of your property, Xfinity Home Security offers outdoor cameras that are built to withstand the elements. These cameras are weatherproof and resistant to harsh conditions, providing reliable surveillance no matter the weather. They often include features like wide-angle lenses, infrared night vision, and advanced motion detection to capture any activity outside your home.
- Doorbell Cameras: A popular choice for many homeowners, doorbell cameras provide an added layer of security at your front door. These cameras are typically integrated into a doorbell, allowing you to see and interact with visitors from your smartphone or tablet. With features like two-way audio and live streaming, you can communicate with anyone at your door, even when you’re not home.
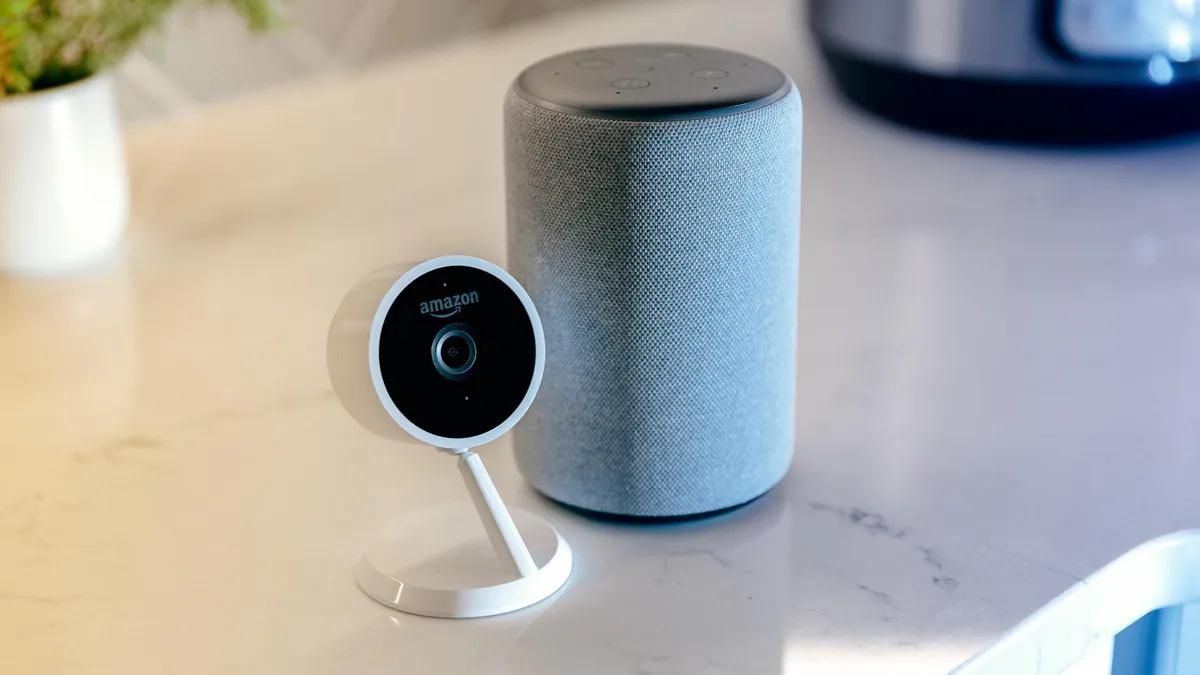
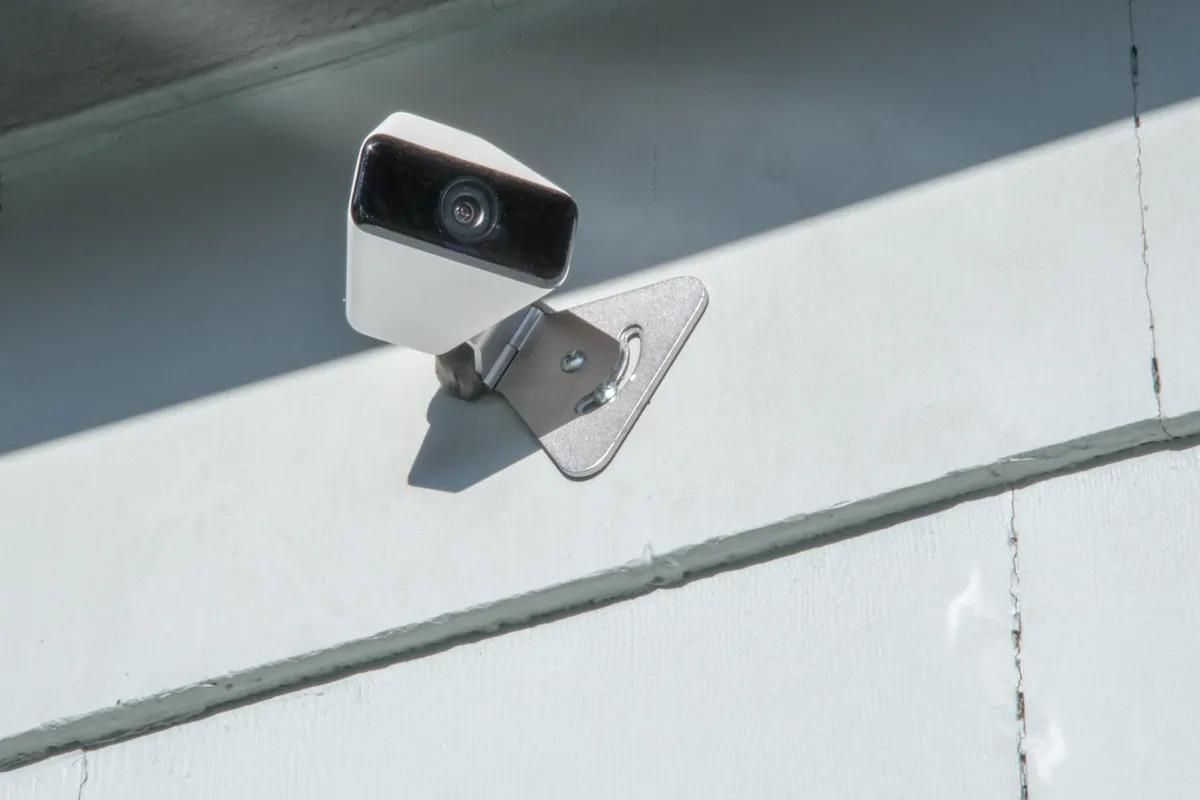
- Wireless Cameras: Xfinity Home Security also offers wireless camera options, which provide flexibility in terms of installation and placement. Wireless cameras eliminate the need for running cables or wires throughout your home, making the installation process much easier. These cameras connect to your home Wi-Fi network, allowing you to access live footage and recorded videos remotely through the Xfinity Home Security app.
- Pan/Tilt/Zoom Cameras: If you want the ability to adjust the camera’s field of view remotely, Xfinity offers pan/tilt/zoom (PTZ) cameras. These cameras can be controlled through the app, allowing you to rotate and tilt the camera to get a better view of specific areas. PTZ cameras are particularly useful for monitoring larger spaces or areas with multiple entrances.
These are just a few of the camera options available through Xfinity Home Security. Each camera option offers its own unique features to meet your specific needs and enhance the security of your home. Now that we’ve explored the camera options, let’s discuss the factors to consider when choosing a camera for your Xfinity Home Security system.
Types of Cameras That Work with Xfinity Home Security
Xfinity Home Security is compatible with a variety of camera types, allowing you to customize your surveillance system based on your specific requirements. Let’s explore the different types of cameras that work seamlessly with Xfinity Home Security:
1. Indoor Cameras:
Indoor cameras are designed to monitor the interior of your home, providing you with a clear view of the rooms and common areas. These cameras can be placed on shelves, mounted on walls, or positioned on tabletops. Indoor cameras are typically compact and discreet, blending seamlessly into your home decor. They offer features such as high-definition video quality, two-way audio, and motion detection.
Read more: What Security Cameras Work With Ring
2. Outdoor Cameras:
Outdoor cameras are weatherproof and designed to withstand the elements, making them suitable for monitoring the exterior of your property. These cameras are typically equipped with infrared night vision, motion detection, and wide-angle lenses to capture any activity outside your home. Outdoor cameras can be mounted on walls, eaves, or other outdoor structures, ensuring maximum coverage of your property.
3. Doorbell Cameras:
Doorbell cameras have gained popularity in recent years as a convenient and secure way to monitor visitors at your front door. These cameras are integrated into your doorbell and allow you to see, hear, and speak to anyone at your door through your smartphone or tablet. Doorbell cameras provide features like motion detection, two-way audio, and live streaming, giving you the ability to remotely interact with visitors in real time.
4. Wireless Cameras:
Wireless cameras offer flexibility and ease of installation as they do not require extensive wiring. These cameras connect to your home Wi-Fi network, enabling you to access live footage and recorded videos remotely through the Xfinity Home Security app. Wireless cameras are available in both indoor and outdoor options and provide features such as high-definition video quality, night vision, and motion detection.
5. PTZ Cameras:
PTZ (Pan/Tilt/Zoom) cameras provide the ability to adjust the camera’s field of view remotely. These cameras can be controlled through the Xfinity Home Security app, allowing you to pan, tilt, and zoom to get a better view of specific areas. PTZ cameras are particularly useful for monitoring larger spaces or areas with multiple entrances, as they offer the flexibility to focus on a particular area of interest.
These are the main types of cameras that are compatible with Xfinity Home Security. Each type offers unique features and advantages, allowing you to customize your surveillance system based on your specific needs. Next, let’s explore the factors to consider when selecting a camera for your Xfinity Home Security system.
Factors to Consider When Choosing a Camera for Xfinity Home Security
When selecting a camera for your Xfinity Home Security system, several factors should be considered to ensure you choose the best option for your specific needs. Let’s explore these factors:
1. Location and Purpose:
Consider where you intend to place the camera and the purpose it will serve. Determine whether you need an indoor camera to monitor specific rooms or an outdoor camera to cover the perimeter of your property. The location and purpose will influence the features required for optimal surveillance.
2. Video Quality:
Video quality plays a crucial role in capturing clear and detailed footage. Look for cameras that offer high-definition (HD) or even ultra-high-definition (UHD) video resolution. This ensures that you can identify individuals, objects, and events with precision.
3. Night Vision:
Consider the camera’s night vision capabilities, especially if you require monitoring during low-light or nighttime conditions. Look for cameras with infrared (IR) or low-light technology to provide clear visibility in the dark. This feature enhances your surveillance capabilities around the clock.
Read more: What App Works With All Security Cameras
4. Field of View:
The field of view (FOV) determines the area covered by the camera. Opt for cameras with a wide-angle lens or a customizable FOV to ensure maximum coverage. A wider FOV reduces blind spots, allowing you to monitor a larger area with fewer cameras.
5. Motion Detection:
Consider cameras with motion detection capability. This feature enables the camera to detect any movement within its range and sends alerts to your Xfinity Home Security app. It reduces false alarms and allows you to focus on potentially significant events or activities.
6. Two-Way Audio:
If you want the ability to communicate with someone on the other side of the camera, opt for cameras with two-way audio. This feature allows you to listen and speak to visitors or potential intruders, increasing your presence and control over any situation.
7. Integration with Xfinity Home Security:
Ensure that the camera you choose is compatible and seamlessly integrates with the Xfinity Home Security system. Check the list of supported cameras provided by Xfinity or consult with their customer support to confirm compatibility.
8. Installation and Set-Up:
Consider the ease of installation and set-up. Wireless cameras are generally easier to install compared to wired options. Ensure that the camera’s installation process aligns with your technical abilities and preferences.
9. Budget:
Lastly, consider your budget when choosing a camera. Set a realistic budget and compare the features and capabilities of different cameras within that range. Remember to factor in any additional costs such as cloud storage subscriptions if required.
By considering these factors, you can make an informed decision and choose the camera that best fits your requirements and provides optimal security for your home. Once you have selected the camera, the installation and set-up process is the next step.
Installation and Set-Up Process
Once you have chosen the perfect camera for your Xfinity Home Security system, it’s time to proceed with the installation and set-up process. While the specific steps may vary depending on the camera model, here is a general guide to help you get started:
1. Gather the Necessary Equipment:
Before you begin, make sure you have all the necessary equipment, including the camera, power adapter or batteries, mounting brackets, and any additional accessories required for installation.
Read more: What Does Xfinity Home Security Come With
2. Choose the Installation Location:
Determine the optimal location for your camera based on its intended purpose and the coverage area you want to achieve. Consider any mounting options provided and select the appropriate spot, taking into account factors such as accessibility, visibility, and protection from the elements.
3. Powering the Camera:
If your camera is wired, connect it to a power outlet using the provided power adapter. Alternatively, if your camera is wireless, make sure the batteries are fully charged or install new batteries as required.
4. Connect to the Xfinity Home Security Hub:
Follow the manufacturer’s instructions to connect your camera to the Xfinity Home Security hub. This may involve connecting to your home Wi-Fi network or using a wired connection, depending on the camera model.
5. Install and Mount the Camera:
If your camera requires mounting, use the provided brackets and screws to securely attach it to the chosen location. Ensure that the camera is positioned correctly to achieve the desired field of view and adjust the angle if necessary. Follow the manufacturer’s instructions for proper installation.
Read more: What Is Stay Mode On Xfinity Home Security
6. Set-Up and Configuration:
Download the Xfinity Home Security app to your smartphone or tablet. Follow the app’s instructions to add your camera to your Xfinity Home Security system. This may involve scanning a QR code or manually entering a unique identifier associated with the camera.
7. Test and Troubleshoot:
Once the camera is successfully added to your Xfinity Home Security system, test its functionality. Check the live video feed, test motion detection, and verify that you receive alerts and notifications as expected. If any issues arise, consult the camera’s documentation or contact Xfinity customer support for troubleshooting assistance.
Remember to periodically check and update your camera’s firmware and review the settings in the Xfinity Home Security app to ensure optimal performance and security.
With the camera successfully installed and set up, you can now enjoy the enhanced security and peace of mind that comes with your Xfinity Home Security system. However, in the event that you encounter any issues or camera-related problems, it’s important to know how to troubleshoot them effectively.
Troubleshooting Common Camera Issues with Xfinity Home Security
While Xfinity Home Security is designed to provide seamless operation and reliable performance, you may occasionally encounter some common camera issues. Let’s explore potential problems and troubleshooting steps to address them:
1. Poor Video Quality:
If you experience blurry or pixelated video, first ensure that the camera lens is clean and free from any obstructions. Additionally, check your internet connection speed and signal strength. Slow internet speeds or weak Wi-Fi signals can result in poor video quality. Consider relocating the camera closer to your Wi-Fi router or adding a Wi-Fi extender to improve the signal strength.
Read more: What Security Cameras Work On 5Ghz Wifi
2. No Video Feed:
If you’re not receiving any video feed or your screen is black, start by checking the power source for the camera. Ensure that it’s properly connected or that the batteries are charged. If the camera is powered and still not displaying any video, try restarting the camera and the Xfinity Home Security hub. If the issue persists, consult the camera’s manual or contact Xfinity customer support for further assistance.
3. Connectivity Issues:
If you’re experiencing frequent disconnections or intermittent connectivity, check the camera’s Wi-Fi signal strength. Ensure that the camera is within range of your Wi-Fi network and that there are no physical obstructions interfering with the signal. Consider relocating the camera closer to the router or using a Wi-Fi extender to extend the range. Additionally, make sure that your Wi-Fi network is secure and not being accessed by unauthorized devices.
4. Motion Detection Problems:
If motion detection is not functioning properly, verify that the camera’s motion detection settings are enabled and configured correctly in the Xfinity Home Security app. Check if there are any obstructions or objects that could be triggering false alerts. Adjust the motion sensitivity settings if necessary to reduce false alarms or increase detection range.
5. App Connectivity Issues:
If you’re having trouble connecting to the camera through the Xfinity Home Security app or experiencing delays in receiving notifications, ensure that your smartphone or tablet has a stable internet connection. Close and reopen the app, as well as restart the device if needed. If the problem persists, check for app updates or contact Xfinity customer support for assistance.
6. Cloud Storage Problems:
If you’re facing difficulties accessing or viewing recorded footage from the cloud storage, check your Xfinity Home Security subscription to ensure it includes cloud storage. Verify that the camera is correctly linked to your Xfinity account. If you’re experiencing issues with playback or accessing specific recordings, contact Xfinity customer support for further assistance.
In case these troubleshooting steps do not resolve the issue, it’s recommended to consult the camera’s documentation or contact Xfinity customer support. They have technical expertise and can guide you through specific troubleshooting steps for your camera model and Xfinity Home Security system.
Remember to keep your camera firmware up to date and routinely check for any available updates to ensure optimal performance and security. By addressing common camera issues and resolving them effectively, you can maintain a reliable and secure surveillance system with Xfinity Home Security.
Lastly, let’s summarize the key points we’ve covered before concluding our article.
Conclusion
Xfinity Home Security offers a comprehensive and reliable solution to protect your home and loved ones. With a wide range of compatible cameras to choose from, you can customize your surveillance system to meet your specific needs and preferences. Whether you need indoor cameras to monitor specific rooms, outdoor cameras to cover the perimeter, or doorbell cameras for added security at your front door, Xfinity has you covered.
When choosing a camera for your Xfinity Home Security system, consider factors such as location, video quality, night vision, field of view, motion detection, two-way audio, integration with Xfinity, installation process, and budget. Taking these factors into account will help you select the perfect camera that aligns with your requirements and enhances the security of your home.
During the installation and set-up process, make sure to follow the manufacturer’s instructions and ensure proper connectivity with the Xfinity Home Security hub. Once installed, regularly check your camera’s firmware and settings to maintain optimal performance and security.
In the event of any issues or camera-related problems, troubleshoot by checking for dirty lenses, power source connections, internet connectivity, motion detection settings, app connectivity, and cloud storage access. If problems persist, consult the camera’s documentation or seek assistance from Xfinity customer support.
By integrating cameras into your Xfinity Home Security system, you gain the ability to remotely monitor your home, receive real-time alerts, and ensure the safety of your property. Whether you’re at work, running errands, or traveling, you can have peace of mind knowing that your home is protected.
Remember, the world of home security and surveillance continues to evolve, with new technologies and features continuously being introduced. Stay informed and keep an eye out for any upgrades or enhancements that may further enhance the security and functionality of your Xfinity Home Security system.
Investing in a reliable home security system is an investment in your peace of mind. With Xfinity Home Security and the right cameras, you can create a safe and secure environment for you and your loved ones.
So, go ahead and take the next step towards fortifying your home by choosing the perfect camera for your Xfinity Home Security system. Enjoy the added security, remote monitoring capabilities, and the peace of mind that comes with knowing your home is protected.
Frequently Asked Questions about What Cameras Work With Xfinity Home Security
Was this page helpful?
At Storables.com, we guarantee accurate and reliable information. Our content, validated by Expert Board Contributors, is crafted following stringent Editorial Policies. We're committed to providing you with well-researched, expert-backed insights for all your informational needs.