Home>Home Security and Surveillance>How To Install Xfinity Outdoor Camera
Home Security and Surveillance
How To Install Xfinity Outdoor Camera
Modified: November 1, 2024
Learn how to install the Xfinity outdoor camera for enhanced home security and surveillance. Simple steps to protect your property and loved ones.
(Many of the links in this article redirect to a specific reviewed product. Your purchase of these products through affiliate links helps to generate commission for Storables.com, at no extra cost. Learn more)
Introduction
Home security and surveillance play a crucial role in safeguarding our homes and loved ones. With advancements in technology, these systems have become more accessible, affordable, and easy to install. One such system is the Xfinity Outdoor Camera, which offers a robust solution for monitoring the exterior of your home.
In this article, we will guide you through the process of installing the Xfinity Outdoor Camera, ensuring that you can secure your home with confidence. Whether you’re a DIY enthusiast or simply looking to enhance your home security measures, this step-by-step guide will help you get your Xfinity Outdoor Camera up and running in no time.
Before we dive into the installation process, let’s take a moment to discuss why the Xfinity Outdoor Camera is a smart choice for home surveillance. With its high-resolution video capabilities, weatherproof design, and seamless integration with the Xfinity Home App, this camera provides exceptional performance and peace of mind. Whether you’re at home or away, you can easily monitor your property, receive alerts, and access recorded footage through the app.
Are you ready to take the first step towards securing your home? Let’s get started with the installation process!
Key Takeaways:
- Installing the Xfinity Outdoor Camera involves checking compatibility, unboxing, mounting, connecting cables, pairing with the app, setting preferences, and testing. It’s a DIY-friendly process that enhances home security and peace of mind.
- By following the step-by-step guide, you can easily set up and customize your Xfinity Outdoor Camera to monitor your property remotely, receive motion alerts, and ensure reliable surveillance. Enjoy the added security and peace of mind!
Read more: How To Install Xfinity Doorbell
Step 1: Check Compatibility and Requirements
Before you begin installing the Xfinity Outdoor Camera, it’s important to ensure that your home meets the necessary requirements and that your Xfinity account is compatible with this device. Here’s what you need to consider:
- Xfinity Home Security System: The Xfinity Outdoor Camera is designed to integrate seamlessly with the Xfinity Home Security System. Make sure you have an active Xfinity Home subscription and a compatible touchscreen controller.
- Internet Connection: A reliable and high-speed internet connection is essential for the camera to function properly. Ensure that your home has a stable internet connection with sufficient bandwidth.
- Power Outlet: The Xfinity Outdoor Camera requires a power source. Verify that there is an accessible power outlet near the desired installation location.
- Wi-Fi Signal: The camera connects to your home network using Wi-Fi. Check for a strong Wi-Fi signal near the installation area to ensure a stable connection.
- Compatible Mobile Device: You will need a compatible smartphone or tablet to install and manage the Xfinity Home App. Ensure that your device meets the system requirements for the app.
- Mounting Surface: Identify a suitable location to mount the camera outside your home. The mounting surface should be sturdy enough to hold the camera and provide a clear view of the desired area.
Once you have verified that your home meets these compatibility requirements, you are ready to proceed with the installation process. In the next step, we will unbox the Xfinity Outdoor Camera and familiarize ourselves with its components.
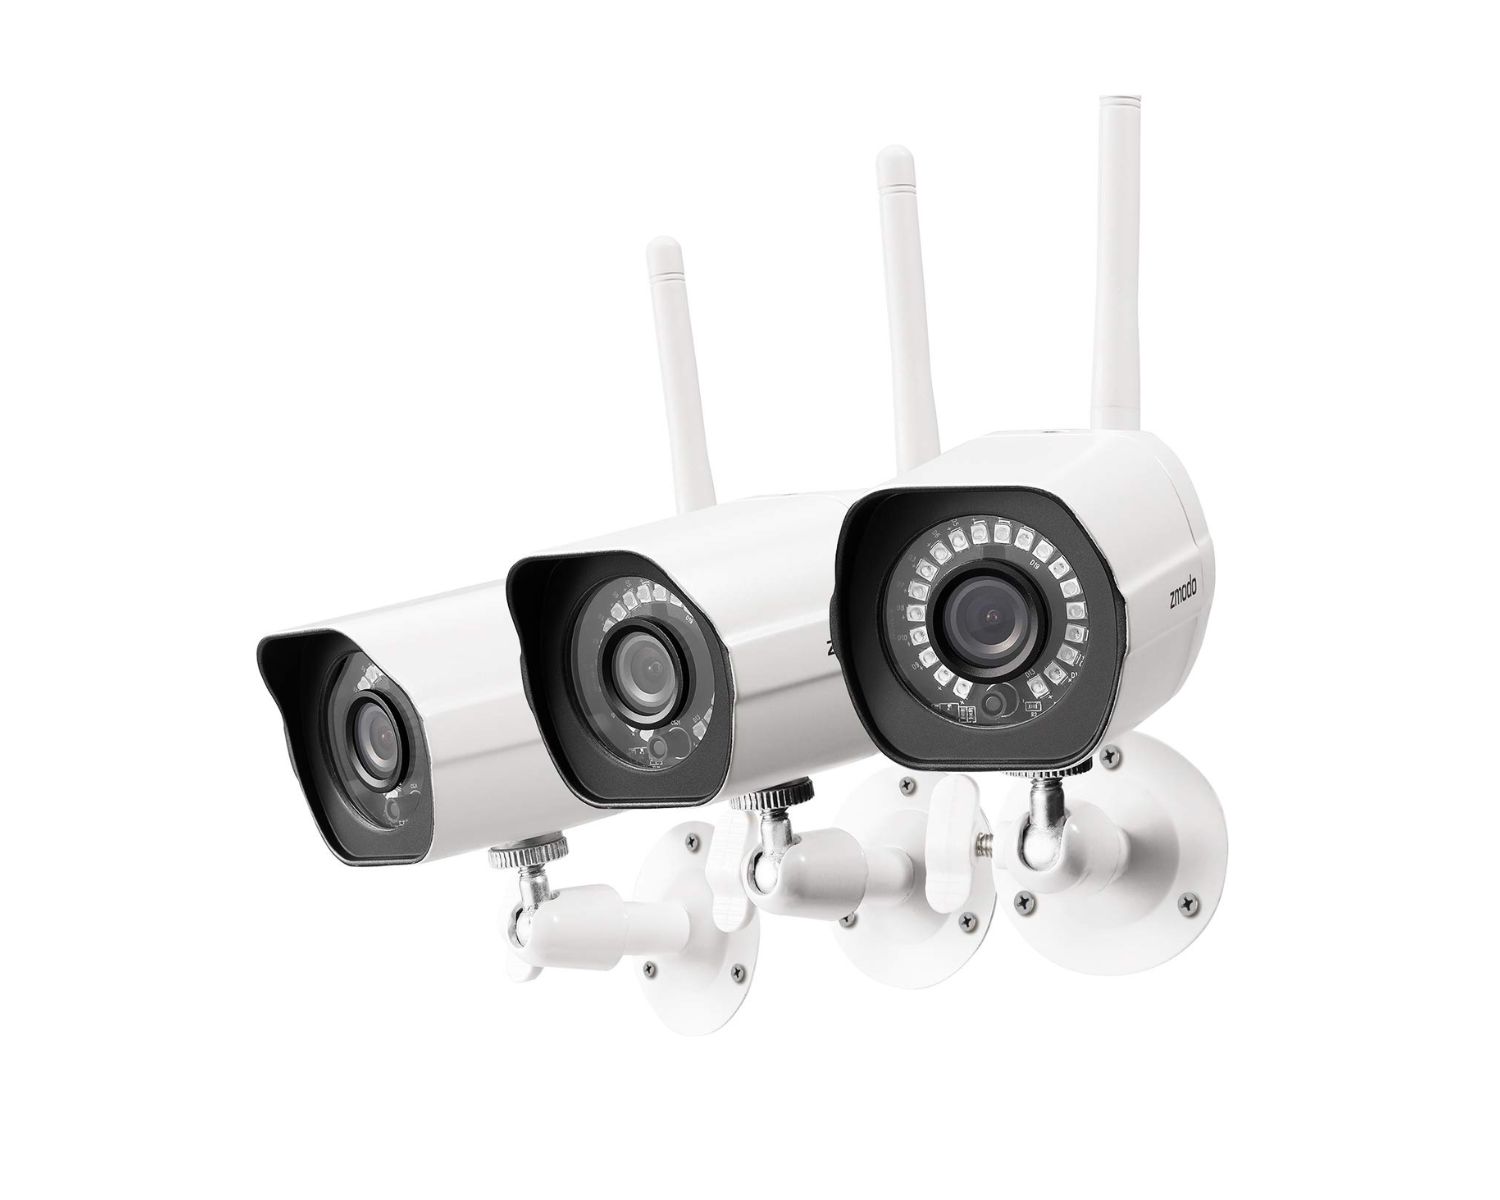
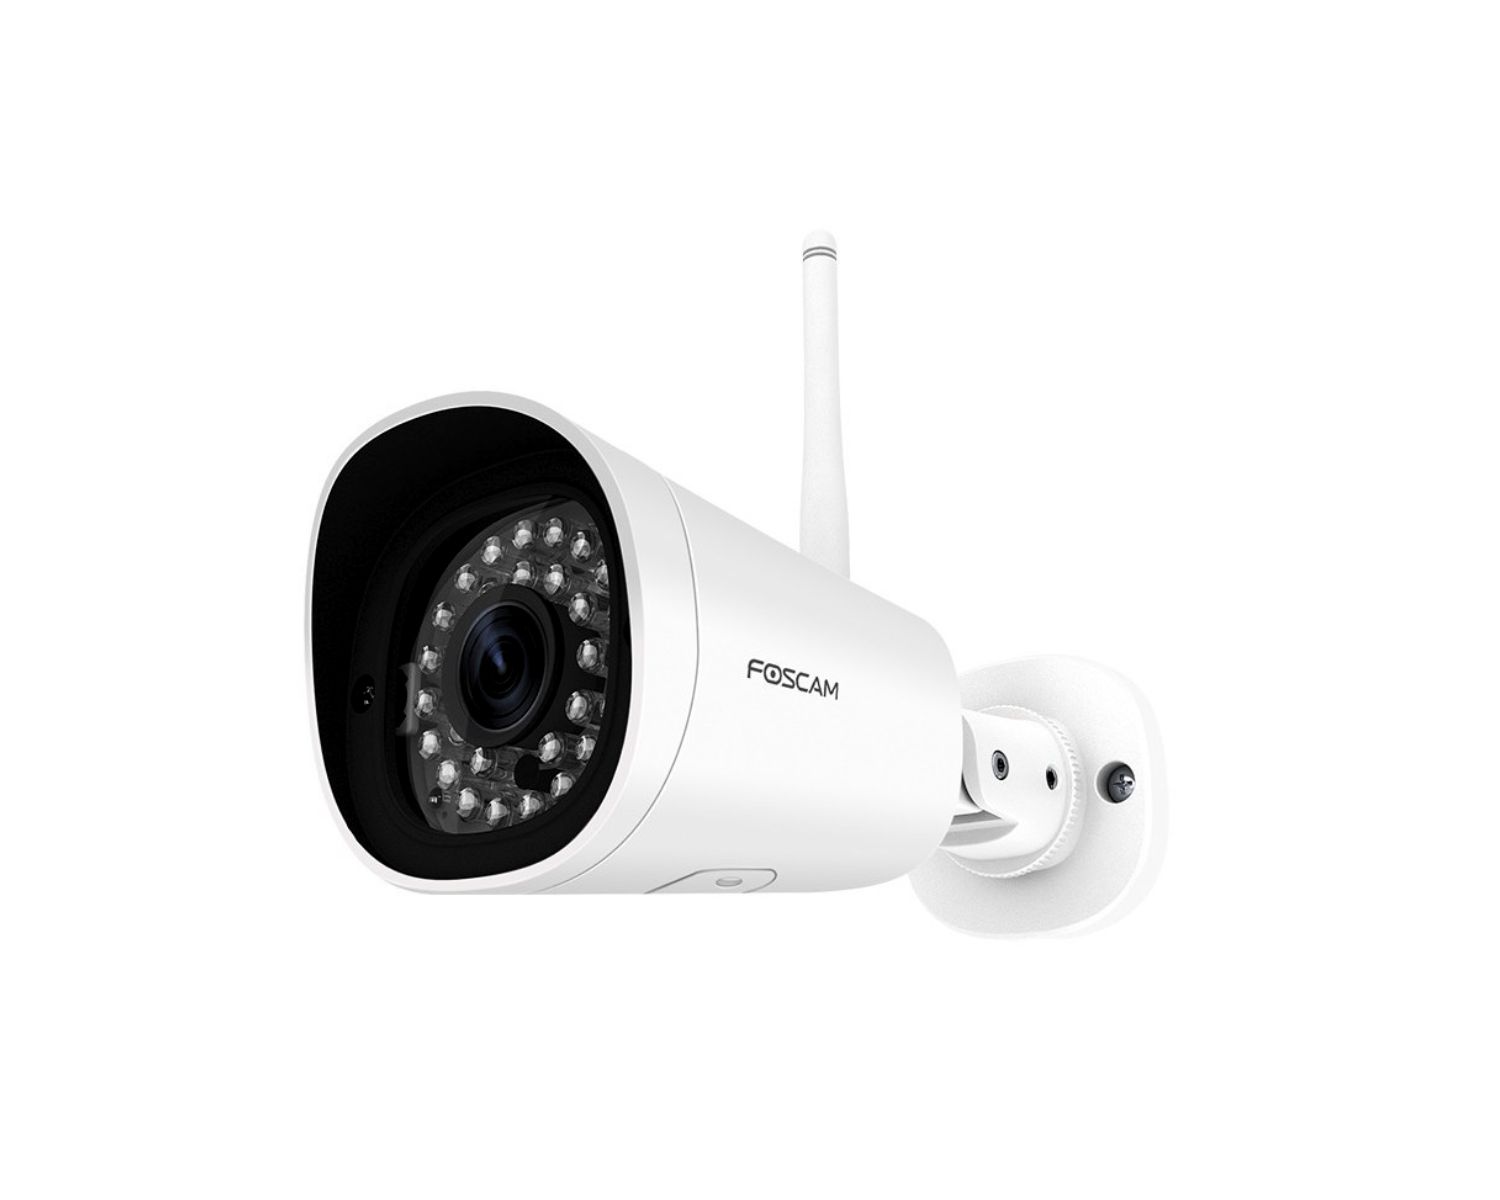
Step 2: Unboxing the Xfinity Outdoor Camera
Now that you have confirmed compatibility and requirements, let’s move on to unboxing the Xfinity Outdoor Camera. This step will familiarize you with the components and accessories included in the package.
When you open the box, you should find the following items:
- Xfinity Outdoor Camera: The main camera unit is the centerpiece of the system. It is built to withstand outdoor elements and capture high-definition video.
- Mounting Bracket and Hardware: The camera comes with a sturdy mounting bracket that allows you to securely attach it to a surface. The package should include screws and anchors for installation.
- Power Adapter and Cable: To power the camera, an AC power adapter and a power cable are provided. Ensure the cable is long enough to reach the nearest power outlet.
- Ethernet Cable: A network cable is included to connect the camera to your home’s network. This is optional if you plan to use Wi-Fi for the camera’s connectivity.
- Quick Start Guide: The package includes a user manual or quick start guide that provides step-by-step instructions on setting up and installing the camera.
Take a few minutes to carefully inspect each item and ensure that nothing is damaged or missing. If you notice any issues, contact Xfinity support for assistance or consider exchanging the product.
Now that you have everything unboxed and ready, let’s move on to the next step: mounting the camera in your desired location.
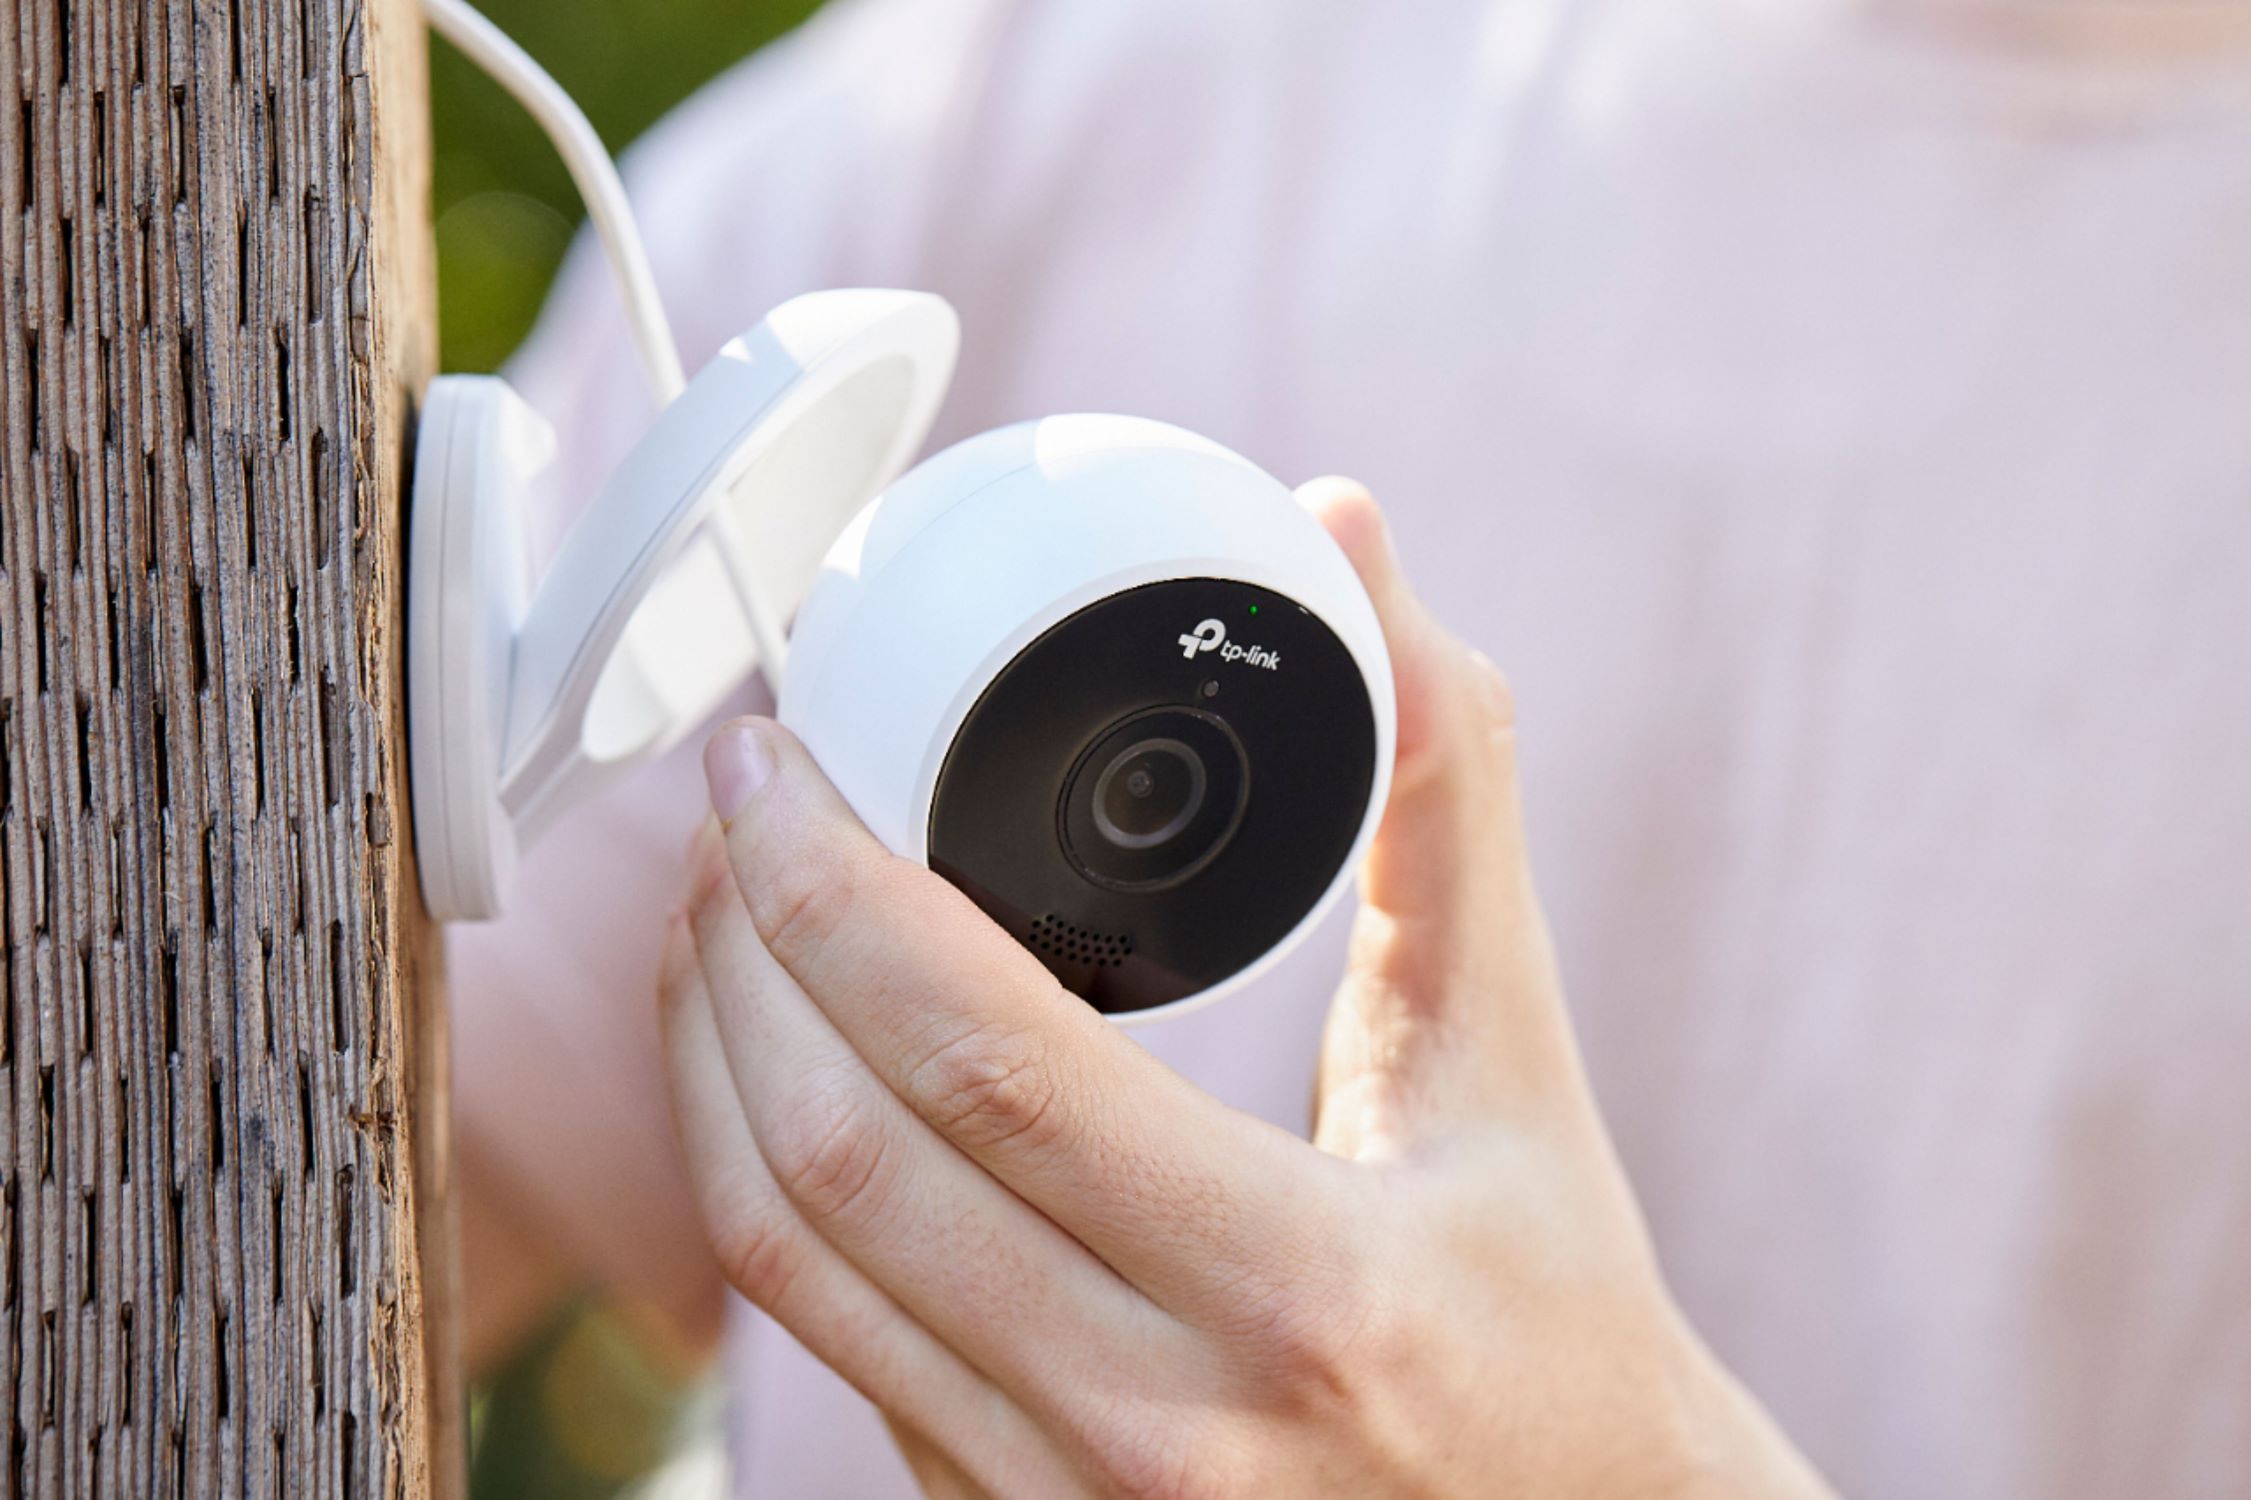
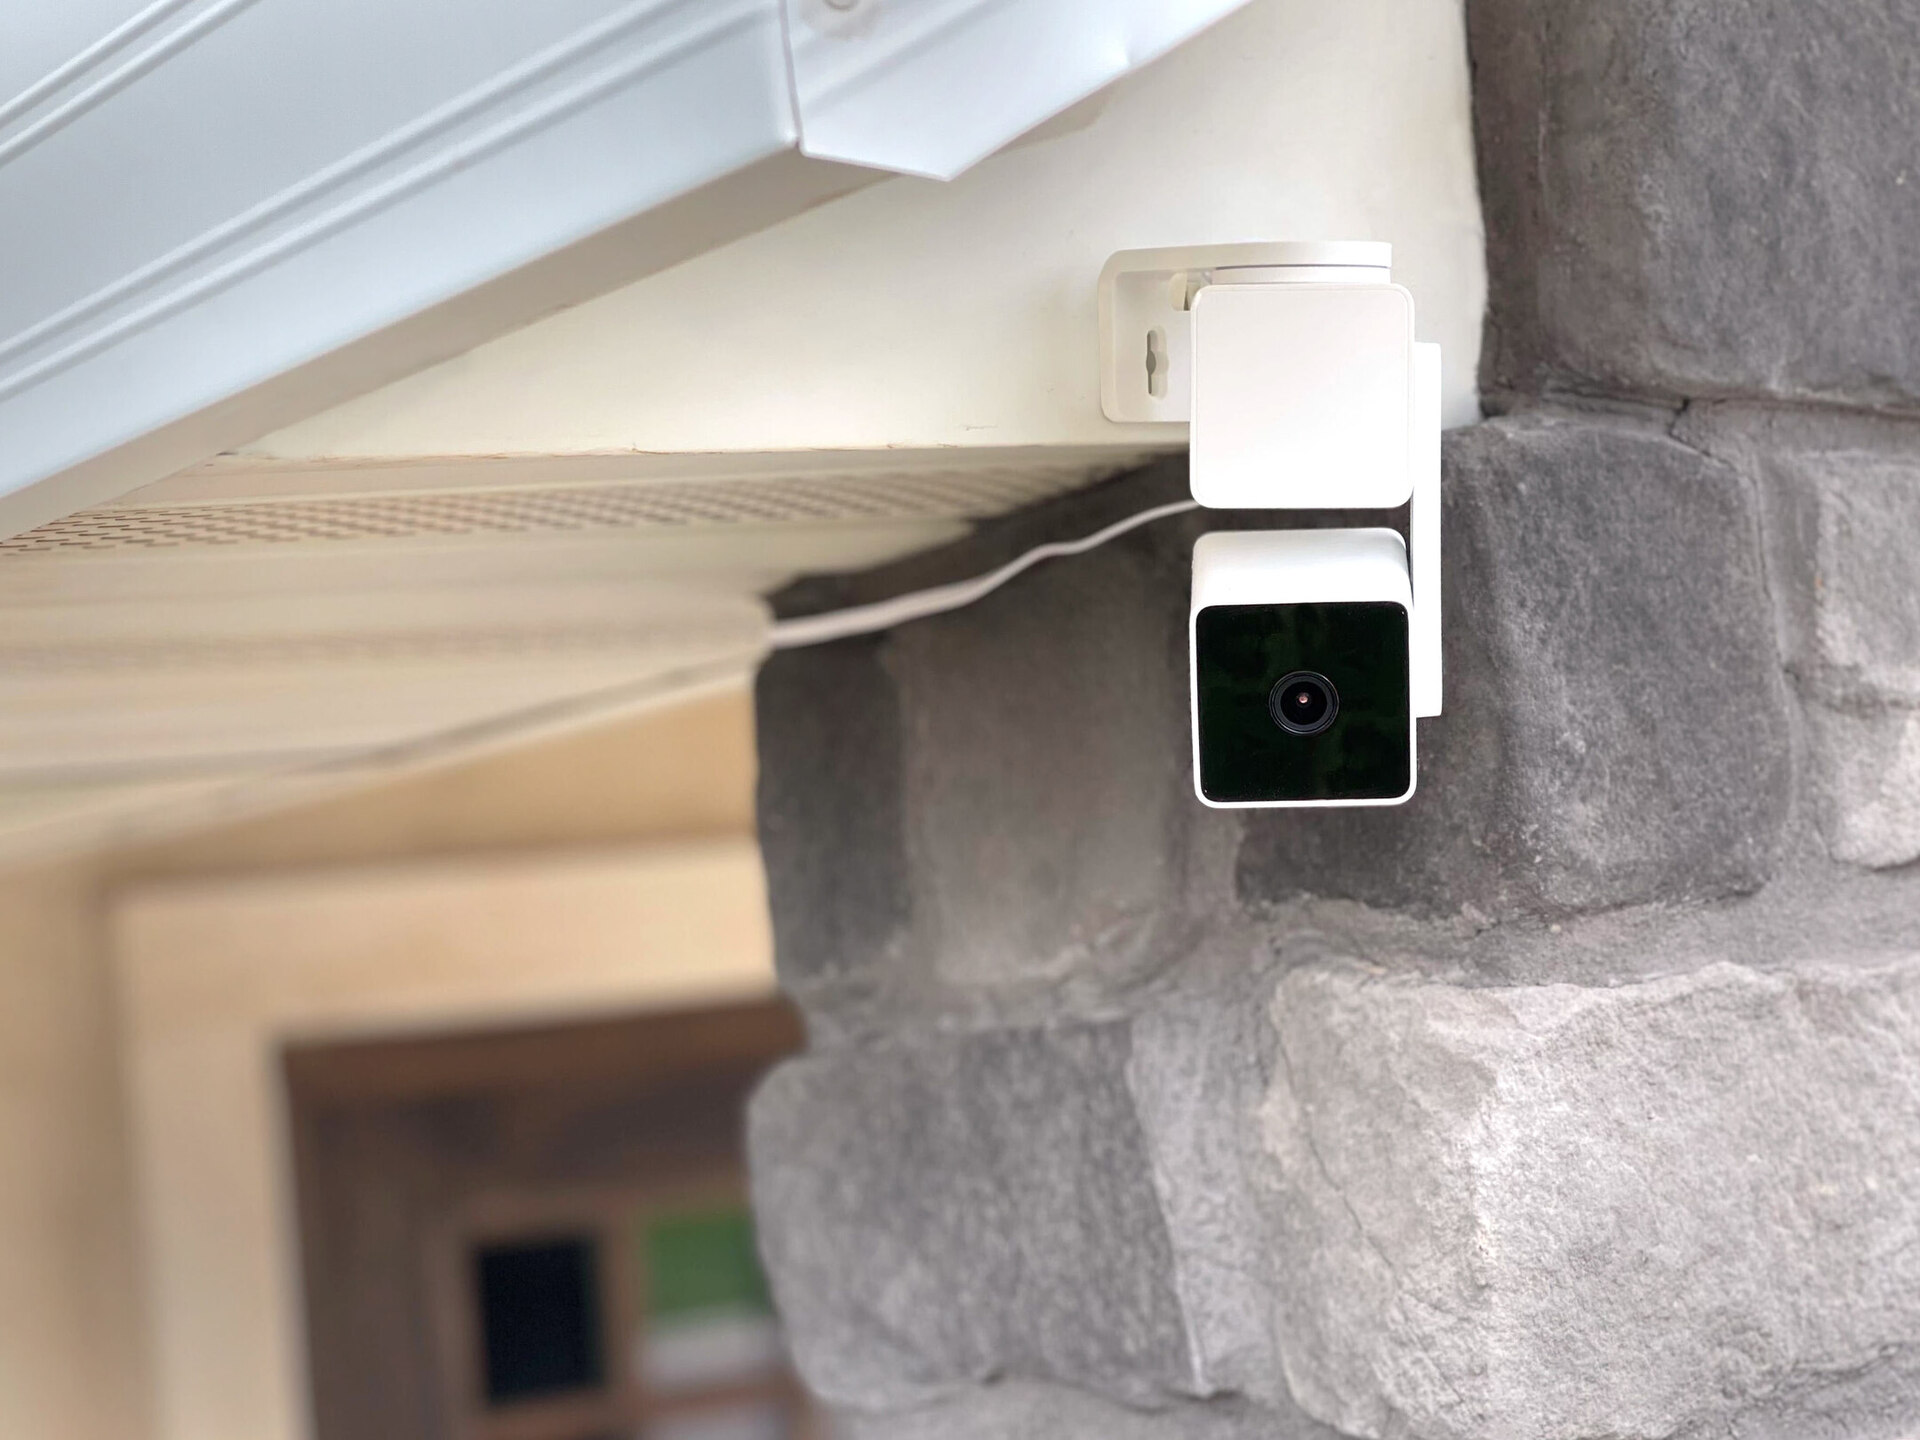
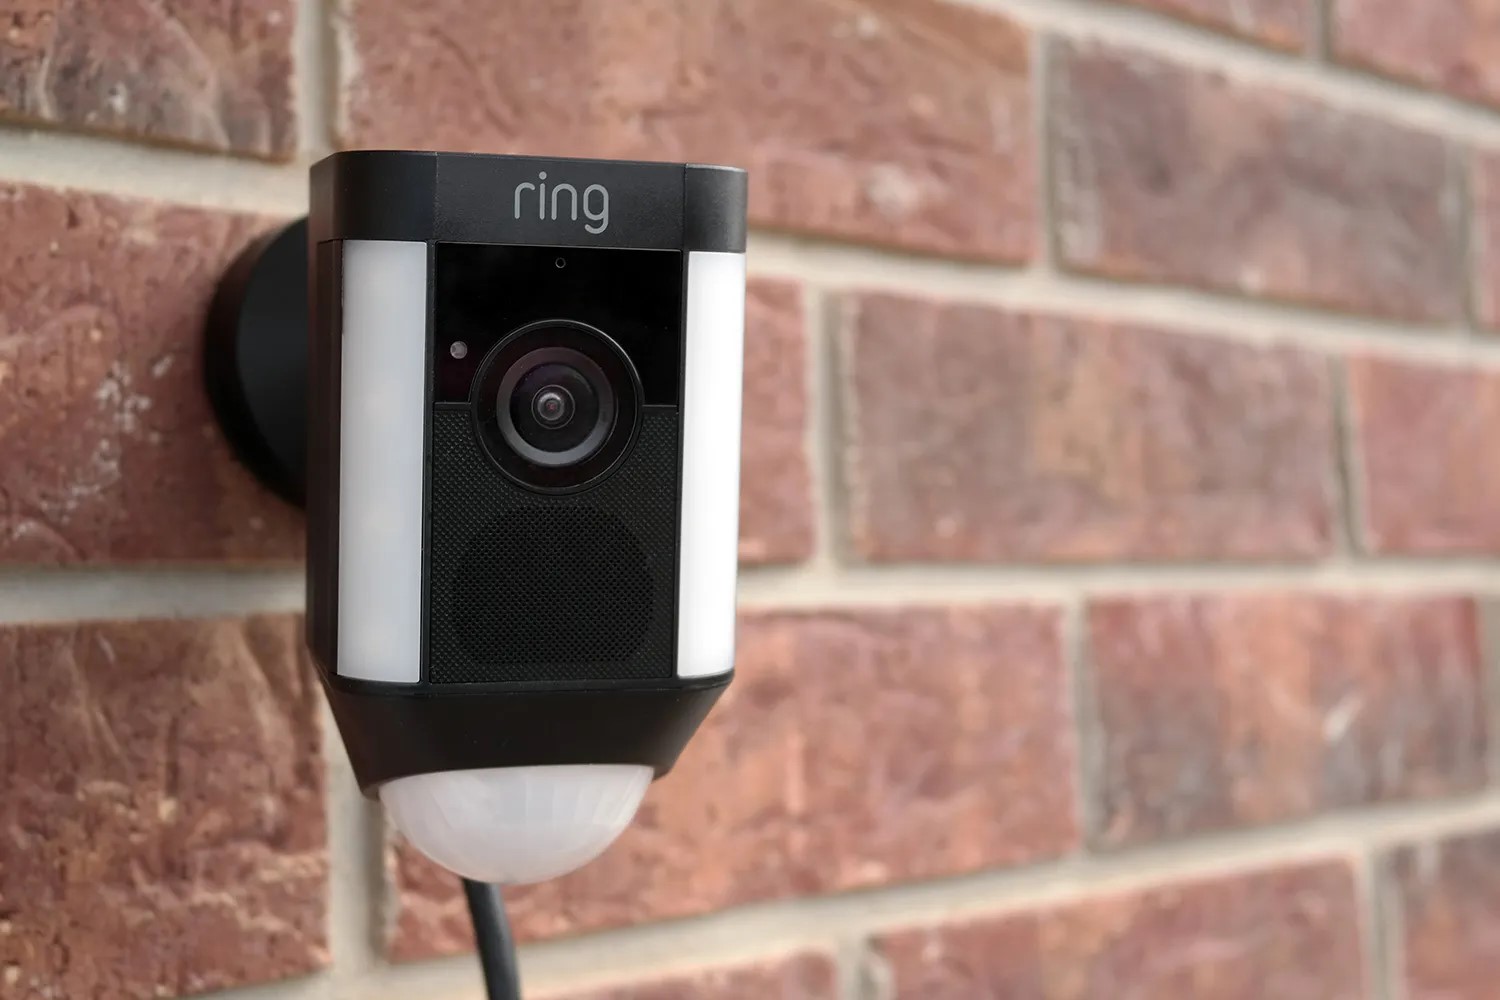
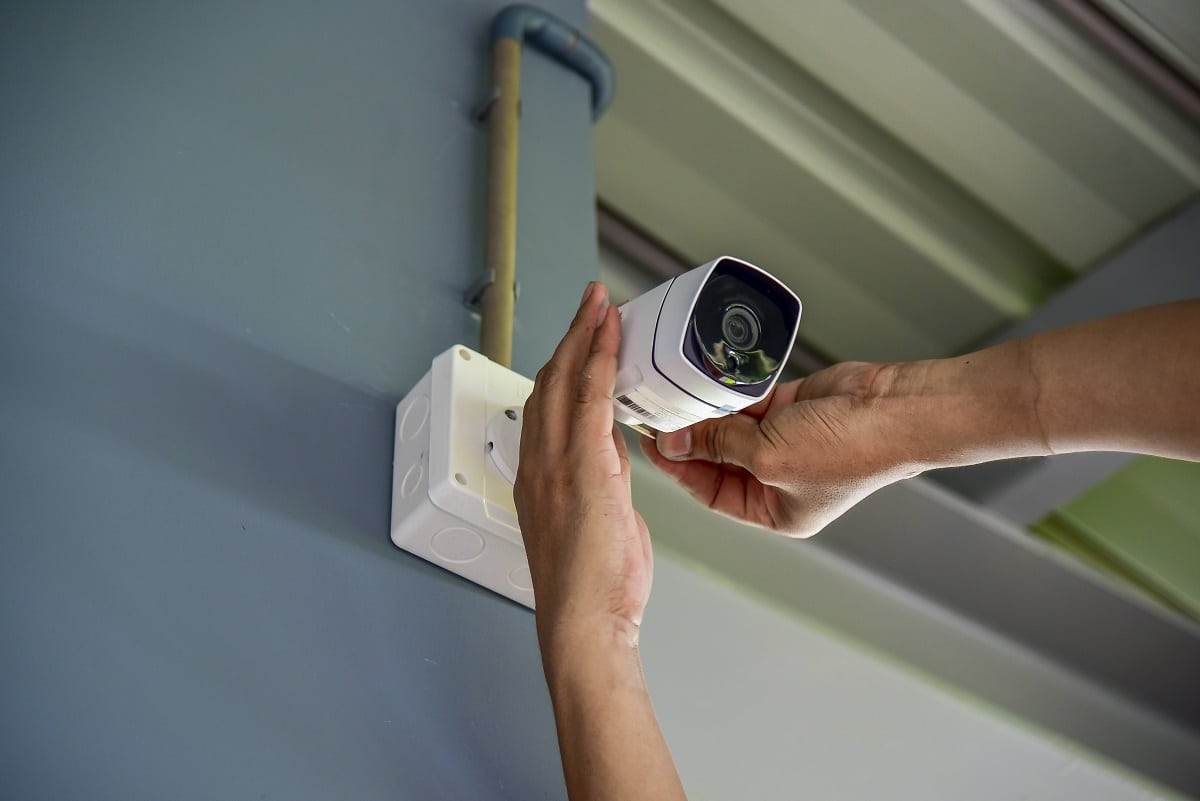
Step 3: Mounting the Camera
With the Xfinity Outdoor Camera unboxed, it’s time to mount it in your desired location. Proper placement is crucial to ensure optimal coverage and functionality. Follow these steps to mount the camera:
- Choose the Installation Location: Carefully select the area where you want to install the camera. Consider high-risk areas like entry points, driveways, and backyard entrances. Ensure the location provides a clear view while maintaining a safe distance from any interference or obstructions.
- Attach the Mounting Bracket: Take the provided mounting bracket and secure it to the chosen surface using the screws and anchors. Ensure the bracket is firmly attached to provide stability and support for the camera.
- Adjust the Camera Angle: Depending on your preferences and desired viewing angle, adjust the camera on the mounting bracket. Most cameras offer tilt and swivel adjustments to achieve the perfect angle for surveillance.
- Tighten the Camera in Place: Once you have set the desired angle, tighten the camera onto the mounting bracket. Ensure it is securely fastened to prevent any movement or slippage.
During the mounting process, pay attention to the camera’s field of view and the range of its motion. Aim for an optimal position that covers the desired area while minimizing blind spots. Keep in mind that different camera models may have specific installation instructions, so refer to the user manual for any additional steps or guidance.
Once the camera is securely mounted, you are ready to move on to the next step: connecting the power and Ethernet cables.
Step 4: Connecting Power and Ethernet
With the Xfinity Outdoor Camera securely mounted, it’s time to connect the necessary cables for power and network connectivity. Follow these steps to ensure a proper connection:
- Locate the Power Source: Identify the nearest power outlet to the camera installation location. Ensure it is easily accessible and provides a reliable power supply.
- Connect the Power Adapter: Take the power adapter provided with the camera and plug it into the power outlet. Then, connect the other end to the designated power port on the camera.
- Ensure Power Connection: Confirm that the camera’s power indicator light illuminates, indicating a successful power connection. This light may take a few moments to turn on.
- Consider Ethernet Connection (Optional): If you prefer a wired connection or if you experience connectivity issues, you can utilize the Ethernet cable included with the camera. Simply connect one end to the camera’s Ethernet port and the other end to an available port on your router.
- Verify Network Connectivity: If you opt for a wired Ethernet connection, ensure that the camera’s network indicator light turns on, indicating a successful connection. If you are using Wi-Fi, skip to the next step.
Connecting the camera to both power and network ensures a reliable and uninterrupted surveillance experience. Whether you choose a wired or wireless connection, make sure to test the camera’s network connectivity before proceeding to the next step.
Now that the camera is powered and connected to the network, let’s move on to pairing the camera with the Xfinity Home App.
When installing an Xfinity outdoor camera, make sure to choose a location with a strong Wi-Fi signal and a clear view of the area you want to monitor. Also, ensure the camera is securely mounted and protected from the elements.
Read more: How To Install A Vivint Outdoor Camera
Step 5: Pairing the Camera with the Xfinity Home App
To make the most out of your Xfinity Outdoor Camera, you need to pair it with the Xfinity Home App. This app allows you to manage and monitor your camera from anywhere using your smartphone or tablet. Follow these steps to pair the camera with the app:
- Download the Xfinity Home App: Go to the app store on your mobile device and search for the Xfinity Home App. Download and install the app on your device.
- Launch the Xfinity Home App: Open the app and sign in using your Xfinity account credentials. If you don’t have an account, you will need to create one in order to proceed.
- Add a Camera: Once logged in, tap on the option to add a device or camera to your account. Choose the Xfinity Outdoor Camera from the list of available devices.
- Follow the On-screen Instructions: The app will guide you through the pairing process. You may be prompted to enter the camera’s serial number or scan a QR code to identify and connect the camera to your Xfinity account.
- Connect to Wi-Fi: During the pairing process, you will also be asked to connect the camera to your home Wi-Fi network. Follow the prompts to select your network, enter the password, and establish a connection.
- Verify Camera Connection: Once the pairing is complete, the app should detect and display the Xfinity Outdoor Camera in your device list. Ensure that the camera is online and connected to your account.
By successfully pairing the camera with the Xfinity Home App, you can now enjoy remote access to your camera’s live feed, receive motion detection alerts, and review recorded footage. Take a moment to familiarize yourself with the app’s features and settings to customize your camera preferences.
With the camera successfully paired and configured in the app, it’s time to move on to the next step: setting up camera preferences.
Step 6: Setting Up Camera Preferences
Now that your Xfinity Outdoor Camera is paired with the Xfinity Home App, it’s time to customize your camera preferences to suit your needs. Follow these steps to set up your camera preferences:
- Open the Xfinity Home App: Launch the app on your mobile device and sign in using your Xfinity account credentials.
- Select the Camera: Locate and select your Xfinity Outdoor Camera from the list of devices in the app.
- Access Camera Settings: Look for the settings or gear icon within the camera’s interface and tap on it to access the camera-specific settings.
- Adjust Video Quality: Depending on your internet bandwidth and storage preferences, you can adjust the video quality settings. Choose between high, medium, or low quality to optimize streaming and recording.
- Enable Motion Detection: Motion detection allows the camera to alert you when it detects movement in its field of view. Enable this feature and adjust the sensitivity settings to receive accurate notifications.
- Set Up Recording Preferences: Determine how you want the camera to handle recording. You can choose continuous recording, scheduled recording, or only when motion is detected. Adjust the recording duration and storage settings accordingly.
- Configure Alert Notifications: Decide how you want to receive alerts from the camera. Opt for push notifications on your mobile device, email notifications, or both. Customize the alert frequency and sensitivity.
- Explore Additional Features: Depending on your Xfinity Home subscription and camera model, there may be additional features like two-way audio, night vision, or geofencing. Explore these features and adjust the settings as per your preferences.
By customizing your camera preferences, you can optimize its performance and tailor it to meet your specific requirements. Take some time to experiment with different settings and find what works best for you.
Now that your camera preferences are set, it’s time to move on to the final step: testing and troubleshooting.
Step 7: Testing and Troubleshooting
After setting up the camera and configuring your preferences, it’s essential to test its functionality and address any potential issues through troubleshooting. Follow these steps to ensure your Xfinity Outdoor Camera is working correctly:
- Check Live Video Feed: Open the Xfinity Home App and access the camera’s live feed. Verify that the camera is capturing a clear and uninterrupted video feed.
- Test Motion Detection: Walk or move within the camera’s field of view to trigger motion detection. Confirm that you receive immediate motion alerts on your mobile device and that the camera starts recording accordingly.
- Review Recorded Footage: Access the recorded footage from the app and review the clips captured by the camera. Make sure the playback is smooth and that the video quality meets your expectations.
- Check Night Vision: If your camera has night vision capabilities, test it in low-light conditions or during nighttime. Ensure that the infrared LEDs provide clear and well-lit footage.
- Adjust Camera Position: If you notice any blind spots or areas not covered by the camera, adjust its position or angle for improved coverage.
- Troubleshoot Connectivity Issues: If you encounter any connectivity problems, ensure that your Wi-Fi signal is strong and that the camera is within range. Restart the camera or check your network settings if necessary.
- Contact Support if Needed: If you are unable to resolve any issues or need assistance with your Xfinity Outdoor Camera, reach out to Xfinity support for further guidance.
Regularly testing and troubleshooting your camera’s functionality ensures that it continues to provide reliable and effective surveillance for your home. By addressing any potential issues promptly, you can maintain the security and peace of mind that comes with a properly functioning camera.
Congratulations! You have successfully installed and set up your Xfinity Outdoor Camera. By following these steps and taking advantage of its features, you can now enjoy enhanced home security and surveillance.
If you have additional cameras or accessories to install, repeat the process for each device to create a comprehensive home security system.
Remember to periodically check for firmware updates and review your camera’s settings to ensure it is optimized for your changing security needs.
Thank you for choosing the Xfinity Outdoor Camera to protect your home and loved ones. Happy monitoring!
Conclusion
Home security and surveillance have never been more important, and the Xfinity Outdoor Camera provides an excellent solution for monitoring and protecting your property. By following the step-by-step guide outlined in this article, you have learned how to install and set up your Xfinity Outdoor Camera with ease.
Throughout the installation process, we emphasized the importance of compatibility, unboxing the camera, mounting it securely, connecting the necessary cables, pairing it with the Xfinity Home App, setting up camera preferences, and thoroughly testing and troubleshooting the system. By adhering to these steps, you have successfully installed your camera and can now enjoy enhanced security and peace of mind.
Remember to regularly review and update your camera preferences to ensure they align with your evolving security needs. Additionally, always stay well-informed about any firmware updates or new features that Xfinity may introduce to enhance your camera’s performance.
With your Xfinity Outdoor Camera now set up and functioning, you can monitor your home remotely, receive motion alerts, and access recorded footage from your smartphone or tablet using the Xfinity Home App. Whether you’re at work, on vacation, or simply in another room, you can have peace of mind knowing that your property is under the watchful eye of your reliable outdoor camera.
We hope this comprehensive guide has empowered you to take control of your home security. Remember to continue exploring and implementing additional security measures to further enhance the safety of your home and loved ones.
Thank you for choosing the Xfinity Outdoor Camera, and congratulations on successfully installing and setting it up. Enjoy the added security and peace of mind that it brings!
Now that you've got tips on setting up an Xfinity outdoor camera, why not dive deeper into your home security system? For those curious about what's included with Xfinity's options, our detailed guide on Xfinity Home Security will shed light on the features and benefits of their security packages. Ready to elevate your home to a new level of smart? Don't miss our insights on the latest Smart Home Technology set to transform everyday living in 2024. Additionally, for unique ways to keep an eye on your space without being too obvious, our article on Home Surveillance provides creative hidden camera placements that blend seamlessly into any room.
Frequently Asked Questions about How To Install Xfinity Outdoor Camera
Was this page helpful?
At Storables.com, we guarantee accurate and reliable information. Our content, validated by Expert Board Contributors, is crafted following stringent Editorial Policies. We're committed to providing you with well-researched, expert-backed insights for all your informational needs.