Home>Home Security and Surveillance>How To Clear A Zone On Xfinity Home Security
Home Security and Surveillance
How To Clear A Zone On Xfinity Home Security
Modified: May 6, 2024
Learn how to clear a zone on Xfinity Home Security and improve your home security and surveillance. Get expert tips and advice now!
(Many of the links in this article redirect to a specific reviewed product. Your purchase of these products through affiliate links helps to generate commission for Storables.com, at no extra cost. Learn more)
Introduction
Welcome to the world of Xfinity Home Security! Keeping your home safe and secure is of utmost importance, and Xfinity offers a state-of-the-art home security system that allows you to monitor and protect your property. One essential feature of the Xfinity system is the ability to clear zones, which is crucial when you want to reset a specific area or address any false alarms.
In this article, we will guide you through the process of clearing a zone on your Xfinity Home Security system. Whether you need to reset a zone after a false alarm or make adjustments to your security settings, this step-by-step guide will ensure you have the knowledge and confidence to navigate the process with ease.
Before we dive in, it’s important to note that the specific steps may vary slightly depending on the model of your Xfinity Home Security system. However, the general process remains consistent, and we will provide tips to help you overcome any variations you may encounter. Let’s get started!
Key Takeaways:
- Clearing a zone on Xfinity Home Security is easy! Just use the mobile app, web portal, or touchscreen control panel to identify, disarm, clear, and verify the zone. It’s like hitting the reset button for your home’s safety.
- By following simple steps, you can reset specific areas and address false alarms on your Xfinity Home Security system. Understanding how to clear a zone gives you confidence and control to safeguard your home and loved ones.
Read more: How To Set Wireless Security Mode On Xfinity
Step 1: Accessing the Xfinity Home Security System
The first step in clearing a zone on your Xfinity Home Security system is to access the system itself. This can be done through various methods, depending on the specific model and configuration of your system. Here are the most common ways to access your Xfinity Home Security system:
- Mobile App: If you have the Xfinity Home app installed on your smartphone or tablet, launch the app and sign in using your Xfinity account credentials. The app will provide you with a convenient interface to access and control your home security system.
- Web Portal: Another way to access your Xfinity Home Security system is through the Xfinity Home web portal. Simply open a web browser on your computer or device, visit the Xfinity Home website, and sign in using your Xfinity account details. The web portal allows you to access and manage your home security system from any internet-connected device.
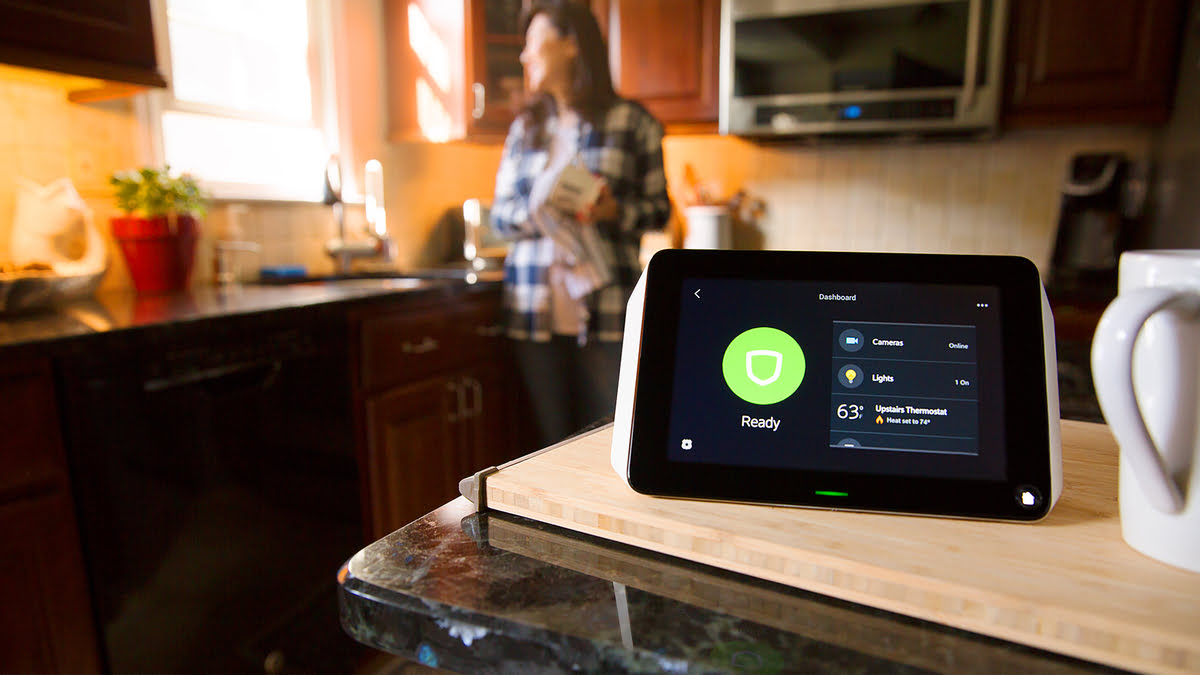
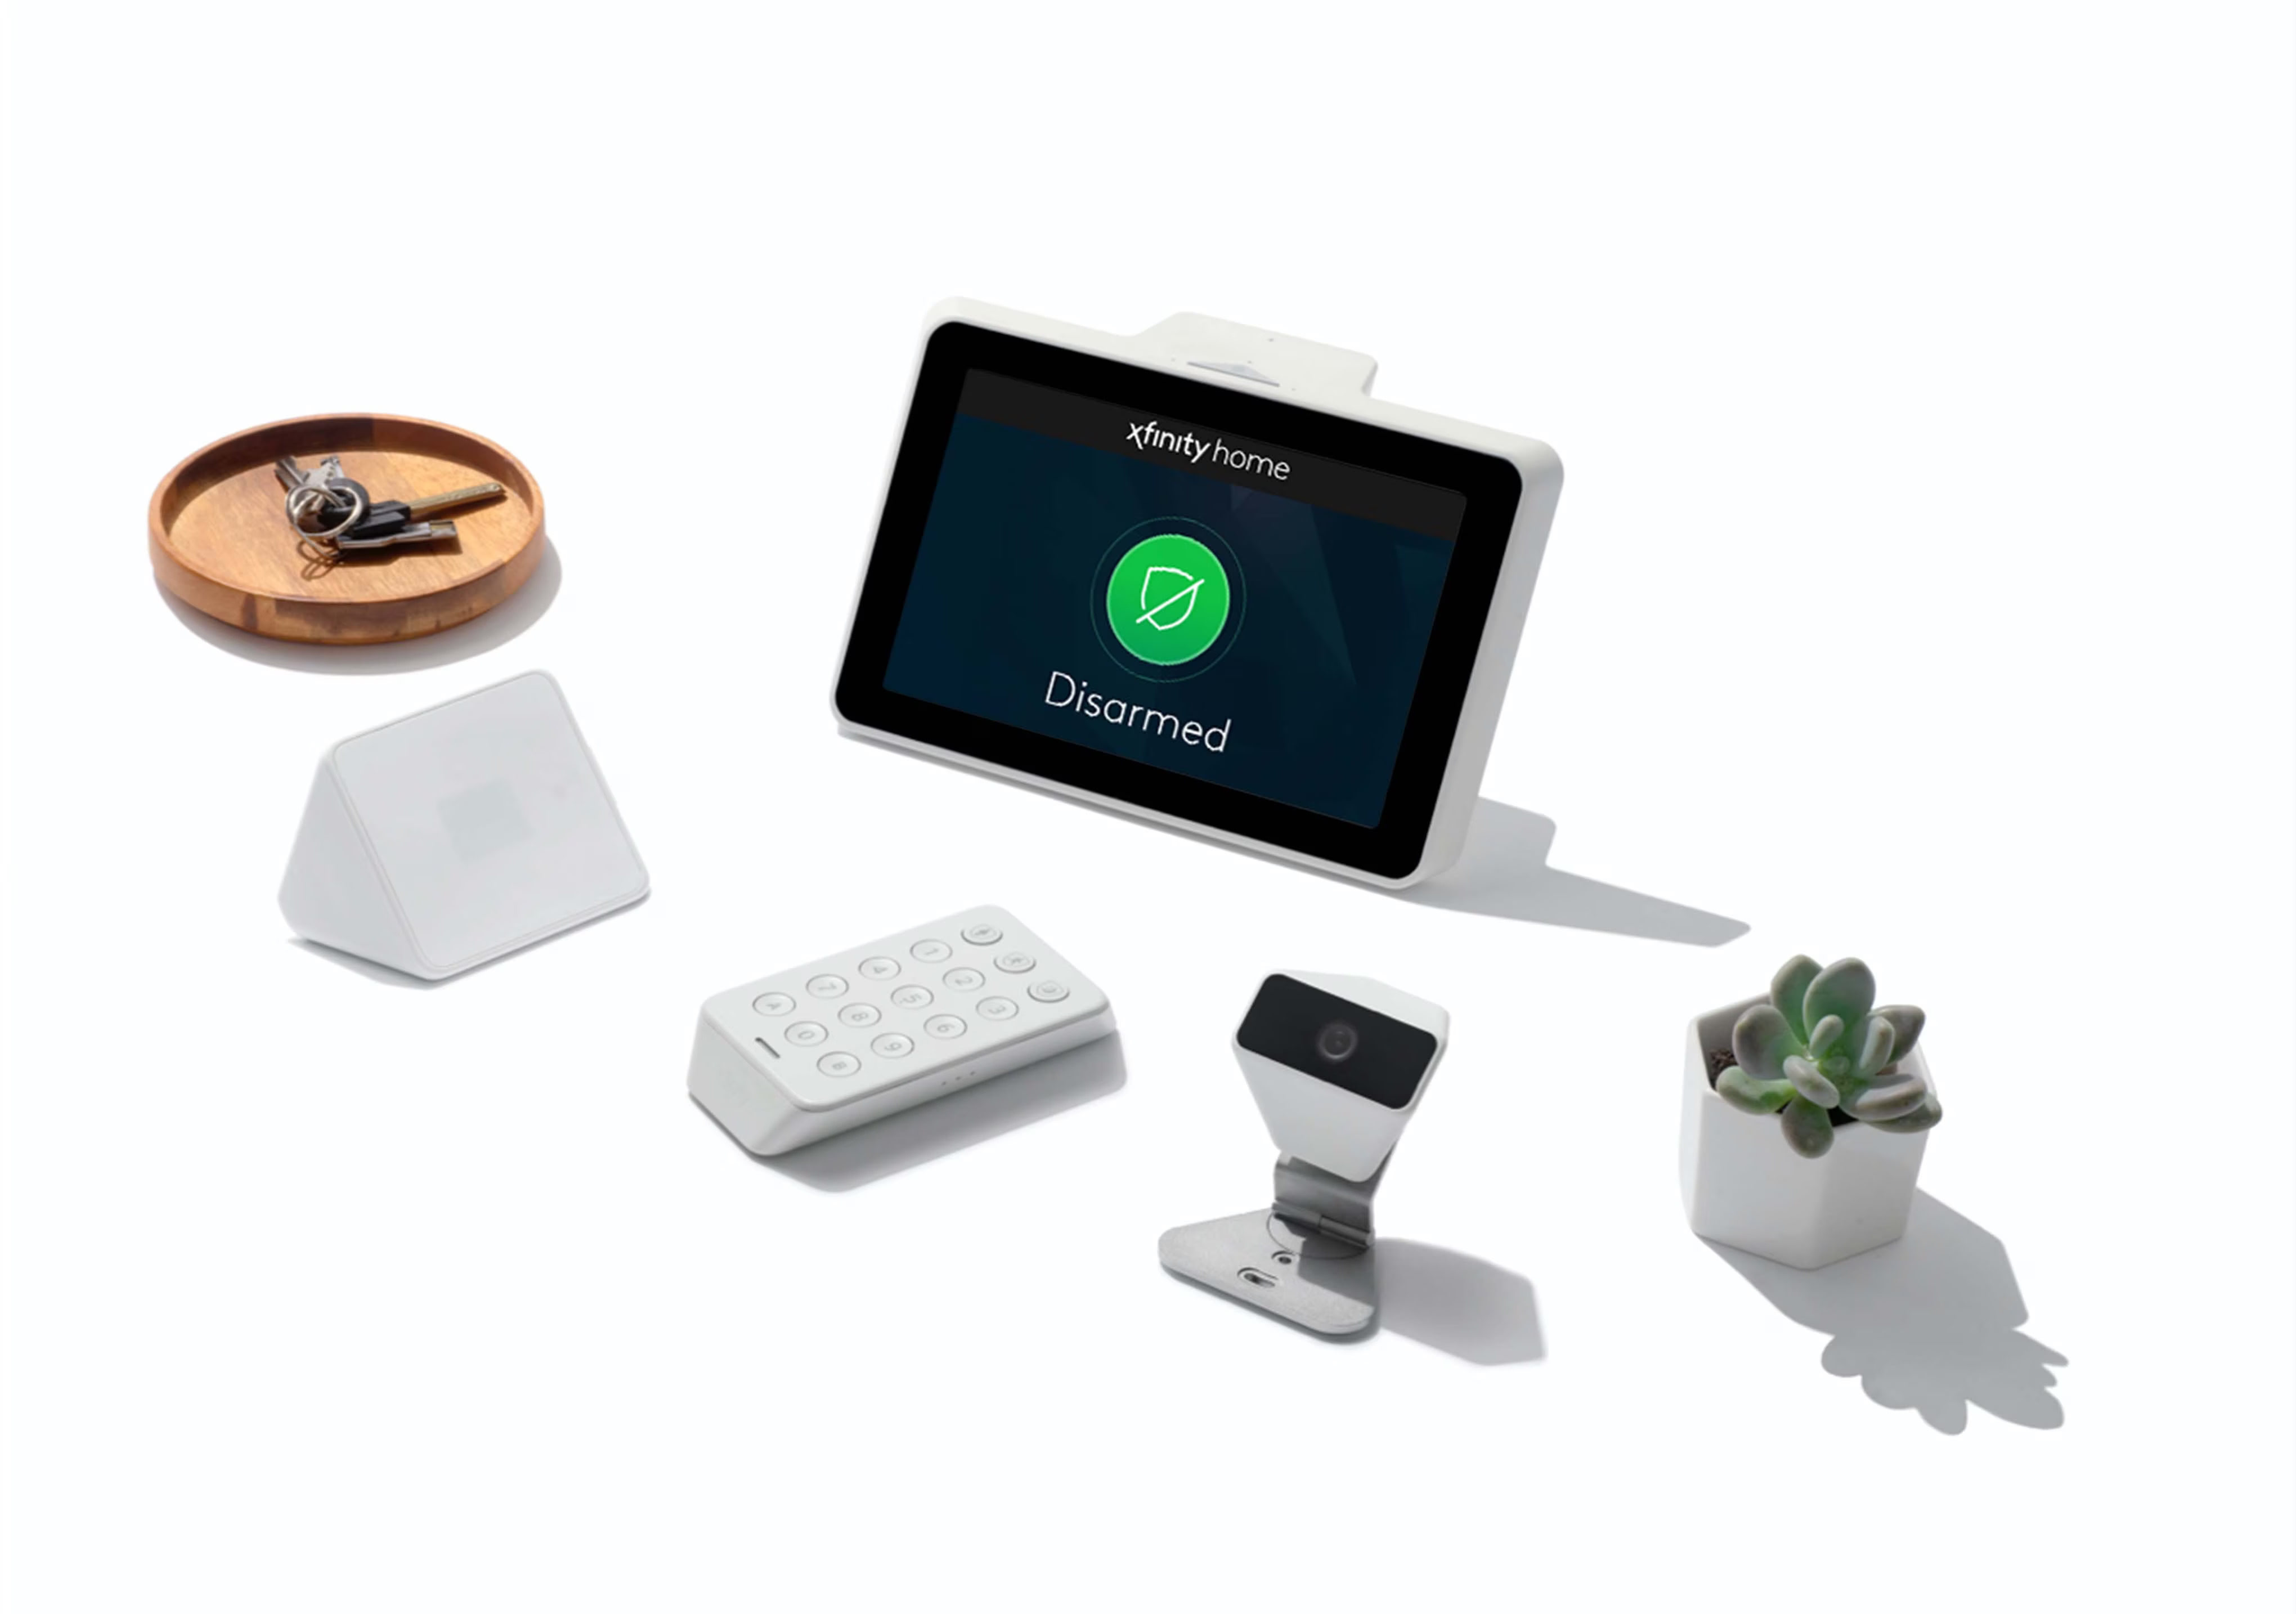
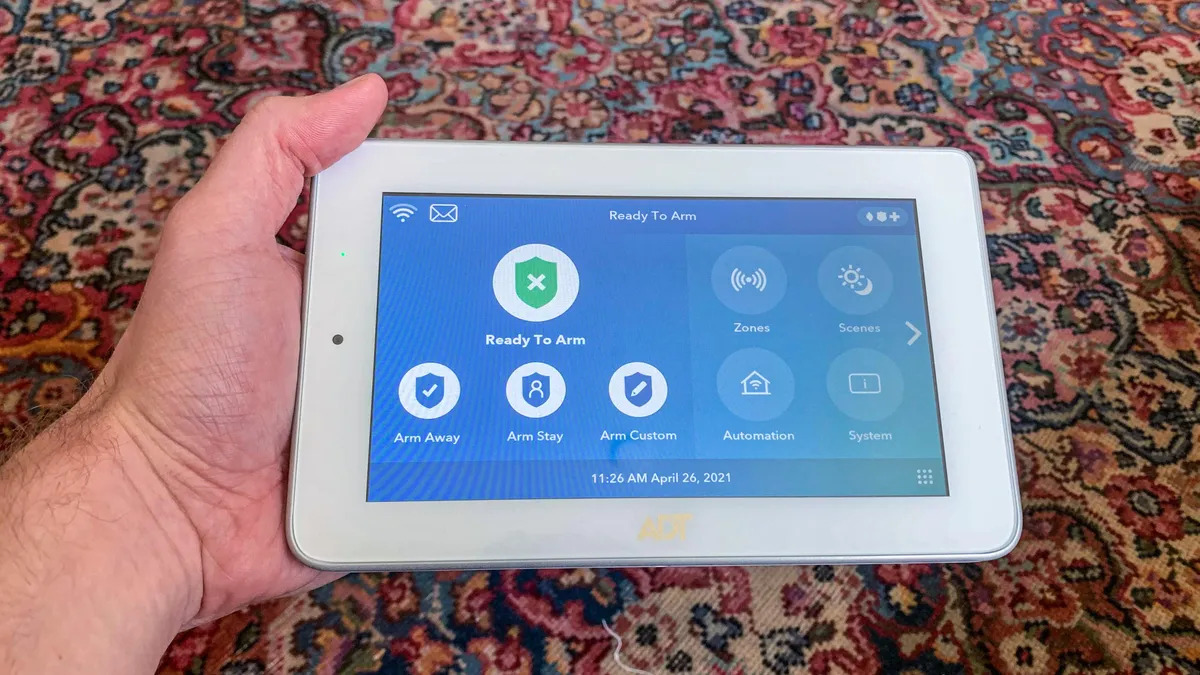
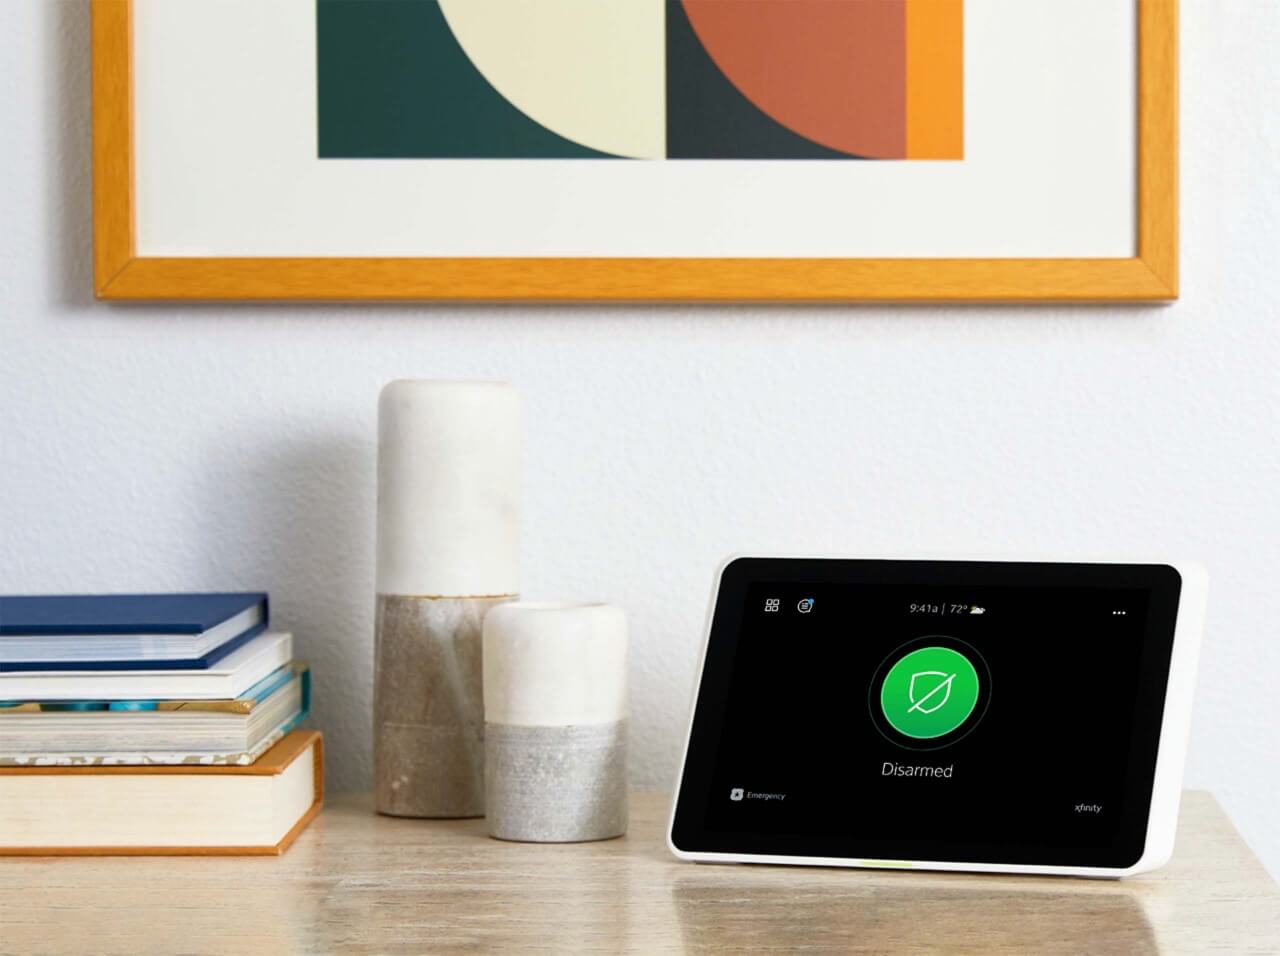
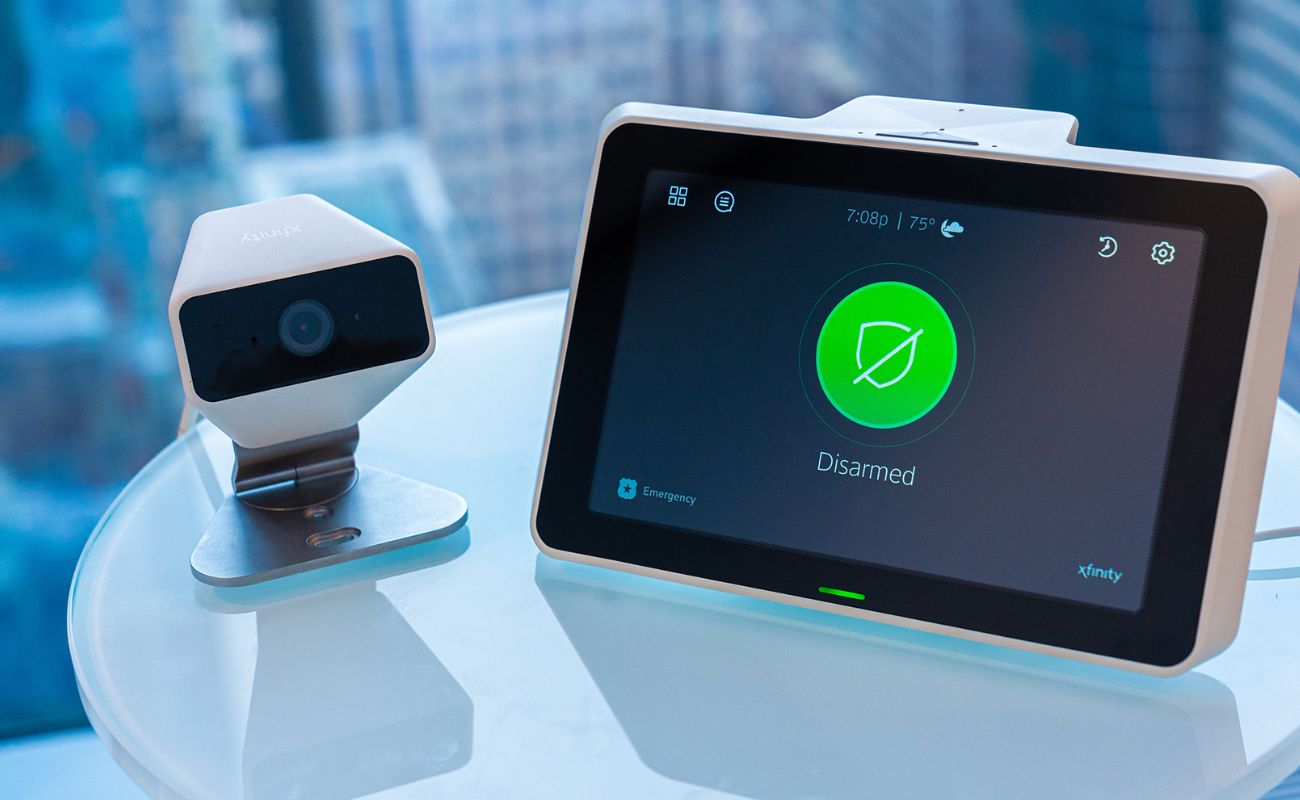
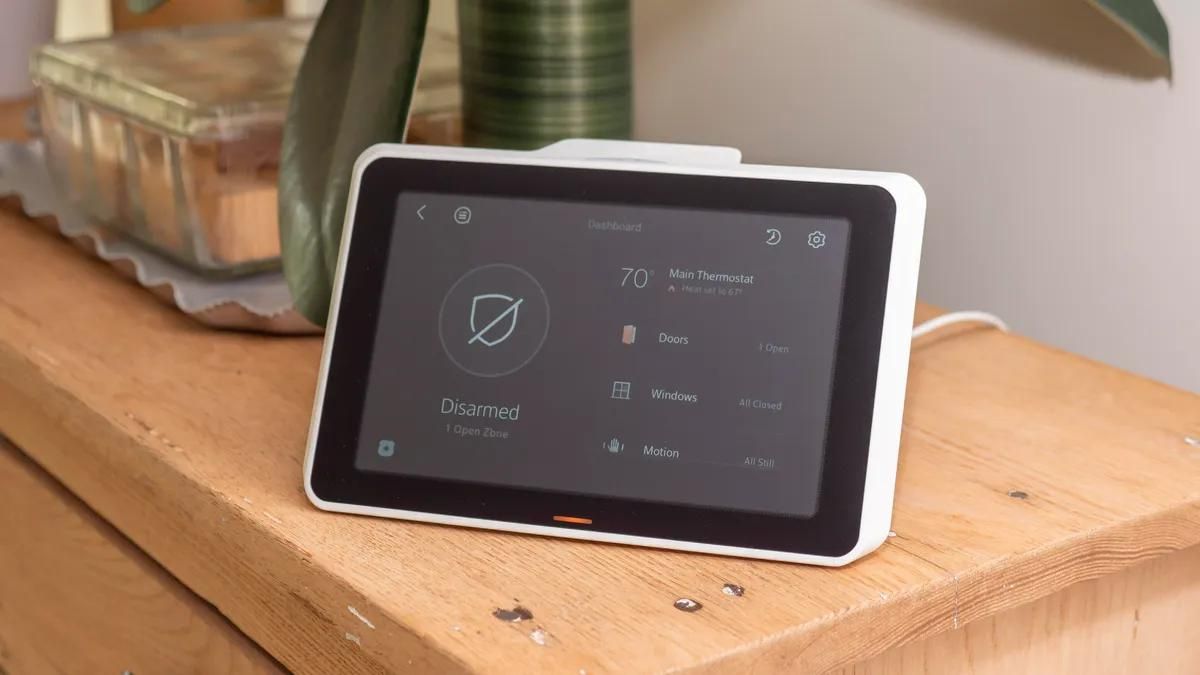
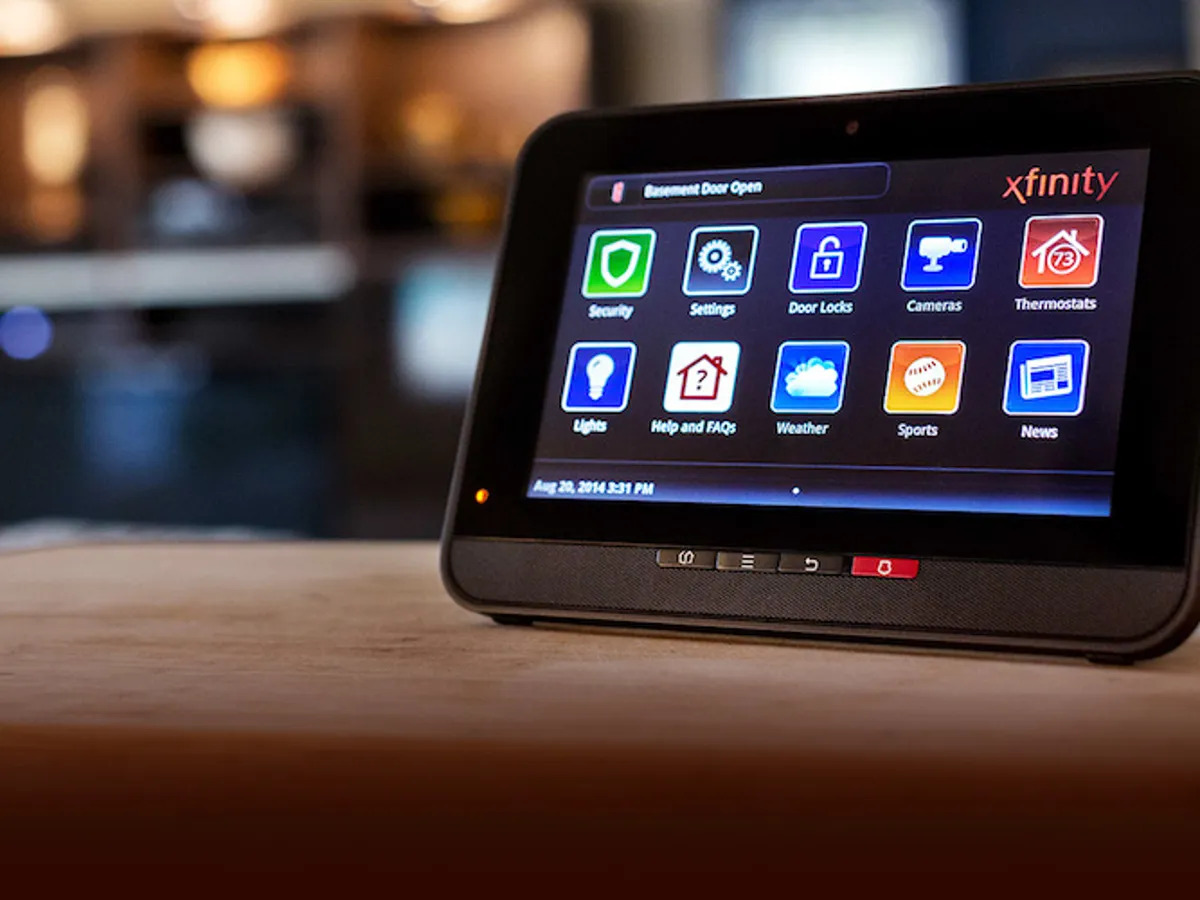
- Touchscreen Control Panel: If you have a touchscreen control panel installed as part of your Xfinity Home Security system, you can access it directly by tapping or swiping on the screen. The control panel provides a centralized hub for managing your security settings and clearing zones.
Once you have accessed your Xfinity Home Security system, you will be ready to proceed with the next steps to clear a zone. Whether you prefer using the mobile app, web portal, or touchscreen control panel, the following steps will guide you through the process of identifying and clearing the desired zone.
Now that you have successfully accessed your Xfinity Home Security system, let’s move on to the next step: identifying the zone you wish to clear.
Step 2: Identifying the Zone to Clear
Before clearing a zone on your Xfinity Home Security system, it is important to correctly identify the specific zone you wish to clear. Each zone represents a distinct area or sensor within your home security system.
To identify the zone you want to clear, follow these steps:
- If you are using the mobile app or web portal, navigate to the “Settings” or “Devices” section. This area will provide you with a list of all the zones configured in your Xfinity Home Security system.
- Alternatively, if you are using a touchscreen control panel, look for a “Zones” or “Devices” menu option. Selecting this option will display a list of all the zones in your system.
- Once you have accessed the list of zones, carefully examine the names or labels assigned to each zone. These names are typically assigned during the initial setup of your Xfinity Home Security system and should provide you with enough information to identify the desired zone.
- Pay attention to details such as room names, entry points (e.g., front door, back door), or specific sensor locations (e.g., living room motion sensor). Use any available descriptors to help you pinpoint the zone you wish to clear.
If you are unsure about the name or label assigned to a particular zone, you can also trigger the zone intentionally, such as opening a door or triggering a motion sensor. This will allow you to identify the corresponding zone on your Xfinity Home Security system when it registers the activity.
Now that you have successfully identified the zone you want to clear, let’s move on to the next step: disarming the zone.
Step 3: Disarming the Zone
Once you have identified the specific zone you want to clear on your Xfinity Home Security system, the next step is to disarm the zone. Disarming the zone will temporarily disable any alerts or notifications associated with that particular zone.
To disarm the zone, follow these steps:
- If you are using the mobile app or web portal, navigate to the “Settings” or “Devices” section, where you previously accessed the list of zones.
- Locate the zone you want to disarm and look for an option to disarm or deactivate it. This option may be represented by a toggle button or a disarm icon.
- Activate the disarm option by tapping the toggle button or selecting the disarm icon. This will send a command to your Xfinity Home Security system to disable the alerts and notifications for the selected zone.
If you are using a touchscreen control panel, the process of disarming the zone may vary slightly. Look for a “Disarm” or “Deactivate” menu option, typically located within the zone settings or configuration area. Select the appropriate option and follow any on-screen prompts to confirm the disarm command.
It’s worth noting that disarming a zone does not permanently remove it from your Xfinity Home Security system. The zone will remain in your configuration, allowing you to easily rearm it at a later time if desired.
Now that you have successfully disarmed the zone, let’s move on to the next step: clearing the zone.
To clear a zone on Xfinity Home Security, access the system settings on your control panel or mobile app. Locate the option to manage sensors and choose the zone you want to clear. Follow the prompts to clear the zone and ensure it is functioning properly.
Step 4: Clearing the Zone
After disarming the zone on your Xfinity Home Security system, the next step is to clear the zone. Clearing the zone will reset any previous triggers or alarm conditions associated with that particular zone.
To clear the zone, follow these steps:
- If you are using the mobile app or web portal, navigate to the “Settings” or “Devices” section where you previously accessed the list of zones.
- Locate the zone you want to clear and look for an option to clear or reset it. This option may be represented by a reset button or a clear icon.
- Activate the clear option by tapping the reset button or selecting the clear icon. This will initiate the clearing process for the selected zone.
If you are using a touchscreen control panel, the process of clearing the zone may be different. Look for a “Clear” or “Reset” menu option specifically associated with the zone you want to clear. Once located, select the appropriate option and follow any on-screen prompts to initiate the clearing process.
During the clearing process, your Xfinity Home Security system will reset the zone to its default state, ready to detect and trigger alerts as needed. This step is particularly useful after a false alarm or if you want to reset the zone’s status after addressing an issue or making adjustments.
Now that you have successfully cleared the zone, let’s move on to the final step: verifying that the zone is cleared.
Read more: How To Connect Xfinity Home Security To Wifi
Step 5: Verifying the Zone is Cleared
After clearing a zone on your Xfinity Home Security system, it is important to verify that the zone has indeed been cleared and is functioning as intended. This step ensures that the zone is ready to detect any new triggers or alarm conditions without interference from previous events.
To verify that the zone is cleared, follow these steps:
- If you are using the mobile app or web portal, navigate to the “Status” or “Overview” section. This area will provide you with an overview of the current status of your Xfinity Home Security system.
- Look for the zone you have cleared and check its status. It should reflect a cleared or normal status, indicating that the zone has been successfully cleared.
- If you are using a touchscreen control panel, locate the status indicator associated with the cleared zone. It should display a cleared or normal status, confirming that the zone is ready for new triggers.
Additionally, you can perform a quick test by intentionally triggering the cleared zone, such as opening a door or crossing the motion sensor’s detection area. If your Xfinity Home Security system registers the activity and activates the appropriate alerts or notifications, it is an indication that the zone is fully cleared and functioning correctly.
By verifying that the zone is cleared, you can have peace of mind knowing that your Xfinity Home Security system is back in optimal condition and ready to protect your home.
Congratulations! You have successfully completed the process of clearing a zone on your Xfinity Home Security system. You can now confidently manage and customize your security settings to ensure the safety and protection of your home and loved ones.
Remember, being familiar with the ins and outs of your home security system empowers you to make the most of its features and functionality. Whether it’s clearing zones, adjusting settings, or addressing any issues that may arise, you are now equipped with the knowledge to navigate your Xfinity Home Security system with ease.
Conclusion
Clearing a zone on your Xfinity Home Security system is a simple yet important task that allows you to reset specific areas and address false alarms. By following the step-by-step guide outlined in this article, you have gained the knowledge and confidence to navigate the process with ease.
Throughout the process, we discussed the various methods of accessing your Xfinity Home Security system, such as through the mobile app, web portal, or touchscreen control panel. We then walked you through the steps of identifying the zone you want to clear, disarming the zone to temporarily disable alerts and notifications, clearing the zone to reset any previous triggers or alarm conditions, and finally, verifying that the zone is cleared and ready for new triggers.
It’s crucial to know the ins and outs of your Xfinity Home Security system so that you can effectively manage and customize your security settings. Whether you need to address false alarms, make adjustments, or reset zones after resolving issues, understanding how to clear a zone gives you the confidence and control to safeguard your home and loved ones.
Remember to consult your Xfinity Home Security system’s user manual for any specific instructions or variations that may apply to your model. Additionally, stay up to date with any firmware or software updates provided by Xfinity, as they may introduce new features or improvements to enhance the performance and functionality of your system.
We hope this article has provided you with valuable insights on how to clear a zone on your Xfinity Home Security system. With this knowledge, you can now effectively manage your security settings and ensure the safety of your home. Stay safe and secure!
Now that you've mastered clearing a zone on your Xfinity Home Security system, why stop there? Enhance your safety with our insightful guide on why home security is indispensable. Also, stay ahead of tech trends by exploring our roundup of the top home automation systems for 2024. Keep your living space modern and secure!
Frequently Asked Questions about How To Clear A Zone On Xfinity Home Security
Was this page helpful?
At Storables.com, we guarantee accurate and reliable information. Our content, validated by Expert Board Contributors, is crafted following stringent Editorial Policies. We're committed to providing you with well-researched, expert-backed insights for all your informational needs.