Home>Home Security and Surveillance>How To Delete Video On Xfinity Home Security

Home Security and Surveillance
How To Delete Video On Xfinity Home Security
Modified: May 6, 2024
Learn how to delete videos on Xfinity Home Security with our step-by-step guide. Ensure your home security and surveillance footage is managed effectively.
(Many of the links in this article redirect to a specific reviewed product. Your purchase of these products through affiliate links helps to generate commission for Storables.com, at no extra cost. Learn more)
Introduction
Xfinity Home Security offers users a comprehensive and reliable solution for protecting their homes and loved ones. With a variety of features, including video surveillance, it allows homeowners to monitor their property remotely and receive alerts in case of any security breaches. However, as users accumulate a vast amount of video footage over time, it is essential to know how to manage and delete these videos effectively.
In this article, we will guide you through the process of deleting videos on Xfinity Home Security, ensuring that you can keep your video storage organized and maximize the system’s recording capacity. Whether you want to free up space for new recordings or remove footage that is no longer needed, we have got you covered. So let’s dive in and explore how to delete video on Xfinity Home Security.
Key Takeaways:
- Keep your Xfinity Home Security system organized and efficient by deleting unwanted videos to free up storage space and ensure smooth operation.
- Confirm the successful deletion of videos and use troubleshooting tips if needed to address any issues during the deletion process.
Read more: How To Set Wireless Security Mode On Xfinity
Understanding Xfinity Home Security
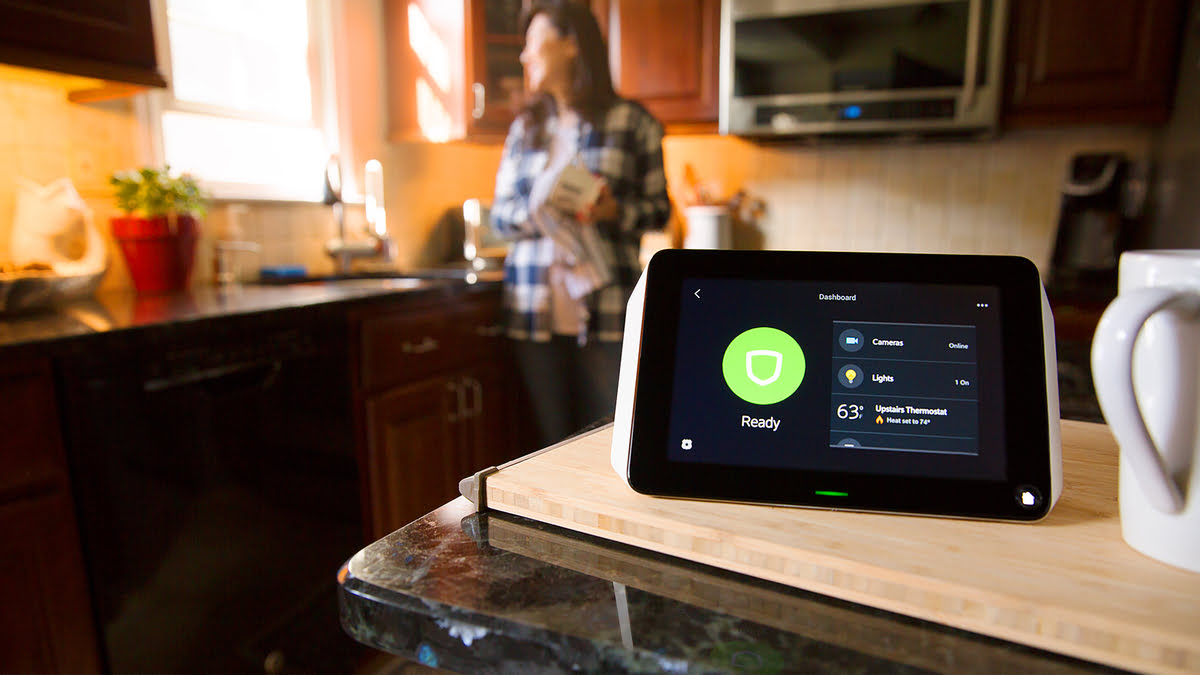
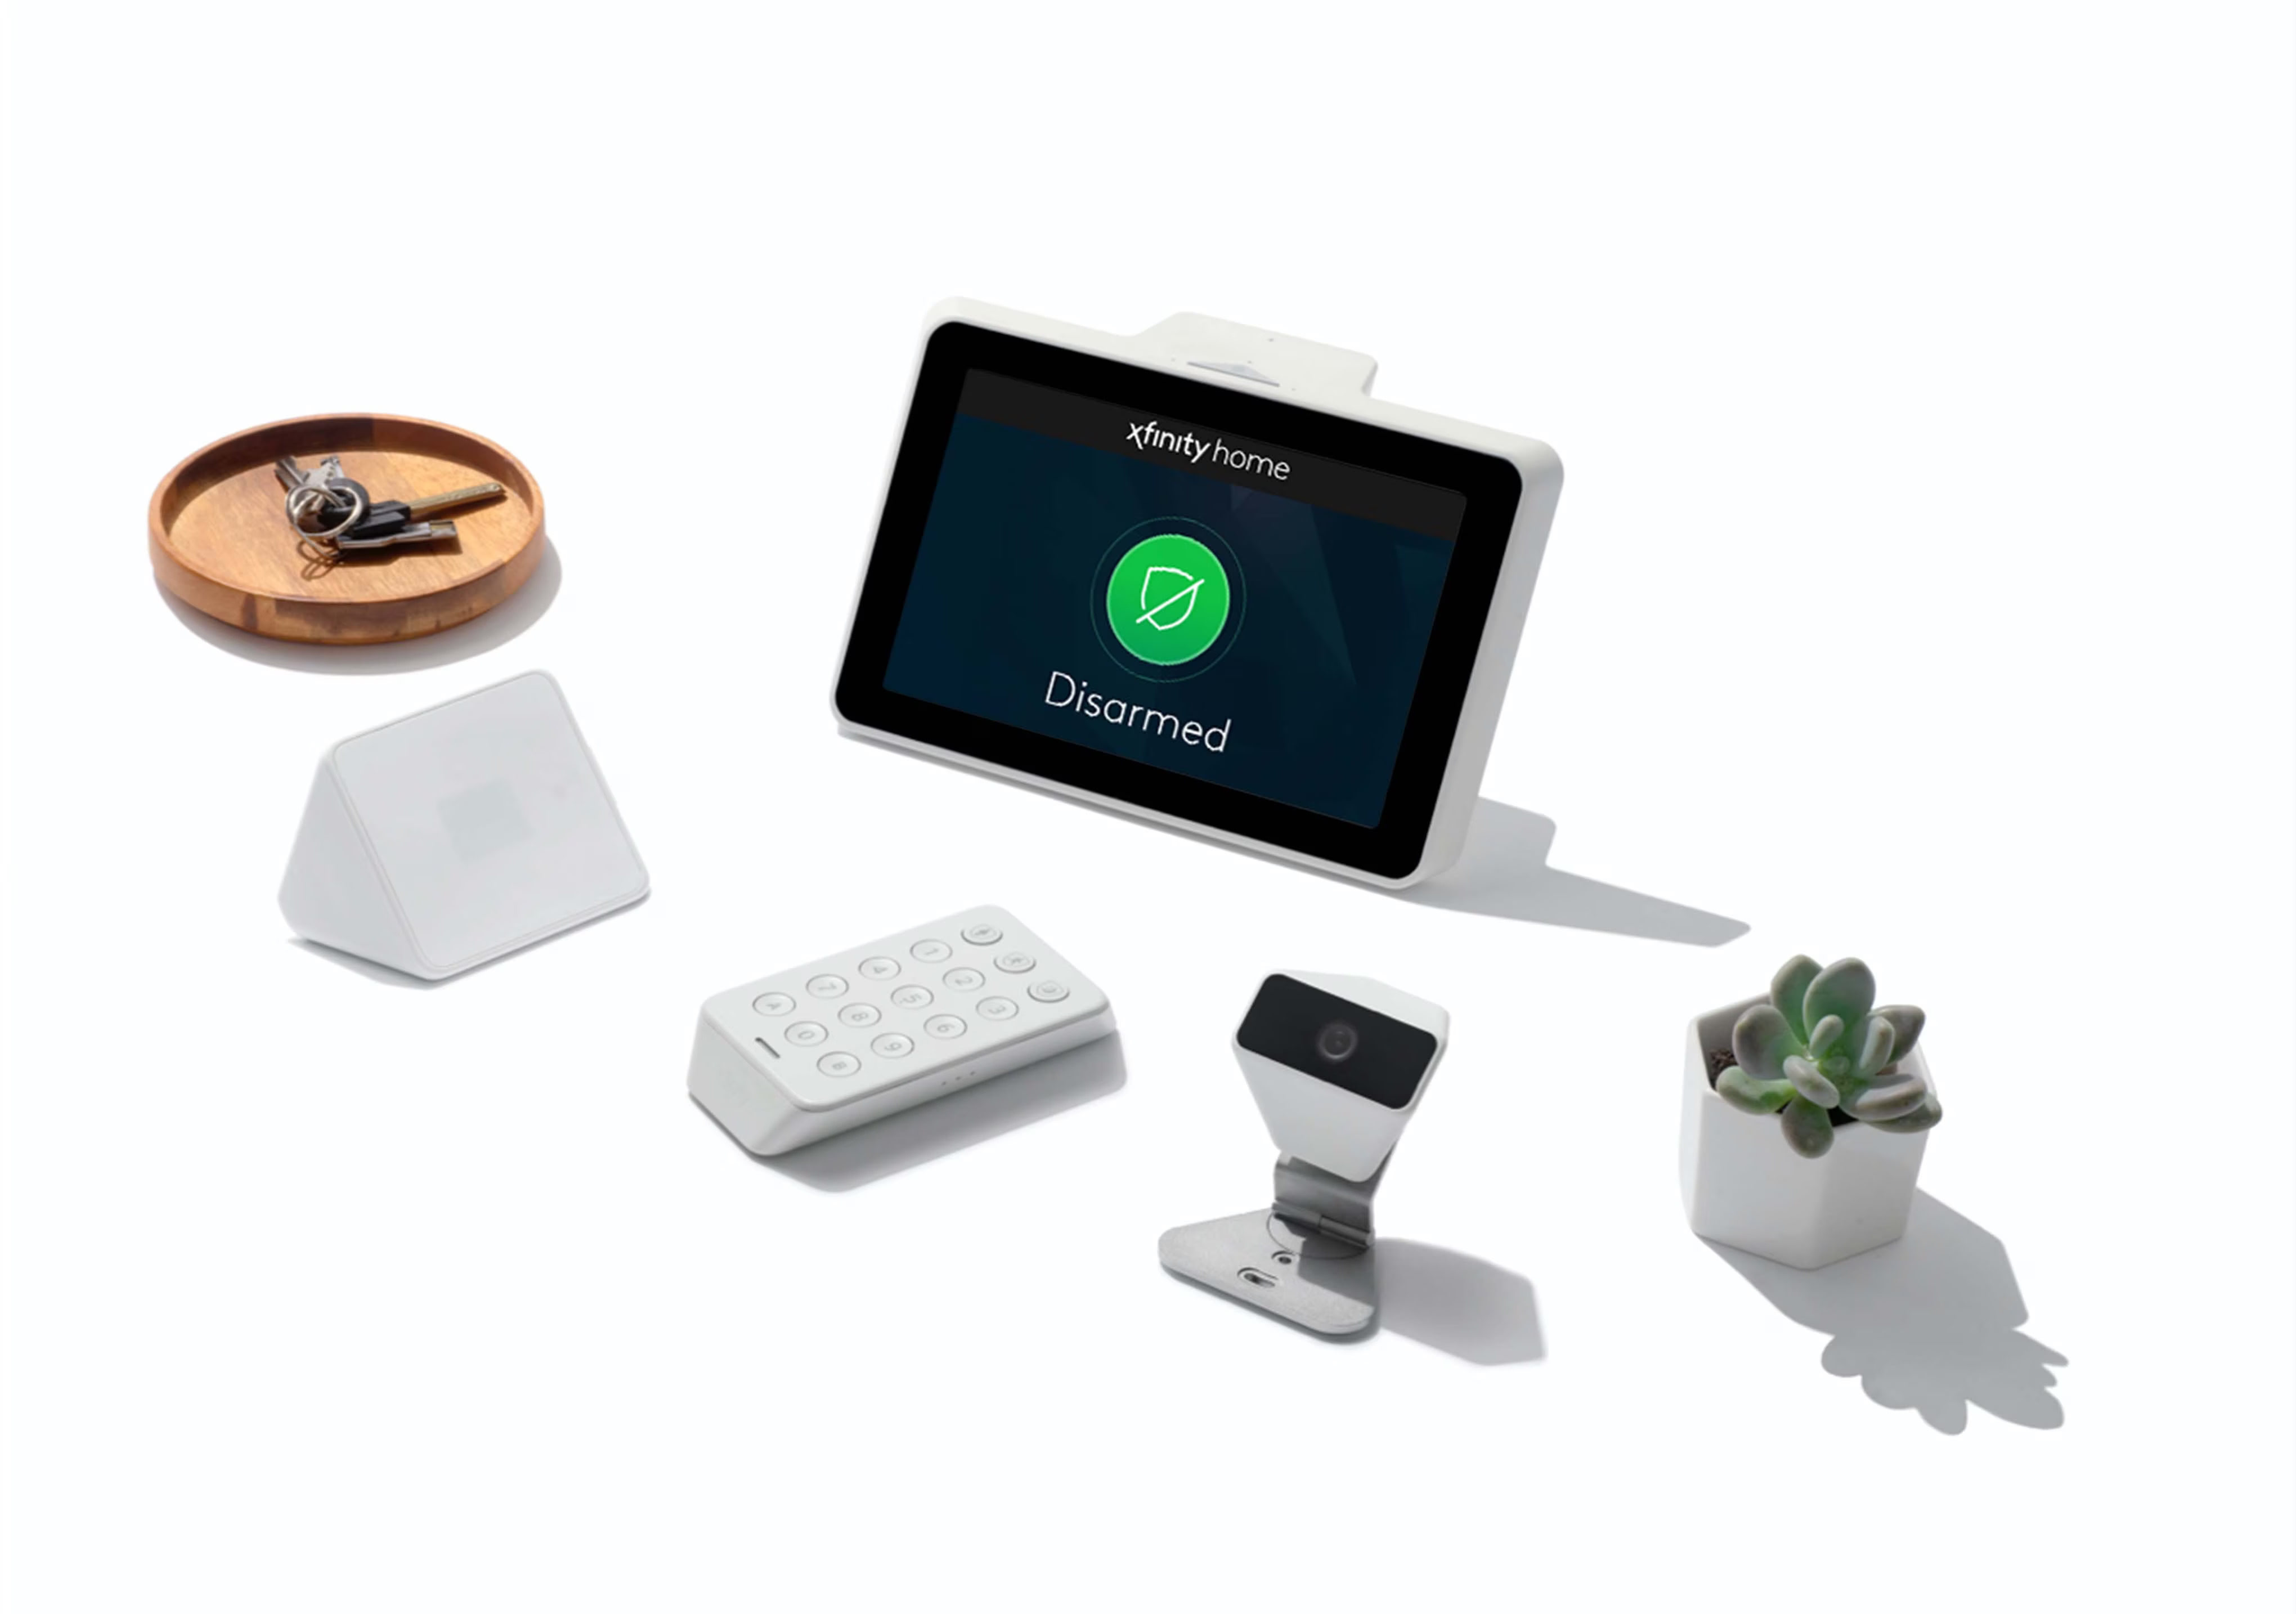
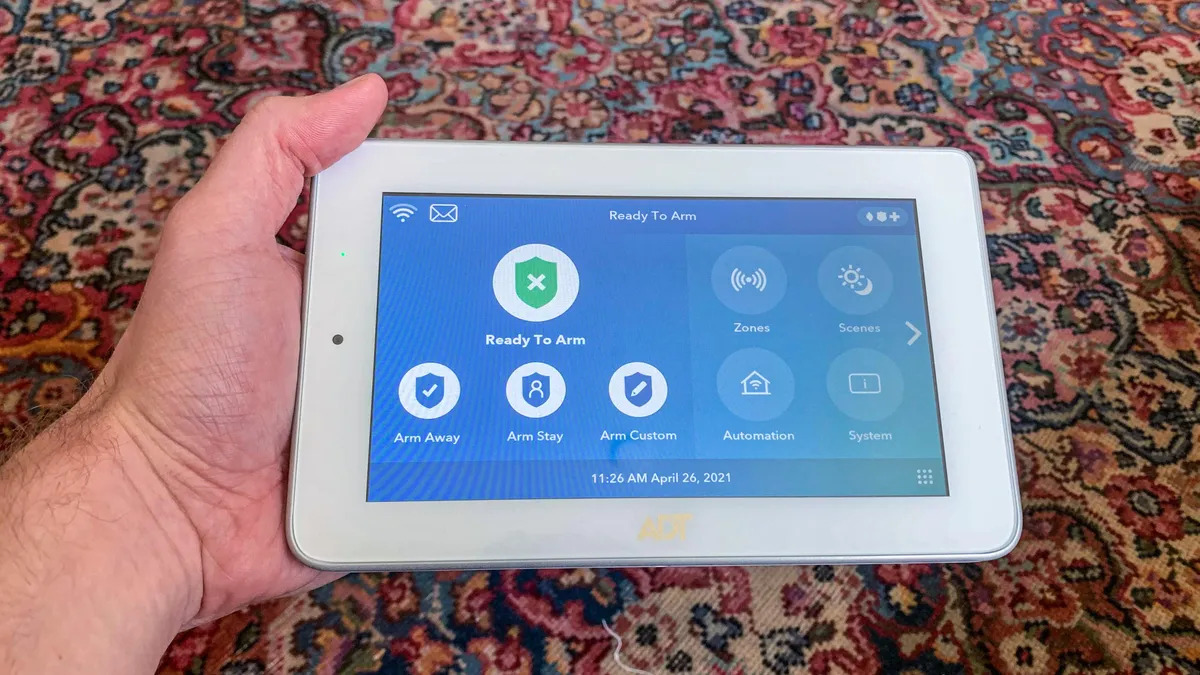
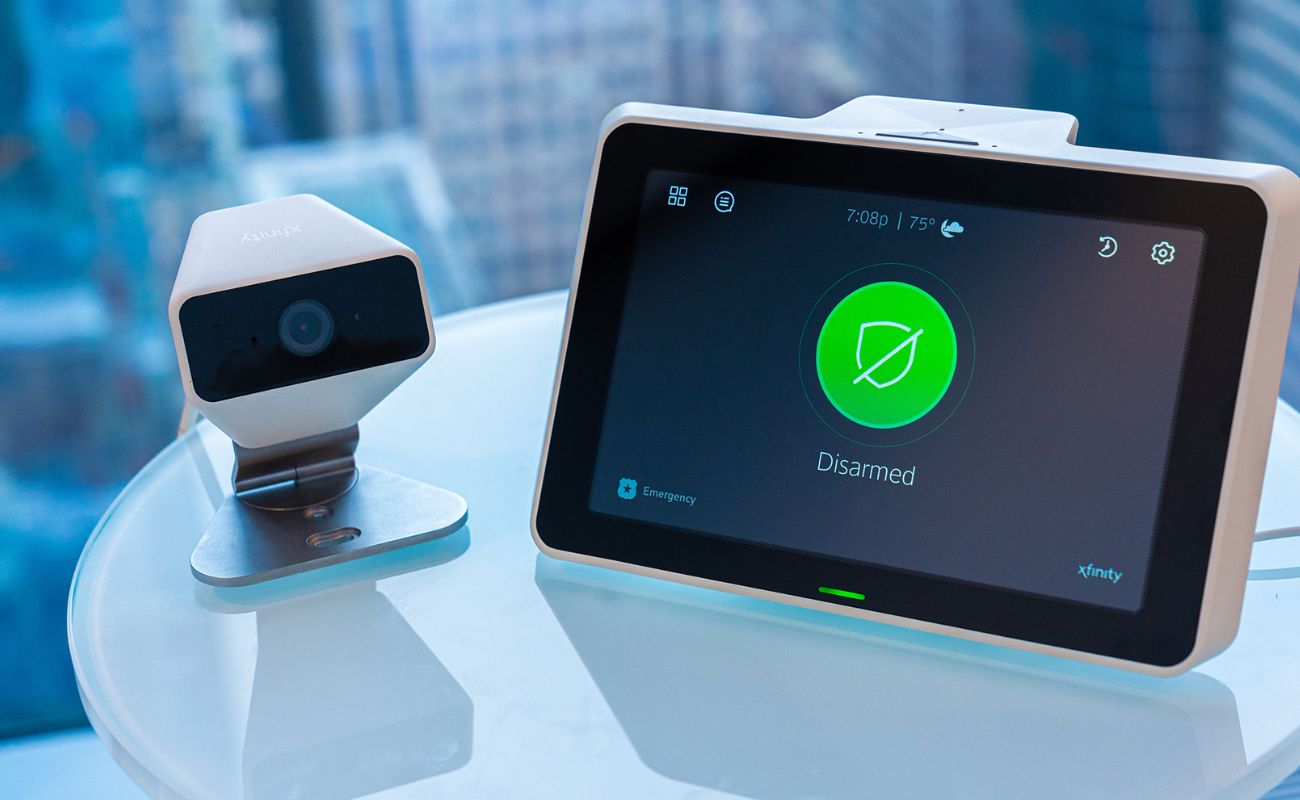
Xfinity Home Security is a comprehensive home security and surveillance system provided by Xfinity, a leading provider of internet, cable TV, and home security services. This system offers homeowners peace of mind by allowing them to monitor their homes remotely and receive real-time alerts in cases of unusual activity or security breaches.
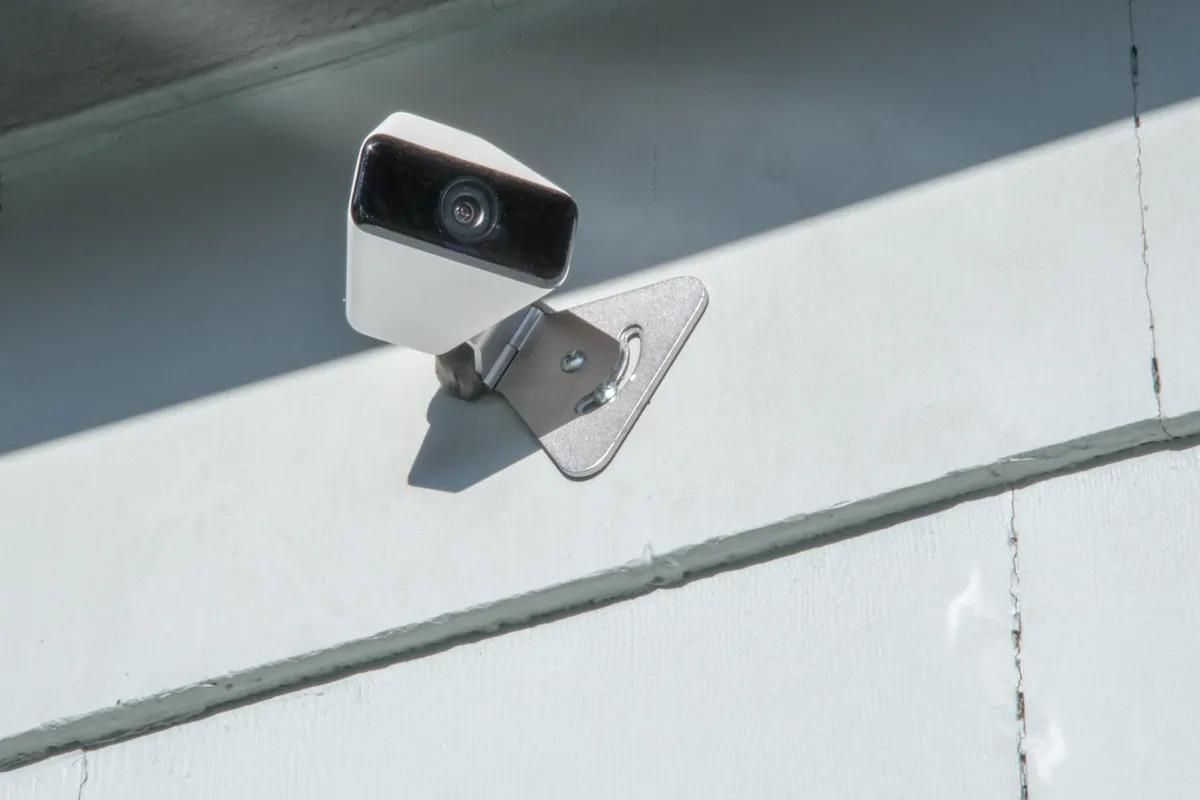
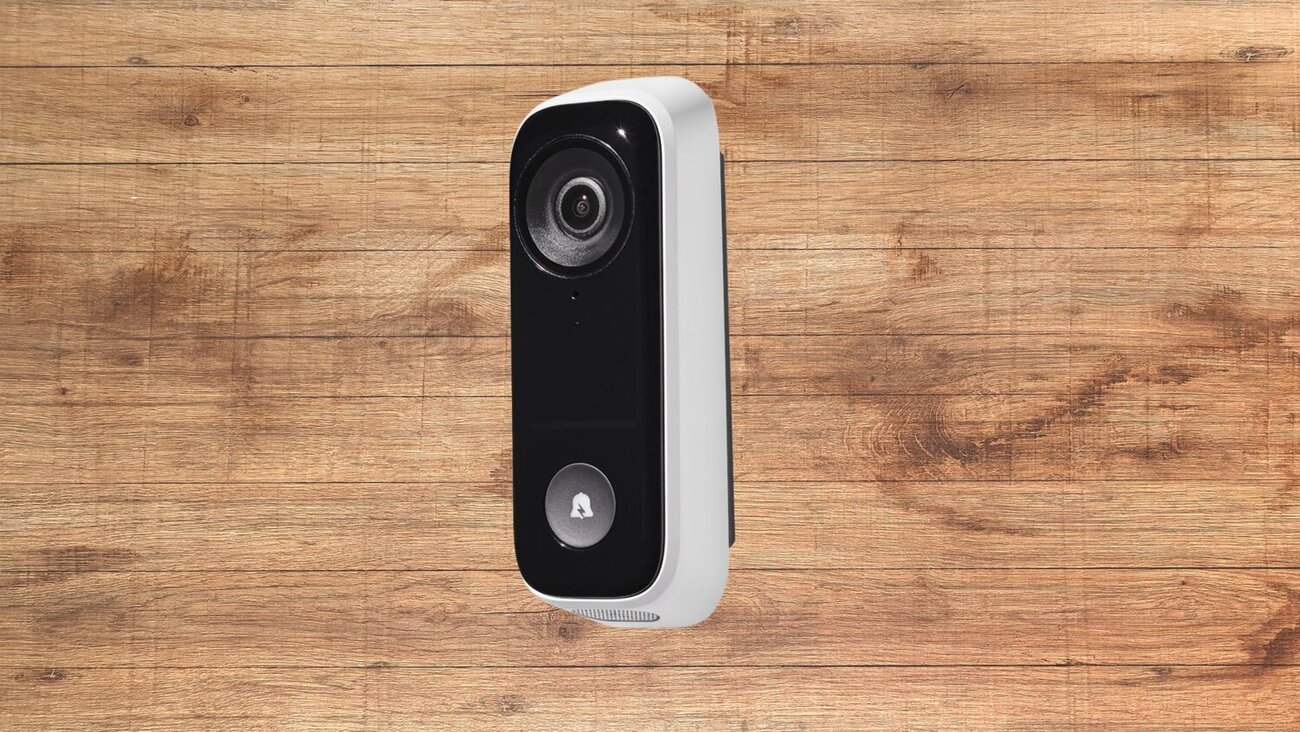
One of the key features of Xfinity Home Security is its video surveillance capabilities. Users can set up cameras in various areas of their homes, both indoors and outdoors, to capture video footage of their property. This footage can be accessed and reviewed through the Xfinity Home Security platform, available through a web browser or the Xfinity Home app on mobile devices.
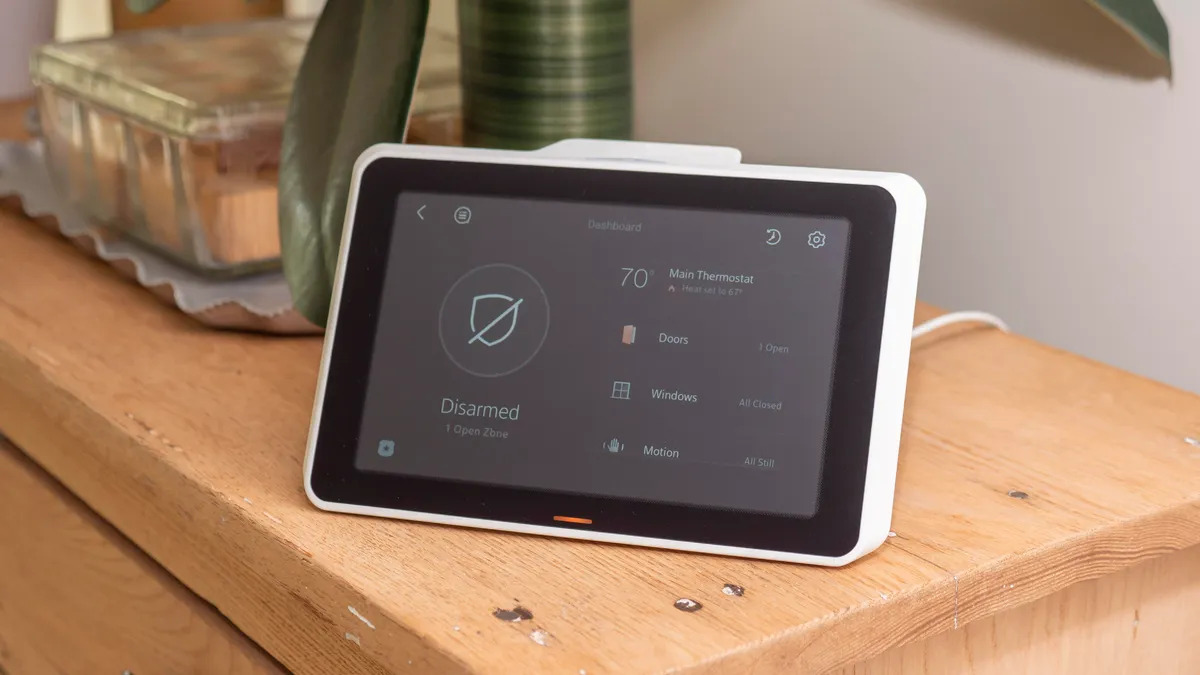
With Xfinity Home Security, you can view live video feeds from your cameras, review recorded video clips, and receive motion-triggered alerts. This allows you to keep an eye on your home, even when you’re away, and take prompt action if any security issues arise.
As video footage accumulates over time, it’s crucial to manage and delete unwanted videos to optimize storage space and ensure seamless operation of the system. In the next sections, we will explore how to access the Xfinity Home Security platform and locate the videos you wish to delete.
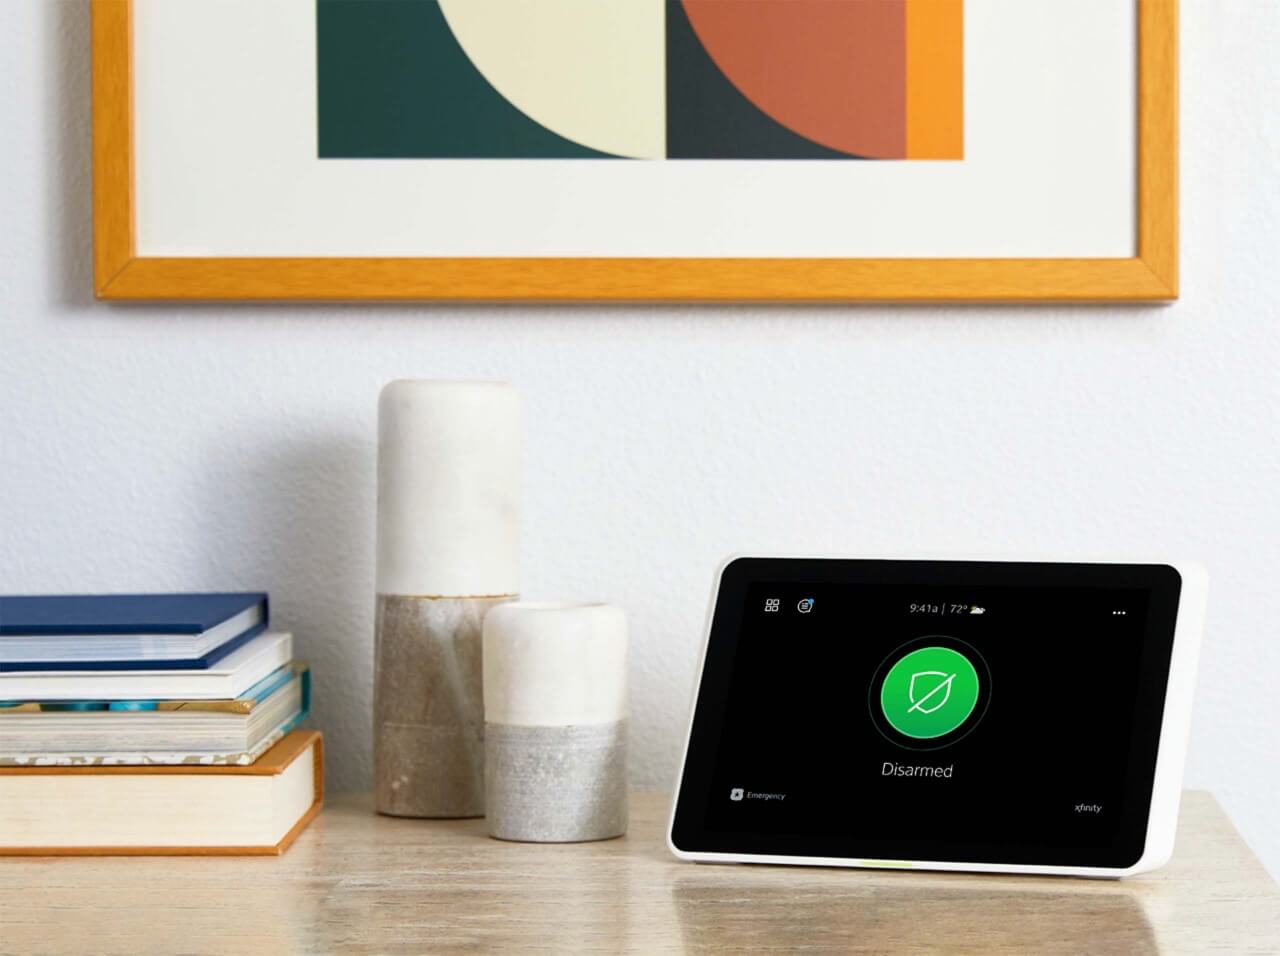
Accessing the Xfinity Home Security Platform
To start deleting videos on Xfinity Home Security, you will first need to access the Xfinity Home Security platform. There are two primary ways to do this: through a web browser or the Xfinity Home app on your mobile device. Let’s take a closer look at both methods:
Web Browser: Open a web browser on your computer and navigate to the Xfinity Home Security website. Sign in using your Xfinity username and password. Once logged in, you will have access to the full range of features and settings for your Xfinity Home Security system.
Xfinity Home App: If you prefer to access your Xfinity Home Security system on the go, you can download the Xfinity Home app on your mobile device. The app is available for both iOS and Android devices and can be easily found in their respective app stores. Install the app, launch it, and sign in using your Xfinity credentials to gain access to your home security system.
Once you have successfully accessed the Xfinity Home Security platform, you can proceed to locate the specific video or videos that you want to delete. The next section will guide you through this process.
Locating the Video to Be Deleted
Once you have accessed the Xfinity Home Security platform, locating the specific video or videos that you want to delete is a straightforward process. Follow these steps to find the video you wish to remove:
- On the Xfinity Home Security platform, navigate to the “Videos” or “Recordings” section. The exact name may vary based on your system’s interface.
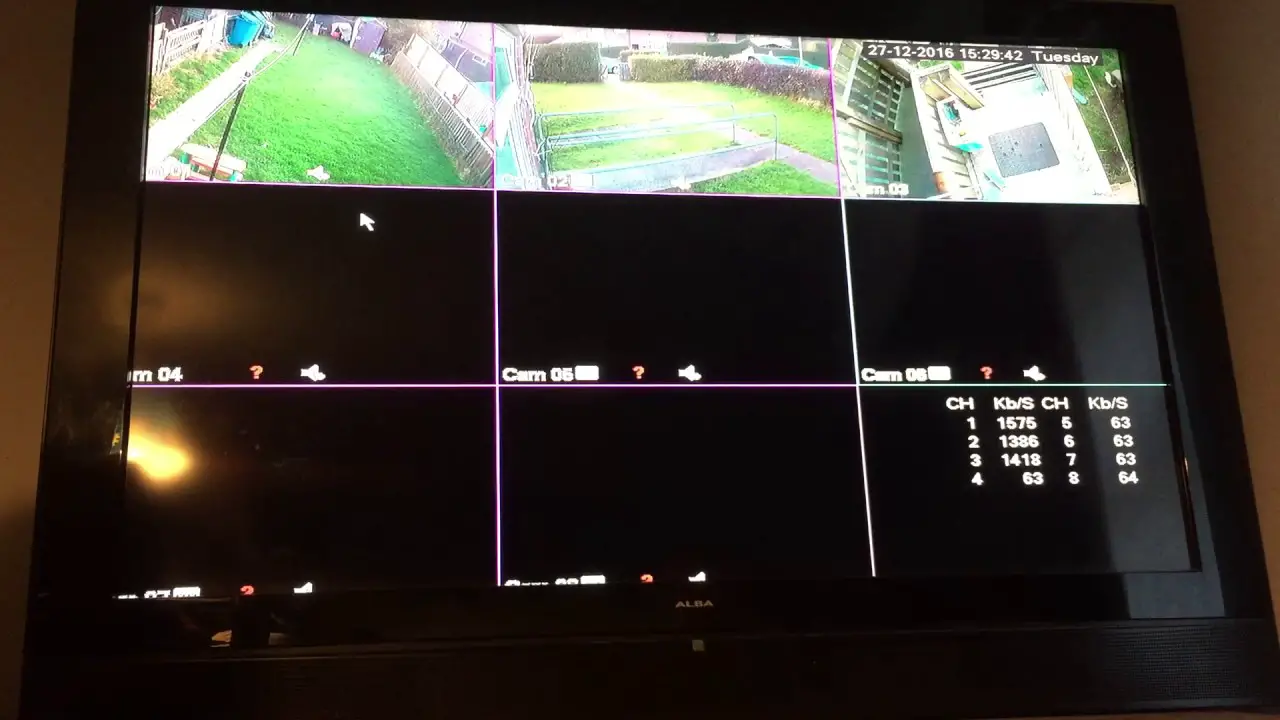
- You will typically see a list or grid view of recorded videos. Depending on the system’s settings and your preferences, the videos may be categorized by date, time, or camera location.
- Browse through the available videos or use the search function to find the specific video you want to delete.
- Take note of any relevant details that can help you identify the correct video. This can include the date, time, and camera location.
- If you have a large number of videos to manage, you can also use filtering options, such as date ranges or specific cameras, to narrow down your search.
By following these steps, you will be able to locate the video you want to delete on the Xfinity Home Security platform. Once you have found the video, you can proceed to delete it using the platform’s built-in options, as explained in the next section.
To delete a video on Xfinity Home Security, log in to your account, go to the video section, select the video you want to delete, and then click on the delete option. Make sure to confirm the deletion to permanently remove the video from your account.
Deleting a Video on Xfinity Home Security
Once you have located the video you wish to delete on the Xfinity Home Security platform, you can now proceed to remove it. Xfinity Home Security provides users with an intuitive interface that makes video deletion a straightforward process. Here’s how you can delete a video:
- Identify the video you want to delete from the list or grid view of recordings.
- Select the video by clicking on it or ticking the checkbox next to it. This action will usually activate options for managing the selected video, such as deleting or downloading it.
- To delete the video, look for the delete option, which may be represented by a trash bin icon or a “Delete” button. Click on this option to initiate the deletion process.
- Confirm the deletion. Depending on the platform, you may be prompted to confirm your action. This step helps prevent accidental deletion of videos.
By following these steps, you will successfully delete the selected video from your Xfinity Home Security system. It’s important to note that the video will be permanently removed and cannot be recovered after deletion, so make sure you have selected the correct video before proceeding.
Now that you know how to delete a video on Xfinity Home Security, let’s move on to the next section, where we cover how to confirm the deletion and make sure that the video has been successfully removed from the system.
Read more: How To Connect Xfinity Home Security To Wifi
Confirming the Deletion
After deleting a video on Xfinity Home Security, it’s essential to confirm that the deletion was successful to ensure that the video is no longer stored in your system. Here’s how you can do it:
- Return to the “Videos” or “Recordings” section of the Xfinity Home Security platform.
- Check if the deleted video is still visible in the list or grid view. If you no longer see it, it means the deletion was successful, and the video has been removed.
- For additional assurance, you can try playing the video to ensure it is no longer accessible. If an error message or a blank screen appears, it indicates that the video has been successfully deleted.
If you encounter any issues during this confirmation process, or if the video still appears after deletion, it’s important to troubleshoot the problem to ensure the deleted video is properly removed from your Xfinity Home Security system. The next section provides some troubleshooting tips to help you in such situations.
By confirming the deletion, you can have peace of mind knowing that the video has been successfully removed from your Xfinity Home Security system and that it will no longer occupy storage space or be accessible through the platform.
Now that you are aware of how to confirm the deletion, let’s move on to the following section to explore some troubleshooting tips that can help you in case you encounter any issues with video deletion.
Troubleshooting Tips for Video Deletion
While deleting videos on Xfinity Home Security is generally a straightforward process, you may encounter occasional issues or challenges. Here are some troubleshooting tips to help you resolve any problems you may face:
- Refresh the Page: If you delete a video and it’s still visible in the list, try refreshing the page or reopening the Xfinity Home app. Sometimes, the platform may require a refresh to reflect the changes.
- Clear Cache: Clearing the cache of your web browser or the Xfinity Home app can help resolve issues related to video deletion. Cache files can sometimes interfere with the proper functioning of the platform. Clearing them will ensure you are working with the most up-to-date version of the system.
- Contact Customer Support: If you’re experiencing persistent issues with video deletion or if the deleted video continues to appear, it’s advisable to reach out to Xfinity Home Security’s customer support. They have the expertise to troubleshoot system-specific issues and provide the necessary guidance to resolve the problem.
- Double-check Selection: Before confirming the deletion, ensure that you have selected the correct video for deletion. Sometimes, accidentally selecting the wrong video can lead to confusion and frustration. Take a moment to double-check your selection before proceeding.
- Verify Network Connection: Poor network connectivity can sometimes interfere with the deletion process. Make sure you have a stable internet connection when attempting to delete a video. If the connection is weak, consider moving closer to the router or resetting your modem or router.
By following these troubleshooting tips, you can enhance your experience with deleting videos on Xfinity Home Security and address any issues that may arise. Remember, if you encounter persistent problems, don’t hesitate to seek assistance from Xfinity Home Security’s customer support for further guidance.
Now that we have explored troubleshooting tips, let’s conclude our article on deleting video on Xfinity Home Security.
Conclusion
Deleting unwanted videos on Xfinity Home Security is a crucial step in managing and optimizing your home security system. By removing unnecessary footage, you can free up storage space, ensure smooth operation, and maintain an organized collection of videos.
In this article, we provided a comprehensive guide on how to delete videos on Xfinity Home Security. We covered the process of accessing the Xfinity Home Security platform through a web browser or the Xfinity Home app. We also explained how to locate specific videos to be deleted and provided step-by-step instructions for deleting them.
We emphasized the importance of confirming the deletion to ensure that the video has been successfully removed from the system. We also provided troubleshooting tips to address any issues that may arise during the deletion process, such as refreshing the page, clearing the cache, verifying the selection, and contacting customer support if needed.
By following these steps and tips, you can effectively manage your video recordings on Xfinity Home Security and maintain a well-organized and efficient home security system.
Remember, Xfinity Home Security offers much more than just video surveillance. It’s a comprehensive solution that includes features like motion detection, real-time alerts, and remote access, all designed to enhance the security of your home. Make sure to explore the other capabilities of Xfinity Home Security to maximize its benefits.
We hope this article has provided you with the guidance you need to delete videos effectively on Xfinity Home Security. With these skills, you can keep your system running smoothly and enjoy the peace of mind that comes with a well-managed home security system.
Stay safe and secure!
Curious about what else your Xfinity system can offer? Our guide on Xfinity Home Security dives into all the extras included with your package, ensuring you make the most of your investment. For those looking to enhance their home protection without breaking the bank, our review on security cameras provides cost-effective solutions that don't skimp on quality. And if you're a fan of clever gadgetry, don't miss our innovative ideas on home surveillance techniques that keep your privacy intact while securing your space.
Frequently Asked Questions about How To Delete Video On Xfinity Home Security
Was this page helpful?
At Storables.com, we guarantee accurate and reliable information. Our content, validated by Expert Board Contributors, is crafted following stringent Editorial Policies. We're committed to providing you with well-researched, expert-backed insights for all your informational needs.