Home>Home Security and Surveillance>How To Build A Motion Detector Alarm System
Home Security and Surveillance
How To Build A Motion Detector Alarm System
Modified: March 6, 2024
Learn how to build a motion detector alarm system for your home security and surveillance needs. Protect your property with this DIY project!
(Many of the links in this article redirect to a specific reviewed product. Your purchase of these products through affiliate links helps to generate commission for Storables.com, at no extra cost. Learn more)
Introduction
Welcome to the world of home security and surveillance! With the increasing concern for safety, it has become essential to protect our homes from potential threats. One effective way to ensure the security of our homes is by using a motion detector alarm system. In this article, we will guide you on how to build your own motion detector alarm system using simple components and an Arduino.
A motion detector alarm system is designed to detect any movement within its range and trigger an alarm to alert the homeowners. This can be a useful tool to prevent break-ins, intrusions, or unauthorized access to your property. By building your own motion detector alarm system, you have the advantage of customization and cost-effectiveness.
Before we dive into the technical aspects, it’s important to understand the basic components required for this project. These components can be easily found in electronic stores or online:
- Arduino Uno board
- Passive Infrared (PIR) sensor
- Breadboard
- Connecting wires
- Buzzer or siren module
- LEDs
- Resistors
The Arduino Uno board is the brain of our system. It is an open-source microcontroller platform that allows us to control various electronic components. The PIR sensor is the key component responsible for detecting motion. It works by detecting changes in infrared radiation emitted by objects in its field of view. The breadboard, connecting wires, and resistors are used for circuit connections, while the buzzer or siren module and LEDs provide the audible and visual alert signals.
Now that we have our components ready, let’s move on to the circuit diagram. This visual representation will guide us in connecting the components correctly.
Key Takeaways:
- Build your own motion detector alarm system using an Arduino, PIR sensor, buzzer, and LEDs for a customizable and cost-effective home security solution.
- Test and deploy your motion detector alarm system to safeguard your home, providing peace of mind and an extra layer of protection against potential threats.
Components Required
Before diving into the construction of our motion detector alarm system, let’s take a closer look at the components required for this project. Having a clear understanding of these components will help us build the system more efficiently.
1. Arduino Uno Board: The Arduino Uno board is the heart of our motion detector alarm system. It is a microcontroller-based development board that allows us to program and control various electronic components. The Arduino Uno is widely available and relatively easy to use, making it an ideal choice for this project.
2. Passive Infrared (PIR) Sensor: The PIR sensor is a crucial component of our motion detector alarm system. It works by detecting changes in infrared radiation emitted by objects in its field of view. When someone or something moves within the sensor’s range, it triggers an output signal that we can use to activate the alarm.
3. Breadboard: The breadboard is a fundamental tool for prototyping circuits. It provides a platform for arranging and connecting electronic components without the need for soldering. We will use the breadboard to create the circuit connections for our motion detector alarm system.
4. Connecting Wires: Connecting wires are essential for establishing electrical connections between components on the breadboard and Arduino Uno board. We will use male-to-male jumper wires to connect the PIR sensor, buzzer or siren module, LEDs, and resistors to the Arduino Uno.
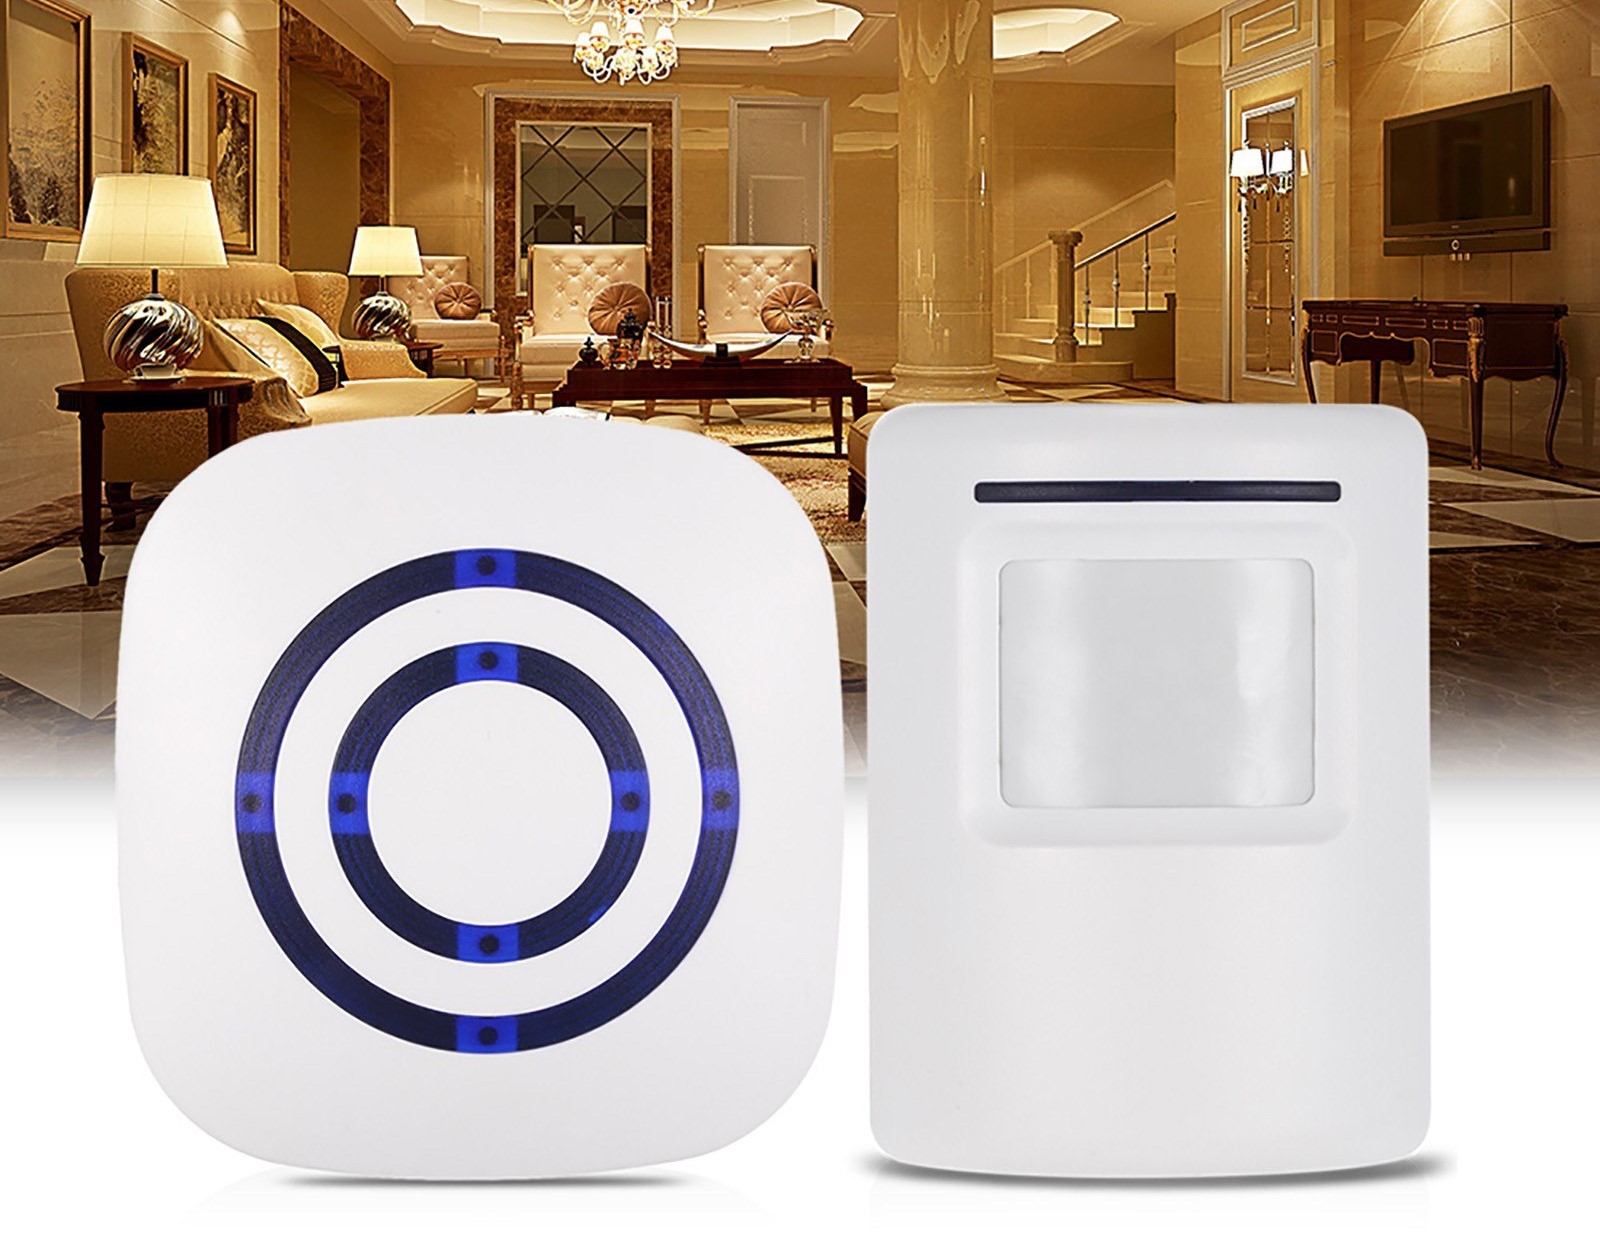
5. Buzzer or Siren Module: The buzzer or siren module is responsible for producing audible alarm signals when motion is detected. It emits a loud sound to alert the homeowners and potentially scare off intruders or unwanted visitors.
6. LEDs: Light-emitting diodes (LEDs) are small electronic components that emit light when an electrical current passes through them. We will use LEDs to create a visual indication of motion detection. When triggered, the LEDs will light up, providing a visual alert.
7. Resistors: Resistors are passive electronic components that limit the flow of electrical current in a circuit. We will use resistors in conjunction with the LEDs to control the current and prevent damage to the LEDs.
These are the main components required for our motion detector alarm system. Gathering these components before starting the project will ensure a smooth and hassle-free construction process. Once we have them ready, we can proceed to the next step, which is building the circuit for our motion detector alarm system.
Circuit Diagram
Now that we have a clear understanding of the components required, let’s proceed to the circuit diagram for our motion detector alarm system. The circuit diagram provides a visual representation of how the different components are connected, ensuring correct wiring and functionality.
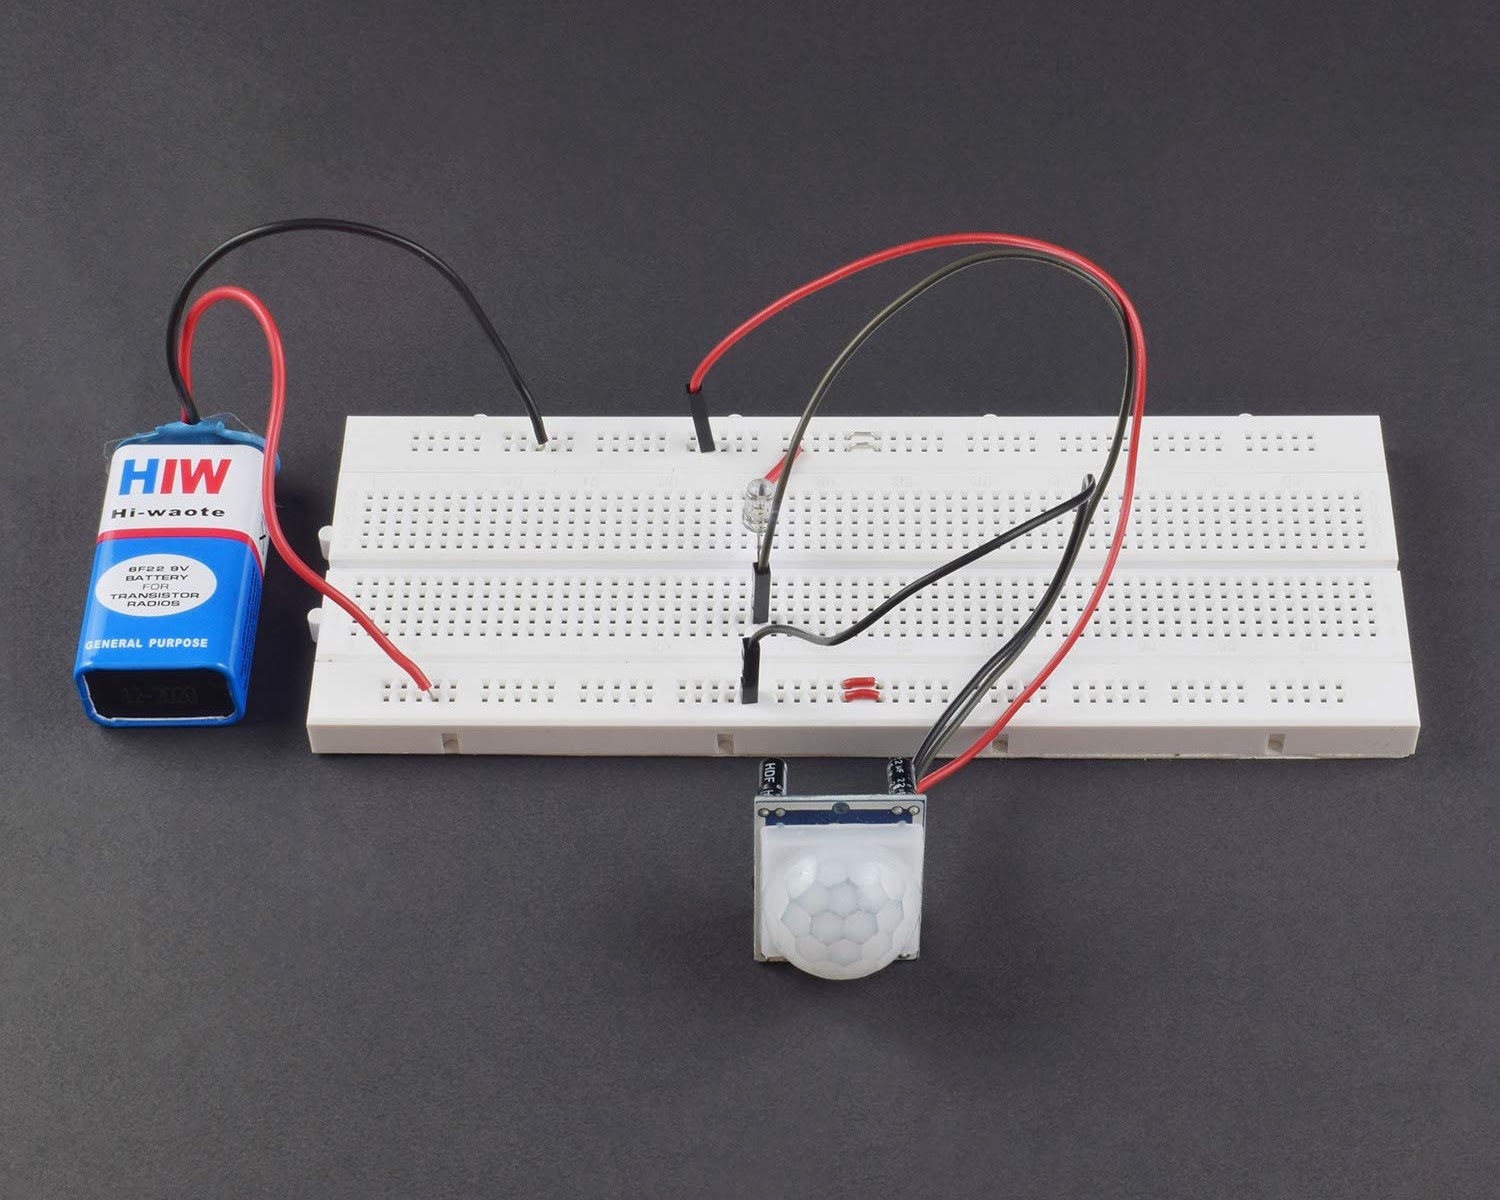
To begin, gather your Arduino Uno board, PIR sensor, breadboard, connecting wires, buzzer or siren module, LEDs, and resistors. Make sure you have a clear workspace with sufficient lighting that allows you to focus on the circuit construction.
Here is the circuit diagram for our motion detector alarm system:

Let’s break down the connections in the circuit diagram:
- Connect the VCC pin of the PIR sensor to the 5V pin of the Arduino Uno.
- Connect the GND pin of the PIR sensor to the GND pin of the Arduino Uno.
- Connect the OUT pin of the PIR sensor to the digital pin 2 of the Arduino Uno.
- Connect one terminal of the buzzer or siren module to digital pin 3 of the Arduino Uno.
- Connect the other terminal of the buzzer or siren module to the GND pin of the Arduino Uno.
- Connect the anode (longer leg) of each LED to a separate digital pin of the Arduino Uno (e.g., 4, 5, 6).
- Connect the cathode (shorter leg) of each LED to a current-limiting resistor (e.g., 220 ohms).
- Connect the other end of each current-limiting resistor to the GND pin of the Arduino Uno.
Ensure that the connections are secure and properly inserted into the breadboard. Double-check the connections against the circuit diagram to avoid any errors. Once you have successfully established the connections, we can move on to setting up the Arduino Uno for our motion detector alarm system.
Setting Up the Arduino
Now that we have our circuit connections in place, let’s move on to setting up the Arduino Uno for our motion detector alarm system. The Arduino Uno serves as the control center for our project, where we upload the code that will allow us to detect motion and trigger the alarm.
Here are the steps to set up the Arduino Uno:
- Connect the Arduino Uno to your computer using a USB cable.
- Open the Arduino IDE (Integrated Development Environment) on your computer.
- Select the appropriate board from the ‘Tools’ menu. In our case, it is the ‘Arduino Uno’.
- Select the correct port from the ‘Tools’ menu. The port should match the USB port to which the Arduino Uno is connected.
- Make sure the board and port are properly selected and click the ‘Upload’ button to load the code onto the Arduino Uno.
- Wait for the upload process to complete.
- Once the upload is successful, disconnect the Arduino Uno from the computer.
That’s it! The Arduino Uno is now set up and ready to operate our motion detector alarm system. The uploaded code will allow the Arduino to receive signals from the PIR sensor and activate the buzzer or siren module and LEDs when motion is detected.
Before moving on, ensure that the code for the motion detector alarm system is properly uploaded and that there are no error messages or warnings in the Arduino IDE. If everything looks good, we can proceed to the next step, which is programming the Arduino Uno.
When building a motion detector alarm system, make sure to position the sensor in a location where it can easily detect movement, such as near entry points or valuable items. Testing the system regularly will ensure it is working properly.
Programming the Arduino
Now that we have the Arduino Uno set up and ready, it’s time to program it to work as a motion detector alarm system. The program code will define the behavior of the system and instruct the Arduino on how to respond when motion is detected.
Here is the code for our motion detector alarm system:
arduino
int pirPin = 2; // PIR sensor output pin
int buzzerPin = 3; // Buzzer/Siren output pin
int ledPin1 = 4; // LED output pin 1
int ledPin2 = 5; // LED output pin 2
int ledPin3 = 6; // LED output pin 3
void setup() {
pinMode(pirPin, INPUT); // Set PIR sensor pin as input
pinMode(buzzerPin, OUTPUT); // Set buzzer/siren pin as output
pinMode(ledPin1, OUTPUT); // Set LED pin 1 as output
pinMode(ledPin2, OUTPUT); // Set LED pin 2 as output
pinMode(ledPin3, OUTPUT); // Set LED pin 3 as output
}
void loop() {
int motionDetected = digitalRead(pirPin); // Read the digital value from PIR sensor pin
if (motionDetected == HIGH) {
digitalWrite(buzzerPin, HIGH); // Activate the buzzer/siren
digitalWrite(ledPin1, HIGH); // Turn on LED 1
digitalWrite(ledPin2, HIGH); // Turn on LED 2
digitalWrite(ledPin3, HIGH); // Turn on LED 3
delay(2000); // Wait for 2 seconds
digitalWrite(buzzerPin, LOW); // Deactivate the buzzer/siren
digitalWrite(ledPin1, LOW); // Turn off LED 1
digitalWrite(ledPin2, LOW); // Turn off LED 2
digitalWrite(ledPin3, LOW); // Turn off LED 3
} else {
digitalWrite(buzzerPin, LOW); // Deactivate the buzzer/siren
digitalWrite(ledPin1, LOW); // Turn off LED 1
digitalWrite(ledPin2, LOW); // Turn off LED 2
digitalWrite(ledPin3, LOW); // Turn off LED 3
}
}
The code starts by defining the pins used for the PIR sensor, buzzer or siren module, and LEDs. In the setup function, we set the pin modes for these components, specifying them as inputs or outputs.
The loop function continuously checks the digital value of the PIR sensor pin. If motion is detected (the value is HIGH), the buzzer/siren and LEDs are activated for a duration of 2 seconds to indicate the presence of motion. After the delay, the buzzer/siren and LEDs are turned off. If no motion is detected, all components remain inactive.
Once you have copied the code into the Arduino IDE, click the ‘Upload’ button to transfer the program to the Arduino Uno. Make sure there are no error messages during the uploading process. If the upload is successful, the Arduino Uno is now programmed to function as a motion detector alarm system.
Now that the programming is complete, we can proceed to the final step, which is assembling the motion detector alarm system.
Read more: How To Hook Up A Motion Detector To A Alarm
Assembling the Motion Detector
With the Arduino programmed and ready, it’s time to assemble the components and complete the construction of our motion detector alarm system. Following the circuit diagram and utilizing the components we discussed earlier, we will create a functional and effective motion detection device.
Let’s walk through the steps to assemble the motion detector:
- Place the Arduino Uno board on the breadboard, ensuring that the pins align correctly with the breadboard’s rows.
- Insert the PIR sensor into the breadboard, making sure to match the pin configuration in the circuit diagram.
- Connect one end of the male-to-male jumper wires to the appropriate pins of the PIR sensor, as indicated in the circuit diagram.
- Connect the other end of the jumper wires to their corresponding pins on the Arduino Uno.
- Connect the buzzer or siren module to the breadboard, ensuring that the polarity is correct to avoid any sound distortion.
- Use a jumper wire to connect one terminal of the buzzer or siren module to the designated pin on the Arduino Uno.
- Connect the LEDs to the breadboard, making sure to insert the longer (anode) leg into the correct row and the shorter (cathode) leg into a separate row alongside the corresponding current-limiting resistor.
- Use jumper wires to connect the shorter leg of each LED, along with the connected resistor, to the appropriate GND pin on the Arduino Uno.
As you assemble the motion detector, double-check the connections against the circuit diagram to avoid any mistakes or misplacements. Make sure the connections are secure and free from any loose wires.
Once you have completed the assembly, it’s important to test the motion detector before deploying it for actual use.
Test your motion detector by moving your hand or an object within the range of the PIR sensor. If everything is set up correctly, the buzzer or siren module should sound, and the LEDs should light up to indicate motion detection. If there are any issues, double-check your connections and programming code.
Congratulations! You have successfully assembled your very own motion detector alarm system. Now, let’s proceed to the final step, testing the alarm system.
Testing the Alarm System
Before relying on the motion detector alarm system to provide security for your home, it is crucial to conduct thorough testing to ensure its functionality and effectiveness. By performing various tests, you can verify that the system accurately detects motion and triggers the alarm accordingly.
Here are the steps to test your motion detector alarm system:
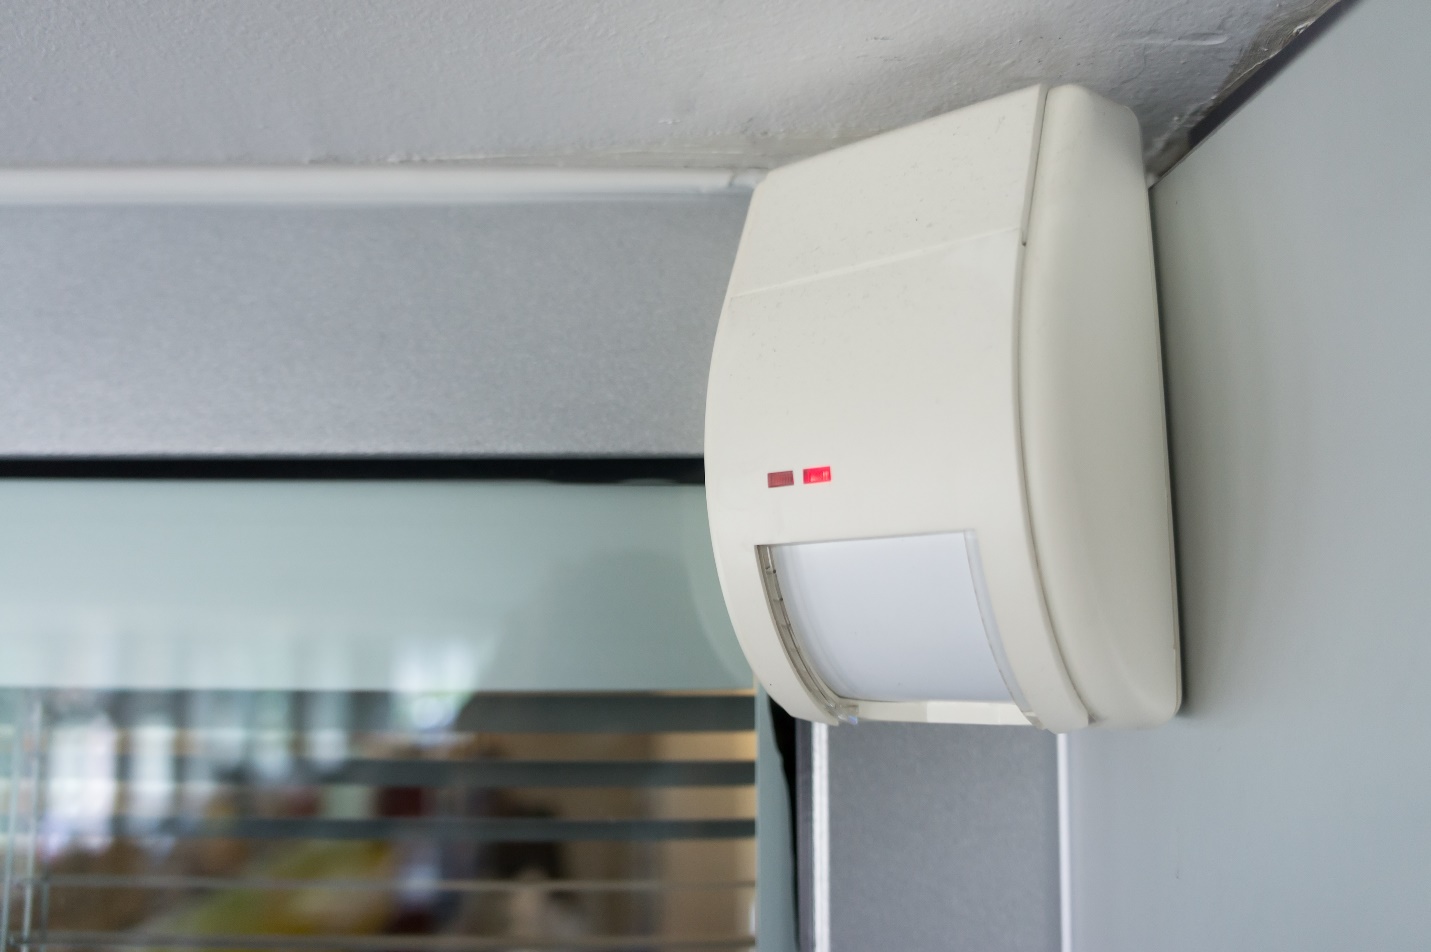
- Ensure that the motion detector is positioned in the desired location, ideally in an area where it can detect motion across a wide area.
- Activate the system by providing power to the Arduino Uno board through a USB cable or an external power source.
- Arm the system by waiting for a few seconds to allow it to initialize.
- Move within the detection range of the PIR sensor or introduce motion in front of it.
- Observe the system’s response. If everything is functioning correctly, the buzzer or siren module should activate, emitting an audible alarm sound, and the LEDs should light up as visual indicators of motion detection.
- Continue testing the system by moving at different speeds and angles to ensure it accurately detects motion within its range.
- Adjust the sensitivity settings of the PIR sensor if necessary. Most PIR sensors have adjustable sensitivity and delay controls to fine-tune their performance.
During the testing process, carefully observe the behavior of the alarm system and note any issues or irregularities. If the system fails to detect motion or the alarm does not trigger consistently, double-check the circuit connections, the programming code, and the sensitivity settings of the PIR sensor.
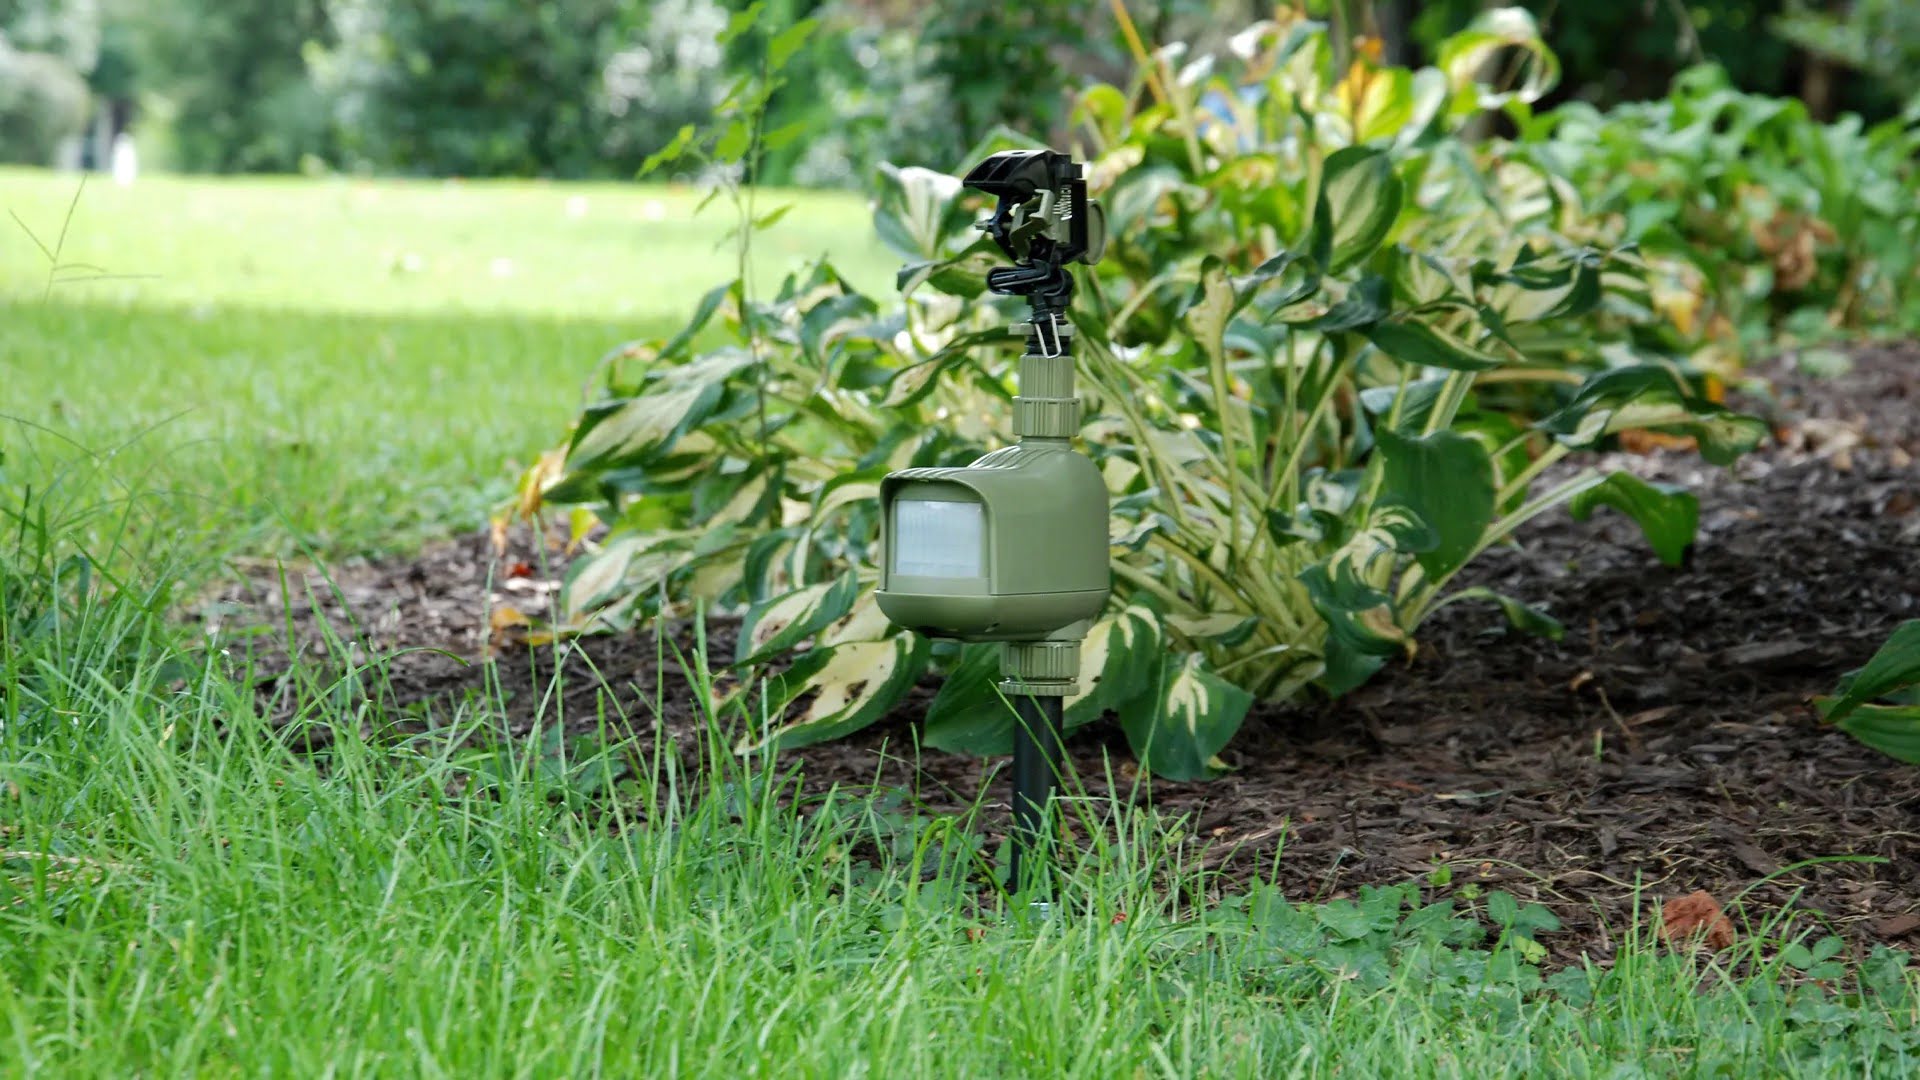
Once you are satisfied with the performance and reliability of the motion detector alarm system, it is ready to be deployed for home security purposes. Mount it in a strategic location, such as near entry points or in areas where valuable belongings are stored, to maximize its effectiveness.
Remember to periodically check and maintain the system to ensure its optimal performance. Clean the PIR sensor lens, inspect the circuit connections for any signs of damage or loosening, and update the programming code if needed.
With the motion detector alarm system in place, you can have peace of mind knowing that your home is protected against potential threats and intrusions. It serves as a powerful deterrent and provides an extra layer of security to safeguard your property and loved ones.
Now that you have successfully tested and deployed your motion detector alarm system, you can rest easy, knowing that your home is equipped with a reliable and effective security solution.
Stay safe and secure!
Conclusion
Congratulations on completing the construction and testing of your very own motion detector alarm system! With the use of simple components, the Arduino Uno board, and some programming, you have created a cost-effective and customizable solution to enhance the security of your home.
Throughout this article, we covered the essential components required for the motion detector alarm system, including the Arduino Uno board, PIR sensor, buzzer or siren module, LEDs, and resistors. We also provided a detailed circuit diagram and step-by-step instructions on setting up the Arduino, programming it, and assembling the motion detector. Finally, we discussed the importance of testing the alarm system to ensure its reliability and effectiveness.
By building your own motion detector alarm system, you have the advantage of tailoring it to your specific needs and preferences. You can adjust the sensitivity settings of the PIR sensor, customize the alarm sound, and even expand the system with additional features or components.
Remember to regularly maintain and update your motion detector alarm system to ensure its continuous performance. Clean the PIR sensor lens, inspect the circuit connections, and update the programming code whenever necessary.
Having a motion detector alarm system installed in your home brings peace of mind and an added layer of protection against potential intruders or unauthorized access. It serves as a powerful deterrent and can alert you to any suspicious activity, enabling you to take swift action.
Now that you have completed this project, feel free to explore other advancements in home security and surveillance. You can further enhance your system by integrating it with wireless connectivity, mobile notifications, or integrating it into a larger home automation setup.
Thank you for joining us on this journey of building a motion detector alarm system. We hope this article has provided you with valuable insights and guidance. Stay safe, secure, and empowered as you protect your home and loved ones.
Frequently Asked Questions about How To Build A Motion Detector Alarm System
Was this page helpful?
At Storables.com, we guarantee accurate and reliable information. Our content, validated by Expert Board Contributors, is crafted following stringent Editorial Policies. We're committed to providing you with well-researched, expert-backed insights for all your informational needs.