Home>Home Security and Surveillance>How To Wire A Motion Detector
Home Security and Surveillance
How To Wire A Motion Detector
Modified: March 6, 2024
Looking to enhance your home security and surveillance system? Learn how to properly wire a motion detector in this step-by-step guide.
(Many of the links in this article redirect to a specific reviewed product. Your purchase of these products through affiliate links helps to generate commission for Storables.com, at no extra cost. Learn more)
Introduction
Welcome to this comprehensive guide on how to wire a motion detector! Whether you are looking to enhance the security of your home or simply enjoy the convenience of automated lighting, installing a motion detector can be a valuable addition to your home security and surveillance system.
In this article, we will walk you through the step-by-step process of wiring a motion detector, ensuring that you have all the necessary tools and knowledge to successfully complete the installation. From gathering materials to testing the connection, we will cover each stage of the process to help you achieve optimal results.
Before we begin, please note that electrical work should always be approached with caution. If you are unsure or uncomfortable with any part of the process, it is highly recommended to seek the assistance of a qualified electrician.
With that said, let’s dive into the world of motion detectors and learn how to wire them effectively!
Key Takeaways:
- Wiring a motion detector involves gathering materials, turning off power, mounting the detector, connecting wires, testing the connection, and securing the detector. Safety and proper installation are crucial for optimal performance.
- Regular testing and maintenance of the motion detector are essential for reliability. Adjust settings, perform routine inspections, and promptly address any issues to ensure added safety and peace of mind.
Read more: How To Wire A Motion Detector Light
Step 1: Gather Materials
Before getting started with the installation process, it is essential to gather all the necessary materials and tools. Here’s a list of items you will need:
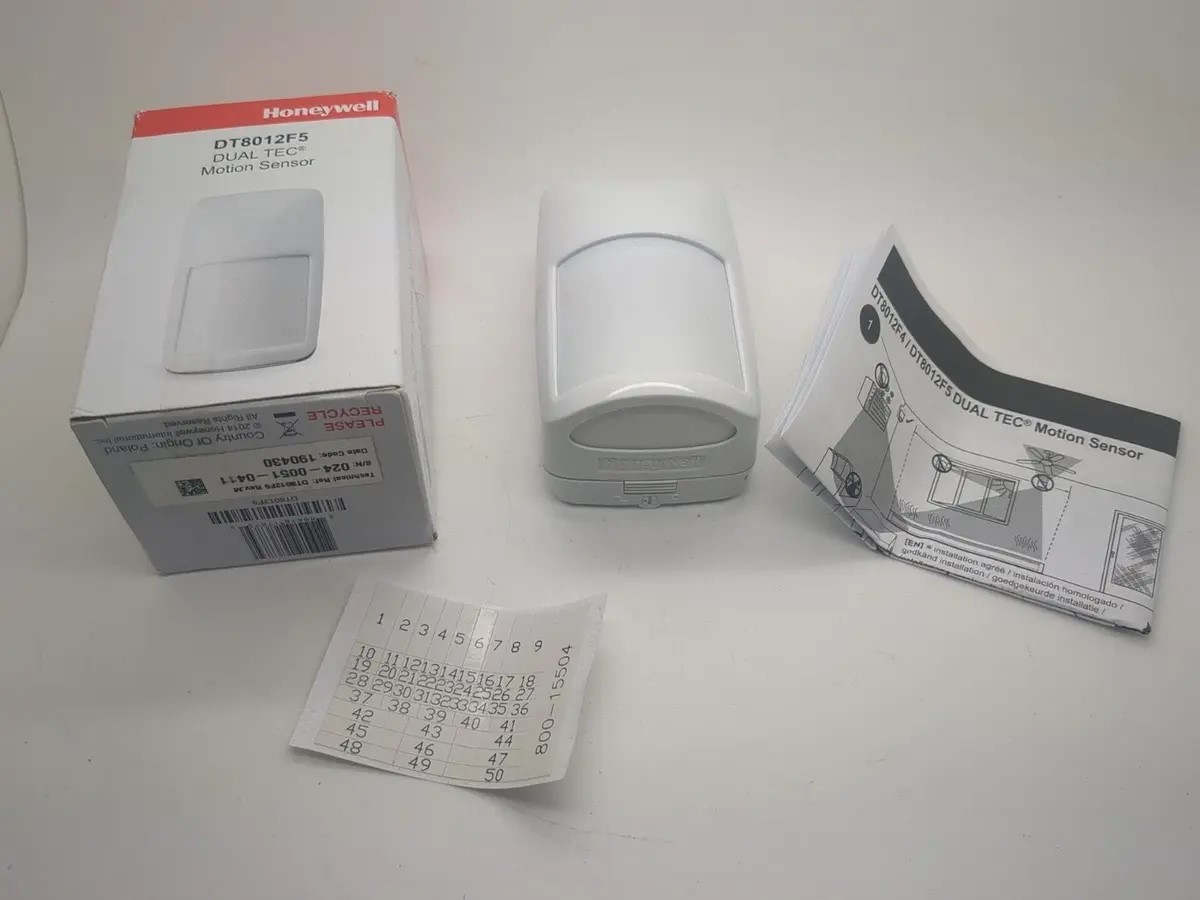
- Motion detector: Choose a model that suits your needs and preferences. Consider factors such as detection range, sensitivity, and whether it is intended for indoor or outdoor use.
- Wire: Select the appropriate gauge wire based on the distance between the motion detector and the power source. It is recommended to use a low-voltage wire such as a 16-gauge wire.
- Screwdriver: You will need a screwdriver to secure the motion detector in place and connect the wires.
- Wire strippers: These tools are essential for removing the insulation from the ends of the wires.
- Electrical tape: Use electrical tape to securely fasten the wires and insulate any exposed connections.
- Electrical junction box: If you are mounting the motion detector indoors, you may need an electrical junction box to house the wiring.
- Power source: Determine the power source for your motion detector. This can be an existing light fixture or an electrical outlet.
By having all these materials ready, you will be well-prepared to proceed with the installation process efficiently and safely.
Step 2: Turn Off Power
Safety should always be a top priority when dealing with electrical work. Before proceeding with the installation of the motion detector, it is crucial to turn off the power to the area where you will be working.
To turn off the power:
- Locate the circuit breaker panel in your home. This is typically found in the basement, utility room, or garage.
- Identify the circuit breaker that controls the power to the area where you will be installing the motion detector. If you are unsure, you can test each breaker by switching it off and checking if the lights or outlets in the area are no longer working.
- Flip the switch of the identified circuit breaker to the “off” position. This will cut off the power supply to the area.
- For added safety, it is recommended to use a voltage tester to confirm that the power is indeed turned off. Simply touch the voltage tester to the wires or terminals to ensure there is no electrical current flowing.
By taking these precautions and disabling the power to the area, you eliminate the risk of electric shock or short circuits during the installation process. Always remember to prioritize safety when working with electricity.
Step 3: Mount the Motion Detector
Now that you have gathered the necessary materials and turned off the power, it’s time to mount the motion detector in your desired location. Here’s a step-by-step guide to help you through the process:
- Choose the ideal location: Consider the purpose of the motion detector and its intended coverage area. Typically, motion detectors are installed near entry points, driveways, or areas where you want to monitor movement. Make sure the location provides optimal visibility and coverage.
- Mark the position: Once you have selected the location, use a pencil or marker to mark the mounting holes on the surface. Most motion detectors come with a mounting plate, so align it with the markings and ensure it is level.
- Secure the mounting plate: Use screws or mounting brackets to secure the mounting plate in place. Ensure that it is tightly and securely fastened to the surface.
- Attach the motion detector: Align the motion detector with the mounting plate and carefully slide it into place. Depending on the model, you may need to twist or lock it in position. Follow the manufacturer’s instructions to ensure proper installation.
- Tighten all connections: Double-check that all screws, nuts, or bolts are tightened to prevent the motion detector from shifting or falling. This step is crucial to maintain proper alignment and function.
Remember to refer to the manufacturer’s instructions for specific guidance on mounting your particular motion detector model. By following these steps, you’ll have your motion detector securely and properly installed, ready for the next stage of the wiring process.
When wiring a motion detector, make sure to turn off the power to the circuit before starting. Follow the manufacturer’s instructions carefully and use wire nuts to securely connect the wires. Test the detector before securing it in place.
Step 4: Connect the Wires
With the motion detector securely mounted, it’s time to connect the wires and establish the electrical connection. Follow these steps to properly connect the wires:
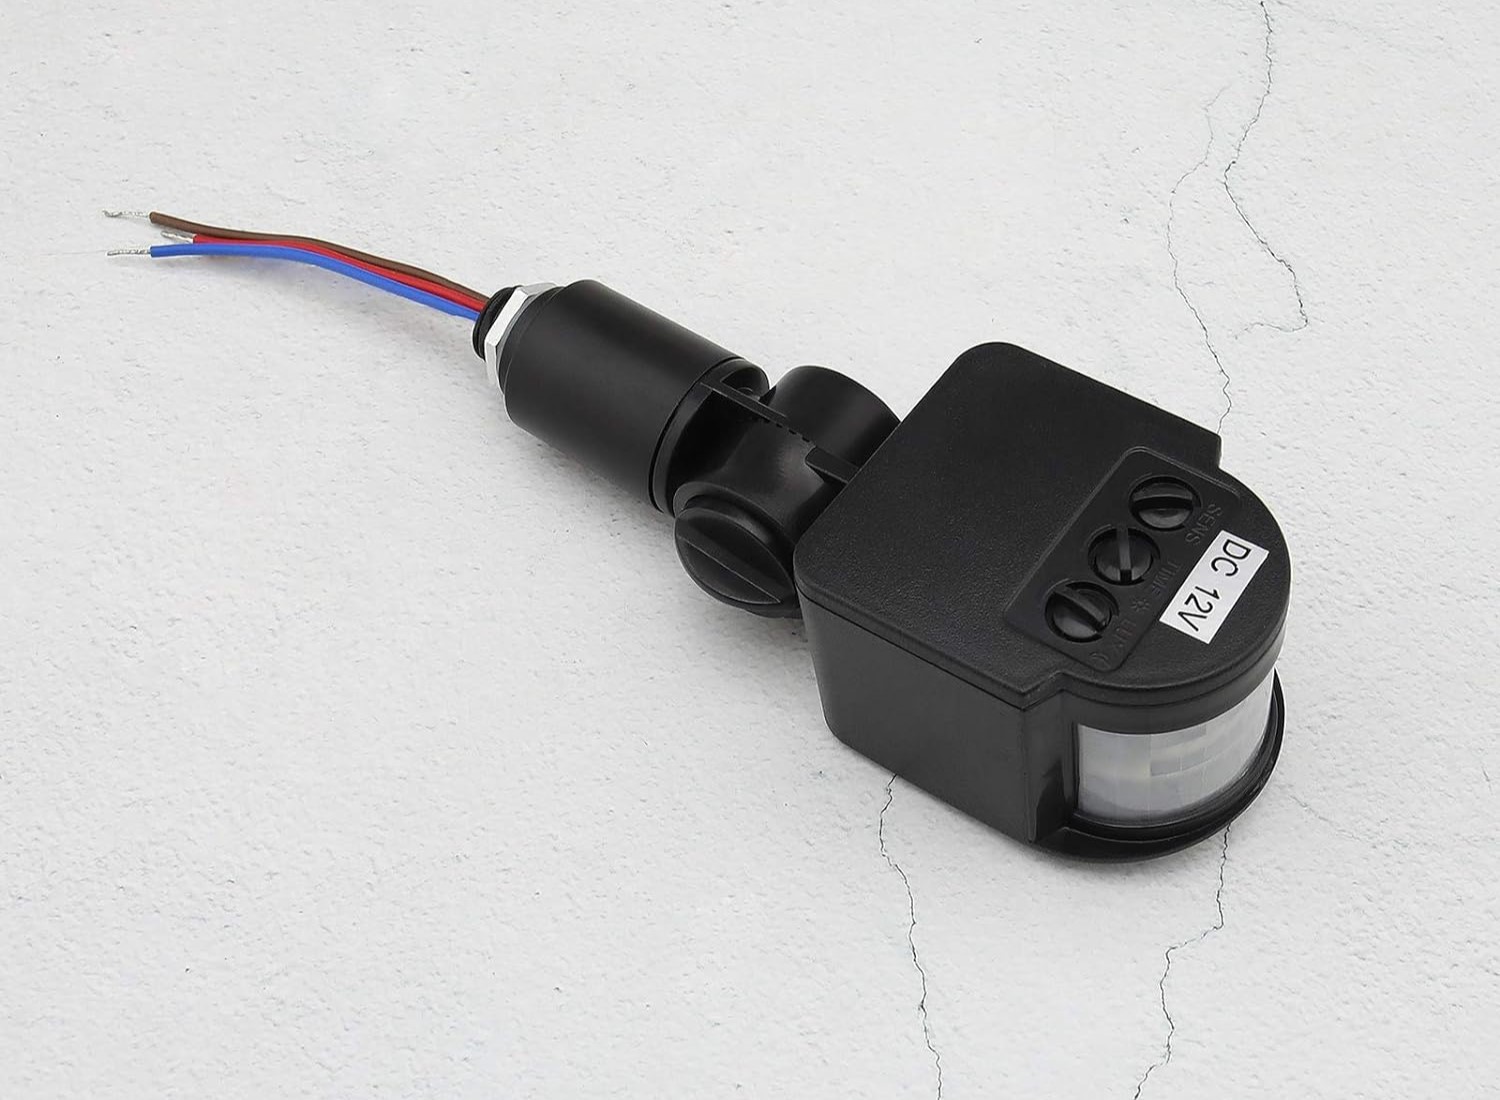
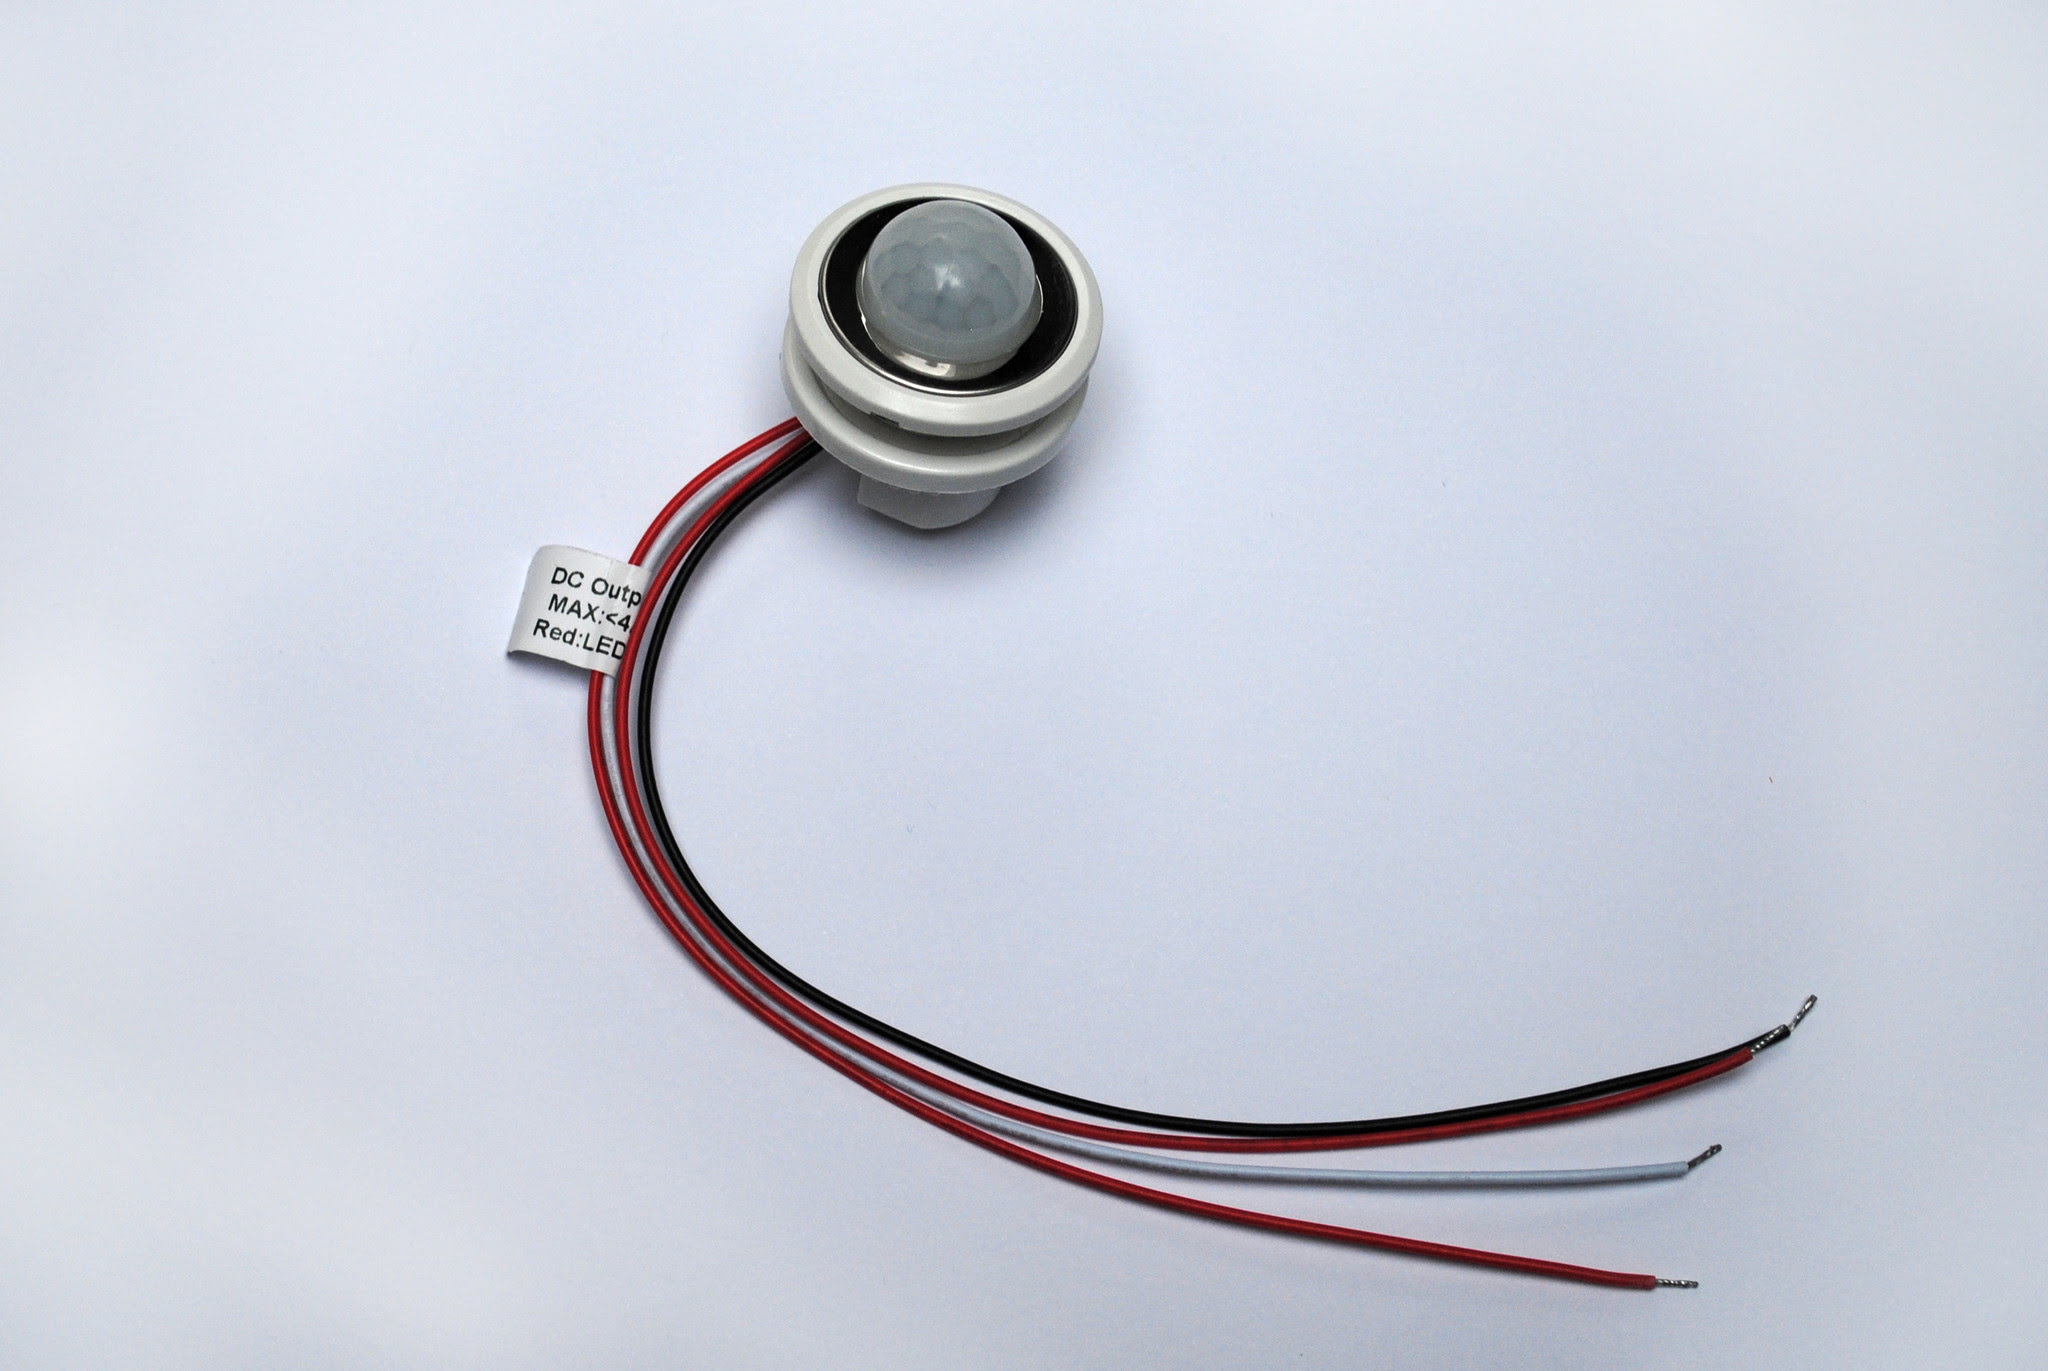
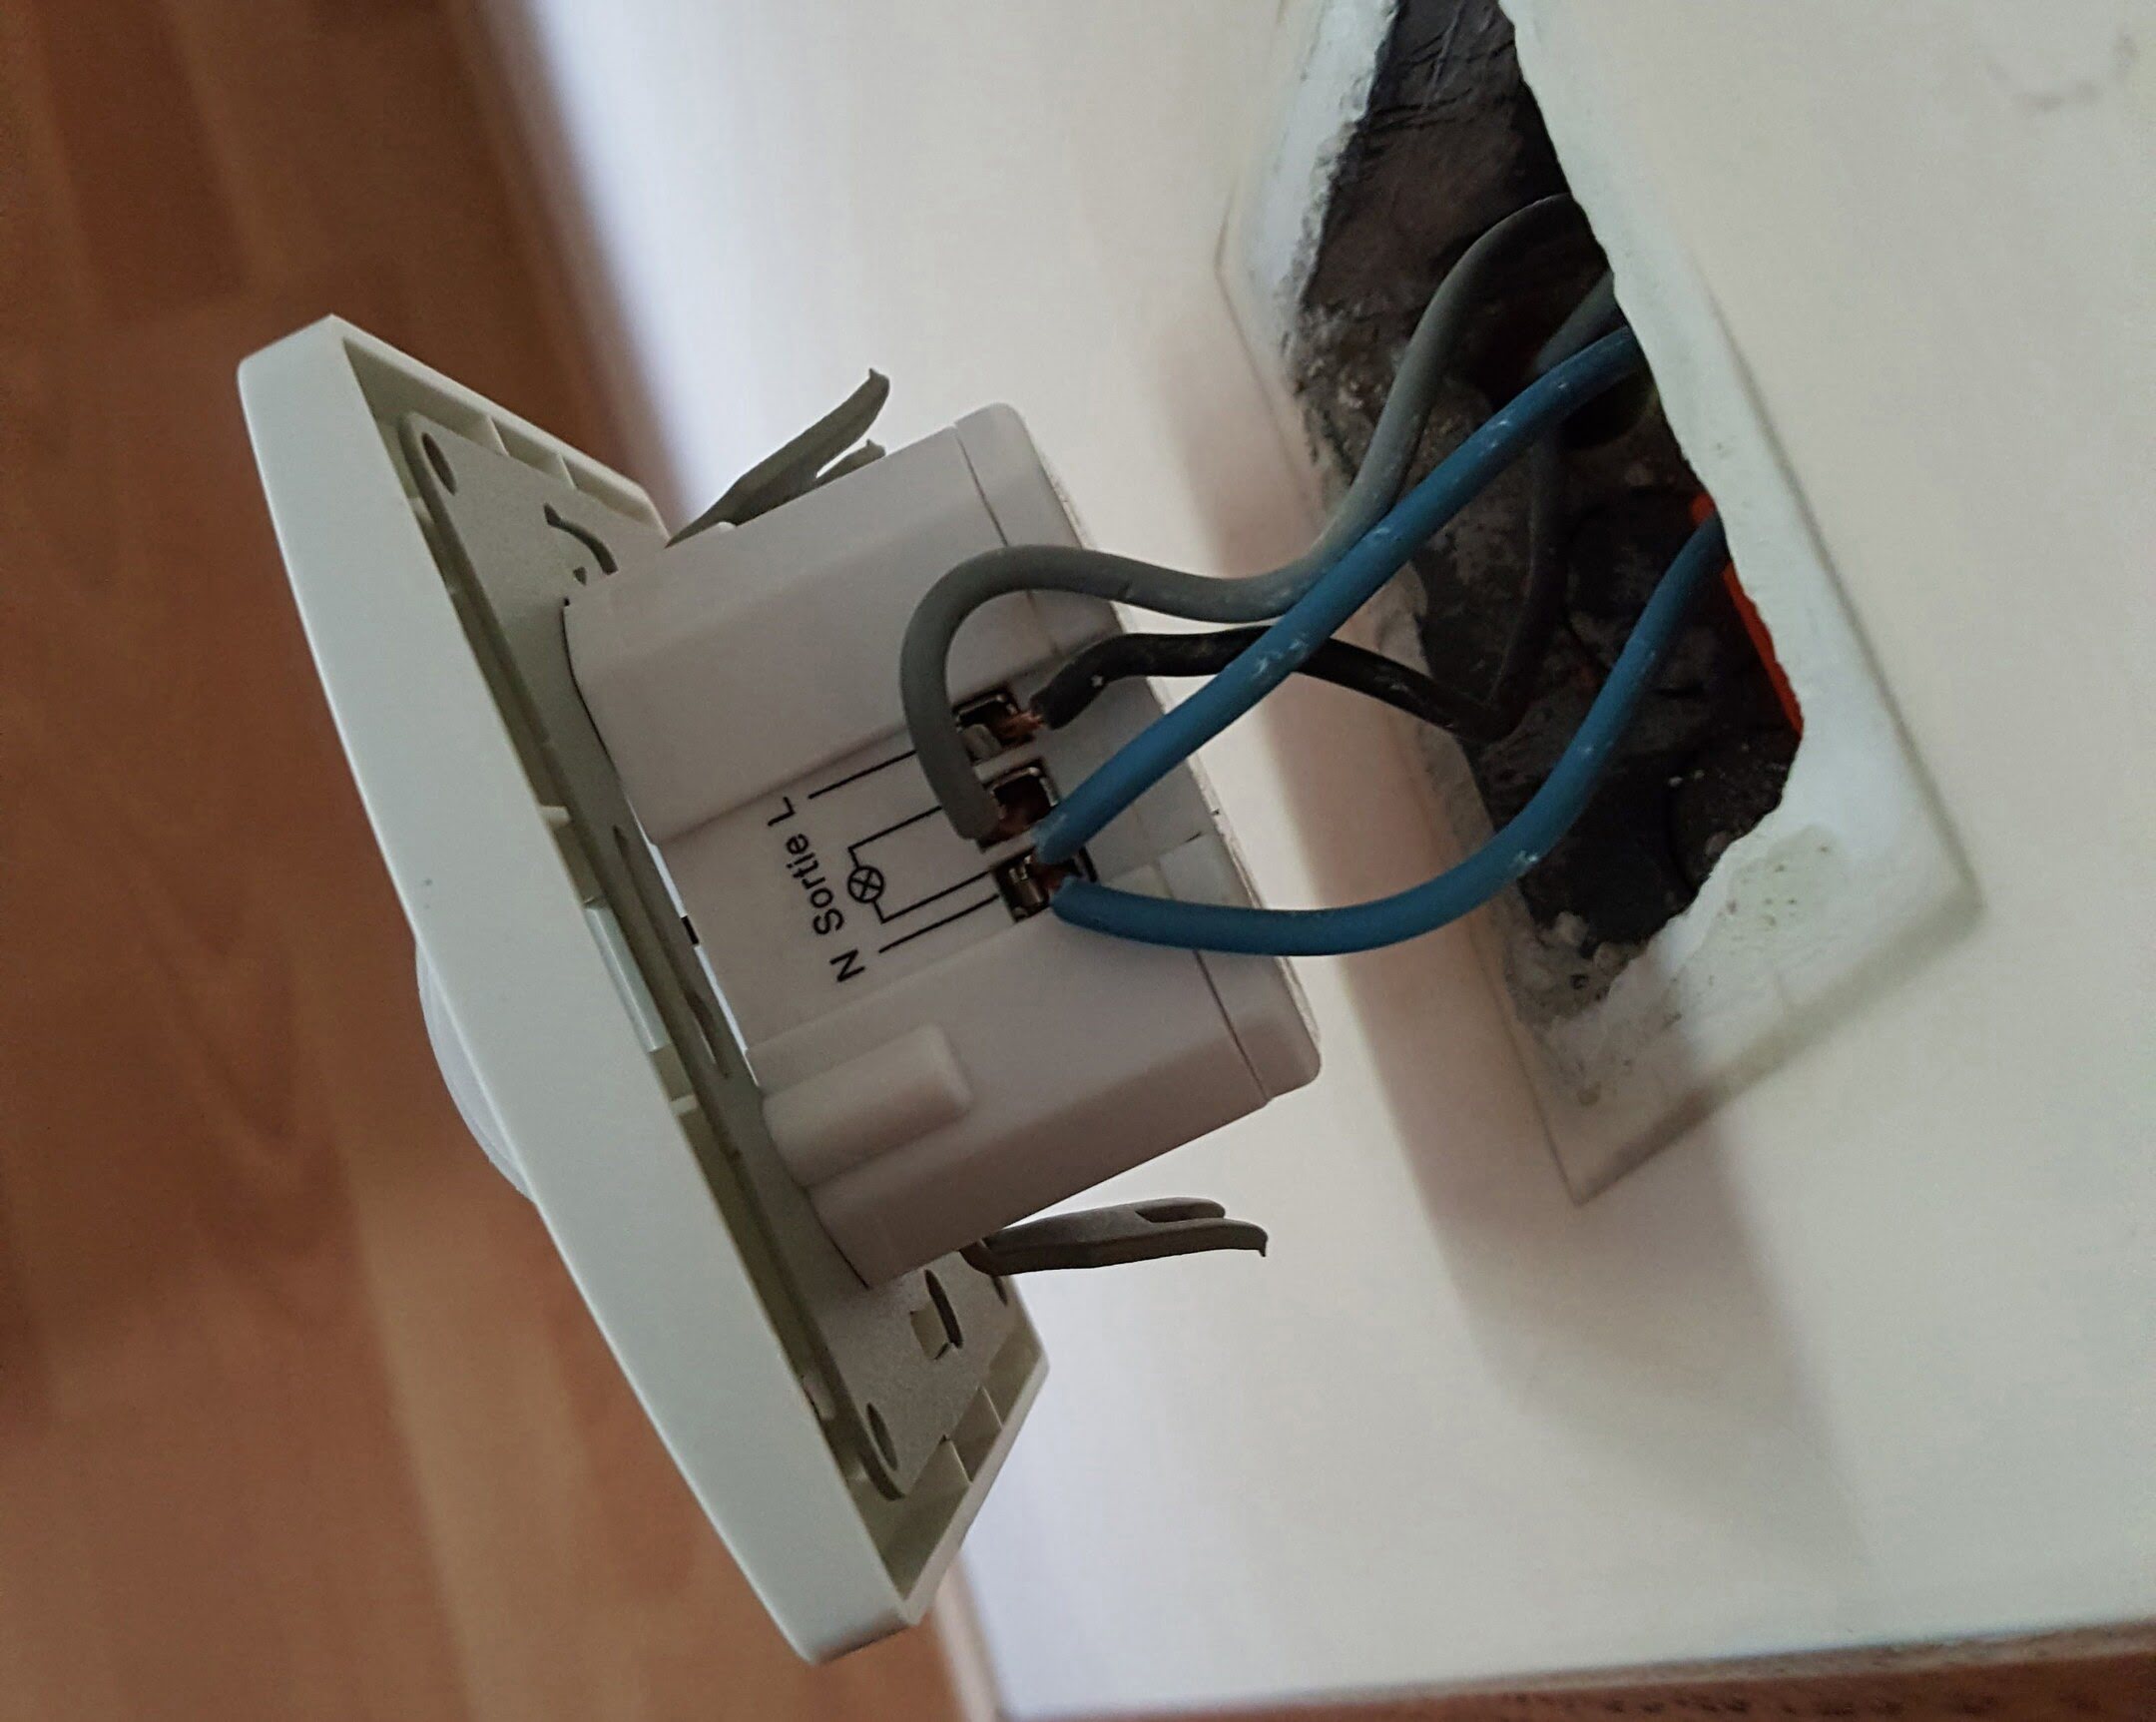
- Identify the wires: Take a close look at the wires coming out of the motion detector. There are typically three wires: black (hot), white (neutral), and green or bare (ground).
- Prepare the wires: Use wire strippers to remove the insulation from the ends of the wires, exposing about half an inch of bare wire.
- Connect the wires to the power source: Depending on the power source you have selected (existing light fixture or electrical outlet), follow the appropriate wiring method:
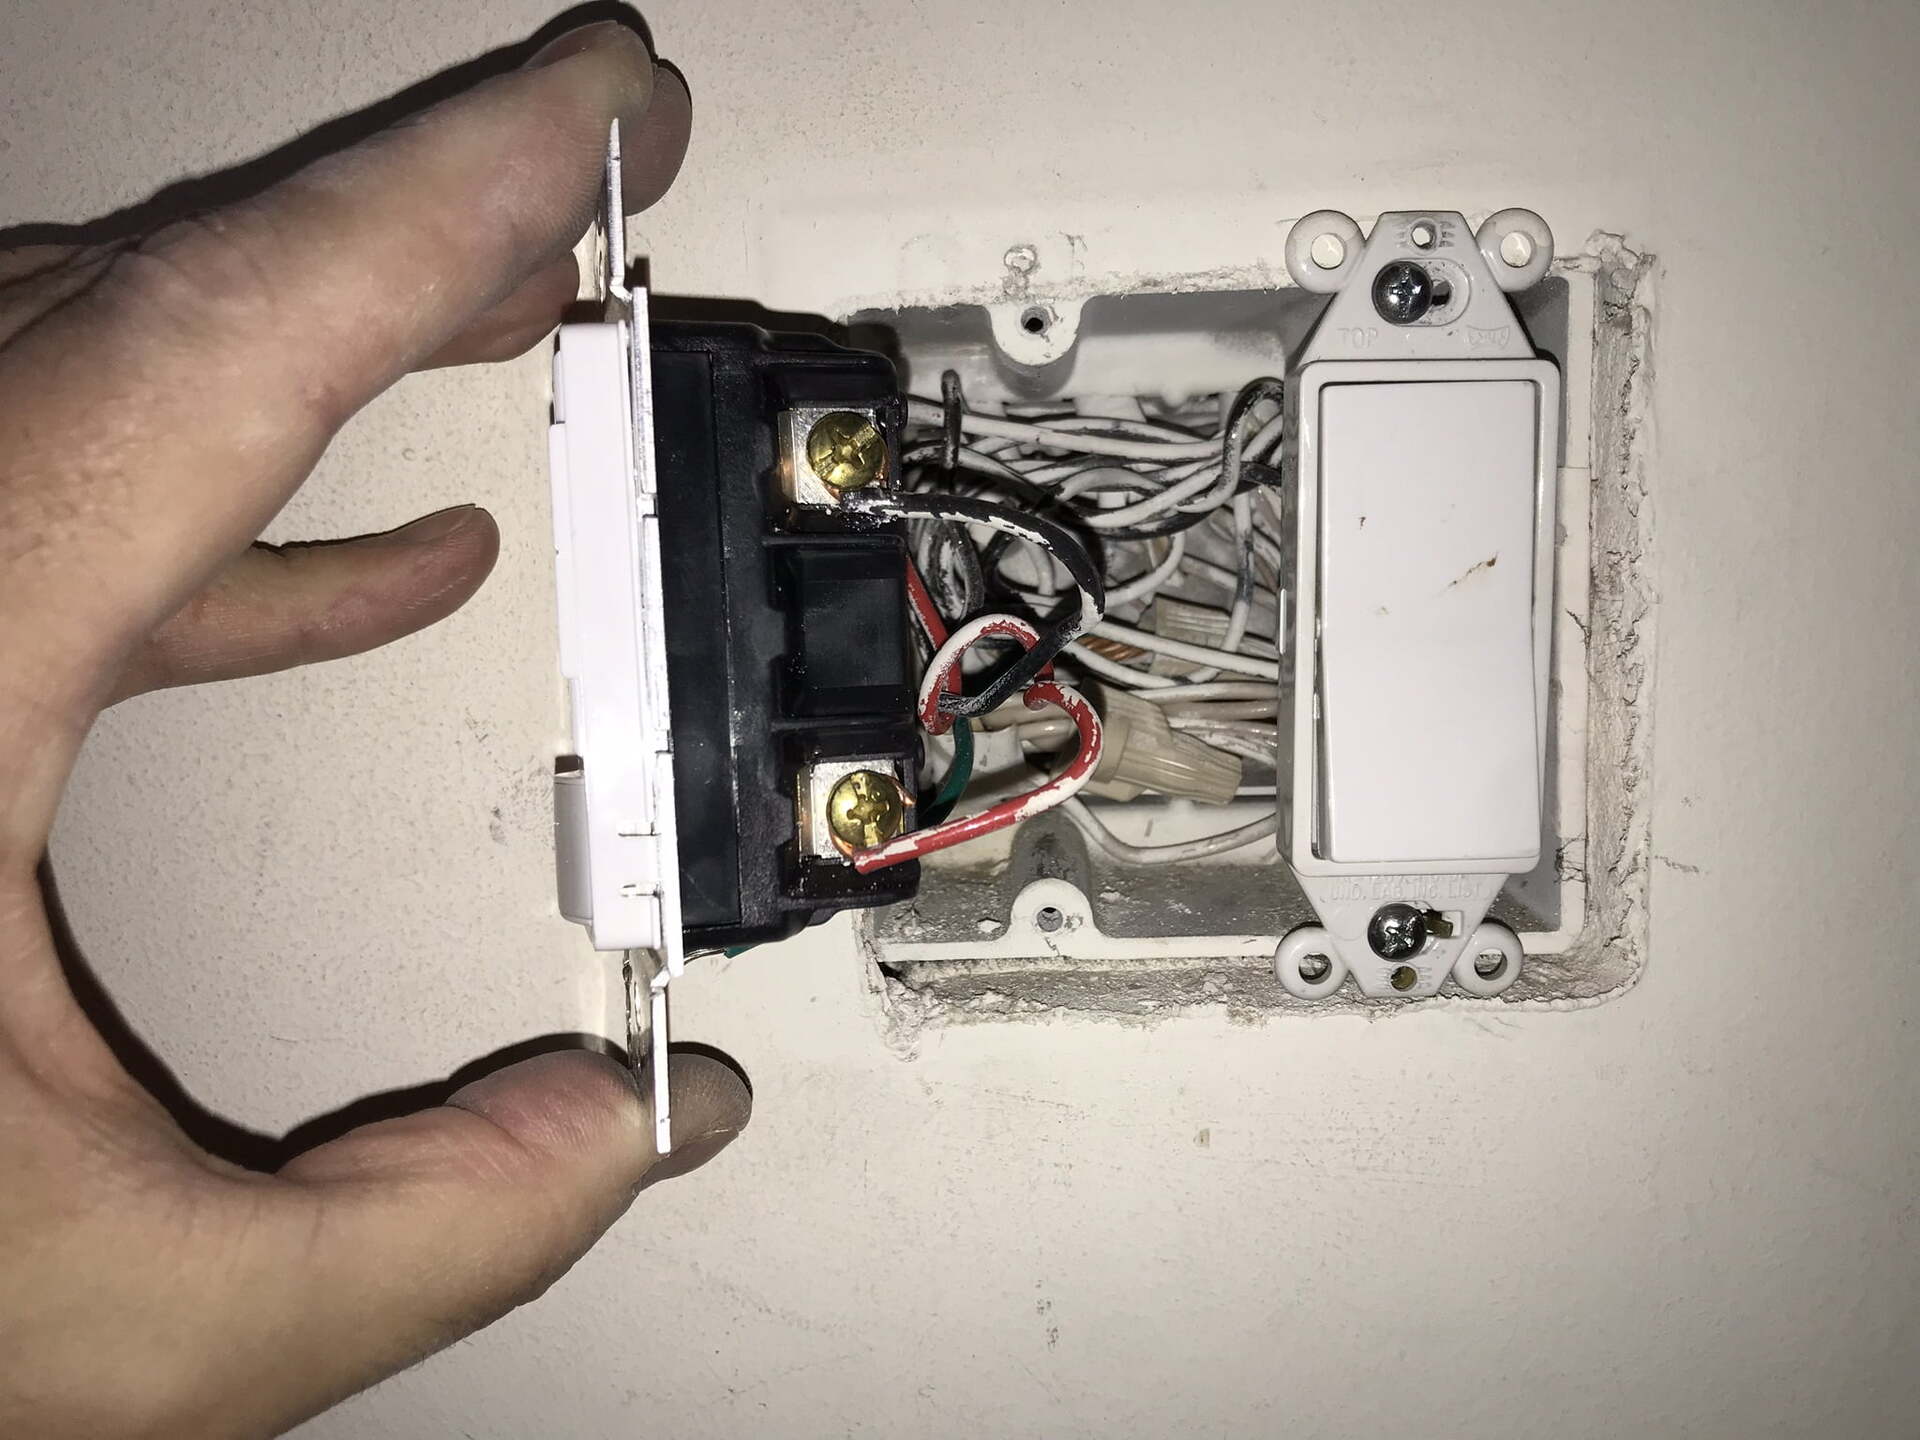
- Existing light fixture: Turn off the power to the light fixture at the circuit breaker. Remove the screws or nuts holding the light fixture in place. Locate the black (hot) wire from the light fixture and connect it to the black wire from the motion detector. Do the same for the white (neutral) wires and the ground wires. Use wire nuts to securely fasten the connections.
- Electrical outlet: Again, turn off the power to the outlet at the circuit breaker. Remove the faceplate and outlet cover. Locate the black (hot) wire from the outlet and connect it to the black wire from the motion detector. Connect the white (neutral) wires and the ground wires in the same manner. Once again, use wire nuts to secure the connections.
- Insulate the connections: After the wires are securely connected, wrap electrical tape around the wire nuts to provide insulation and prevent any potential hazards.
Always refer to the manufacturer’s instructions and consult a qualified electrician if you are unsure about the wiring process. It’s crucial to ensure that all connections are properly made and insulated to guarantee the safety and functionality of your motion detector.
Read more: How To Wire A Maglock With A Motion Detector
Step 5: Test the Connection
After connecting the wires, it’s important to test the connection to ensure that everything is functioning correctly. Testing the connection will help verify that the motion detector is detecting movement and triggering the desired actions. Follow these steps to test the connection:
- Turn on the power: Go back to the circuit breaker panel and flip the switch for the area where the motion detector is installed to the “on” position. This will restore power to the circuit.
- Activate the motion detector: Depending on the model, most motion detectors have a “test” mode or a button that allows you to manually trigger the sensor. Activate this mode or press the designated button.
- Observe the motion detector: Once the motion detector is activated, observe its behavior. It should detect movement within its designated range and trigger the desired action, such as turning on lights or sounding an alarm.
- Adjust settings if necessary: If the motion detector is not functioning as expected, consult the manufacturer’s instructions to adjust the settings. You may need to adjust the sensitivity, detection range, or other parameters to optimize its performance.
Testing the connection ensures that the wiring is correct and that the motion detector is functioning properly. If any issues or irregularities are detected during testing, it is advisable to consult a professional or the manufacturer’s customer support for further assistance.
Remember, regular testing and maintenance of your motion detector system is important to ensure its reliability and effectiveness in enhancing your home security and surveillance.
Step 6: Secure the Motion Detector
Once you have confirmed that the motion detector is functioning correctly, it’s time to secure it in its final position. Properly securing the motion detector is essential to ensure its stability and longevity. Follow these steps to securely fasten the motion detector:
- Tighten mounting screws: Use a screwdriver to tighten the mounting screws on the motion detector. Ensure that they are securely fastened to prevent any movement or dislodging.
- Check alignment: Double-check the alignment of the motion detector to ensure that it is still properly angled and positioned to cover the desired area. Make any necessary adjustments to the positioning if needed.
- Weatherproof protection: If you are installing the motion detector outdoors, it’s important to protect it from the elements. Consider using weatherproofing materials such as silicone sealant or waterproofing tape to seal any exposed connections and prevent moisture from entering.
- Hidden wiring (optional): If you prefer a cleaner and more professional appearance, you may consider hiding the wires. This can be done by running the wires through conduits or inside walls. Be sure to follow appropriate electrical codes and safety measures when doing so.
By securely fastening the motion detector, you ensure that it stays in place and maintains proper alignment, maximizing its effectiveness in detecting motion and triggering the desired actions.
Remember to periodically check the motion detector and its mounting to ensure that it remains secure and in proper working condition. Regular maintenance and inspections will help extend the lifespan and reliability of your motion detector system.
Conclusion
Installing and wiring a motion detector is a valuable step towards enhancing your home security and surveillance system. It provides convenience, automation, and an added layer of protection. By following the step-by-step guide outlined in this article, you can successfully wire a motion detector and enjoy its benefits.
Remember, safety should always come first when working with electricity. If you are unsure or uncomfortable with any part of the installation process, it is best to seek the assistance of a qualified electrician.
Gathering the necessary materials, turning off the power, mounting the motion detector, connecting the wires, testing the connection, and securing the motion detector are all crucial steps in the installation process. Taking the time to properly complete each step will ensure optimal performance and longevity of your motion detector system.
Once your motion detector is installed and wired, be sure to regularly test and maintain it to ensure its reliability. Adjust settings as needed, perform routine inspections, and promptly address any issues that may arise.
With a properly installed and functioning motion detector, you can have peace of mind knowing that your home is well-protected and that you have taken proactive measures to enhance your security. So go ahead, install that motion detector and enjoy the convenience and added safety it brings to your home!
Frequently Asked Questions about How To Wire A Motion Detector
Was this page helpful?
At Storables.com, we guarantee accurate and reliable information. Our content, validated by Expert Board Contributors, is crafted following stringent Editorial Policies. We're committed to providing you with well-researched, expert-backed insights for all your informational needs.