Home>Home Security and Surveillance>How To Make A Motion Detector

Home Security and Surveillance
How To Make A Motion Detector
Modified: November 1, 2024
Learn how to make a motion detector for your home security and surveillance needs. Keep your property safe and secure with this DIY project.
(Many of the links in this article redirect to a specific reviewed product. Your purchase of these products through affiliate links helps to generate commission for Storables.com, at no extra cost. Learn more)
Introduction
Home security is a top priority for many homeowners, and one of the most effective ways to protect your property is by installing a motion detector system. Motion detectors are devices that can detect the presence of movement within a specific area and trigger an alarm or notify the homeowner of any suspicious activity. They are an essential component of any home security and surveillance setup, providing an added layer of protection against intruders and burglars.
In this article, we will guide you through the process of creating your own motion detector system. By understanding the basics of motion detectors and following a few simple steps, you can have a functional and cost-effective security solution for your home. Whether you are an electronics enthusiast looking to expand your DIY skills or a homeowner on a budget, building your own motion detector system can be a rewarding and empowering experience.
Before we delve into the details of creating a motion detector, it’s important to understand how these devices work and the different types available. This knowledge will help you make informed decisions when selecting the components for your DIY project.
Key Takeaways:
- Building a DIY motion detector system involves understanding motion detector basics, selecting components, setting up the circuit, assembling the motion sensor, connecting components, programming the microcontroller, and thorough testing.
- By building a DIY motion detector system, homeowners can customize their security solution, save costs, and gain a deeper understanding of home security technology. However, it’s important to continuously test and improve the system for optimal performance.
Understanding Motion Detectors
Motion detectors rely on the principles of infrared technology or radar to detect movement within a defined area. When an object moves within the detection range of the motion detector, it triggers an electrical signal that sets off an alarm or activates other security measures. Understanding the different technologies used in motion detectors can help you choose the right one for your needs.
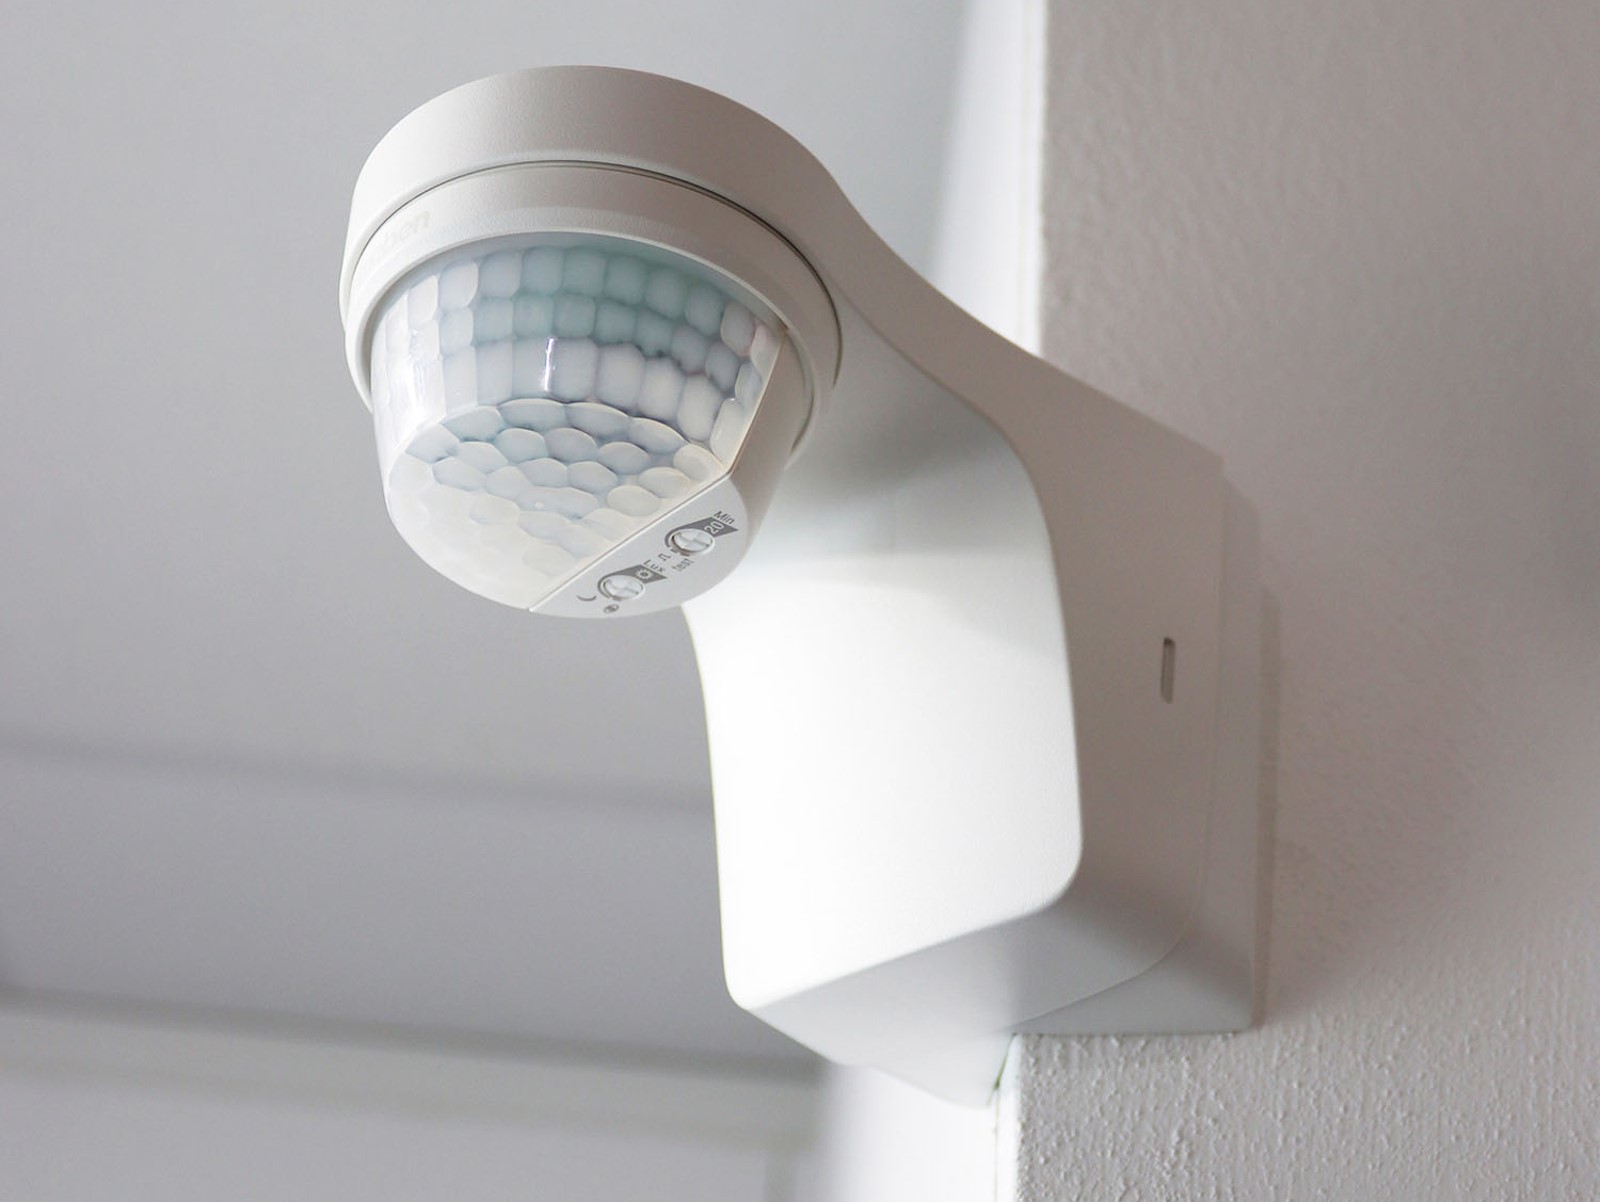
Infrared (IR) motion detectors are the most common type used in home security systems. They work by detecting changes in heat patterns. Every object emits some level of infrared radiation, and when an object moves, its heat pattern changes. IR motion detectors have one or more sensors that can detect these changes in infrared radiation and signal the presence of movement.
Another type of motion detector uses radar technology. Radar motion detectors emit and receive radio waves to detect movement. When an object moves within the detection range, it reflects some of the emitted waves back to the detector. The detector then analyzes the changes in the frequency and amplitude of the reflected waves to determine the presence of motion.
Both IR and radar motion detectors have their advantages and limitations. IR detectors are more affordable and suitable for indoor use, but they can be affected by environmental factors like temperature changes and the presence of pets. Radar detectors, on the other hand, are more robust and can be used in various environments, including outdoor settings. However, they are typically more expensive.
Now that you have a basic understanding of how motion detectors work and the different types available, let’s explore the components you will need to build your own motion detector system.
Types of Motion Detectors
When it comes to motion detectors, there are several different types to choose from, each with its own unique features and advantages. Let’s take a look at some of the most commonly used types:
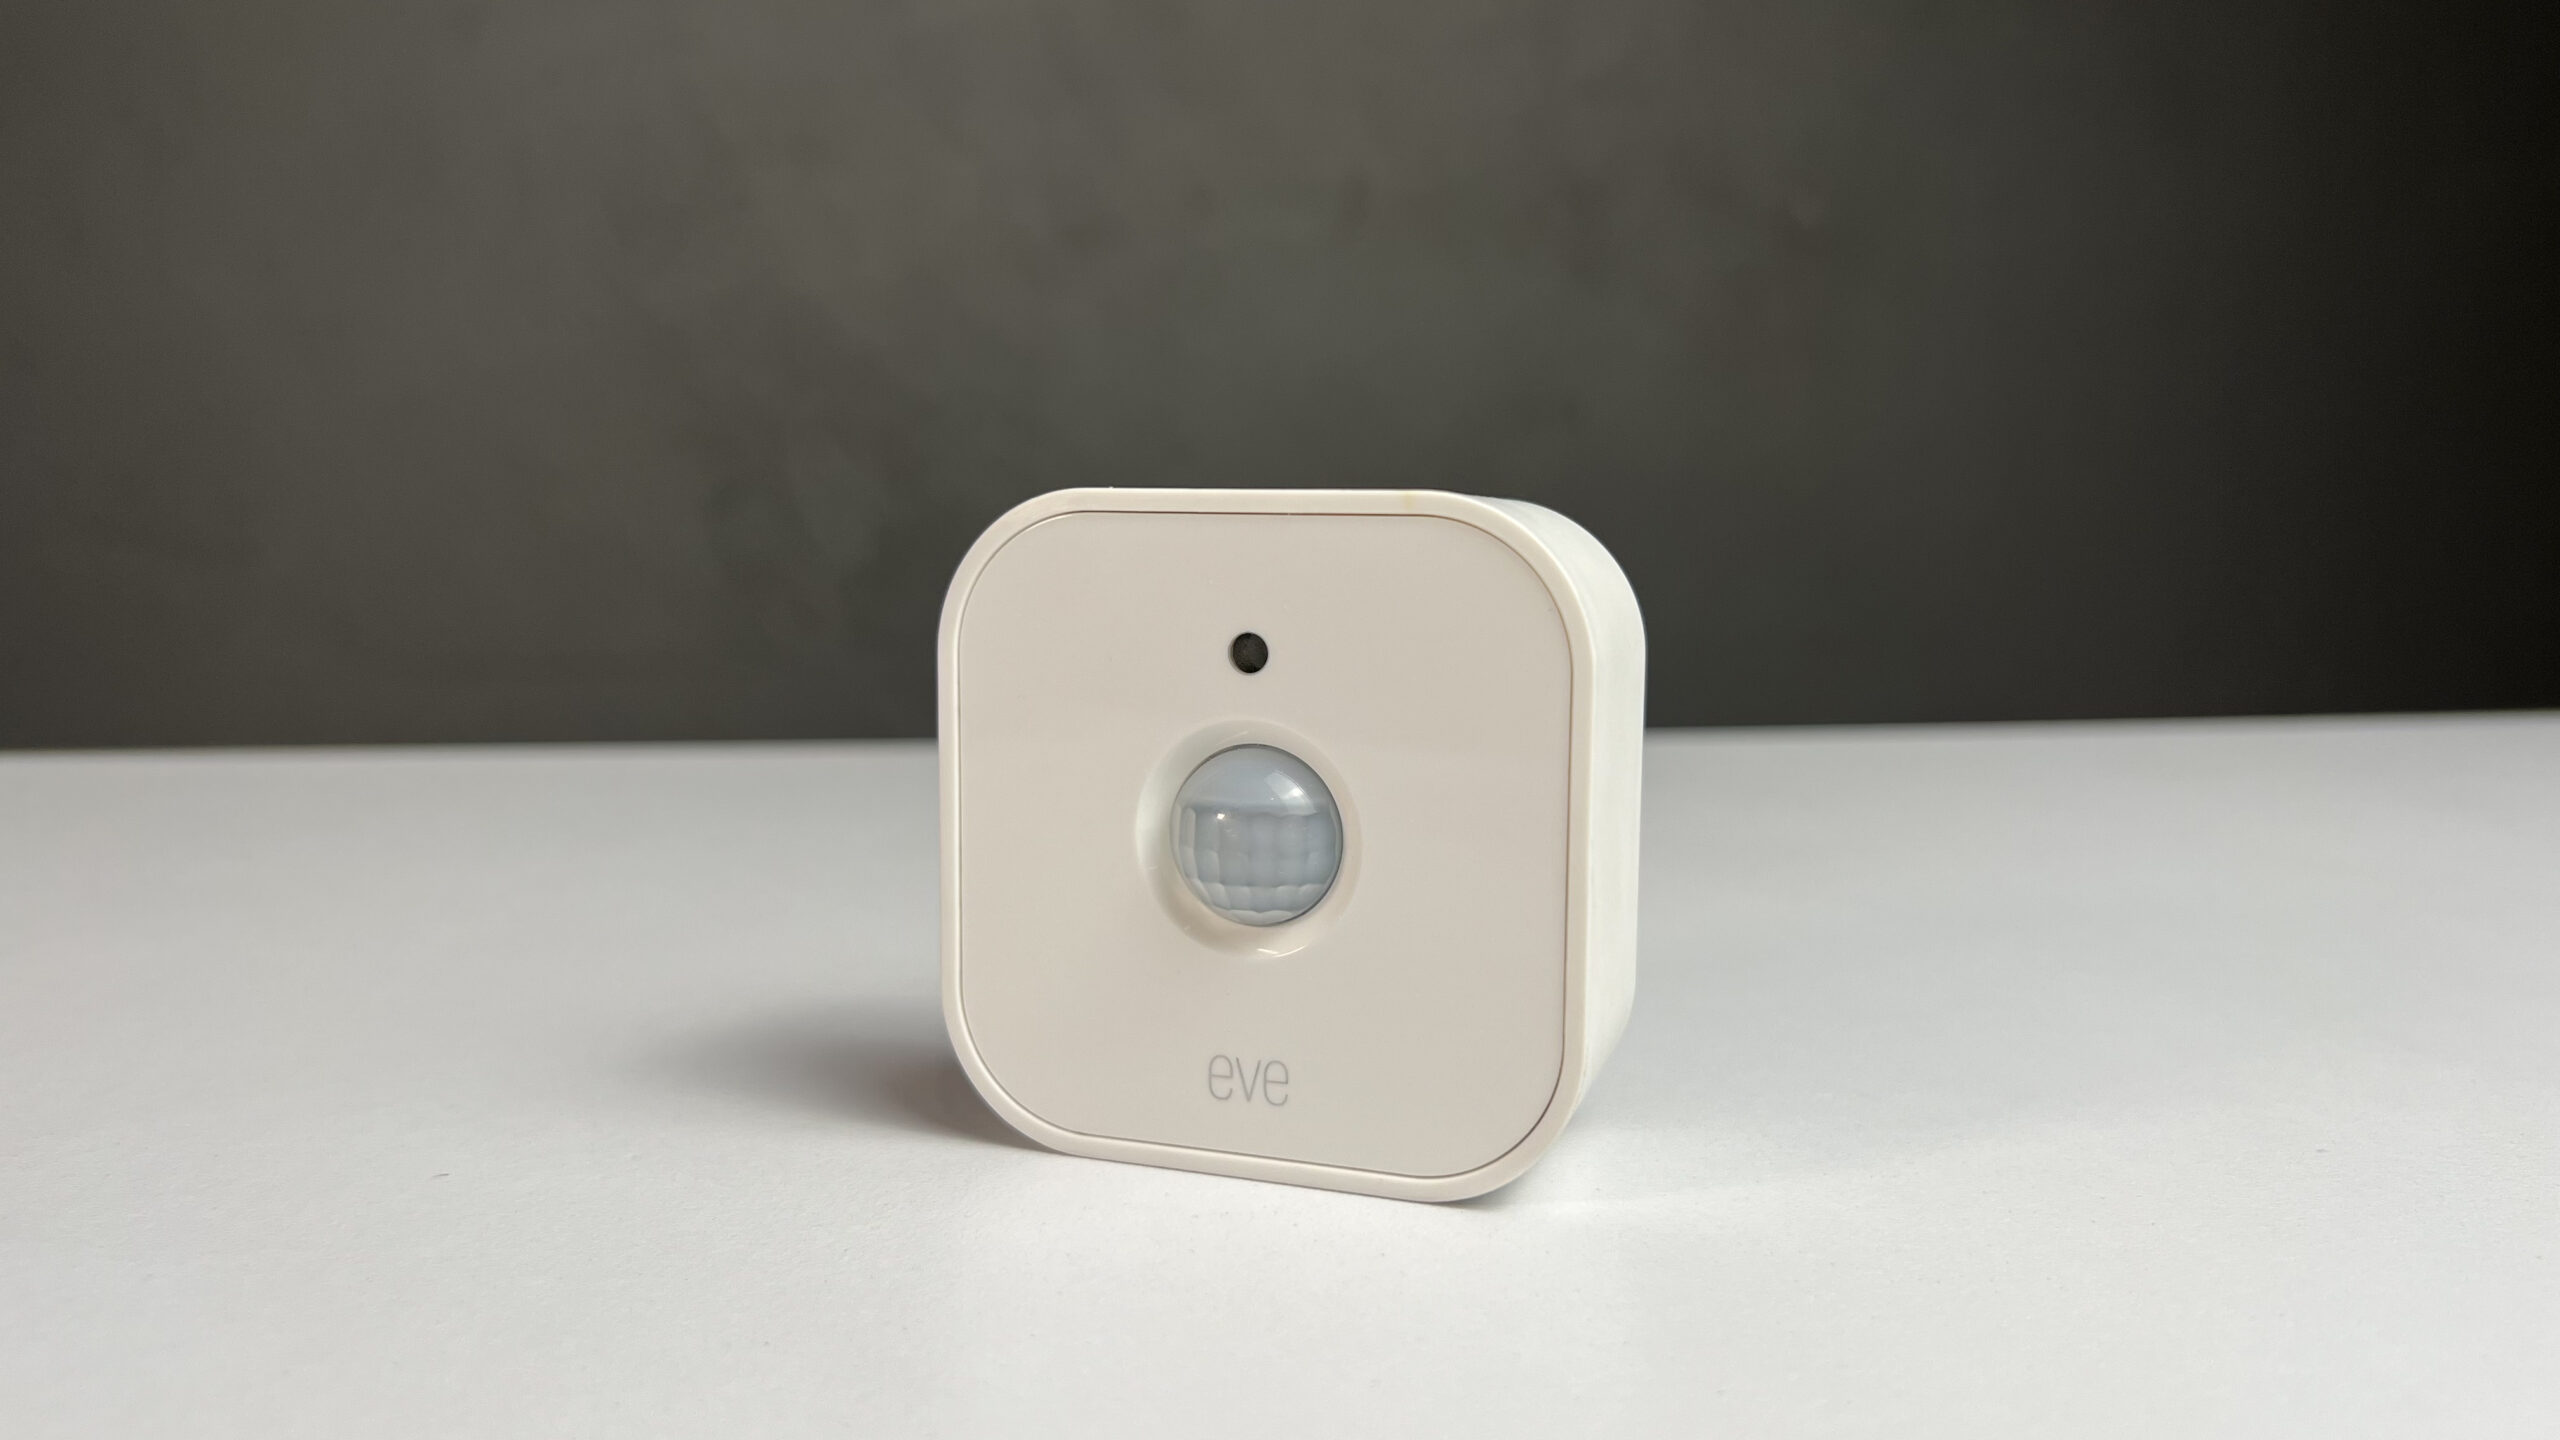
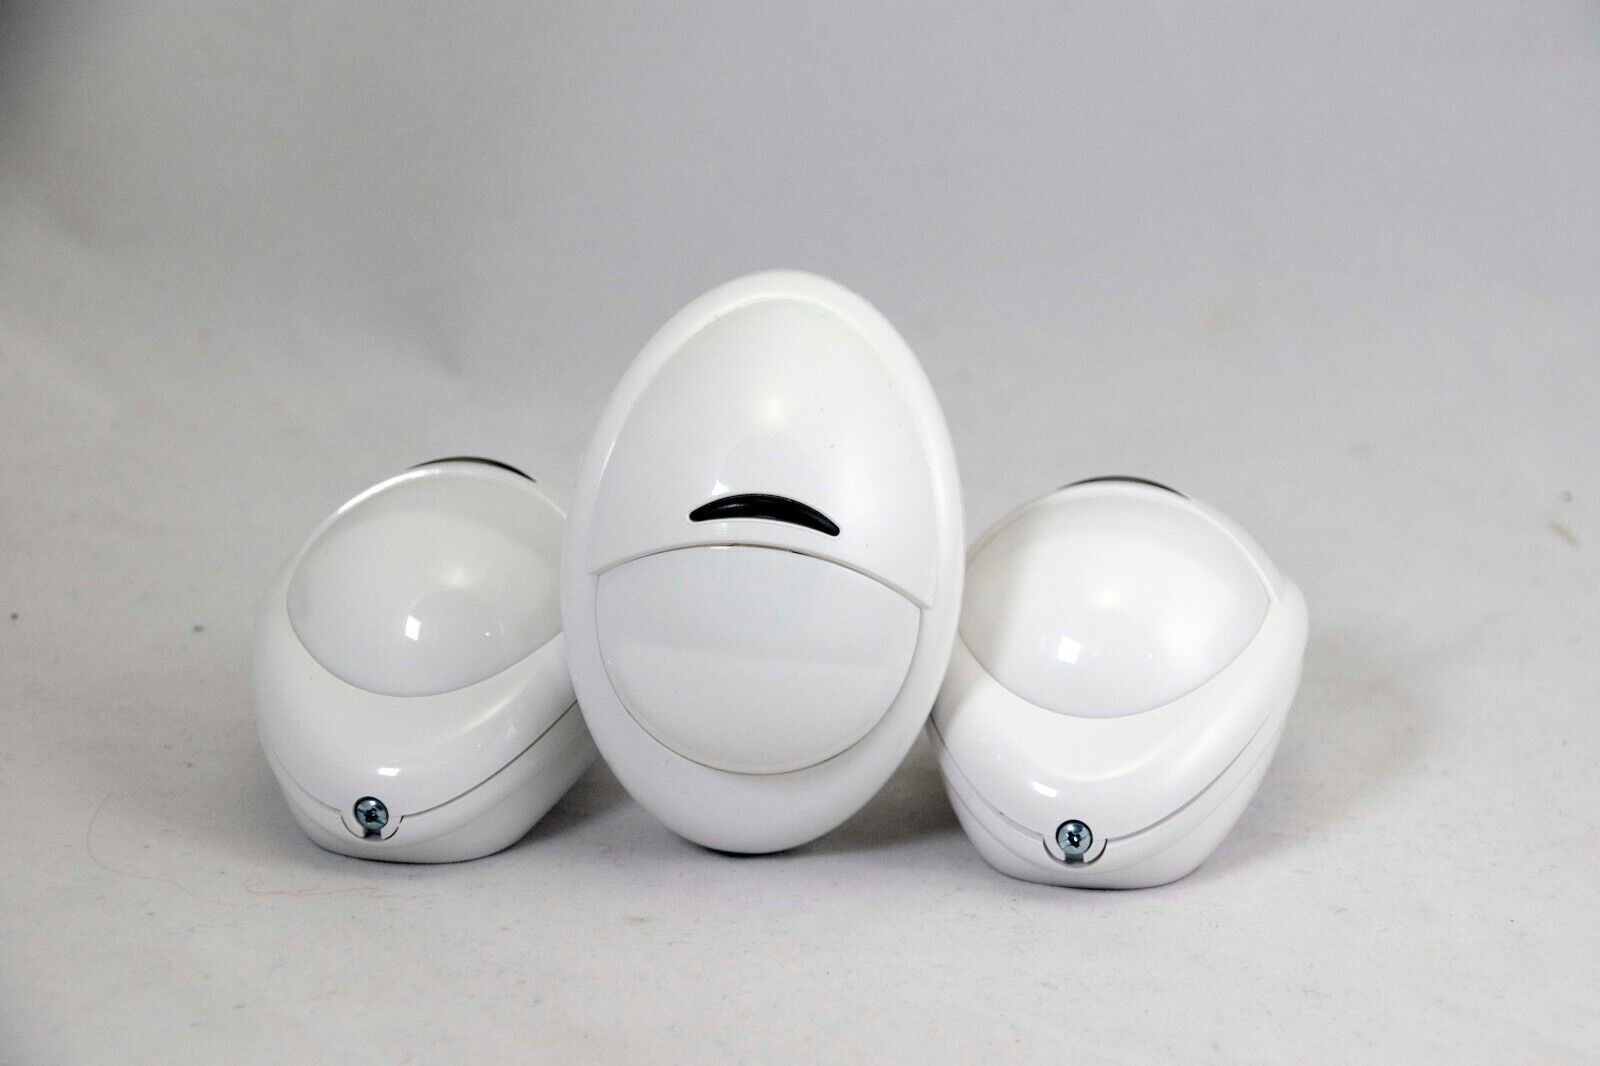
- Passive Infrared (PIR) Detectors: These detectors are the most widely used in residential settings. They detect changes in infrared energy levels caused by motion. PIR detectors are typically used indoors and are sensitive to human body heat, making them ideal for detecting human movement.
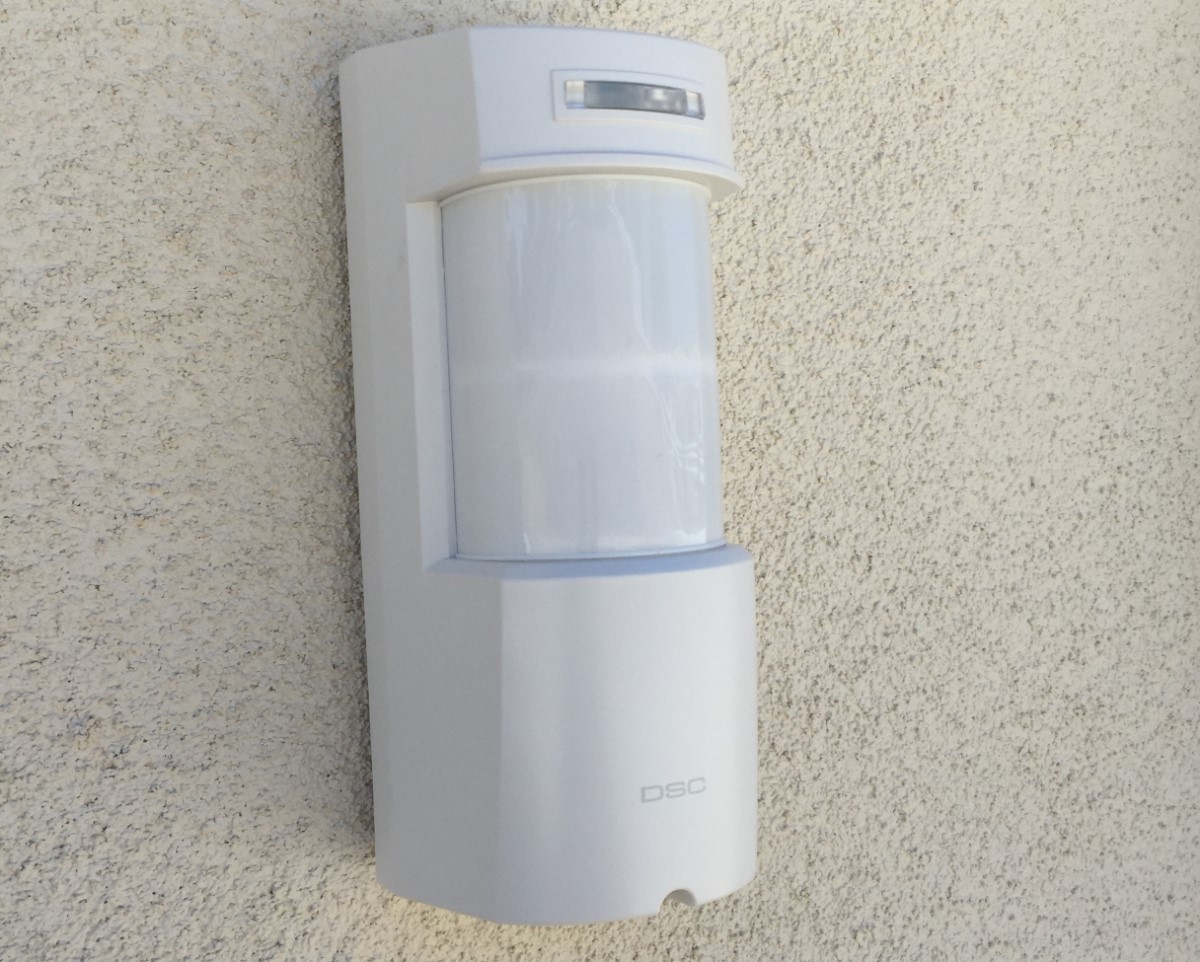
- Microwave Detectors: These detectors emit continuous microwave signals and measure the frequency of the reflections. When there is a change in the reflected frequency, indicating movement, the detector is triggered. Microwave detectors are more suitable for outdoor use and are less affected by temperature changes or other environmental factors.
- Ultrasonic Detectors: These detectors emit high-frequency sound waves and analyze the patterns of the reflected waves. When an object disrupts the wave patterns, indicating movement, the detector activates. Ultrasonic detectors are effective in detecting small movements and are commonly used in commercial settings.
- Dual Technology Detectors: As the name suggests, these detectors combine two different technologies, usually PIR and microwave or PIR and ultrasonic, to reduce false alarms. Dual technology detectors require both technologies to be triggered before activating, providing a higher level of accuracy and reliability.
- Video Motion Detection (VMD): VMD utilizes video cameras and software algorithms to detect motion. It analyzes the changes in pixel patterns within the camera’s field of view. VMD is highly flexible and can be integrated with existing surveillance systems for enhanced security.
Each type of motion detector has its own strengths and weaknesses, so it’s important to consider the specific needs of your home security setup when choosing the right type. Now that we have covered the types of motion detectors available, let’s move on to the components required to build your own motion detector system.
Components Required
To build your own motion detector system, you will need a few essential components. Here’s a list of the key components required:
- Motion Sensor: This is the core component of the system that detects movement within the designated area. The type of motion sensor will depend on your preferred technology, such as a passive infrared (PIR) sensor or a microwave sensor.
- Microcontroller: A microcontroller is an integrated circuit that acts as the brain of the motion detector system. It receives input from the motion sensor and processes the data to trigger the desired response, such as sounding an alarm.
- Power Supply: The motion detector system will require a reliable power source. This can be an AC adapter or a battery, depending on your preference and the intended location of the system.
- Alarm or Notification System: The alarm or notification system is responsible for alerting you when motion is detected. This can be an audible alarm, a visual indicator, or a notification sent to your smartphone or computer.
- Wiring and Connectors: Wiring and connectors are necessary to connect the various components of the motion detector system. Make sure to use the appropriate wires and connectors that match the specifications of your chosen components.
- Enclosure: An enclosure will protect the internal components of your motion detector system from dust, moisture, and physical damage. Choose a suitable enclosure that provides adequate space and accessibility for your components.
These are the basic components you will need to build a motion detector system. Depending on your specific requirements, you may need additional components such as resistors, capacitors, and transistors to fine-tune the circuit or enhance the functionality of the system.
Once you have gathered all the necessary components, you can proceed to the next steps, which involve setting up the circuit, assembling the motion sensor, connecting the components, and programming the motion detector system. In the following sections, we will guide you through each step in detail, so you can successfully build your own motion detector system.
Step 1: Gather the Required Materials
Before you start building your motion detector system, you’ll need to gather all the necessary materials. Having everything prepared in advance will make the construction process smoother and more efficient. Here’s a list of the materials you’ll need:
- Motion sensor: Choose the type of motion sensor that best suits your needs, such as a passive infrared (PIR) sensor or a microwave sensor.
- Microcontroller: Select a microcontroller that is compatible with your chosen motion sensor and fits your programming requirements.
- Power supply: Determine the power source for your motion detector system, whether it’s an AC adapter or batteries.
- Alarm or notification system: Decide how you want to be alerted when motion is detected, such as an audible alarm, a visual indicator, or a notification on your smartphone.
- Wires and connectors: Get the appropriate wiring and connectors to connect the different components of your motion detector system securely.
- Enclosure: Choose an enclosure that can accommodate all the components and protect them from external elements.
- Additional components: Depending on your specific design and functionality requirements, you may need resistors, capacitors, transistors, or other electronic components.
- Tools: Prepare the necessary tools to assemble the motion detector system, such as a soldering iron, wire cutters/strippers, and a screwdriver.
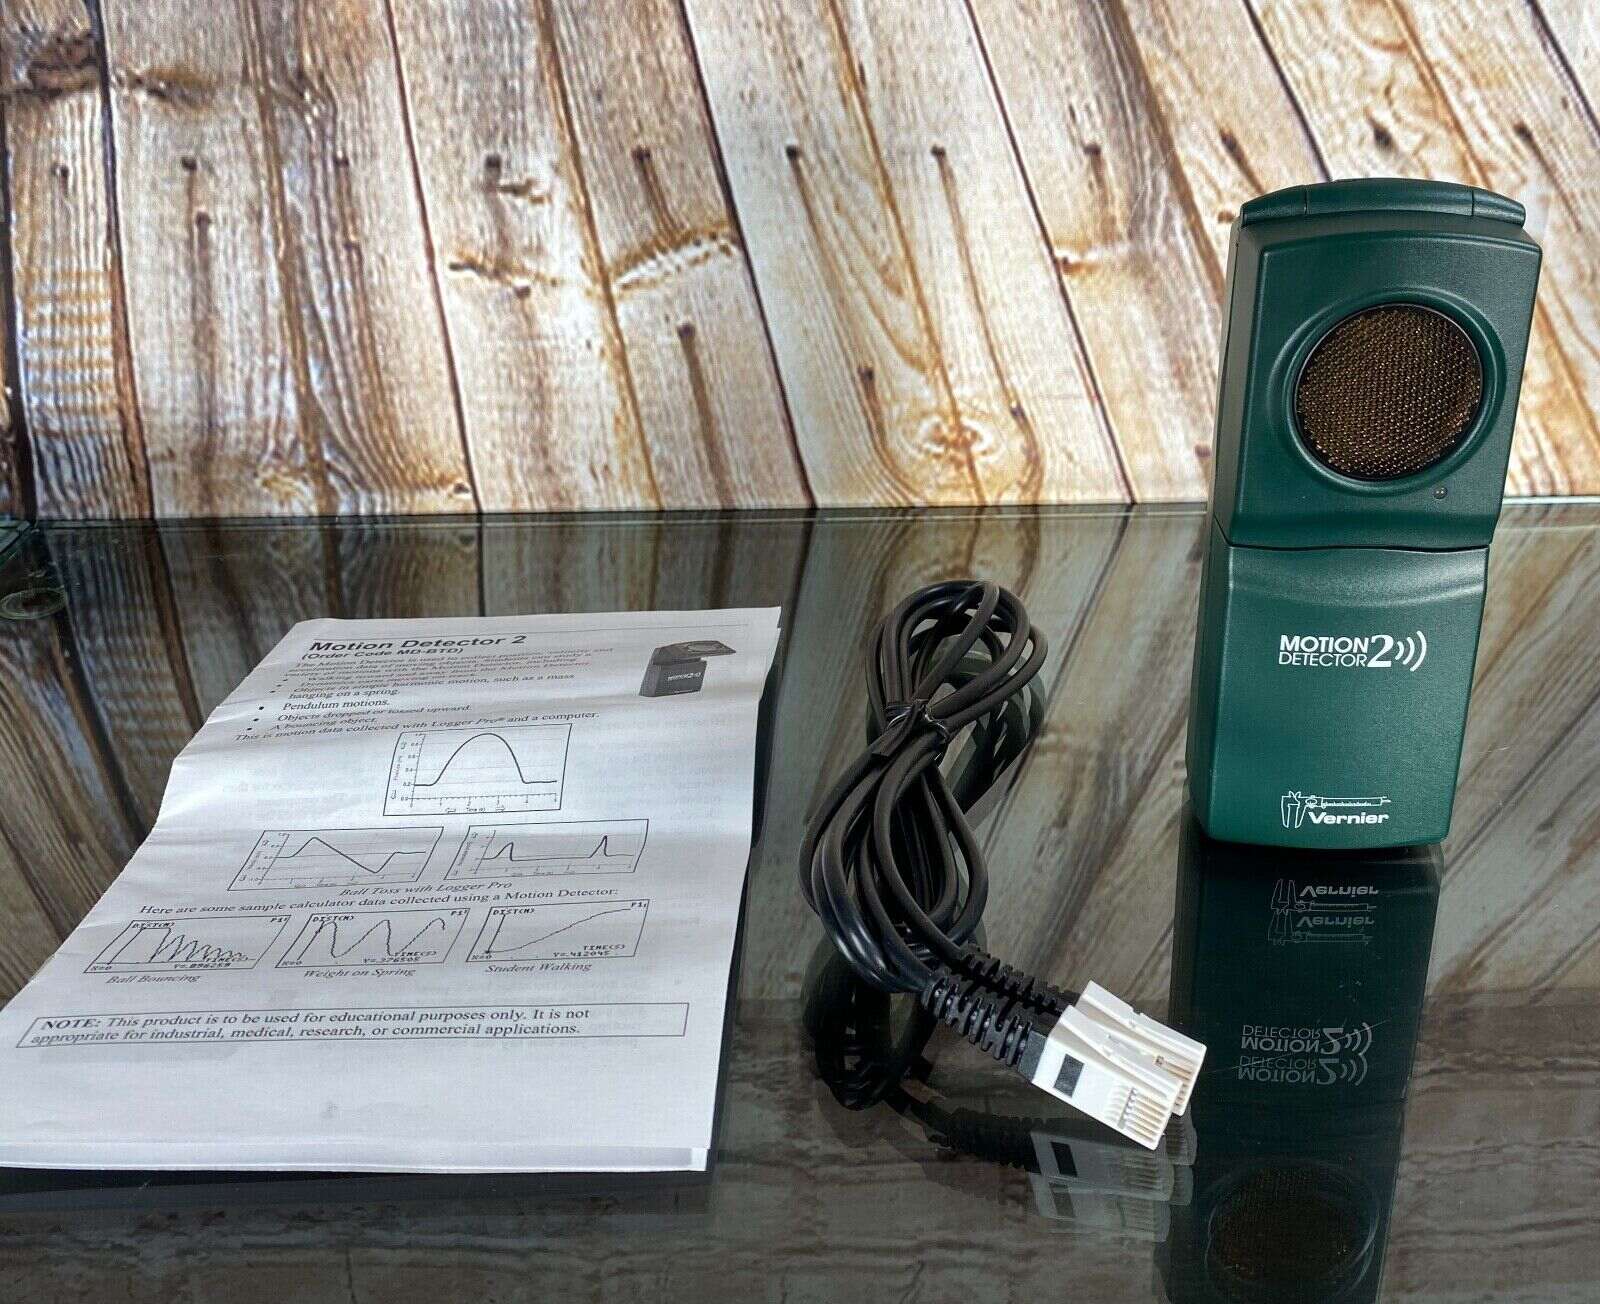
- Documentation and reference materials: Gather any datasheets, user manuals, or programming references related to your chosen components.
It’s important to note that the specific materials and components needed may vary depending on the design and complexity of your motion detector system. Make sure to double-check the compatibility and specifications of each component before purchasing.
Once you have gathered all the required materials, you’re ready to move on to the next step: setting up the circuit. In the following section, we will guide you through the process of creating the circuit for your motion detector system.
Step 2: Setting Up the Circuit
Setting up the circuit is a crucial step in building your motion detector system. The circuit connects all the components together and allows them to communicate and interact effectively. Follow these steps to set up the circuit:
- Refer to the datasheets: Start by referring to the datasheets of your chosen motion sensor and microcontroller. These datasheets provide valuable information about the pin configurations, voltage requirements, and any additional components needed.
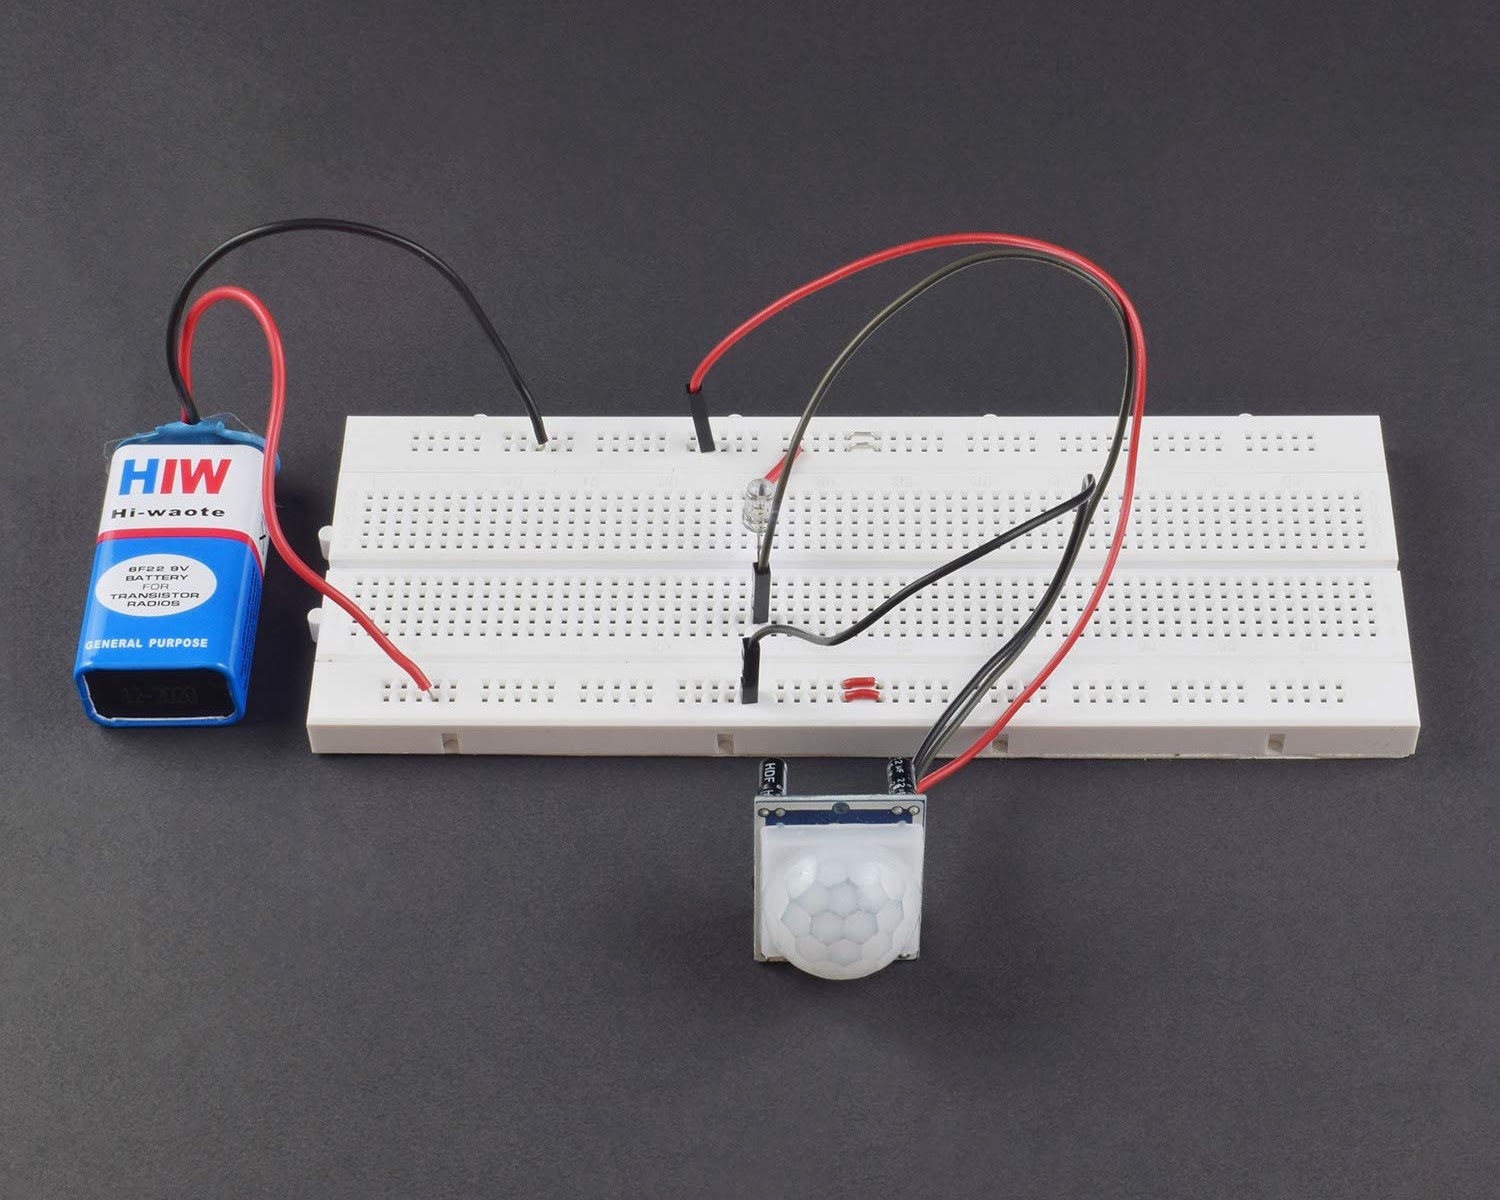
- Prepare the breadboard or PCB: Depending on your construction preference, use a breadboard or PCB (printed circuit board) to build the circuit. A breadboard is a prototyping platform that allows for easy adjustments, while a PCB provides a more permanent and robust solution.
- Place the components: Begin by placing the motion sensor and microcontroller on the breadboard or PCB. Ensure that the pins align correctly with the designated holes or pads.
- Connect the power supply: Connect the power supply, whether it’s an AC adapter or batteries, to the appropriate pins of the microcontroller. Follow the voltage requirements specified in the datasheets.
- Connect the motion sensor: Connect the motion sensor to the microcontroller by wiring the necessary pins according to the datasheets. Pay close attention to the input and output pins, as well as any additional components required for proper operation.
- Wire the alarm system: Connect the chosen alarm or notification system to the microcontroller. This can involve wiring an audible alarm, LED indicator, or setting up the necessary connections for smartphone notifications.
- Double-check the connections: Before applying power, double-check all the connections and ensure they are secure and properly aligned. This will help prevent any short circuits or loose connections that could disrupt the functionality of the motion detector system.
As you set up the circuit, it’s essential to follow proper safety precautions, such as working in a well-ventilated area, using appropriate tools, and avoiding direct contact with live wires or components.
Once the circuit is set up, you’re ready to move on to the next step: assembling the motion sensor. In the next section, we will guide you through the process of assembling the motion sensor for your DIY motion detector system.
When making a motion detector, use a passive infrared sensor to detect changes in heat and movement. This will help accurately detect motion.
Step 3: Assembling the Motion Sensor
Assembling the motion sensor is an important step in building your DIY motion detector system. The motion sensor is the component that detects movement and sends signals to the microcontroller for further processing. Here’s how you can assemble the motion sensor:
- Prepare the motion sensor: Begin by examining your chosen motion sensor and familiarizing yourself with its physical components. This may include the sensor lens, housing, and any additional adjustment features.
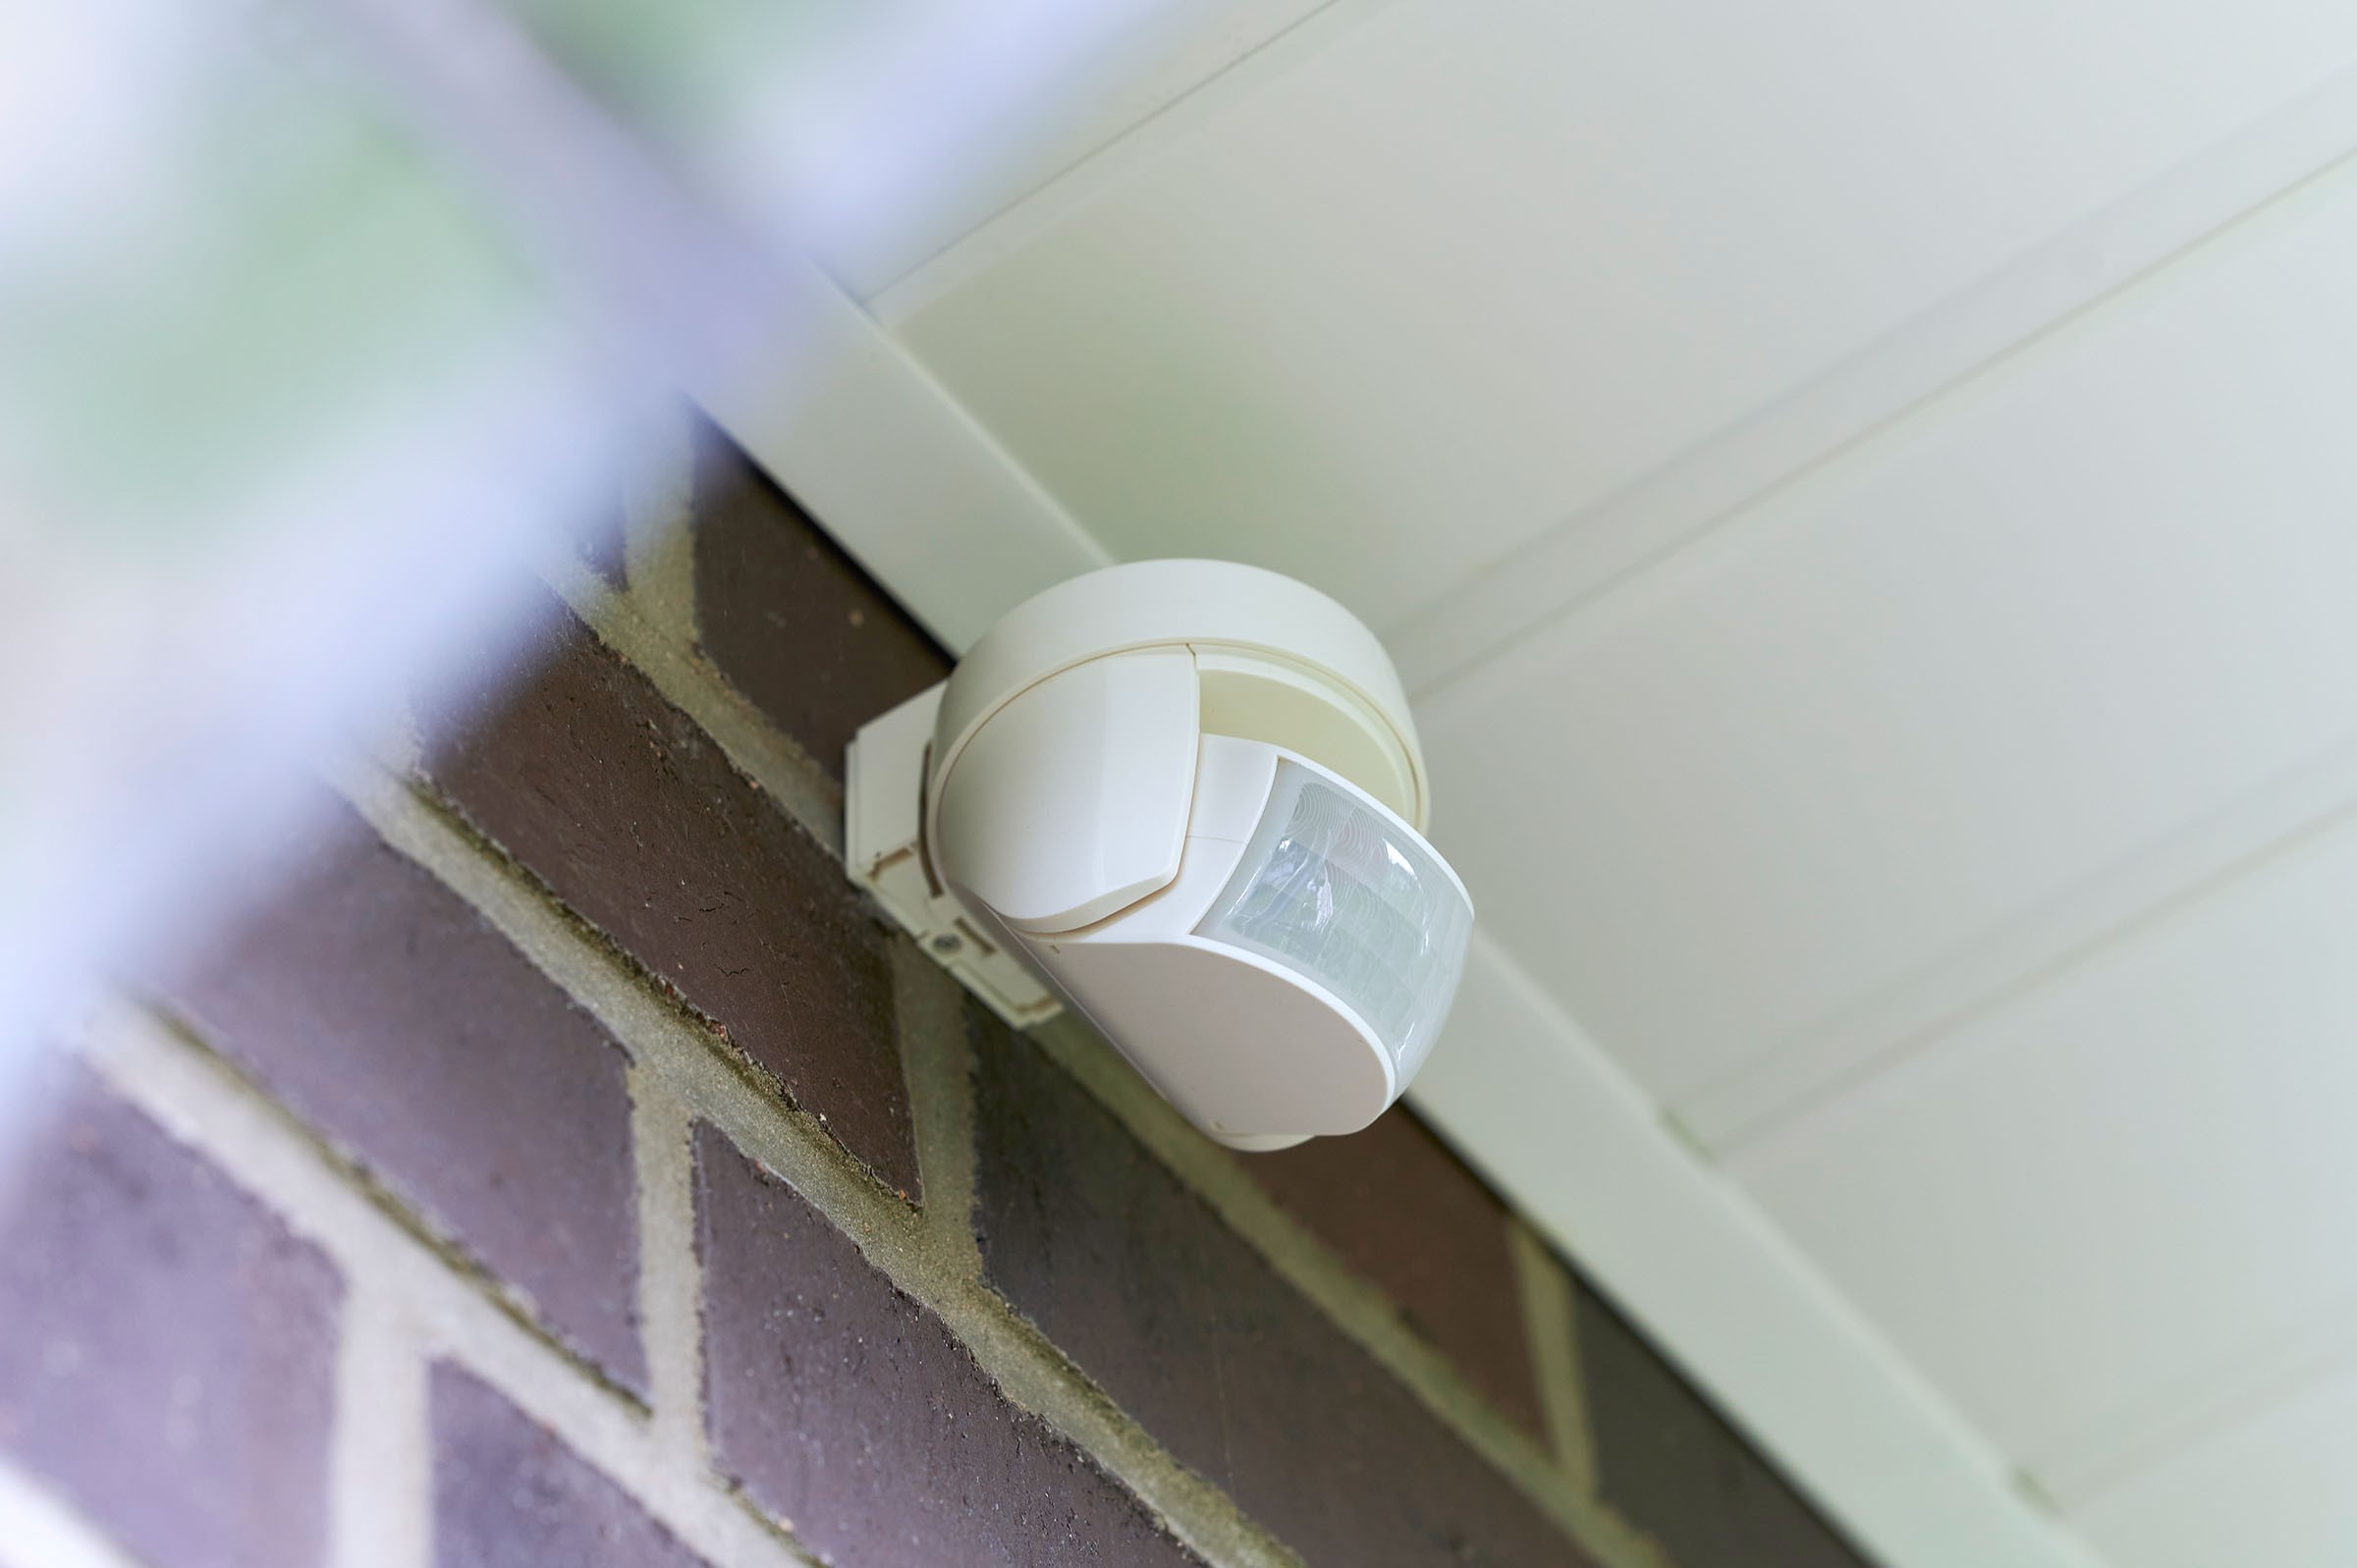
- Mount the motion sensor: Determine the optimal location for mounting the motion sensor. This will depend on the range and coverage area you desire. Typically, motion sensors are installed on ceilings or walls for optimum coverage.
- Position the sensor lens: Adjust the positioning of the sensor lens for optimal coverage. This involves angling the lens to cover the desired area and avoiding any obstructions that may interfere with motion detection.
- Secure the motion sensor: Once you have determined the optimal positioning, use screws, adhesive, or any other appropriate means to securely mount the motion sensor in place.
- Connect wiring: Depending on the design of your motion sensor, you may need to connect wiring to the designated terminals. Refer to the sensor’s datasheet or user manual for specific wiring instructions.
- Test the motion sensor: After assembling the motion sensor, it’s crucial to test its functionality. Activate the motion sensor by moving within its detection range and observe whether it successfully detects motion and sends signals to the microcontroller.
During the assembly process, make sure to handle the motion sensor with care and follow any additional instructions provided by the manufacturer. Take note of any adjustment features on the motion sensor that allow you to fine-tune the sensitivity or coverage area.
Once you have successfully assembled the motion sensor, you can proceed to the next step: connecting the various components of your motion detector system. In the following section, we will guide you through the process of connecting the components together.
Step 4: Connecting the Components
Connecting the components of your motion detector system is a crucial step in ensuring proper communication and functionality. Follow these steps to connect the various components together:
- Refer to the datasheets: Before proceeding with the connections, refer to the datasheets of your microcontroller, motion sensor, and any other components for the pin configurations and voltage requirements.
- Identify the necessary connections: Determine which pins of the microcontroller correspond to the input and output requirements of the motion sensor and other components. This may include pins for power, ground, signal input, and signal output.
- Make the necessary connections: Begin by connecting the power supply to the appropriate pins of the microcontroller, ensuring that the voltage matches the requirements. Then, connect the output signals of the motion sensor to the corresponding input pins of the microcontroller.
- Connect the alarm system: If you have chosen an audible alarm, LED indicator, or notification system, wire them to the microcontroller according to the specifications and instructions provided by the manufacturer.
- Check the connections: Double-check all the connections to ensure they are secure and properly aligned. Loose connections or incorrect wiring can lead to unreliable performance or even damage to the components.
- Test the connections: Before finalizing the connections, test the functionality of the motion detector system. Ensure that the motion sensor successfully triggers the microcontroller and activates the desired response, such as sounding the alarm or activating the notification system.
- Make adjustments if needed: If any issues or malfunctions are detected during testing, revisit the wiring connections and make necessary adjustments. Pay attention to any wiring errors or incorrect assignments of pins.
During the connection process, it’s important to handle the components with care, especially when making physical connections or soldering. Take precautions to prevent electrostatic discharge (ESD) and avoid damaging any sensitive electronic components.
After successfully connecting all the components, you’re ready to move on to the next step: programming the motion detector system. In the following section, we will guide you through the process of programming the microcontroller for your motion detector system.
Step 5: Programming the Motion Detector
Programming the microcontroller is a crucial step in configuring the behavior and functionality of your motion detector system. Follow these steps to program the microcontroller:
- Select a programming language and environment: Determine which programming language and integrated development environment (IDE) are compatible with your chosen microcontroller. Common options include C/C++, Arduino IDE, or specific platform-specific languages.
- Set up the programming environment: Install the necessary software and drivers required for programming the microcontroller. This may involve downloading and installing the IDE and any additional libraries or tools recommended by the microcontroller manufacturer.
- Write the program: Using the selected programming language, write the program code that defines the behavior of the motion detector system. This includes defining the necessary input and output pins, setting up interrupt routines, and implementing the logic for triggering the desired response when motion is detected.
- Upload the program to the microcontroller: Connect the microcontroller to your computer using a suitable programming interface, such as a USB cable or an external programmer. Then, compile the program code and upload it to the microcontroller using the IDE or programming software.
- Verify and test the program: After uploading the program, verify that the microcontroller receives the code successfully. Pay attention to any error messages or warnings provided by the IDE. Then, test the program by activating the motion sensor and verifying that the desired response, such as the alarm or notification system, is triggered.
- Make adjustments if needed: If any issues or undesired behavior are encountered during testing, review the program code and make any necessary adjustments or modifications. This may involve tweaking timing parameters, adjusting threshold levels for motion detection, or refining the response logic.
During the programming process, consult the documentation and resources provided by the microcontroller manufacturer to ensure proper usage and adherence to best practices.
Once the microcontroller is successfully programmed, your motion detector system is ready for testing and deployment. In the final step, we will guide you through the process of testing the motion detector system to ensure its functionality.
Step 6: Testing the Motion Detector
Testing the motion detector is the final step before deploying your DIY motion detector system. This step ensures that the system is functioning correctly and can effectively detect motion. Follow these steps to test your motion detector:
- Select a testing area: Choose a suitable area within the detection range of the motion sensor to conduct the testing. Make sure the area is clear of obstructions and any potential sources of false alarms.
- Activate the motion sensor: Move within the detection range of the motion sensor and observe whether it successfully detects your motion. Check if the microcontroller receives and processes the signal from the motion sensor accordingly.
- Verify the desired response: Monitor the response of the motion detector system, such as the activation of the alarm or the triggering of the notification system. Ensure that the response is prompt and accurate when motion is detected.
- Test different scenarios: Perform various movements in the testing area, including slow movements, fast movements, and different angles of approach. This will help evaluate the sensitivity and reliability of the motion detector system under different conditions.
- Observe for false alarms: Pay attention to any occurrences of false alarms triggered by factors unrelated to intentional movement. These may include environmental factors, pets, or other objects that may inadvertently activate the motion sensor.
- Adjust sensitivity if needed: If you encounter false alarms or missed detections during testing, consider adjusting the sensitivity settings of the motion sensor or fine-tuning the programming logic of the microcontroller to optimize the system’s performance.
During the testing process, it’s important to document any observations, issues, or adjustments made. This will help you improve the system’s effectiveness and troubleshoot any potential problems in the future.
Once you have successfully tested the motion detector system and are satisfied with its performance, you can proceed to deploy it in your desired location to enhance the security of your home or property.
Congratulations! You have now completed all the necessary steps to build, assemble, program, and test your own DIY motion detector system. Enjoy the added peace of mind and security that comes with having an effective home surveillance solution!
Conclusion
Building your own motion detector system can be a rewarding and cost-effective way to enhance the security and surveillance of your home. By understanding the principles of motion detectors, selecting the right components, and following a step-by-step process, you can create a DIY motion detector system that fits your specific needs.
Throughout this article, we explored the basics of motion detectors, the different types available, and the essential components required. We also outlined the step-by-step process of setting up the circuit, assembling the motion sensor, connecting the components, programming the microcontroller, and testing the motion detector system.
Remember to consider factors such as the type of motion sensor, the power supply, the alarm or notification system, and the programming language when building your motion detector system. Additionally, test the system thoroughly to ensure its functionality and reliability.
By taking the time and effort to build your DIY motion detector system, you gain the advantage of customization, cost savings, and a deeper understanding of home security and surveillance technology. However, it’s essential to keep in mind that a DIY system may have limitations compared to professionally installed security systems.
In conclusion, building your own motion detector system can provide an added layer of security and peace of mind for your home. With careful planning and attention to detail, you can successfully create a functional and effective security solution while exploring your DIY skills.
Stay vigilant, continuously test and improve your motion detector system, and enjoy the added protection it brings to your home and loved ones.
Frequently Asked Questions about How To Make A Motion Detector
Was this page helpful?
At Storables.com, we guarantee accurate and reliable information. Our content, validated by Expert Board Contributors, is crafted following stringent Editorial Policies. We're committed to providing you with well-researched, expert-backed insights for all your informational needs.