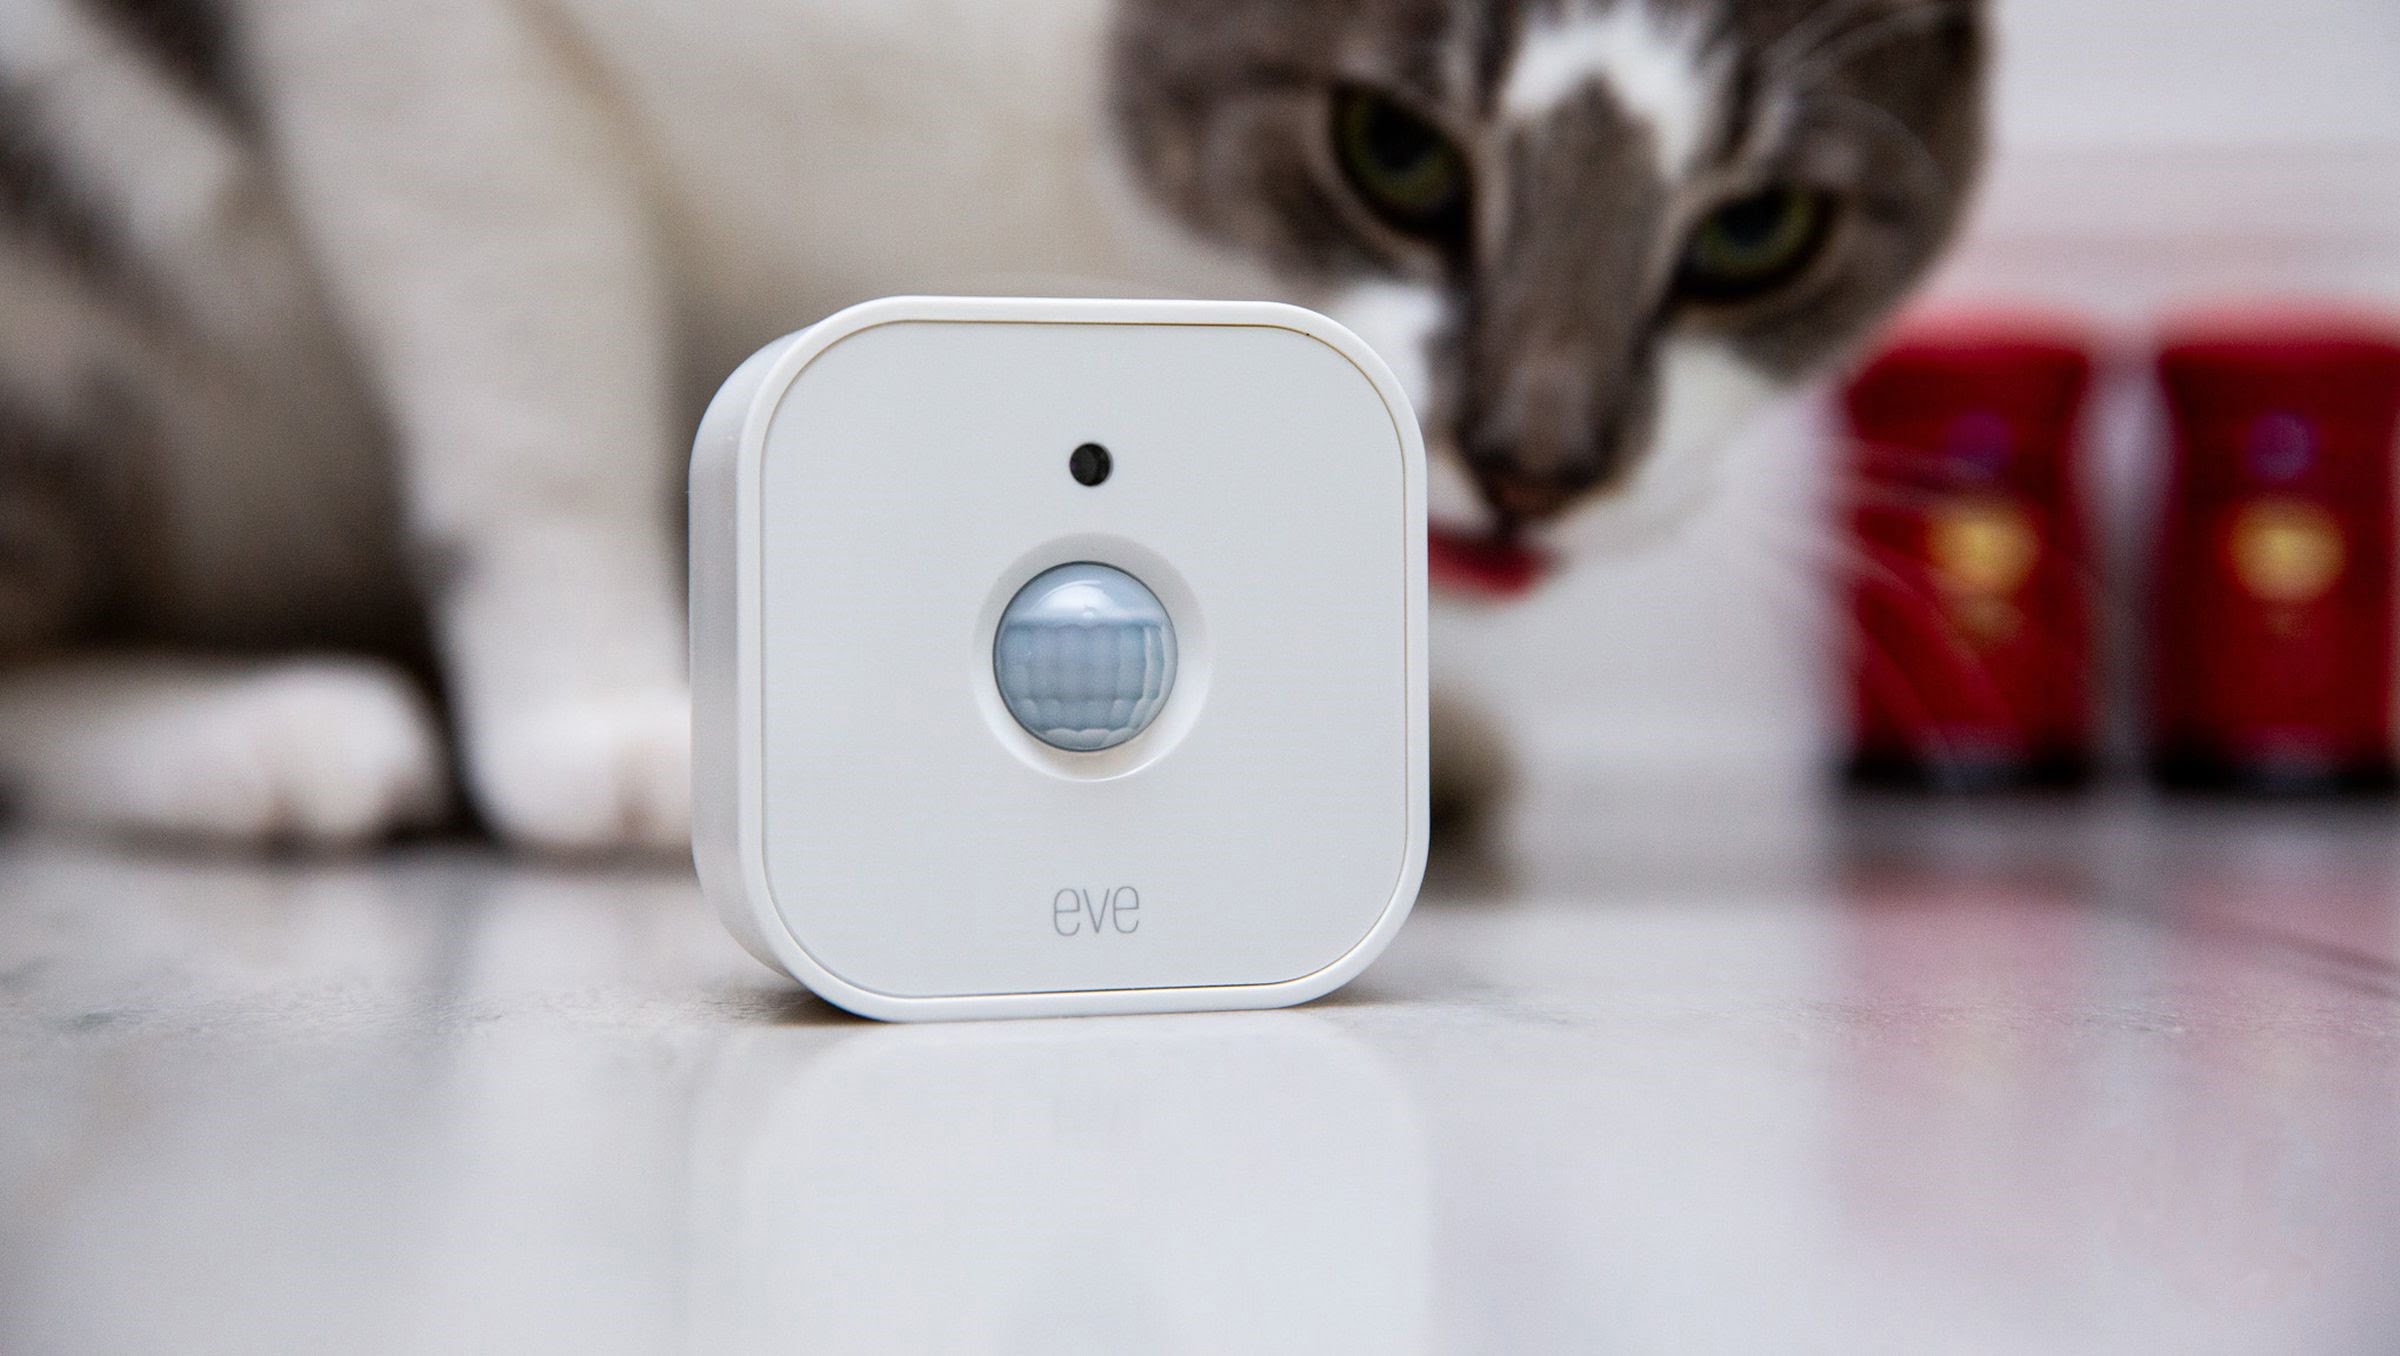
Home>Home Security and Surveillance>How To Fix A Motion Detector

Home Security and Surveillance
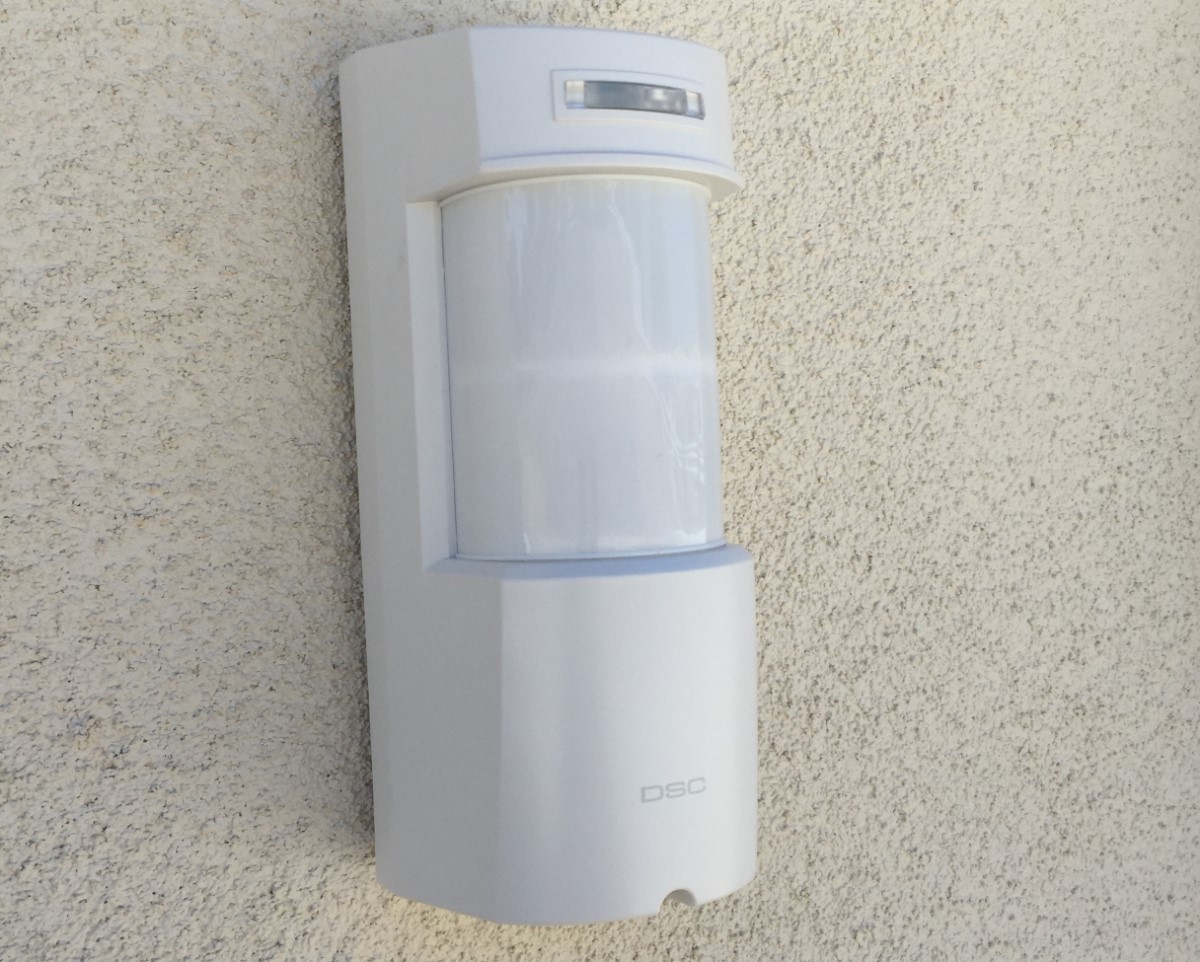
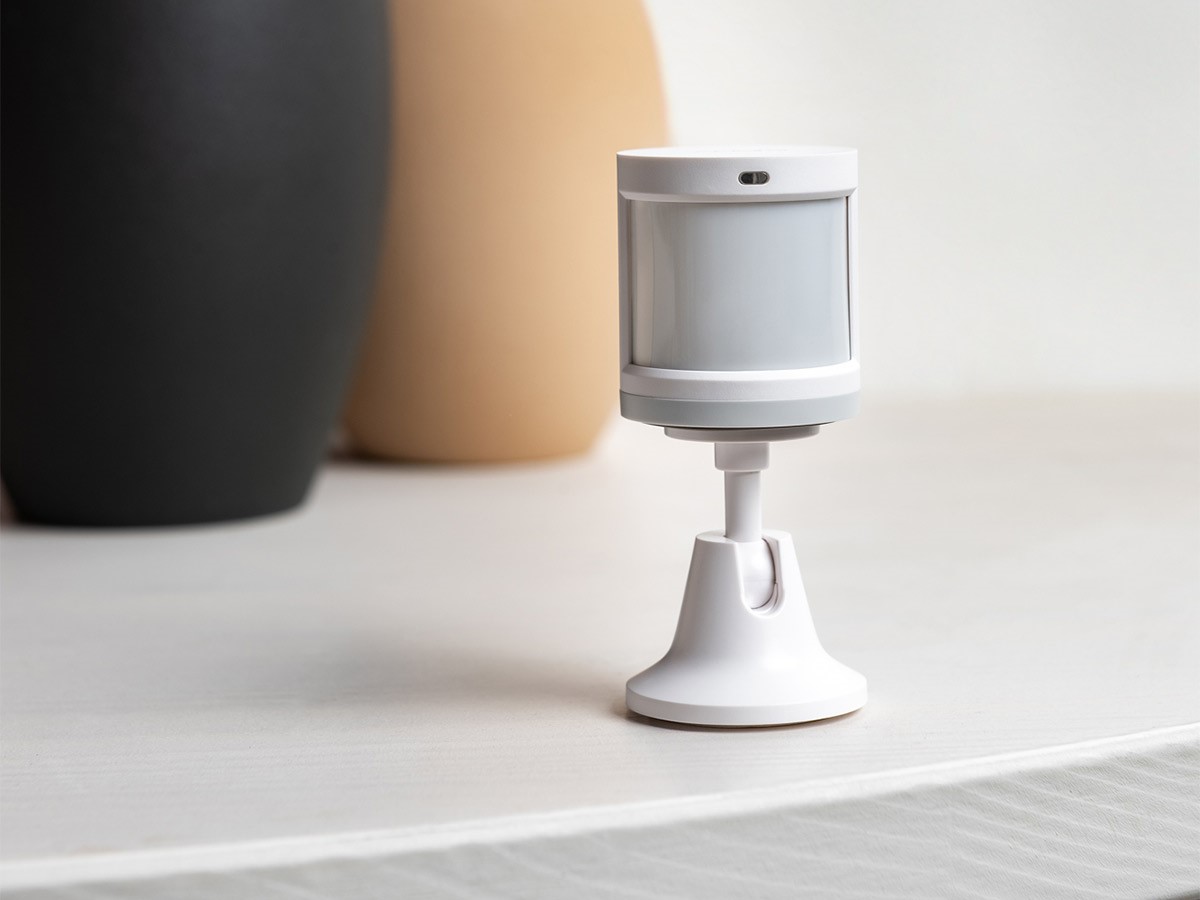
How To Fix A Motion Detector
Modified: March 6, 2024
Learn how to fix a motion detector for your home security and surveillance system. Get expert tips and troubleshoot common issues to ensure optimal functionality.
(Many of the links in this article redirect to a specific reviewed product. Your purchase of these products through affiliate links helps to generate commission for Storables.com, at no extra cost. Learn more)
Introduction
Welcome to our comprehensive guide on how to fix a motion detector. Motion detectors are an integral part of any home security system, helping to detect movement and trigger alarms or notifications. However, like any electronic device, motion detectors can experience issues over time that may affect their performance.
In this article, we will walk you through common issues that can arise with motion detectors and provide step-by-step instructions on how to troubleshoot and fix them. Whether you have a wired or wireless motion detector, our guide will help you get your system back up and running smoothly.
Before we begin, it’s important to note that while this guide provides general guidelines, it’s always a good idea to consult your motion detector’s user manual for specific troubleshooting steps and recommendations.
Now, let’s dive into the common issues you may encounter with motion detectors and find out how to solve them. Remember, by effectively maintaining and troubleshooting your motion detector, you can ensure the safety and security of your home and loved ones.
Key Takeaways:
- Keep your motion detector functioning optimally by regularly checking and maintaining its power source, adjusting sensor range, and cleaning sensors to prevent false alarms and ensure accurate detection.
- If issues persist, troubleshoot further by testing and replacing batteries, resetting the device, checking for interference, verifying placement and angle, and replacing faulty components. Regular maintenance is key to a secure home.
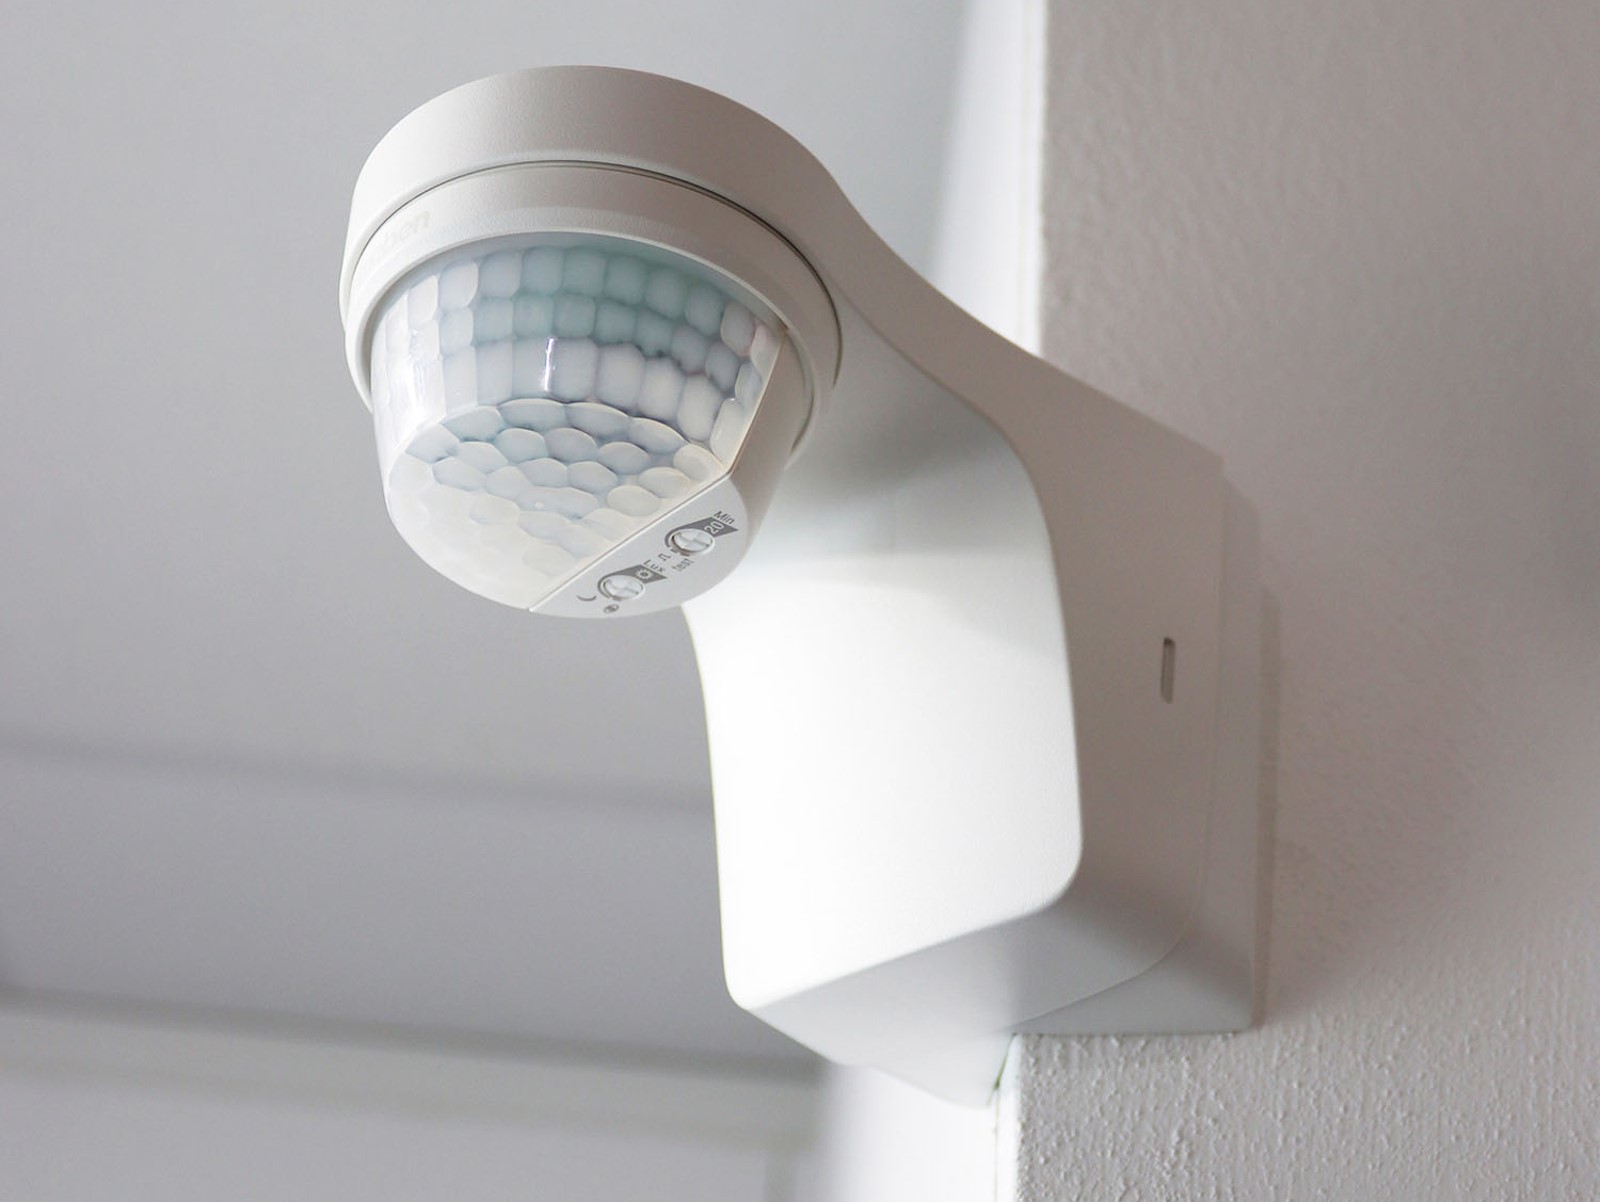
Common Issues with Motion Detectors
Motion detectors are designed to function reliably and accurately, but like any electronic device, they can encounter issues. Here are some of the most common problems you may experience with motion detectors:
- False Alarms: One of the most prevalent issues with motion detectors is false alarms. This can be caused by various factors, such as pets, moving objects like curtains or plants, or even changes in lighting and temperature. Identifying the source of false alarms is crucial in resolving this issue.
- No Detection: Sometimes, motion detectors fail to detect any movement at all. This could be due to a malfunctioning sensor, incorrect placement, or power issues. It’s important to troubleshoot and address this problem to ensure the effectiveness of your home security system.
- Interference: Interference from other devices can impact the performance of motion detectors. Radio frequencies, electromagnetic fields, and even nearby Wi-Fi signals can disrupt the communication between the motion detector and the control panel. Identifying and eliminating sources of interference can help restore proper functionality.
- Diminished Range: Over time, the range of a motion detector may become reduced, resulting in decreased coverage. This can happen due to obstructions, misalignment, or a weakening signal. Making necessary adjustments can restore the detection range and optimize the device’s performance.
- Power Issues: Motion detectors rely on a power source to function properly. Issues with power supply, such as dead or low batteries, loose connections, or electrical problems, can impact their performance. Regularly checking and maintaining the power source is crucial for uninterrupted security system operation.
- Dirty or Blocked Sensors: Dust, dirt, cobwebs, or other debris can accumulate on the motion detector’s sensors, hindering their ability to detect movement. Similarly, obstructions in front of the sensors, such as furniture or plants, can prevent accurate detection. Regular cleaning and ensuring unobstructed sensor coverage is essential.
- Faulty Components: In some cases, the issue with a motion detector may stem from a faulty component, such as a defective sensor, control panel, or wiring. Identifying and replacing the problematic component can resolve the problem and restore optimal functionality.
Now that we have explored the common issues that can arise with motion detectors, we can move on to the step-by-step troubleshooting process to fix these problems. Remember, it’s crucial to approach each issue systematically and carefully to avoid any further complications or damage to your security system.
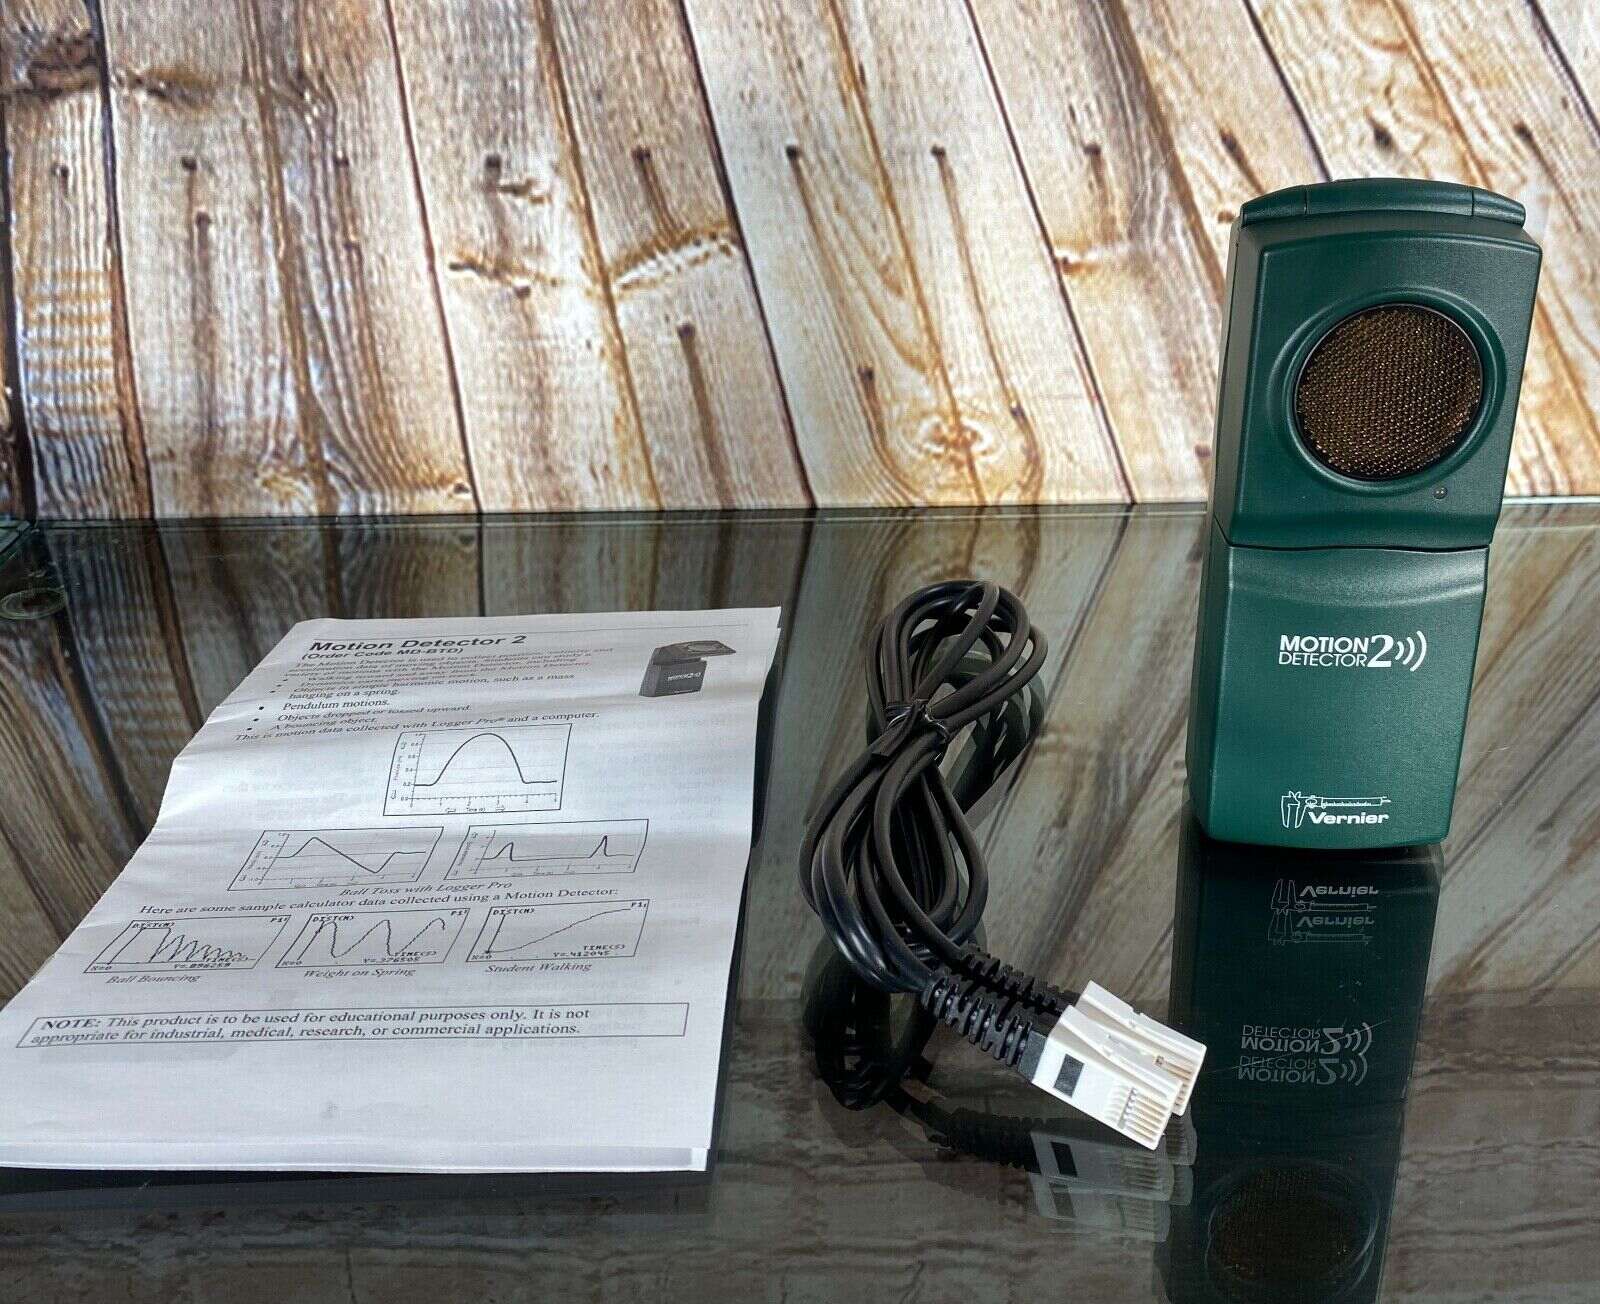
Tools and Materials Needed
Before you start troubleshooting and fixing issues with your motion detector, it’s important to gather the necessary tools and materials. Here is a list of items that will come in handy during the process:
- Screwdriver: Depending on the type of motion detector you have, you may need a flathead or Phillips screwdriver to remove the cover and access the internal components.
- Clean, Lint-Free Cloth: A soft cloth or microfiber cloth will be needed to clean the motion detector’s sensors and remove any dust, dirt, or smudges that may affect its performance.
- Canned Air or Compressed Air Duster: This is useful for blowing away any debris or particles that may be stuck on the sensors or inside the motion detector.
- Batteries: If your motion detector is battery-powered, make sure to have a fresh set of batteries on hand to replace any depleted or faulty ones.
- Electrical Tester: An electrical tester or multimeter can help you check power supply, connections, and determine if there are any electrical issues affecting the motion detector’s performance.
- Replacement Parts: If you have identified a faulty component, such as a sensor, wiring, or control panel, make sure to have the appropriate replacement parts available.
- Step Stool or Ladder (if needed): Depending on the height and placement of your motion detector, a step stool or ladder may be required to access and work on it safely.
These tools and materials should cover the majority of troubleshooting scenarios you may encounter when fixing your motion detector. It’s always a good idea to have them readily available before you start the troubleshooting process.
Now that you have everything you need, let’s move on to the step-by-step instructions for fixing common issues with motion detectors.
Step 1: Check Power Source
The first step in troubleshooting your motion detector is to check the power source. Motion detectors can be powered by batteries or through a direct electrical connection. Here’s what you need to do:
- For Battery-Powered Motion Detectors:
- Remove the cover of the motion detector using a screwdriver if necessary.
- Inspect the batteries to ensure they are inserted correctly and haven’t leaked or corroded.
- If the batteries are low or depleted, replace them with fresh ones of the same type and brand.
- While the cover is still off, check the battery contacts for any corrosion or debris. If present, clean them gently with a clean cloth or an alcohol swab.
- Close the cover securely and make sure it is properly tightened.
- For Direct Electrical Connection:
- Locate the power source for your motion detector. It may be connected to a junction box, an electrical outlet, or directly wired into the electrical system.
- Check the power supply by using an electrical tester or multimeter to ensure there is a stable flow of electricity.
- If there is no power or an intermittent power supply, check for loose connections, blown fuses, or tripped circuit breakers. Repair or replace any faulty components as needed.
- If the motion detector is connected to an electrical outlet, ensure that the outlet is receiving power. Try plugging in another device to verify its functionality.
- If the power source is intact and working fine, move on to the next troubleshooting step.
By verifying and addressing any power-related issues, you can ensure that your motion detector has a stable and reliable power supply. This step is crucial for the proper functioning of your security system. Now, let’s move on to step 2 and adjust the sensor range.
Step 2: Adjust Sensor Range
If your motion detector is not detecting motion or is being triggered too easily, adjusting the sensor range can help improve its performance. Here’s how you can adjust the sensor range:
- Locate the range adjustment dial or control on your motion detector. This is usually located on the bottom or back of the device.
- Refer to your motion detector’s user manual to determine the proper way to adjust the range. Some detectors may use a dial with specific markings, while others may require a button or switch.
- Start by setting the range to its lowest setting and test the motion detector. Gradually increase the range until you achieve the desired coverage without triggering false alarms.
- Take note of any obstructions or reflective surfaces that may be in the range of the motion detector. These can interfere with the detection capabilities and cause false triggers.
- Ensure that the motion detector is installed at an optimal height and angle for the intended coverage area. Avoid pointing the sensor directly at windows, heat sources, or air vents, as these can affect its performance.
- If adjusting the range does not resolve the issue, you may need to reposition the motion detector or consider alternative solutions such as installing additional detectors to cover blind spots.
Remember to test the motion detector after each adjustment to ensure it is functioning correctly and not triggering false alarms. Adjusting the sensor range allows you to customize the detection area to suit your needs and minimize any potential issues. Now, let’s move on to step 3 and clean the motion detector for optimal performance.
Read more: How To Deactivate A Motion Detector
Step 3: Clean the Motion Detector
Over time, dust, dirt, and debris can accumulate on the sensors of your motion detector, affecting its ability to detect motion accurately. Cleaning the motion detector is an essential step in maintaining its performance. Here’s what you need to do:
- Power off or disconnect the motion detector from its power source to avoid any electrical mishaps during the cleaning process.
- Remove the cover of the motion detector using a screwdriver if necessary.
- Inspect the sensors for any visible dirt, dust, or smudges. Use a clean, lint-free cloth or microfiber cloth to gently wipe the sensors, removing any build-up that may be obstructing their functionality.
- If there are stubborn residues or particles on the sensors, you can use canned air or a compressed air duster to blow them away. Be careful not to touch or damage the sensors while doing so.
- While the cover is off, take the opportunity to clean any other accessible components and the inside of the motion detector housing as well.
- Once the cleaning is complete, ensure that the sensors are completely dry before reassembling the motion detector.
- Securely reattach the cover of the motion detector and tighten any screws if necessary.
- Reconnect or power on the motion detector and test its functionality to see if cleaning the sensors has improved its performance.
Regularly cleaning the sensors of your motion detector helps maintain its operational efficiency and reduces the chance of false alarms or missed detections. Depending on the environment, it’s recommended to clean the motion detector at least once every few months or as needed. Now, let’s move on to step 4 and test and replace the batteries if necessary.
Check the power source and batteries first. Then, clean the sensor and adjust the sensitivity. If it still doesn’t work, consider replacing the unit.
Step 4: Test and Replace Batteries
If your motion detector is battery-powered, the performance issues you are experiencing may be due to low or depleted batteries. Testing the batteries and replacing them if necessary is an important step in troubleshooting the problem. Here’s what you need to do:
- Power off or disconnect the motion detector from its power source, if applicable.
- Locate the battery compartment of the motion detector.
- Remove the batteries from the compartment.
- Inspect the batteries for any signs of leakage, corrosion, or damage. If you notice any of these issues, handle the batteries with caution and dispose of them properly.
- Test the voltage of the batteries using a battery tester or multimeter. Make sure they have a sufficient charge to power the motion detector effectively.
- If the batteries are low or depleted, replace them with fresh ones of the same type and brand. It’s recommended to use high-quality batteries to ensure optimal performance.
- Insert the new batteries into the compartment, following the correct polarity markings (+ and -).
- Close the battery compartment securely.
- Reconnect or power on the motion detector and test its functionality.
It’s important to note that even if the batteries have some charge remaining, it’s still a good practice to replace them regularly to prevent unexpected power failures and ensure continuous operation of your motion detector. As a general guideline, it is recommended to replace the batteries every six to twelve months, or as specified by the manufacturer.
By testing and replacing the batteries when necessary, you can ensure that your motion detector has a reliable power source, which is crucial for its proper functioning. Now, let’s move on to step 5 and reset the motion detector if needed.
Step 5: Reset the Motion Detector
In some cases, resetting the motion detector can help resolve issues related to false alarms, erratic behavior, or unresponsiveness. Resetting the device essentially clears any temporary glitches or errors that may be affecting its performance. Here’s how you can reset your motion detector:
- Refer to your motion detector’s user manual to determine the specific reset instructions for your model. Different manufacturers may have different methods for resetting their devices.
- Typically, the reset process involves powering off the motion detector and disconnecting it from its power source. This can be done by removing batteries or unplugging the device from the wall outlet.
- Once the motion detector is disconnected, wait for a few minutes to ensure that any residual power or stored data is fully discharged.
- While waiting, check the device for any visible signs of damage, loose connections, or other issues. If you spot any problems, address them accordingly before moving on.
- After the waiting period, reconnect or power on the motion detector.
- Consult your user manual to determine if any further steps are needed to complete the reset process, such as pressing certain buttons or holding down specific combinations.
- Once the reset is complete, test the motion detector to see if the issues have been resolved.
Resetting your motion detector can be a simple yet effective solution to various performance-related problems. If the issues persist even after the reset, you may need to explore further troubleshooting steps or consider consulting a professional for assistance. Now, let’s move on to step 6 and check for interference.
Step 6: Check for Interference
Interference can greatly impact the performance of your motion detector and lead to false alarms or missed detections. It’s important to identify and eliminate any sources of interference to ensure reliable operation. Here’s how you can check for interference:
- Inspect the area around your motion detector for any nearby electronic devices, such as cordless phones, baby monitors, Wi-Fi routers, or appliances. These devices can emit radio frequencies or electromagnetic fields that may interfere with the signal of your motion detector.
- Temporarily turn off or move away any potential sources of interference and observe if the issues with your motion detector improve.
- If you notice a significant improvement in performance, consider repositioning your motion detector away from the interfering devices or finding alternative locations for the devices themselves.
- Ensure that the motion detector is not located too close to other wireless devices that operate on similar frequencies, as they can also cause signal interference.
- Inspect the motion detector’s wiring for any signs of damage or loose connections. Poorly connected or damaged wiring can create signal fluctuations and interference.
- If you have a wireless motion detector, ensure that it is within the recommended range of the control panel or receiver. Operating outside the specified range can lead to signal interference and unreliable performance.
- If you are unable to eliminate interference or if the issues persist, consider contacting a professional security system technician who can help diagnose and mitigate interference problems.
Checking for interference and taking preventative measures to minimize its impact is crucial for maintaining the optimal performance of your motion detector. By addressing interference issues, you can reduce false alarms and ensure accurate detection of any actual motion. Now, let’s move on to step 7 and verify the placement and angle of your motion detector.
Read more: How To Make A Motion Detector
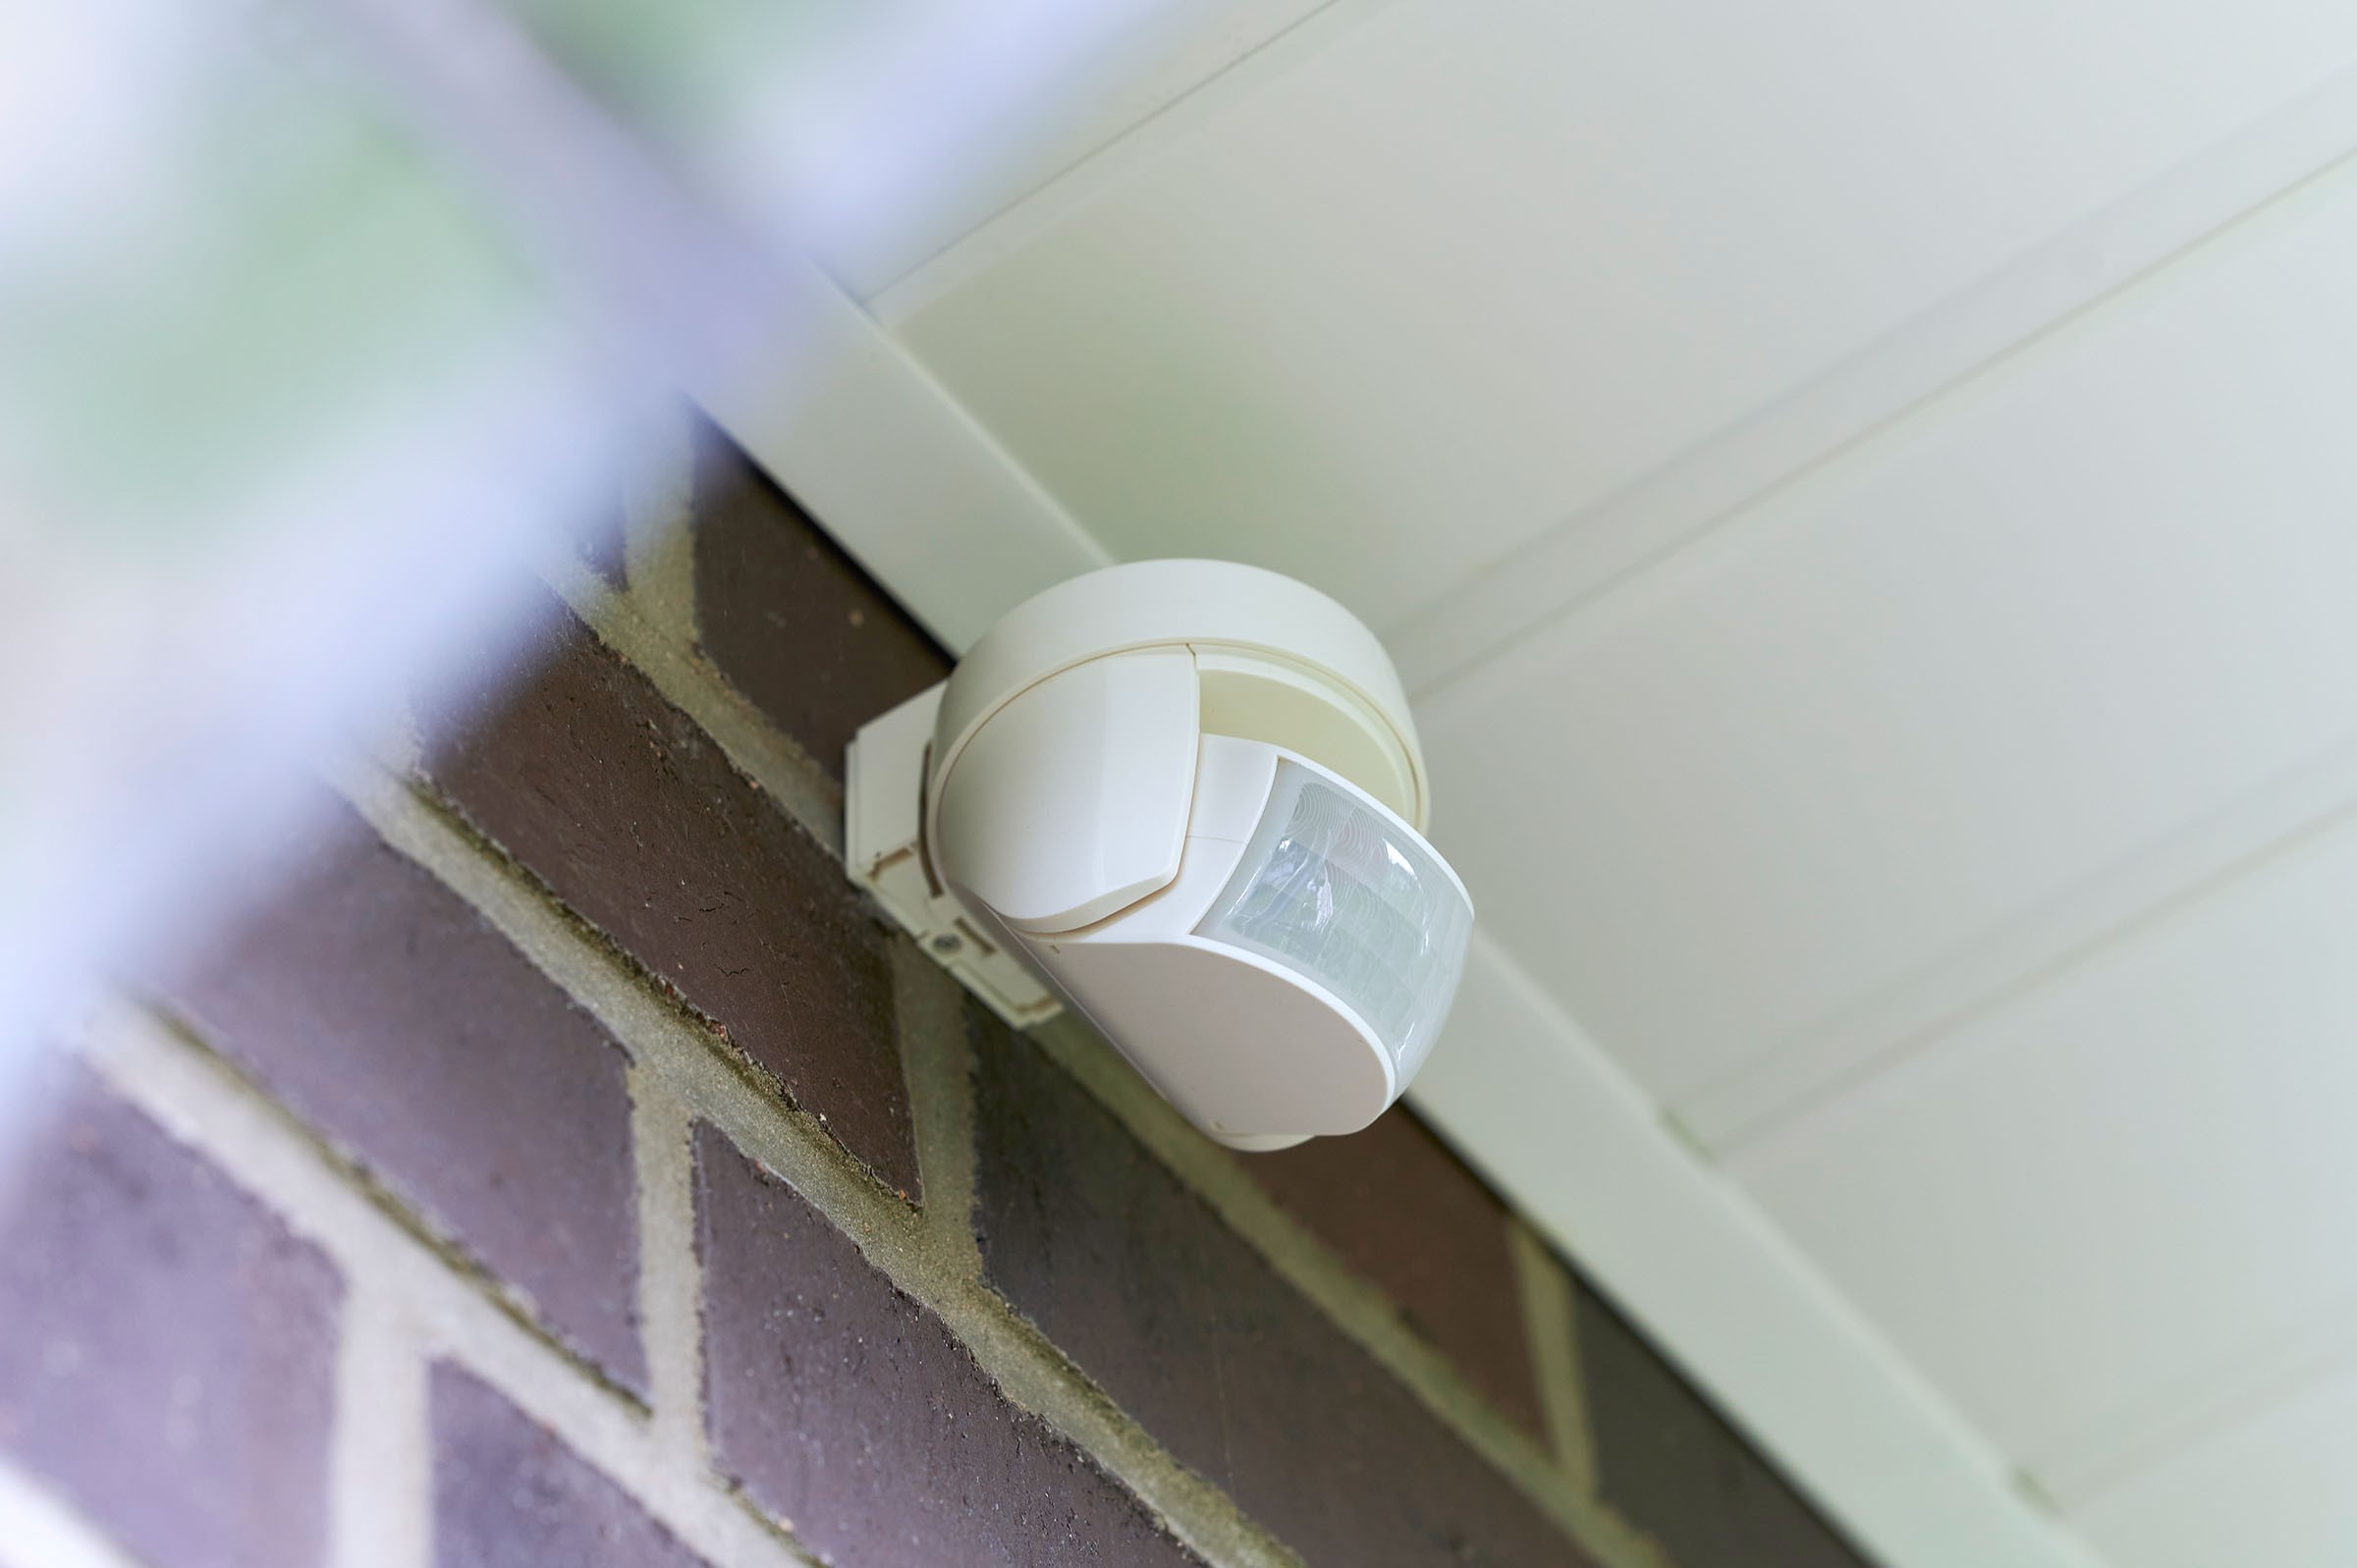
Step 7: Verify Placement and Angle
The placement and angle of your motion detector play a significant role in its effectiveness and accuracy. Ensuring that it is positioned correctly is crucial for reliable motion detection. Here’s how you can verify the placement and angle of your motion detector:
- Check the user manual or manufacturer’s guidelines for recommended placement and mounting instructions specific to your motion detector model.
- Consider the intended coverage area and the potential entry points that you want to monitor. Place the motion detector in a strategic location that provides optimal coverage.
- Avoid placing the motion detector near sources of heat, direct sunlight, or air vents, as these can cause false alarms or affect the device’s performance.
- Ensure that the motion detector is mounted at an appropriate height. Generally, a height of 6 to 7 feet is ideal for detecting human movement, but follow the manufacturer’s recommendations for your specific device.
- Check that the motion detector is angled correctly. The sensor should be positioned towards the areas you want to monitor, such as entryways or pathways.
- Avoid pointing the sensor directly at windows or reflective surfaces, as they can cause false alarms by reflecting sunlight or creating unpredictable motion patterns.
- If needed, adjust the mounting bracket or base to achieve the desired angle and ensure the sensor has an unobstructed field of view.
- Test the motion detector to see if the detection range and accuracy meet your expectations. Adjust the placement or angle if necessary to optimize its performance.
Verifying the placement and angle of your motion detector is essential for maximizing its effectiveness. By following the manufacturer’s guidelines and considering the specific requirements of your home and security needs, you can ensure accurate and reliable motion detection. Now, let’s move on to step 8 and address any faulty components.
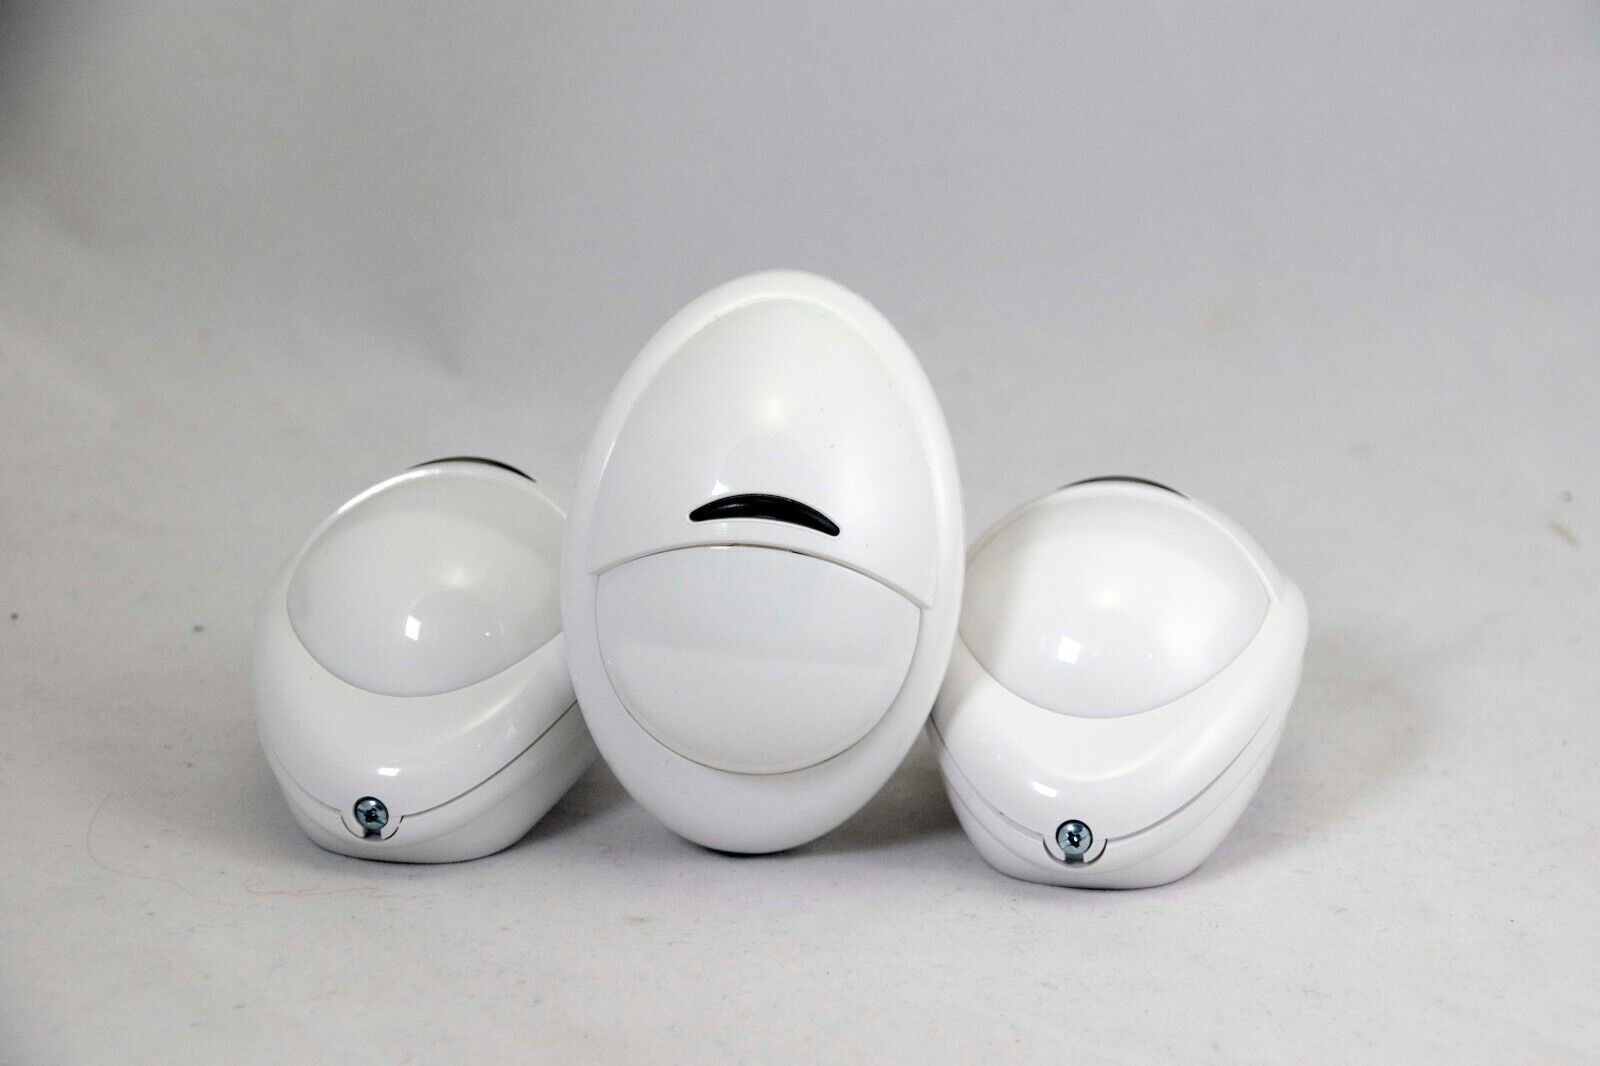
Step 8: Replace Faulty Components
If you have exhausted all the previous troubleshooting steps and are still experiencing issues with your motion detector, it’s possible that there may be a faulty component that needs to be replaced. Here’s how you can address this:
- Identify the specific component that may be causing the problem. This could include a faulty sensor, control panel, wiring, or even the motion detector itself.
- Consult your motion detector’s user manual or contact the manufacturer to determine the appropriate replacement part.
- Purchase the replacement component from a reputable supplier or directly from the manufacturer.
- Power off or disconnect the motion detector from its power source before replacing any components, ensuring your safety.
- Follow the specific instructions provided by the manufacturer to safely remove and replace the faulty component.
- Double-check all connections and make sure everything is securely in place.
- Reconnect or power on the motion detector and test its functionality to verify if the issue has been resolved.
- If the problem persists after replacing the component, it may be advisable to consult a professional technician or contact the manufacturer for further assistance.
Replacing faulty components can be a more advanced troubleshooting step, so if you are not comfortable with this process, it’s recommended to seek professional help from a qualified technician. They can diagnose the issue accurately and ensure the correct replacement parts are installed properly.
By replacing faulty components, you can restore the optimal performance of your motion detector and ensure the continued safety and security of your home. Now that you have completed all the troubleshooting steps, double-check the functionality of your motion detector and make any necessary adjustments.
Congratulations! You have successfully learnt how to fix a motion detector. Remember, regular maintenance and periodic testing of your security system are essential to keep it operating smoothly and effectively. If you encounter any issues beyond your troubleshooting capabilities, don’t hesitate to seek professional assistance.
Thank you for following our comprehensive guide. Stay safe and secure!
Conclusion
Ensuring the proper functioning of your motion detector is vital for the security and overall effectiveness of your home security system. By following the troubleshooting steps outlined in this guide, you can address common issues that may arise with motion detectors and restore their optimal performance.
We began by exploring the common issues that can occur with motion detectors, such as false alarms, no detection, interference, diminished range, power issues, dirty or blocked sensors, and faulty components. Understanding these issues helps us identify potential problems and take appropriate action to resolve them.
We then discussed the tools and materials needed for the troubleshooting process, including a screwdriver, clean cloth, canned air, batteries, electrical tester, and replacement parts. Having these items readily available will expedite the troubleshooting process.
The step-by-step guide provided detailed instructions on how to check the power source, adjust the sensor range, clean the motion detector, test and replace batteries, reset the device, check for interference, verify placement and angle, and replace faulty components. Following these steps in order will help you systematically troubleshoot and fix issues encountered with your motion detector.
In conclusion, maintaining and troubleshooting your motion detector is crucial for the overall security of your home. By following the guidelines presented in this comprehensive guide, you can successfully address common issues, enhance the performance of your motion detector, and ensure the safety and security of your loved ones.
Remember to consult your motion detector’s user manual for specific instructions and recommendations, and seek professional assistance if needed. Stay vigilant and perform regular maintenance to keep your security system in optimal condition.
Thank you for reading our guide on how to fix a motion detector. Stay safe and secure!
Frequently Asked Questions about How To Fix A Motion Detector
Was this page helpful?
At Storables.com, we guarantee accurate and reliable information. Our content, validated by Expert Board Contributors, is crafted following stringent Editorial Policies. We're committed to providing you with well-researched, expert-backed insights for all your informational needs.