Home>Home Security and Surveillance>How To Replace The Battery In Xfinity Motion Detector
Home Security and Surveillance
How To Replace The Battery In Xfinity Motion Detector
Modified: August 16, 2024
Learn how to replace the battery in your Xfinity motion detector for optimal home security and surveillance. Keep your property protected and ensure uninterrupted monitoring.
(Many of the links in this article redirect to a specific reviewed product. Your purchase of these products through affiliate links helps to generate commission for Storables.com, at no extra cost. Learn more)
Introduction
Welcome to our guide on how to replace the battery in your Xfinity motion detector. Motion detectors are an essential component of any home security system, as they help detect any unauthorized movement or activity in and around your property. To ensure that your motion detector functions optimally, it is important to replace the battery periodically.
A motion detector relies on a power source, usually a battery, to operate effectively. Over time, the battery will lose its charge and need to be replaced. By following the steps outlined in this guide, you will be able to easily replace the battery in your Xfinity motion detector, ensuring continuous and reliable performance.
Before replacing the battery, it is essential to gather the necessary tools. This will make the process smoother and more efficient. Let’s go through the tools you’ll need:
Key Takeaways:
- Regularly replacing the battery in your Xfinity motion detector is crucial for maintaining a reliable home security system. Follow the step-by-step guide to ensure continuous and accurate motion detection, enhancing the safety of your home.
- By gathering the necessary tools and following the simple instructions, you can easily replace the battery in your Xfinity motion detector. Stay proactive and ensure the efficiency of your home security system for peace of mind.
Step 1: Gather the necessary tools
Before you begin replacing the battery in your Xfinity motion detector, it is important to gather all the necessary tools. Here’s what you will need:
- A small screwdriver (typically Phillips or flathead)
- A fresh replacement battery (check the user manual or the existing battery for the specific type required)
- Gloves (optional, but recommended to keep your hands clean)
Having these tools ready will ensure a smooth and hassle-free battery replacement process. Once you have all the necessary tools, you can proceed to the next step.
Step 2: Remove the motion detector from the mounting bracket
Now that you have gathered all the necessary tools, it’s time to remove the motion detector from its mounting bracket. Follow these steps:
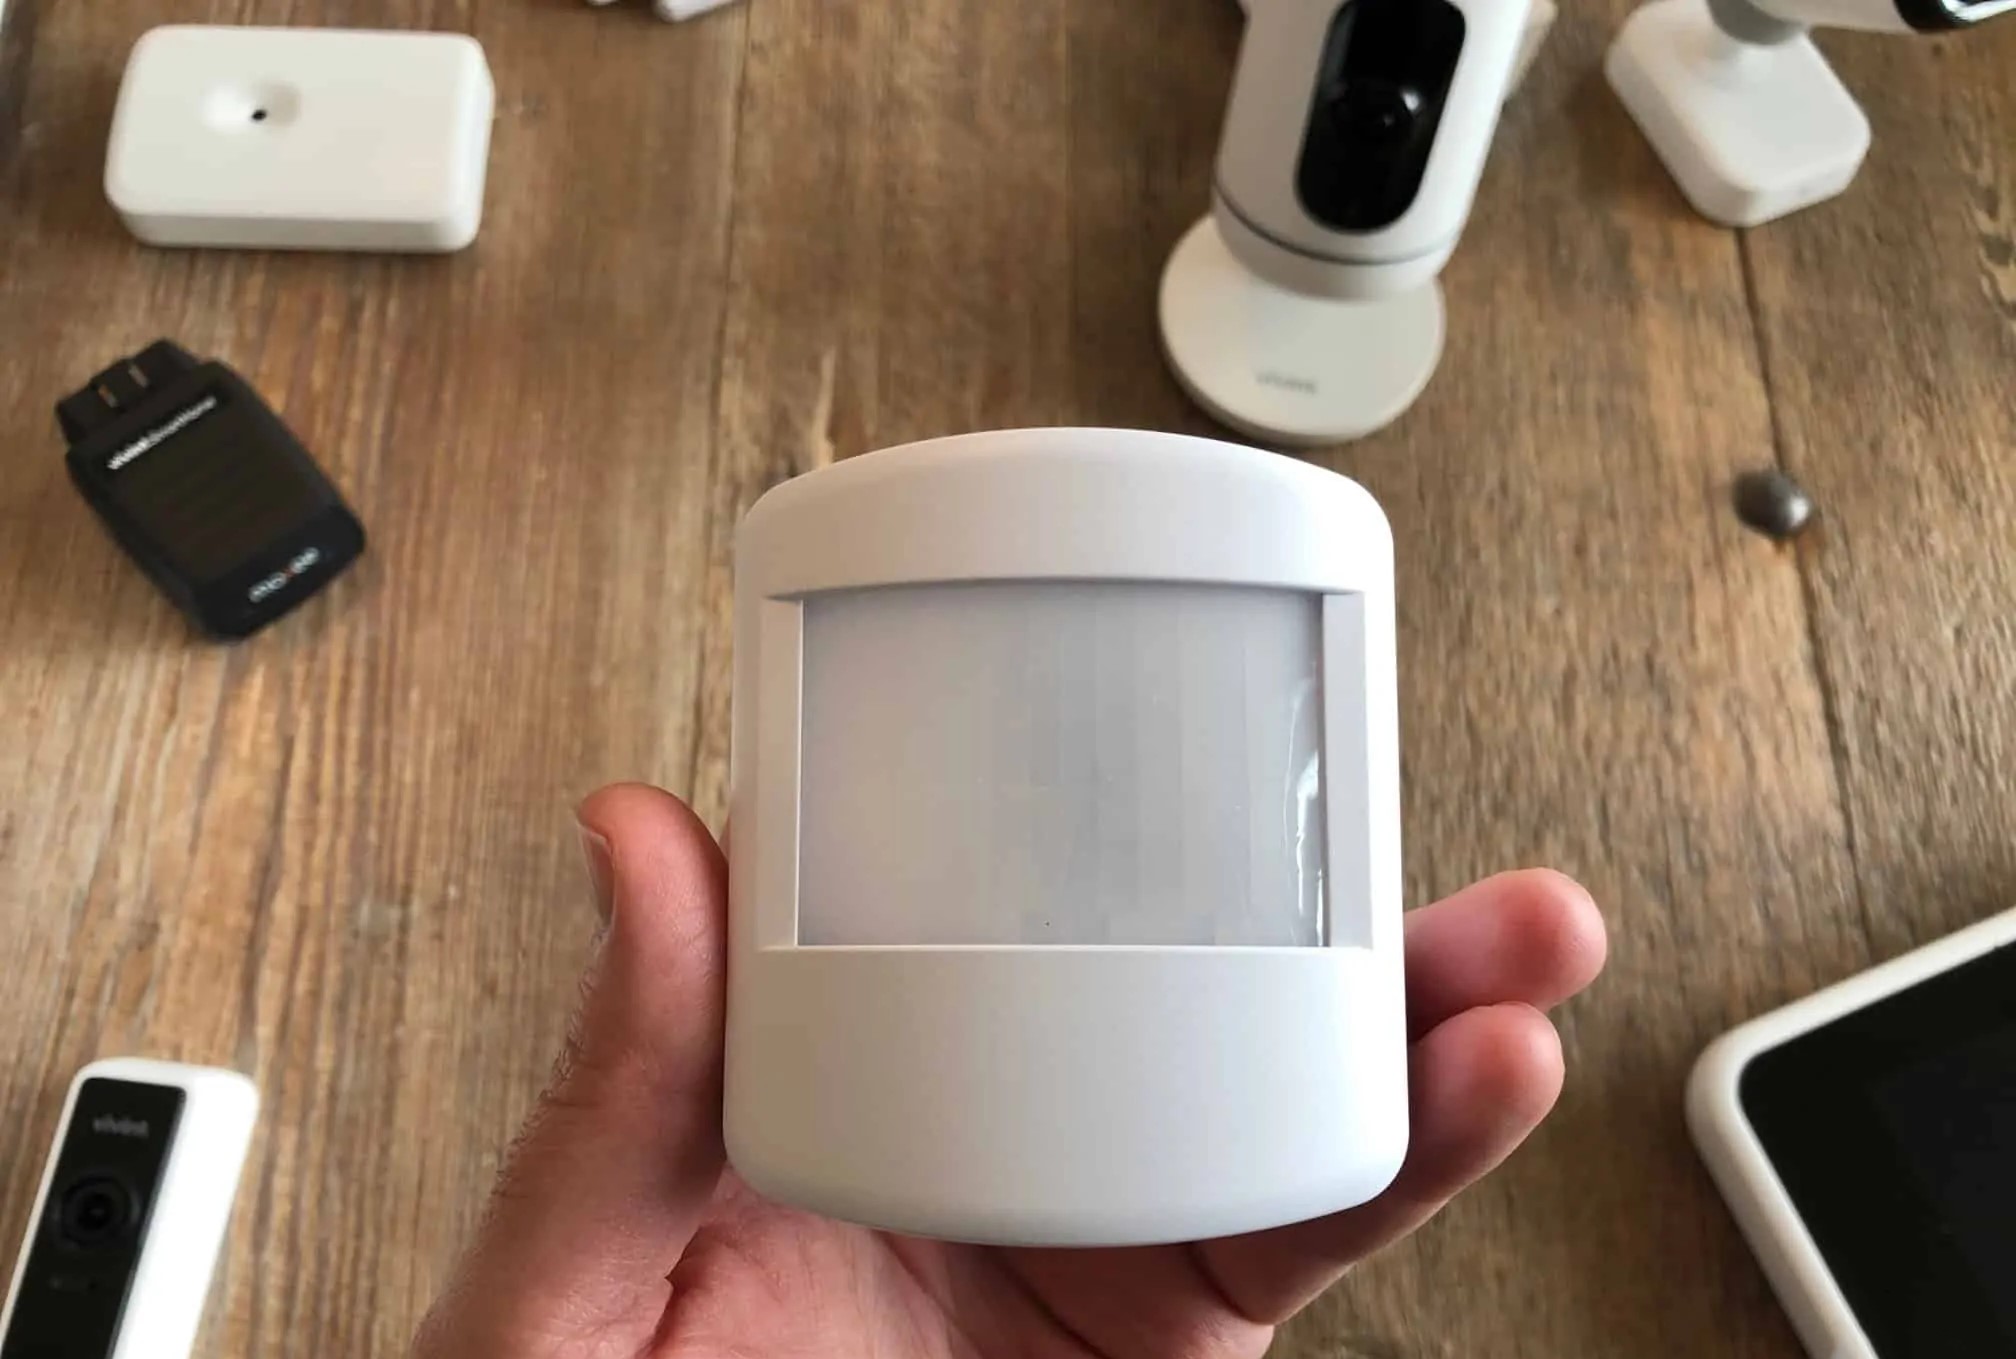
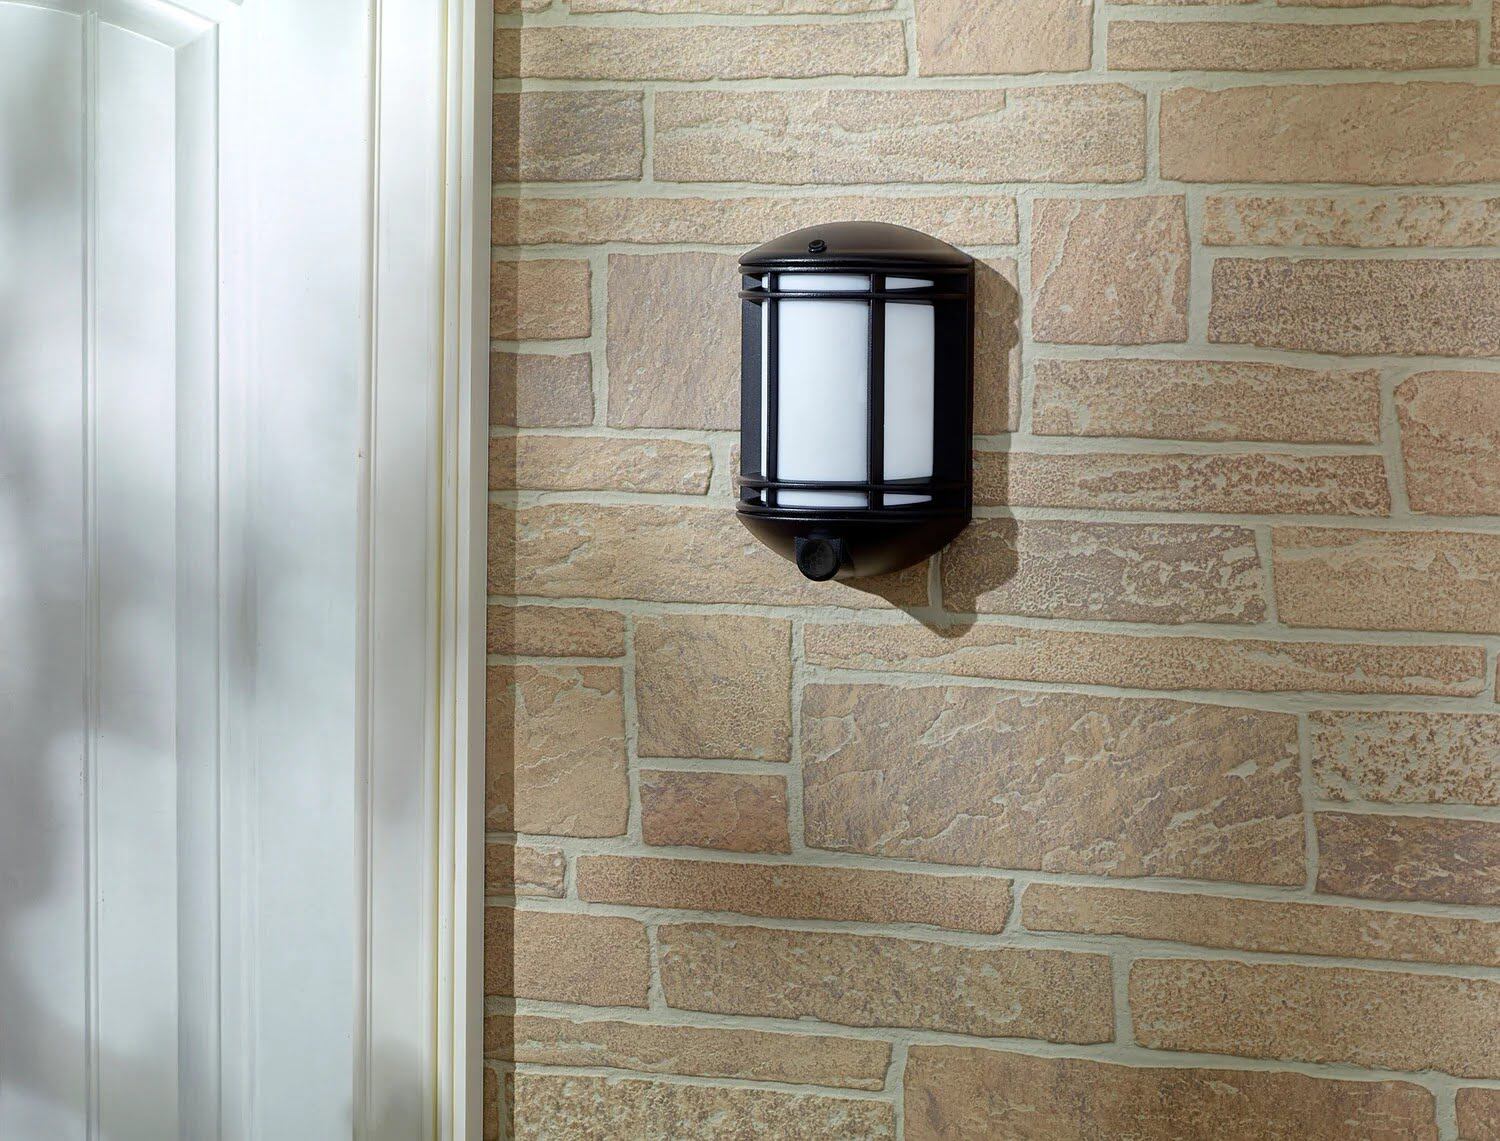
- Locate the motion detector on the wall or ceiling. It is usually placed in a high-traffic area or near entry points.
- Using a screwdriver, remove the screws or any other fasteners securing the motion detector to the mounting bracket. Set the screws aside in a safe place to prevent their loss.
- Gently pull the motion detector away from the mounting bracket, ensuring not to damage any wires or connectors.
By following these steps, you will be able to detach the motion detector from the mounting bracket, allowing you to access the battery compartment easily. Proceed to the next step for further instructions.
Step 3: Open the battery compartment
With the motion detector removed from the mounting bracket, it’s time to open the battery compartment. Follow these steps:
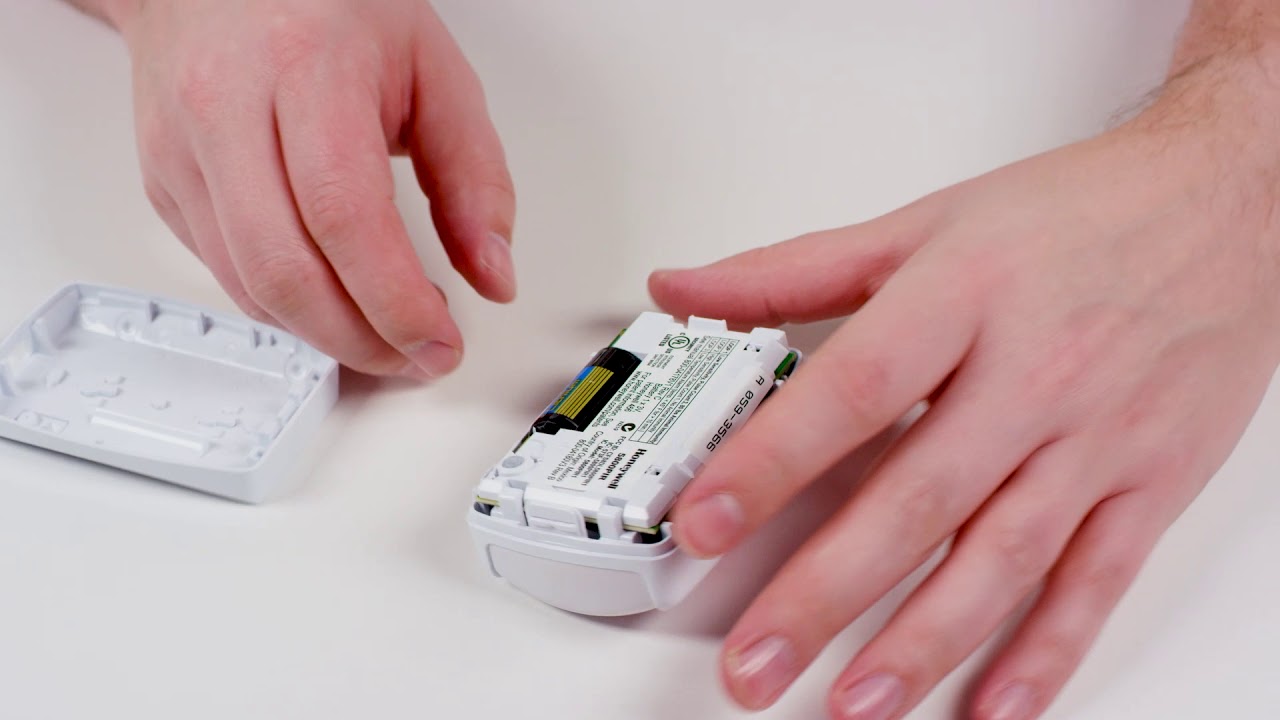
- Inspect the back of the motion detector for a marked panel or cover indicating the battery compartment.
- Use your fingers or a small tool to gently pry open the battery compartment cover.
- If there is a latch or lock mechanism, release it to open the compartment fully.
Opening the battery compartment gives you access to the old battery, which needs to be replaced. Make sure to handle the motion detector and compartment cover with care to avoid any damage. Next, we will move on to removing the old battery in the upcoming step.
Step 4: Remove the old battery
Now that you have opened the battery compartment, it’s time to remove the old battery. Follow these steps:
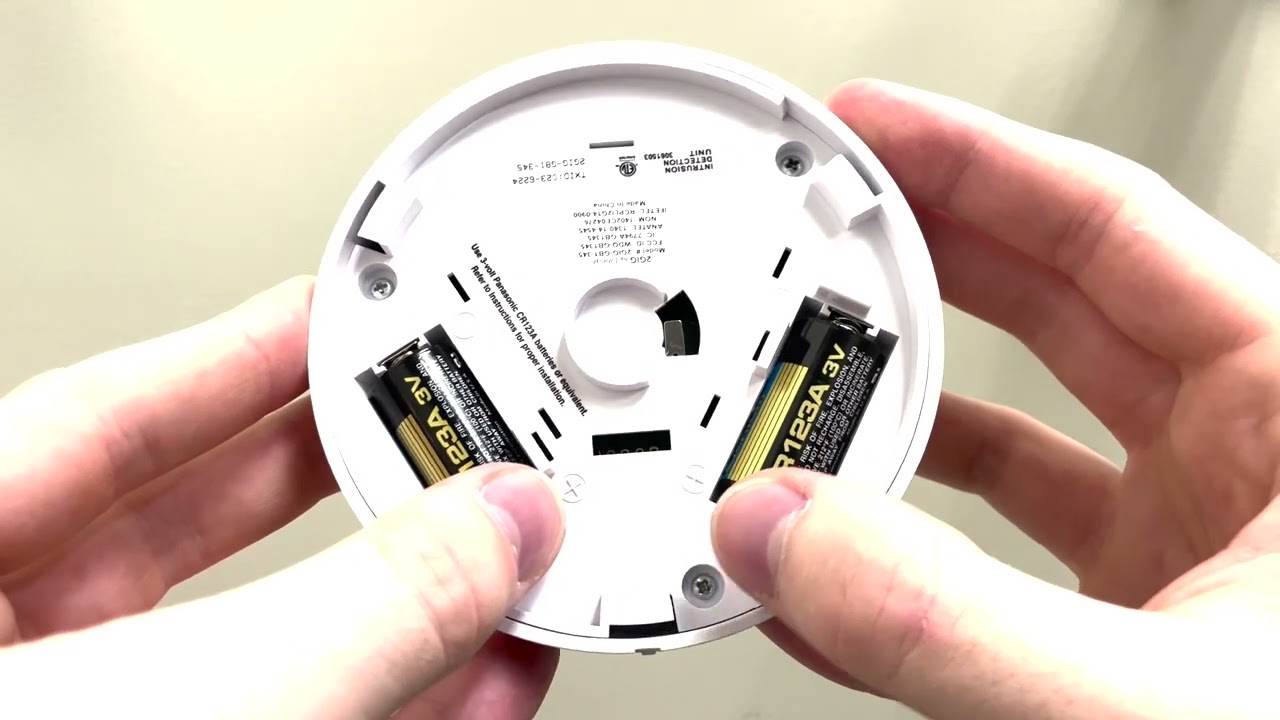
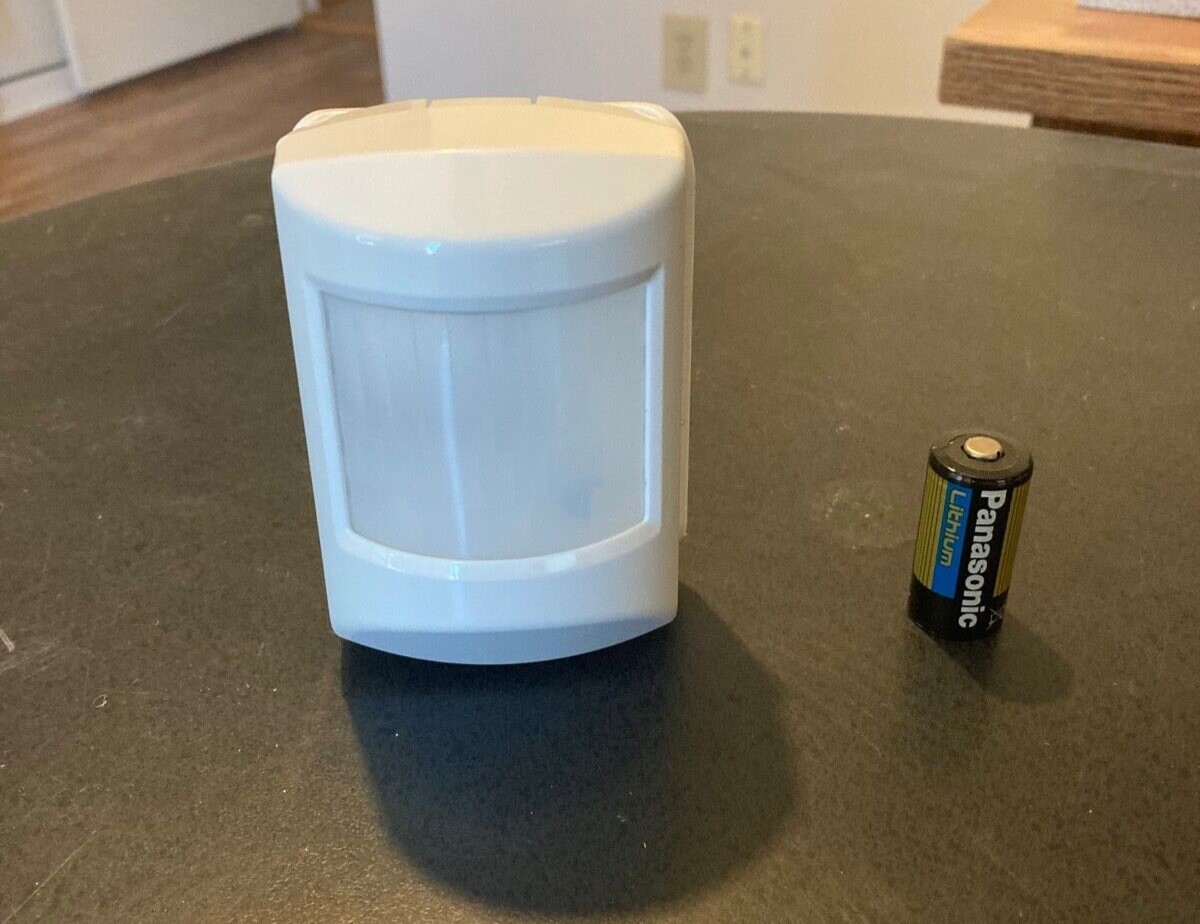
- Take a close look at the battery placement inside the compartment and locate the old battery.
- Identify the type of battery (e.g., AA, AAA, CR123) and take note of the orientation (positive and negative terminals).
- Use your fingers or a small tool, such as a screwdriver, to carefully lift the old battery out of the compartment.
- Make sure to dispose of the old battery properly according to local regulations and guidelines.
Removing the old battery is an essential step to ensure a smooth replacement process. By taking care to properly remove and dispose of the old battery, you are ensuring the safety of both yourself and the environment. Now, let’s move on to inserting the new battery in the next step.
To replace the battery in your Xfinity motion detector, first remove the cover and then carefully replace the old battery with a new one, making sure to match the positive and negative ends correctly. Close the cover securely and test the detector to ensure it is working properly.
Step 5: Insert the new battery
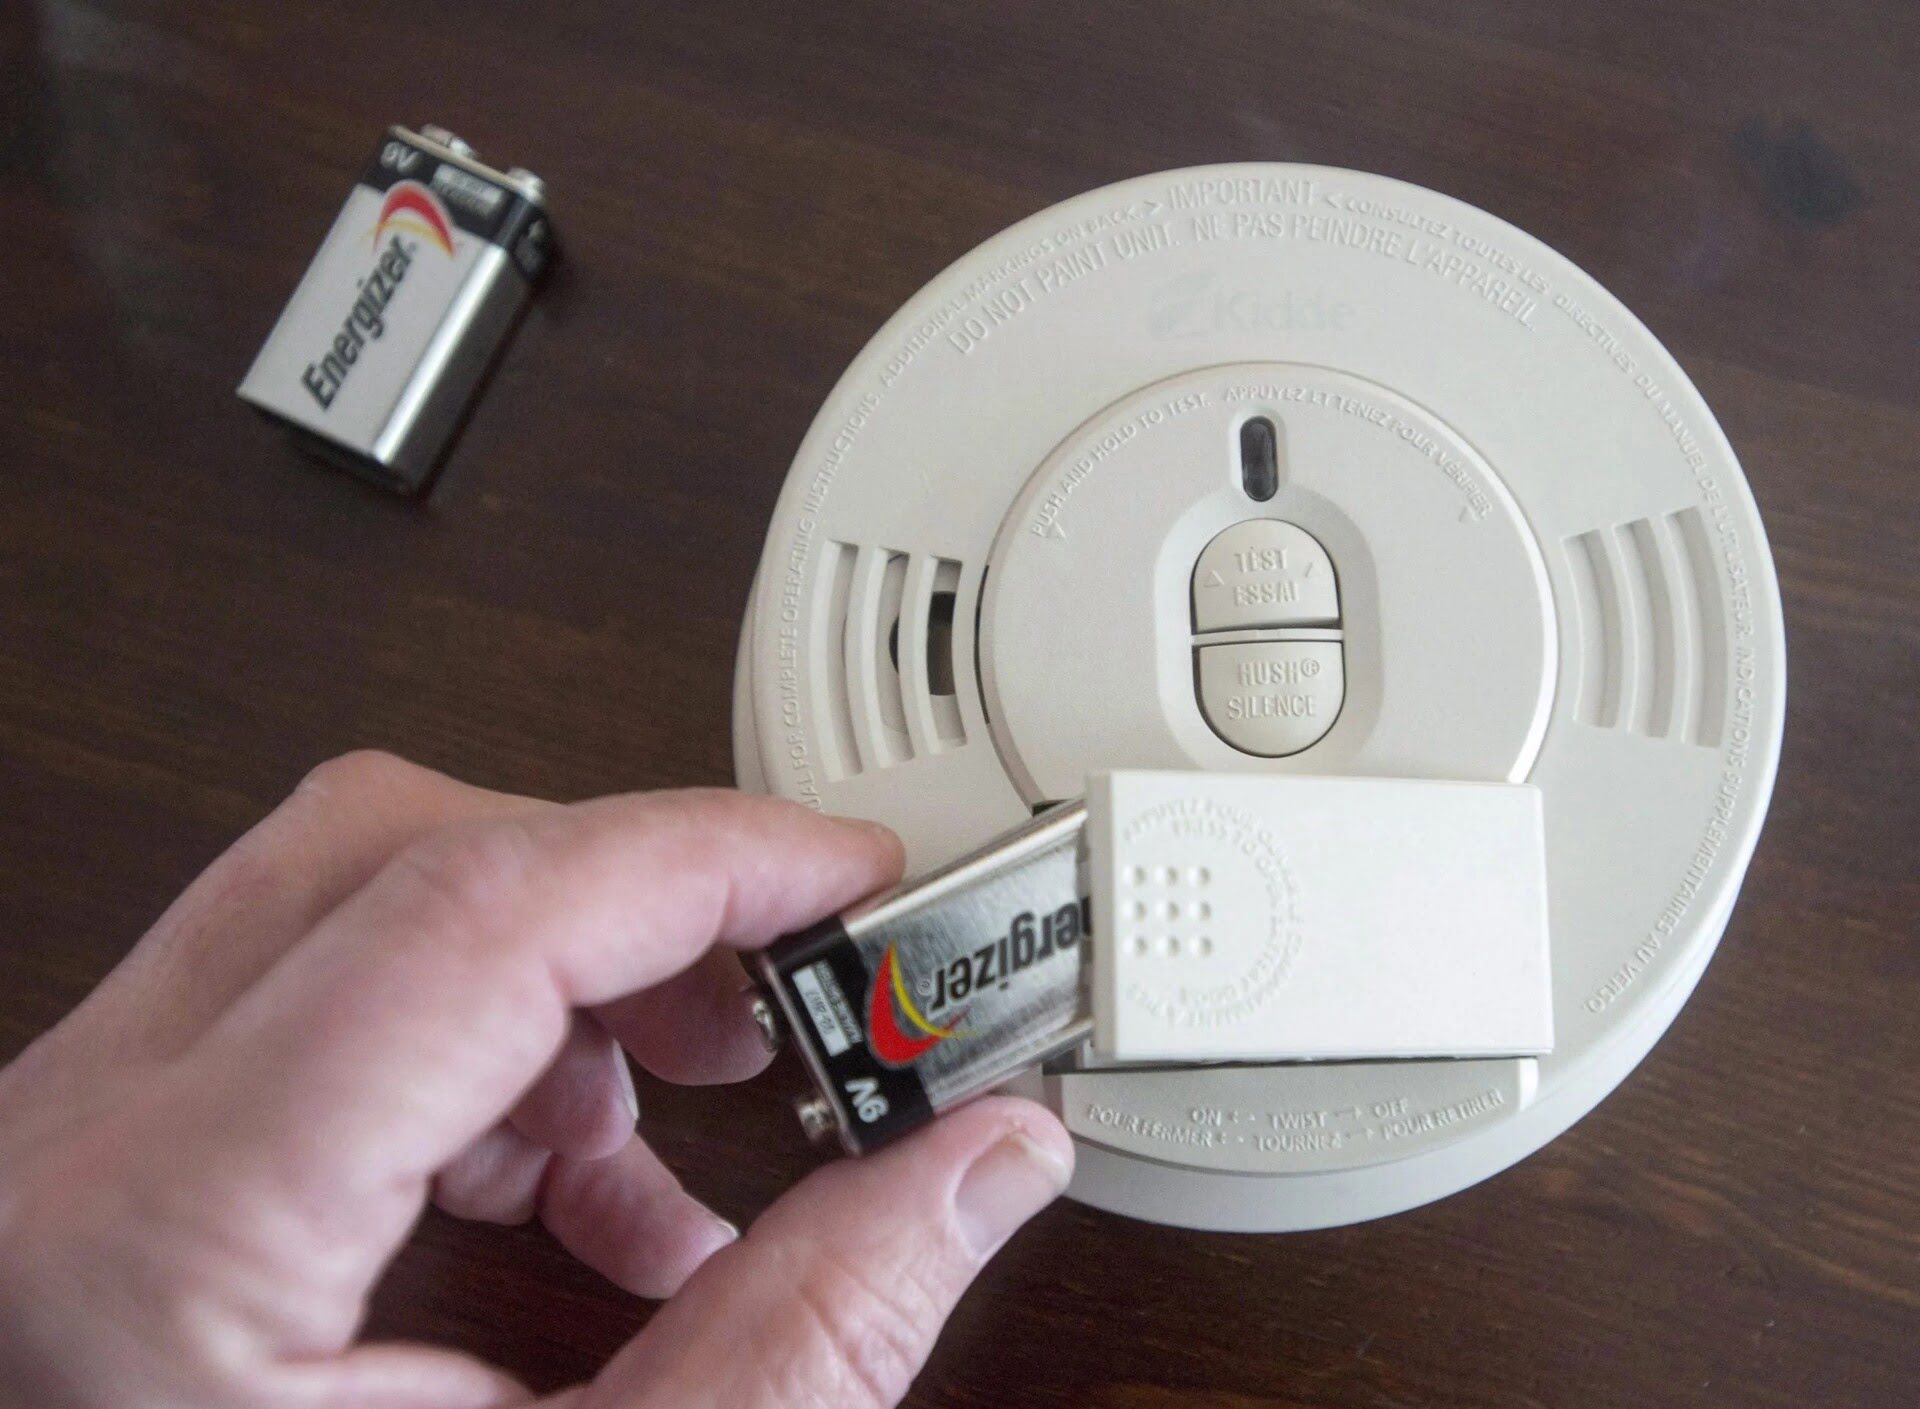
With the old battery removed, it’s time to insert the new battery into the motion detector. Follow these steps:
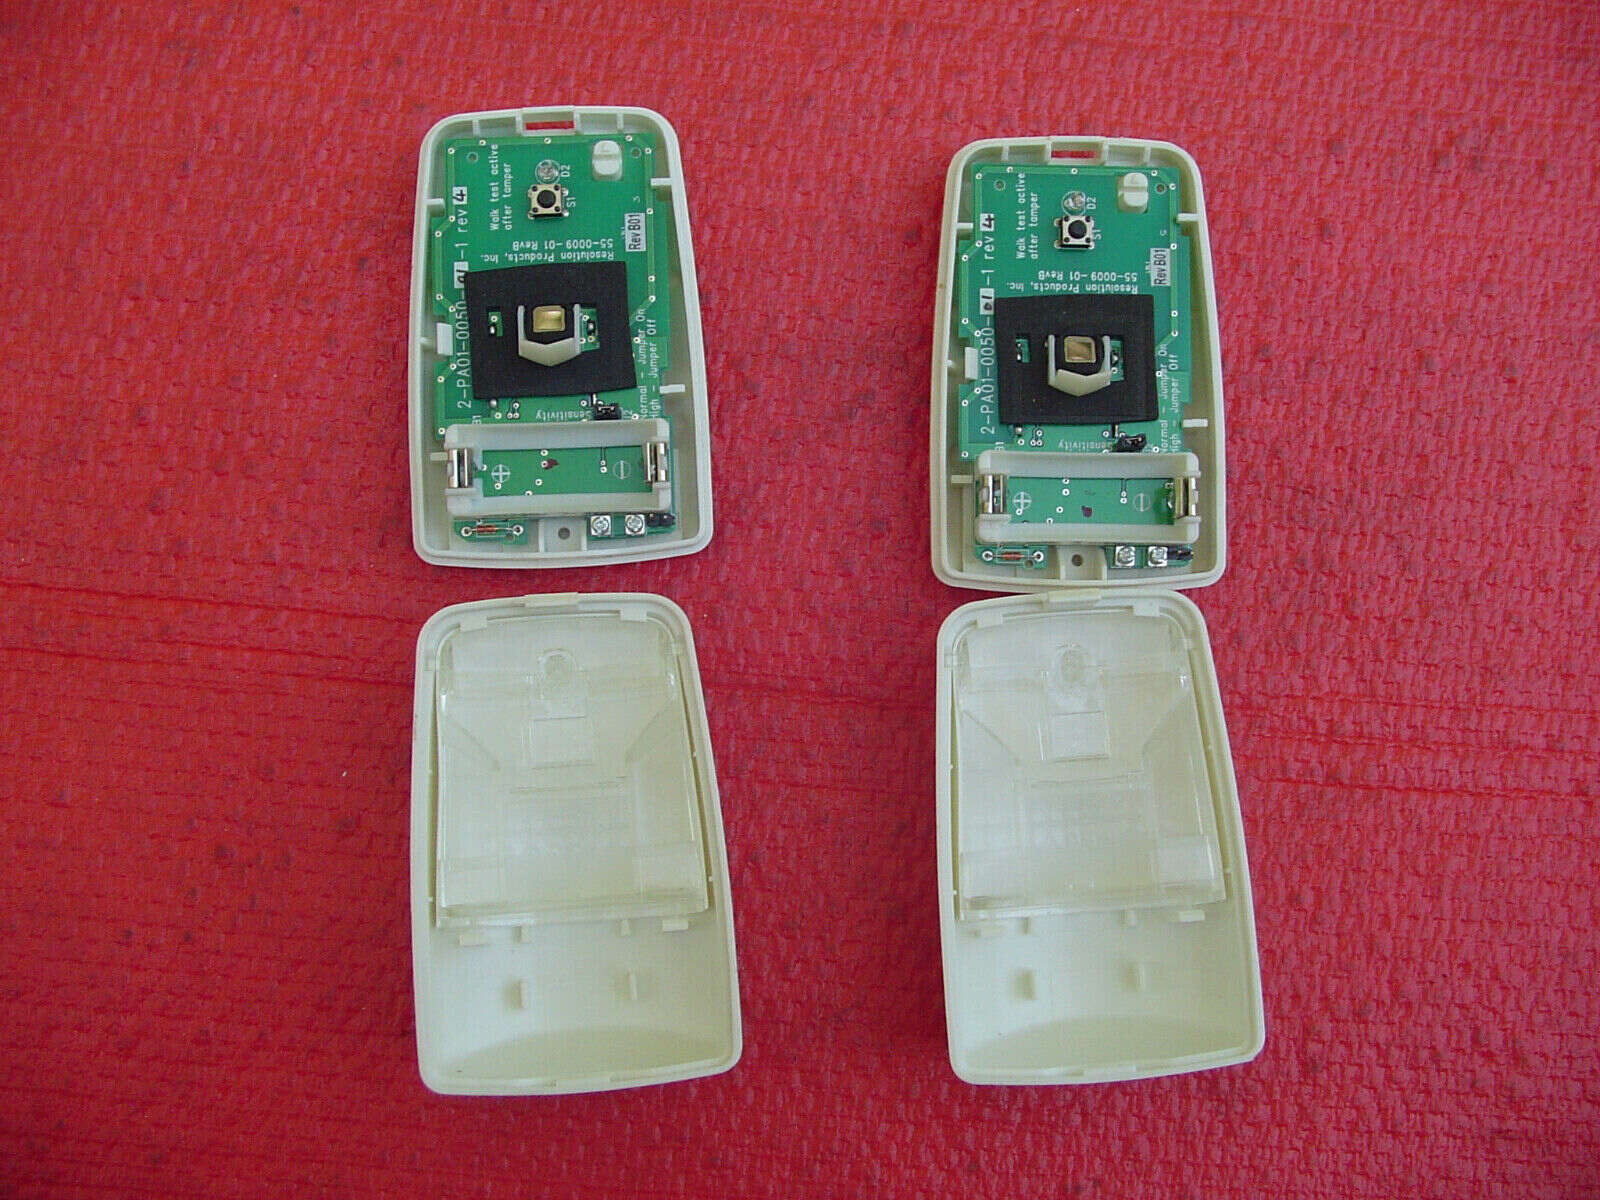
- Take the fresh replacement battery, ensuring it is the correct type and size as indicated by the user manual or the existing battery.
- Check the orientation of the battery, making sure to align the positive (+) and negative (-) terminals correctly.
- Gently place the new battery into the battery compartment, ensuring it is firmly seated and secure.
- Double-check that the battery is inserted correctly, as improper installation can result in poor performance or damage to the motion detector.
Inserting the new battery properly is crucial for the motion detector to function correctly. Make sure to follow these steps carefully and ensure that the battery is securely placed in the compartment. In the next step, we will close the battery compartment.
Step 6: Close the battery compartment
Now that you have inserted the new battery into the motion detector, it’s time to close the battery compartment securely. Follow these steps:
- Ensure that the battery is properly aligned and seated in the compartment.
- Align the battery compartment cover with the designated slots or markings on the motion detector.
- Gently press down on the cover to snap it back into place.
- If there is a latch or lock mechanism, engage it to secure the battery compartment fully.
Closing the battery compartment properly is crucial to protect the battery from dirt, moisture, or any potential damage. It also ensures that the motion detector functions optimally. With the battery compartment closed securely, we can move on to reattaching the motion detector to the mounting bracket in the next step.
Step 7: Reattach the motion detector to the mounting bracket
With the battery compartment closed, it’s time to reattach the motion detector to its mounting bracket. Follow these steps:
- Align the motion detector with the mounting bracket and ensure that it is positioned correctly.
- Insert the screws or fasteners removed earlier back into their designated holes.
- Using a small screwdriver, tighten the screws until the motion detector is securely attached to the mounting bracket.
Reattaching the motion detector to the mounting bracket is an essential step to ensure stability and proper functioning. Make sure to tighten the screws adequately to prevent any movement or looseness. With the motion detector back in place, we can move on to the final step of testing its functionality.
Step 8: Test the motion detector
Now that you have replaced the battery and reattached the motion detector to its mounting bracket, it’s crucial to test its functionality. Follow these steps:
- Ensure that the motion detector is securely mounted and there are no obstructions in its detection path.
- Arm your home security system or activate the motion detector by following the instructions provided by your security system provider.
- Walk in front of the motion detector’s sensor range to trigger its motion detection capabilities.
- Observe if the motion detector properly detects your movement and triggers your security system, such as sounding an alarm or generating an alert.
Testing the motion detector is crucial to verify that the battery replacement has been successful and that the device is functioning correctly. If any issues are detected during testing, double-check the battery installation, connections, and consult the user manual or contact your security system provider for further assistance.
Congratulations! You have successfully replaced the battery in your Xfinity motion detector. By following these steps, you have ensured that your motion detector continues to provide reliable and accurate detection, enhancing the security of your home. Remember to periodically check the battery’s performance and replace it as needed to maintain optimal functionality.
We hope this guide has been helpful in guiding you through the process of replacing the battery in your Xfinity motion detector. Stay safe and secure!
Read more: How To Install Xfinity Motion Detector
Conclusion
Ensuring the functionality and reliability of your home security system is of utmost importance, and one crucial component to monitor is the battery life of your motion detector. By following the step-by-step guide provided in this article, you can easily replace the battery in your Xfinity motion detector and maintain an effective security system.
Starting with gathering the necessary tools, such as a small screwdriver, a fresh replacement battery, and gloves, you are well-prepared to proceed through the battery replacement process. Removing the motion detector from the mounting bracket and opening the battery compartment allow you to access the old battery and safely remove it.
Inserting the new battery and closing the battery compartment securely ensures that your motion detector has a reliable power source. The final steps of reattaching the motion detector to the mounting bracket and testing its functionality allow you to verify that the battery replacement was successful and the motion detector is functioning as expected.
By regularly replacing the battery in your Xfinity motion detector, you guarantee continuous and accurate motion detection, enhancing the security of your home and providing peace of mind. It is crucial to follow the manufacturer’s guidelines and recommendations for battery replacement to ensure optimal performance.
We hope this guide has provided you with the knowledge and confidence to replace the battery in your Xfinity motion detector. Remember to dispose of the old battery properly and check the battery periodically to ensure its efficiency. With a well-maintained motion detector, your home security system will continue to safeguard your loved ones and belongings.
Stay proactive, stay secure!
Frequently Asked Questions about How To Replace The Battery In Xfinity Motion Detector
Was this page helpful?
At Storables.com, we guarantee accurate and reliable information. Our content, validated by Expert Board Contributors, is crafted following stringent Editorial Policies. We're committed to providing you with well-researched, expert-backed insights for all your informational needs.