Home>Home Security and Surveillance>How To Hook Up Original Auto Burglar Alarm
Home Security and Surveillance
How To Hook Up Original Auto Burglar Alarm
Modified: October 20, 2024
Looking for home security and surveillance? Learn how to hook up your original auto burglar alarm for added protection and peace of mind.
(Many of the links in this article redirect to a specific reviewed product. Your purchase of these products through affiliate links helps to generate commission for Storables.com, at no extra cost. Learn more)
Introduction
Welcome to the world of home security and surveillance! In today’s rapidly evolving world, protecting our homes and loved ones has become more important than ever. Fortunately, advancements in technology have made it easier than ever to have peace of mind by installing a reliable home security and surveillance system.
Home security and surveillance systems provide a wide range of benefits. They act as a deterrent to potential burglars, capturing surveillance footage that can aid in identifying criminals and recovering stolen property. These systems also give homeowners the ability to monitor their homes remotely, providing an added layer of security and peace of mind.
However, with the wide array of options available in the market, choosing the right home security and surveillance system can be a daunting task. That’s where we come in. As experts in the field, we will provide you with a comprehensive guide on choosing, installing, and optimizing your home security and surveillance system to ensure maximum protection for your home and loved ones.
In this article, we will walk you through the step-by-step process of installing a home security and surveillance system. We will cover everything from gathering the necessary tools and supplies to testing and adjusting the system for optimal performance.
Before we dive into the installation process, it’s important to note that we recommend consulting with a professional if you’re uncomfortable handling electrical wiring or unfamiliar with the technical aspects of installing a security system. Safety should always be a top priority when working with electrical components.
Now that we’ve covered the basics, let’s move on to the first step: gathering the necessary tools and supplies for your home security and surveillance installation.
Key Takeaways:
- Installing a home security system involves gathering tools, locating wiring, installing components, and testing the system. Prioritize safety and follow manufacturer’s instructions for a reliable and effective setup.
- Regularly test and maintain your home security system to ensure optimal performance. Whether DIY or professional installation, invest in a system that meets your specific needs for added peace of mind.
Read more: How To Hook Up A Motion Detector To A Alarm
Step 1: Gather Necessary Tools and Supplies
Before you begin installing your home security and surveillance system, it’s essential to gather all the necessary tools and supplies. Having everything ready beforehand will save you time and frustration during the installation process.
Here are the tools and supplies you’ll need:
- Security System Kit: Choose a high-quality home security and surveillance kit that includes the control panel, sensors, siren, and any additional components you desire. Make sure the kit is compatible with your home and meets your specific security needs.
- Power Drill: A power drill is essential for drilling holes to mount the control panel, sensors, and siren.
- Drill Bits: Depending on the mounting surfaces, you may need different-sized drill bits to create the appropriate holes.
- Screwdriver: A screwdriver will be necessary for attaching the control panel and other components to the wall or other surfaces.
- Wire Strippers: You’ll need wire strippers to remove the insulation from the wires and make proper connections.
- Electrical Tape: Electrical tape ensures secure connections and helps prevent any exposed wires from causing short circuits.
- Ladder: Depending on the height of the installation areas, you may require a ladder to reach and mount the components.
- Measuring Tape: A measuring tape will help ensure precise placement and alignment of the control panel, sensors, and siren.
- Pencil or Marker: To mark the locations for drilling holes and mounting the components, it’s helpful to have a pencil or marker on hand.
- Cable Clips: These clips will secure the wires neatly against the walls or other surfaces, preventing any tripping hazards and keeping the installation clean and organized.
Once you’ve gathered all the necessary tools and supplies, you’re ready to move on to the next step: locating the car’s wiring system.
Step 2: Locate the Car’s Wiring System
Locating the car’s wiring system is a crucial step in installing your home security and surveillance system. You’ll need to identify the relevant wires and connections to ensure a proper installation and optimal functionality.
Here are the steps to locate the car’s wiring system:
- Refer to the User Manual or Wiring Diagram: The user manual or wiring diagram that comes with your home security and surveillance system should provide detailed information on the car’s wiring system. This will serve as a guide to help you locate the necessary wires and connections.
- Identify the Car’s Fuse Box: The fuse box is usually located under the dashboard on the driver’s side or in the engine compartment. This is where you’ll find the electrical connections for various components in your car.
- Use a Multimeter: A multimeter is a handy tool for measuring voltage, resistance, and continuity. It will help you identify the wires that carry power and ground signals in your car’s electrical system.
- Check the Wire Colors: Different wires in your car’s wiring system are typically color-coded. Consult the user manual or wiring diagram to determine the colors associated with the functions you need. For example, red wires are often associated with power, black wires with ground, and so on.
- Prepare the Wiring: Once you’ve identified the relevant wires, prepare them by stripping off a small portion of the insulation using wire strippers. This will allow you to make proper connections later in the installation process.
It’s important to follow the specific instructions provided by the manufacturer of your home security and surveillance system. Some systems may require additional steps or specific wiring configurations to ensure proper functionality.
By successfully locating the car’s wiring system, you’re now ready to move on to the next step: installing the control unit.
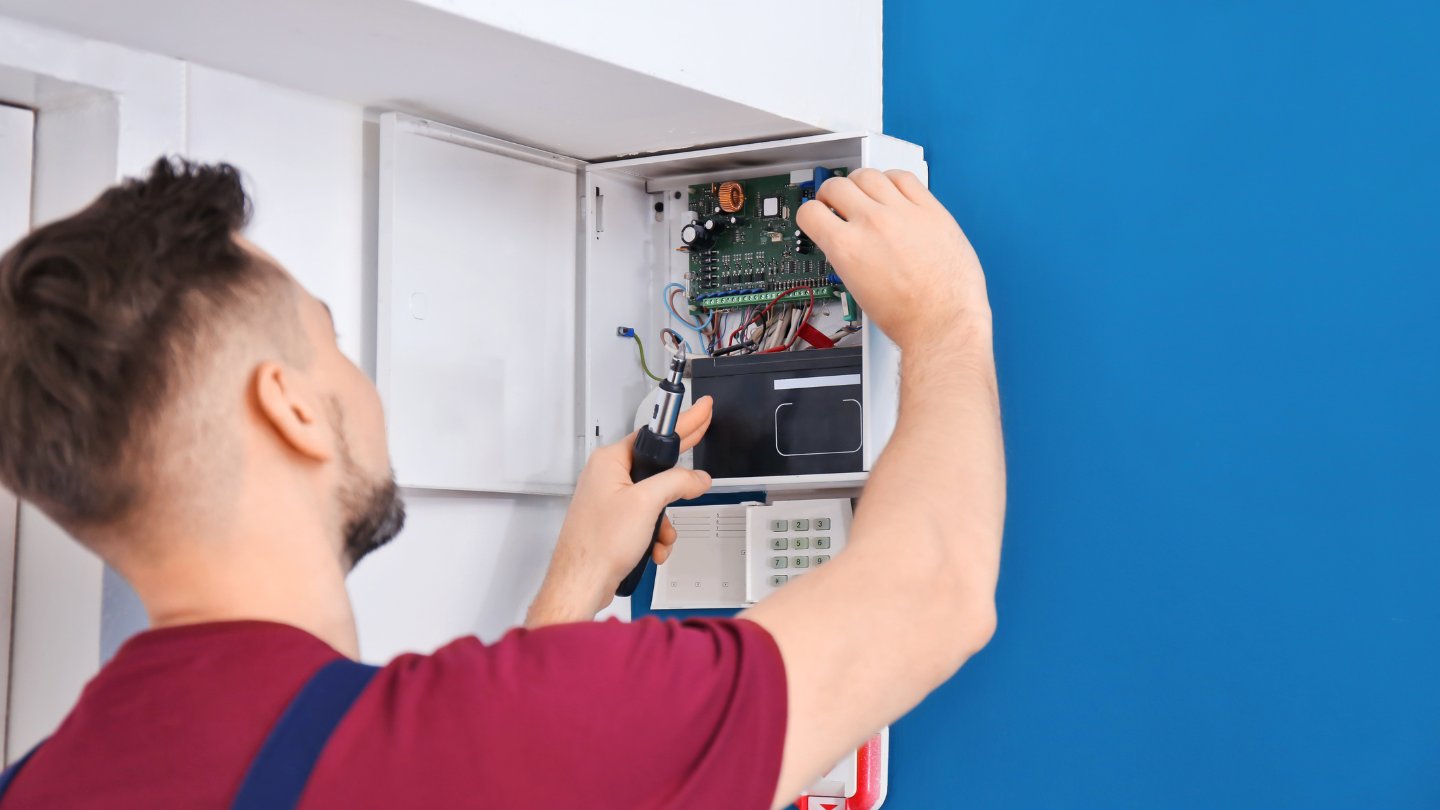
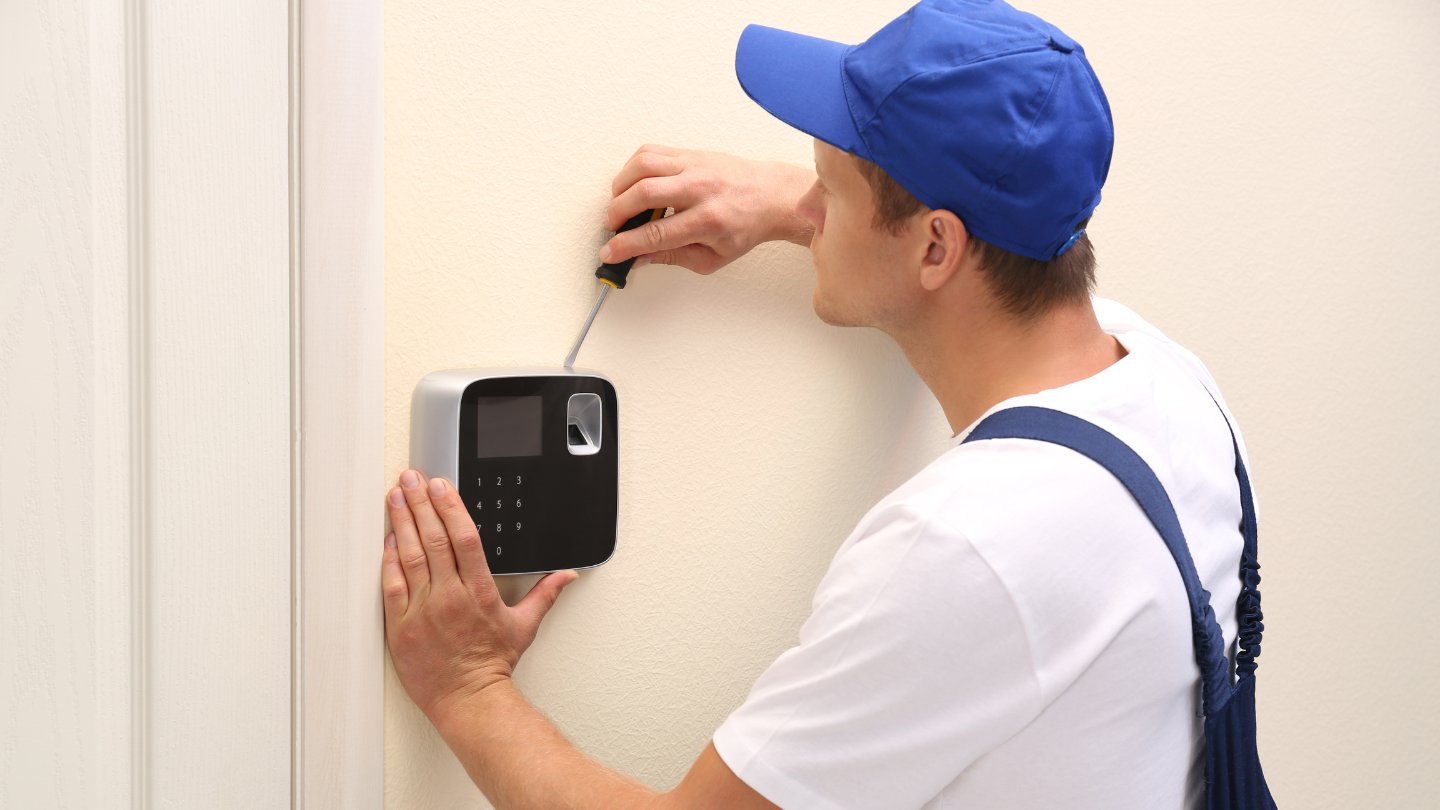
Step 3: Install the Control Unit
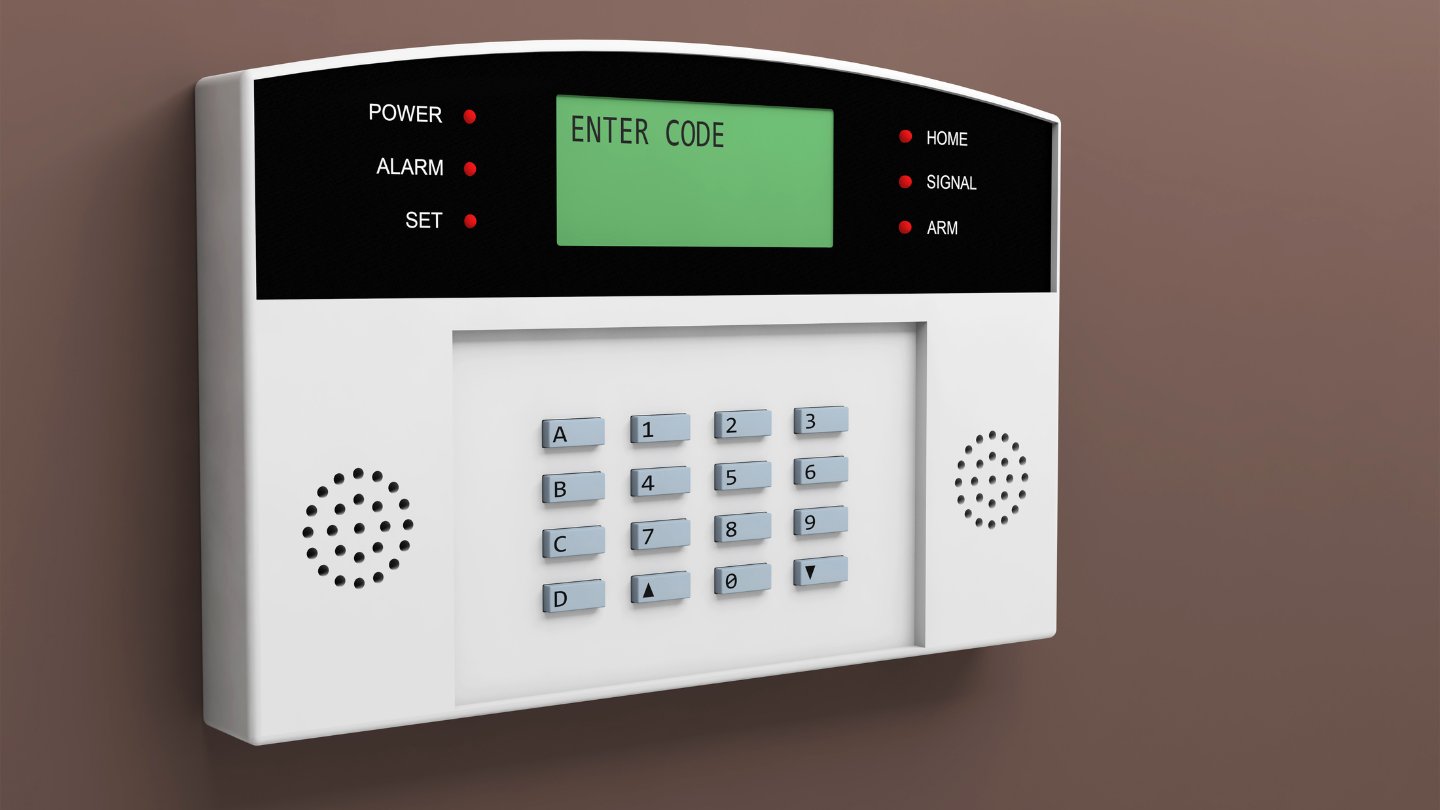
Installing the control unit is a crucial part of setting up your home security and surveillance system. The control unit serves as the central hub that manages and coordinates the various components of your system. Here’s how you can install the control unit:
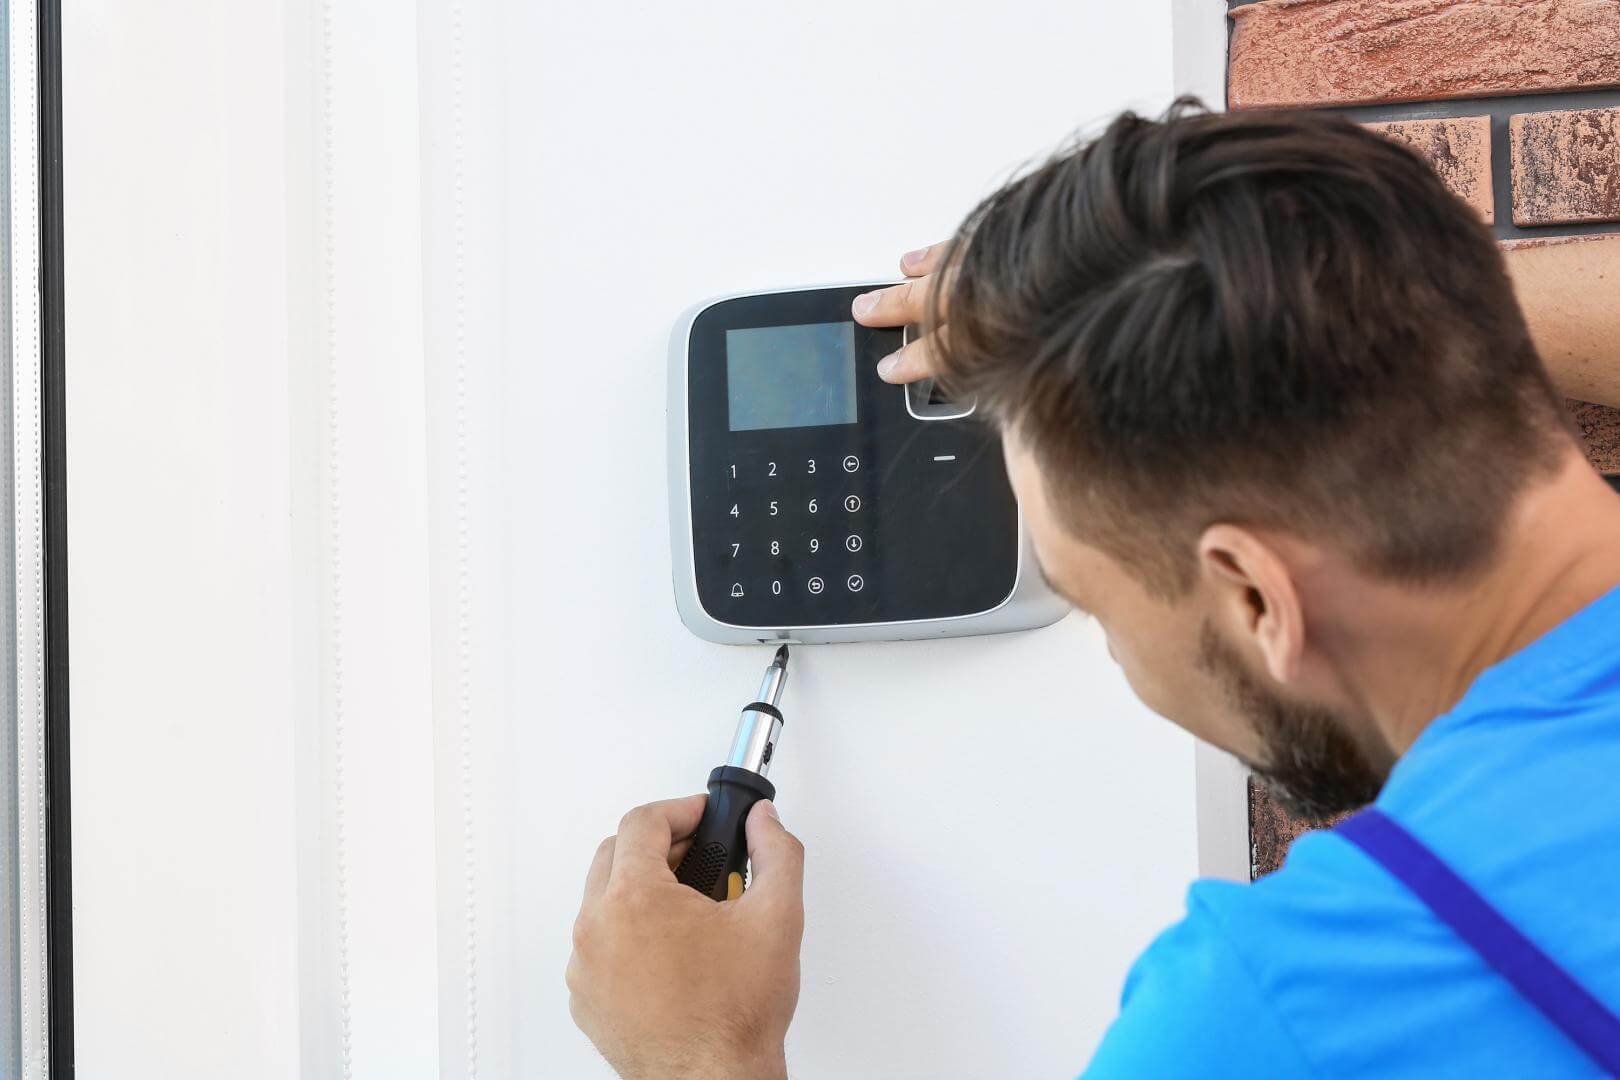
- Choose an Ideal Location: Select a suitable location for the control unit. Ideally, it should be centrally located and easily accessible. Ensure that it’s out of reach of children and pets to prevent tampering.
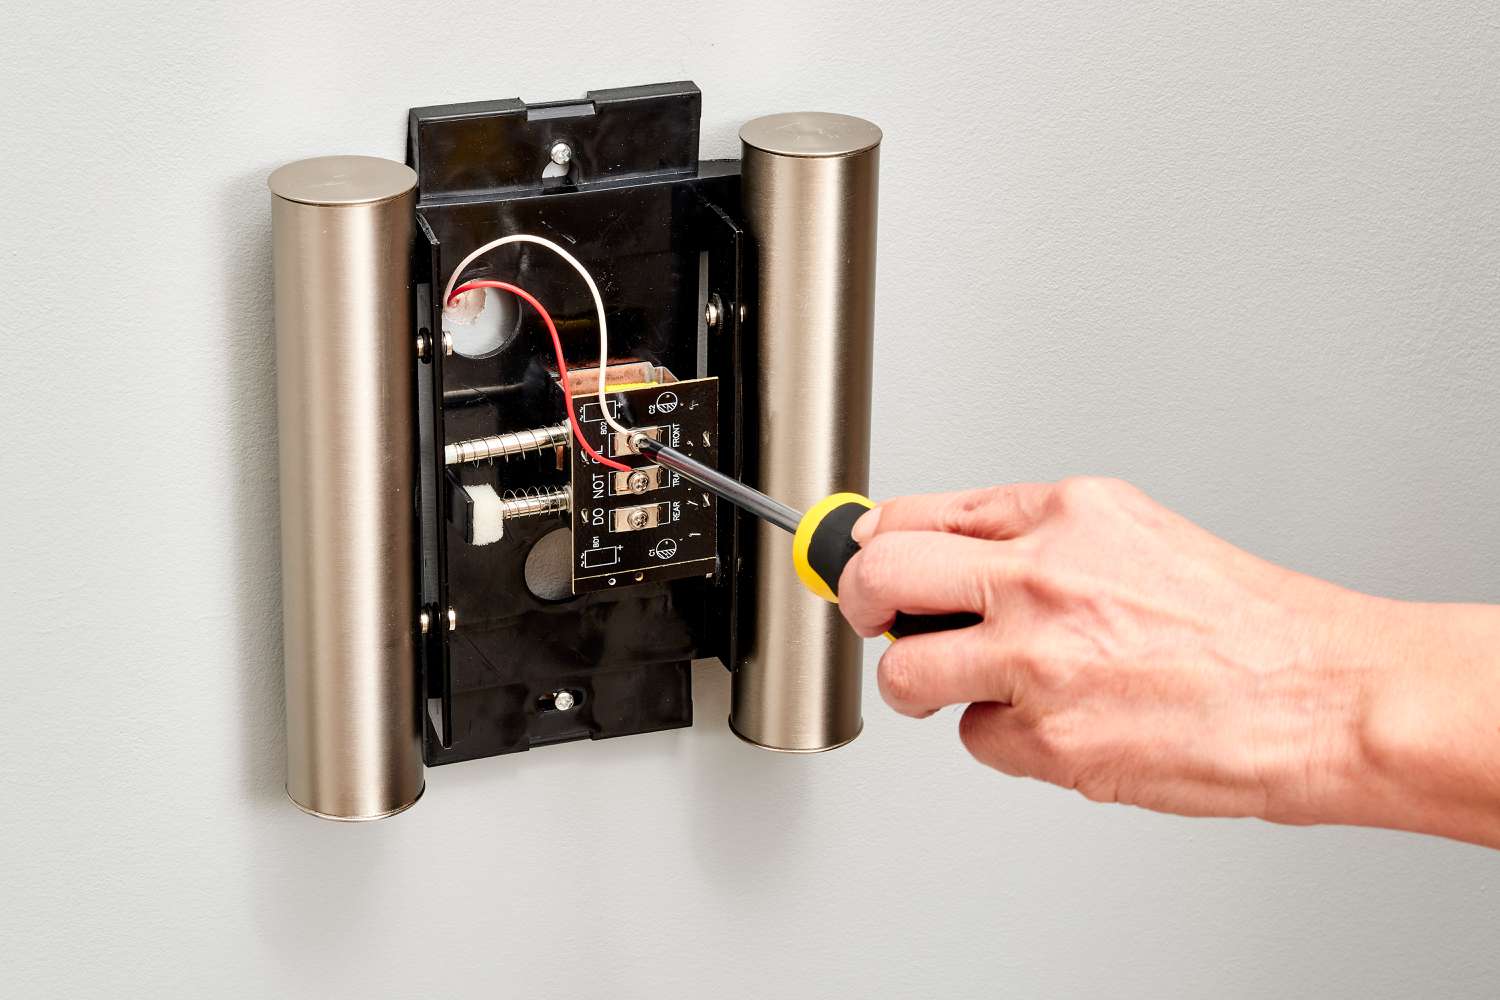
- Mount the Control Unit: Use a power drill and appropriate drill bits to create holes for mounting the control unit. Secure it to the wall or other surface using screws and a screwdriver.
- Connect Power Supply: Locate the power source for the control unit. This may involve connecting it to a nearby electrical outlet or wiring it directly to the electrical system of your home. Follow the instructions provided by the manufacturer to ensure the correct power supply connection.
- Make Wiring Connections: Connect the necessary wires from the car’s wiring system to the control unit according to the wiring diagram or instructions provided. This may include power, ground, and data connections. Use wire strippers to remove the insulation from the wires and make secure connections.
- Secure Wires: Use cable clips to secure the wires neatly along the wall or surface, preventing any tripping hazards and keeping the installation tidy.
- Test the Control Unit: After the control unit is securely installed and the wiring connections are made, test the system to ensure that it powers up correctly and is functioning as expected.
Remember to refer to the specific instructions provided by the manufacturer of your home security and surveillance system. They may have additional guidelines or specific steps for installing the control unit.
Now that you’ve successfully installed the control unit, you’re ready to move on to the next step: connecting the alarm sensor.
Step 4: Connect the Alarm Sensor
The alarm sensor is a crucial component of your home security and surveillance system as it detects and triggers an alert when unauthorized entry or movement is detected. Connecting the alarm sensor properly is essential for the system to function effectively. Follow these steps to connect the alarm sensor:
- Select Sensor Locations: Determine the ideal locations to place the alarm sensors. Common areas to consider include doors, windows, and other entry points. Optimal sensor placement enhances the security coverage of your system.
- Prepare the Sensor: Ensure that the alarm sensor you are installing is suitable for the type of door, window, or entry point. Check if it requires any battery or power supply.
- Mount the Sensor: Use a power drill and appropriate drill bits to create holes for mounting the sensor. Install the sensor using screws and a screwdriver. Make sure it is firmly attached and properly aligned.
- Connect Wiring: If your alarm sensor requires wiring, follow the manufacturer’s instructions for connecting the wires to the control unit. This may involve connecting power, ground, and data wires. Strip off a small portion of the wire insulation using wire strippers and make secure connections.
- Test the Sensor: After connecting the alarm sensor, test it to ensure that it properly detects any unauthorized entry or movement. Open and close doors or windows to verify that the sensor triggers the alarm system accordingly.
Repeat these steps for each alarm sensor you are installing throughout your home. Make sure to follow the specific instructions provided by the manufacturer for each sensor type.
Properly connecting the alarm sensors is critical to the effectiveness of your home security and surveillance system. With the sensors in place, you’re now ready to move on to the next step: wiring the siren.
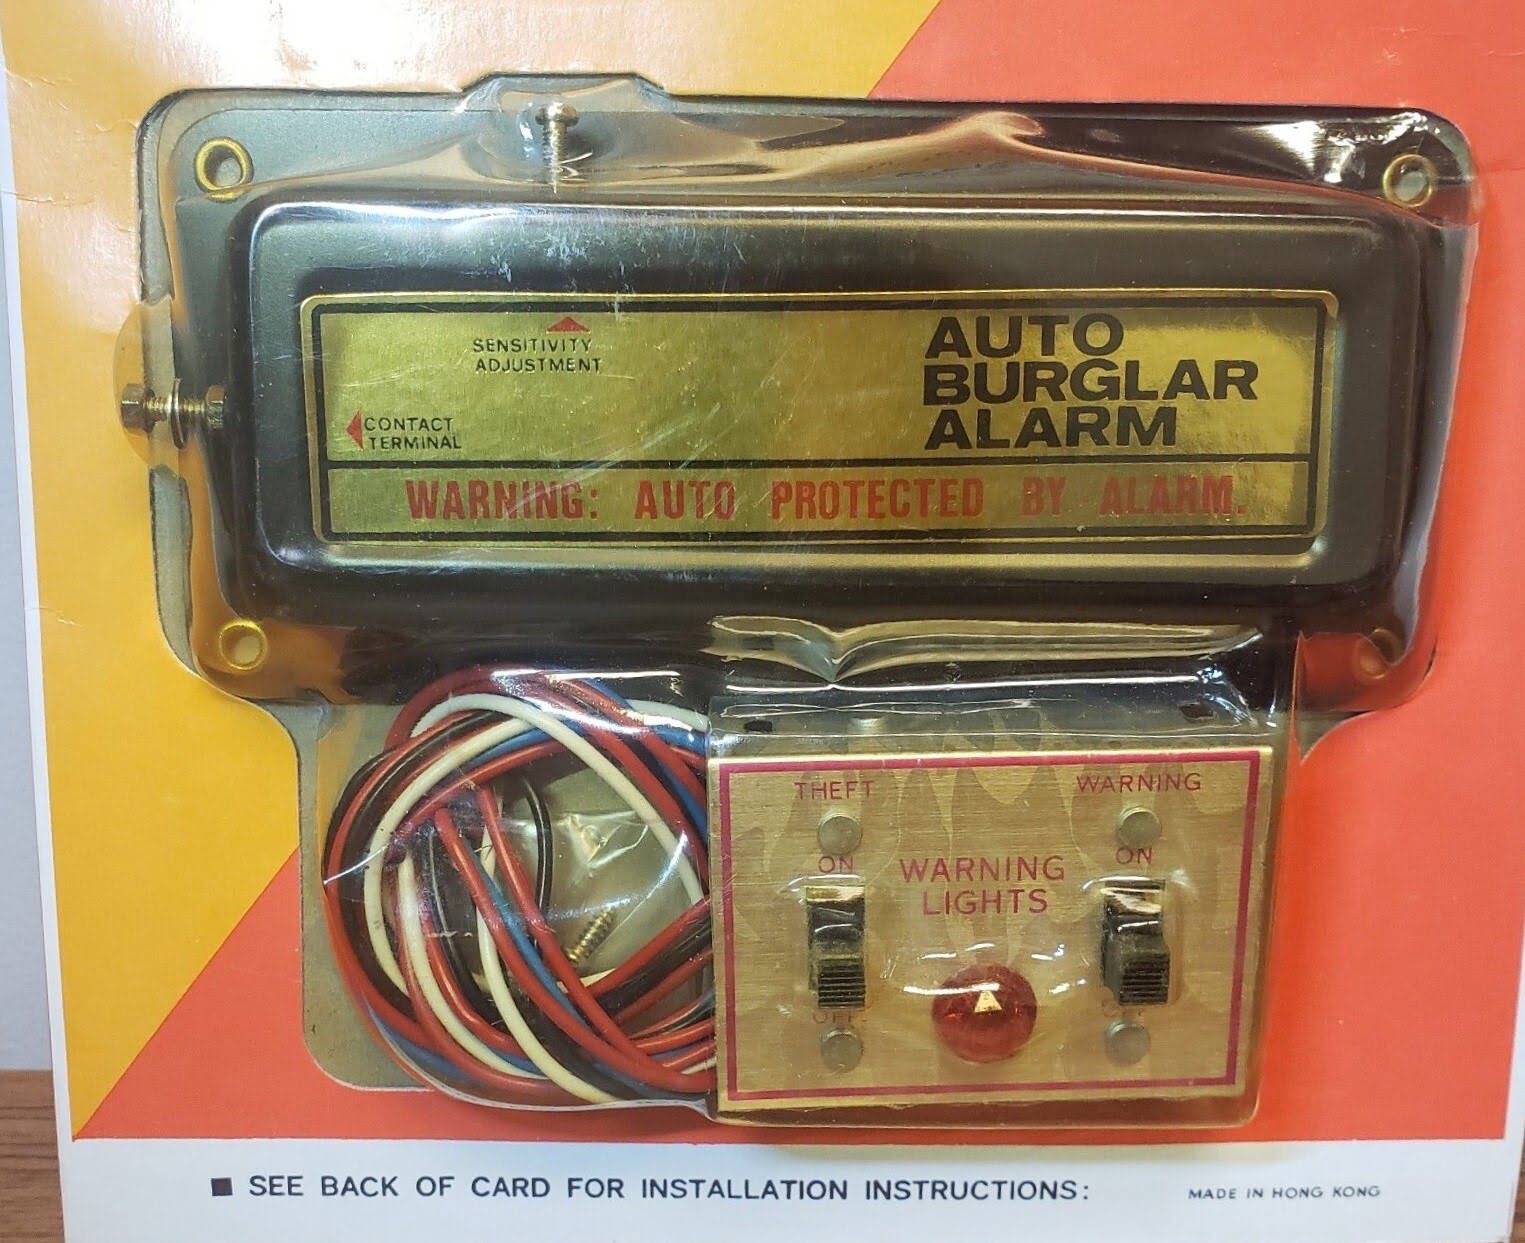
Make sure to carefully read the installation manual for your original auto burglar alarm. Follow the step-by-step instructions and double-check all connections to ensure proper installation and functionality.
Read more: How To Disable A Burglar Alarm
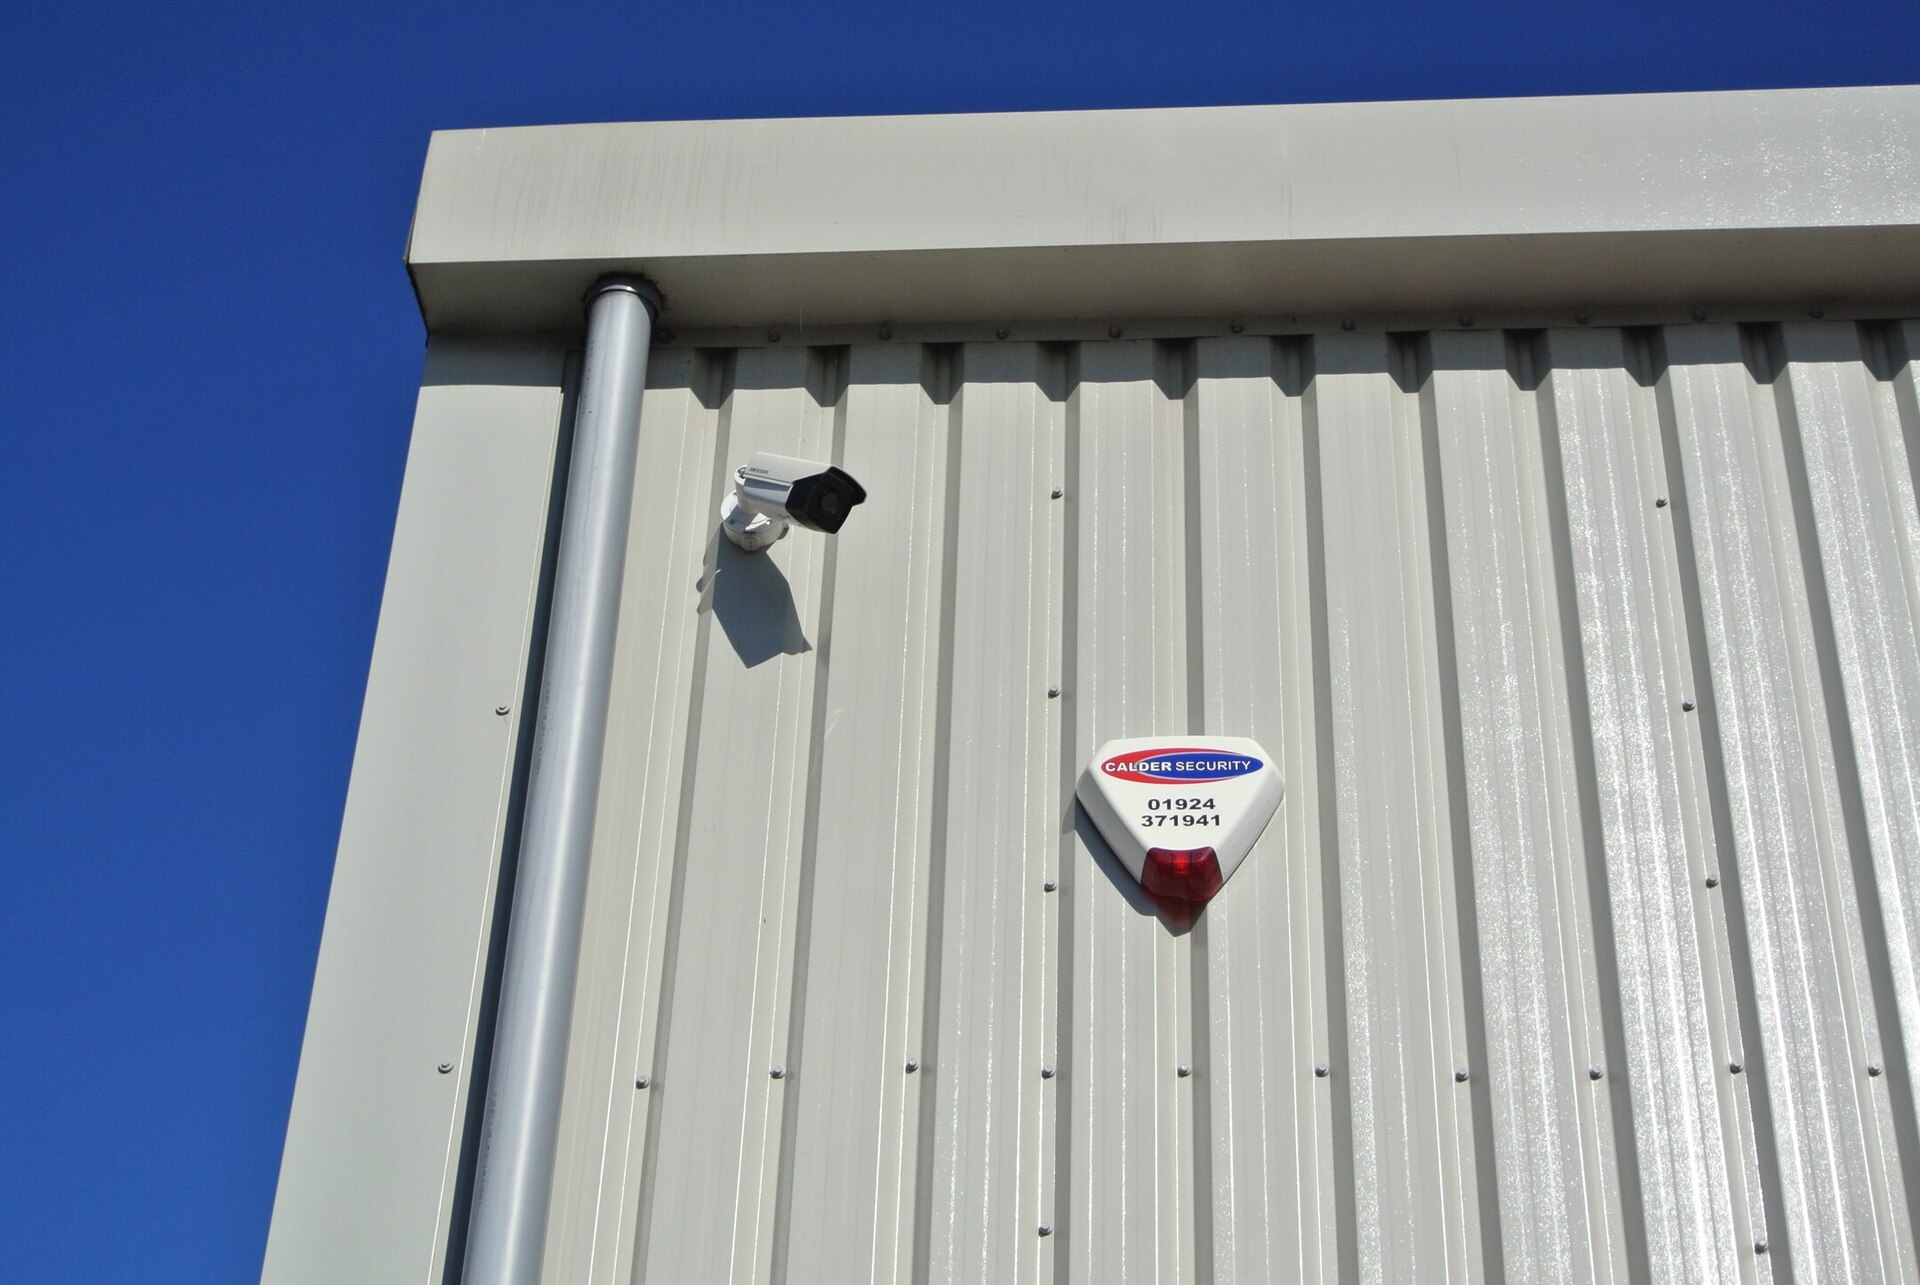
Step 5: Wire the Siren
The siren is a vital component of your home security and surveillance system, as it produces an audible alert when an intrusion is detected. Properly wiring the siren ensures that it functions effectively and provides a loud and attention-grabbing warning. Follow these steps to wire the siren:
- Choose a Suitable Location: Select a location for the siren that is easily heard throughout your home and will attract attention. Common options include the exterior wall of your house or in a central hallway.
- Prepare the Siren: Ensure that the siren is compatible with your home security and surveillance system. Check if it requires any power supply or batteries for operation.
- Mount the Siren: Use a power drill and appropriate drill bits to create holes for mounting the siren. Secure it to the wall or desired location using screws and a screwdriver. Make sure it is securely attached and properly aligned.
- Connect Wiring: Refer to the manufacturer’s instructions for the specific wiring requirements of your siren model. It typically involves connecting the siren’s power and ground wires to the control unit. Use wire strippers to remove a small portion of the insulation from the wires and make secure connections.
- Test the Siren: Once the wiring is complete, test the siren to ensure that it properly activates and emits a loud, attention-grabbing sound when triggered by the alarm system.
It’s important to follow the manufacturer’s instructions and guidelines provided with your siren to ensure safe and proper installation. Improper wiring or placement of the siren may impact its functionality or effectiveness.
With the siren properly wired, you’re now ready to move on to the next step: connecting the power supply.
Step 6: Connect the Power Supply
Connecting the power supply is a crucial step in the installation process of your home security and surveillance system. It provides the necessary electrical power to all the components, ensuring proper functionality. Follow these steps to connect the power supply:
- Determine Power Source: Identify the power source for your home security and surveillance system. This may involve connecting to a nearby electrical outlet or wiring directly into the electrical system of your home. Make sure to follow the electrical codes and guidelines to ensure safe and compliant installation.
- Prepare the Power Supply: Ensure that the power supply you are using is compatible with your system and meets the voltage and current requirements. Some systems may already have a built-in power supply, while others may require a separate one.
- Connect the Power Cables: Follow the manufacturer’s instructions to identify the correct power cables and connections. Attach the positive (+) and negative (-) power supply cables to the appropriate terminals on the control unit or the designated power input terminals.
- Secure the Connections: Once the power cables are connected, use appropriate connectors, such as terminal blocks or screws, to secure the connections. Ensure that there are no loose or exposed wires that may pose a safety hazard.
- Test the Power Supply: After the power supply is connected, test the system to verify that all components are receiving power and functioning correctly. Check the control unit, sensors, and siren to ensure they are powered up and operating as expected.
It’s important to consult the manufacturer’s instructions and guidelines for your specific home security and surveillance system to ensure the proper connection of the power supply. Following proper procedures will help prevent electrical issues and ensure the longevity of your system.
With the power supply successfully connected, you’re now ready to move on to the final step: testing and adjusting your home security and surveillance system.
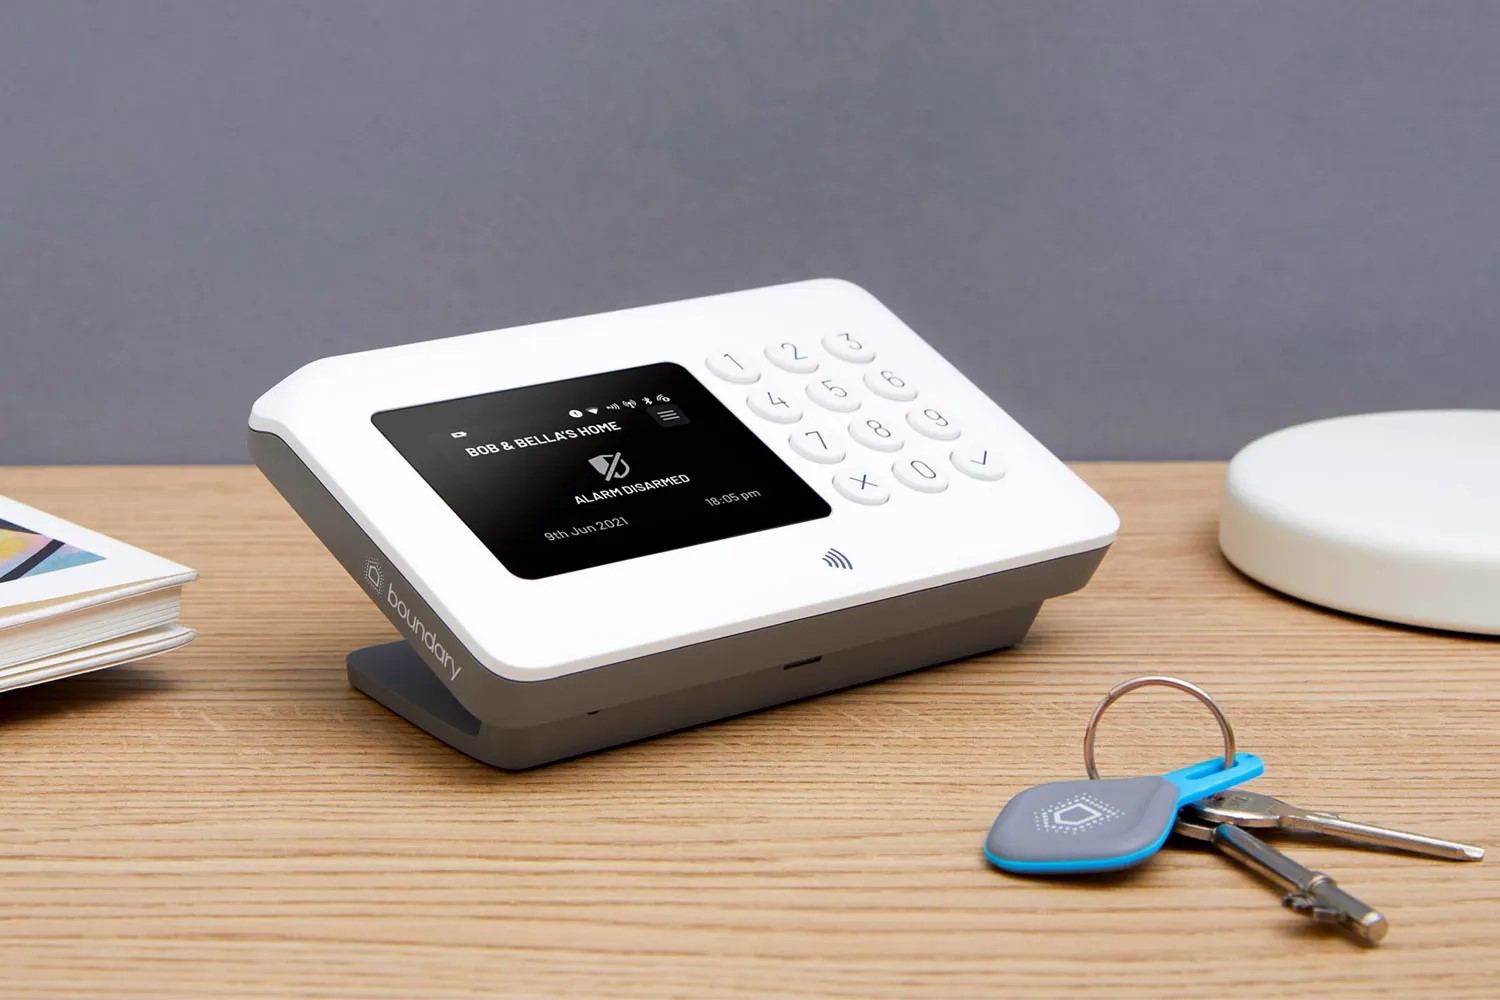
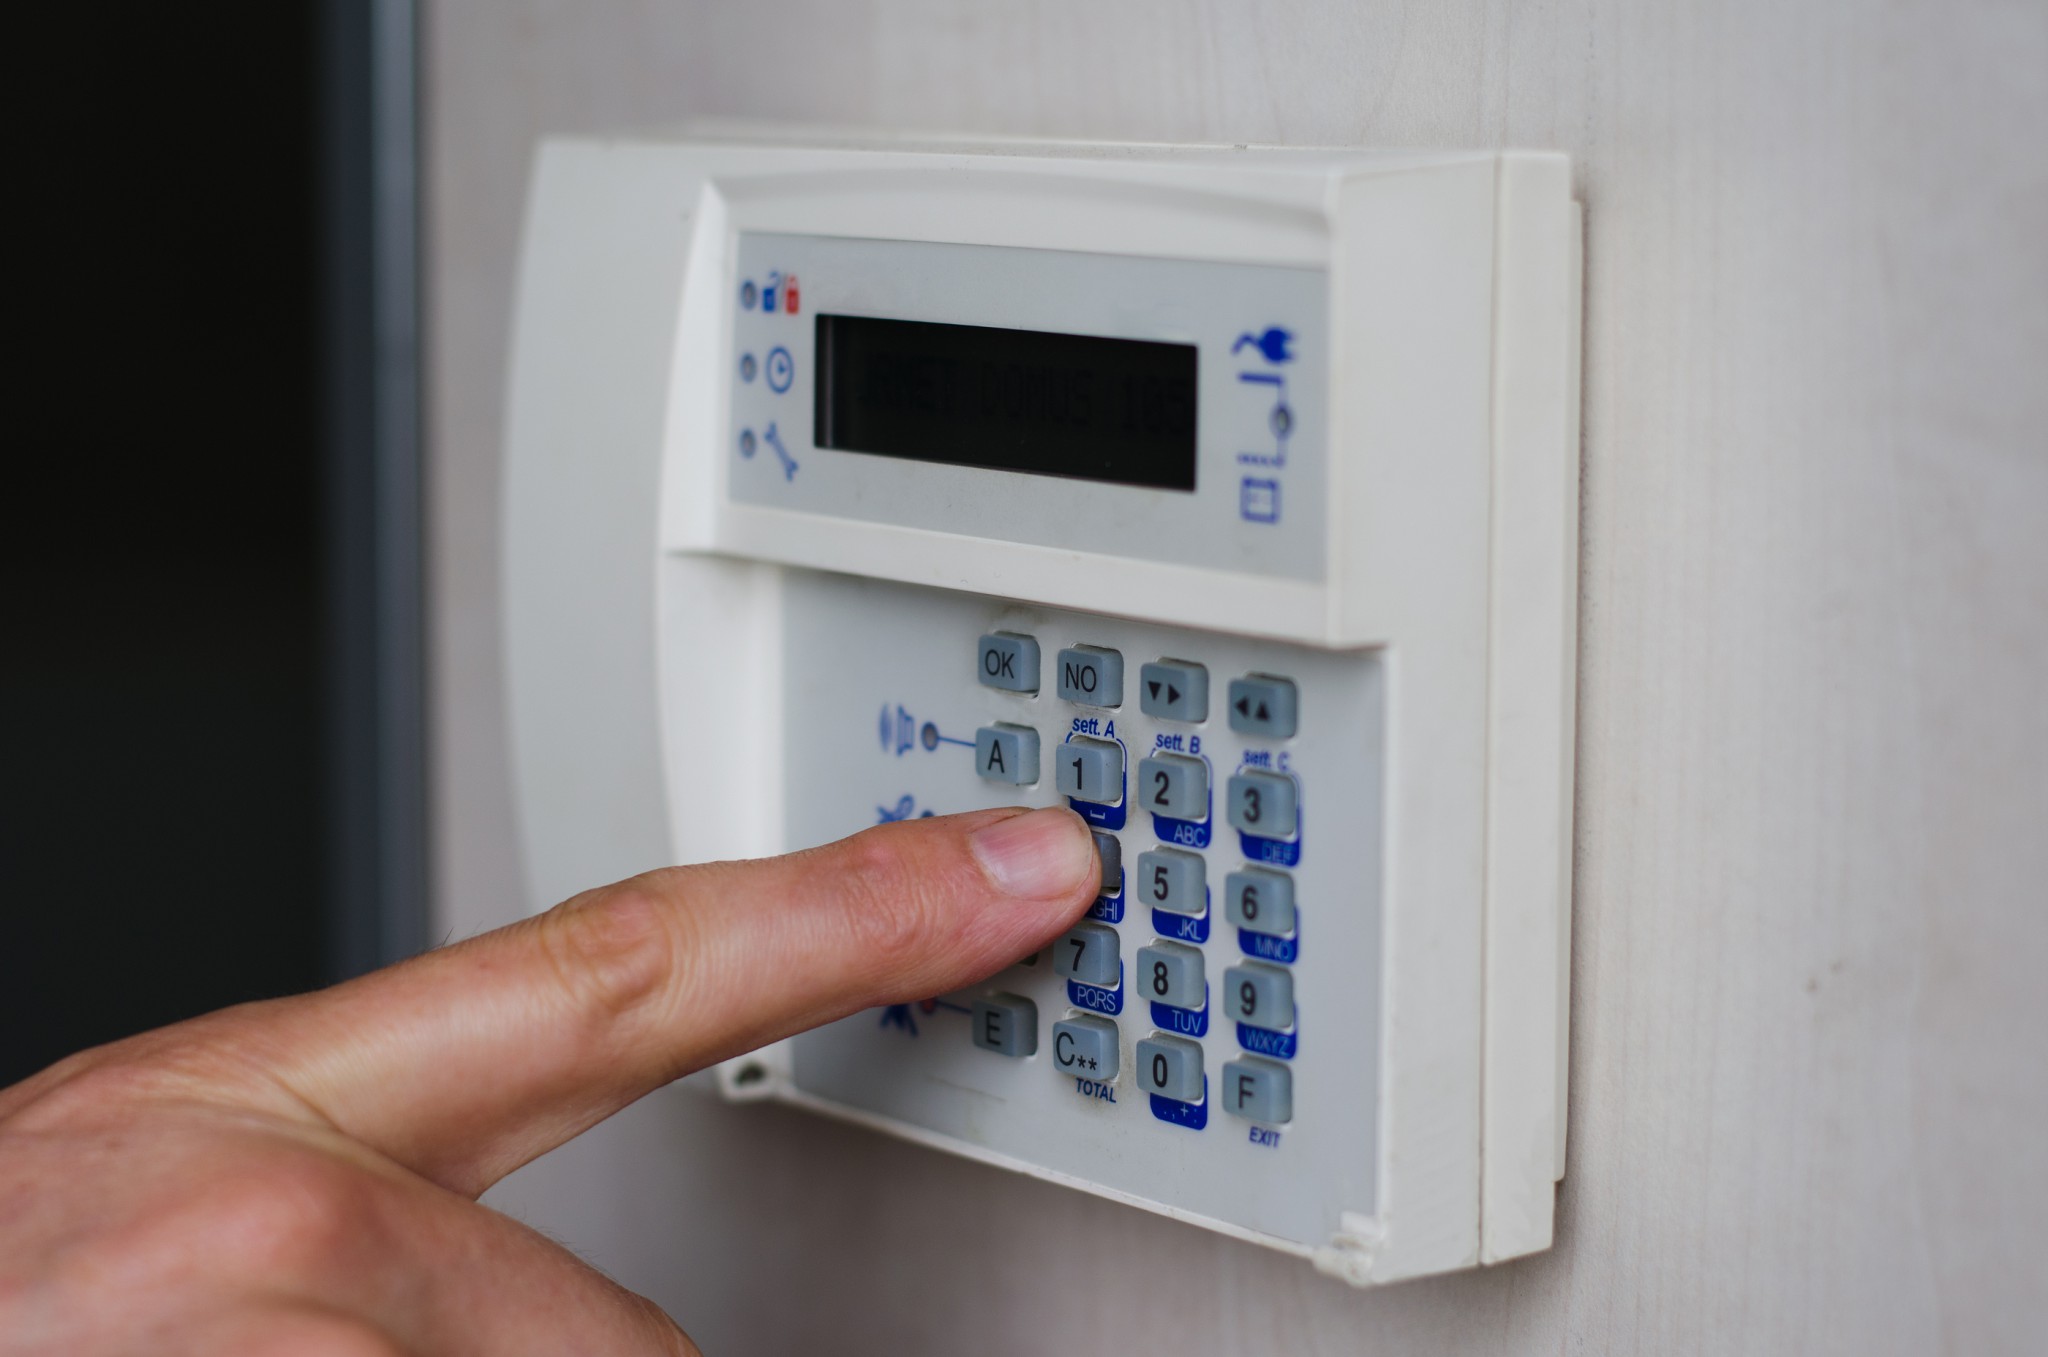
Step 7: Test and Adjust the Alarm System
After completing the installation of your home security and surveillance system, it’s crucial to thoroughly test and adjust the alarm system to ensure it functions optimally. Testing your system will give you confidence in its effectiveness and provide an opportunity to make any necessary adjustments. Follow these steps to test and adjust your alarm system:
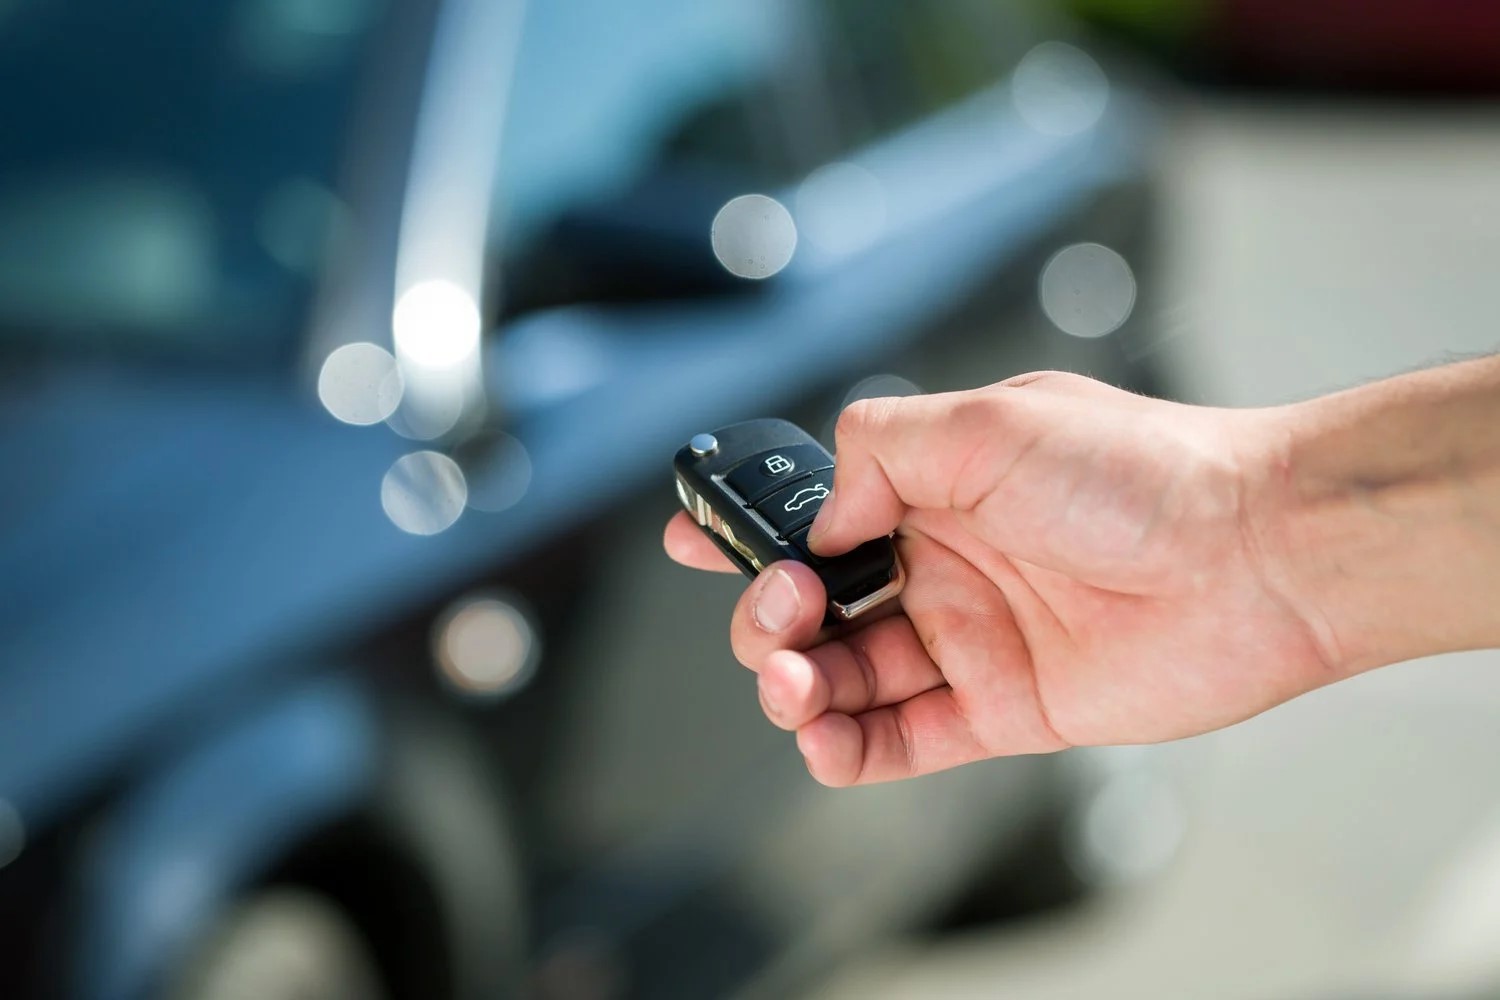
- Arm and Disarm the System: Use the control panel or remote key fob to arm and disarm the alarm system. Test each mode to ensure that the system responds accordingly and activates or deactivates as expected.
- Trigger the Alarm: Test the alarm by intentionally triggering it. This can be done by opening a monitored door or window or by simulating motion near a sensor. Verify that the alarm is activated promptly and sounds a loud alert.
- Check Sensor Sensitivity: Evaluate the sensitivity of the sensors. Ensure that they detect and trigger the alarm system appropriately. Adjust the sensitivity levels if necessary to minimize false alarms while maintaining effective security coverage.
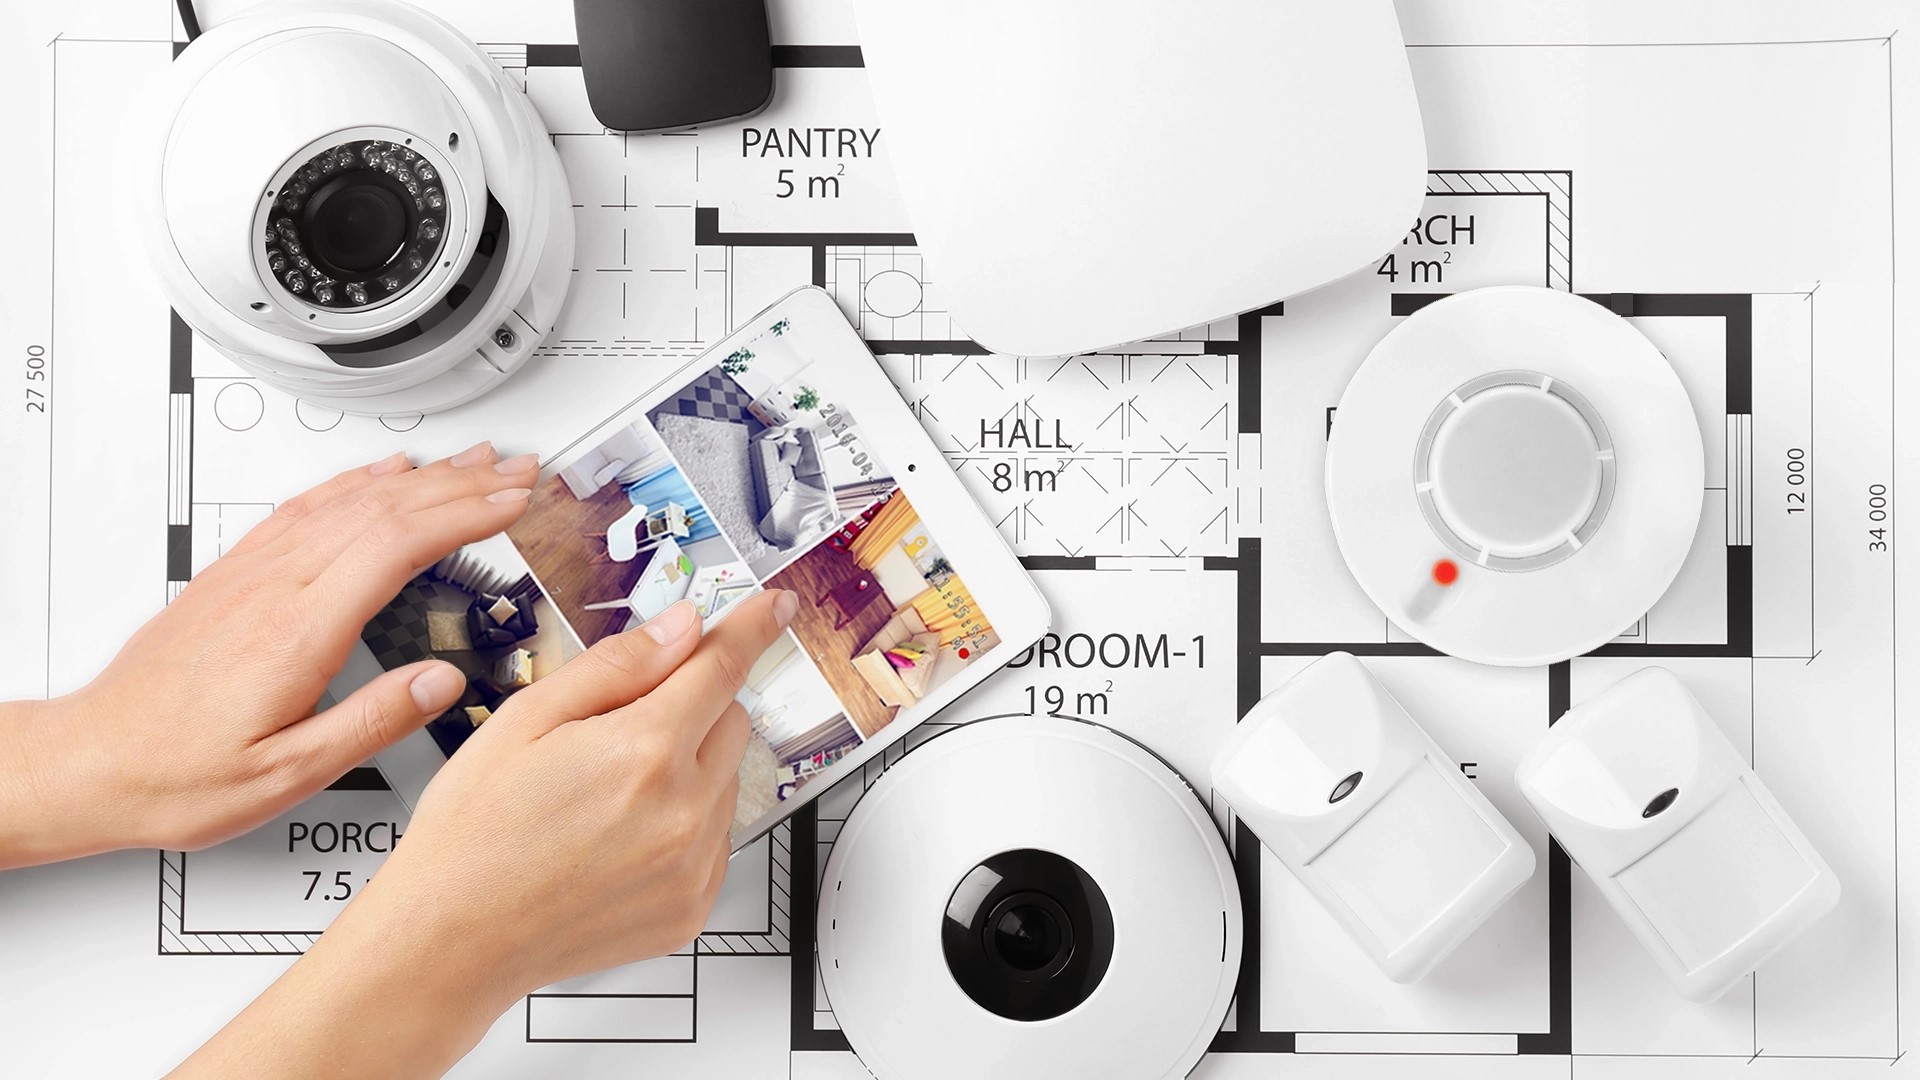
- Test Communication: If your system is connected to a monitoring service or allows remote access, test the communication channels. Verify that alerts are sent and received properly, and remote control functionality is working smoothly.
- Verify Surveillance Coverage: If your system includes surveillance cameras, check the camera placements and angles. Ensure that they provide adequate coverage of the desired areas. Make adjustments, such as repositioning or adding additional cameras if needed.
- Review System Documentation: Refer to the user manual and system documentation for any specific testing procedures or recommended adjustments. Each system may have its own unique features or requirements.
- Seek Professional Assistance if Needed: If you encounter any issues during the testing or adjustment process, or if you are unsure about any aspect of your alarm system, don’t hesitate to seek assistance from a professional installer or an expert in home security and surveillance systems.
Thoroughly testing and adjusting your alarm system will ensure its reliability and effectiveness in protecting your home and loved ones. Regular maintenance and periodic testing are also recommended to keep your system in optimal condition.
Congratulations! You’ve successfully installed, tested, and adjusted your home security and surveillance system. Enjoy the added peace of mind and security that comes with having a reliable and effective alarm system in place.
Remember to consult the specific instructions and guidelines provided by the manufacturer of your system throughout the installation and testing process.
By following these steps and taking the necessary precautions, you can have confidence in the performance of your home security and surveillance system and enjoy the peace of mind that comes with knowing your home and loved ones are protected.
Stay safe and secure!
Conclusion
In conclusion, installing a home security and surveillance system is a crucial step in ensuring the safety and protection of your home and loved ones. By following the step-by-step guide outlined in this article, you have learned how to gather the necessary tools and supplies, locate the car’s wiring system, install the control unit, connect the alarm sensor, wire the siren, connect the power supply, and test and adjust the alarm system.
Throughout the installation process, it is important to prioritize safety and follow the specific instructions and guidelines provided by the manufacturer. If you are unsure or uncomfortable with any aspect of the installation, it is always recommended to seek professional assistance.
By investing in a reliable home security and surveillance system, you enhance the security of your home and gain peace of mind. These systems act as a deterrent, capture valuable surveillance footage, and provide remote monitoring capabilities.
Remember to regularly test and maintain your system to ensure its optimal performance. Check the battery levels, update software/firmware when necessary, and review the documentation provided by the manufacturer for any recommended maintenance procedures.
Whether you choose a DIY installation or opt for professional assistance, a home security and surveillance system is a valuable investment that offers protection and tranquility. Take the time to research and select a system that meets your specific needs and requirements.
Thank you for joining us on this journey to learn about installing a home security and surveillance system. Stay safe, stay protected, and enjoy the added peace of mind that your system brings!
Frequently Asked Questions about How To Hook Up Original Auto Burglar Alarm
Was this page helpful?
At Storables.com, we guarantee accurate and reliable information. Our content, validated by Expert Board Contributors, is crafted following stringent Editorial Policies. We're committed to providing you with well-researched, expert-backed insights for all your informational needs.