Home>Technology>Home Entertainment Systems>How To Hook Up Laptop To Projector

Home Entertainment Systems
How To Hook Up Laptop To Projector
Modified: January 8, 2024
Learn how to easily connect your laptop to a projector for a seamless home entertainment system setup. Follow our step-by-step guide.
(Many of the links in this article redirect to a specific reviewed product. Your purchase of these products through affiliate links helps to generate commission for Storables.com, at no extra cost. Learn more)
Introduction
Welcome to the world of modern presentations, where the marriage of technology and visual communication has revolutionized the way we share information. Whether you're a professional delivering a compelling business pitch or a teacher engaging students with multimedia content, the ability to connect your laptop to a projector is an invaluable skill.
In this comprehensive guide, we will delve into the step-by-step process of connecting your laptop to a projector, unlocking the potential for immersive and impactful presentations. By the end of this journey, you will possess the knowledge and confidence to seamlessly integrate your laptop with a projector, transforming any space into a dynamic platform for sharing ideas and information.
So, let's embark on this enlightening expedition, where the convergence of digital prowess and visual storytelling awaits. Whether you're a novice seeking guidance or a seasoned presenter looking to refine your techniques, this guide is your gateway to mastering the art of connecting a laptop to a projector. Let's dive in and illuminate the path to seamless connectivity and captivating presentations!
Key Takeaways:
- Connecting your laptop to a projector involves checking the ports, connecting the cables, turning on the devices, adjusting display settings, and starting your presentation. This seamless process unlocks the potential for captivating visual communication.
- By mastering the art of connecting a laptop to a projector, you can deliver compelling presentations and share impactful content with your audience. Embrace the transformative potential of seamless connectivity and captivating visual storytelling to elevate your presentations.
Read more: How To Hook Up Chromebook To Projector
Step 1: Check the Ports
Before embarking on the process of connecting your laptop to a projector, it’s essential to familiarize yourself with the available ports and connections on both devices. Understanding the port types and capabilities will pave the way for a smooth and successful setup.
Begin by examining your laptop for video output ports. Most modern laptops feature HDMI, VGA, DisplayPort, or USB-C ports, each offering distinct advantages in terms of compatibility and video quality. Additionally, some laptops may have multiple video output options, providing flexibility in connecting to various display devices.
Next, inspect the projector for input ports. Common input interfaces on projectors include HDMI, VGA, and DisplayPort. Some advanced projectors may also support wireless connectivity or USB input for multimedia playback. By identifying the available input ports on the projector, you can determine the most suitable connection method based on the compatibility between your laptop’s output ports and the projector’s input options.
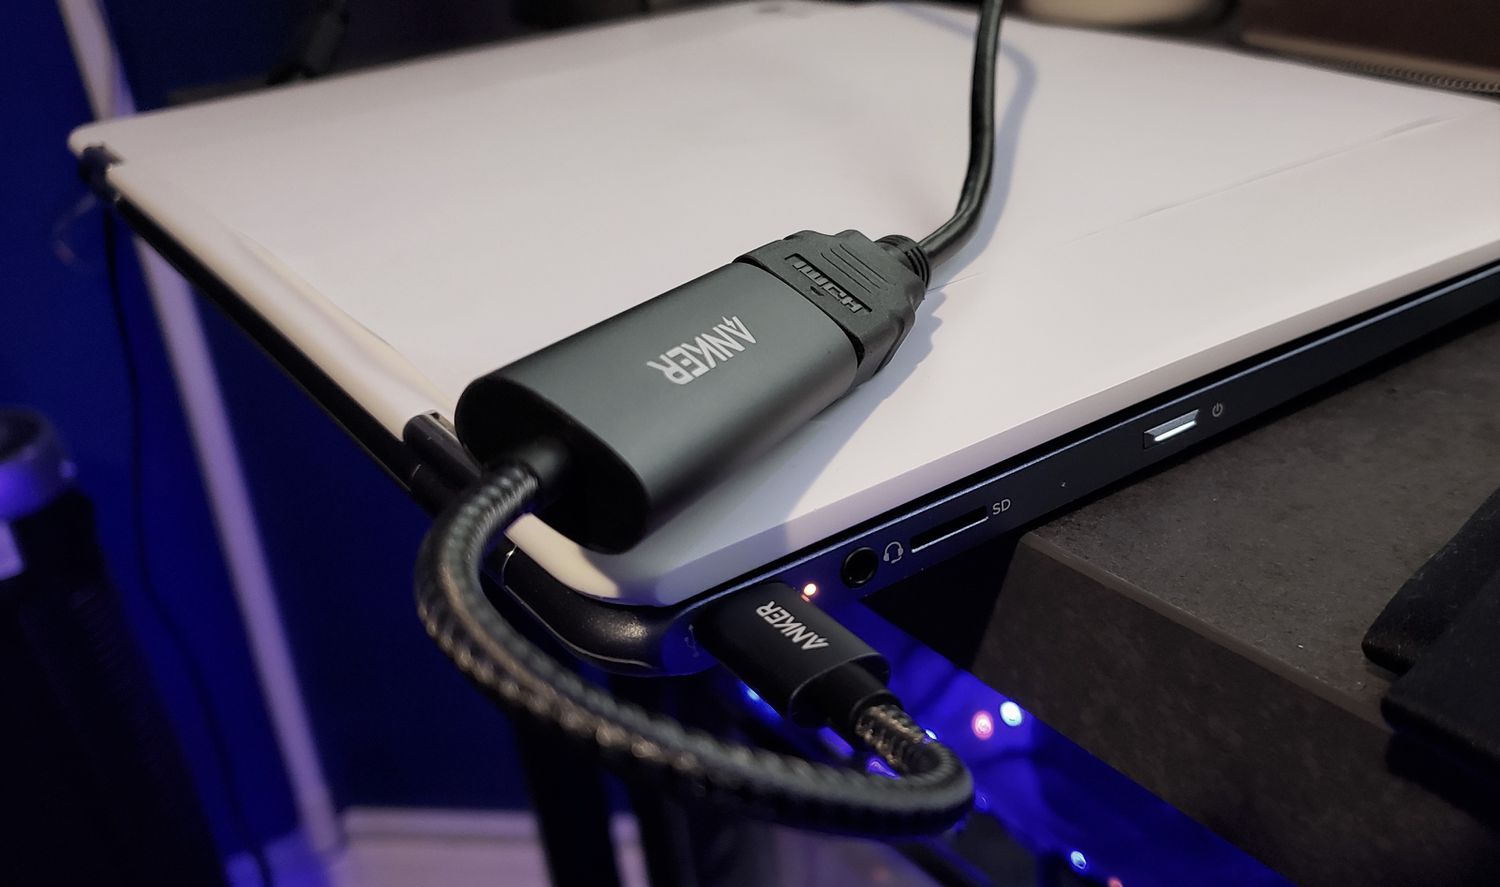
It’s important to note that the availability of adapters or converters may be necessary to bridge any disparities between the laptop’s output ports and the projector’s input ports. For example, if your laptop only has a USB-C output and the projector accepts VGA input, a USB-C to VGA adapter would be required to establish the connection.
By thoroughly assessing the port configurations on both the laptop and the projector, you can ensure a harmonious union between the two devices, setting the stage for a seamless and reliable connection. With this foundational knowledge in place, we can proceed to the next step of physically connecting the devices and initiating the setup process.
Step 2: Connect the Cables
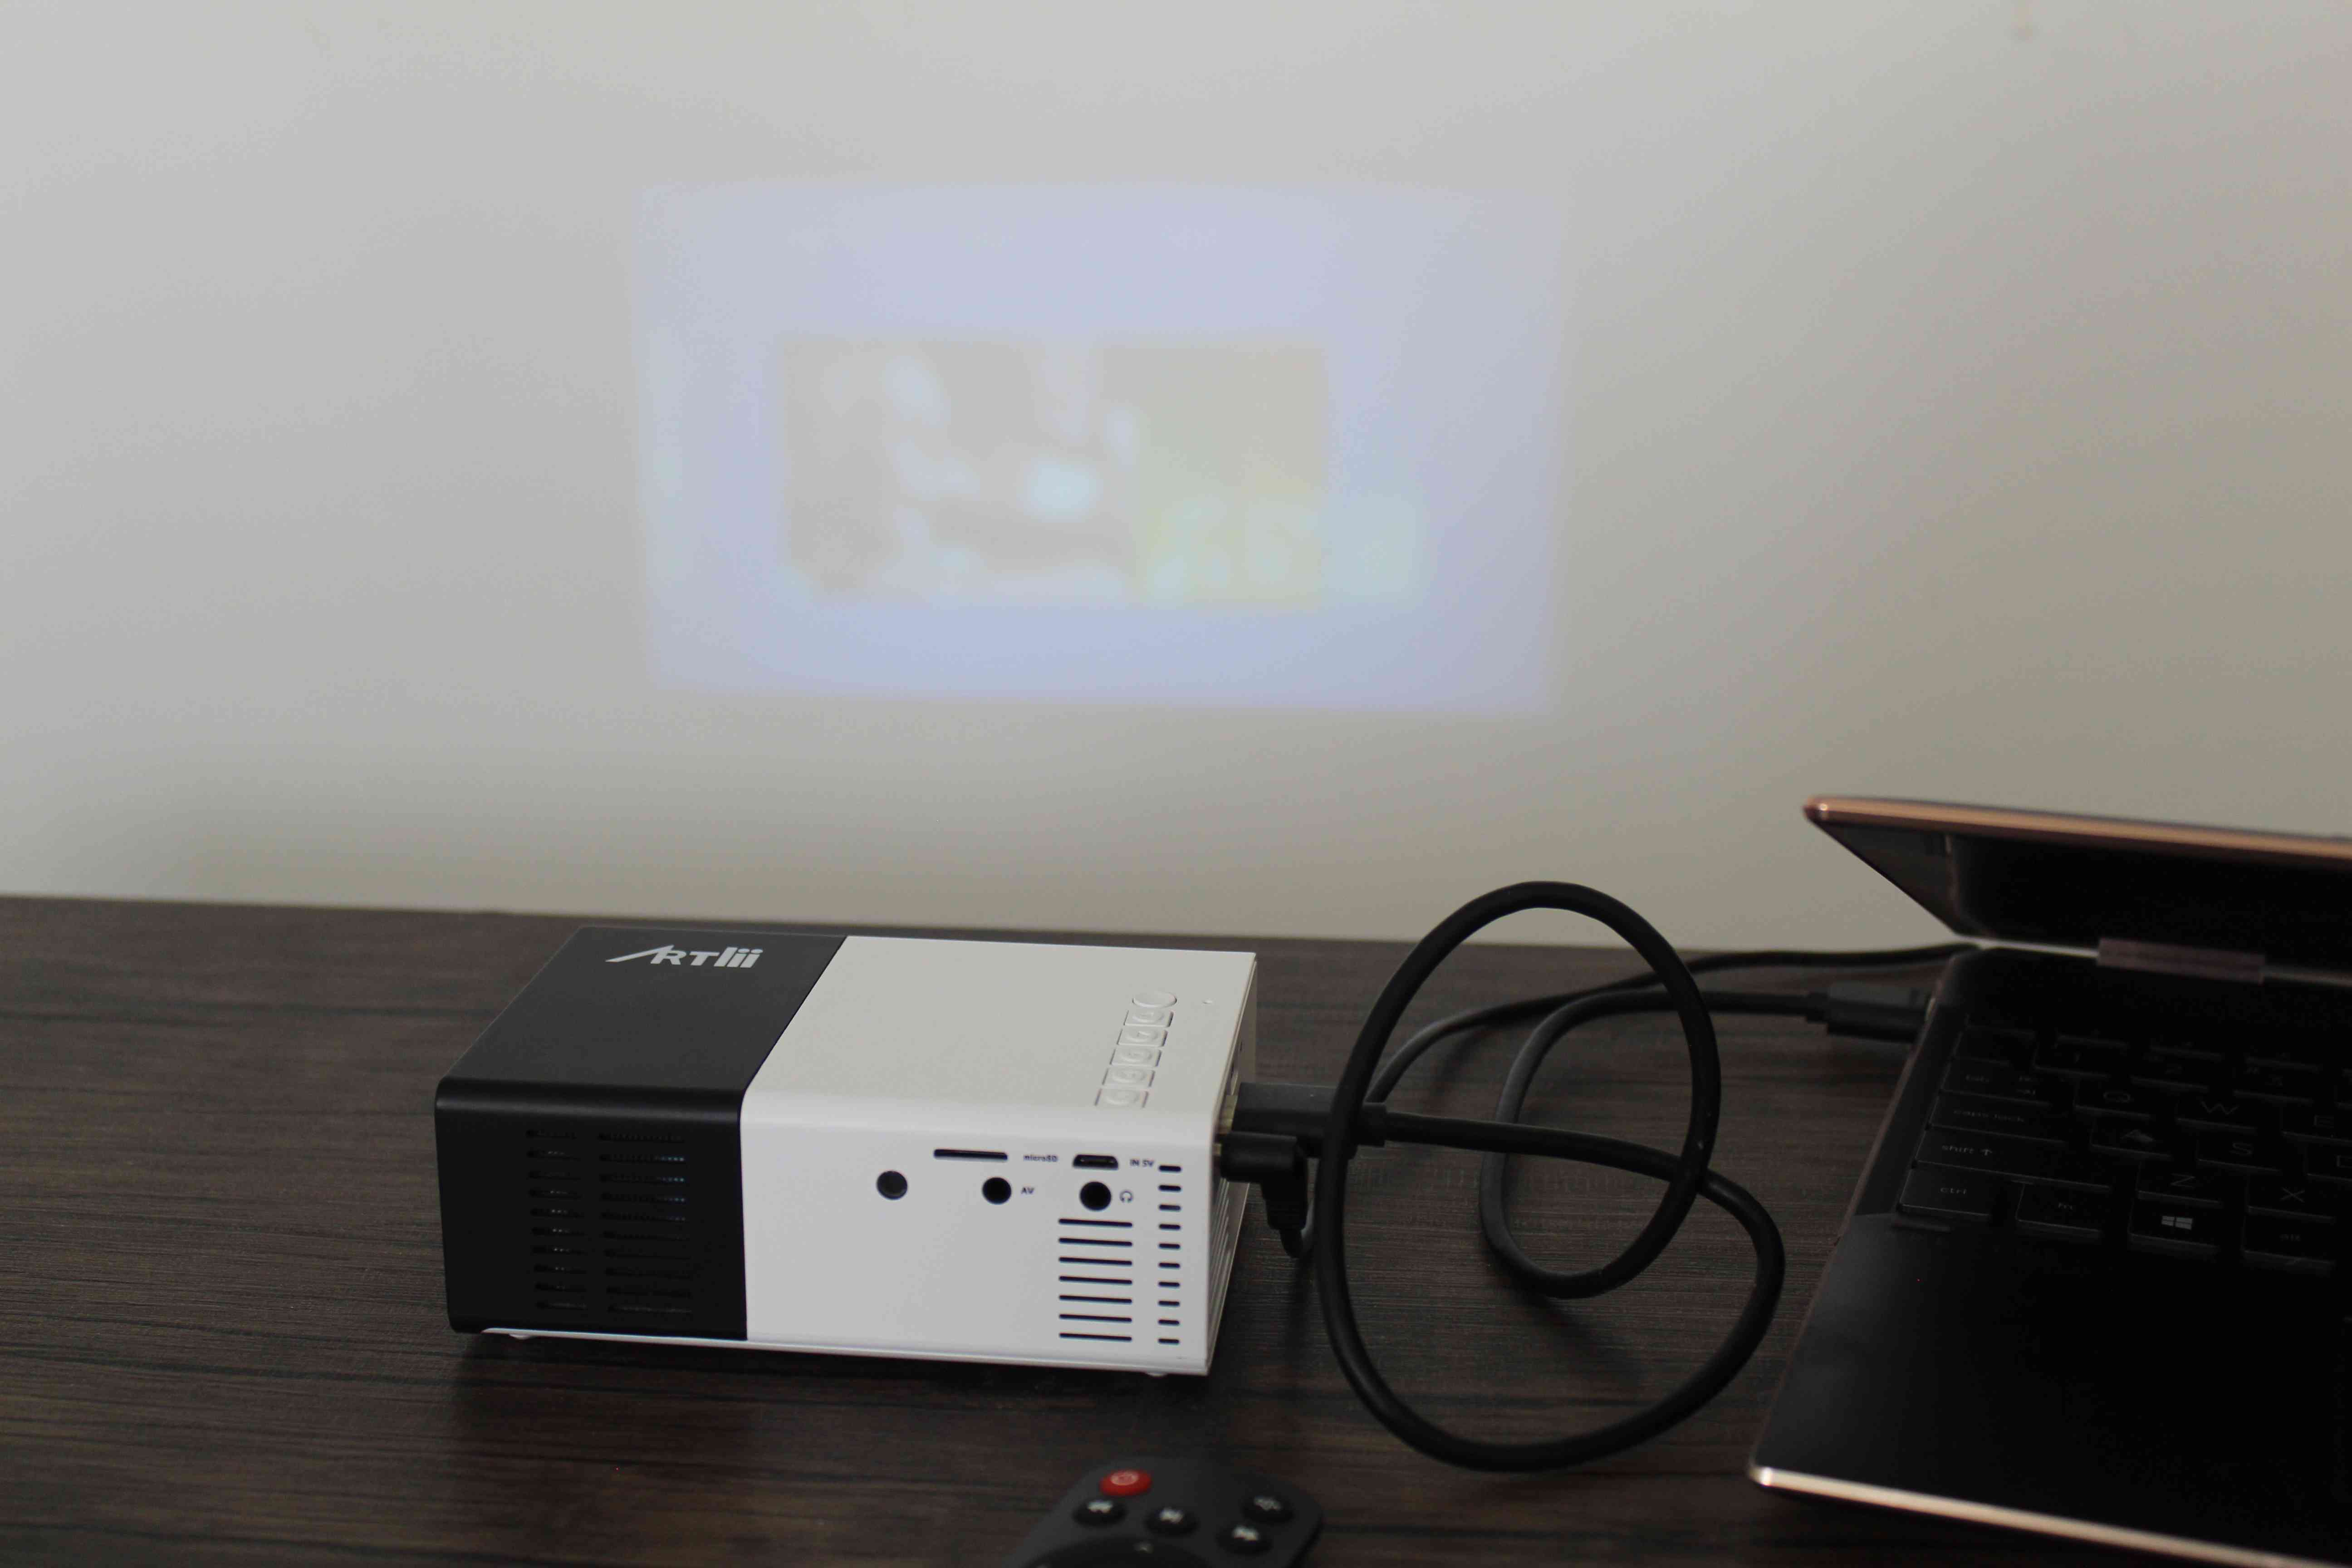
With a clear understanding of the available ports on your laptop and projector, the next pivotal step is to establish the physical connection between the two devices. This process involves selecting the appropriate cables and ensuring a secure and reliable link for transmitting the video signal from your laptop to the projector.
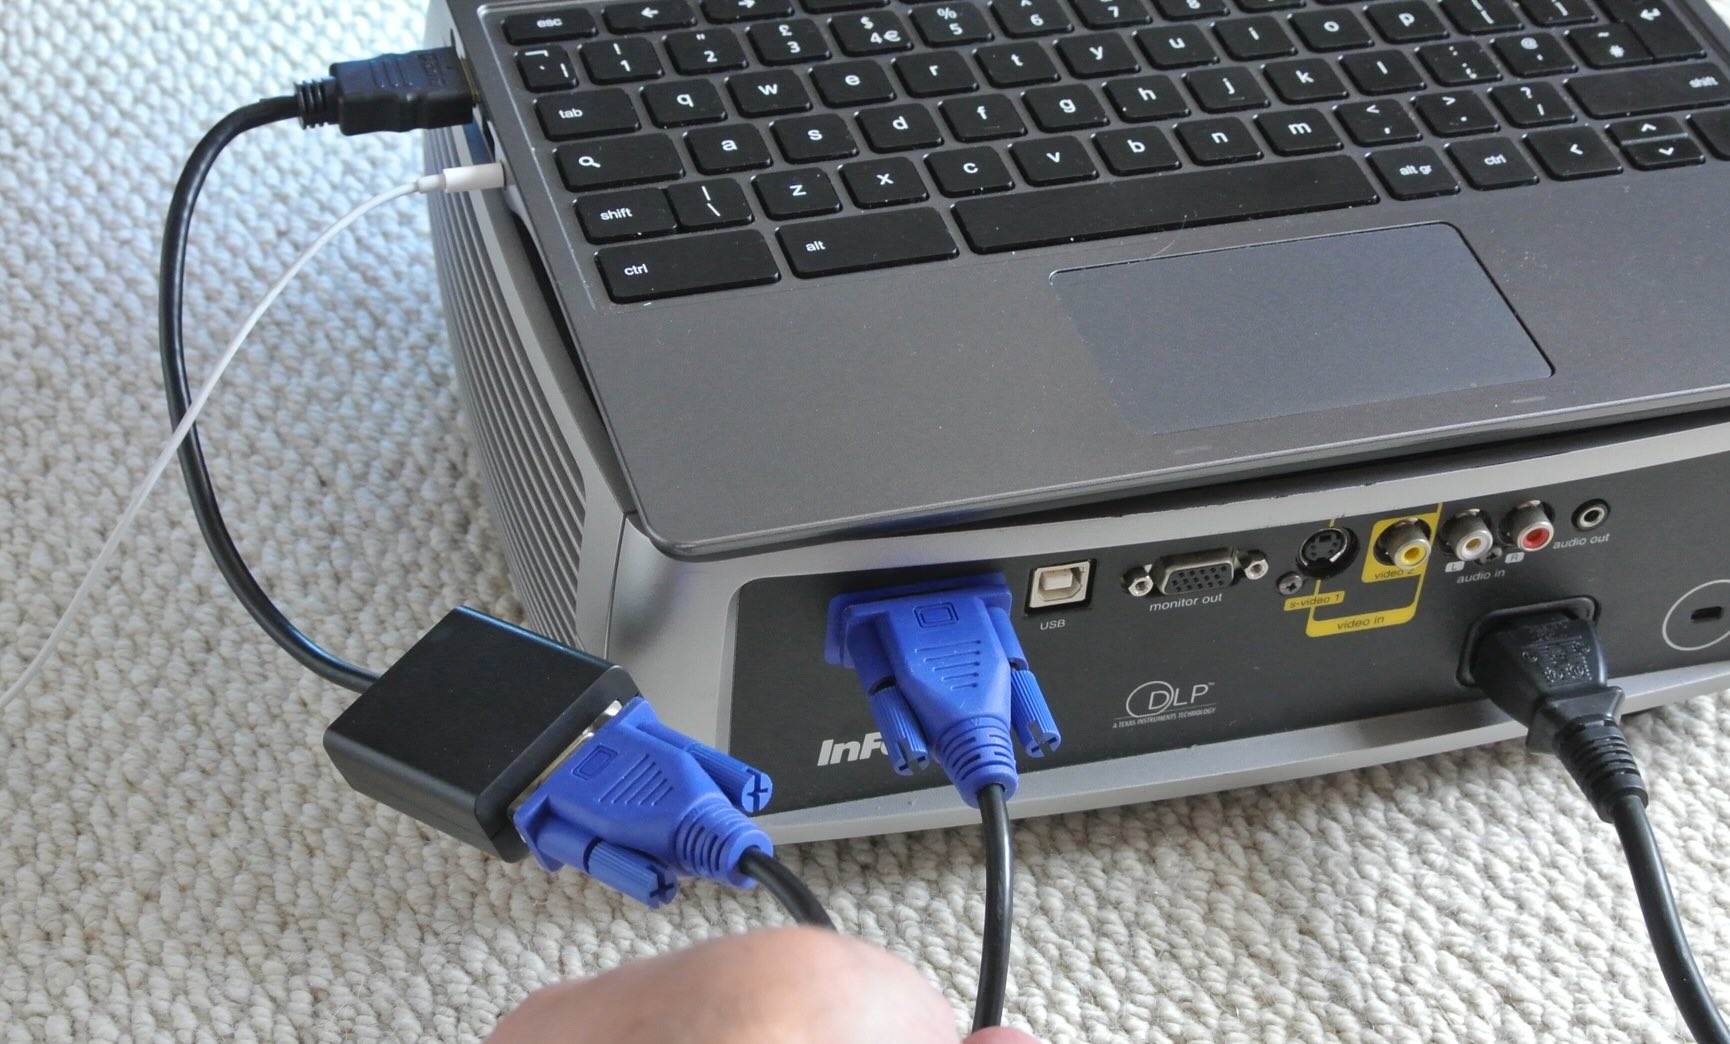
Begin by identifying the optimal cable for the connection based on the available ports. If both your laptop and the projector feature HDMI ports, utilizing an HDMI cable offers a straightforward and high-definition solution for video transmission. Alternatively, if your laptop has a VGA port and the projector features a VGA input, a VGA cable can be employed to bridge the connection.
In scenarios where the laptop’s output port and the projector’s input port differ, the use of adapters or converters becomes essential. For instance, if your laptop has a USB-C port and the projector only supports HDMI input, a USB-C to HDMI adapter can seamlessly bridge the connection, ensuring compatibility and signal integrity.
When connecting the cables, it’s crucial to handle them with care and precision, ensuring a snug and secure fit without applying excessive force. Align the cable connectors with the respective ports on the laptop and projector, gently insert them, and fasten any securing mechanisms, such as screws or clips, to prevent accidental disconnection during operation.
Once the cables are securely in place, take a moment to verify the integrity of the connections. Ensure that the cables are not twisted or bent at sharp angles, as this can strain the connectors and compromise the signal transmission. By maintaining the integrity of the cable connections, you can establish a reliable link between your laptop and the projector, laying the groundwork for a seamless and uninterrupted presentation experience.
With the cables connected and the physical link between the laptop and the projector established, we can now proceed to the next step of powering on the devices and configuring the display settings for optimal visual output.
Step 3: Turn on the Projector and Laptop
As we venture further into the process of connecting your laptop to a projector, the pivotal moment arrives to power on both the projector and your laptop. This crucial step sets the stage for the synchronization of devices and the initiation of the display output, culminating in the seamless projection of your content onto the larger screen.
Commence this step by locating the power buttons or switches on both the projector and your laptop. Ensure that the projector is plugged into a power source and that the power cable is securely connected. Once the power source is established, proceed to power on the projector using its designated power button or switch, allowing it to initialize and prepare for the incoming video signal.
Simultaneously, power on your laptop by pressing the designated power button or opening the lid, depending on the model. As the laptop boots up, it begins the process of detecting external displays, including the connected projector, and configuring the display settings to enable seamless projection of your content.
During the startup process, the projector may display a splash screen or a standby message, indicating that it is ready to receive the video signal from the laptop. As your laptop completes the boot sequence, it communicates with the projector to establish the optimal display settings, ensuring that the projected content aligns with your visual expectations.
Upon successful power-up of both the projector and your laptop, you will witness the magic of synchronization as the projector detects the incoming video signal from your laptop and prepares to project the display onto the designated screen or surface. This harmonious convergence of technology marks the beginning of a captivating presentation experience, where your digital content transcends the confines of the laptop screen and expands into a larger canvas for audience engagement.
With the projector and laptop powered on and in sync, we can now proceed to the next step of configuring the display settings to optimize the visual output and ensure a seamless presentation experience.
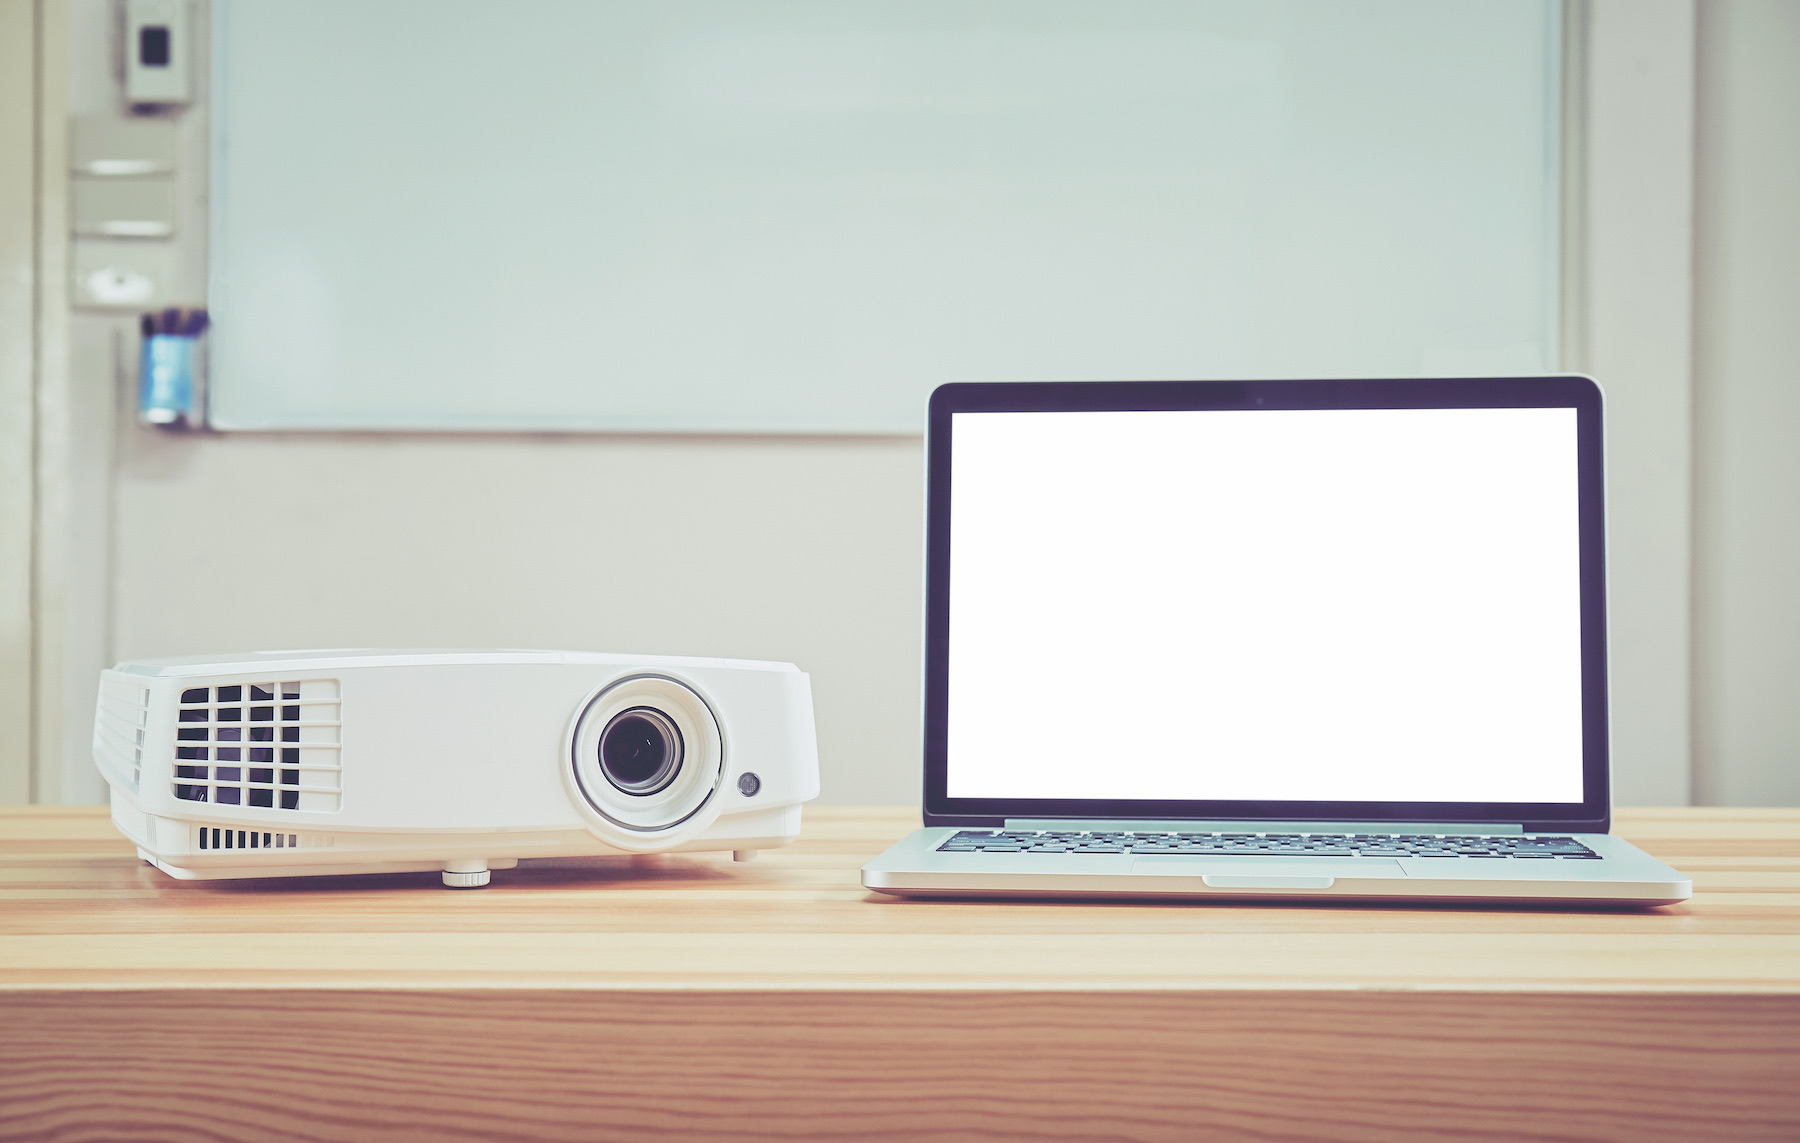
Make sure your laptop and projector are both turned off before connecting them. Use the appropriate cable (HDMI, VGA, etc.) to connect the two devices. Turn on the projector first, then the laptop. Adjust the display settings on your laptop if needed.
Step 4: Adjust Display Settings
As the projector and laptop harmoniously synchronize, the next crucial phase involves fine-tuning the display settings to optimize the visual output and ensure that your content is projected with clarity and precision. This step allows you to tailor the display parameters to suit the presentation environment and enhance the overall viewing experience for your audience.
Begin by directing your attention to the laptop’s display settings. Depending on the operating system, you can access the display settings through the system preferences or the display settings menu. Here, you can configure the resolution, orientation, and other visual parameters to align with the projection requirements and the dimensions of the projected screen.
When adjusting the display resolution, it’s imperative to select a setting that is compatible with both the laptop’s native display and the projector’s maximum resolution. This ensures that your content is projected with optimal clarity and fidelity, avoiding any distortion or loss of visual detail during the projection process.
Furthermore, consider the orientation of the projected display. Depending on the physical positioning of the projector and the desired projection surface, you may need to adjust the display orientation to accommodate vertical or horizontal projection, ensuring that your content is presented in the most suitable format for the audience’s viewing convenience.
Once the laptop’s display settings are configured, turn your attention to the projector’s settings, accessible through its onboard menu or remote control. Here, you can fine-tune parameters such as brightness, contrast, and keystone correction to optimize the projected image quality and ensure that your content is showcased with vividness and clarity.
Additionally, explore the projector’s display mode options, which may include predefined settings for presentations, videos, or graphics. Selecting the appropriate display mode aligns the projector’s output with the specific characteristics of your content, enhancing the visual impact and ensuring that your presentation is delivered with the intended visual nuance and emphasis.
By meticulously adjusting the display settings on both the laptop and the projector, you can orchestrate a seamless and visually captivating presentation experience, where your content is projected with precision and vibrancy, captivating the audience and conveying your message with compelling visual impact.
With the display settings finely tuned, we are now poised to embark on the final step of initiating the presentation and sharing your content with the audience in a seamless and immersive manner.
Read more: How To Hook Up Nintendo Switch To Projector
Step 5: Start Presenting
As we reach the culmination of the connection process, it’s time to unleash the full potential of your laptop-to-projector setup and embark on a captivating presentation journey. With the devices synchronized and the display settings optimized, you are now poised to share your content with the audience, leveraging the expansive canvas of the projected display to convey your message with impact and clarity.
Begin by ensuring that your content is ready for projection. Whether it’s a dynamic slideshow, an engaging video, or a compelling visual demonstration, having your content prepared and accessible on your laptop sets the stage for a seamless and impactful presentation experience.
With your content at the ready, initiate the presentation mode in your preferred application, whether it’s PowerPoint, Keynote, or any other presentation software. This mode optimizes the visual output for projection, ensuring that your slides or visuals are showcased with precision and visual appeal on the projected display.
As you commence the presentation mode, your laptop communicates with the projector to seamlessly transition the display output to the larger screen, captivating the audience with immersive visuals and dynamic content. Whether you’re delivering a business pitch, an educational lecture, or a creative showcase, the projected display serves as a compelling medium to engage and captivate your audience.
Throughout the presentation, leverage the dynamic capabilities of the laptop-to-projector setup to seamlessly transition between slides, videos, and interactive content, harnessing the power of visual storytelling to convey your message with impact and resonance. The expansive canvas of the projected display empowers you to amplify the visual elements of your content, fostering a deeper connection with your audience and enhancing the overall presentation experience.
As you navigate through your content and engage with the audience, embrace the immersive nature of the projected display, utilizing it as a dynamic platform to showcase visuals, data, and multimedia content with clarity and visual impact. Whether it’s a strategic business analysis, an educational tutorial, or a creative showcase, the seamless integration of your laptop with the projector elevates the presentation to new heights of visual engagement and audience connection.
With your content seamlessly projected and the audience captivated by the immersive visuals, you have successfully harnessed the power of your laptop-to-projector setup to deliver a compelling and impactful presentation experience. As the presentation concludes, bask in the satisfaction of seamlessly connecting your laptop to a projector and leveraging the expansive canvas of visual storytelling to convey your message with precision and impact.
With the presentation successfully delivered, you have unlocked the potential of seamless connectivity and captivating visual communication, setting the stage for future presentations that captivate and inspire. Congratulations on mastering the art of connecting a laptop to a projector and embarking on a journey of immersive and impactful presentations!
Conclusion
Congratulations on embarking on a transformative journey into the realm of seamless connectivity and captivating visual communication. By mastering the art of connecting your laptop to a projector, you have unlocked a world of possibilities, empowering yourself to deliver compelling presentations and share impactful content with your audience.
Throughout this comprehensive guide, we have navigated the step-by-step process of seamlessly integrating your laptop with a projector, from checking the ports and connecting the cables to adjusting display settings and initiating a captivating presentation. This journey has equipped you with the knowledge and confidence to harness the power of visual storytelling and immersive presentations, leveraging the expansive canvas of the projected display to convey your message with impact and clarity.
As you venture forth into the realm of presentations, remember the transformative potential of seamless connectivity and captivating visual communication. Whether you’re delivering business pitches, educational lectures, or creative showcases, the integration of your laptop with a projector amplifies the visual impact of your content, fostering deeper engagement and connection with your audience.
With each presentation, embrace the dynamic capabilities of your laptop-to-projector setup, seamlessly transitioning between slides, videos, and interactive content to captivate and inspire your audience. The harmonious synchronization of devices and the optimized display settings culminate in a seamless and immersive presentation experience, where your content transcends the confines of the laptop screen and expands into a captivating visual narrative.
As you continue to refine your presentation techniques and explore the boundless potential of visual communication, remember the transformative power of seamless connectivity and captivating visual storytelling. Whether it’s in the boardroom, classroom, or auditorium, the integration of your laptop with a projector serves as a gateway to immersive and impactful presentations, where your content resonates with precision and visual allure.
Armed with the knowledge and expertise gained from this guide, you are poised to embark on a journey of compelling presentations and captivating visual communication. Embrace the seamless connectivity of your laptop and projector, and let the power of visual storytelling elevate your presentations to new heights of impact and resonance. With each presentation, harness the transformative potential of seamless connectivity and captivating visual communication, and immerse your audience in a world of compelling visual narratives.
As you venture forth, may your presentations captivate and inspire, and may the art of connecting a laptop to a projector be the catalyst for transformative and immersive visual communication. With each seamless connection and captivating presentation, you are shaping a world where ideas are shared with impact and resonance, amplified by the transformative power of visual storytelling and immersive presentations.
Frequently Asked Questions about How To Hook Up Laptop To Projector
Was this page helpful?
At Storables.com, we guarantee accurate and reliable information. Our content, validated by Expert Board Contributors, is crafted following stringent Editorial Policies. We're committed to providing you with well-researched, expert-backed insights for all your informational needs.





0 thoughts on “How To Hook Up Laptop To Projector”