Home>Home Security and Surveillance>How To Integrate Monoprice Z-Wave Plus PIR Motion Detector With SmartThings
Home Security and Surveillance
How To Integrate Monoprice Z-Wave Plus PIR Motion Detector With SmartThings
Modified: November 1, 2024
Learn how to seamlessly integrate the Monoprice Z-Wave Plus PIR Motion Detector with SmartThings for enhanced home security and surveillance.
(Many of the links in this article redirect to a specific reviewed product. Your purchase of these products through affiliate links helps to generate commission for Storables.com, at no extra cost. Learn more)
Introduction
Welcome to our comprehensive guide on integrating the Monoprice Z-Wave Plus PIR Motion Detector with SmartThings. In this article, we will walk you through the step-by-step process of connecting and configuring these devices to enhance your home security and surveillance system.
When it comes to protecting your home and loved ones, having a reliable and efficient security system is paramount. With advancements in technology, home automation platforms like SmartThings have made it easier than ever to integrate various devices for a seamless and comprehensive security solution. The Monoprice Z-Wave Plus PIR Motion Detector is a powerful sensor that can detect motion within its range and send alerts to your SmartThings hub, allowing you to monitor activity and take necessary action.
SmartThings, on the other hand, is a leading home automation platform that allows you to control and monitor a wide range of smart devices from a centralized hub. With SmartThings, you can create customized routines, receive notifications, and automate various tasks to make your home smarter and more secure.
By integrating the Monoprice Z-Wave Plus PIR Motion Detector with SmartThings, you can have an additional layer of security and peace of mind. Whether you are looking to monitor your property when you are away or enhance the security during nighttime, this integration will provide you with the flexibility and convenience you need.
In the following sections, we will guide you through each step, from preparing your devices to configuring and testing the motion detector in SmartThings. So let’s dive in and get started with integrating the Monoprice Z-Wave Plus PIR Motion Detector with SmartThings!
Key Takeaways:
- Enhance home security with Monoprice Z-Wave Plus PIR Motion Detector and SmartThings by following our easy guide for seamless integration and customizable settings.
- Enjoy peace of mind with accurate motion detection, real-time notifications, and automation rules for a safer and smarter home environment.
What is Monoprice Z-Wave Plus PIR Motion Detector?
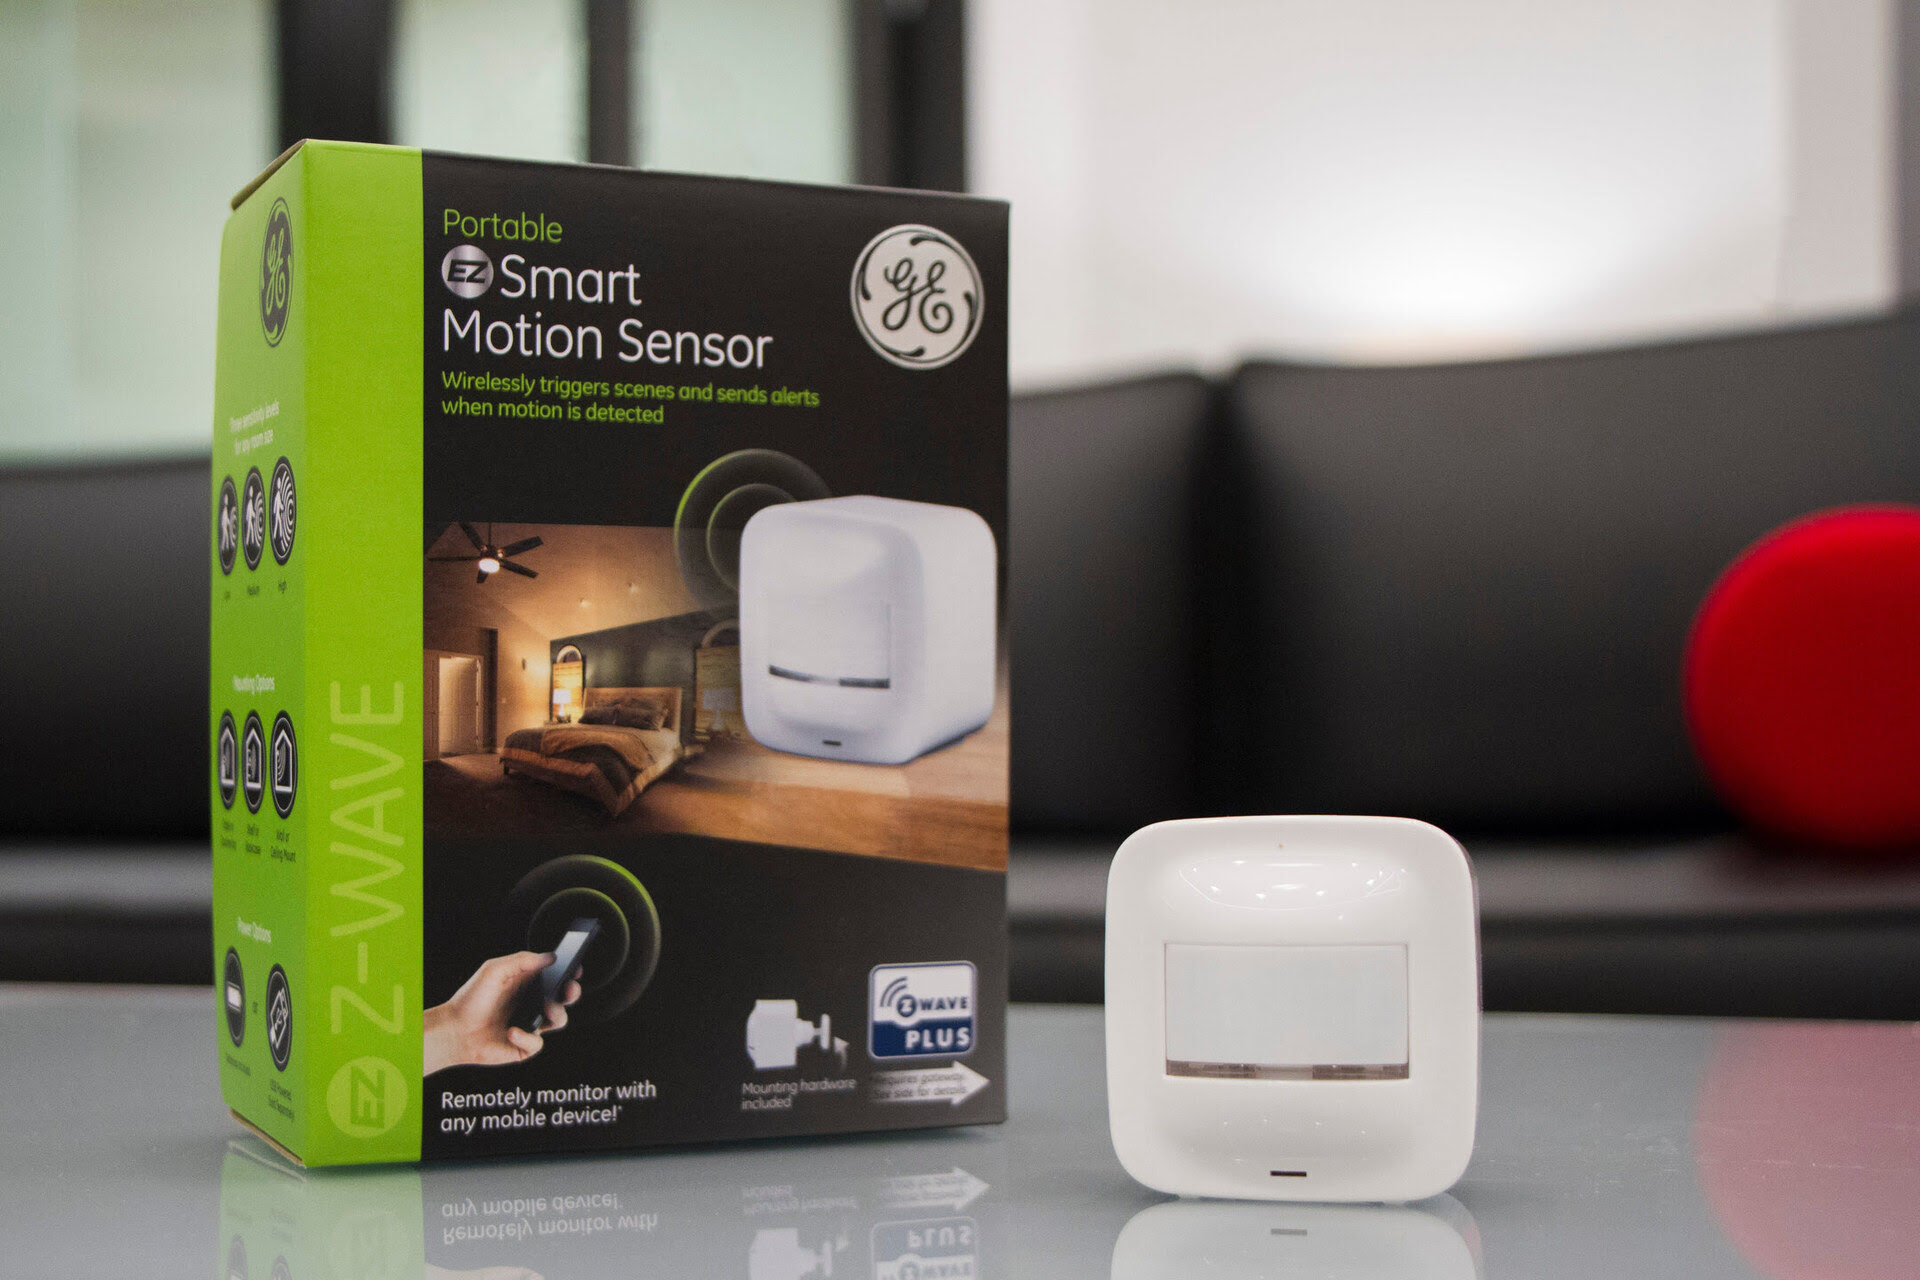
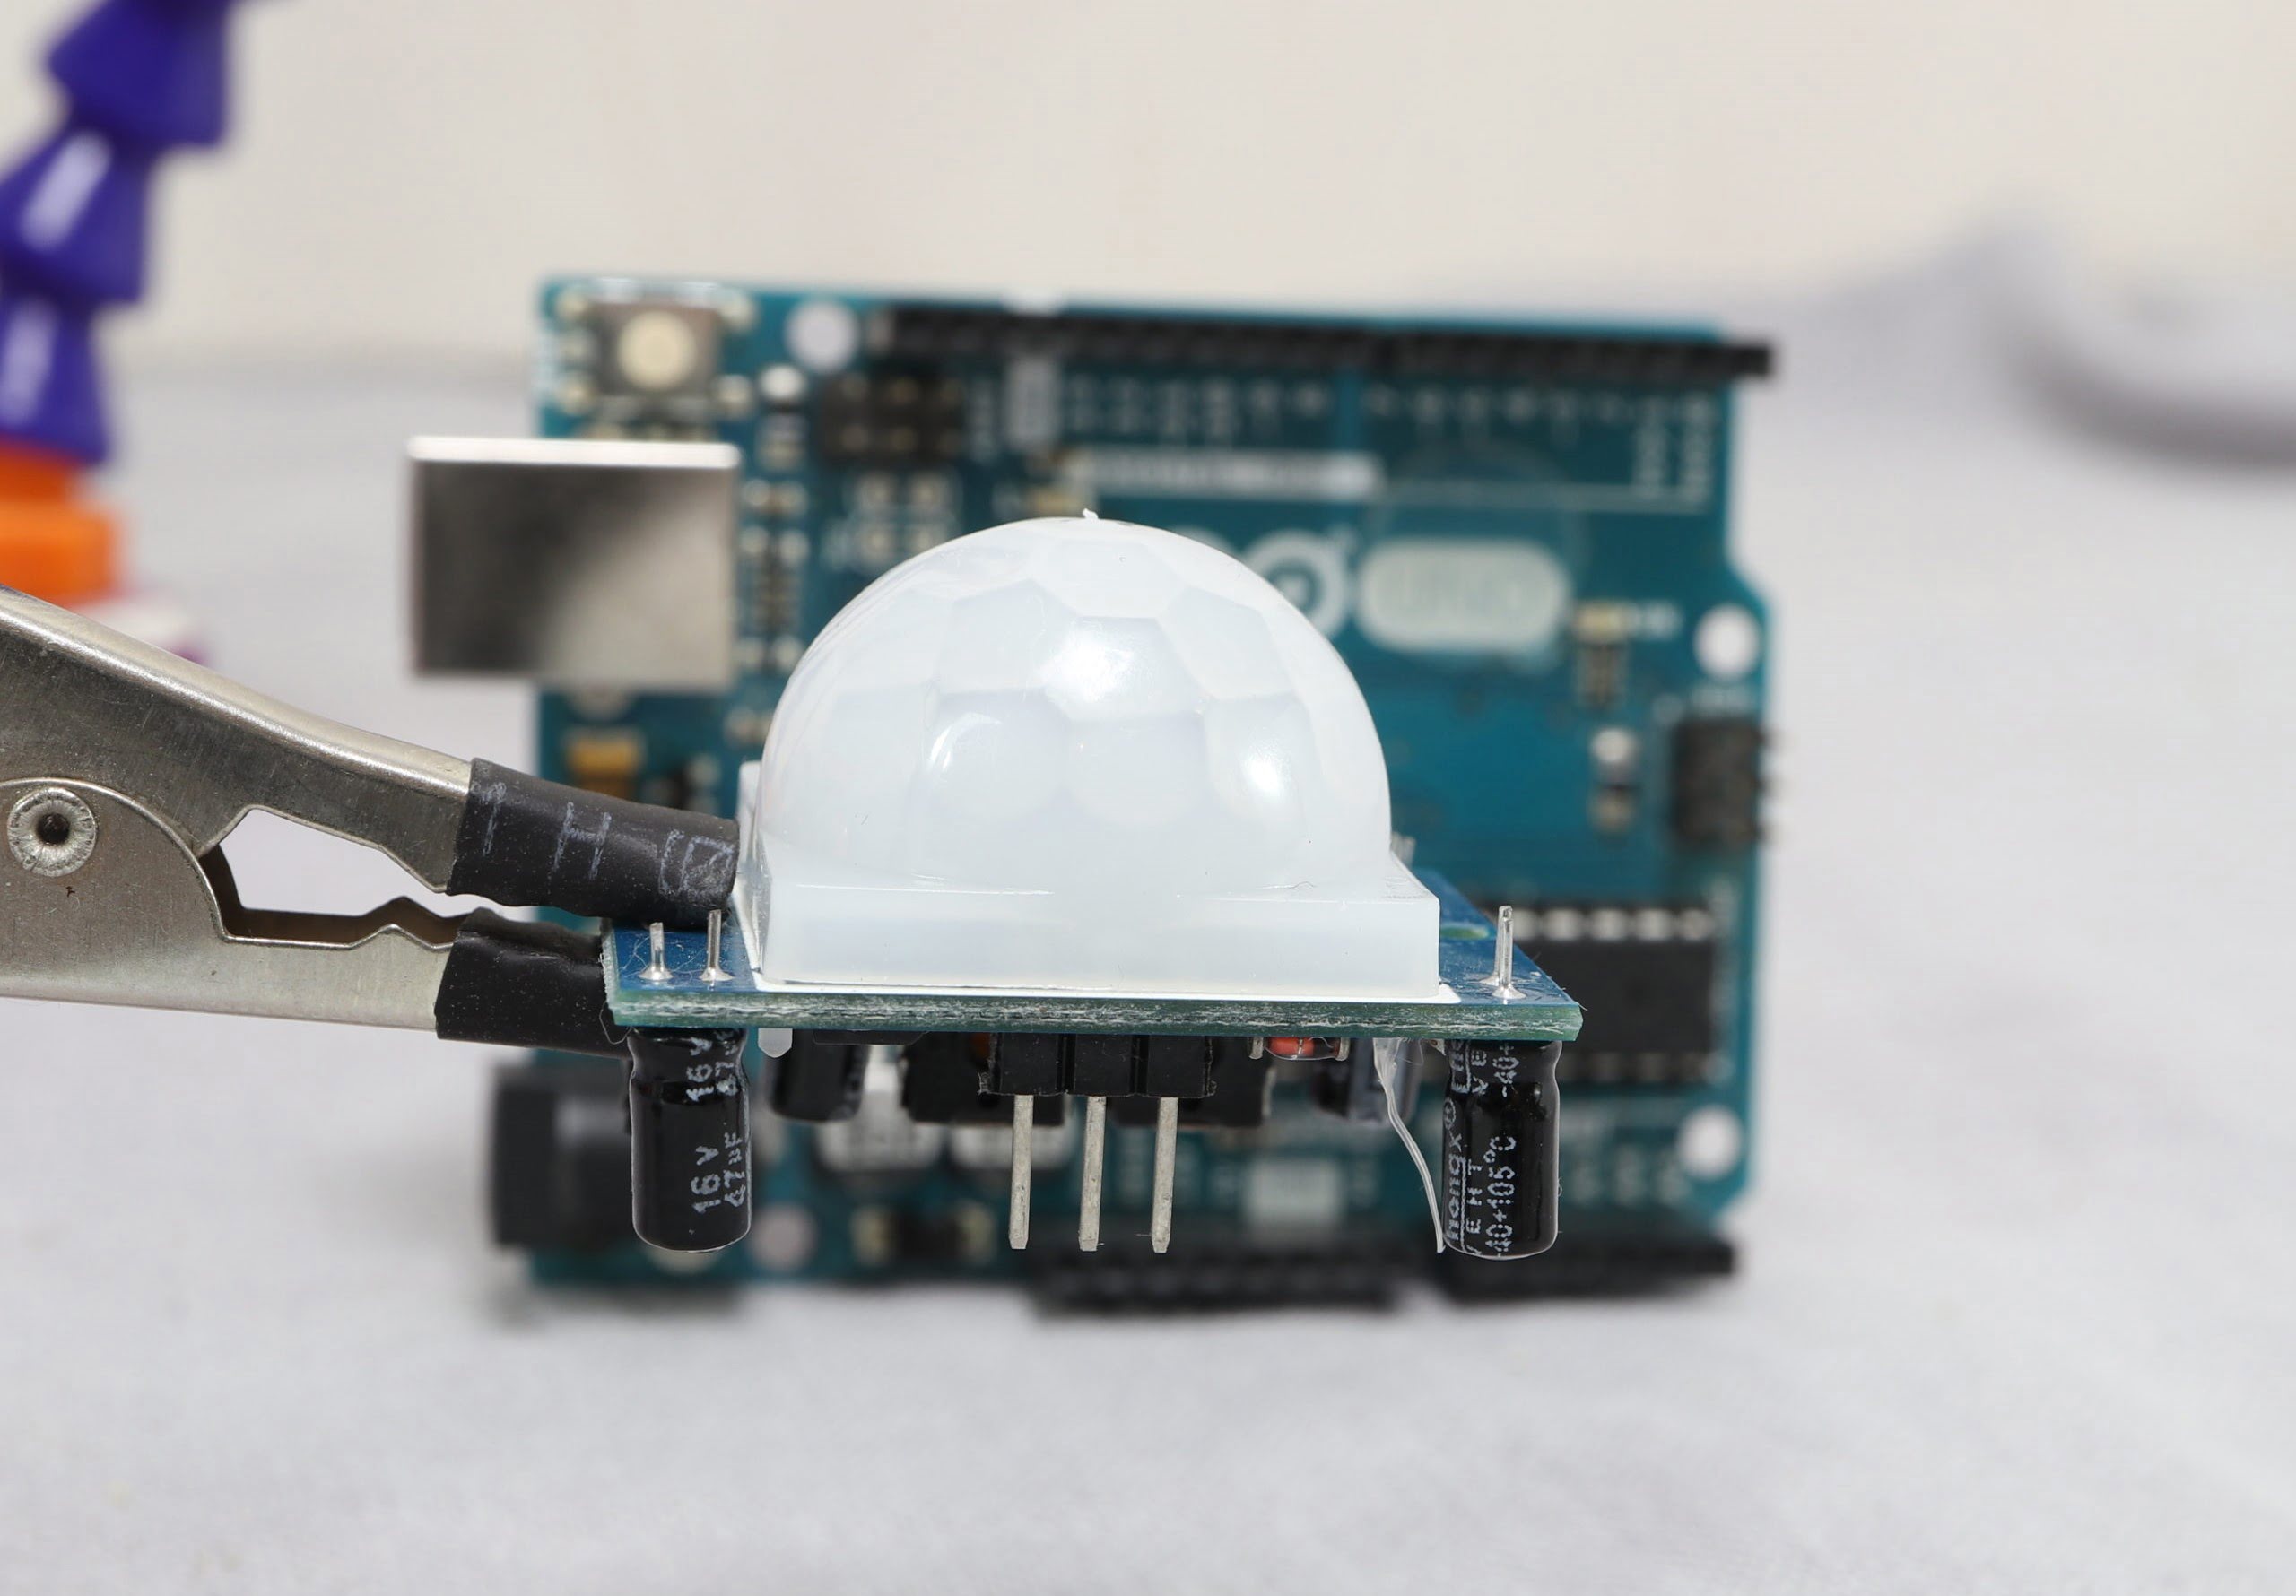
The Monoprice Z-Wave Plus PIR Motion Detector is a cutting-edge sensor designed to detect motion within its range and provide instant alerts to your connected smart home system. It uses passive infrared (PIR) technology to sense changes in heat signatures caused by moving objects, making it highly accurate and reliable.
One of the key features of the Monoprice Z-Wave Plus PIR Motion Detector is its Z-Wave Plus compatibility. Z-Wave Plus is an advanced wireless technology that enables seamless communication between smart devices in your home. It offers improved range, faster data transfer speeds, and increased reliability compared to standard Z-Wave devices. With Z-Wave Plus, you can enjoy a more responsive and robust home automation experience.
The Monoprice Z-Wave Plus PIR Motion Detector has a wide detection range of up to 39 feet and a 120-degree field of view, ensuring comprehensive coverage of the monitored area. This makes it ideal for securing large rooms, hallways, and outdoor spaces. It can reliably detect motion and trigger automated actions, such as turning on lights, sounding an alarm, or sending notifications to your smartphone.
Additionally, this motion detector features adjustable sensitivity settings, allowing you to fine-tune the detection range based on your specific needs. Whether you want to detect movement from a distance or focus on a specific area, the Monoprice Z-Wave Plus PIR Motion Detector offers the flexibility to customize its performance.
This motion detector is powered by two AA batteries, which provide long-lasting operation. When the battery level is low, the sensor will send a notification to your smart home system, ensuring that you never miss an important alert due to dead batteries. The compact and discreet design of the Monoprice Z-Wave Plus PIR Motion Detector allows it to blend seamlessly into any environment without drawing attention.
With its advanced features, reliable performance, and easy integration with smart home systems like SmartThings, the Monoprice Z-Wave Plus PIR Motion Detector is an excellent choice for enhancing the security of your home. Let’s proceed to the next section to learn more about SmartThings.
What is SmartThings?
SmartThings is a popular home automation platform that allows you to control, monitor, and automate various smart devices in your home from a centralized hub. It provides a seamless and intuitive way to manage your smart home ecosystem, bringing convenience, efficiency, and security to your daily life.
With SmartThings, you can connect and control a wide range of compatible devices, including smart thermostats, lights, locks, cameras, and sensors, from different manufacturers. This means you are not limited to a single brand or product line, giving you the freedom to choose the devices that best suit your needs.
One of the key benefits of SmartThings is its ability to create customized routines and automation. By using the SmartThings app or web interface, you can easily set up routines based on specific triggers and actions. For example, you can create a routine that turns on the lights and adjusts the thermostat when you arrive home, or schedule the lights to turn on and off at specific times to simulate occupancy when you are away.
SmartThings also provides real-time notifications and alerts, keeping you informed about the status of your devices and any detected events. Whether it’s a motion detected by a sensor, a door opened when you are not at home, or a water leak detected, you will receive instant notifications on your smartphone or other connected devices.
Furthermore, SmartThings offers integration with voice assistants like Amazon Alexa and Google Assistant, allowing you to control your devices using voice commands. This hands-free control adds an extra layer of convenience to your smart home experience.
In addition to its user-friendly interface, SmartThings offers advanced security features to protect your data and privacy. It employs robust encryption protocols and follows industry best practices to ensure the highest level of security for your smart home ecosystem.
Whether you want to enhance the security of your home, improve energy efficiency, or simply make everyday tasks easier, SmartThings is a versatile and reliable platform that can meet your needs. In the next sections, we will guide you through the process of integrating the Monoprice Z-Wave Plus PIR Motion Detector with SmartThings, so you can take full advantage of these powerful technologies working together.
Step 1: Preparing Your Devices
Before you can integrate the Monoprice Z-Wave Plus PIR Motion Detector with SmartThings, you need to ensure that all the necessary devices are set up and ready to go. Here are the steps to prepare your devices:
- Ensure SmartThings Hub: Make sure you have a SmartThings Hub set up and connected to your home network. The SmartThings Hub acts as the central control unit for your smart home system and enables communication between devices.
- Install SmartThings App: Download and install the SmartThings app on your smartphone. The app is available for both iOS and Android devices and provides a user-friendly interface for managing your smart home.
- Place the Motion Detector: Decide on the optimal location for the Monoprice Z-Wave Plus PIR Motion Detector. It is recommended to place it in an area that covers the desired monitoring area while avoiding direct sunlight, drafts, and heat sources.
- Check Battery Level: Ensure that the batteries in the motion detector are installed correctly and have sufficient charge. Replace the batteries if necessary to ensure uninterrupted operation.
- Pairing Mode: Put your SmartThings Hub into pairing mode. This mode enables the hub to discover and connect with new devices. The process to enable pairing mode may vary depending on the model of your SmartThings Hub, so refer to the user manual or manufacturer’s instructions for specific guidance.
- Reset the Motion Detector: Reset the Monoprice Z-Wave Plus PIR Motion Detector to factory settings by following the instructions provided by the manufacturer. This step ensures that the motion detector is ready to be paired with SmartThings.
Once you have completed these steps, you are now ready to proceed to the next section, where we will guide you through the process of connecting the Monoprice Z-Wave Plus PIR Motion Detector to SmartThings. Ensure that your devices are fully prepared and follow the instructions carefully for a successful integration.
Step 2: Connecting the Monoprice Z-Wave Plus PIR Motion Detector to SmartThings
Now that you have prepared your devices, it’s time to connect the Monoprice Z-Wave Plus PIR Motion Detector to SmartThings. Follow these steps to establish the connection:
- Open the SmartThings App: Launch the SmartThings app on your smartphone and log in to your SmartThings account. If you don’t have an account, create one by following the on-screen instructions.
- Tap the “+” Icon: Look for the “+” icon in the app’s main screen or navigation menu. This icon is typically used to add a new device to your smart home system.
- Select “Device”: In the device selection screen, choose the “Device” option to manually add a device that is not automatically discovered by the app.
- Choose a Device Type: Scroll through the device types list and select the appropriate category for the Monoprice Z-Wave Plus PIR Motion Detector. It may be listed as a “Motion Sensor” or “Z-Wave Sensor”.
- Follow the Prompts: The app will guide you through the pairing process. This usually involves putting the SmartThings Hub into discovery mode and following the on-screen instructions to complete the pairing.
- Put the Motion Detector in Pairing Mode: Depending on the specific instructions provided by Monoprice, you may need to put the motion detector into pairing mode. This typically involves pressing or holding a specific button on the device until an LED indicator starts flashing, indicating that it is ready to be paired.
- Wait for Pairing to Complete: The SmartThings app will search for your motion detector and establish a connection. Wait for the pairing process to complete, which may take a few moments.
- Confirm Successful Pairing: Once the pairing is successful, the SmartThings app will display a confirmation message. You can give the motion detector a meaningful name and assign it to a specific room or location in your home.
After completing these steps, the Monoprice Z-Wave Plus PIR Motion Detector will be successfully connected to your SmartThings hub. It will be ready to be configured and integrated into your smart home system. In the next section, we will guide you through the process of configuring the motion detector in SmartThings for optimal performance and functionality.
To integrate Monoprice Z-Wave Plus PIR Motion Detector with SmartThings, first, put your SmartThings hub into pairing mode. Then, press the tamper switch on the motion detector three times quickly. Wait for the LED to blink, indicating successful pairing.
Step 3: Configuring the Motion Detector in SmartThings
Once you have successfully connected the Monoprice Z-Wave Plus PIR Motion Detector to SmartThings, it’s time to configure the settings and options for the device. Follow these steps to configure the motion detector:
- Open the SmartThings App: Launch the SmartThings app on your smartphone and navigate to the Devices section.
- Select the Motion Detector: Find the Monoprice Z-Wave Plus PIR Motion Detector in the list of devices and tap on it to access its settings.
- Adjust Motion Sensitivity: Depending on your preferences and the layout of the monitored area, you may need to adjust the motion sensitivity of the detector. Since every home is different, it’s important to find the right balance to avoid false alarms while ensuring accurate detection of motion.
- Enable or Disable LED Indicator: The Monoprice Z-Wave Plus PIR Motion Detector may have an LED indicator that shows its status. In the device settings, you can choose to enable or disable the LED indicator according to your preference.
- Configure Notifications: Set up notifications for when motion is detected by the device. You can choose to receive notifications on your smartphone, send email alerts, or trigger other actions in your smart home system.
- Create Automation Rules: Use the SmartThings app to create automation rules based on motion detection events. For example, you can automate the activation of lights when motion is detected in a specific room, or start recording with your surveillance cameras when motion is detected in the backyard.
- Test and Fine-Tune: After configuring the motion detector, it’s essential to test its performance. Walk around the monitored area to ensure that motion is being detected accurately. Fine-tune the sensitivity settings if necessary to achieve optimal results.
By configuring the Monoprice Z-Wave Plus PIR Motion Detector in SmartThings, you can customize its behavior and integrate it seamlessly into your smart home ecosystem. Take some time to explore the options and settings available in the SmartThings app to make the most out of the motion detector and enhance your home security and surveillance system.
In the next step, we will guide you on how to adjust motion detector settings to fit your specific requirements. Continue to the next section for more information.
Step 4: Adjusting Motion Detector Settings
After configuring the Monoprice Z-Wave Plus PIR Motion Detector in SmartThings, it’s important to fine-tune the settings to ensure optimal performance. Here are some key settings that you can adjust:
- Adjust Sensitivity: Depending on your specific needs and the environment where the motion detector is installed, you may want to adjust the sensitivity level. If you find that the detector is triggering false alarms, you can decrease the sensitivity to minimize unwanted alerts. On the other hand, if you’re not getting accurate motion detection, you can increase the sensitivity level.
- Set Detection Range: The Monoprice Z-Wave Plus PIR Motion Detector has a specified maximum detection range. However, you can customize the detection area by adjusting the angle or direction of the device. Experiment with the positioning to achieve the desired coverage area.
- Configure Delay Time: The delay time refers to the period after motion is detected before the detector resets itself and can detect new motion. You can adjust this delay time according to your preference. A shorter delay time may provide more immediate notifications and responses, while a longer delay time can help minimize false alarms.
- Test and Fine-Tune: Once you have adjusted the settings, it’s essential to test the motion detector in real-world scenarios. Walk or move around the monitored area to ensure that the detector detects motion accurately and triggers the desired actions. Make additional adjustments if necessary to achieve optimal results.
By adjusting these settings, you can customize the Monoprice Z-Wave Plus PIR Motion Detector to fit your specific requirements and maximize its effectiveness. Remember that each home and environment is unique, so take the time to find the right balance between sensitivity, range, and delay time.
After adjusting the motion detector settings, it’s time to move on to the next step: testing the motion detector with SmartThings. In the next section, we will guide you through the process of testing the device to ensure it is functioning correctly and providing the desired results.
Step 5: Testing the Motion Detector with SmartThings
Now that you have configured and adjusted the settings of the Monoprice Z-Wave Plus PIR Motion Detector in SmartThings, it’s crucial to test its functionality to ensure it is working correctly and providing the desired results. Follow these steps to test the motion detector:
- Prepare the Test Environment: Make sure the area monitored by the motion detector is clear of any obstructions or objects that may interfere with motion detection. Ensure that the lighting conditions in the area are appropriate for the detector to function effectively.
- Move in the Detection Zone: Walk or move within the detection range of the motion detector. Observe if the device detects your motion and triggers the desired actions or notifications in the SmartThings app.
- Test Different Scenarios: Perform different activities within the monitored area to simulate various scenarios. For example, walk at different speeds, crawl, or move erratically to see how the motion detector responds to different types of motion.
- Verify Notification and Response: Check that you are receiving the expected notifications on your smartphone when motion is detected. If you have set up any automation rules, ensure that they are triggering the desired actions, such as turning on lights or activating security cameras.
- Repeat and Fine-Tune: If you notice any issues or inconsistencies during the testing phase, make additional adjustments to the motion detector settings and repeat the testing process. Fine-tune the sensitivity, range, or delay time until you are satisfied with the device’s performance.
Testing the motion detector allows you to evaluate its accuracy, responsiveness, and compatibility with your smart home setup. By confirming its proper functioning, you can have confidence in the device’s ability to enhance your home security and surveillance system.
Congratulations! You have successfully completed the integration and testing process of the Monoprice Z-Wave Plus PIR Motion Detector with SmartThings. You can now enjoy the benefits of enhanced home security and automation. Ensure to regularly maintain and monitor your devices to ensure their continued performance. If you encounter any issues or have further questions, consult the device’s user manual or reach out to the manufacturer for support.
We hope this guide has been helpful in assisting you with integrating and utilizing the Monoprice Z-Wave Plus PIR Motion Detector with SmartThings. Enjoy the added protection and peace of mind that comes with a comprehensive home security and surveillance system!
Stay safe and secure!
Conclusion
Integrating the Monoprice Z-Wave Plus PIR Motion Detector with SmartThings opens up a world of possibilities for enhancing your home security and surveillance system. By following the step-by-step process outlined in this guide, you have successfully connected, configured, and tested the motion detector, ensuring its accurate detection and seamless integration with your smart home ecosystem.
The Monoprice Z-Wave Plus PIR Motion Detector offers advanced features such as adjustable sensitivity, customizable detection range, and reliable motion detection. When combined with SmartThings, you have the power to create automation rules, receive real-time notifications, and control other smart devices based on motion events. This integration adds an extra layer of security and convenience to your home.
Remember to regularly test and fine-tune the motion detector’s settings to ensure optimal performance. Adjust the sensitivity level, detection range, and delay time as needed to avoid false alarms and achieve accurate motion detection. Regular maintenance and monitoring of your smart home devices will contribute to a reliable and effective home security system.
We hope this comprehensive guide has provided valuable insights and guidance on integrating the Monoprice Z-Wave Plus PIR Motion Detector with SmartThings. By taking advantage of these technologies, you can enjoy a safer and smarter home environment.
If you have any further questions or need assistance, consult the device’s user manual or reach out to the manufacturer for support. Stay vigilant and enjoy the peace of mind that comes with a well-secured home!
Frequently Asked Questions about How To Integrate Monoprice Z-Wave Plus PIR Motion Detector With SmartThings
Was this page helpful?
At Storables.com, we guarantee accurate and reliable information. Our content, validated by Expert Board Contributors, is crafted following stringent Editorial Policies. We're committed to providing you with well-researched, expert-backed insights for all your informational needs.