Home>Home Security and Surveillance>How To Install 2Gig Motion Detector (PIR1)

Home Security and Surveillance
How To Install 2Gig Motion Detector (PIR1)
Modified: March 6, 2024
Learn how to install the 2Gig Motion Detector (PIR1) for enhanced home security and surveillance. Follow our step-by-step guide today!
(Many of the links in this article redirect to a specific reviewed product. Your purchase of these products through affiliate links helps to generate commission for Storables.com, at no extra cost. Learn more)
Introduction
Welcome to our comprehensive guide on how to install the 2Gig Motion Detector (PIR1). With home security being a top priority for many homeowners, installing a motion detector is an excellent way to enhance the safety and surveillance of your property.
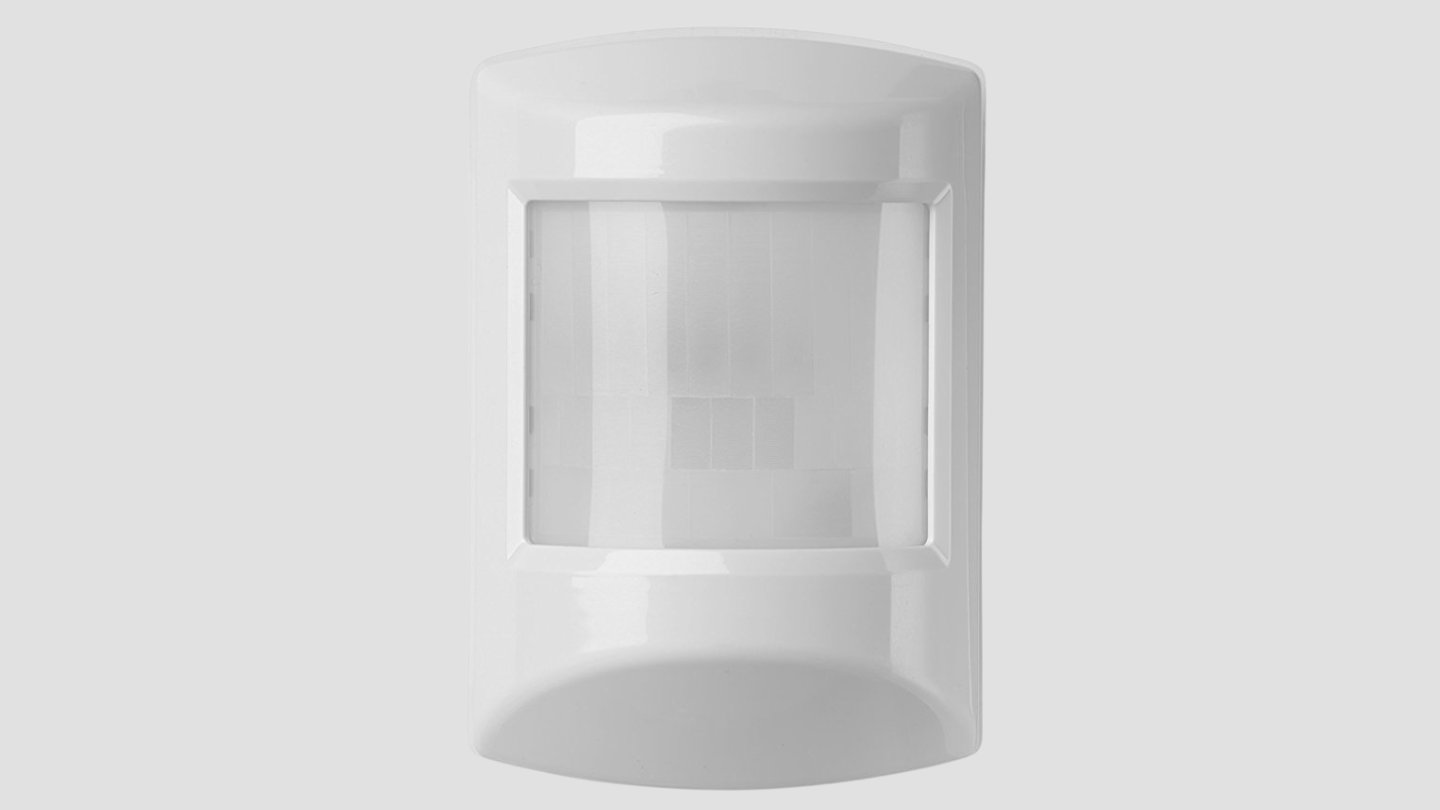
The 2Gig Motion Detector (PIR1) is a reliable and advanced motion sensor that detects movement within its range and sends alerts to your home security system. Whether you want to protect your home from intruders or simply monitor the activity in certain areas, this motion detector is an essential component of a robust home security system.
In this step-by-step guide, we will walk you through the process of installing the 2Gig Motion Detector (PIR1) to ensure a seamless and effective installation. So, let’s get started!
Key Takeaways:
- Installing the 2Gig Motion Detector (PIR1) involves gathering tools, familiarizing with the device, choosing the right location, and connecting it to the control panel for effective home security.
- After installation, testing the motion detector’s functionality, fine-tuning its settings, and performing regular maintenance ensures optimal performance and enhanced home surveillance.
Read more: Who Makes 2Gig Alarm Systems
Step 1: Gather the necessary tools and materials
Before you begin the installation process, it’s important to gather all the necessary tools and materials. Having everything on hand will save you time and ensure a smooth installation experience. Here’s what you’ll need:
- 2Gig Motion Detector (PIR1): This is the main component of the installation. Make sure you have the motion detector ready before proceeding.
- Control panel: You’ll need the control panel that is compatible with the 2Gig Motion Detector (PIR1). Consult the manufacturer’s instructions or your home security system provider for more information on compatibility.
- Screwdriver: A Phillips-head screwdriver will be required to mount the motion detector on the wall.
- Drill and drill bit: If necessary, you may need a drill and drill bit to create holes for mounting the motion detector.
- Mounting bracket: Some motion detectors come with a mounting bracket. Check if your model requires one and have it ready.
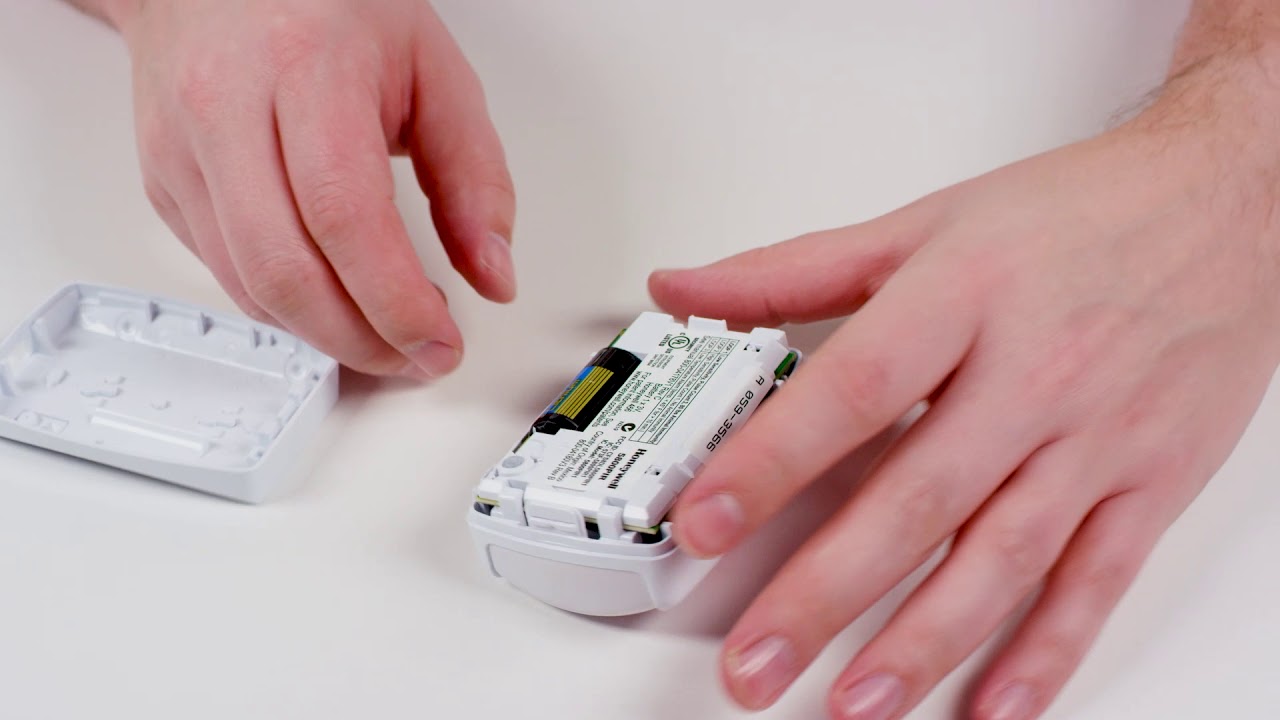
- Batteries: Most motion detectors require batteries for operation. Make sure you have the appropriate batteries ready before installation.
- Masking tape: This will come in handy for temporarily securing the motion detector in place while you make adjustments.
- Level: Using a level will ensure that the motion detector is mounted straight and properly aligned.
- Pencil: You may need a pencil to mark the desired location for mounting the motion detector.
Now that you have all the necessary tools and materials, you’re ready to move on to the next step: familiarizing yourself with the motion detector.
Step 2: Familiarize yourself with the motion detector
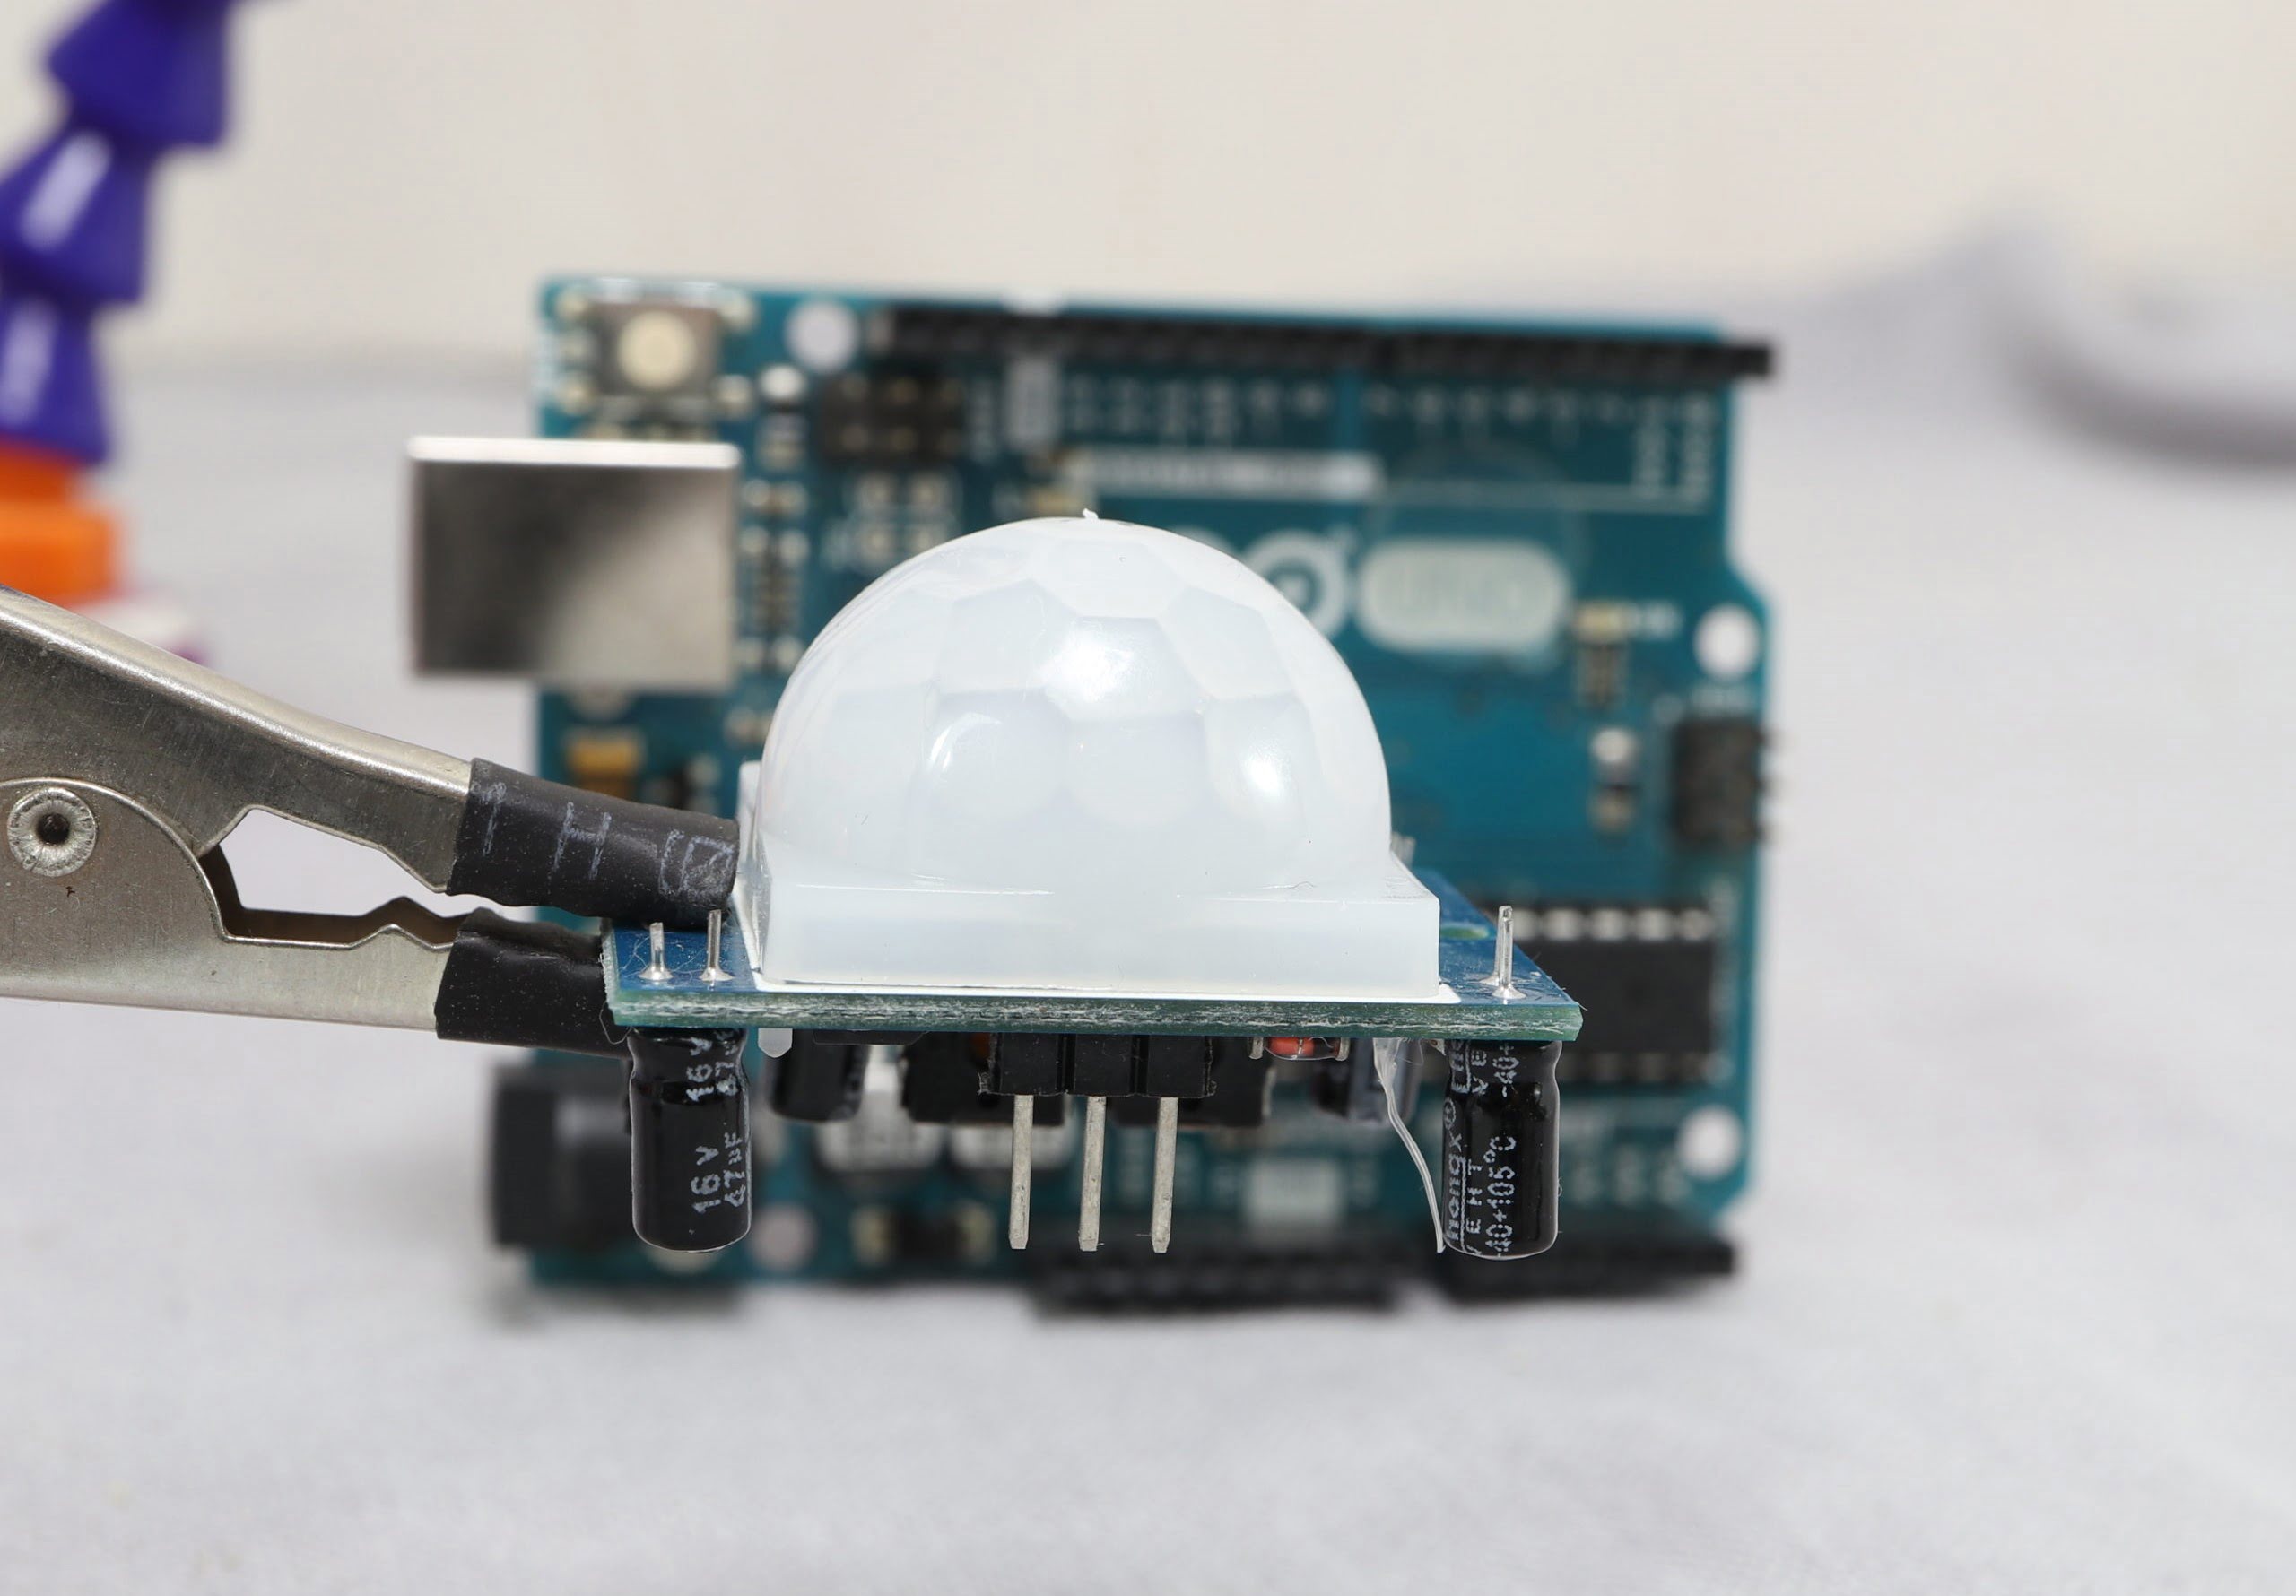
Before proceeding with the installation, it’s important to take some time to familiarize yourself with the 2Gig Motion Detector (PIR1). Understanding its features and components will help you install it correctly and ensure optimal performance. Here’s what you need to know:
1. Detection range: The 2Gig Motion Detector (PIR1) has a specified range within which it can detect motion. This range determines how far the sensor can “see” and trigger an alert. Familiarize yourself with the detection range to determine the ideal placement location.
2. Sensitivity settings: Some motion detectors, including the 2Gig Motion Detector (PIR1), have adjustable sensitivity settings. These settings allow you to fine-tune the sensor’s responsiveness to different levels of motion. It’s important to understand how to adjust these settings to optimize the detector’s performance according to your specific needs.
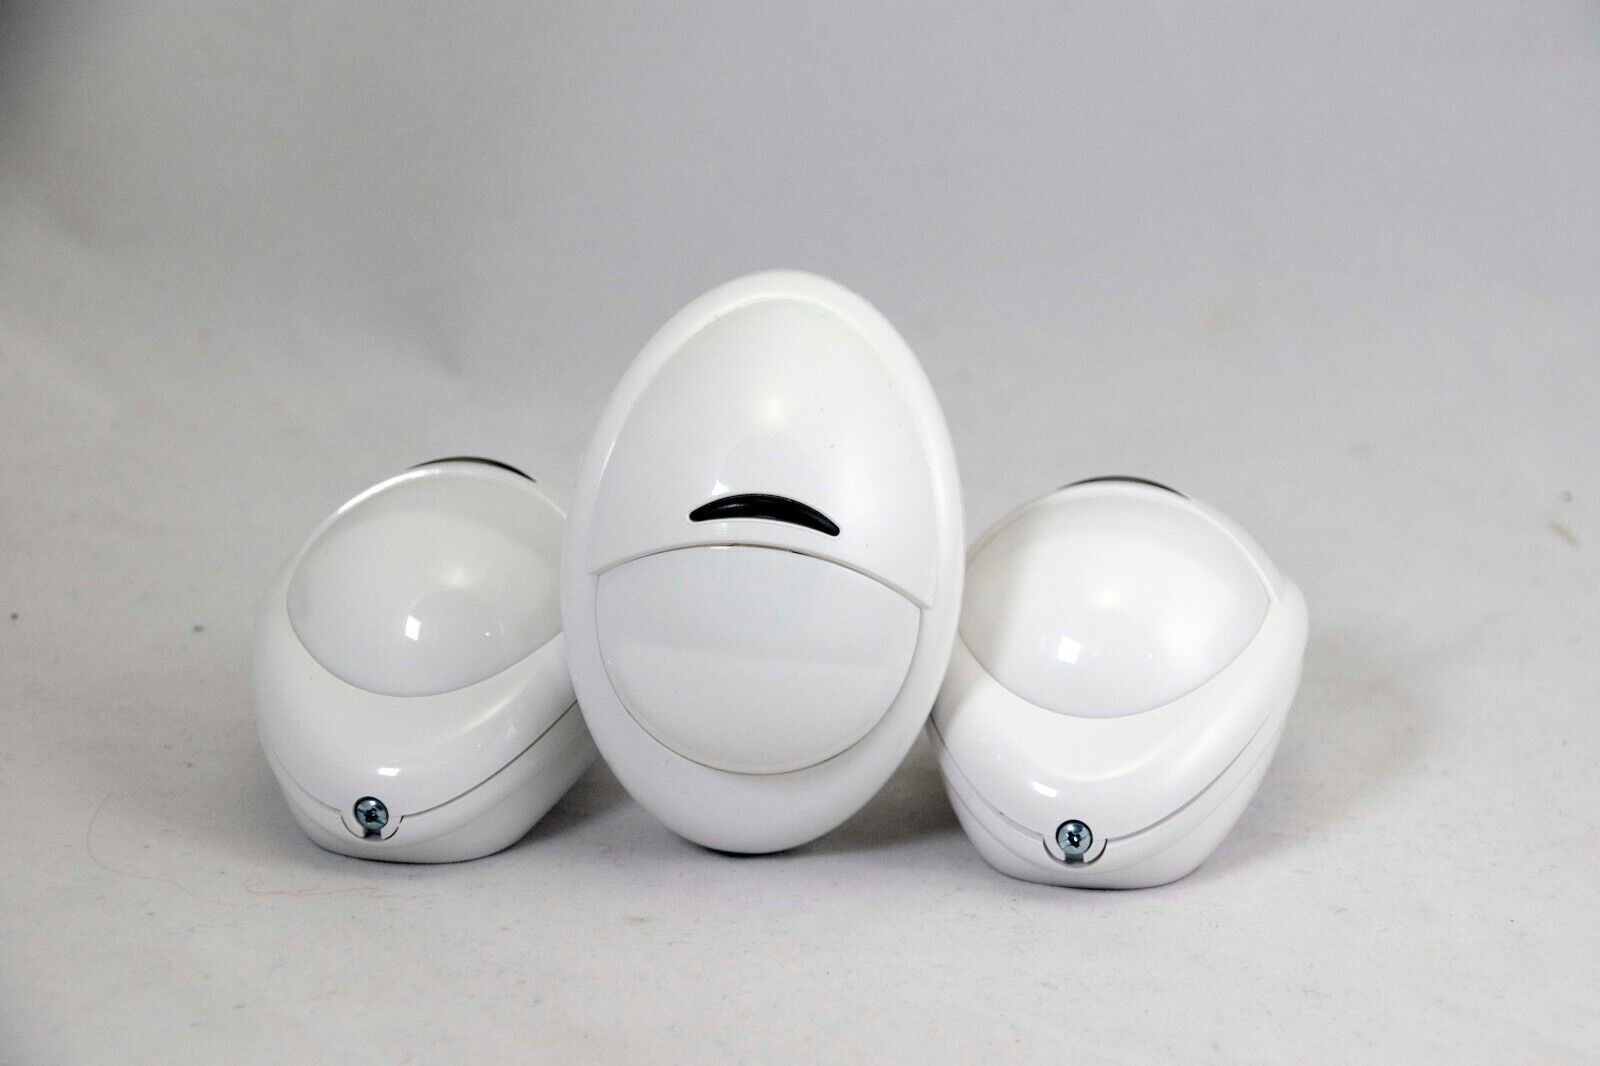
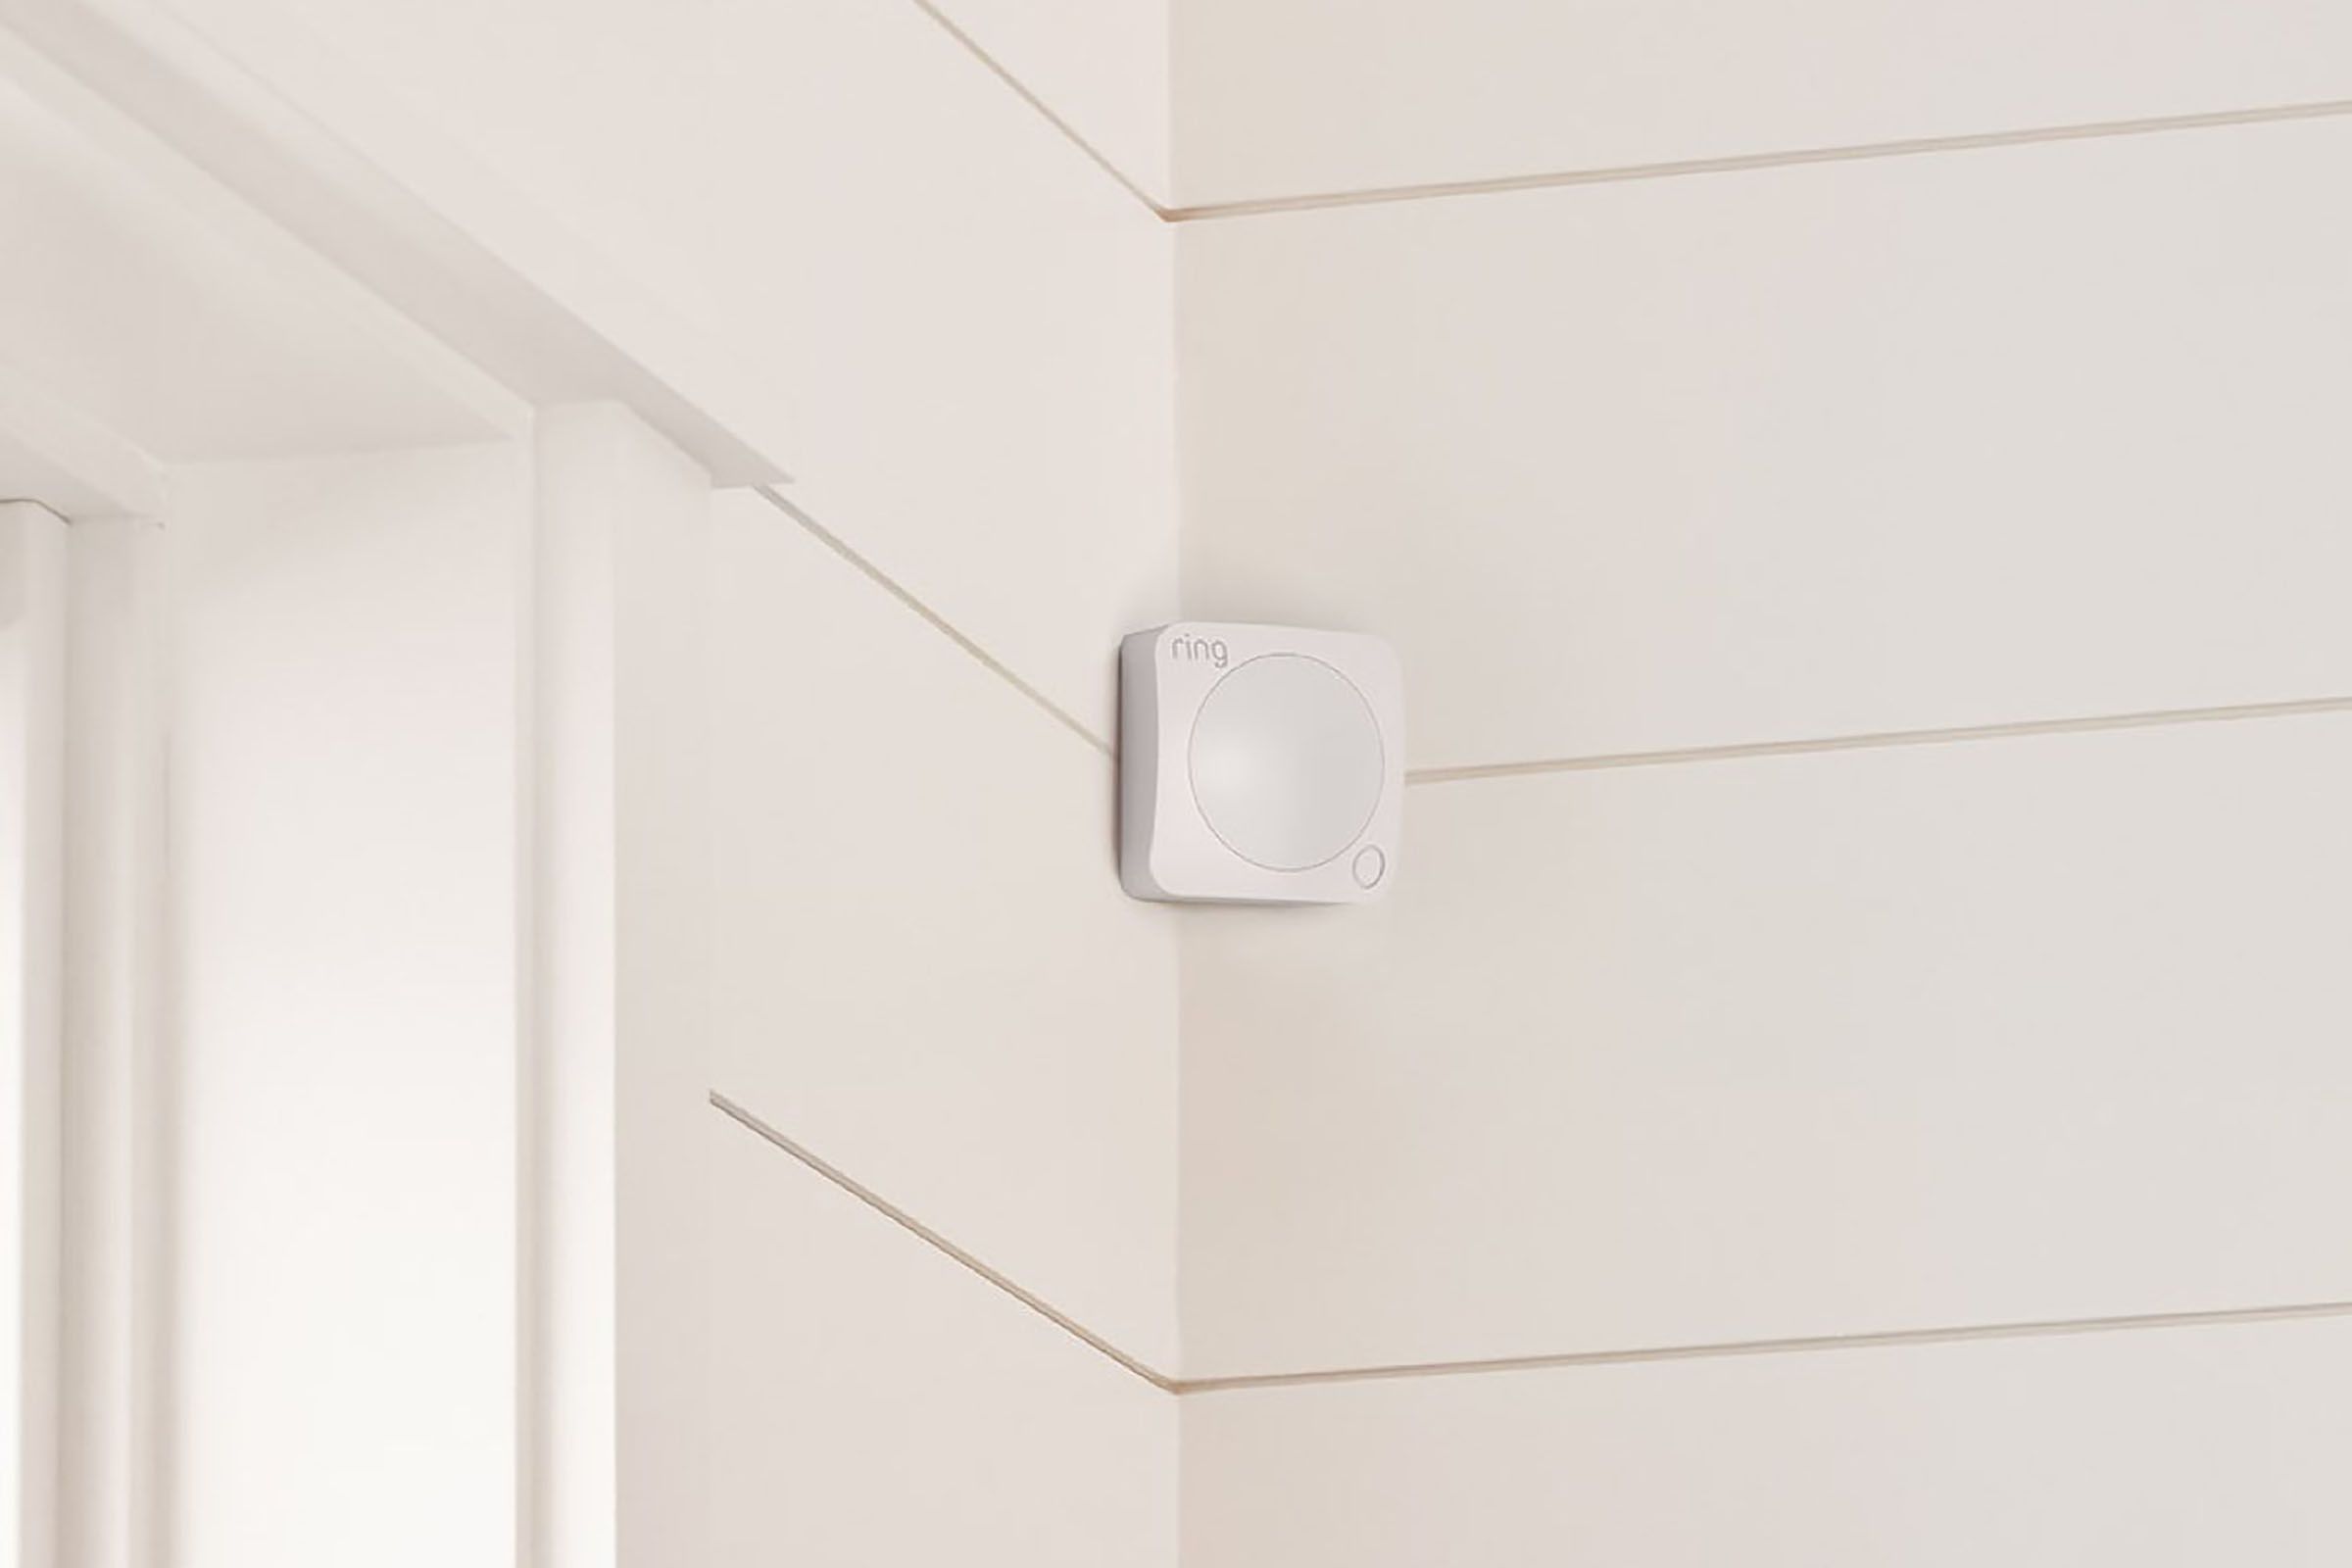
3. Mounting options: The 2Gig Motion Detector (PIR1) may offer various mounting options, such as wall-mounted or corner-mounted. Familiarize yourself with these options to determine the best approach for your installation.
4. LED indicators: The motion detector may have LED indicators to provide status information, such as power status or detection activity. Take note of these indicators and understand their meanings to troubleshoot any issues that may arise during or after installation.
5. Battery requirements: Check the specifications of the motion detector to see if it requires batteries for operation. Make sure you have the correct type and quantity of batteries on hand before proceeding with the installation.
By familiarizing yourself with these aspects of the 2Gig Motion Detector (PIR1), you’ll be better equipped to install it properly and make any necessary adjustments for optimal functionality. Now that you know the ins and outs of the motion detector, it’s time to determine the ideal location for installation.
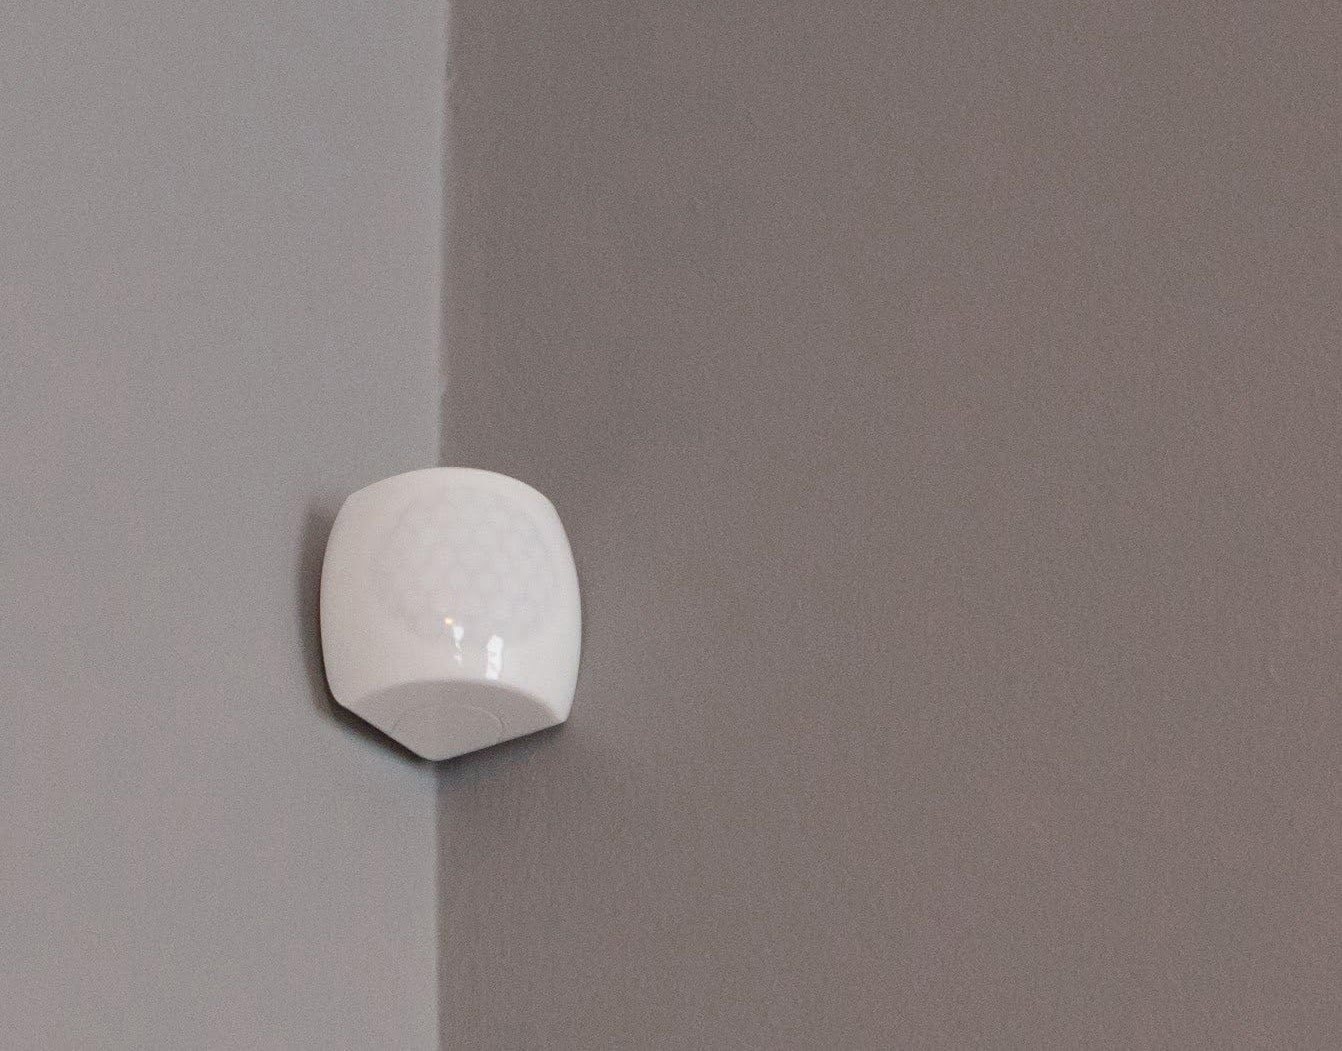
Step 3: Determine the ideal location for installation
Choosing the right location for installing your 2Gig Motion Detector (PIR1) is crucial for its effectiveness in detecting motion. Here are some factors to consider when determining the ideal location:
1. Entry points: Identify the main entry points of your home, such as doors and windows, that you want the motion detector to monitor. These areas are typically the most vulnerable to break-ins and require extra security measures.
2. Height and angle: The height and angle of the motion detector play a significant role in its performance. It’s generally recommended to mount it at a height of 6 to 8 feet above the ground and angle it downwards for optimal coverage.
3. Avoid obstructions: Make sure there are no obstructions, such as furniture or curtains, that could interfere with the motion detector’s field of view. Clear any obstacles in front of it to ensure unobstructed detection.
4. Range of coverage: Consider the range of coverage of the motion detector and ensure that it covers the desired area effectively. Adjust the mounting location accordingly to maximize coverage and minimize blind spots.
5. Pet immunity: If you have pets at home, choose a location that takes advantage of the motion detector’s pet immunity feature. This will prevent false alarms triggered by your pets’ movement.
6. Consult the manufacturer’s guidelines: Review the manufacturer’s guidelines and recommendations for installing the motion detector. They may provide specific instructions or considerations that are important for positioning the device correctly.
Take your time to consider these factors and select the most suitable location for your 2Gig Motion Detector (PIR1). Once you’ve determined the ideal spot, it’s time to mount the motion detector on the wall.
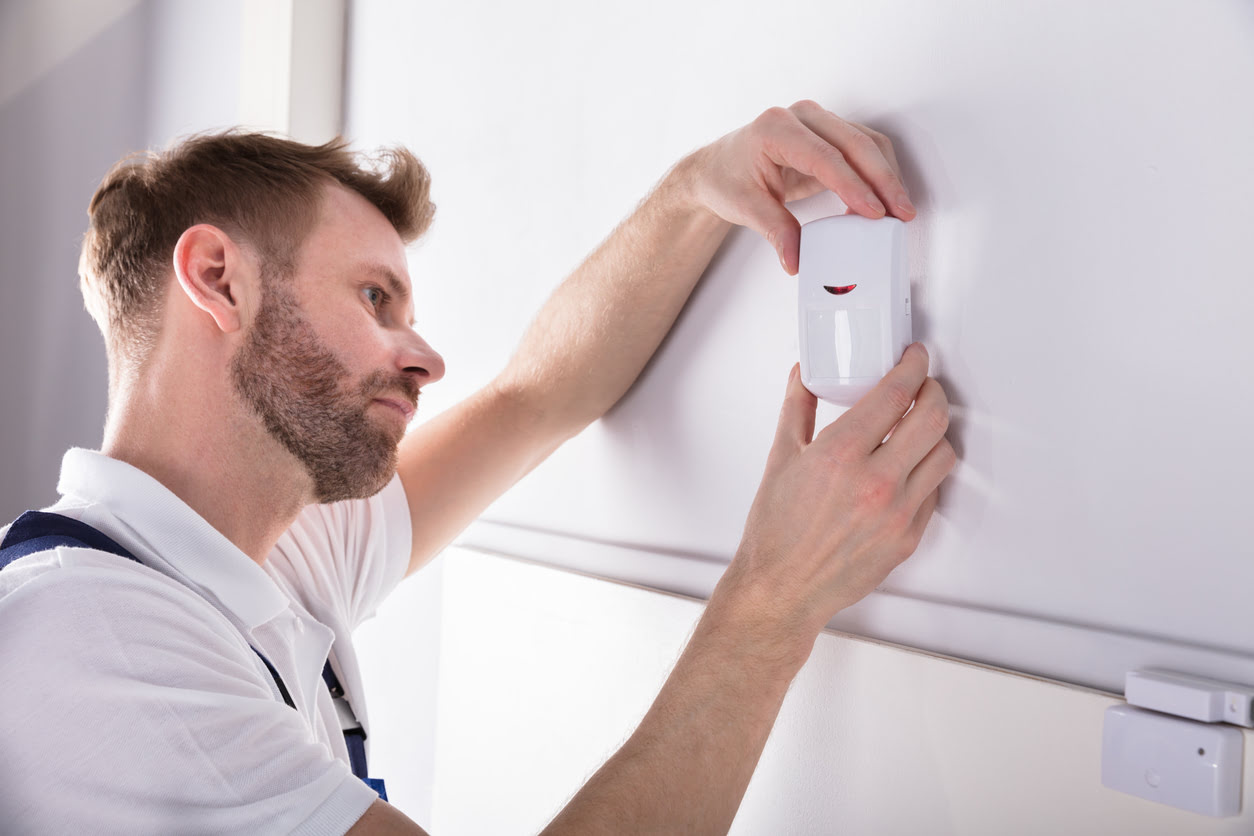
Step 4: Mount the motion detector on the wall
Mounting the 2Gig Motion Detector (PIR1) securely on the wall is essential for its proper functioning and reliable detection. Follow these steps to mount the motion detector:
- Prepare the mounting location: Use a pencil to mark the desired location on the wall where you want to mount the motion detector. Ensure it aligns with the factors discussed in the previous step, such as height, angle, and coverage range.
- Attach the mounting bracket: If your motion detector comes with a mounting bracket, attach it to the wall using screws or adhesive, following the manufacturer’s instructions. Make sure the bracket is level and securely fastened.
- Attach the motion detector: Align the motion detector with the mounting bracket and slide or snap it into place. Ensure it is firmly attached and does not wobble or move when touched.
- Tighten any screws: If there are screws or locking mechanisms to secure the motion detector to the mounting bracket, tighten them as per the manufacturer’s instructions. This will ensure a secure and stable installation.
- Adjust the angle: Once the motion detector is mounted, you may need to adjust the angle to optimize its coverage area. Refer to the manufacturer’s guidelines on adjusting the angle and make any necessary modifications.
After mounting the motion detector, double-check its stability and ensure that it is securely fixed to the wall. Remember to avoid over-tightening the screws as it can damage the device or the mounting bracket.
Now that the motion detector is securely mounted, it’s time to connect it to the control panel of your home security system. Proceed to the next step to learn how to do this.
When installing the 2Gig Motion Detector (PIR1), make sure to mount it at a height of 7-8 feet and angle it towards the area you want to monitor. Test the detection range before finalizing the placement.
Step 5: Connect the motion detector to the control panel
Connecting your 2Gig Motion Detector (PIR1) to the control panel of your home security system is crucial for proper communication and functionality. Follow these steps to ensure a successful connection:
- Locate the control panel: Identify the control panel of your home security system. It is usually located in a central area, such as the living room or hallway, where it can be easily accessed.
- Power off the control panel: Before making any connections, ensure that the control panel is powered off to prevent any electrical mishaps.
- Identify the appropriate wiring terminals: Check the user manual or instructions provided by the manufacturer to identify the specific wiring terminals for connecting the motion detector. These terminals may be labeled as “Motion,” “Zone,” or similar identifiers.
- Strip the wires: Strip the protective covering from the wires of the motion detector, exposing a small section of the copper conductor. Use a wire stripper or a sharp knife carefully to avoid damaging the wires.
- Connect the wires: Connect the stripped wires of the motion detector to the corresponding terminals on the control panel. Typically, this involves inserting the wires into the terminal slots and tightening the screws to secure the connections. Ensure proper polarity, matching positive (+) and negative (-) terminals if applicable.
- Test the connection: Once the wires are connected, power on the control panel and test the connection by triggering the motion detector. Walk in front of it and check if the control panel registers the movement and triggers an alert or notification.
- Secure the wiring: After testing the connection, ensure that the wiring is secure and neatly organized. Use zip ties or cable clips to bundle and fasten the wires together, preventing them from becoming tangled or accidentally disconnected.
Remember to follow the manufacturer’s instructions closely when making the connections to ensure compatibility and avoid any damage to the motion detector or control panel. Once the motion detector is successfully connected, proceed to the next step to test its functionality.
Step 6: Test the functionality of the motion detector
After installing the 2Gig Motion Detector (PIR1) and connecting it to the control panel, it’s essential to test its functionality to ensure that it’s working properly. Follow these steps to test the motion detector:
- Arm the security system: If your home security system has an arming feature, make sure to arm it before conducting the test. This will activate the motion detector and simulate real-world conditions.
- Trigger the motion detector: Walk in front of the motion detector within its detection range to trigger it. Move slowly at first and then try faster movements to see how the detector responds.
- Observe the control panel: Monitor the control panel and check if it registers the motion and triggers the appropriate alerts or notifications. This could include sounding an alarm, sending a notification to your smartphone, or activating video surveillance, depending on your home security system’s settings.
- Verify detection range: Walk around the detection area to ensure that the motion detector covers the desired range effectively. Identify any blind spots or areas with poor coverage and consider adjusting the positioning or angle of the motion detector if necessary.
- Consider pet immunity: If you have pets, test the motion detector’s pet immunity feature by having your pets move within the detection range. Ensure that the motion detector does not trigger false alarms due to their movements.
- Perform multiple tests: Conduct multiple tests at different times of the day to account for varying lighting conditions and activity levels. This will help ensure that the motion detector performs reliably in different scenarios.
If the motion detector functions as expected during testing, you can be confident that it is properly installed and integrated into your home security system. However, if you encounter any issues or notice unexpected behavior, consult the user manual or contact the manufacturer’s customer support for troubleshooting assistance.
With the functionality of the motion detector verified, it’s time to fine-tune and make any necessary adjustments to optimize its performance. This is covered in the next step.
Step 7: Fine-tuning and adjustments
After testing the functionality of your 2Gig Motion Detector (PIR1), it’s important to perform fine-tuning and adjustments to optimize its performance. Here are some steps you can take to fine-tune your motion detector:
- Adjust sensitivity settings: If your motion detector has adjustable sensitivity settings, experiment with different levels to find the right balance. This will help prevent false alarms triggered by minor movements or environmental factors, while still detecting significant motion accurately.
- Consider masking options: If there are areas or objects within the detection range that frequently trigger false alarms, consider using masking options provided by the motion detector. These can include physical barriers or software settings to block off specific areas or zones.
- Monitor battery life: Keep an eye on the battery life of your motion detector, especially if it is battery-powered. Replace the batteries as needed to ensure uninterrupted functionality. Some models may have low-battery notifications to alert you when it’s time for a replacement.
- Regular maintenance: Clean the motion detector periodically to remove any dust or debris that may accumulate on the lenses. This will ensure clear and accurate detection performance.
- Review camera positioning: If your motion detector is integrated with a camera system, consider reviewing the positioning and angle of the cameras to capture clear footage when the motion detector is triggered.
- Consult professional help: If you encounter persistent issues or are unsure about making adjustments, consider consulting a professional home security technician. They can provide expert advice and assistance in optimizing the performance of your motion detector and home security system.
By fine-tuning and making necessary adjustments, you can ensure that your 2Gig Motion Detector (PIR1) operates at its best and provides reliable and accurate motion detection.
With the installation, connection, testing, and fine-tuning of the motion detector completed, you can now enjoy the enhanced security and surveillance of your home. Remember to regularly check the functionality and perform maintenance to ensure continued optimal performance.
Concluding this guide, we hope that this step-by-step process has been helpful in guiding you through the installation of the 2Gig Motion Detector (PIR1). Enjoy the peace of mind that comes with having a reliable motion detector as a part of your home security system.
Conclusion
In conclusion, installing a 2Gig Motion Detector (PIR1) as part of your home security system is a valuable step towards enhancing the safety and surveillance of your property. By effectively monitoring and detecting motion, this motion detector provides an added layer of protection against intruders and helps keep you informed about activity within your home.
Throughout this comprehensive guide, we have walked you through the step-by-step process of installing the 2Gig Motion Detector (PIR1) and ensuring its proper functionality. From gathering the necessary tools and materials to fine-tuning and adjustments, each step has been carefully outlined to make the installation as seamless as possible.
Remember to familiarize yourself with the motion detector, determine the ideal location, mount it securely on the wall, connect it to the control panel, test its functionality, and make any necessary adjustments for optimized performance. By following these steps, you can ensure that your motion detector is working effectively to safeguard your home.
It’s important to regularly maintain and monitor your motion detector to address any issues that may arise and ensure its continued functionality. Keep an eye on battery life, clean the detector as needed, and consult professional assistance when necessary.
With the 2Gig Motion Detector (PIR1) in place, you can feel more confident about the security and surveillance of your home. Enjoy the peace of mind that comes with having enhanced protection against potential intruders and the ability to monitor activity within your property.
Thank you for reading this comprehensive installation guide for the 2Gig Motion Detector (PIR1). We hope it has been informative and helpful in guiding you through the process. Stay safe and secure!
Frequently Asked Questions about How To Install 2Gig Motion Detector (PIR1)
Was this page helpful?
At Storables.com, we guarantee accurate and reliable information. Our content, validated by Expert Board Contributors, is crafted following stringent Editorial Policies. We're committed to providing you with well-researched, expert-backed insights for all your informational needs.