Home>Home Security and Surveillance>How To Install GoControl WAPIRZ-1 Z-Wave PIR Motion Detector
Home Security and Surveillance
How To Install GoControl WAPIRZ-1 Z-Wave PIR Motion Detector
Modified: March 6, 2024
Learn how to easily install the GoControl WAPIRZ-1 Z-Wave PIR Motion Detector for reliable home security and surveillance.
(Many of the links in this article redirect to a specific reviewed product. Your purchase of these products through affiliate links helps to generate commission for Storables.com, at no extra cost. Learn more)
Introduction
Welcome to our comprehensive guide on how to install the GoControl WAPIRZ-1 Z-Wave PIR Motion Detector. If you’re looking to enhance the security of your home or office, this motion detector is an excellent choice. With its advanced features and compatibility with other Z-Wave devices, you can create a smart and connected security system.
Before we dive into the installation process, let’s first understand what the GoControl WAPIRZ-1 Z-Wave PIR Motion Detector is and why it’s such a popular choice among homeowners and businesses alike.
Key Takeaways:
- Installing the GoControl WAPIRZ-1 Z-Wave PIR Motion Detector is a breeze, and it offers wide detection coverage, adjustable settings, and seamless integration with Z-Wave devices for a smart and connected security system.
- Gather the necessary tools, carefully choose the installation location, and follow the step-by-step instructions to mount, wire, pair, and configure the motion detector. Troubleshooting tips are also provided for a smooth setup process.
What is GoControl WAPIRZ-1 Z-Wave PIR Motion Detector?
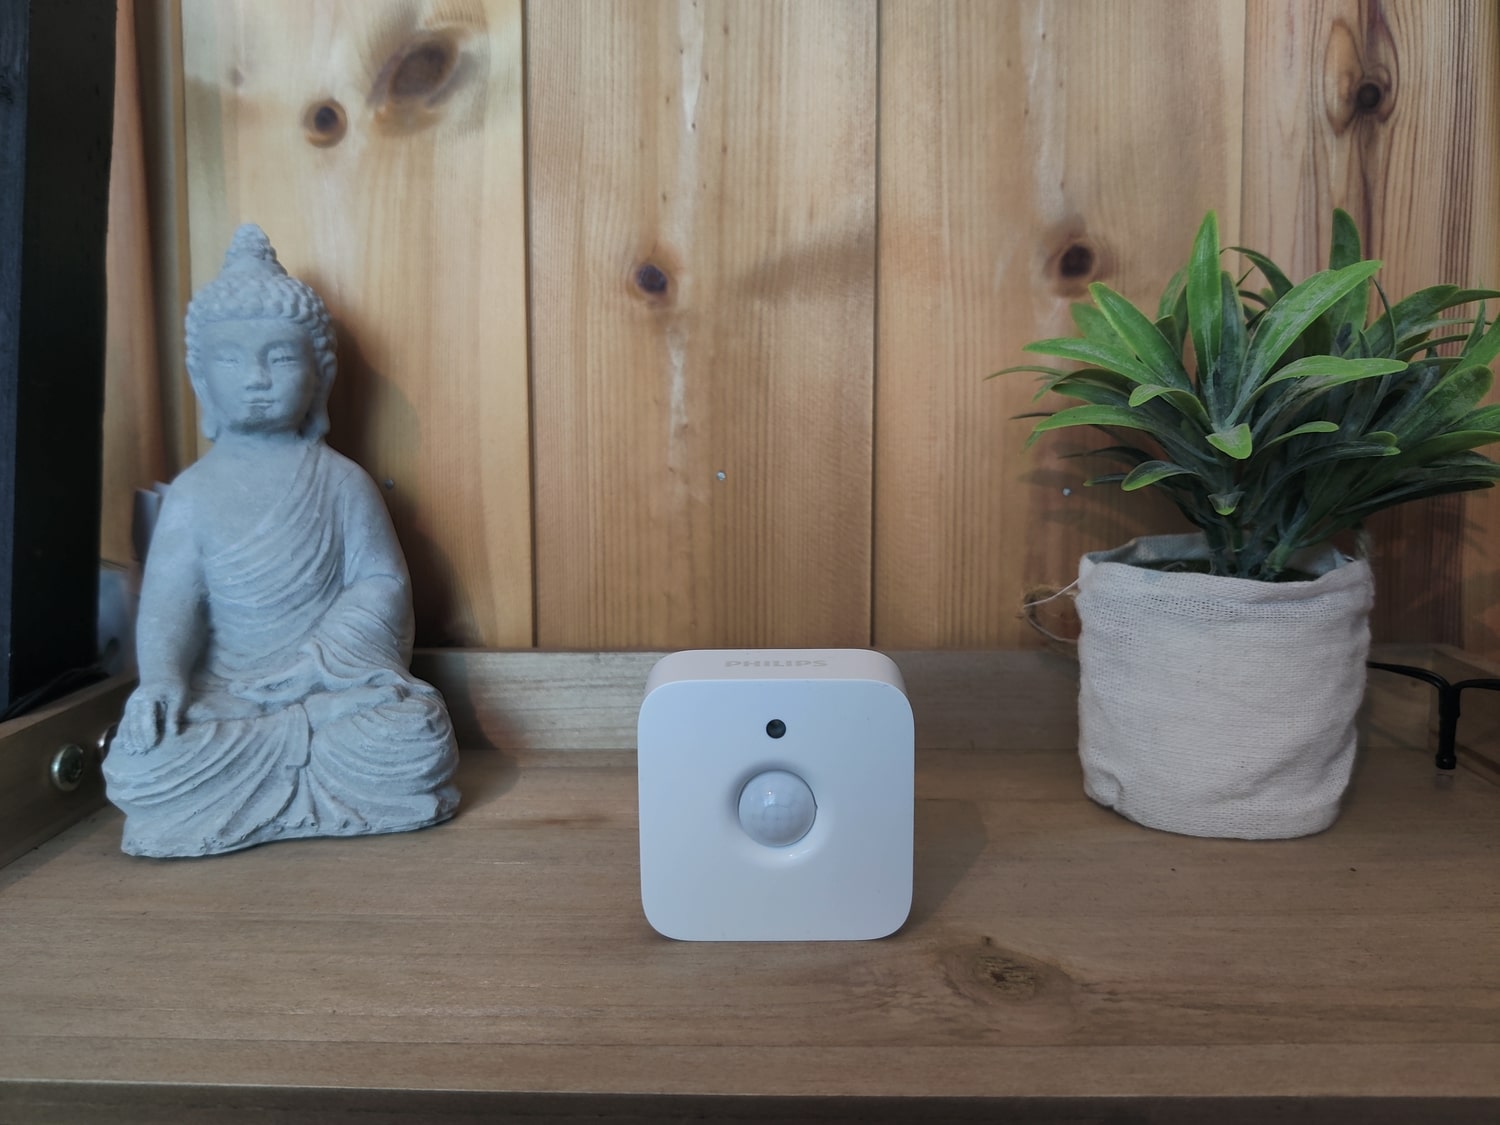
The GoControl WAPIRZ-1 Z-Wave PIR Motion Detector is a cutting-edge device that uses passive infrared (PIR) technology to detect motion in its vicinity. It is designed to be used as part of a Z-Wave home automation network, meaning it can seamlessly integrate with other Z-Wave devices such as smart hubs, lights, locks, and thermostats.
One of the standout features of the GoControl WAPIRZ-1 is its wide detection area, spanning up to 180 degrees horizontally and 90 degrees vertically. This ensures that any movement within its range is captured, making it an ideal choice for monitoring indoor spaces.
Additionally, this motion detector offers adjustable sensitivity and a configurable time delay, allowing you to customize its settings to suit your specific needs. Whether you want to be alerted immediately when motion is detected or prefer a slight delay to avoid false alarms, the GoControl WAPIRZ-1 can be tailored to your preferences.
Another notable feature of the GoControl WAPIRZ-1 is its energy efficiency. It operates on battery power, so you don’t need to worry about running wires or finding a nearby power outlet. The device boasts a long battery life, ensuring reliable and continuous operation without frequent battery changes.
One of the major advantages of the GoControl WAPIRZ-1 is its compatibility with Z-Wave technology. Z-Wave is a wireless communication protocol that allows various smart devices to communicate and work together. By incorporating the GoControl WAPIRZ-1 into your Z-Wave network, you can control and monitor it remotely through a centralized smart hub or even using a smartphone app.
Overall, the GoControl WAPIRZ-1 Z-Wave PIR Motion Detector offers a high level of convenience, flexibility, and security. Whether you want to enhance your home security system or automate your lighting and HVAC based on occupancy, this motion detector can play a crucial role in creating a smart and connected environment.
Compatibility
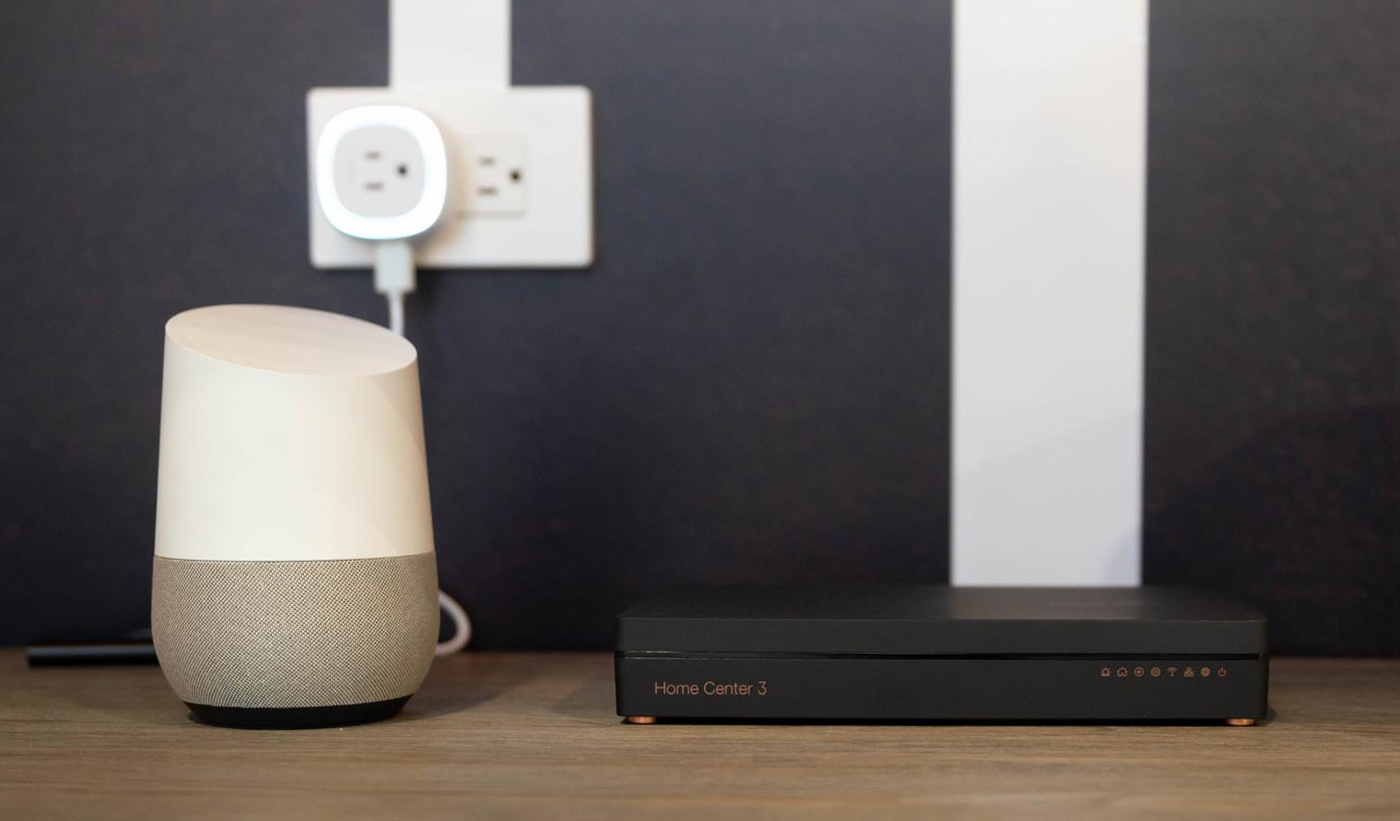
The GoControl WAPIRZ-1 Z-Wave PIR Motion Detector is designed to work seamlessly with other Z-Wave devices, making it highly compatible and versatile. It can be integrated with Z-Wave hubs and controllers, allowing you to control and monitor the motion detector remotely through a centralized system.
Compatibility with Z-Wave technology also means that the GoControl WAPIRZ-1 can communicate with a wide range of Z-Wave-enabled devices, such as lights, locks, thermostats, and security systems. This opens up a world of possibilities for creating a comprehensive smart home or office automation system.
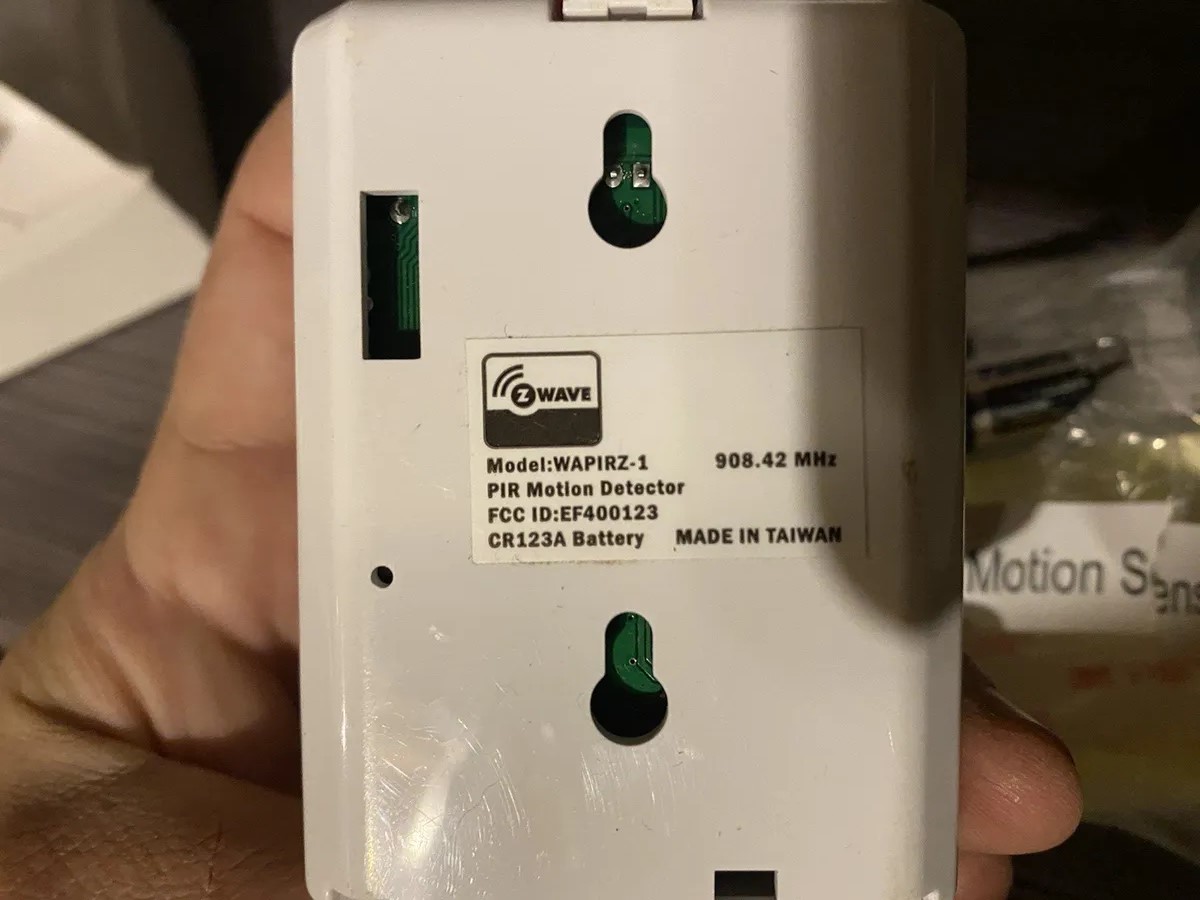
When it comes to Z-Wave compatibility, it’s essential to ensure that your Z-Wave hub or controller supports the necessary frequency. The GoControl WAPIRZ-1 is a Z-Wave device that operates on the 908.42 MHz frequency. Before purchasing the motion detector, double-check the compatibility of your hub or controller to ensure seamless integration.
It’s worth noting that the GoControl WAPIRZ-1 is also compatible with select third-party Z-Wave hubs and controllers. This means that even if you don’t have a GoControl-branded hub, you may still be able to add the motion detector to your existing Z-Wave network.
For added convenience and versatility, the GoControl WAPIRZ-1 is built to be compatible with Z-Wave scenes and automation routines. You can set up custom actions based on motion detection events, such as turning on lights, triggering sirens, or sending notifications to your smartphone. This level of compatibility allows you to create personalized and intelligent automation scenarios tailored to your specific needs.
Additionally, the GoControl WAPIRZ-1 is designed to integrate smoothly with popular voice assistants, such as Amazon Alexa and Google Assistant. This means that you can control and manage the motion detector using voice commands, further enhancing the convenience and accessibility of your smart home system.
Whether you have an existing Z-Wave network or are planning to build one from scratch, the GoControl WAPIRZ-1 offers excellent compatibility, allowing you to create a connected and intelligent home security and automation ecosystem.
Tools and Materials Required
Before you begin installing the GoControl WAPIRZ-1 Z-Wave PIR Motion Detector, gather the necessary tools and materials to ensure a smooth and efficient installation process. Here’s a list of what you’ll need:
- Screwdriver: A Phillips or flathead screwdriver will be necessary for removing screws and mounting the device.
- Batteries: The GoControl WAPIRZ-1 operates on batteries, so make sure you have the required number and type of batteries ready. Refer to the product documentation for the specific battery requirements.
- Mounting Hardware: Depending on where you plan to install the motion detector, you may need screws, anchors, or adhesive strips to securely mount it in place.
- Z-Wave Hub or Controller: Ensure that you have a compatible Z-Wave hub or controller that is properly set up and functioning. This will be necessary for pairing and integrating the motion detector into your smart home network.
- Smartphone or Computer: You’ll need a smartphone or computer with internet access to download and install any necessary apps or software for configuring the motion detector and managing your Z-Wave network.
- Network Security Device (optional): If you have a network security device, such as a gateway or router, you may need it to configure network settings or establish a secure connection with your Z-Wave hub or controller.
By gathering these tools and materials before you start the installation process, you’ll ensure a smoother and more efficient setup. Having everything readily available will help you avoid delays or interruption during the installation of the GoControl WAPIRZ-1 Z-Wave PIR Motion Detector.
Step 1: Unboxing the GoControl WAPIRZ-1 Z-Wave PIR Motion Detector
Before you begin the installation process, it’s important to unbox the GoControl WAPIRZ-1 Z-Wave PIR Motion Detector and familiarize yourself with its components. The contents of the box may vary slightly, but here’s what you can expect to find:
- GoControl WAPIRZ-1 Motion Detector: This is the main device that will detect motion and send signals to your Z-Wave hub or controller.
- Battery Compartment: The motion detector is powered by batteries, and the battery compartment is where you will insert the required batteries.
- Mounting Bracket: The mounting bracket is used to secure the motion detector to the desired installation location.
- Mounting Screws: These screws are used to attach the mounting bracket to the wall or ceiling.
- User Manual: The user manual provides detailed instructions on how to set up and configure the motion detector.
Once you have unboxed the GoControl WAPIRZ-1, carefully review the user manual for any additional components specific to your package. It’s crucial to read the manual thoroughly to understand the installation process and ensure a successful setup.
Take a moment to inspect the motion detector and check for any visible damage or defects. If you notice any issues, contact the manufacturer or retailer to discuss your options for replacement or repair.
By unboxing the GoControl WAPIRZ-1 and familiarizing yourself with its components, you are now ready to move on to the next step of the installation process, preparing the installation location.
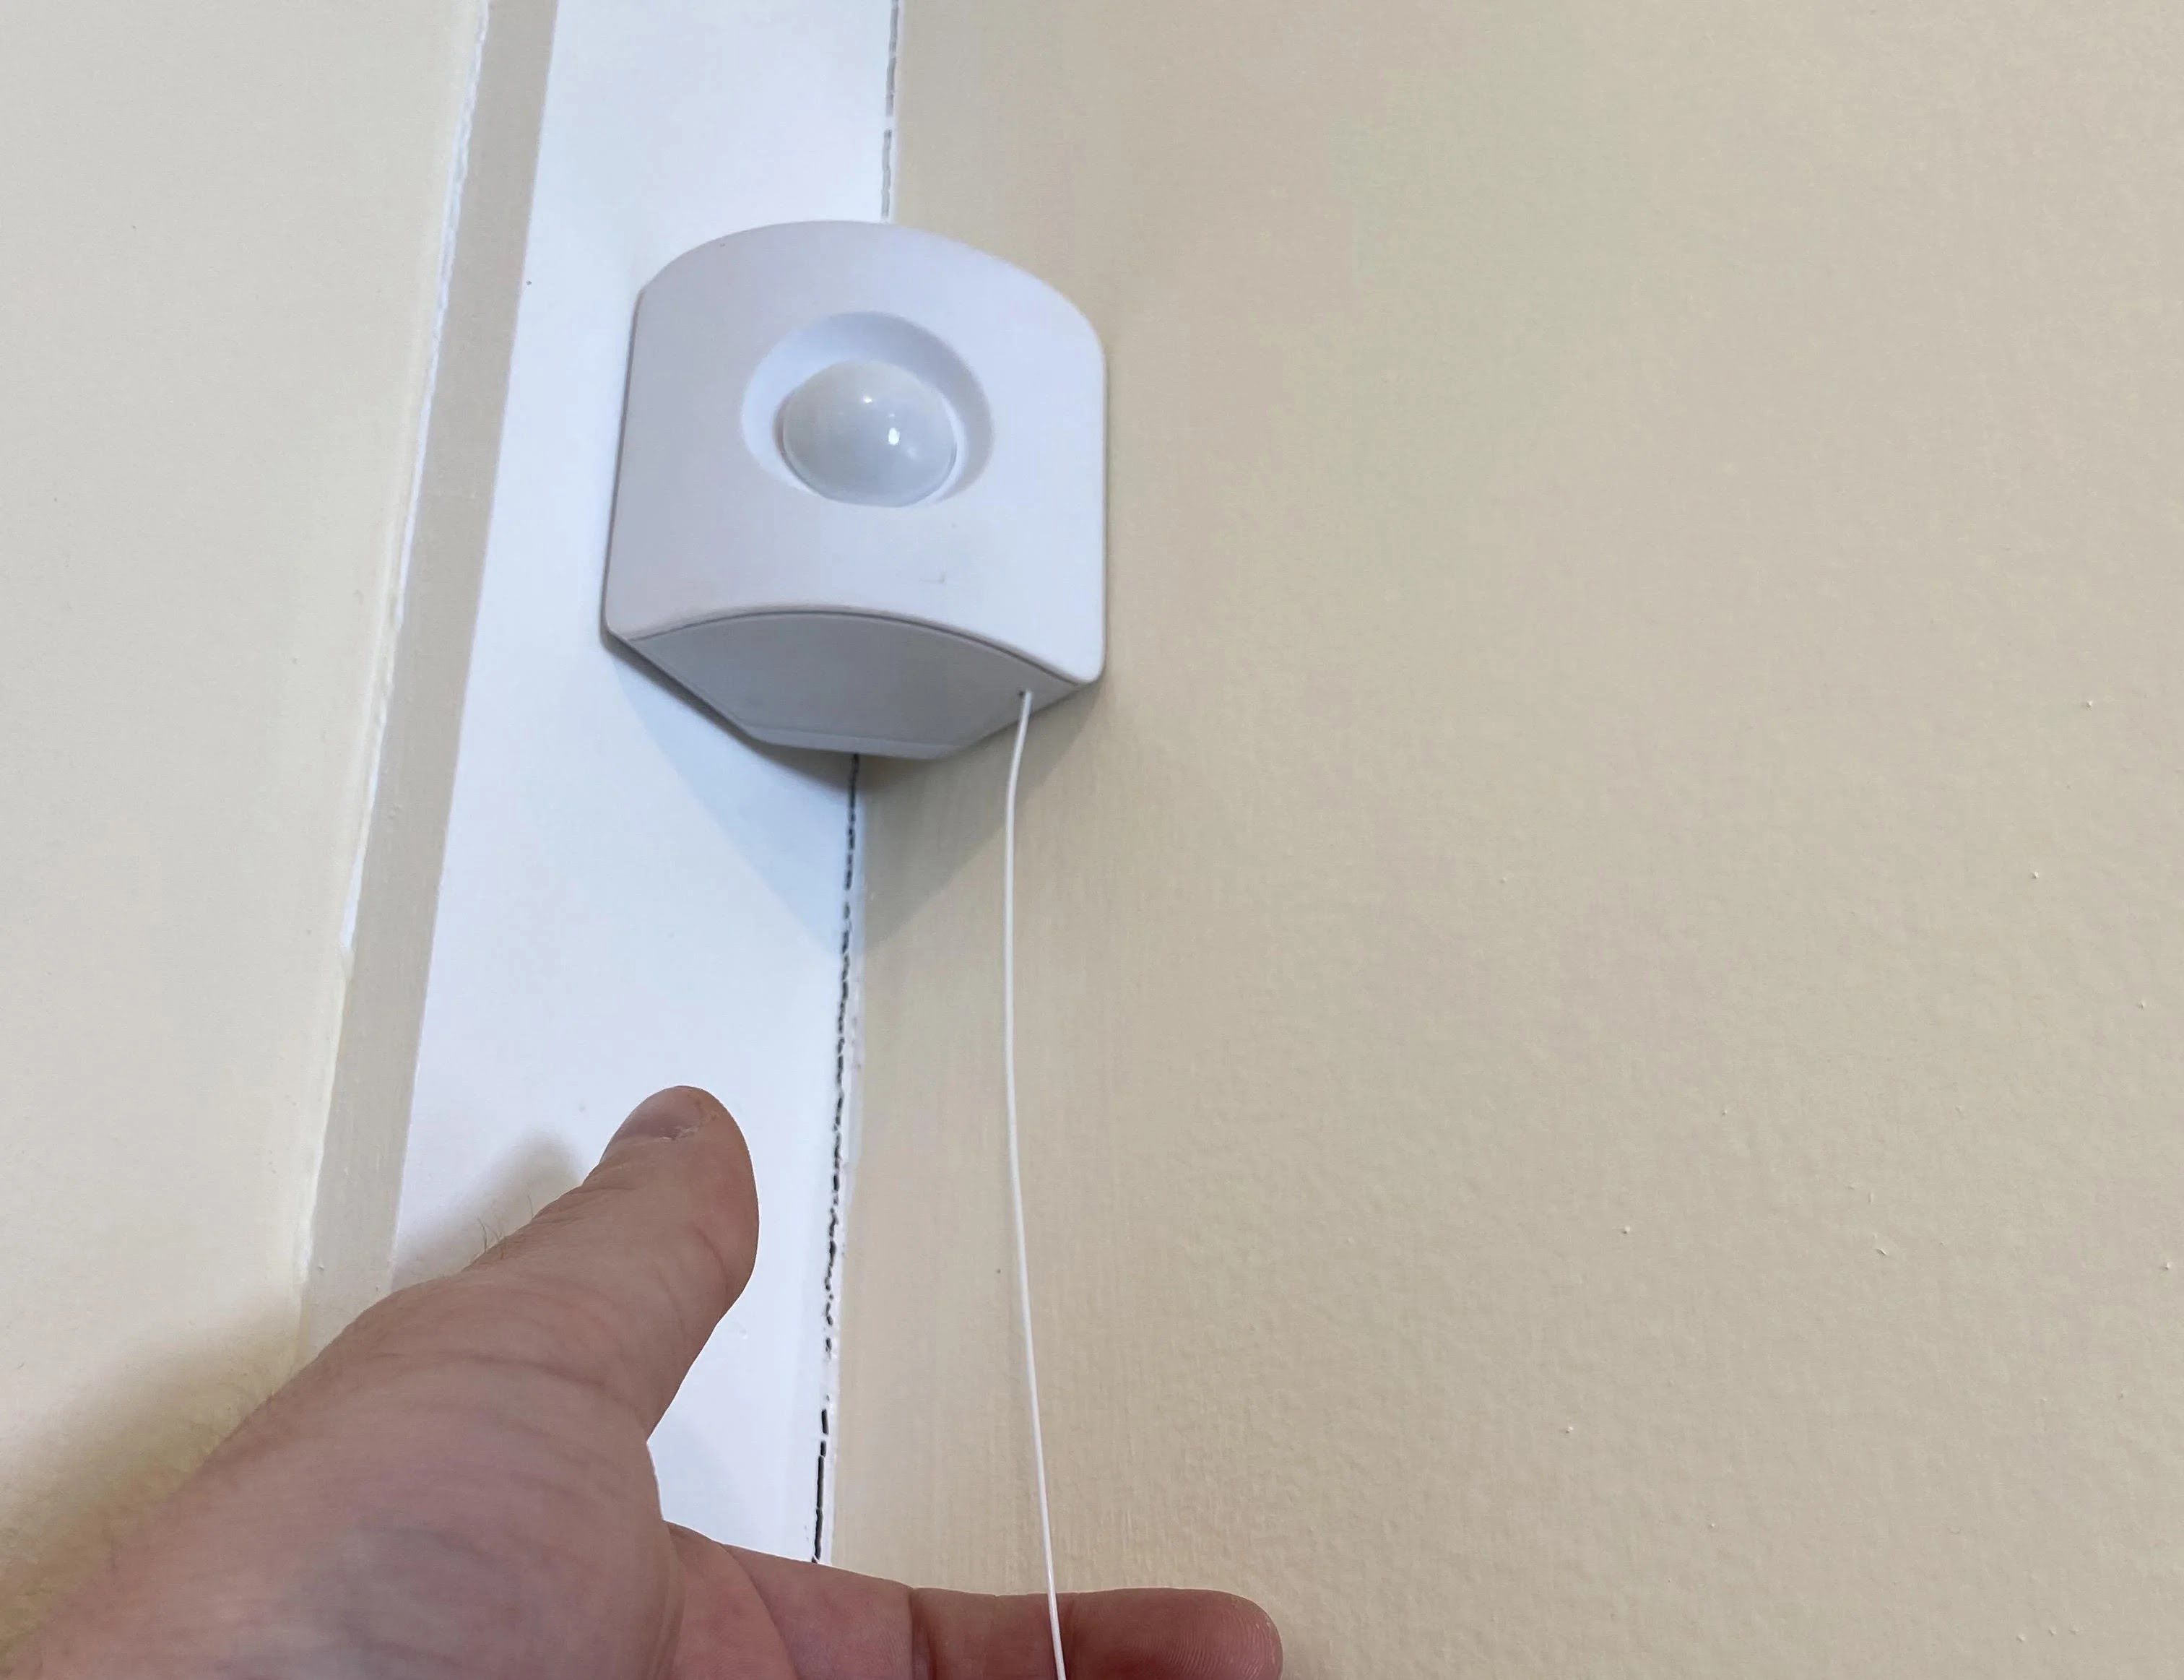
Step 2: Preparing the Installation Location
Now that you have unboxed the GoControl WAPIRZ-1 Z-Wave PIR Motion Detector, it’s time to prepare the installation location. Choosing the right spot for your motion detector is crucial for optimal performance and coverage. Here’s what you need to consider:
- Placement: The motion detector should be placed in an area where it can effectively monitor the desired space. Consider the areas that you want to cover for motion detection, such as entryways, hallways, or rooms. Ideally, the motion detector should be positioned to have a clear line of sight of the area you want to monitor.
- Height: Mount the motion detector at a suitable height for optimal motion detection. The recommended height is usually around 6-7 feet above the ground. However, you may need to adjust the height based on the specific requirements of your space.
- Avoid Obstructions: Ensure that there are no obstacles obstructing the motion detector’s view, such as furniture, plants, or curtains. These can hinder the accurate detection of motion and may result in false alarms or missed events.
- Avoid Direct Sunlight or Heat Sources: Direct sunlight or exposure to heat sources can interfere with the motion detector’s performance, leading to false detections. Avoid placing the motion detector near windows or sources of heat, such as heating vents or appliances.
- Consider the Range: The GoControl WAPIRZ-1 has a specified detection range. Take this into account when determining the best placement for the motion detector. The range may vary depending on the specific model, so refer to the product documentation for accurate information.
Once you have identified the ideal location for the motion detector, make sure that it is easily accessible for battery replacement or adjustment of settings, if needed. Additionally, ensure that the mounting surface is sturdy enough to support the weight of the motion detector and that you have the necessary tools and hardware ready for the next step.
By carefully preparing the installation location, you are setting the stage for a successful installation of the GoControl WAPIRZ-1 Z-Wave PIR Motion Detector. Next, we’ll move on to mounting the detector in the chosen location.
When installing the GoControl WAPIRZ-1 Z-Wave PIR Motion Detector, make sure to follow the manufacturer’s instructions carefully. Ensure that the device is within range of your Z-Wave hub and test the motion detection before finalizing the installation.
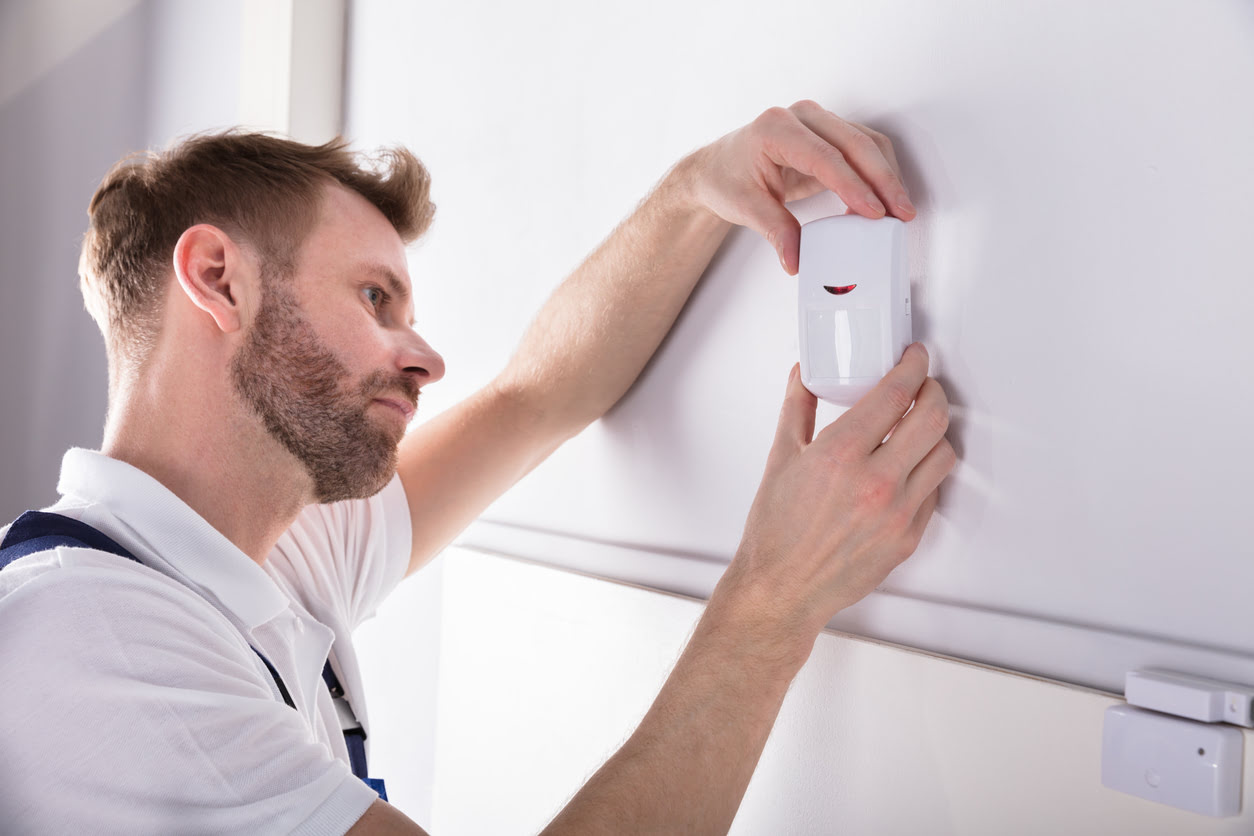
Step 3: Mounting the Detector
With the installation location prepared, it’s time to mount the GoControl WAPIRZ-1 Z-Wave PIR Motion Detector. Follow these steps:
- Positioning: Hold the motion detector in the desired location, ensuring that it is aligned properly with the area you want to monitor. This will give you an idea of how it will look once mounted.
- Marking: Use a pencil or marker to mark the spots where the mounting screws will go. You may need to mark the mount bracket or use the holes as a guide.
- Mount Bracket: Attach the mount bracket to the wall or ceiling using the marked spots as a guide. Ensure the bracket is securely mounted by using screws or appropriate adhesive, depending on the surface you are mounting it on.
- Placing the Detector: Align the GoControl WAPIRZ-1 with the mount bracket, ensuring that it is firmly attached. Gently slide or snap the detector into place. It should fit snugly within the bracket.
- Adjusting the Angle: Most motion detectors allow you to adjust the angle of detection. Once mounted, adjust the angle to cover the desired area. Refer to the user manual for specific instructions on how to adjust the angle of the GoControl WAPIRZ-1.
Once you have completed these steps, double-check the mounting to ensure that the GoControl WAPIRZ-1 is securely attached and properly aligned. Give it a gentle tug to make sure it is stable and won’t come loose. If it feels loose or insecure, adjust the bracket or fasteners accordingly.
Keep in mind that the GoControl WAPIRZ-1 is designed for indoor use only. Avoid mounting it in outdoor locations unless specifically stated otherwise by the manufacturer.
With the GoControl WAPIRZ-1 properly mounted, you’re now ready to move on to the next step, wiring the detector.
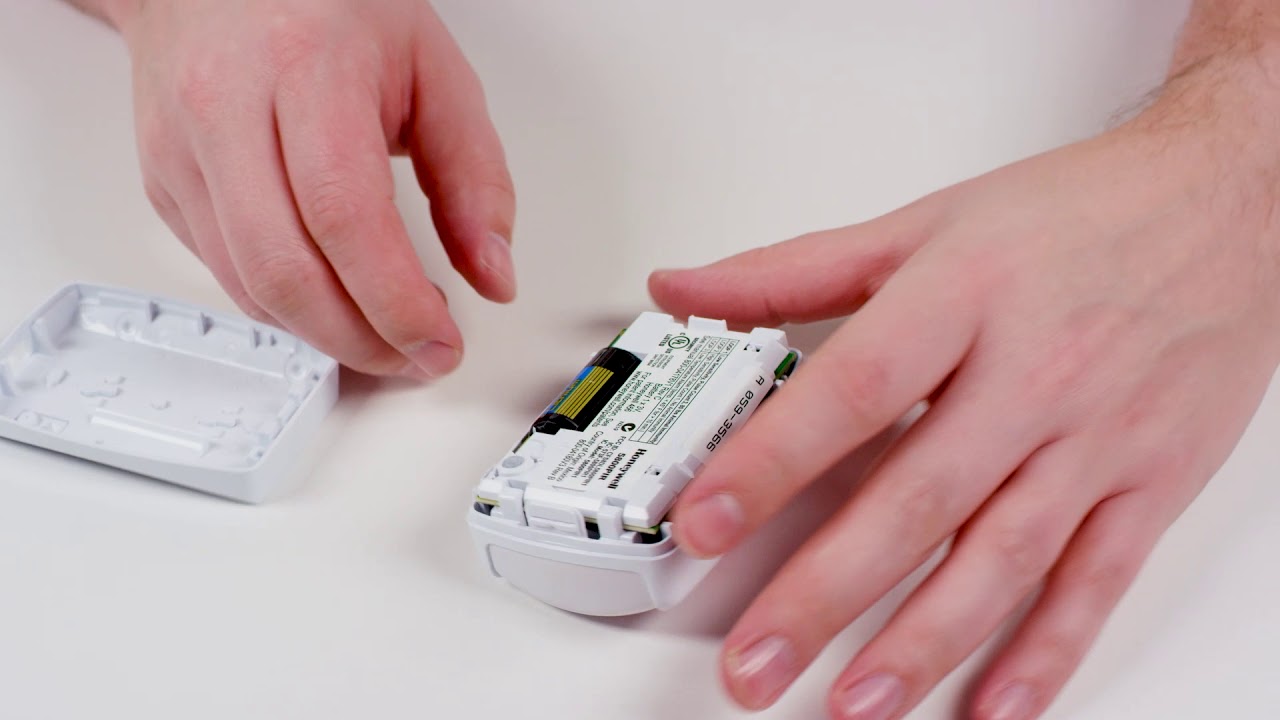
Step 4: Wiring the Detector
Wiring the GoControl WAPIRZ-1 Z-Wave PIR Motion Detector is a straightforward process. Follow these steps:
- Battery Compartment: Open the battery compartment located on the back of the motion detector. This compartment is usually secured with screws or latches.
- Battery Installation: Insert the required batteries into the compartment, following the polarity markings. Make sure to use the correct type and number of batteries as specified in the user manual.
- Battery Compartment Closure: Close the battery compartment securely, ensuring that it is properly sealed to protect the batteries and prevent any accidental disconnections.
- Battery Testing: Test the motion detector to ensure that it powers on and functions correctly. The device may emit a brief beep or LED indicator to signal that it is active.
It’s important to note that the GoControl WAPIRZ-1 is a battery-powered device. This means that it does not require any electrical wiring for its operation. However, you must regularly monitor the battery level and replace the batteries as needed to maintain optimal performance.
Having completed the wiring process, you can now proceed to the next step, pairing the GoControl WAPIRZ-1 with your Z-Wave network.
Step 5: Pairing the Detector with Z-Wave Network
Pairing the GoControl WAPIRZ-1 Z-Wave PIR Motion Detector with your Z-Wave network allows it to communicate and interact with other Z-Wave devices in your smart home system. Follow these steps to pair the detector:
- Prepare your Z-Wave Network: Ensure that your Z-Wave hub or controller is properly set up and functioning. Refer to the manufacturer’s instructions to familiarize yourself with the pairing process specific to your hub or controller.
- Put your Z-Wave Network in pairing mode: Put your Z-Wave hub or controller in pairing or inclusion mode. This mode allows it to search for and connect with new devices. The process for enabling pairing mode may vary depending on your specific hub or controller, so consult the user manual or manufacturer’s instructions.
- Initiate the pairing process on the motion detector: Within a specific time frame (usually a few seconds to a minute), trigger the motion detector’s inclusion or pairing mode. This process may involve pressing a button or following specific instructions outlined in the user manual.
- Wait for the pairing confirmation: Once the motion detector enters pairing mode, your Z-Wave hub or controller should detect and recognize it. Wait for the pairing confirmation, which may be indicated by a visual cue, an audible signal, or a notification on your Z-Wave system’s app.
- Complete the pairing process: Follow any additional steps or instructions provided by your Z-Wave hub or controller to complete the pairing process. This may involve assigning a name or location to the motion detector, configuring specific settings, or adding it to a room or group within your smart home system.
After successfully pairing the GoControl WAPIRZ-1 Z-Wave PIR Motion Detector with your Z-Wave network, you will be able to control and monitor it remotely through your hub, controller, or associated app. You can create automation rules, trigger other devices based on motion detection, and receive notifications when the motion detector is activated.
With the GoControl WAPIRZ-1 now paired with your Z-Wave network, you are one step closer to having a fully integrated and intelligent home security system. In the next step, we will look at configuring the motion detector settings to suit your preferences.
Read more: How To Install 2Gig Motion Detector (PIR1)
Step 6: Configuring the Motion Detector Settings
Configuring the settings of your GoControl WAPIRZ-1 Z-Wave PIR Motion Detector allows you to customize its behavior and ensure it meets your specific needs. Follow these steps to configure the motion detector settings:
- Access the Motion Detector Settings: Depending on your Z-Wave hub or controller, you can usually access the settings for the motion detector through the associated app or web portal. Look for the device settings or configuration options related to the GoControl WAPIRZ-1.
- Sensitivity Adjustment: Adjust the sensitivity level of the motion detector to your liking. Depending on the specific model and capabilities, you may have several sensitivity options to choose from. Test the different settings and consider the environment where the motion detector is located. Higher sensitivity may result in more frequent detections, while lower sensitivity may reduce false alarms.
- Time Delay: Configure the time delay for the motion detector. This setting determines how long the motion detector remains active after detecting motion. You can adjust the delay time to suit your preferences and needs. Consider factors such as the typical duration of activity in the monitored area when determining the appropriate time delay.
- Notification and Alerts: Set up notifications and alerts for motion detection events. Depending on your Z-Wave hub or controller, you can configure notifications through email, push notifications to your smartphone, or even triggering other devices, such as lights or sirens, for added security and awareness.
- Testing: After configuring the settings, it’s essential to test the motion detector to ensure it functions as expected. Walk in the monitored area to trigger the motion detection and verify that the proper actions, such as notifications or alerts, are activated according to your configured settings.
Keep in mind that the configuration options and settings may vary depending on your specific Z-Wave hub or controller. It’s recommended to consult the user manual or online resources provided by the manufacturer for detailed instructions on configuring the GoControl WAPIRZ-1 motion detector settings.
By fine-tuning the motion detector’s settings, you can optimize its performance and tailor it to your specific requirements. This ensures that you have a reliable and effective motion detection system in place to enhance the security and surveillance of your home or office.
With the motion detector settings configured, you have successfully completed the installation and setup process for the GoControl WAPIRZ-1 Z-Wave PIR Motion Detector. Congratulations! You now have a powerful and intelligent device that contributes to the security and automation of your smart home network.
Troubleshooting Tips
While the GoControl WAPIRZ-1 Z-Wave PIR Motion Detector is a reliable and user-friendly device, you may encounter some challenges during installation or use. Here are a few troubleshooting tips to help you resolve common issues:
- Ensure Proper Placement: Double-check the placement and angle of the motion detector. Make sure it is positioned correctly and has a clear line of sight to the monitored area. Adjust the angle or location, if needed, to improve detection accuracy.
- Check Battery Level: If the motion detector stops functioning or behaves erratically, check the battery level. Low battery power can affect the device’s performance. Replace the batteries with fresh ones, ensuring they are inserted correctly and have a good connection.
- Verify Z-Wave Network Range: If the motion detector is not communicating with your Z-Wave hub or controller, check the range and proximity to the nearest Z-Wave devices. Consider adding additional Z-Wave repeaters or extenders to expand the network coverage if needed.
- Check Z-Wave Network Stability: Ensure that your Z-Wave network is stable and functioning properly. Check for any potential interference, such as nearby electronic devices or appliances. Restarting or resetting the Z-Wave hub or controller may help resolve connectivity issues.
- Adjust Sensitivity Settings: If you experience false alarms, adjust the sensitivity settings of the motion detector. Lowering the sensitivity can reduce false detections caused by minor movements or environmental factors like drafts or pets.
- Verify Firmware and Software Updates: Check for firmware or software updates for both the motion detector and your Z-Wave hub or controller. Keeping the devices up to date can address any known issues and improve overall performance.
- Consult the Documentation: If you encounter persistent issues or have specific questions, refer to the user manual or documentation provided by GoControl or the manufacturer of your Z-Wave hub or controller. These resources often contain troubleshooting guides and additional information to assist you.
Remember that troubleshooting steps may vary based on your specific setup and circumstances. If you are unable to resolve the issue on your own, it’s recommended to reach out to the manufacturer’s customer support or consult a professional for further assistance.
By following these troubleshooting tips, you can overcome common challenges and ensure that your GoControl WAPIRZ-1 Z-Wave PIR Motion Detector operates smoothly and reliably as part of your home security and automation system.
Conclusion
Congratulations on successfully installing and setting up the GoControl WAPIRZ-1 Z-Wave PIR Motion Detector! With its advanced features and compatibility with Z-Wave technology, you now have a powerful tool to enhance the security and surveillance of your home or office.
Throughout this guide, we covered the unboxing process, the importance of compatibility, the tools and materials required for installation, and the step-by-step instructions for mounting, wiring, pairing, and configuring the motion detector. We also provided troubleshooting tips to help you address any issues that may arise.
By following these instructions, you have integrated the GoControl WAPIRZ-1 into your Z-Wave network, enabling you to remotely monitor motion and create personalized automation scenarios to suit your needs. Whether you want to receive notifications on your smartphone, trigger lights upon motion detection, or integrate the motion detector with other Z-Wave devices for a comprehensive security system, the possibilities are endless.
Remember to regularly check the battery level and ensure the proper functioning of the motion detector. You can also revisit the configuration settings to make any necessary adjustments based on your changing requirements.
Ultimately, the GoControl WAPIRZ-1 offers convenience, security, and peace of mind. Its seamless integration with your Z-Wave network allows for a smart and connected home or office, where you can automate tasks, monitor activity, and respond to events in real time.
If you have any further questions or require additional assistance, refer to the user manual or reach out to the manufacturer’s customer support. Enjoy the enhanced security and surveillance that the GoControl WAPIRZ-1 Z-Wave PIR Motion Detector provides!
Frequently Asked Questions about How To Install GoControl WAPIRZ-1 Z-Wave PIR Motion Detector
Was this page helpful?
At Storables.com, we guarantee accurate and reliable information. Our content, validated by Expert Board Contributors, is crafted following stringent Editorial Policies. We're committed to providing you with well-researched, expert-backed insights for all your informational needs.