Home>Home Security and Surveillance>How To Pair Swann Digicam1 Wireless Security Camera To Monitor
Home Security and Surveillance
How To Pair Swann Digicam1 Wireless Security Camera To Monitor
Modified: September 1, 2024
Learn how to pair your Swann Digicam1 wireless security camera to monitor your home security and surveillance in just a few simple steps. Ensure peace of mind and protect your property.
(Many of the links in this article redirect to a specific reviewed product. Your purchase of these products through affiliate links helps to generate commission for Storables.com, at no extra cost. Learn more)
Introduction
Welcome to the world of home security and surveillance! In today’s fast-paced world, it has become essential to protect our homes and loved ones from potential threats. Fortunately, advancements in technology have made it easier than ever to keep an eye on our properties, even when we’re not around.
One of the most popular solutions for home security is the use of wireless security cameras. These cameras offer convenience, flexibility, and ease of installation, making them a perfect choice for homeowners looking to enhance their security measures.
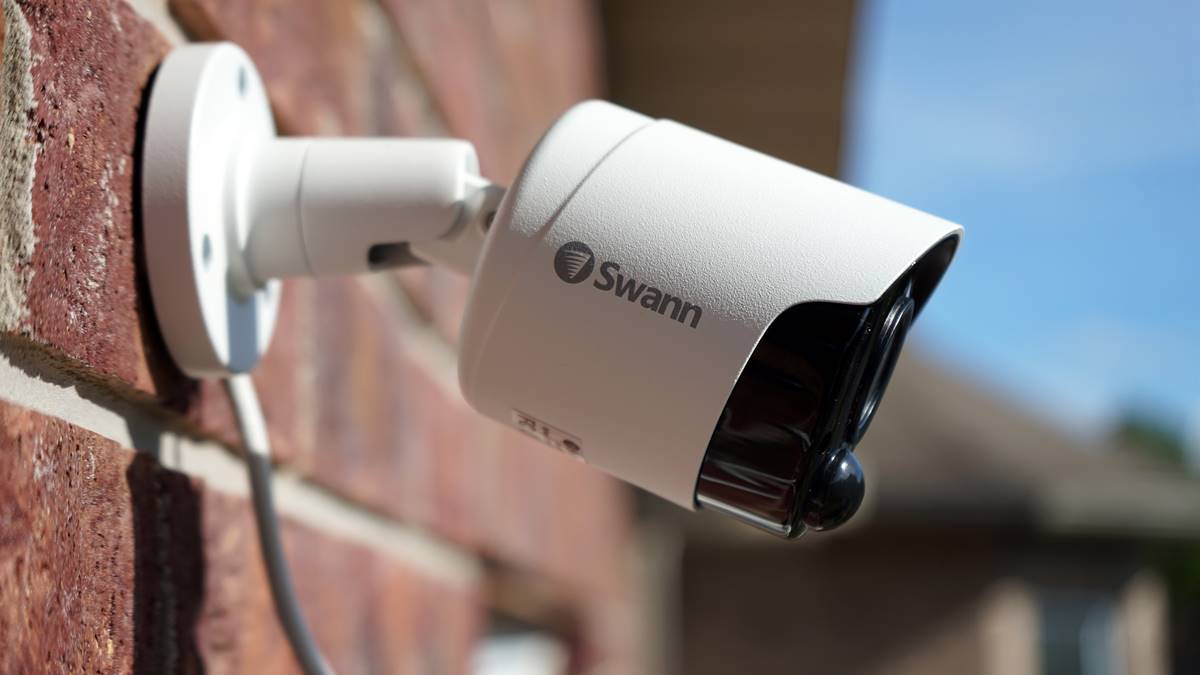
In this article, we’ll be focusing on the Swann Digicam1 Wireless Security Camera and how to pair it with a monitor for monitoring purposes. Whether you’re a tech-savvy individual or a beginner in the world of home security, this article will guide you through the process step by step.
By the end of this article, you’ll be equipped with the knowledge and skills to set up your Swann Digicam1 Wireless Security Camera and enjoy the peace of mind that comes with a secure home.
Key Takeaways:
- Setting up a Swann Digicam1 Wireless Security Camera is easy! Unbox, position, and pair it with a monitor for seamless monitoring of your home.
- After pairing, verify the connection and adjust camera settings for optimal surveillance coverage. Enjoy peace of mind with a reliable home security system.
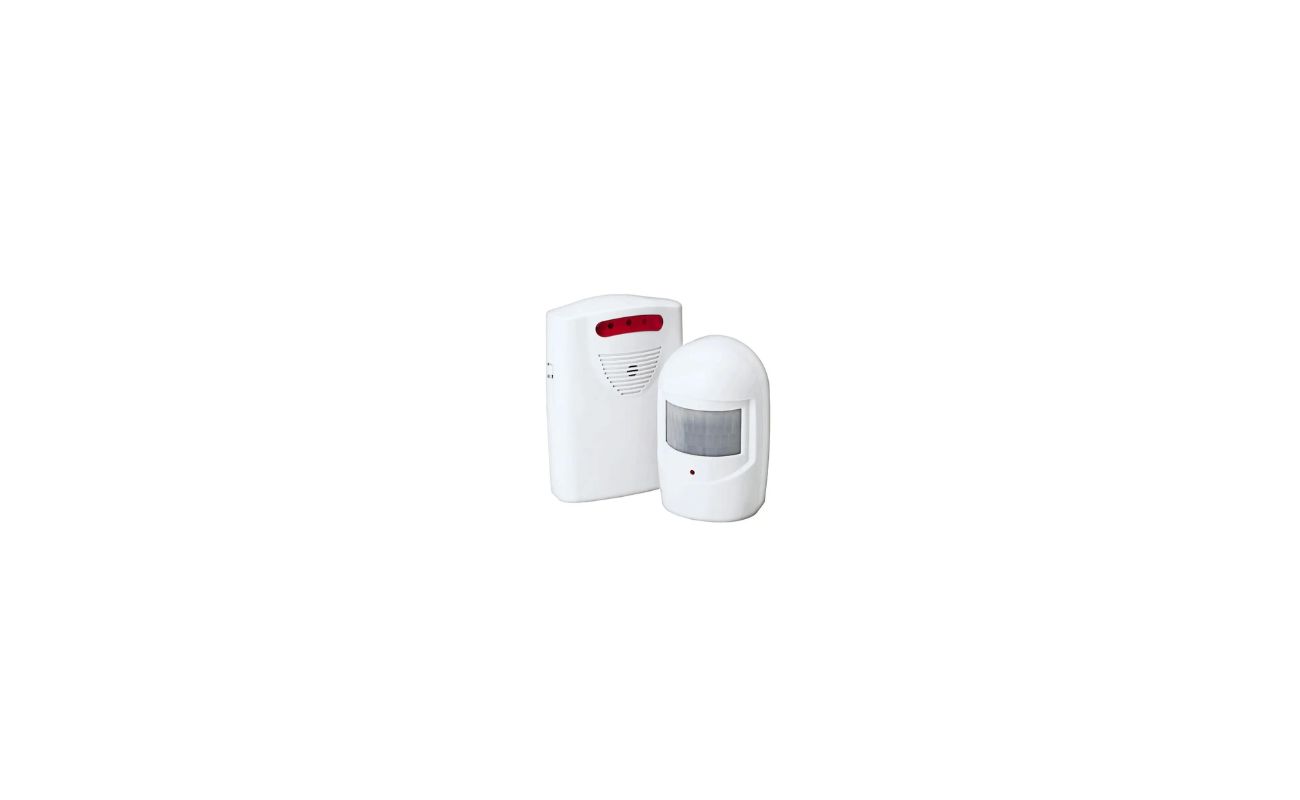
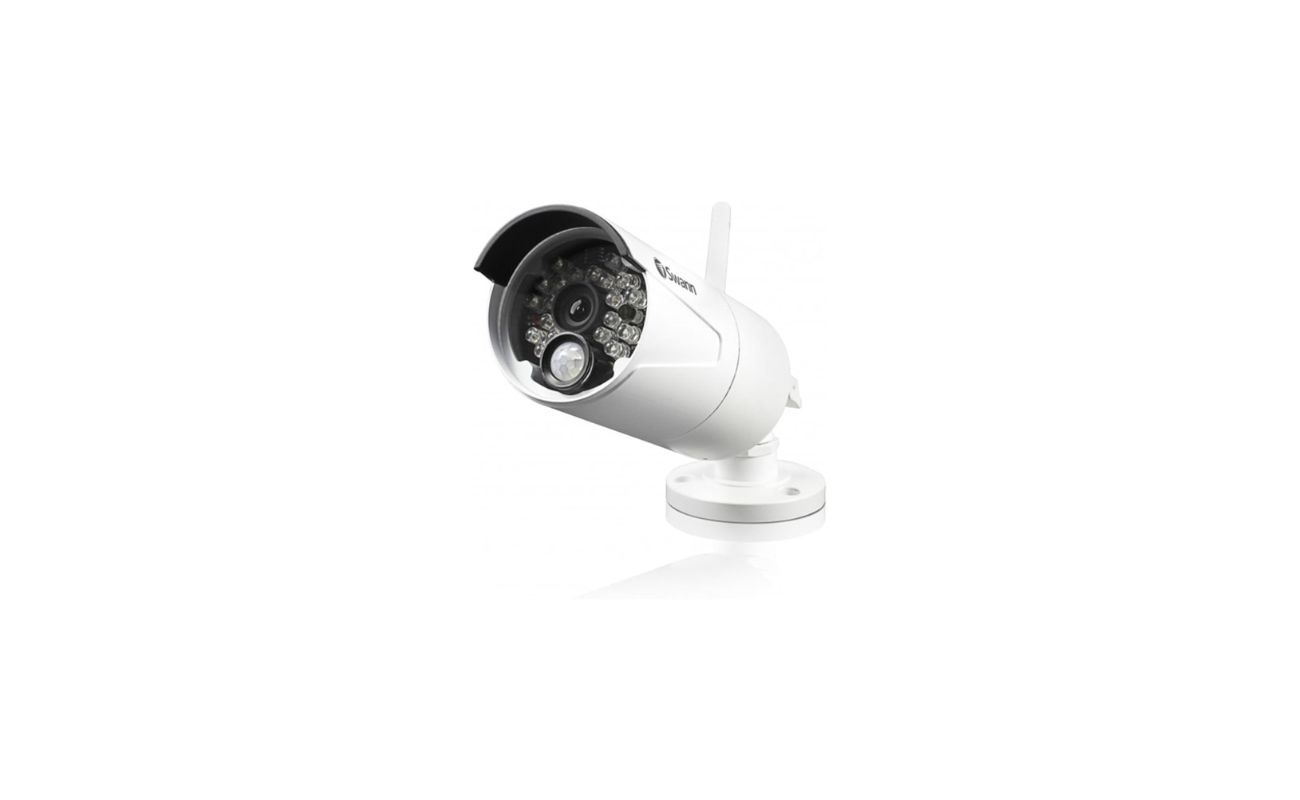
Step 1: Unboxing the Swann Digicam1 Wireless Security Camera
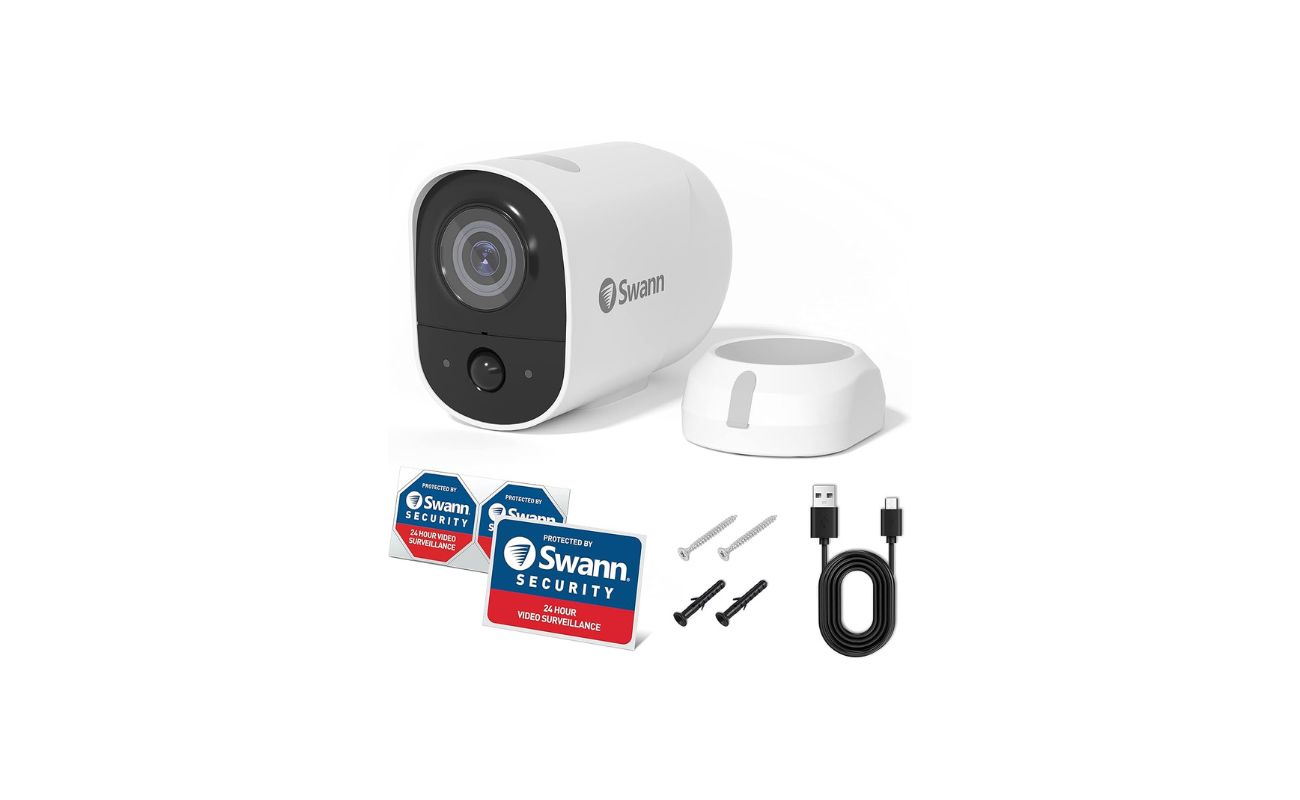
The first step in setting up your Swann Digicam1 Wireless Security Camera is to unbox the package and familiarize yourself with its contents. Here’s what you can expect to find:
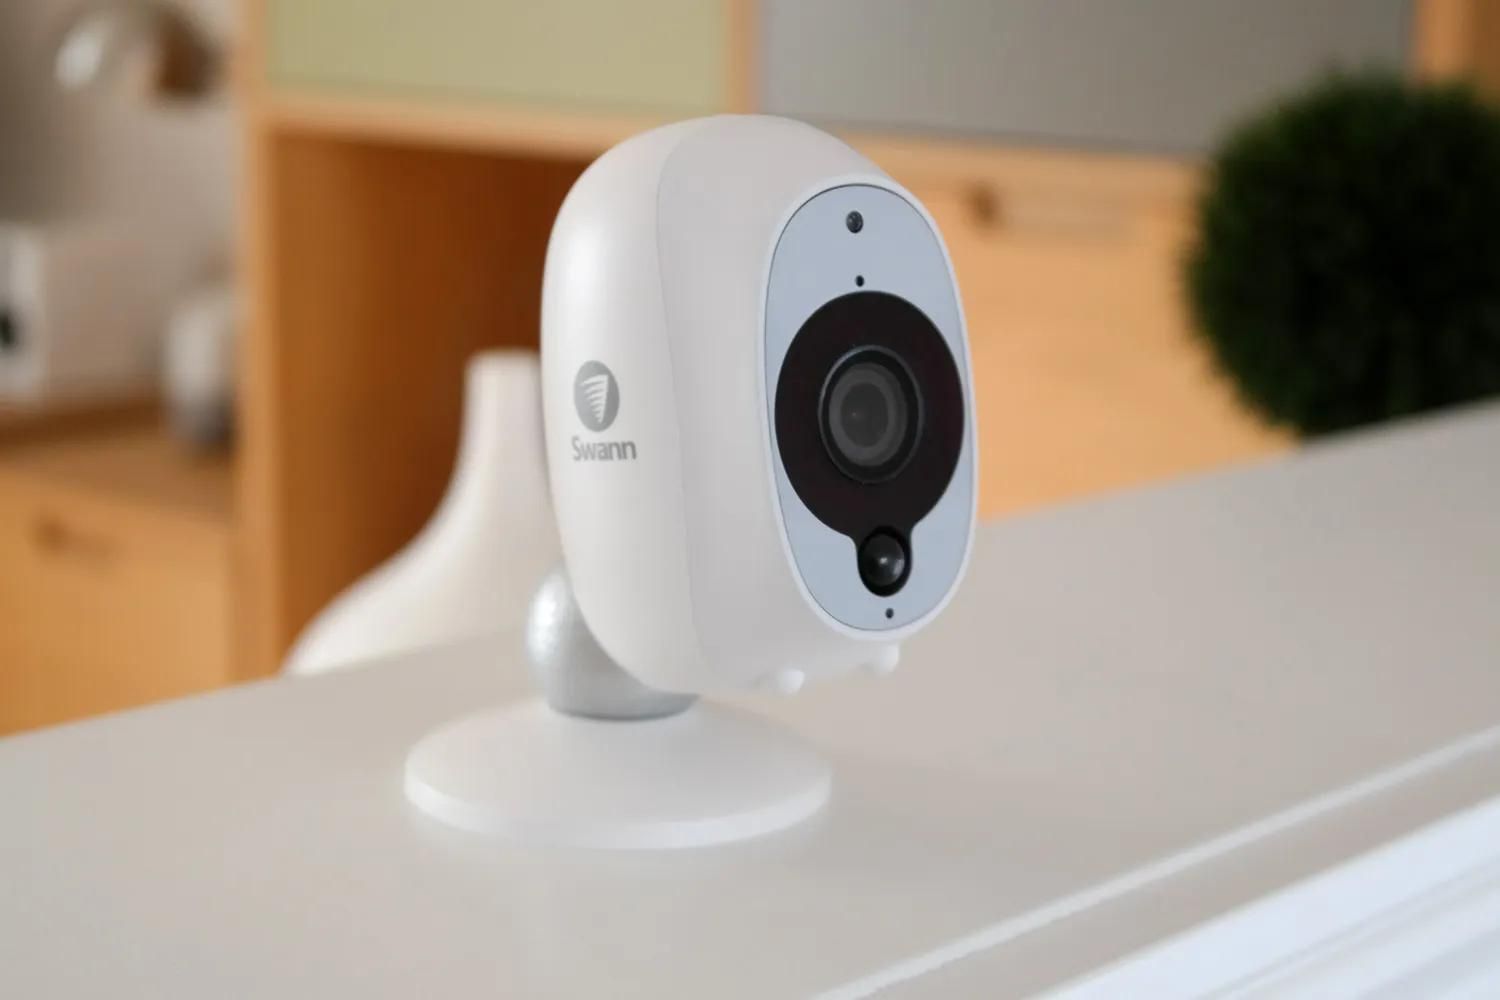
- The Swann Digicam1 Wireless Security Camera
- Power adapter and cable
- Magnetic base
- Mounting screws
- Antenna
- User manual and installation guide
Once you have everything laid out in front of you, carefully remove the camera and its accessories from the packaging. Take a moment to inspect the camera for any visible damages and ensure that all the components are present.
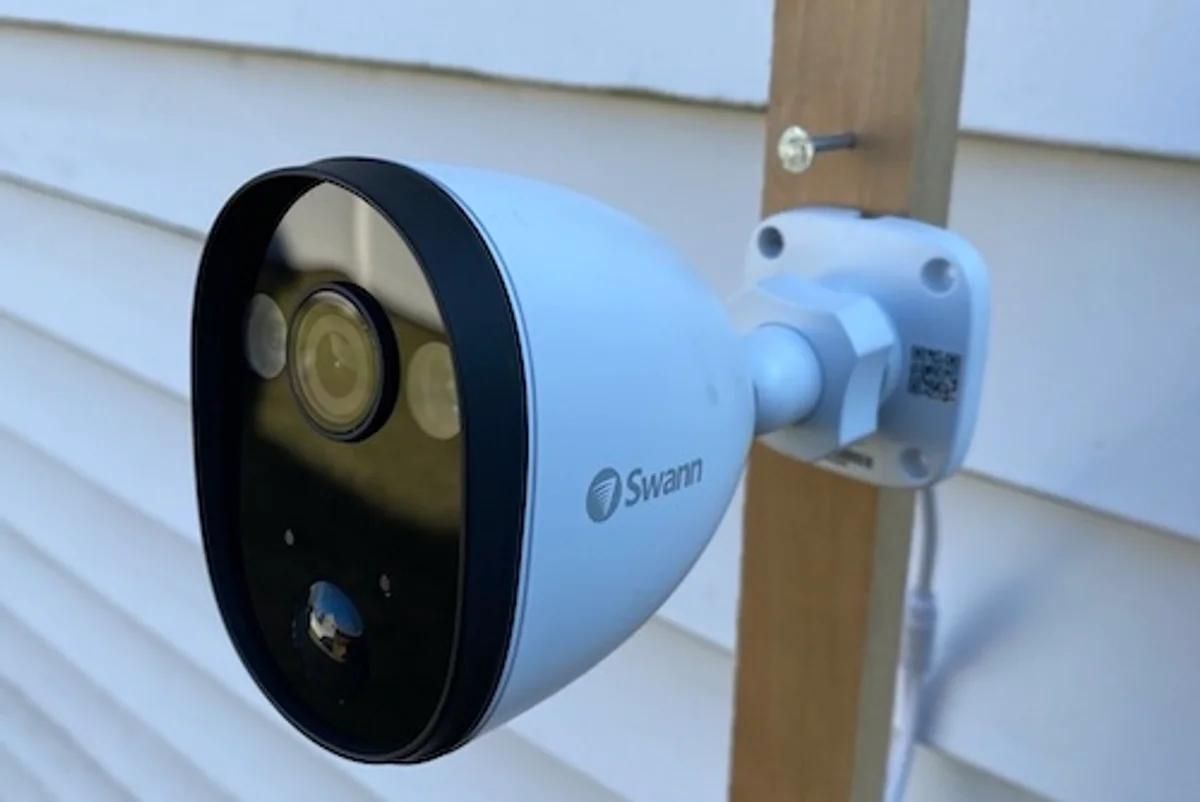
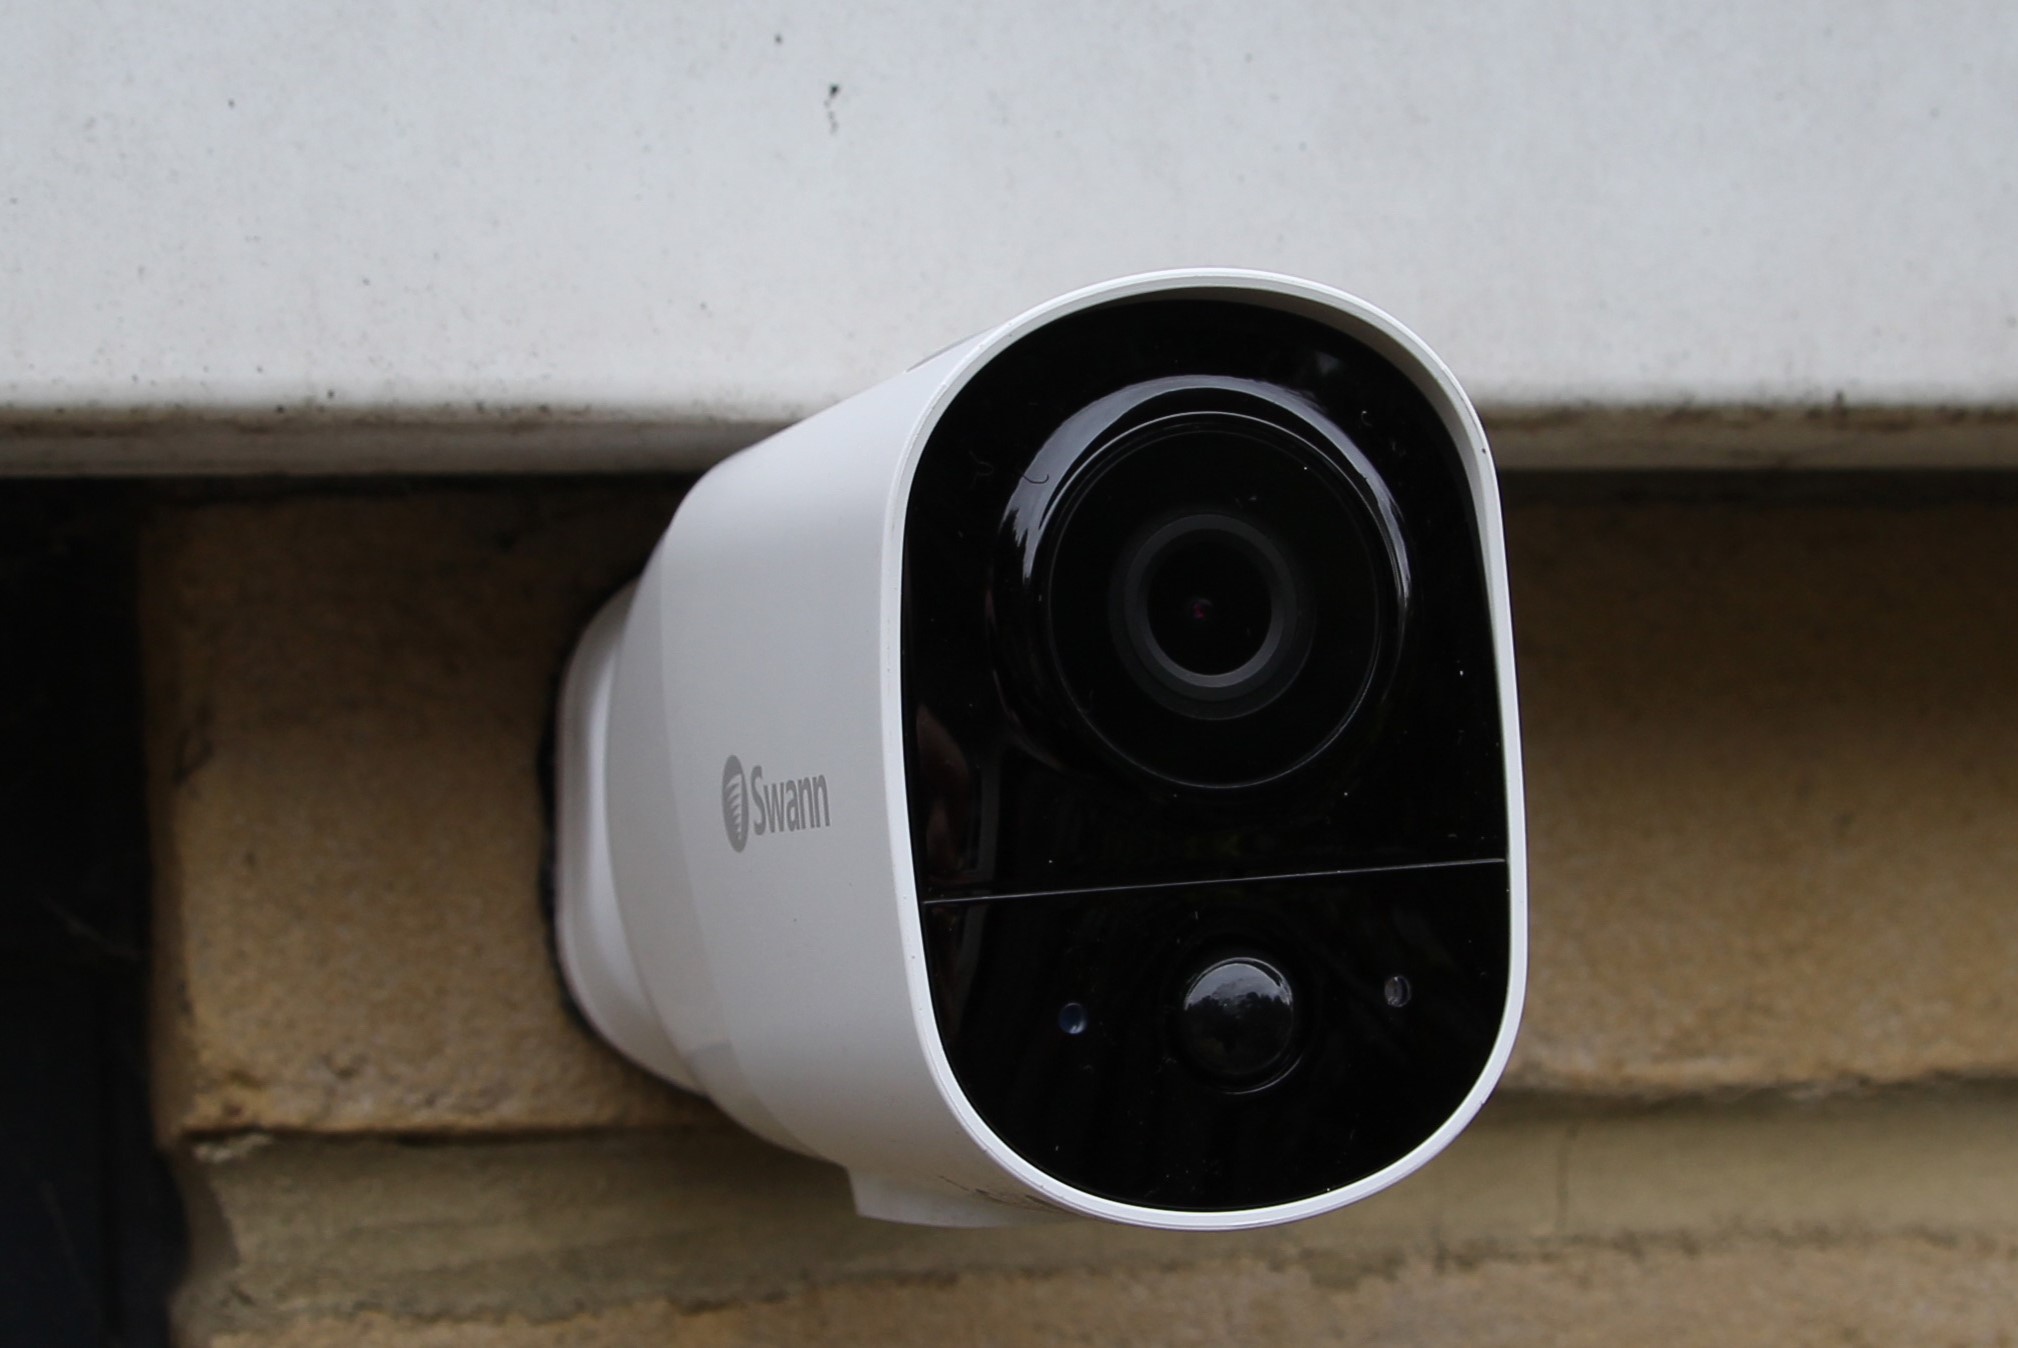
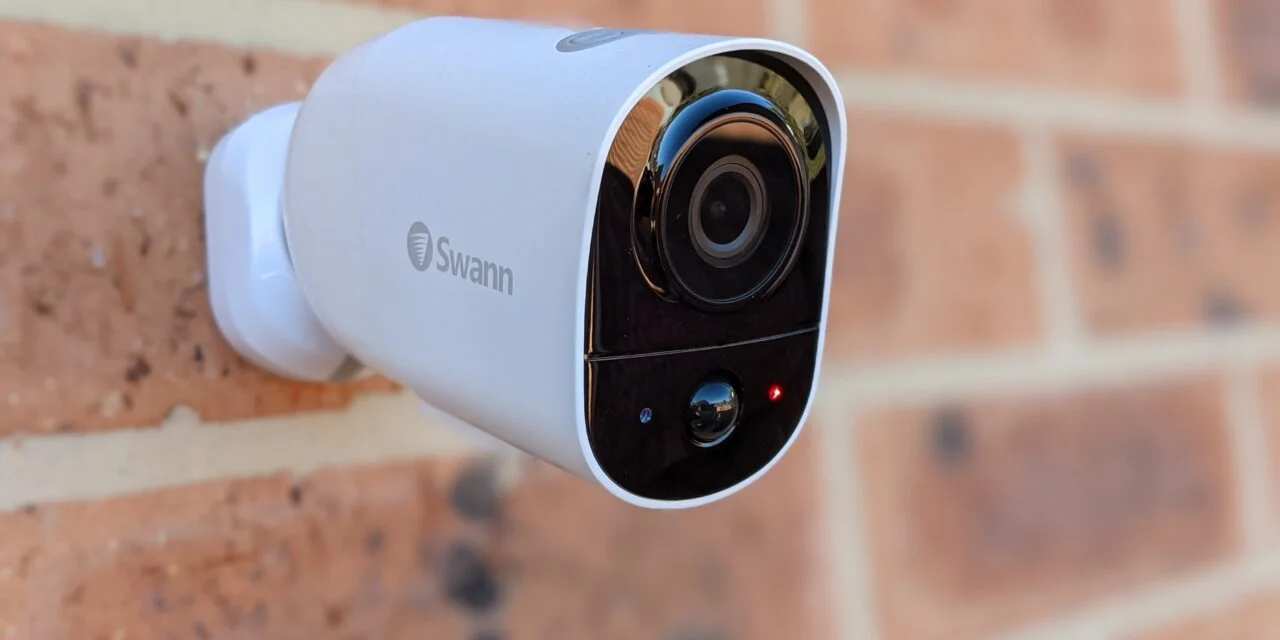
Next, locate a suitable spot to install the camera. Consider areas that provide a wide field of view and cover the desired surveillance area. It’s also important to determine whether you’ll be installing the camera indoors or outdoors, as this will affect the mounting options and weatherproofing requirements.
Before proceeding to the next step, ensure that you have a power outlet nearby for connecting the camera’s power adapter.
Now that you’re familiar with the camera and its components and have identified the installation spot, you’re ready to move on to the next step: setting up the monitor for pairing.
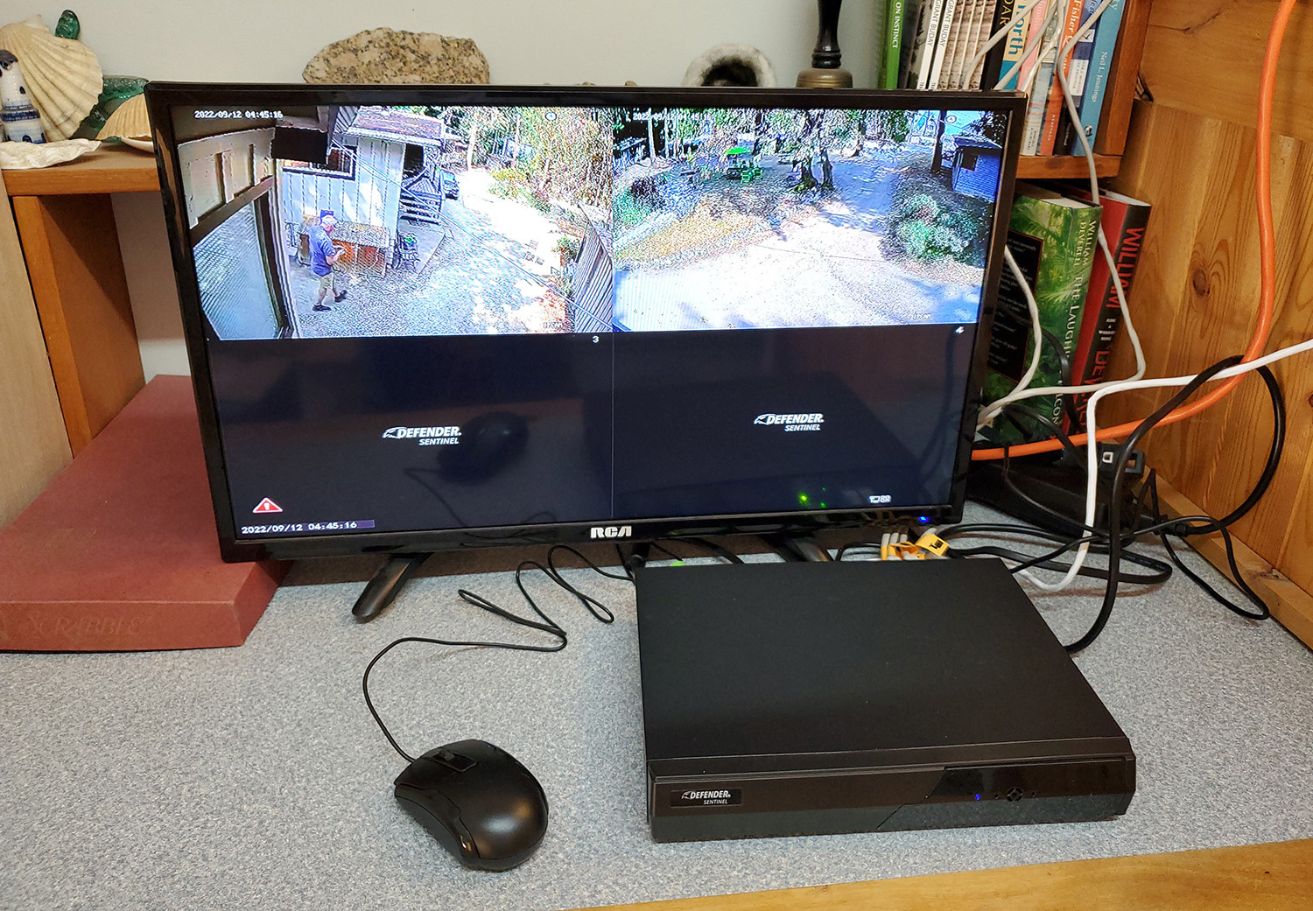
Step 2: Setting up the Monitor for Pairing
Once you’ve unboxed the Swann Digicam1 Wireless Security Camera and identified the installation spot, it’s time to set up the monitor for pairing. The monitor will serve as the display device for viewing the camera’s live feed.
Start by connecting the monitor to a power source and turn it on. If the monitor requires any initial setup or configuration, follow the manufacturer’s instructions to complete the process. Ensure that the monitor is in a convenient location where you can easily view the camera’s feed.
Next, locate the pairing button or option on the monitor. This is typically found in the settings or setup menu. Press the pairing button or select the pairing option to initiate the pairing process.
It’s important to note that the specific steps for setting up the monitor for pairing may vary depending on the brand and model. Refer to the user manual or manufacturer’s instructions for detailed guidance.
Once you’ve initiated the pairing process on the monitor, it’s time to move on to the next step: pairing the Swann Digicam1 Wireless Security Camera with the monitor.
Step 3: Pairing the Swann Digicam1 Wireless Security Camera with the Monitor
Now that you have set up the monitor for pairing, it’s time to pair the Swann Digicam1 Wireless Security Camera with the monitor. This step is crucial for establishing a seamless connection between the camera and the monitor.
First, locate the pairing button or option on the Swann Digicam1 Wireless Security Camera. This button is usually located on the camera itself or on the base station if your camera comes with one. Press and hold the pairing button until the camera’s LED indicator starts flashing or changes color.
While the camera is in pairing mode, navigate to the monitor’s pairing menu on your display device. This can often be done via the settings or setup menu. Once in the pairing menu, follow the on-screen instructions to search and connect to the Swann Digicam1 Wireless Security Camera.
During the pairing process, the monitor will scan for available cameras in its range. Once the camera is detected, select it from the list of available devices and initiate the pairing process. Some monitors may require you to enter a security code or password to complete the pairing. Consult your user manual or manufacturer’s instructions for specific details.
After initiating the pairing process, the camera and monitor will establish a wireless connection. This process may take a few moments, so be patient. Once the connection is established, the camera’s LED indicator will stop flashing or change color to indicate a successful pairing.
At this point, the Swann Digicam1 Wireless Security Camera is successfully paired with the monitor, and you can proceed to the next step: verifying the connection.
To pair a Swann Digicam1 wireless security camera to a monitor, make sure both devices are powered on and within range of each other. Follow the manufacturer’s instructions for syncing the camera to the monitor, which may involve pressing a pairing button or entering a code.
Step 4: Verifying the Connection
After pairing the Swann Digicam1 Wireless Security Camera with the monitor, it’s crucial to verify the connection to ensure a reliable and stable surveillance system. Verifying the connection will allow you to confirm that the camera’s live feed is successfully displayed on the monitor.
To verify the connection, navigate to the live view or camera feed screen on the monitor. Depending on the monitor’s interface, you may need to select the paired camera from a list of connected devices or access it through a dedicated app or software.
Once you’ve accessed the camera’s live feed, take a moment to observe the displayed image. Ensure that the image is clear, sharp, and free from any distortions or glitches. Pay attention to any delays in the feed and monitor the stability of the connection.
Test different camera functionalities, such as zooming in and out, panning the camera, and adjusting the camera’s viewing angle. This will help you ensure that the camera’s features are fully functional and that the connection remains stable during these operations.
If you encounter any issues during the verification process, such as a blank screen, poor image quality, or intermittent connection, consider the following troubleshooting steps:
- Ensure that the camera is within the range of the monitor’s wireless signal.
- Check the placement of the camera and the monitor to minimize any obstacles or interference.
- Verify that the camera and the monitor are on the same network or frequency band.
- Restart both the camera and the monitor.
- Refer to the user manual or contact customer support for further assistance.
By verifying the connection between the Swann Digicam1 Wireless Security Camera and the monitor, you can ensure that your surveillance system is functioning optimally. Once you’re satisfied with the connection, you can move on to the final step: adjusting camera settings and positioning.
Step 5: Adjusting Camera Settings and Positioning
Now that you have successfully paired and verified the connection between the Swann Digicam1 Wireless Security Camera and the monitor, it’s time to fine-tune the camera’s settings and position it for optimal surveillance coverage.
Start by accessing the camera’s settings menu on the monitor. This can typically be done by selecting the camera from the connected devices list and navigating to the settings or configuration options.
Within the settings menu, you’ll find various options to customize your camera’s functionality. Some common settings to consider adjusting include:
- Resolution: Choose the desired resolution for your camera’s video feed. Higher resolutions provide clearer and more detailed images but may require more bandwidth and storage.
- Camera angle: Adjust the camera’s viewing angle to cover the desired surveillance area. Tilt, pan, or rotate the camera as needed to achieve the optimal coverage.
- Motion detection: Enable or fine-tune the camera’s motion detection feature to receive alerts or trigger recording when any movement is detected within the camera’s field of view.
- Night vision: If your camera has night vision capabilities, adjust the night vision settings to ensure clear and visible footage in low-light or nighttime conditions.
- Recording options: Configure the camera’s recording options, such as continuous recording, scheduled recording, or event-triggered recording, based on your preferences and needs.
Take your time to explore the camera’s settings and adjust them according to your specific requirements. Refer to the user manual or manufacturer’s instructions for detailed guidance on each setting.
Once you’re satisfied with the camera settings, ensure that it is properly positioned for optimum surveillance coverage. Consider the following tips:
- Place the camera at a height that provides a clear view of the desired area without obstruction.
- Avoid pointing the camera at direct sources of light, as this can cause glares or overexposure.
- Ensure that the camera is securely mounted or installed to prevent any accidental movement or tampering.
- Regularly check the camera’s position and adjust as needed to maintain optimal coverage.
By adjusting the camera’s settings and positioning it correctly, you can maximize its effectiveness in monitoring your property and ensuring the safety and security of your home.
Congratulations! You have successfully completed the steps to pair, verify, and optimize your Swann Digicam1 Wireless Security Camera and monitor setup. Enjoy the peace of mind that comes with a reliable and robust home security surveillance system!
Conclusion
Home security and surveillance are essential in today’s world, and wireless security cameras have revolutionized the way we protect our properties. The Swann Digicam1 Wireless Security Camera offers convenience, flexibility, and peace of mind by allowing homeowners to monitor their homes remotely.
In this article, we have provided a comprehensive guide on how to pair the Swann Digicam1 Wireless Security Camera with a monitor for monitoring purposes. From unboxing the camera to adjusting settings and positioning, each step has been outlined to ensure a seamless setup process.
By following the steps outlined in this article, you have gained the knowledge and skills to set up your Swann Digicam1 Wireless Security Camera and enjoy the benefits of a secure home. Monitoring your property has never been easier, thanks to advancements in technology.
Remember to familiarize yourself with the camera’s components, set up the monitor for pairing, and follow the instructions to pair the camera with the monitor successfully. Once paired, verify the connection by accessing the camera’s live feed and ensuring that the image is clear and stable.
After verifying the connection, fine-tune the camera’s settings and position it to optimize surveillance coverage. Adjust the resolution, camera angle, motion detection, night vision, and recording options to suit your specific needs. Ensure that the camera is securely mounted and regularly check its position for the best results.
With your Swann Digicam1 Wireless Security Camera and monitor all set up, you can now enjoy the peace of mind that comes with enhanced home security. You can remotely monitor your property, keep an eye on your loved ones, and deter potential threats.
Remember to refer to the user manual or contact customer support if you encounter any issues during the setup process. They will be able to provide further assistance and guidance specific to your Swann Digicam1 Wireless Security Camera.
Thank you for choosing Swann Digicam1 Wireless Security Camera to safeguard your home. Stay vigilant, be safe, and enjoy the benefits of a secure and protected home.
Now that you've mastered pairing your Swann Digicam1 with its monitor, why not dive deeper into the significance of home security? Our next article unravels why robust security measures are essential for protecting your residence. Learn about the practical strategies and insights that could safeguard your family and valuables. Don’t miss out on understanding why you need home security to keep your sanctuary safe!
Frequently Asked Questions about How To Pair Swann Digicam1 Wireless Security Camera To Monitor
Was this page helpful?
At Storables.com, we guarantee accurate and reliable information. Our content, validated by Expert Board Contributors, is crafted following stringent Editorial Policies. We're committed to providing you with well-researched, expert-backed insights for all your informational needs.