Home>Home Security and Surveillance>How To Hook Up A Swann Wired Security Camera
Home Security and Surveillance
How To Hook Up A Swann Wired Security Camera
Modified: October 20, 2024
Learn how to hook up a Swann wired security camera for your home security and surveillance needs. Step-by-step guide for easy installation and setup.
(Many of the links in this article redirect to a specific reviewed product. Your purchase of these products through affiliate links helps to generate commission for Storables.com, at no extra cost. Learn more)
Introduction
Welcome to the world of home security and surveillance! Protecting your home and loved ones is a top priority, and having a reliable security camera system in place can provide you with peace of mind and a sense of security. In this article, we will guide you through the process of hooking up a Swann wired security camera, ensuring that you can set up your system with ease and efficiency.
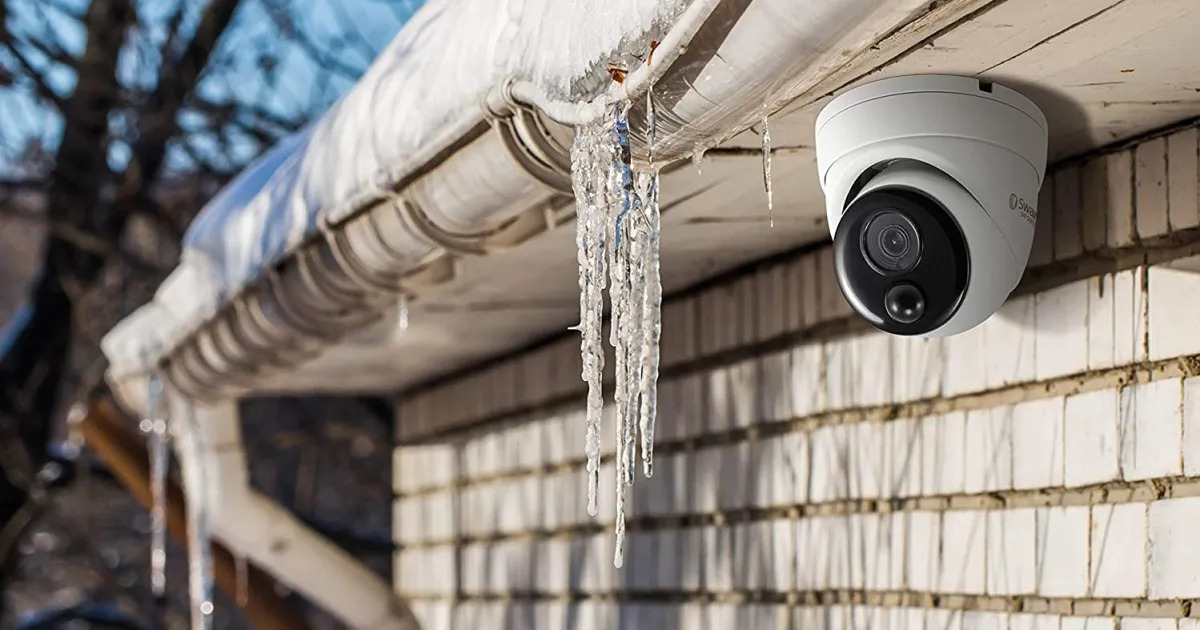
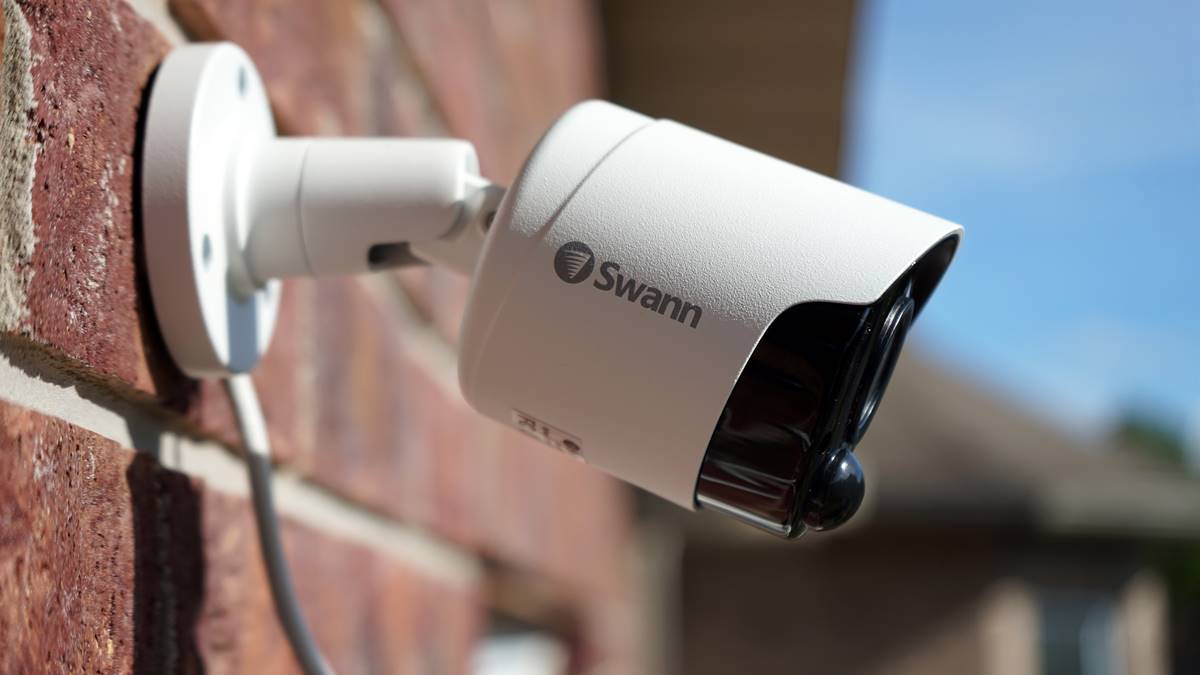
A wired security camera system offers several advantages over wireless options. It provides a stable and uninterrupted video feed, ensuring clear and consistent footage. Additionally, wired cameras do not rely on Wi-Fi signals, reducing the risk of interference and connection drops. Swann is a reputable brand known for its quality security systems, making it an excellent choice for your home surveillance needs.
Before diving into the installation process, it is essential to gather the necessary tools and equipment. This will help you avoid any last-minute delays or frustrations. Here’s what you’ll need:
- Swann wired security camera
- DVR (Digital Video Recorder)
- Camera mount or bracket
- Power adapter
- BNC connectors
- RG59 coaxial cable
- Power drill with a drill bit
- Screwdriver
- Measuring tape
Now that you have all the necessary tools, let’s move on to the next step: determining camera placement.
Key Takeaways:
- Setting up a Swann wired security camera involves gathering tools, determining camera placement, connecting the camera to power and the DVR, and configuring the system for optimal surveillance.
- After installation, testing the cameras, adjusting settings, and performing regular maintenance ensures reliable security and peace of mind for your home or property.
Read more: How To Set Up Swann Security Camera
Step 1: Gather the necessary tools and equipment
Before starting the installation process, it’s crucial to gather all the tools and equipment you’ll need. Here’s a detailed list of what you’ll require:
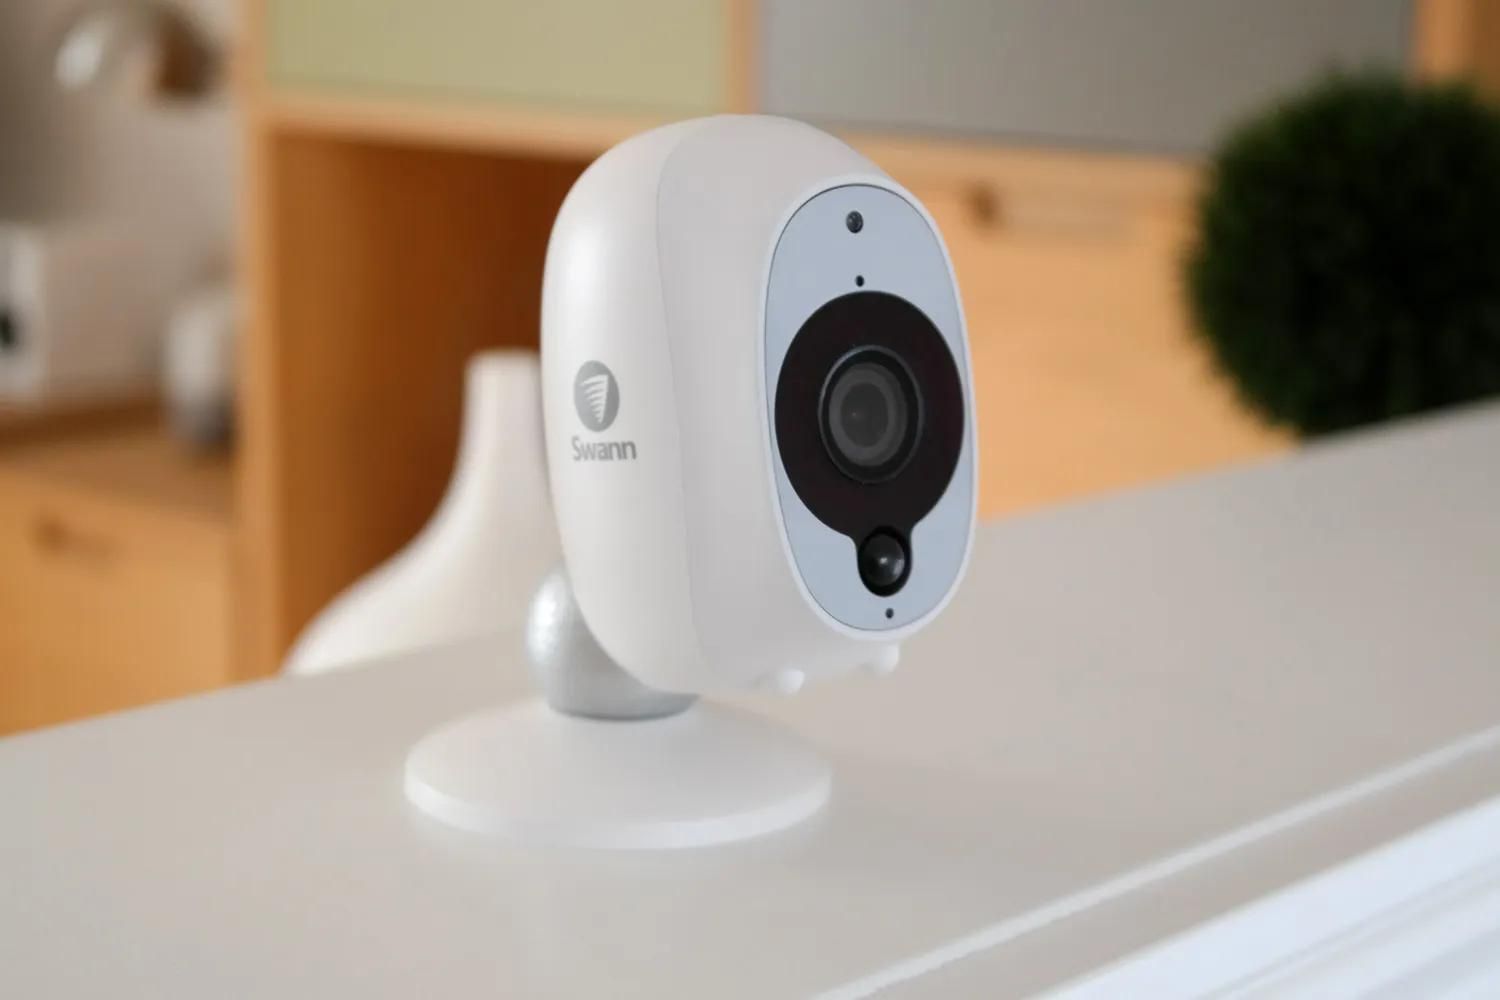
- Swann wired security camera: Make sure you have the desired Swann wired security camera model that suits your needs. Check if it includes all the necessary components, such as cables and connectors.
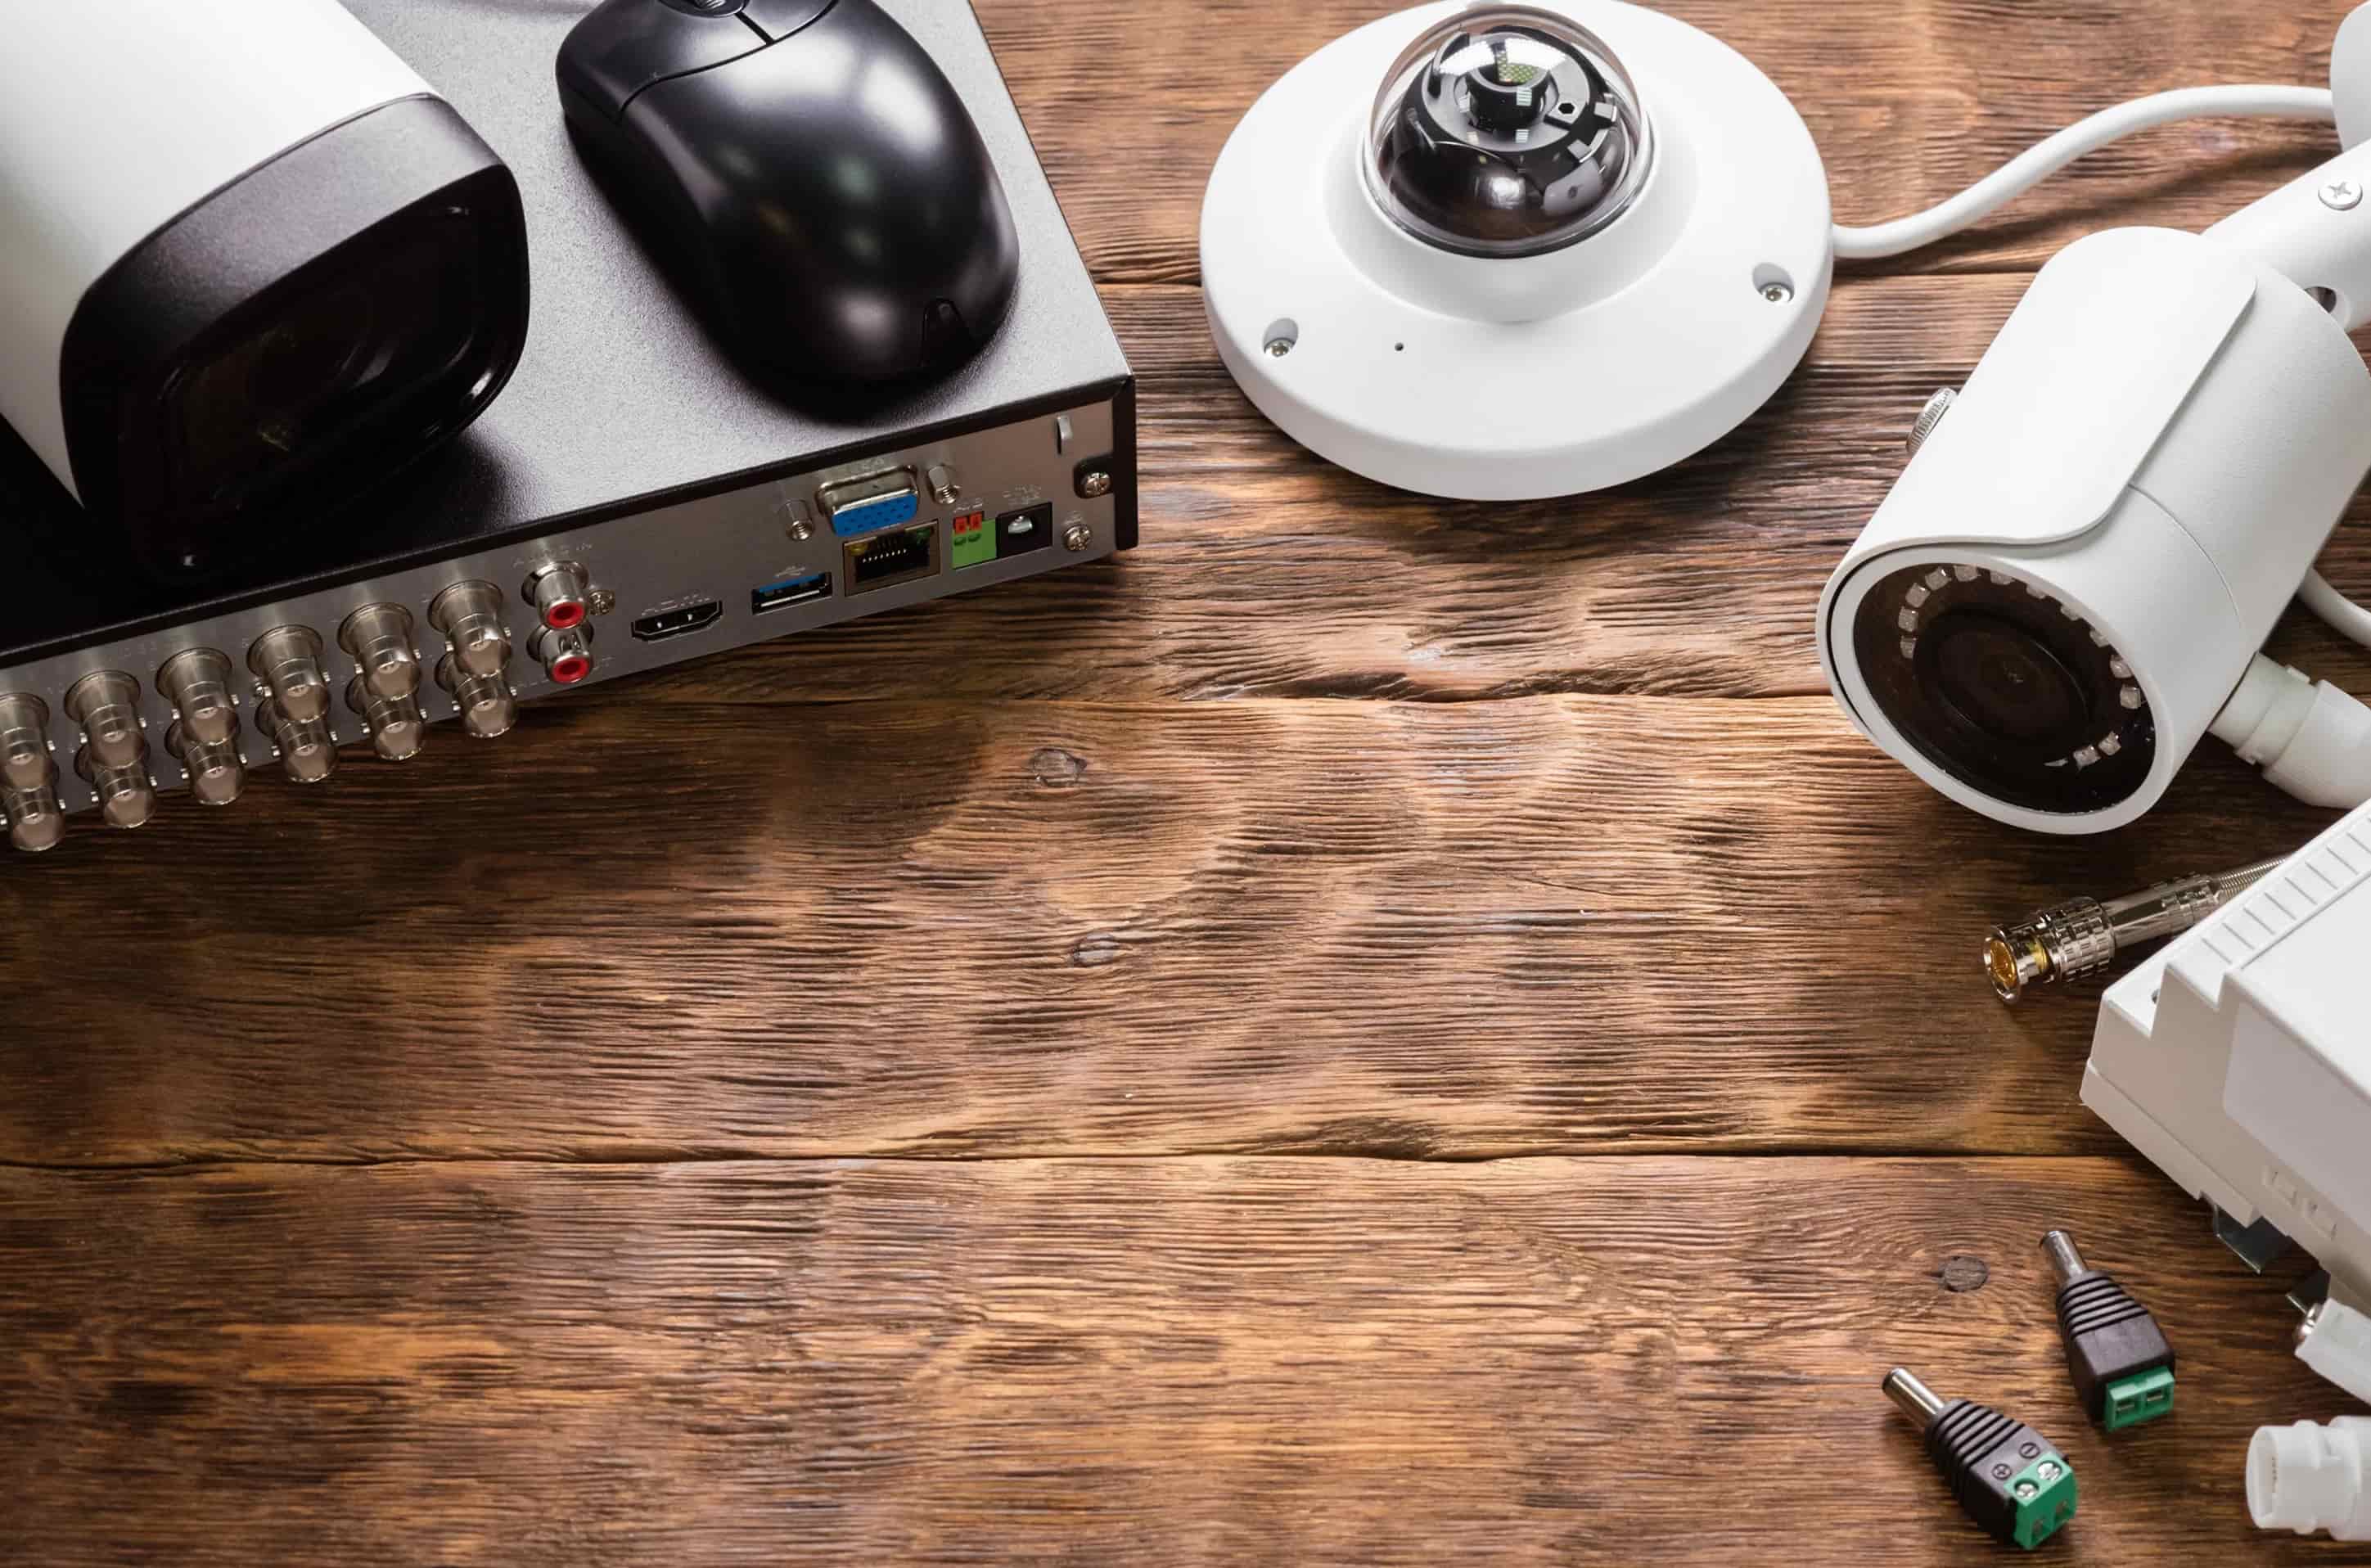
- DVR (Digital Video Recorder): The DVR is the central unit that records and stores the surveillance footage. Ensure that you have a compatible DVR for your Swann camera.
- Camera mount or bracket: Depending on the type of camera and your installation requirements, you’ll need a mount or bracket to securely fix the camera in the desired location.
- Power adapter: A power adapter is necessary to provide electrical power to the security camera. Make sure the power adapter is compatible with your camera model and has the appropriate voltage and current rating.
- BNC connectors: These connectors are used to attach the RG59 coaxial cable to both the camera and the DVR. Ensure that you have enough BNC connectors for the number of cameras you are installing.
- RG59 coaxial cable: This cable is used to transmit the video signal from the camera to the DVR. Measure the required length of cable for each camera, keeping in mind the distance between the camera and the DVR.
- Power drill with a drill bit: You may need to drill holes for mounting the camera, so having a power drill with the appropriate drill bit is essential.
- Screwdriver: A screwdriver will come in handy for attaching the camera mount or bracket and securing the cables.
- Measuring tape: Use a measuring tape to accurately measure the distances between the camera, DVR, and power source. This ensures proper cable management and a clean installation.
Gathering all of these tools and equipment before you begin will save you time and frustration during the installation process. It is essential to have everything ready and easily accessible.
Now that you have all the necessary tools and equipment, you’re ready to proceed to the next step: determining camera placement.
Step 2: Determine camera placement
Choosing the right locations for your Swann wired security cameras is key to capturing the best possible surveillance footage. Before you start drilling holes or mounting the cameras, take some time to survey your property and identify strategic positions for optimal coverage. Here are some factors to consider when determining camera placement:
- Entry points: Place cameras near entry points, such as doors, windows, and garage doors. This deters potential intruders and provides valuable evidence in case of a break-in.
- Vulnerable areas: Identify vulnerable areas of your property, such as blind spots, dark corners, or areas with valuable assets. These areas should be monitored with a camera to increase security.
- Perimeter coverage: Ensure that your camera placement covers the entire perimeter of your home. This includes front and backyards, side entrances, and any other areas that may be accessed by unauthorized individuals.
- Height and angle: Position the cameras at an appropriate height and angle for optimal viewing. Consider mounting them high enough to prevent tampering or damage and angling them downwards to capture clear facial details.
- Lighting conditions: Take note of the lighting conditions in the areas where you plan to install the cameras. Ensure that there is adequate ambient lighting or consider using cameras with built-in night vision capabilities for low-light or dark areas.
- Cable routing: Plan the cable routing path from each camera location to the DVR. Consider hiding the cables discreetly along walls, ceilings, or using conduit to protect them from weather conditions and potential damage.
- Legal considerations: Familiarize yourself with any legal restrictions or regulations regarding camera placement in your area. Respect privacy boundaries and avoid positioning cameras where they may intrude upon neighbors’ privacy.
By carefully considering these factors, you can strategically position your Swann wired security cameras to provide comprehensive coverage and maximize your home’s security. Once you have identified the ideal locations, you can proceed to the next step: installing the camera mount or bracket.
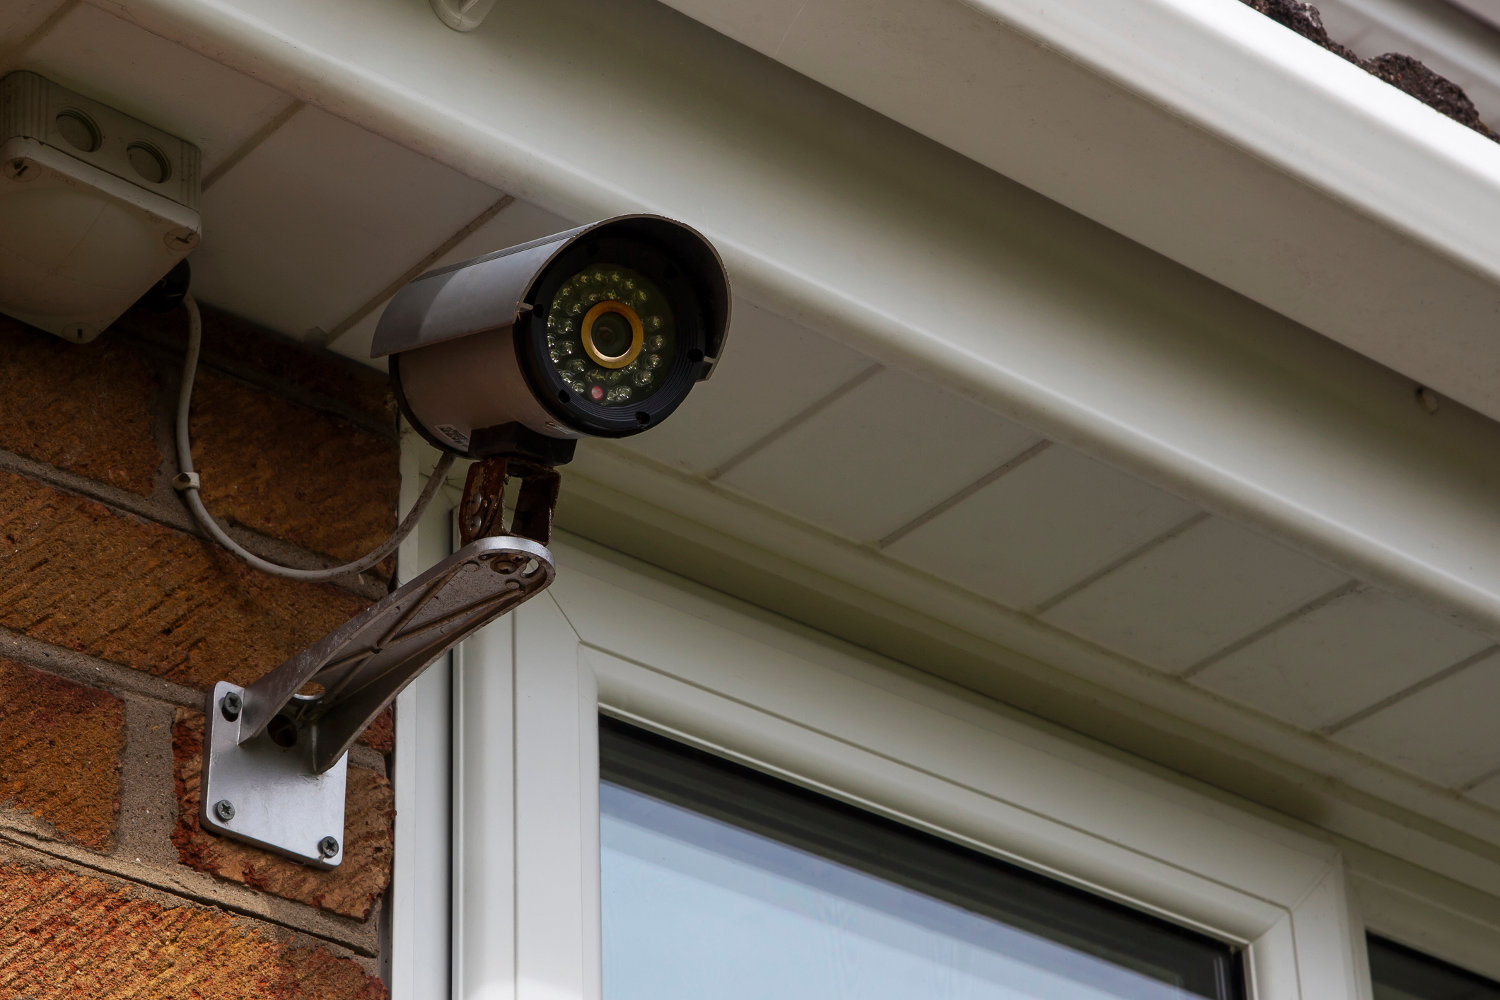
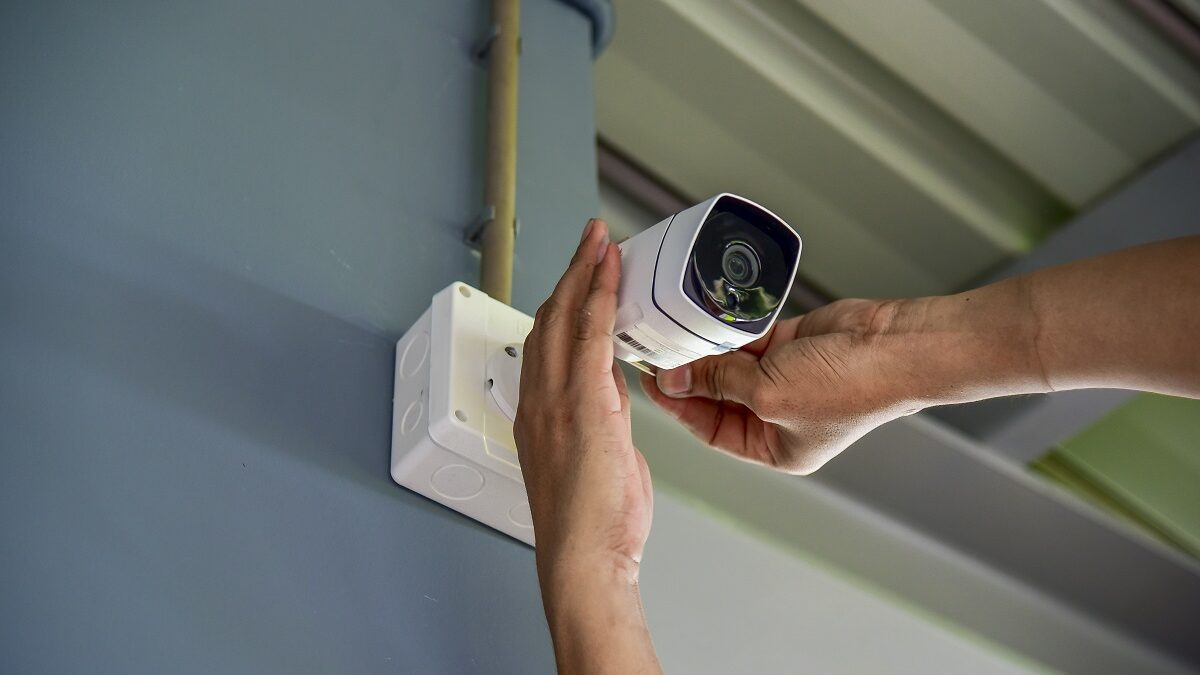
Step 3: Install the camera mount or bracket
Now that you have determined the ideal locations for your Swann wired security cameras, it’s time to install the camera mount or bracket in those chosen spots. The mount or bracket provides a secure and stable platform for the camera. Follow these steps to properly install the camera mount or bracket:
- Choose the mounting surface: Identify the surface where you will be installing the camera mount or bracket. It should be sturdy and capable of supporting the weight of the camera.
- Mark the mounting holes: Hold the camera mount or bracket against the chosen surface and use a pencil or marker to mark the positions of the mounting holes. Make sure the camera will be level when mounted.
- Drill pilot holes: Use a power drill with an appropriate drill bit to drill pilot holes at the marked locations. Ensure that the drill bit is slightly smaller than the size of the screws you will be using to secure the mount or bracket.
- Attach the mount or bracket: Align the mounting holes of the camera mount or bracket with the pilot holes and secure it into place using the provided screws. Make sure the mount or bracket is firmly attached and level.
- Adjust the camera angle: Depending on the type of mount or bracket, you may have the flexibility to adjust the camera’s angle. Position the camera at the desired angle to capture the best view and tighten any adjustment screws to secure it in place.
- Verify stability: Give the mounted camera a gentle shake to ensure that it is securely fastened and stable. Make any necessary adjustments or further tightening if needed.
Installing the camera mount or bracket properly is crucial for ensuring the stability and functionality of your Swann wired security camera. Once the mount or bracket is securely in place, you can proceed to the next step: connecting the camera to the power source.
Step 4: Connect the camera to the power source
With the camera mount or bracket securely installed, it’s time to connect your Swann wired security camera to a power source. The power source provides the necessary electrical power for the camera to operate. Follow these steps to connect the camera to the power source:
- Locate the power input: Identify the power input port on the camera. It is usually located at the back or bottom of the camera.
- Connect the power adapter: Take the power adapter and plug it into a nearby electrical outlet. Ensure that the outlet is suitable for powering the camera and within a reasonable distance from the camera location.
- Connect the power cable: Connect the power cable from the power adapter to the camera’s power input port. Make sure the connection is secure and that the cable is not twisted or damaged.
- Secure the power connection: Depending on the camera model, there may be a locking mechanism or screw to secure the power cable to the camera. Follow the manufacturer’s instructions to ensure a secure connection.
- Test the power connection: Turn on the power outlet, and check if the camera receives power. Look for any LED indicators on the camera that confirm it is properly connected and receiving power.
It is essential to provide a stable and reliable power source to your Swann wired security camera. Ensure that the power cable is not strained, and there are no potential hazards, such as exposed wires or loose connections. With the camera successfully connected to the power source, you can proceed to the next step: running the video cable from the camera to the DVR.
Make sure to carefully read the instruction manual that comes with your Swann wired security camera. Follow the step-by-step guide for installation and connection to ensure proper setup and functionality.
Step 5: Run the video cable from the camera to the DVR
Now that your Swann wired security camera is powered, it’s time to establish the connection between the camera and the DVR. The video cable is responsible for transmitting the surveillance footage from the camera to the DVR for recording and monitoring. Follow these steps to run the video cable from the camera to the DVR:
- Determine the cable length: Measure the distance between the camera location and the DVR. This will help you determine the appropriate length of RG59 coaxial cable needed for the connection.
- Prepare the cable: Using a cable cutter or stripper, carefully remove the outer shielding of the RG59 coaxial cable. Ensure that you expose enough of the inner wires for proper connection.
- Connect BNC connectors: Attach BNC connectors to both ends of the RG59 coaxial cable. Make sure the connectors are securely and correctly attached following the manufacturer’s instructions.
- Route the cable: Begin routing the video cable from the camera location towards the DVR. Conceal the cable as much as possible, using cable clips or adhesive clips to secure it along walls, ceilings, or baseboards.
- Avoid interference: Keep the video cable away from any potential sources of interference, such as electrical wires or power outlets. This helps maintain a clear and uninterrupted signal.
- Secure the cable: Ensure that the video cable is not stretched or twisted during installation. Use cable ties or Velcro straps to secure the excess cable length and maintain a neat and organized installation.
- Test the cable connection: Once the video cable is routed to the DVR location, connect the BNC connector to the corresponding video input port on the DVR. Ensure a secure connection and check for any loose or faulty connections.
Running the video cable from the camera to the DVR is a critical step in establishing a functional surveillance system. Make sure the cable is properly routed, securely connected, and free from any potential interference. With the video cable successfully connected, you can proceed to the next step: connecting the camera to the DVR.
Step 6: Connect the camera to the DVR
With the video cable properly routed from the camera to the DVR, it’s time to establish the connection between the camera and the DVR itself. This connection allows the DVR to receive and record the surveillance footage from the Swann wired security camera. Follow these steps to connect the camera to the DVR:
- Locate the camera input ports: Identify the camera input ports on the back of the DVR. These ports are typically labeled as “Camera In” or “Video In” and correspond to the number of camera channels available on the DVR.
- Connect the BNC connector: Take the BNC connector attached to the video cable and insert it into the corresponding camera input port on the DVR. Ensure that the connection is secure and the BNC connector is fully inserted.
- Repeat for additional cameras: If you have multiple Swann wired security cameras, repeat the above steps for each camera, connecting each one to a separate camera input port on the DVR.
- Power on the DVR: Turn on the power for the DVR, either by connecting it to a power outlet or powering it on through any available power switches. This ensures that the DVR is ready to receive the camera feed.
- Check the camera status: Monitor the DVR screen or interface to confirm that the connected cameras are detected and the live feed is displayed. Verify that each camera’s view is correctly assigned to the corresponding camera channel on the DVR.
- Adjust camera settings if necessary: Depending on the DVR model, you may need to access the camera settings to customize parameters such as resolution, frame rate, motion detection, or recording schedule. Refer to the DVR’s user manual for specific instructions on adjusting camera settings.
By following these steps, you can successfully connect your Swann wired security cameras to the DVR, enabling you to monitor and record the surveillance footage. Double-check the connections and ensure that all cameras are properly detected by the DVR. With the camera-to-DVR connection established, you can proceed to the next step: setting up the DVR and configuring camera settings.
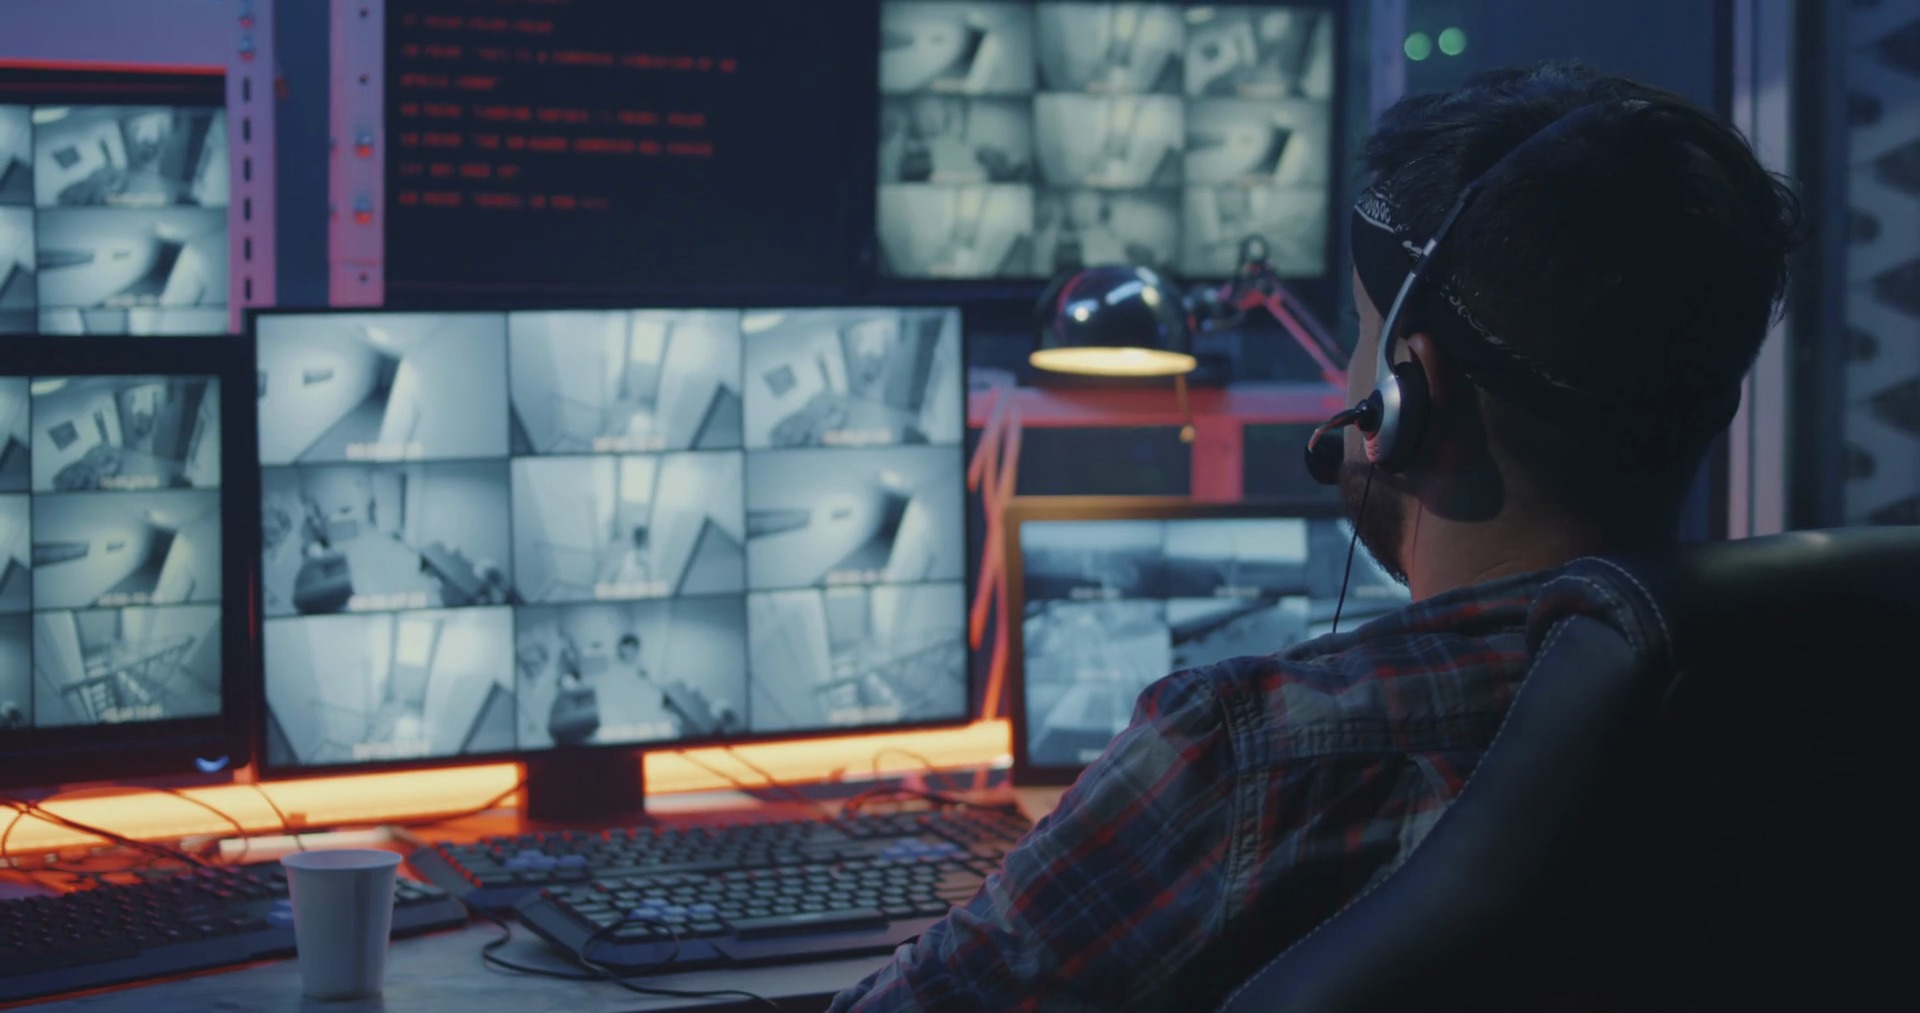
Step 7: Set up the DVR and configure camera settings
After connecting the Swann wired security cameras to the DVR, it’s time to set up the DVR system and configure the camera settings. This step allows you to customize the recording, monitoring, and playback options according to your specific requirements. Follow these steps to set up the DVR and configure camera settings:
- Access the DVR’s interface: Connect a monitor or TV to the DVR’s video output port using an HDMI or VGA cable. Power on the monitor and ensure it is displaying the DVR’s interface.
- Configure language and time settings: Follow the on-screen instructions to set the desired language and time settings. Ensure that the time is accurately set to maintain proper timestamping on the recorded footage.
- Create a strong password: It is crucial to set up a strong and secure password for your DVR system. Use a combination of letters, numbers, and special characters to protect unauthorized access to your surveillance system.
- Set up recording options: Access the DVR’s recording settings and choose the desired recording mode, such as continuous recording or motion-activated recording. Adjust the recording duration and quality as per your preferences and available storage capacity.
- Configure camera-specific settings: Access the camera settings on the DVR interface, and ensure that each camera is configured correctly. Adjust parameters such as brightness, contrast, field of view, and any special features or functions specific to your Swann wired security cameras.
- Set up remote access: If you wish to monitor your surveillance system remotely, follow the instructions to set up remote access. This may involve registering your DVR with a mobile app or configuring network settings for remote viewing via a computer or smartphone.
- Enable notifications: If your DVR supports it, configure notification settings to receive alerts or notifications via email or push notifications when specific events, such as motion detection, occur in the camera’s field of view.
- Test the system: After configuring the settings, test the system by checking the live feed on the monitor and ensuring that the cameras are recording correctly. Perform test recordings and playback to verify the quality and functionality of the surveillance footage.
By following these steps, you can set up your DVR system and customize the camera settings to meet your specific surveillance requirements. Take your time to adjust the settings according to your preferences and test the system to ensure proper functionality. With the DVR and camera settings configured, you can now move on to the final step: testing the camera and making any necessary adjustments.
Step 8: Test the camera and adjust as needed
Now that your Swann wired security camera system is set up and configured, it’s time to test the cameras and make any necessary adjustments to ensure optimal performance. Testing the cameras allows you to verify the quality of the surveillance footage, adjust camera angles if needed, and fine-tune any settings for a better viewing experience. Follow these steps to test the cameras and make any necessary adjustments:
- Check the camera feed: Monitor the live feed from each camera on the DVR interface or the connected monitor. Ensure that the camera views are clear, focused, and capturing the desired areas.
- Assess the camera positioning: Analyze the camera angles and check if they provide the desired coverage. If necessary, adjust the camera mounts or brackets to obtain a better view or to eliminate any blind spots.
- Tweak the camera settings: If you notice any issues with the camera footage, such as overexposure, underexposure, or blurry images, consider adjusting the camera settings. Experiment with parameters like brightness, contrast, or shutter speed to achieve the best image quality.
- Test different lighting conditions: Assess the camera’s performance under various lighting conditions. Verify if the cameras adequately capture details in both bright and dimly lit areas. Make adjustments as necessary to optimize image quality in different lighting scenarios.
- Test the motion detection: Evaluate the accuracy of the motion detection feature. Walk within the camera’s field of view to ensure that it properly triggers recording or alerts. Adjust the motion sensitivity settings to avoid false alarms or missed events.
- Review recorded footage: Take some time to review recorded footage to ensure that all cameras are properly recording and that the playback quality meets your expectations. Look for any glitches, dropouts, or issues that may need further adjustment or troubleshooting.
- Make necessary adjustments: Based on your evaluation, make any necessary adjustments to the camera positioning, settings, or any other aspect that affects performance. This may involve repositioning the cameras, fine-tuning the settings, or making changes to the recording schedules.
- Periodic maintenance: Lastly, establish a routine for periodic maintenance of your Swann wired security camera system. Clean the camera lenses, ensure all cables are securely connected, and regularly update the firmware of your DVR to keep your system running smoothly.
By thoroughly testing the cameras and making necessary adjustments, you can ensure that your Swann wired security camera system is functioning optimally. Regularly review the system’s performance and make adjustments as needed to maintain the highest level of security and surveillance for your home or property.
Congratulations! You have successfully completed the process of hooking up your Swann wired security camera system. Enjoy the peace of mind that comes with having a reliable and effective home security and surveillance solution in place.
Conclusion
Setting up a Swann wired security camera system can greatly enhance the security and surveillance of your home or property. With the step-by-step guide provided in this article, you now have the knowledge and understanding to confidently hook up your Swann wired security cameras. By following the installation process and performing the necessary adjustments, you can ensure that your system is properly positioned, connected, and optimized for capturing clear and reliable surveillance footage.
Remember to gather all the necessary tools and equipment before you begin, determine the ideal camera placements, install the camera mounts or brackets securely, and connect the cameras to a power source and the DVR. The cable routing and connection between the camera and DVR are crucial for transmitting the video feed effectively. Once connected, it is important to properly configure the DVR and camera settings to meet your specific surveillance requirements.
Testing the cameras and making adjustments as needed is an essential final step. This allows you to verify the quality of the footage, fine-tune camera angles, and optimize camera settings for different lighting conditions. Regular maintenance and monitoring of your Swann wired security camera system ensures its continued performance and reliability over time.
By implementing a Swann wired security camera system, you gain a powerful tool in protecting your home and loved ones. The ability to monitor and record activities provides peace of mind and acts as a deterrent to potential intruders. Additionally, having reliable surveillance footage can provide valuable evidence in the event of any incidents or emergencies.
Remember to familiarize yourself with local laws and regulations regarding camera placement and privacy to ensure that you comply with legal requirements and respect the privacy of others.
With your Swann wired security camera system successfully installed, configured, and tested, you can now enjoy enhanced security and peace of mind knowing that you are equipped with a reliable and effective surveillance solution.
Now that you're savvy with setting up your Swann wired security camera, why not further bolster your home's defense? Securing your property goes beyond just installation. Dive into our guide on choosing reliable home security systems. Whether you're curious about the latest technology or seeking budget-friendly options, we've got all the information needed to make an informed choice. Don't miss out on the essentials of comprehensive home safety.
Frequently Asked Questions about How To Hook Up A Swann Wired Security Camera
Was this page helpful?
At Storables.com, we guarantee accurate and reliable information. Our content, validated by Expert Board Contributors, is crafted following stringent Editorial Policies. We're committed to providing you with well-researched, expert-backed insights for all your informational needs.