Home>Home Security and Surveillance>How To Install Swann Security Cameras Outdoor
Home Security and Surveillance
How To Install Swann Security Cameras Outdoor
Modified: October 19, 2024
Learn how to install Swann security cameras outdoor for your home security and surveillance needs. Ensure the safety of your property with this easy step-by-step guide.
(Many of the links in this article redirect to a specific reviewed product. Your purchase of these products through affiliate links helps to generate commission for Storables.com, at no extra cost. Learn more)
Introduction
Installing outdoor security cameras is an essential step towards ensuring the safety and security of your home. With the advancements in technology, surveillance cameras have become more accessible, affordable, and user-friendly. Whether you want to monitor your property for potential threats, keep an eye on your home while you’re away, or simply have peace of mind knowing that you have an extra layer of protection, installing security cameras is a smart investment.
In this article, we will walk you through the step-by-step process of installing Swann security cameras outdoors. Swann is a reputable brand known for its high-quality surveillance equipment. By following these instructions, you can successfully install your Swann cameras and enjoy the benefits of a robust security system.
Before we dive into the installation process, it’s essential to make sure you have all the necessary equipment. This will ensure a smooth and efficient installation. So, let’s begin by gathering the required equipment.
Key Takeaways:
- Installing Swann outdoor security cameras involves gathering the right equipment, selecting optimal camera locations, securely mounting the cameras, and connecting them to the DVR. This ensures comprehensive coverage and functionality for home security.
- After installation, testing the cameras for live feed, motion detection, and night vision is crucial. Consider optional features like surveillance signs, security lighting, and remote access for added security and convenience. Regular maintenance and updates are essential for optimal performance.
Step 1: Gather the Required Equipment
Before you start installing your Swann security cameras, it’s important to have all the necessary equipment on hand. This will save you time and ensure that you have everything you need to complete the installation process smoothly. Here’s a list of the essential equipment you’ll need:
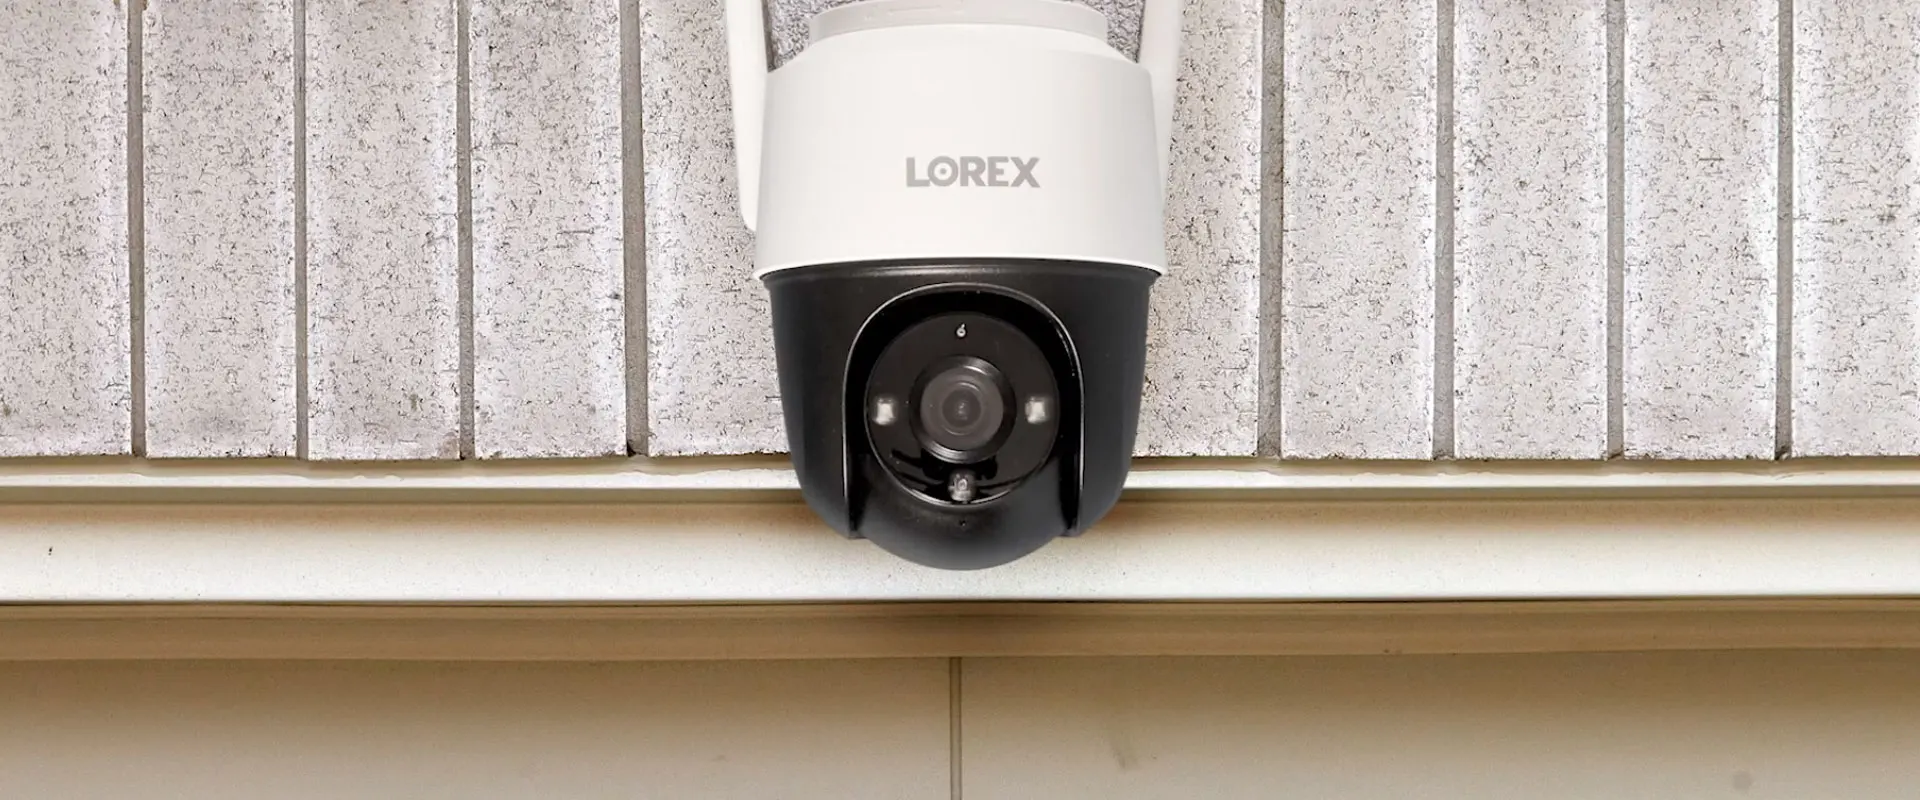
1. Swann outdoor security cameras: Choose the appropriate Swann camera model based on your specific needs and preferences. Consider factors such as resolution, field of view, night vision capabilities, and weather resistance.
2. Power supply: Swann cameras typically require a power source to operate. Depending on your camera model, you may need to purchase individual power adapters or use a central power supply with multiple camera connections.
3. Cables: To connect your cameras to the DVR (Digital Video Recorder) or NVR (Network Video Recorder), you’ll need suitable cables. Swann camera systems usually come with the necessary cables, but ensure you have enough length to reach your desired camera locations.
4. DVR or NVR: Swann security systems utilize a DVR or NVR to record and store footage from the cameras. Make sure you have the appropriate device that is compatible with your camera system.
5. Monitor or TV: To view the live footage and recorded videos from your Swann cameras, you’ll need a monitor or a TV with HDMI or VGA input.
6. Tools: Gather basic tools such as a drill, screws, screwdriver, stud finder, cable clips, and a ladder if necessary. These tools will be handy during the installation process.
7. Internet connection: If you want to access your live camera feeds remotely or receive notifications on your smartphone, you’ll need an internet connection. Ensure that you have a stable internet connection available at your installation location.
8. Mobile device or computer: You’ll need a mobile device (such as a smartphone or tablet) or a computer to configure and access your Swann camera system’s settings, including remote viewing and motion detection notifications.
By gathering all these components and equipment beforehand, you’ll be well-prepared to proceed with the installation process smoothly. Now that you have everything you need, it’s time to move on to the next step – selecting the ideal camera locations.
Step 2: Select the Ideal Camera Locations
Selecting the ideal camera locations is crucial for maximizing the effectiveness of your Swann security cameras. By strategically placing the cameras, you can ensure optimal coverage and minimize blind spots. Here are a few factors to consider when selecting camera locations:
1. Coverage area: Assess the areas you want to monitor and determine the coverage required. Consider points of entry, such as doors, windows, and gates, as well as common areas like driveways, patio areas, or backyard spaces. Identify any vulnerable spots that may be potential targets for intruders.
2. Line of sight: Ensure that the camera’s field of view is not obstructed. Avoid placing cameras behind objects or in locations where there are too many obstructions, such as trees or shrubs. A clear line of sight will provide better visibility and reduce the chances of missed events.
3. Height and angle: Mounting the cameras at an appropriate height and angle is vital. Position them high enough to discourage tampering, but not so high that it affects the quality and detail of the captured footage. Aim for a downward angle to capture a wider field of view and minimize blind spots.
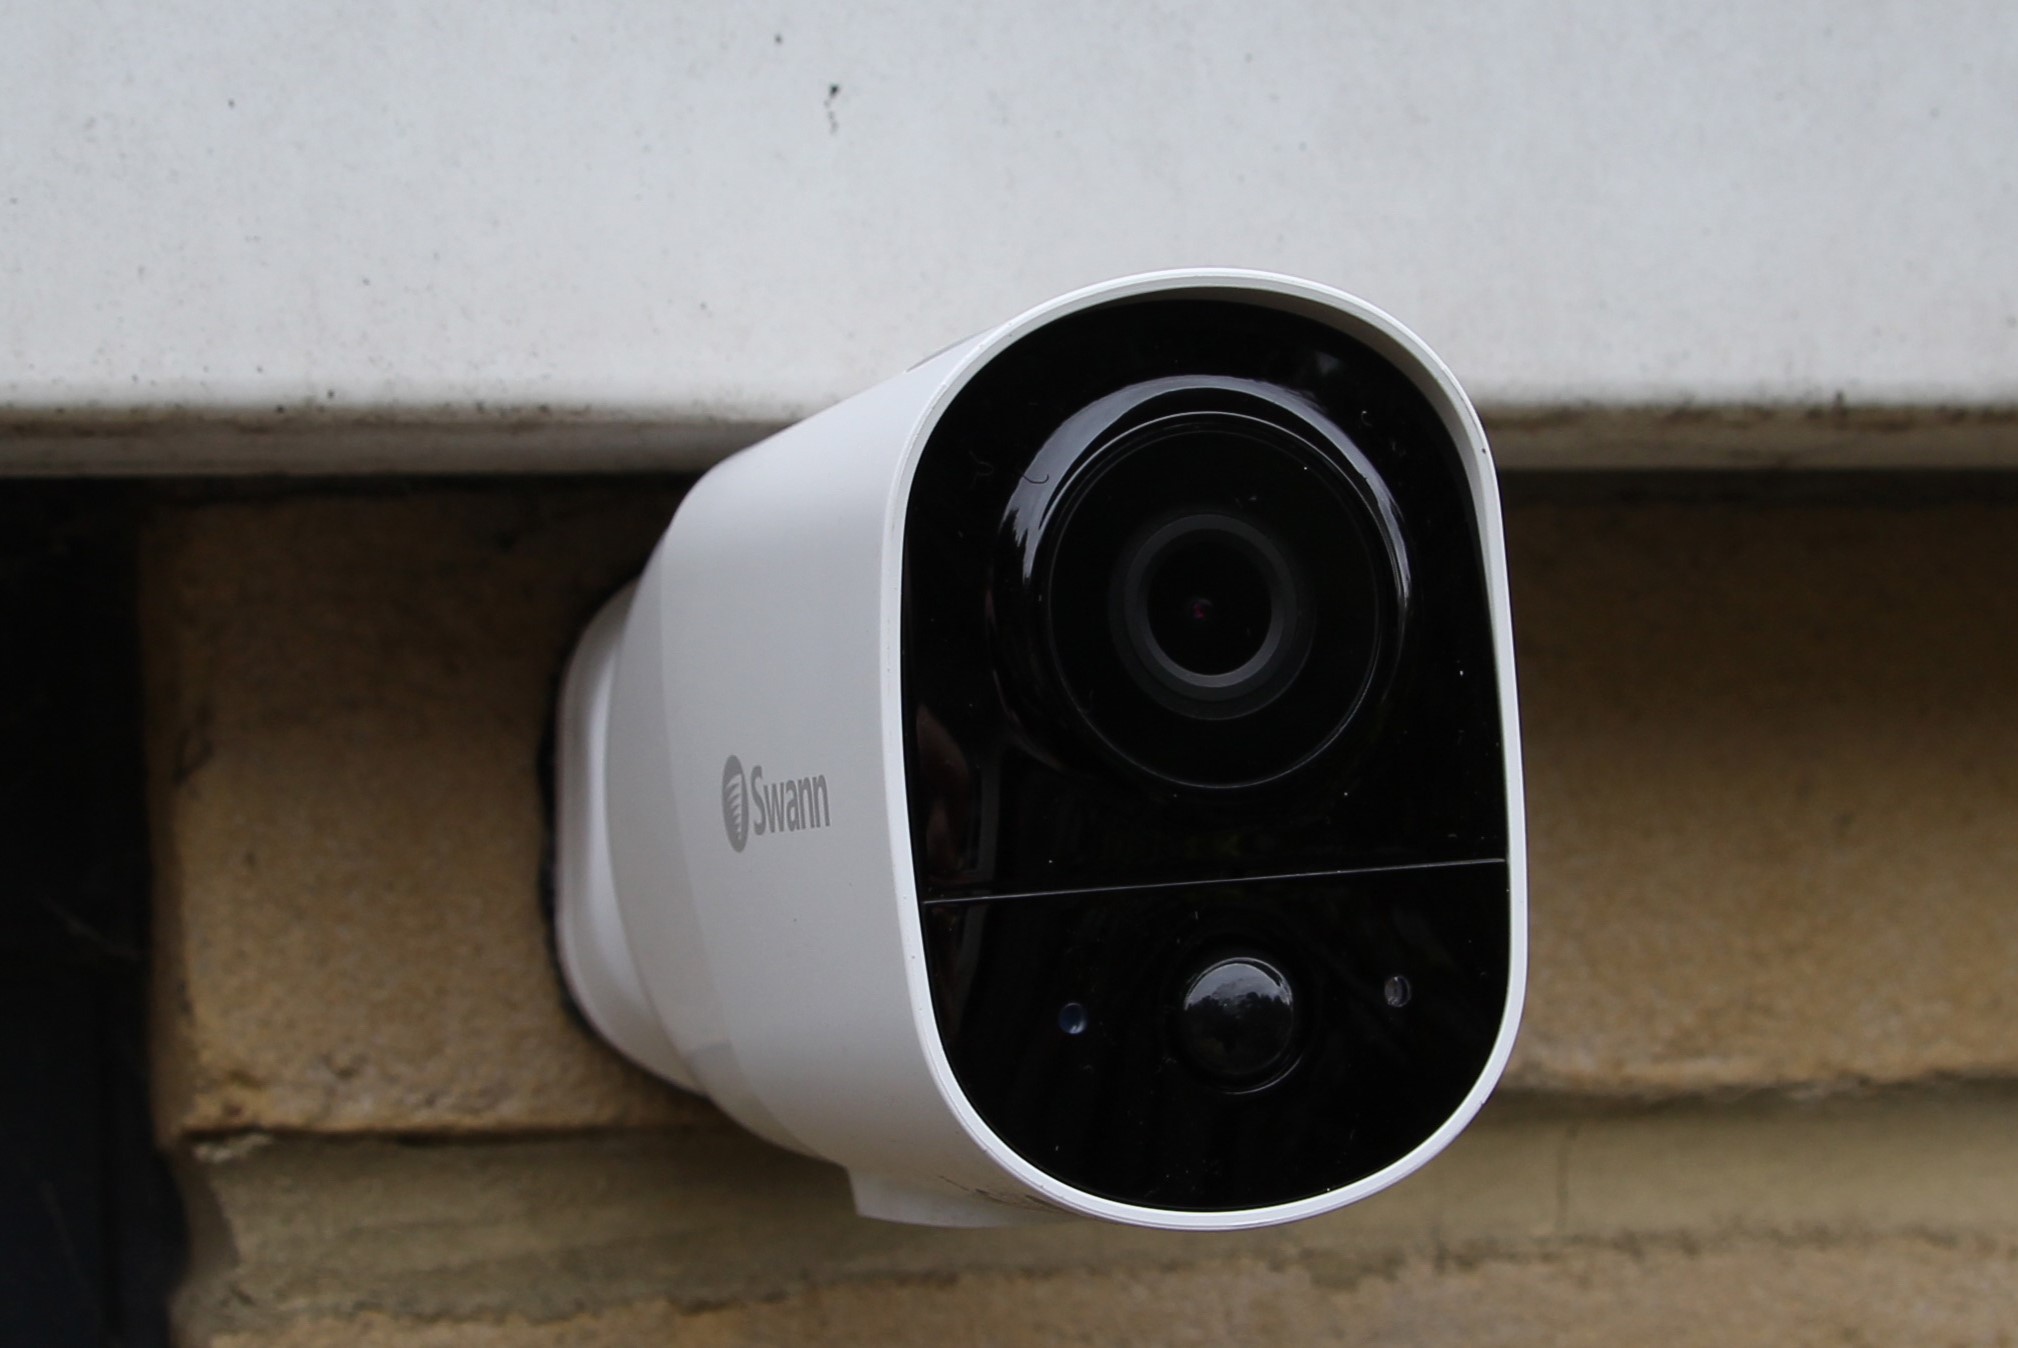
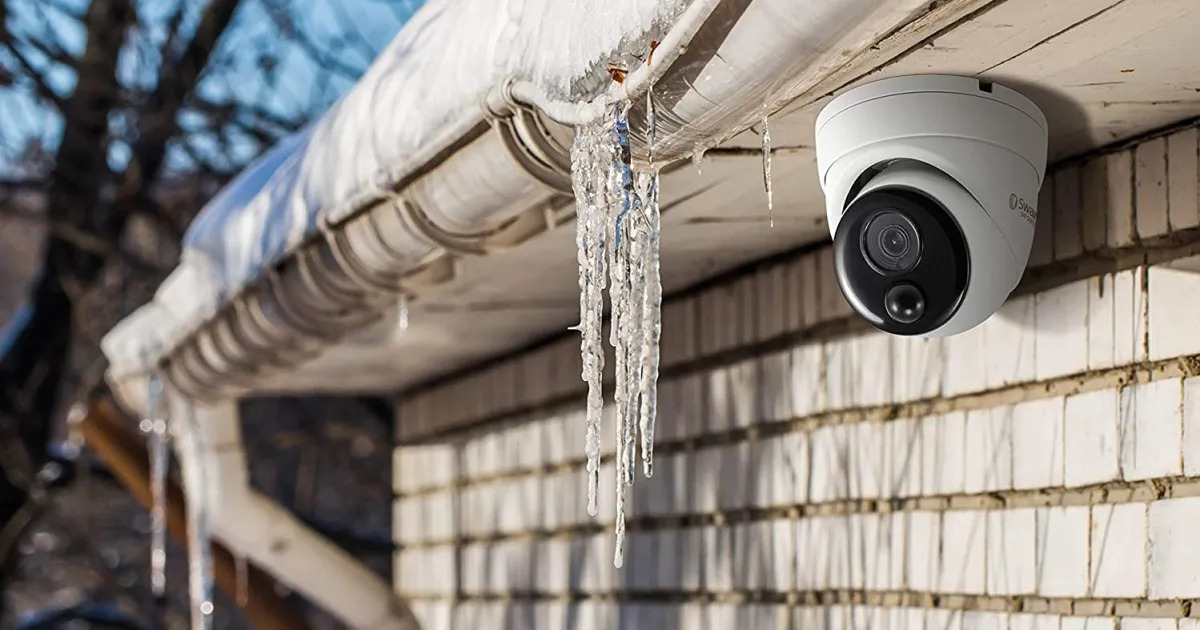
4. Weather resistance: Swann outdoor security cameras are designed to withstand various weather conditions. However, it’s still important to consider the exposure to rain, direct sunlight, or extreme temperatures when selecting camera locations. Look for areas that provide adequate protection or consider installing camera covers for extra protection.
5. Power source accessibility: Ensure that the selected camera locations are within reach of a power source. If you’re using wireless cameras, check the battery life and proximity to a power outlet for charging. It’s important to have a reliable power supply to keep your cameras functioning properly.
6. Privacy considerations: Respect privacy boundaries and legal regulations when positioning your cameras. Avoid pointing the cameras directly into neighboring properties or areas where privacy may be expected. Aim to cover your own property while being mindful of others’ privacy rights.
Take your time to evaluate different camera locations and angles. It can be helpful to create a rough sketch of your property and mark potential camera positions. This will allow you to visualize the coverage areas and ensure that no crucial spots are left unmonitored. Once you have identified the ideal camera locations, it’s time to move on to the next step – mounting the cameras.
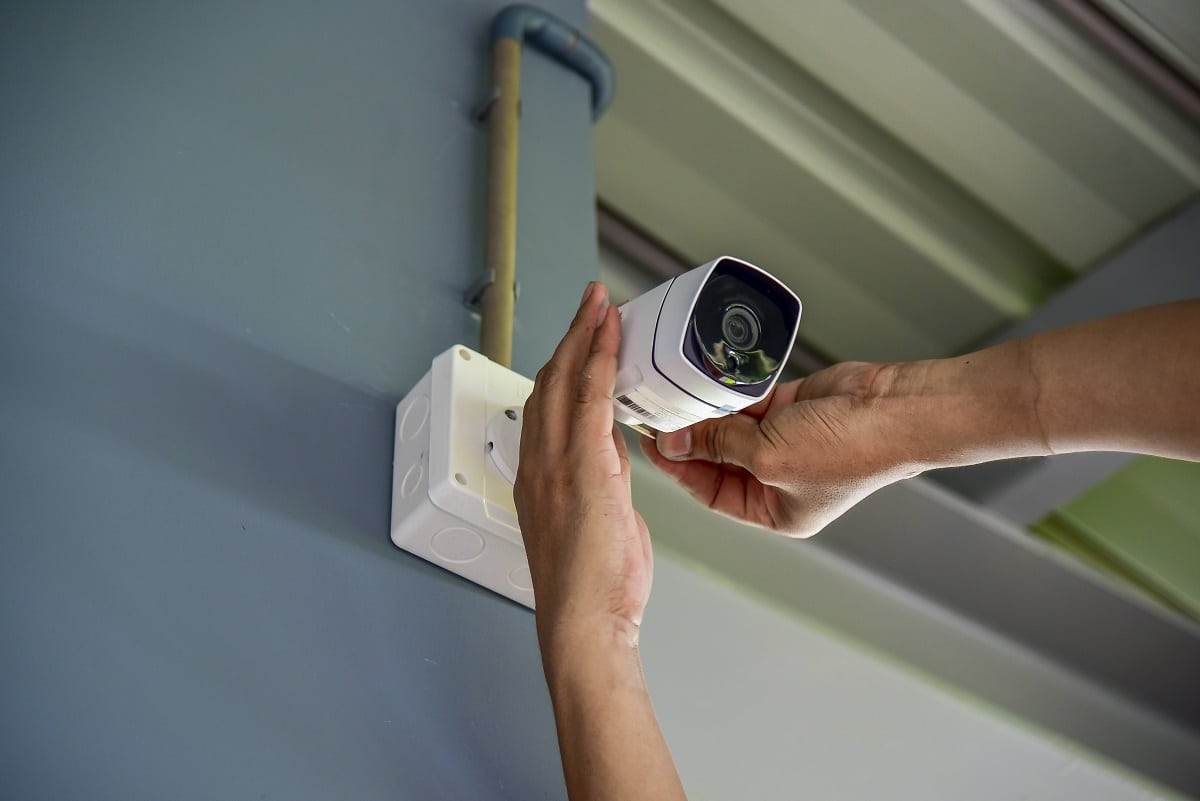
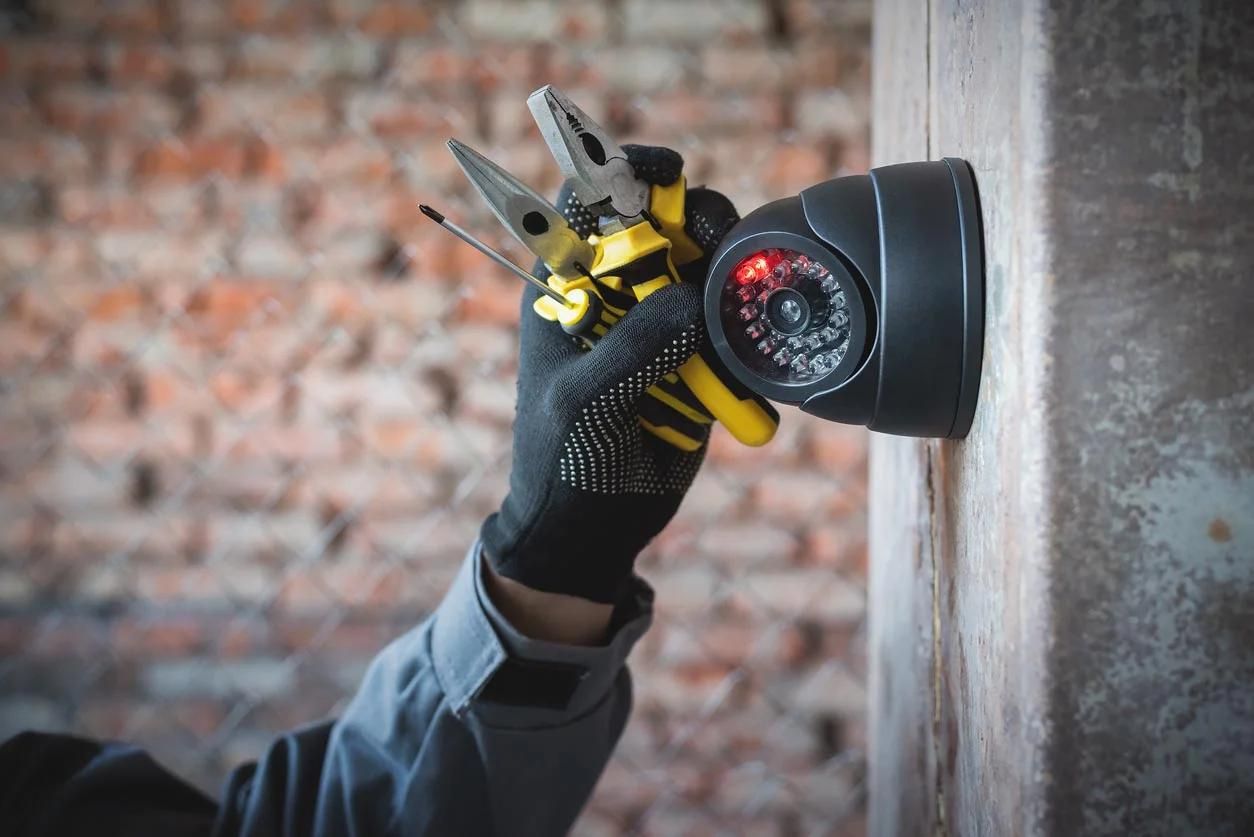
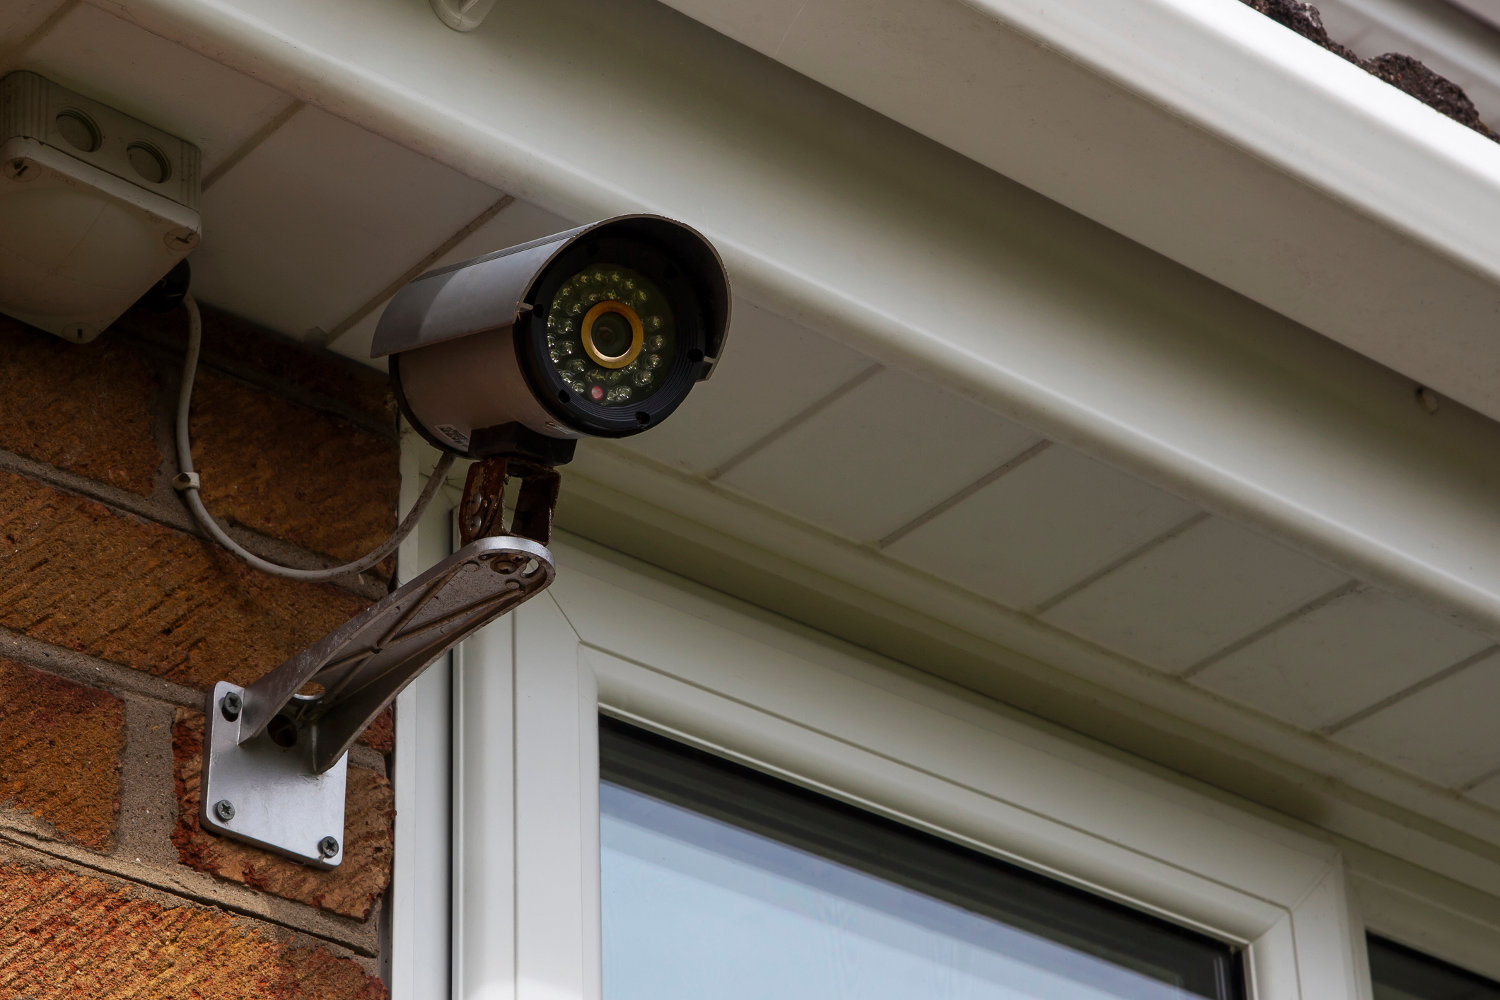
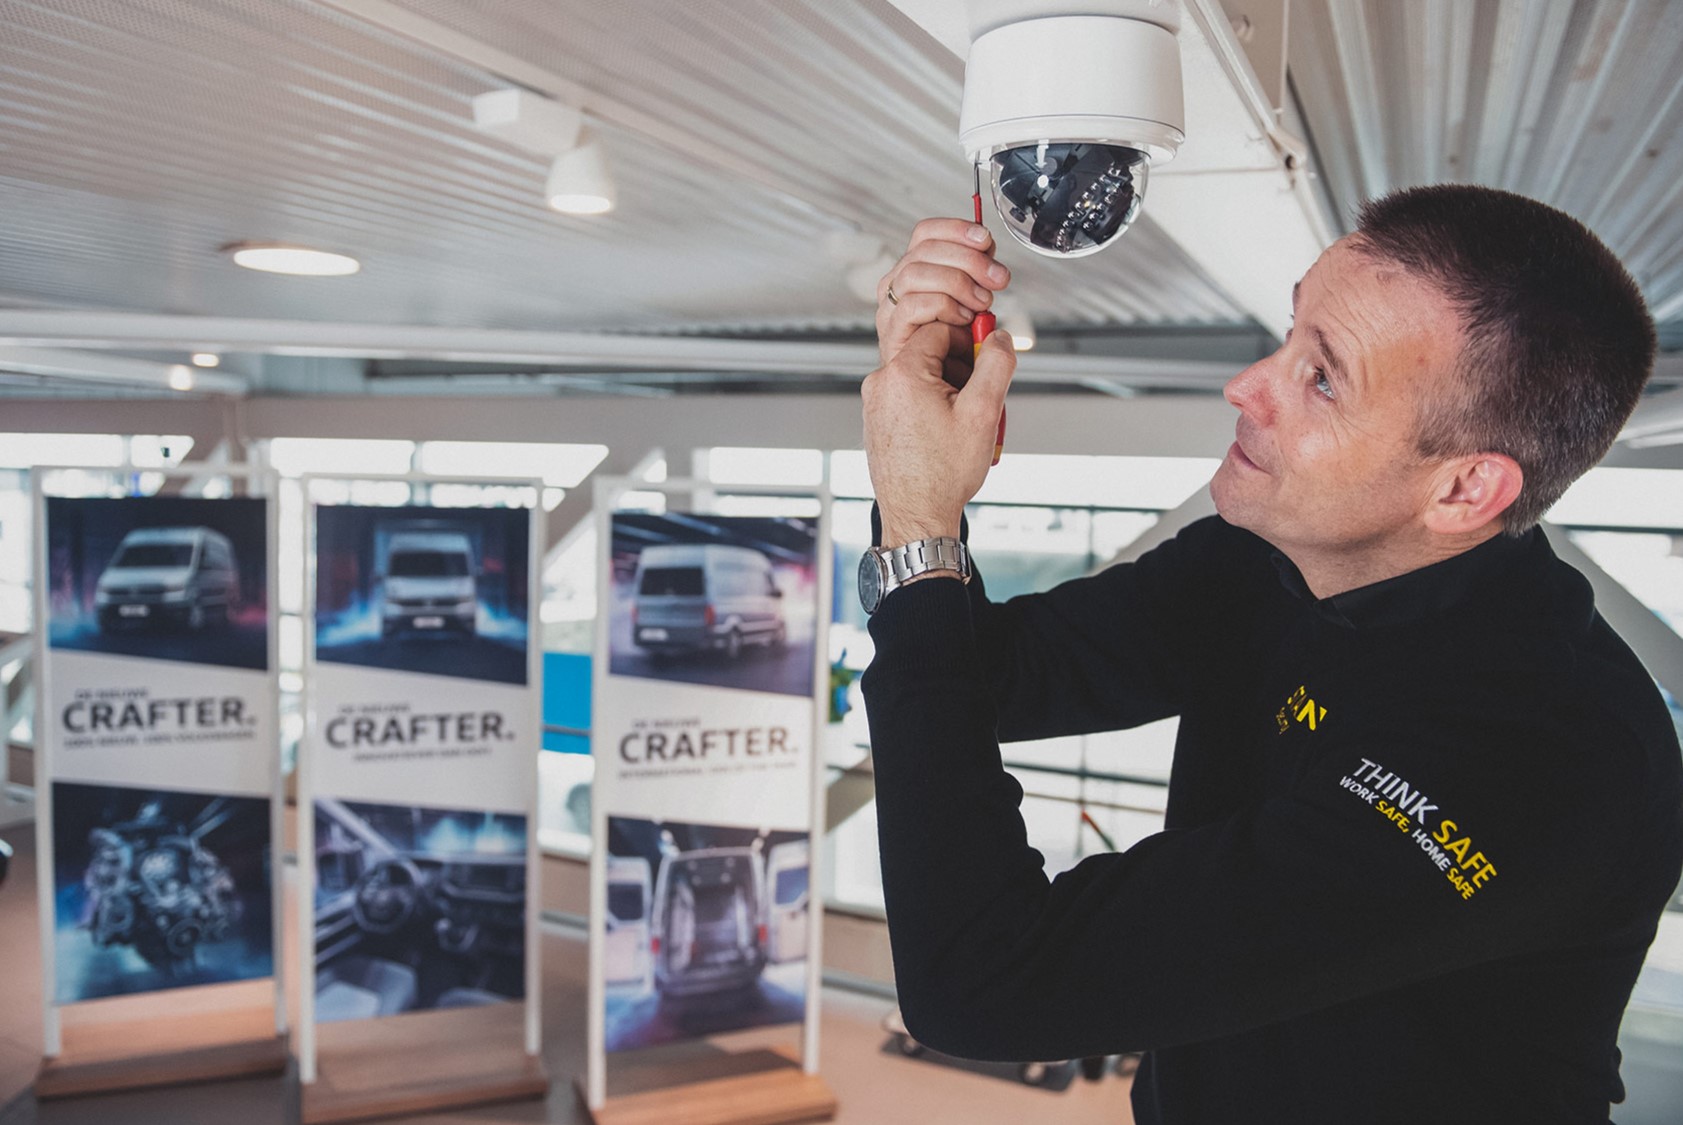
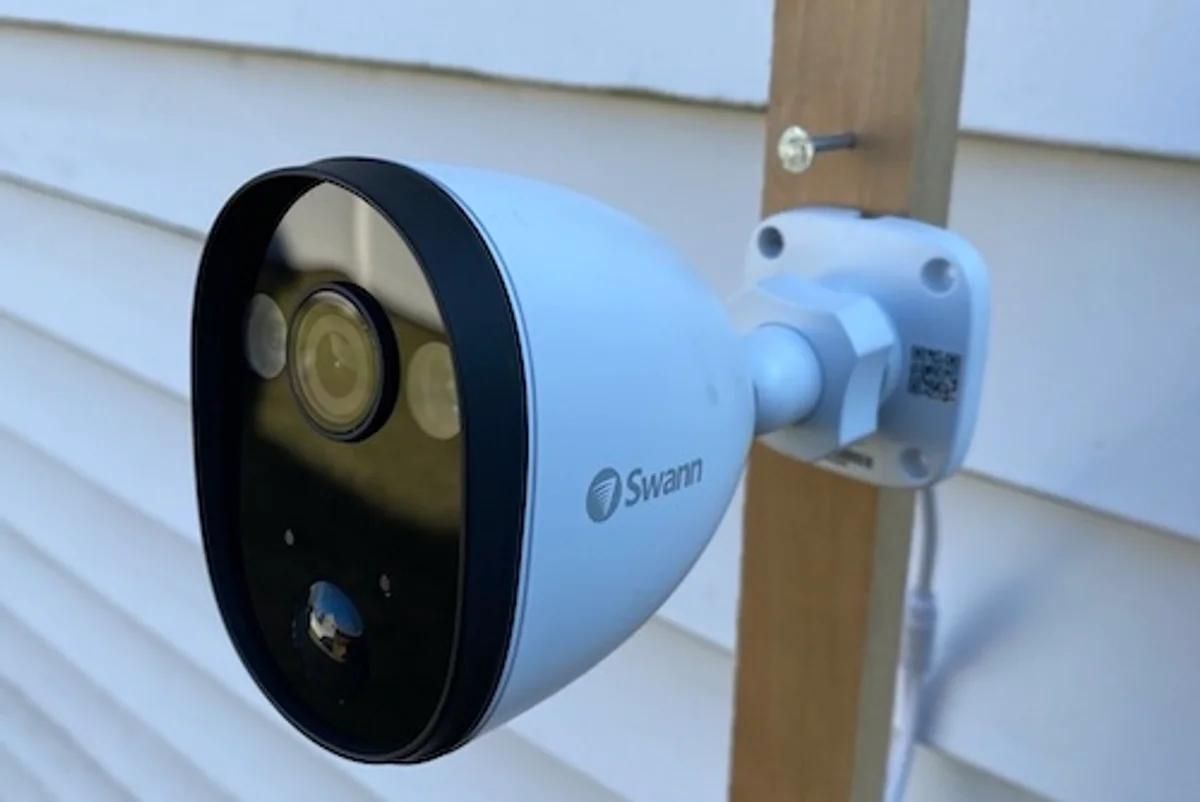
Step 3: Mount the Cameras
Now that you have selected the ideal camera locations, it’s time to mount your Swann security cameras. Proper mounting ensures stability, optimal positioning, and a clear view of the monitored areas. Follow these steps to mount your cameras securely:
1. Prepare the mounting brackets: Swann cameras typically come with mounting brackets that allow you to attach them to walls, ceilings, or other surfaces. Locate the included brackets and ensure they are ready for installation.
2. Gather the necessary tools: Utilize a drill, appropriate screws, and a screwdriver to attach the mounting brackets. Make sure to use the correct size and type of screws based on the surface you are mounting the cameras on.
3. Position the camera: Place the camera onto the mounting bracket and adjust the angle to achieve the desired field of view. Ensure that the camera lens is clean and free from any obstructions that may affect image quality.
4. Mark the mounting points: Use a pencil or a marker to mark the spots where the screws will go. Double-check the alignment and make sure the camera is level.
5. Drill pilot holes: Before screwing in the mounting brackets, drill pilot holes to ensure a secure and clean installation. Use the appropriate drill bit size for the screws you are using and follow the instructions provided by Swann.
6. Attach the mounting brackets: Securely screw the mounting brackets into the pilot holes. Ensure that the brackets are tightly fastened to provide stability to the cameras.
7. Connect the cables: Once the cameras are mounted, carefully connect the cables to the cameras. Swann cameras usually have connectors that allow you to easily connect the cables without the need for additional tools. Ensure that the connections are secure to maintain a reliable signal.
8. Conceal the cables (optional): If desired, you can conceal the cables by routing them through walls, conduits, or using cable clips. This will provide a cleaner and more professional appearance while minimizing the chances of tampering.
Remember to follow the specific instructions provided by Swann for mounting their cameras as different models may have slight variations in the installation process. Additionally, pay attention to any specific weatherproofing requirements for outdoor cameras to ensure their durability.
By following these steps, you will have successfully mounted your Swann security cameras, bringing you one step closer to a fully functional surveillance system. Now it’s time to connect the cameras to the DVR in the next step.
Step 4: Connect the Cameras to the DVR
With your Swann security cameras securely mounted, it’s time to connect them to the DVR (Digital Video Recorder). This step establishes the connection between the cameras and the recording device, allowing you to capture and store footage. Follow these steps to connect your cameras to the DVR:
1. Identify the camera inputs on the DVR: Locate the camera inputs on the back or front panel of the DVR. These inputs are typically labeled with numbers or labeled as “camera in.”
2. Match the camera channels with the inputs: Match each camera with the corresponding camera input on the DVR. If your DVR has eight inputs, ensure you connect each camera to the correct channel to maintain proper surveillance coverage.
3. Connect the cables: Take the cables from the cameras and connect them to the corresponding camera inputs on the DVR. Swann cameras often use BNC cables for video transmission. Ensure that the connections are secure and tight to avoid signal loss.
4. Power up the cameras: Connect the power cables of the cameras to a power source. If using individual power adapters, plug them into a power outlet. If you have a central power supply for multiple cameras, ensure it is connected to a reliable power source.
5. Power up the DVR: Plug in the power adapter for the DVR and turn it on. The DVR will start up, and you will see the cameras’ live feed on your monitor or TV.
6. Check the video feed: Verify that the cameras’ video feed is displaying correctly on the monitor connected to the DVR. Ensure that each camera is capturing the desired area and adjust the angle if necessary.
7. Configure camera settings: Access the DVR’s settings menu to configure camera-specific settings such as motion detection, recording schedules, and video quality. Consult the user manual of your Swann DVR for detailed instructions on accessing and adjusting these settings.
8. Test the camera feeds: Perform a quick test by walking in front of each camera’s field of view to verify that the motion detection and recording functions are working correctly. This will also help you identify any blind spots or areas that need further adjustment.
By following these steps, you will successfully connect your Swann security cameras to the DVR, allowing you to record and monitor your property. Now that your cameras are connected, let’s move on to step 5 and set up the DVR to ensure it meets your specific requirements.
When installing Swann security cameras outdoors, make sure to choose a location with a clear view, install the cameras at a height of 8-10 feet, and use weatherproof cable and connectors for durability.
Step 5: Set Up the DVR
Setting up the DVR (Digital Video Recorder) is a crucial step after connecting your Swann security cameras. This step involves configuring the DVR’s settings to meet your specific requirements and preferences. Follow these steps to set up your Swann DVR:
1. Access the DVR’s settings menu: Use the on-screen display (OSD) or remote control provided by Swann to navigate to the settings menu. The exact method may vary depending on the model of your DVR. Refer to the user manual for detailed instructions on accessing the settings.
2. Language and date/time settings: Set the appropriate language and ensure the date and time are accurately configured. This information is essential for organizing recordings and playback in chronological order.
3. Storage settings: Configure the storage settings based on your needs. This includes choosing the desired recording mode (continuous, scheduled, or motion detection), setting the duration of recorded footage, and specifying the storage capacity allocated for recordings.
4. Network settings: If you intend to access your Swann DVR remotely or receive notifications on your smartphone, configure the network settings. This may involve connecting the DVR to your home router using an ethernet cable or setting up the DVR’s Wi-Fi connection.
5. User accounts and passwords: Set up user accounts to control access to the DVR’s settings and recorded footage. It’s important to create strong and unique passwords to protect your system from unauthorized access.
6. Remote viewing setup: If you want to access your camera feeds remotely, follow the instructions provided by Swann to enable remote viewing. This may involve creating an account on the Swann website or downloading the appropriate mobile app for your smartphone or tablet.
7. Motion detection settings: Fine-tune the motion detection settings to minimize false alarms and ensure accurate detection. Adjust the sensitivity, detection zones, and configure email or push notification alerts for motion events.
8. Test the setup: After configuring the settings, perform a test to ensure that the DVR is recording properly and that you can access the camera feeds remotely. Check the playback functionality, verify recorded footage, and test the remote viewing feature to confirm its functionality.
Following these steps will help you set up your Swann DVR to your preferences and make the most out of its features. Remember to consult the user manual for your specific DVR model for detailed instructions and troubleshooting tips if needed. With the DVR set up, let’s move on to step 6 and adjust the camera settings for optimal performance.
Step 6: Adjust Camera Settings
After setting up your Swann DVR, it’s time to adjust the camera settings to ensure optimal performance and customization. By fine-tuning the camera settings, you can enhance the quality of the recorded footage and tailor the system to your specific needs. Follow these steps to adjust the camera settings:
1. Access the camera settings menu: Depending on the model of your Swann cameras, you can typically access the camera settings through the DVR’s user interface or by connecting directly to the camera using a web browser or dedicated software provided by Swann.
2. Image quality settings: Adjust the image quality settings based on your preferences and requirements. You can often customize parameters such as brightness, contrast, saturation, and sharpness to achieve the desired image quality.
3. Day/Night mode settings: Swann cameras often come with day/night functionality, allowing them to automatically switch between color mode during the day and infrared mode at night. Ensure that the settings are configured correctly to capture clear footage in different lighting conditions.
4. Motion detection settings: Fine-tune the motion detection settings for each camera. Adjust the sensitivity to avoid false alarms caused by minor movements, while ensuring that important events are accurately detected. Define specific areas within the camera’s field of view that should trigger motion alerts if desired.
5. Audio settings (if available): Some Swann camera models support audio recording. If you want to enable audio recording, access the camera settings menu and configure the audio input settings. Be mindful of local laws and regulations regarding audio recording.
6. Privacy mask settings: If there are areas within the camera’s field of view that you want to exclude from being recorded or viewed, you can use privacy mask settings. This feature allows you to block out specific regions, such as windows of neighboring properties, to maintain privacy.
7. PTZ (Pan-Tilt-Zoom) settings (if available): If you have PTZ cameras, you can adjust the pan, tilt, and zoom settings to control the camera’s movement and focus on specific areas within the camera’s range. Make sure to familiarize yourself with the PTZ controls to ensure accurate positioning.
8. Save and test the settings: After adjusting the camera settings, save the changes and perform a test to verify their effectiveness. Check the live feed and recorded footage to ensure that the settings are applied correctly and meet your expectations.
Remember to consult the user manual or Swann’s support resources for specific instructions on accessing and adjusting the camera settings for your particular model. Taking the time to customize the camera settings will help you optimize the functionality and performance of your Swann security system. Now that the camera settings are adjusted, let’s move on to step 7 and test the cameras to ensure they are functioning properly.
Step 7: Test the Cameras
Testing the cameras is a crucial step to ensure that your Swann security system is functioning properly and capturing the desired footage. By conducting thorough camera testing, you can identify any issues or adjustments that need to be made for optimal performance. Follow these steps to test your Swann cameras:
1. Live feed verification: Start by checking the live feed from each camera on your monitor or TV connected to the DVR. Ensure that each camera is displaying a clear and properly aligned view of the intended area. Pay attention to any areas with poor visibility or potential blind spots.
2. Motion detection and recording: Walk within the camera’s field of view to test the motion detection feature. Check that the cameras accurately detect and record motion events. Review the recorded footage to confirm that motion-triggered recordings are saved and accessible for playback.
3. Night vision testing: If your Swann cameras have night vision capabilities, test this feature to ensure clear visibility in low-light or dark conditions. Verify that the infrared LEDs are illuminating the area and producing quality black and white footage.
4. Adjustments and fine-tuning: Based on your testing, make any necessary adjustments to the cameras’ positioning, field of view, sensitivity, or other settings. This can help eliminate blind spots, reduce false alarms, and improve the overall performance of the system.
5. Network and remote viewing: If you set up remote viewing capabilities, test accessing the camera feeds from a remote location using a mobile device or computer. Ensure that the remote viewing functionality is working smoothly and that you can receive notifications or alerts, if configured.
6. Playback and archival testing: Test the playback functionality of recorded footage from different cameras. Verify that the recordings are accessible and that you can navigate through them easily using the DVR’s playback controls. Check if the storage capacity is sufficient for your needs and consider archiving or backing up important footage, if desired.
7. Repeat tests periodically: It’s a good practice to periodically repeat camera testing to ensure ongoing performance and identify any changes or issues that may arise over time. Regular testing helps maintain the integrity of your security system and allows for timely adjustments or maintenance.
By following these steps and conducting thorough camera testing, you can be confident in the functionality and reliability of your Swann security cameras. Address any issues or areas of improvement that arise during the testing process to ensure the best possible performance. Now that your cameras have been tested, you may consider moving on to step 8 for installing additional features to enhance your security system further.
Step 8: Install Additional Features (Optional)
Once you have installed and tested your Swann security cameras, you may consider installing additional features to further enhance your home security system. While these features are optional, they can provide added functionality and convenience. Here are a few optional features you might want to consider:
1. Surveillance Signs: Install visible surveillance signs or stickers around your property to act as a deterrent. These signs inform potential intruders that your property is under video surveillance, which may discourage them from attempting any illegal activities.
2. Security Lighting: Enhance your outdoor security by installing motion-activated security lights. Proper lighting can deter intruders and improve the visibility of your surveillance cameras’ footage, especially during nighttime recording.
3. Two-Way Audio: If your Swann cameras support two-way audio functionality, consider installing external speakers and a microphone. This allows you to communicate with visitors or potential intruders remotely, adding an extra layer of security and convenience.
4. Remote Access and Control: Take advantage of remote access features offered by Swann’s mobile app or software. This allows you to view live camera feeds, playback recorded footage, and receive notifications on your smartphone or computer from anywhere, providing peace of mind even when you’re not at home.
5. Cloud Storage: Consider subscribing to cloud storage services offered by Swann or other providers. Cloud storage provides secure off-site storage for your camera footage, ensuring that your recordings are protected even if the DVR is damaged or stolen.
6. Integration with Smart Home Systems: Integrate your Swann cameras with your existing smart home systems, such as voice assistants or home automation platforms. This allows you to control and monitor your cameras using voice commands or through a central hub.
7. Advanced Analytics: Some Swann camera models offer advanced analytics features, such as facial recognition or object detection. These features can provide more accurate alerts and specific information about events captured by your cameras.
8. Professional Monitoring: Consider subscribing to a professional monitoring service that can monitor your Swann cameras and alert emergency services if any suspicious activities are detected. This provides an additional layer of security and peace of mind.
Evaluate these additional features based on your specific security needs and budget. Choose the ones that align with your requirements and enhance the functionality of your Swann security cameras. Ensure that you follow the manufacturer’s instructions and guidelines when installing and configuring these features.
Remember to regularly maintain and update your security system to keep it up to date and functioning optimally. By incorporating additional features, you can customize your security setup to meet your specific needs and enhance the overall protection of your home.
Read more: Who Makes Swann Security Cameras
Conclusion
Installing Swann security cameras outdoors is a proactive and effective way to enhance the safety and security of your home. By following the step-by-step process outlined in this guide, you can successfully install and set up your Swann security cameras with confidence.
Starting with gathering the necessary equipment, selecting the ideal camera locations, and mounting the cameras securely, each step plays a vital role in ensuring optimal coverage and functionality. Connecting the cameras to the DVR, setting up the DVR, adjusting camera settings, and thorough camera testing ensures that your system is properly configured and operational.
Additionally, considering optional features such as surveillance signs, security lighting, two-way audio, remote access and control, cloud storage, integration with smart home systems, advanced analytics, and professional monitoring can further enhance the effectiveness of your Swann security system.
Remember to regularly maintain and update your security system to keep it working optimally, as well as periodically test and review its performance. By doing so, you can ensure that your home is well-protected and enjoy the peace of mind that comes from having a reliable surveillance system in place.
Stay vigilant and proactive in maintaining your security measures, and consult the user manuals and support resources provided by Swann for detailed instructions and troubleshooting assistance.
By following these guidelines and utilizing Swann’s quality security cameras, you can safeguard your home, deter potential intruders, monitor activities, and enjoy a greater sense of security for you and your loved ones.
Now that you're equipped with knowledge on setting up Swann security cameras outdoors, why not step up your home protection game? Our next guide on smart home security systems reveals cutting-edge options for 2024. Learn how to keep your dwelling safe with the latest innovations in surveillance technology. Don't miss out on securing your home with advanced features that offer peace of mind and enhanced safety.
Frequently Asked Questions about How To Install Swann Security Cameras Outdoor
Was this page helpful?
At Storables.com, we guarantee accurate and reliable information. Our content, validated by Expert Board Contributors, is crafted following stringent Editorial Policies. We're committed to providing you with well-researched, expert-backed insights for all your informational needs.