Home>Home Security and Surveillance>How To Pair New Camera On Bunker Hill Wireless Security System
Home Security and Surveillance
How To Pair New Camera On Bunker Hill Wireless Security System
Modified: March 6, 2024
Learn how to easily pair a new camera on your Bunker Hill wireless security system for enhanced home security and surveillance.
(Many of the links in this article redirect to a specific reviewed product. Your purchase of these products through affiliate links helps to generate commission for Storables.com, at no extra cost. Learn more)
Introduction
Welcome to our comprehensive guide on how to pair a new camera on the Bunker Hill wireless security system. With the increasing need for home security and surveillance, having a reliable and effective security system is vital. The Bunker Hill wireless security system offers advanced features and flexibility to help safeguard your home. In this article, we will walk you through the step-by-step process of setting up and pairing a new camera to your Bunker Hill system.
Whether you’re setting up your first camera or expanding your existing system, the process is relatively straightforward. By following the instructions outlined in this guide, you’ll be able to establish a seamless connection between your Bunker Hill security system and the new camera, giving you peace of mind and enhanced protection.
Before we dive into the pairing process, it’s important to gather the necessary equipment. You’ll need a compatible camera model and the Bunker Hill wireless security system. The camera should be designed specifically for use with the Bunker Hill system to ensure compatibility and optimal performance.
Once you have everything you need, you’ll be ready to start the process of setting up and pairing the camera. In the next section, we’ll guide you through mounting the camera, adjusting the angle, and connecting it to power.
Key Takeaways:
- Pairing a new camera with your Bunker Hill wireless security system is easy. Just gather the right equipment, set up the camera, and follow simple on-screen instructions to ensure seamless integration.
- After pairing, test the camera’s functionality and make any necessary adjustments to optimize its performance. Regular maintenance and testing ensure your home security system works flawlessly.
Step 1: Gathering the necessary equipment
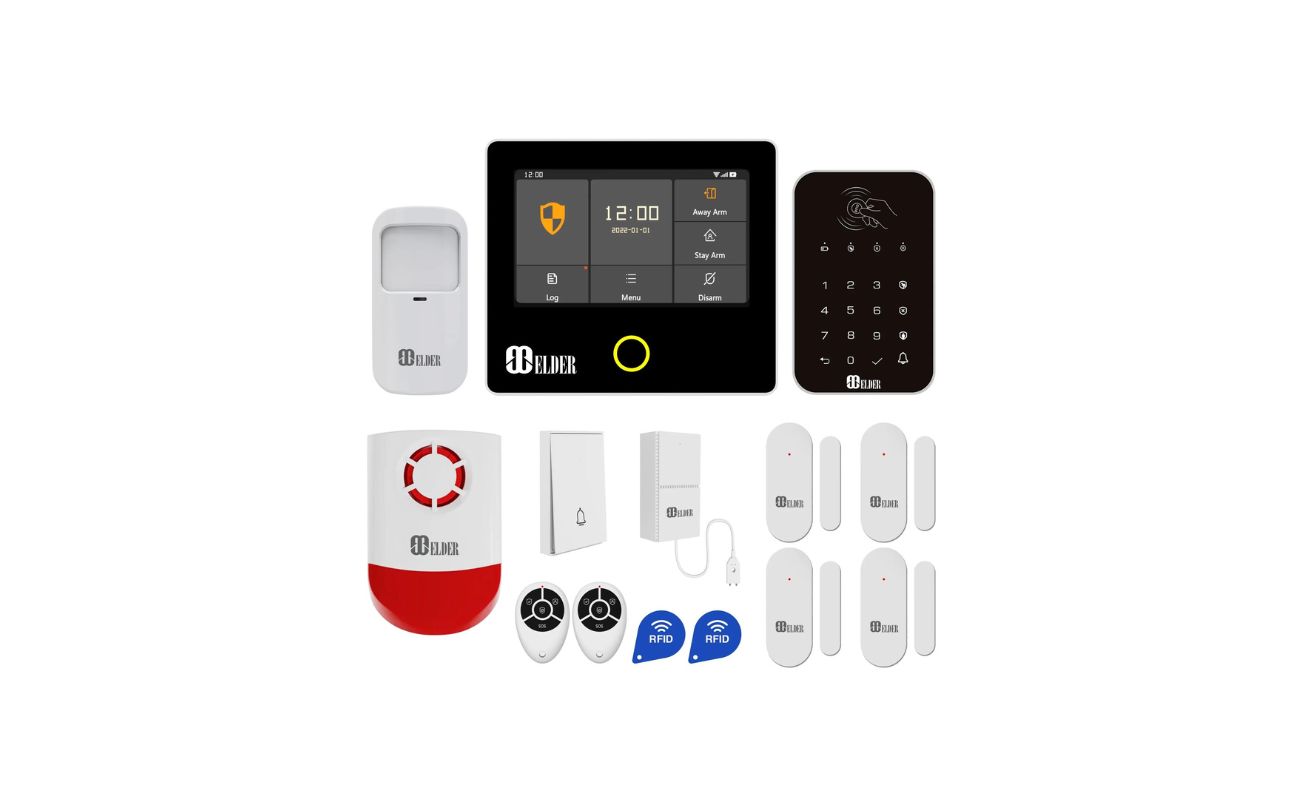
Before you begin the process of pairing a new camera on your Bunker Hill wireless security system, it’s important to gather the necessary equipment. Here’s what you’ll need:
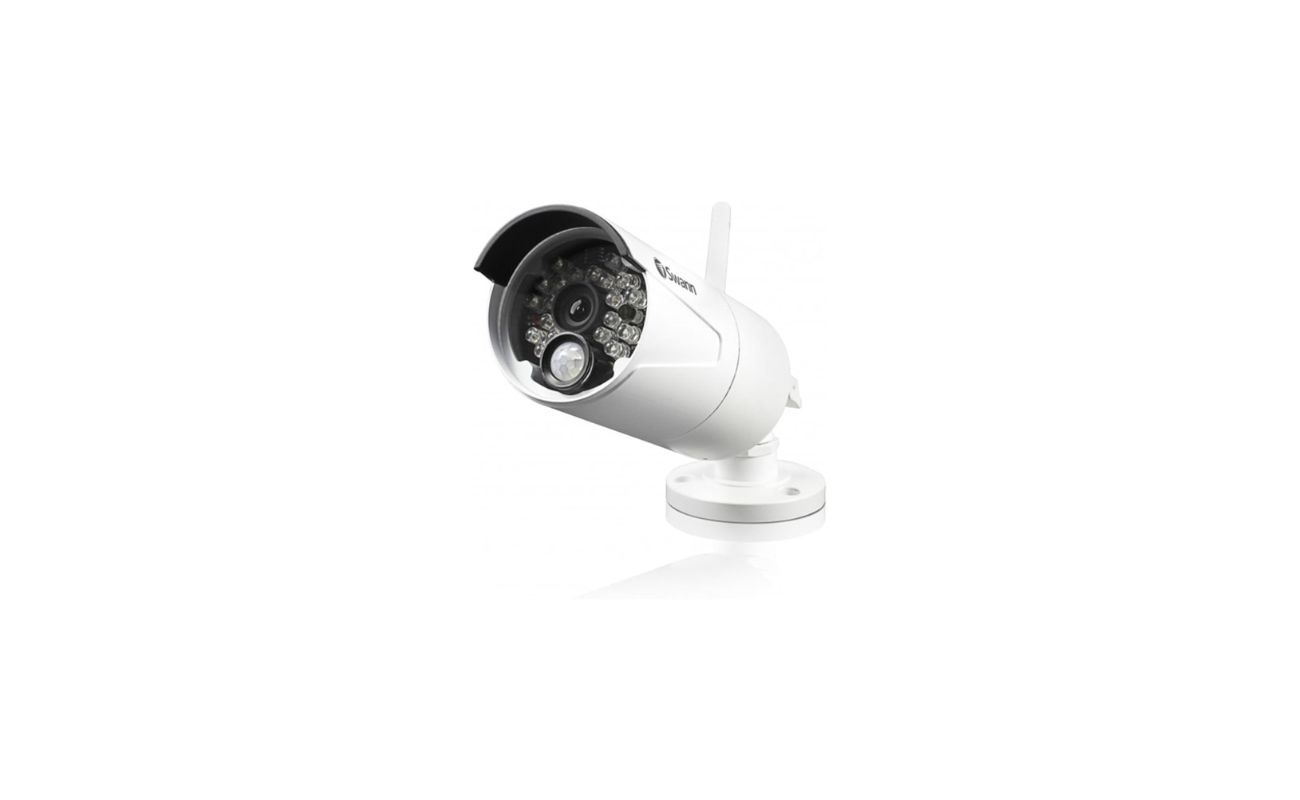
Camera: Make sure you have a compatible camera that is designed to work with the Bunker Hill wireless security system. There are various camera models available, so ensure that you choose one that matches your specific needs. Consider factors such as resolution, viewing angle, and any additional features you may require, such as night vision or motion detection.
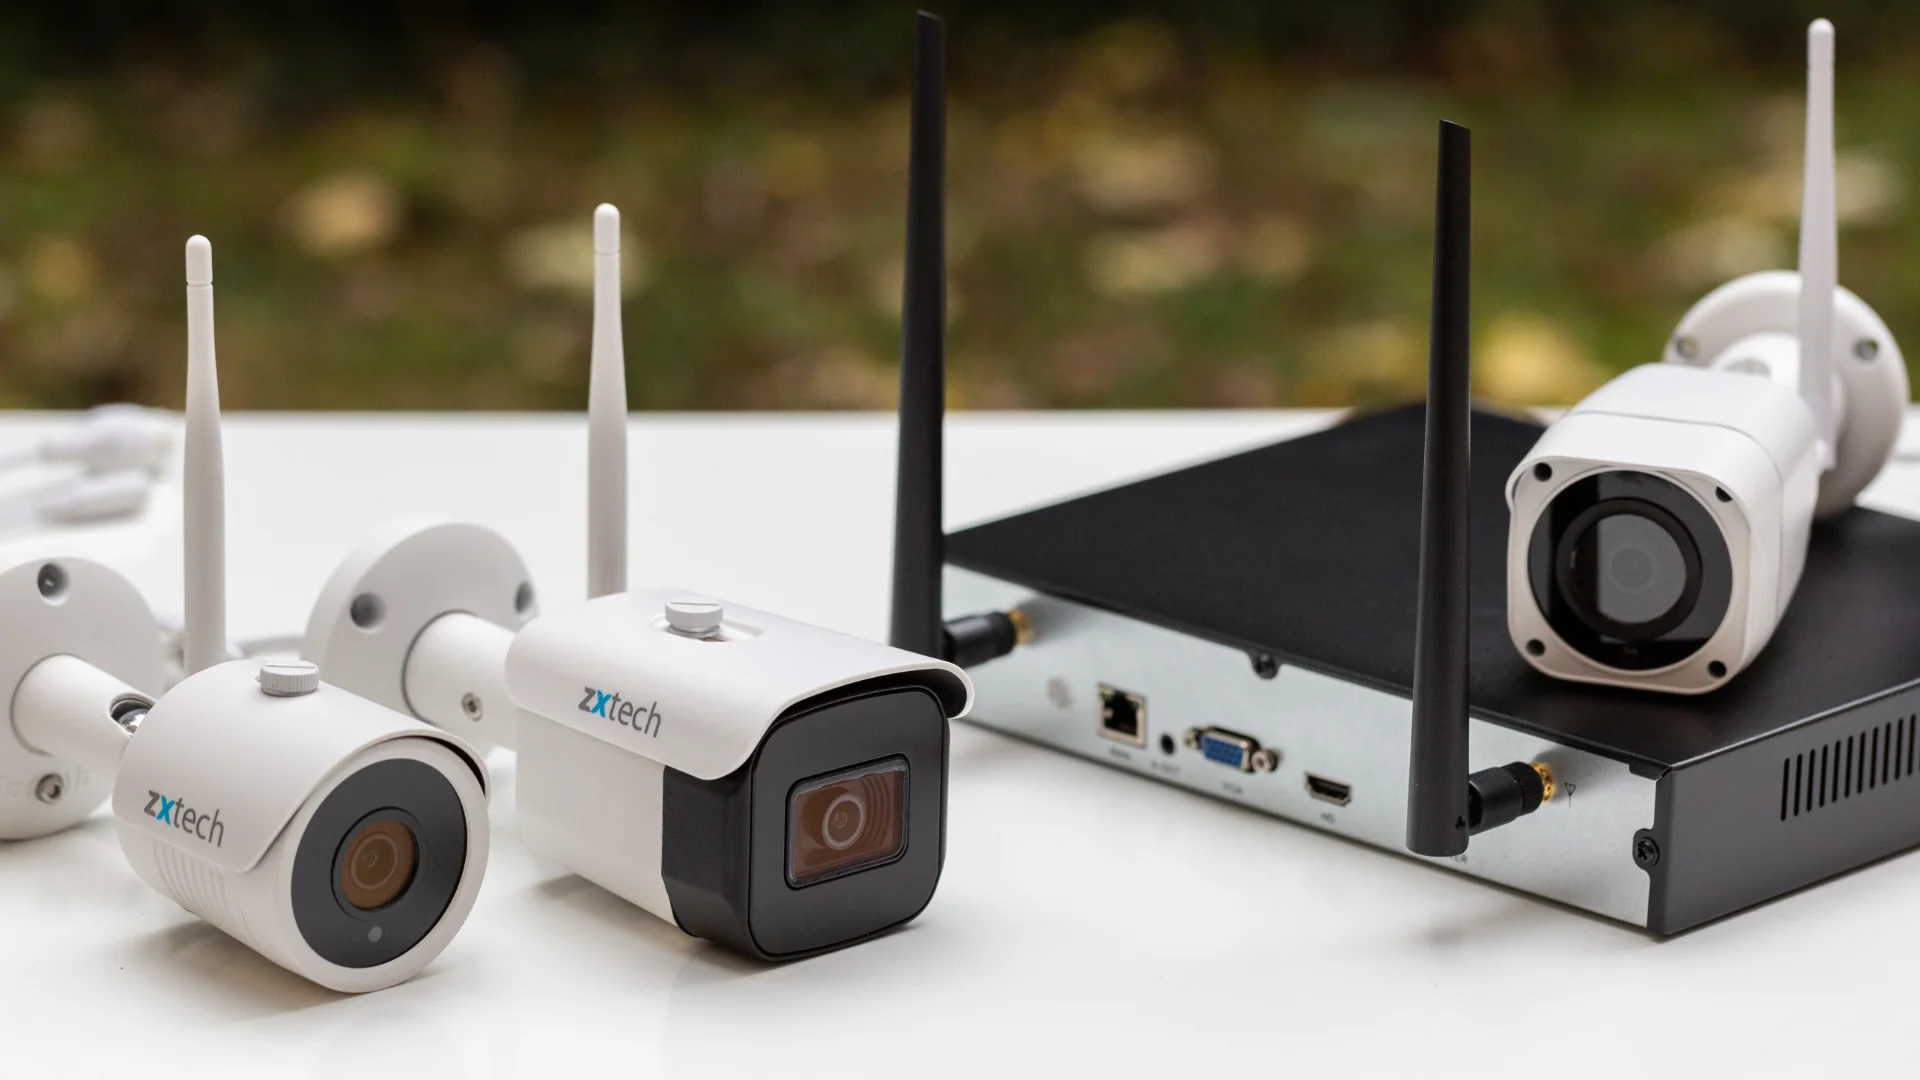
Bunker Hill wireless security system: Ensure that you have the main control unit of the Bunker Hill system. This unit acts as the central hub for your security system and allows you to connect multiple cameras. It is responsible for receiving and displaying the camera feeds, as well as managing the system’s settings and configurations.
Once you have the necessary equipment, you can proceed with the setup and pairing process. The next step will guide you through the process of setting up the camera, including mounting it and adjusting the angle.
Step 2: Setting up the camera
Now that you have all the necessary equipment, it’s time to set up the new camera for your Bunker Hill wireless security system. Follow these steps:
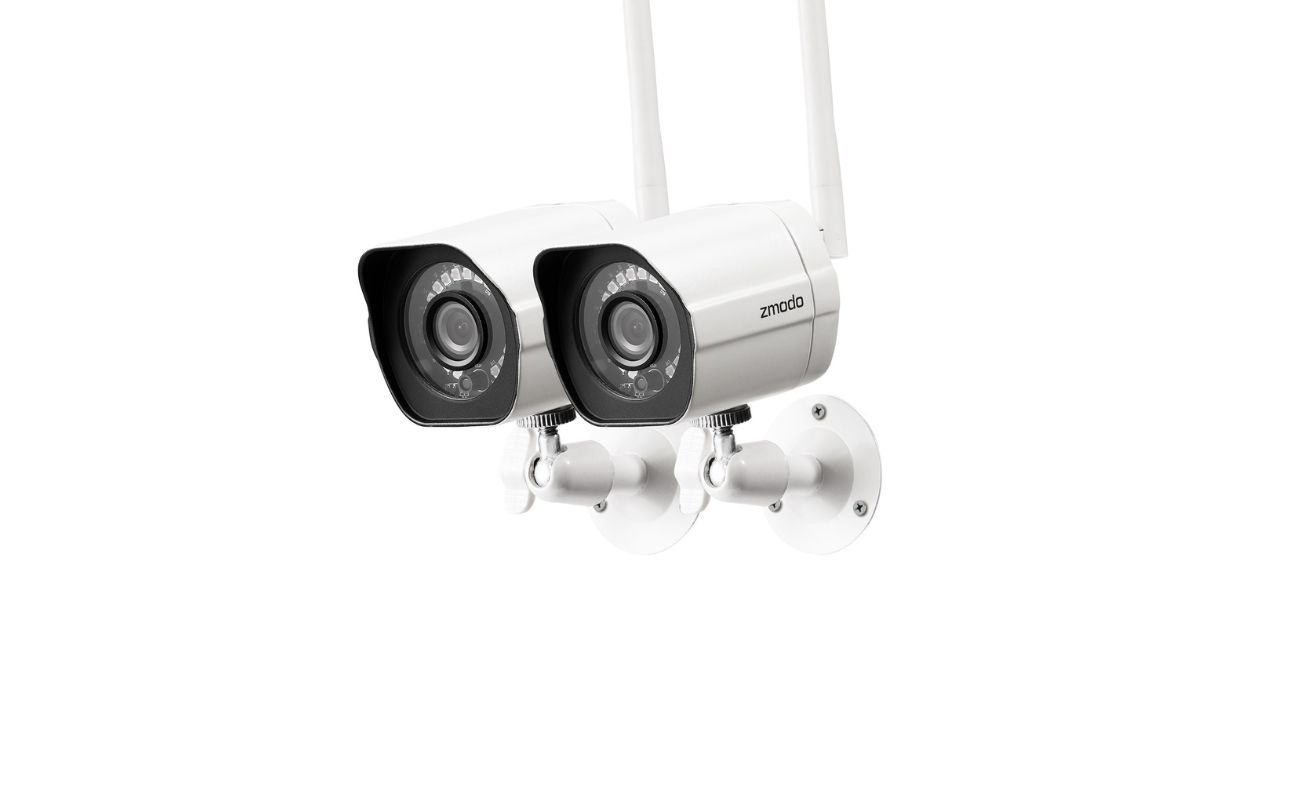
Mounting the camera: Choose an optimal location for your camera. It should provide a clear view of the area you want to monitor. Ensure that the camera is placed at a height that allows for an unobstructed view and is out of reach from potential intruders. Use the appropriate mounting brackets and screws to securely attach the camera to the desired surface, whether it’s a wall, ceiling, or other suitable structure.
Adjusting the camera angle: Once the camera is mounted, ensure that it is positioned at the desired angle. With most Bunker Hill cameras, you can adjust the angle either manually or by loosening specific screws for better maneuverability. Aim the camera to cover the intended area of surveillance and adjust it as needed to obtain the best view.
Connecting the camera to power: Locate the power input on the camera and connect it to a power source. This can be done by plugging the camera into an electrical outlet using the provided power adapter or utilizing a compatible power over ethernet (PoE) solution, if applicable. Ensure that the camera is securely connected and that there is a reliable power source to keep it operational.
Once you have successfully mounted the camera, adjusted the angle, and connected it to power, you are ready to proceed with pairing the camera to your Bunker Hill wireless security system. The next step will guide you through the pairing process, allowing you to seamlessly integrate the camera into your system.
When pairing a new camera on a Bunker Hill wireless security system, make sure to follow the manufacturer’s instructions carefully. Typically, this involves accessing the system’s settings, selecting the option to add a new camera, and following the on-screen prompts to complete the pairing process.
Step 3: Pairing the camera with the security system
Now that your camera is set up and ready, it’s time to pair it with your Bunker Hill wireless security system. Follow these steps to ensure a successful pairing:
Accessing the security system’s menu: Use the provided remote control or navigate to the main control unit of your Bunker Hill wireless security system. Most systems have an intuitive menu interface that can be accessed either through a monitor or a dedicated control panel. Turn on the system and ensure that you have a clear view of the menu screen.
Selecting the camera pairing option: Once you are in the security system’s menu, navigate to the camera settings section. Look for an option that allows you to pair a new camera or add a camera to the system. Depending on the model, this option may be labeled differently, but it should be easily identifiable. Select the camera pairing option to initiate the pairing process.
Following the on-screen instructions: Once you have selected the camera pairing option, the system will prompt you to follow a series of on-screen instructions. These instructions may involve specific button presses or inputting information to establish communication between the camera and the security system. Carefully read and follow each instruction as they appear on the screen.
During the pairing process, the security system will search for the camera and establish a connection. This may take a few moments, so remain patient and ensure that the camera is powered on and within the range of the wireless signal. Once the pairing is complete, you’ll receive confirmation on the screen, indicating that the camera is successfully integrated into your Bunker Hill wireless security system.
Proceed to the next step to learn how to test the camera and make any necessary adjustments to the settings.
Step 4: Testing the camera
Once you have successfully paired the new camera with your Bunker Hill wireless security system, it’s important to test its functionality to ensure it is capturing the desired footage and functioning as expected. Follow these steps to test and adjust the camera if necessary:
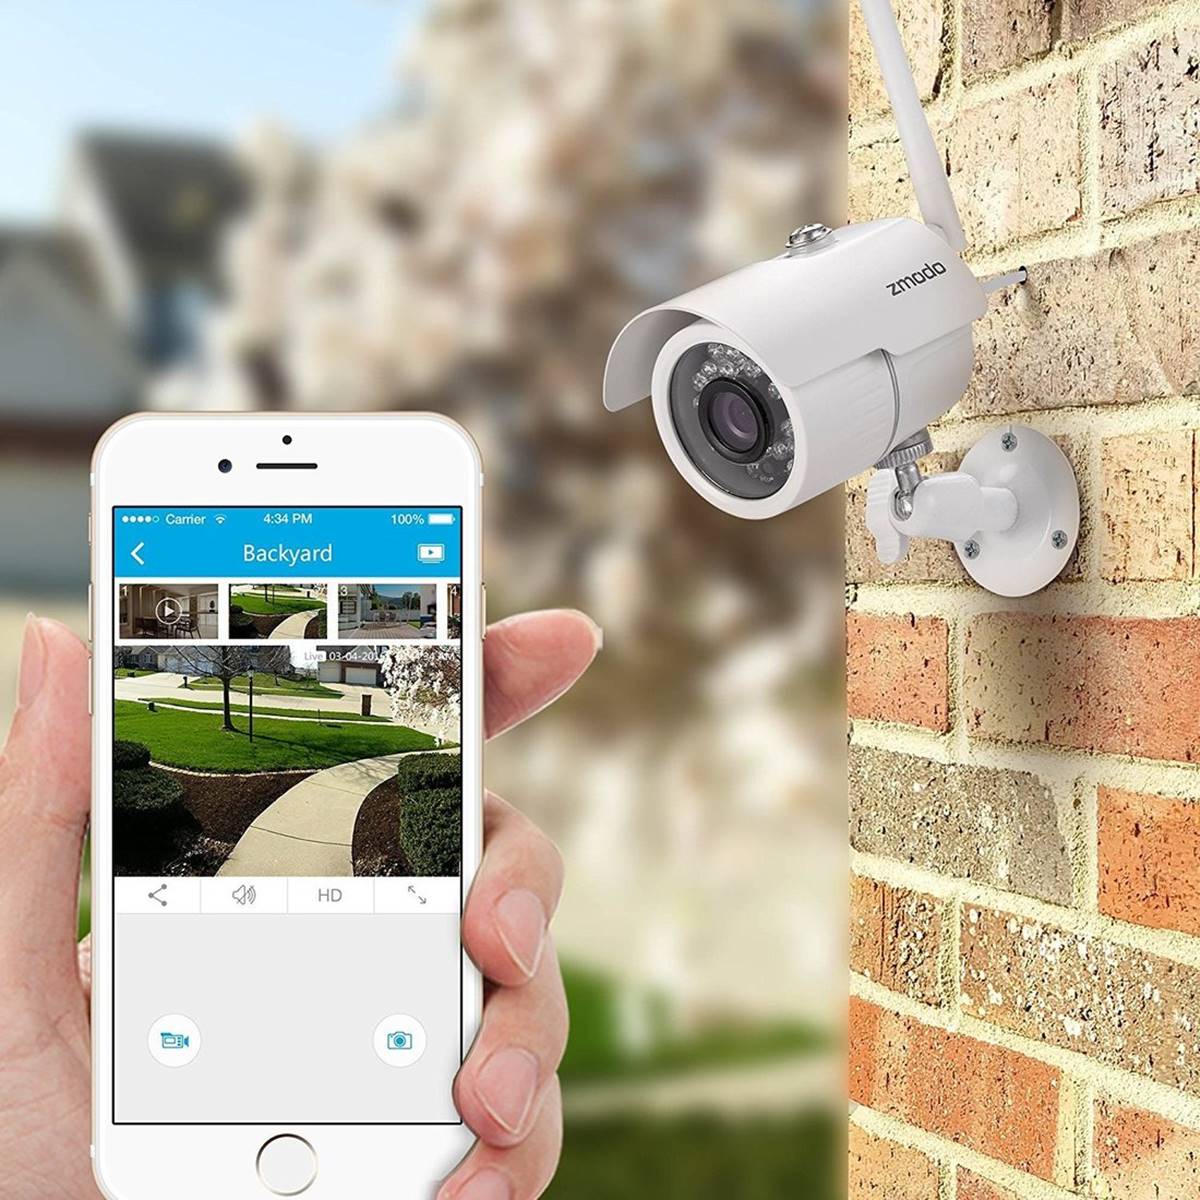
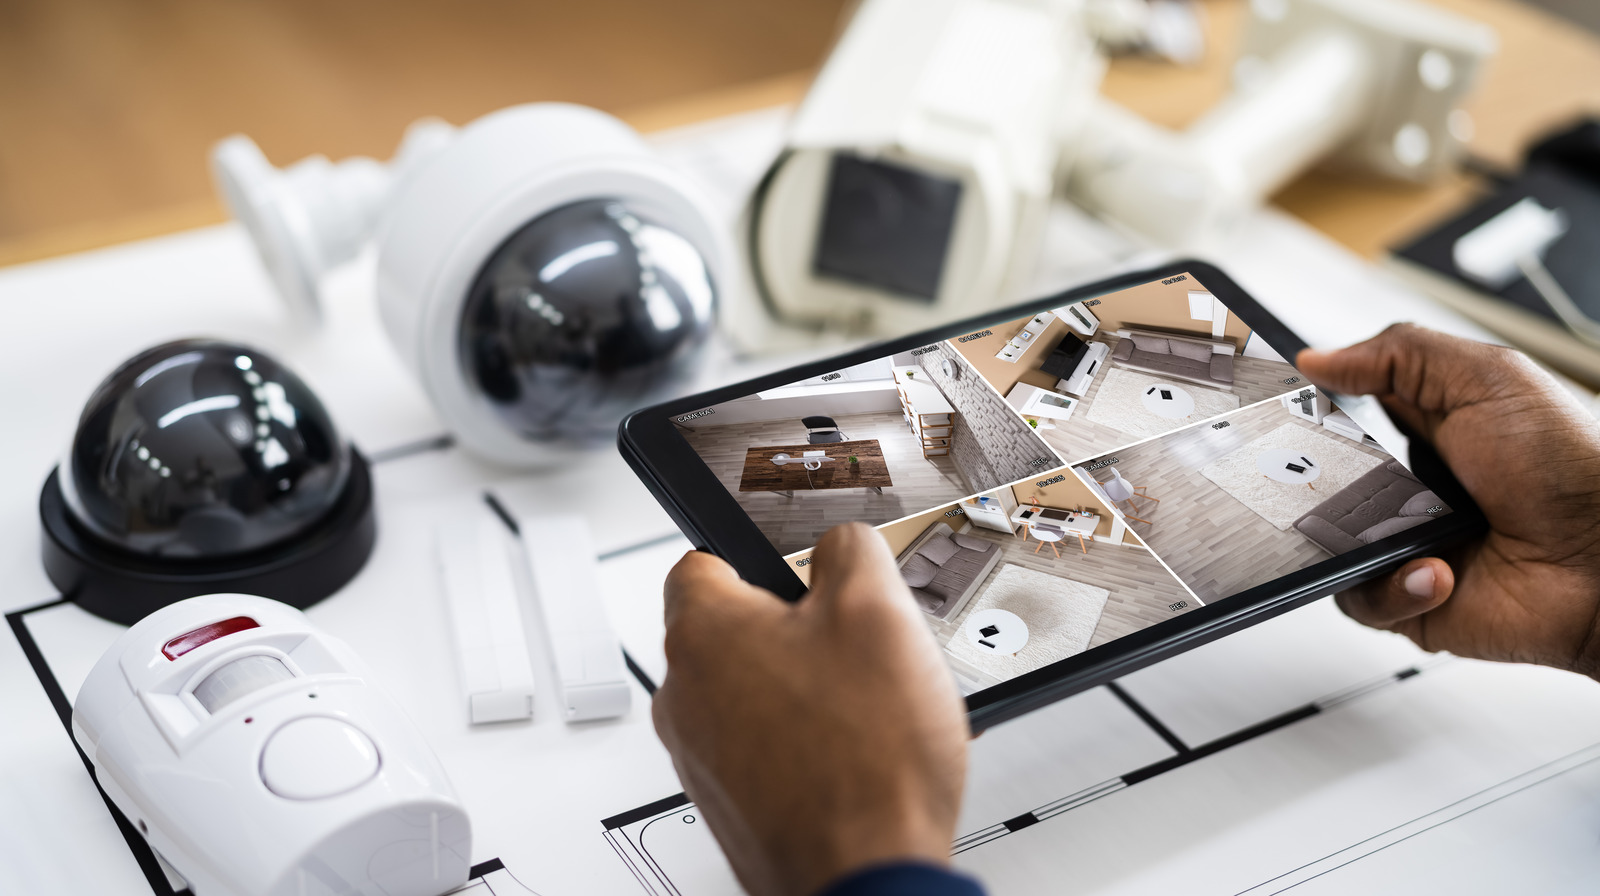
Checking the camera feed: Access the live camera feed on your Bunker Hill security system. Use the menu interface or designated app to view the footage captured by the newly paired camera. Pay attention to the clarity, quality, and field of view displayed on the monitor or device. Ensure that the camera is providing the desired coverage and that there are no obstructions blocking the view.
Adjusting settings if needed: Depending on your specific requirements, you may need to adjust certain settings on the camera or within the security system’s menu. This can include adjusting motion detection sensitivity, configuring email or push notification alerts, enabling night vision, or setting up recording schedules. Refer to the user manual or manufacturer’s instructions for guidance on accessing and modifying these settings.
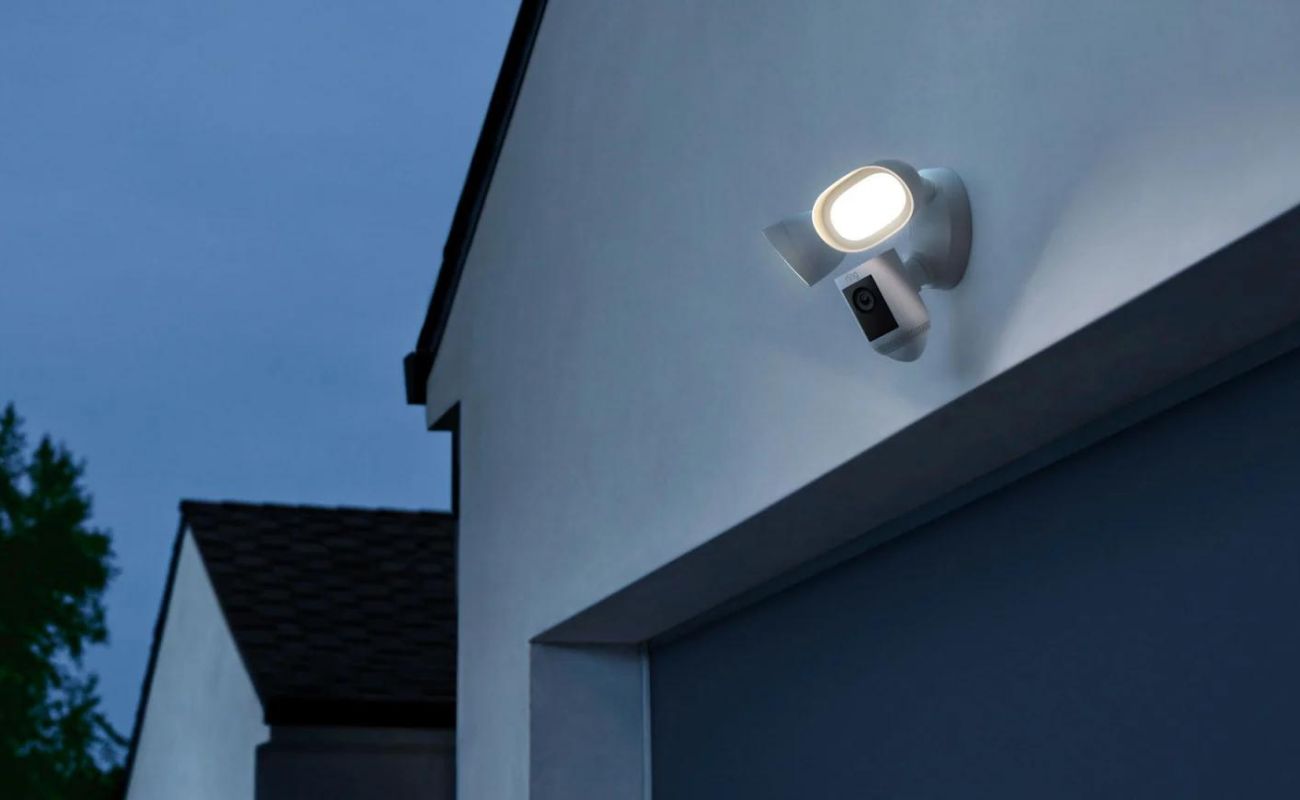
During the testing phase, it’s essential to verify that the camera is functioning properly in different lighting conditions, both during day and night. Make any necessary adjustments to optimize the camera’s performance and ensure it is capturing the desired footage according to your specific security needs.
Additionally, consider testing the camera’s range by walking around your property and checking if the signal strength remains consistent. Move to different areas to confirm that the camera’s wireless connection is stable and reliable throughout the designated coverage area.
By thoroughly testing the camera after pairing, you can identify any potential issues or areas that require further adjustment. This step helps ensure that your Bunker Hill wireless security system is working seamlessly and providing optimal protection for your home or property.
To wrap up, always refer to the user manual and manufacturer’s guidelines for detailed instructions specific to your Bunker Hill wireless security system and camera model. Regular maintenance, such as checking for firmware updates and cleaning the camera lens, is also recommended to keep your system in top-notch condition and maximize its performance.
Congratulations! You have successfully paired and tested your new camera on the Bunker Hill wireless security system. Your enhanced surveillance capabilities will provide you with peace of mind and an added layer of protection for your home.
Conclusion
Securing your home and ensuring the safety of your loved ones is of utmost importance. The Bunker Hill wireless security system offers a reliable solution for comprehensive home surveillance. By following the step-by-step guide outlined in this article, you can easily pair a new camera with your Bunker Hill system, expanding your security coverage and enhancing your peace of mind.
From gathering the necessary equipment to setting up the camera, pairing it with the security system, and testing its functionality, each step plays a crucial role in achieving a seamless integration. Mounting the camera, adjusting the angle, and connecting it to power are vital initial steps that lay the foundation for a successful pairing process.
With easy access to the security system’s menu, selecting the camera pairing option, and following the on-screen instructions, you can establish a secure connection and ensure effective communication between the camera and the system. Testing the camera’s functionality and making necessary adjustments further ensure optimal performance and coverage.
Remember to consult the user manual and manufacturer’s instructions specific to your Bunker Hill wireless security system and camera model for detailed guidance. Regular maintenance, such as firmware updates and lens cleaning, is also recommended to preserve the system’s efficiency and prolong its lifespan.
With your new camera successfully integrated into your Bunker Hill wireless security system, you can enjoy enhanced protection for your home and loved ones. Remote monitoring, motion detection, and other advanced features provide round-the-clock surveillance, giving you the confidence and peace of mind you deserve.
Investing in a robust security system and taking the necessary steps to pair and set up new cameras is a proactive approach to safeguarding your property. Stay vigilant, stay informed, and enjoy the added security and peace of mind that your Bunker Hill wireless security system provides.
Frequently Asked Questions about How To Pair New Camera On Bunker Hill Wireless Security System
Was this page helpful?
At Storables.com, we guarantee accurate and reliable information. Our content, validated by Expert Board Contributors, is crafted following stringent Editorial Policies. We're committed to providing you with well-researched, expert-backed insights for all your informational needs.