Home>Home Security and Surveillance>How To Set Up Swann Security Camera
Home Security and Surveillance
How To Set Up Swann Security Camera
Modified: October 21, 2024
Learn how to set up a Swann security camera for your home security and surveillance needs. Step-by-step instructions and tips to ensure maximum protection.
(Many of the links in this article redirect to a specific reviewed product. Your purchase of these products through affiliate links helps to generate commission for Storables.com, at no extra cost. Learn more)
Introduction
Welcome to our comprehensive guide on how to set up your Swann security camera system! Home security is a top priority for every homeowner, and having a reliable surveillance system is essential for peace of mind and ensuring the safety of your property. Swann offers a range of high-quality security cameras that are easy to install and provide excellent video quality. In this article, we will walk you through the step-by-step process of unboxing, mounting, connecting, and configuring a Swann security camera system.
Whether you’re a tech-savvy individual or a complete novice, rest assured that this guide will cover everything you need to know to get your Swann security camera up and running. From the initial unboxing to the final testing, we’ll guide you through each stage of the setup process.
Before we dive into the nitty-gritty details, let’s take a moment to appreciate the importance of a home security system. With the rise in burglaries and property break-ins, it’s crucial to have a robust surveillance system in place to protect your loved ones and your valuable possessions. A Swann security camera not only acts as a deterrent for potential intruders but also provides crucial evidence in the event of a crime.
Swann security cameras offer advanced features such as high-definition video recording, night vision capabilities, motion detection, and remote viewing. This means you can monitor your property in real-time from anywhere in the world using your smartphone or computer. Whether you’re at home, at work, or on vacation, you can have peace of mind knowing that your Swann security camera system is keeping a watchful eye on your property.
Now that we understand the significance of having a Swann security camera system, let’s dive into the step-by-step process of setting up your camera. By following this guide, you’ll be able to enjoy the benefits of a fully functioning surveillance system in no time!
Key Takeaways:
- Setting up a Swann security camera is a crucial step in protecting your home. Follow the step-by-step guide to unbox, mount, connect, configure, and test your camera for reliable surveillance.
- With Swann security cameras, you can enjoy peace of mind and remote monitoring. Ensure optimal coverage, configure settings, and test the cameras for enhanced security and protection.
Read more: How To Hook Up A Swann Wired Security Camera
Step 1: Unboxing the Swann Security Camera
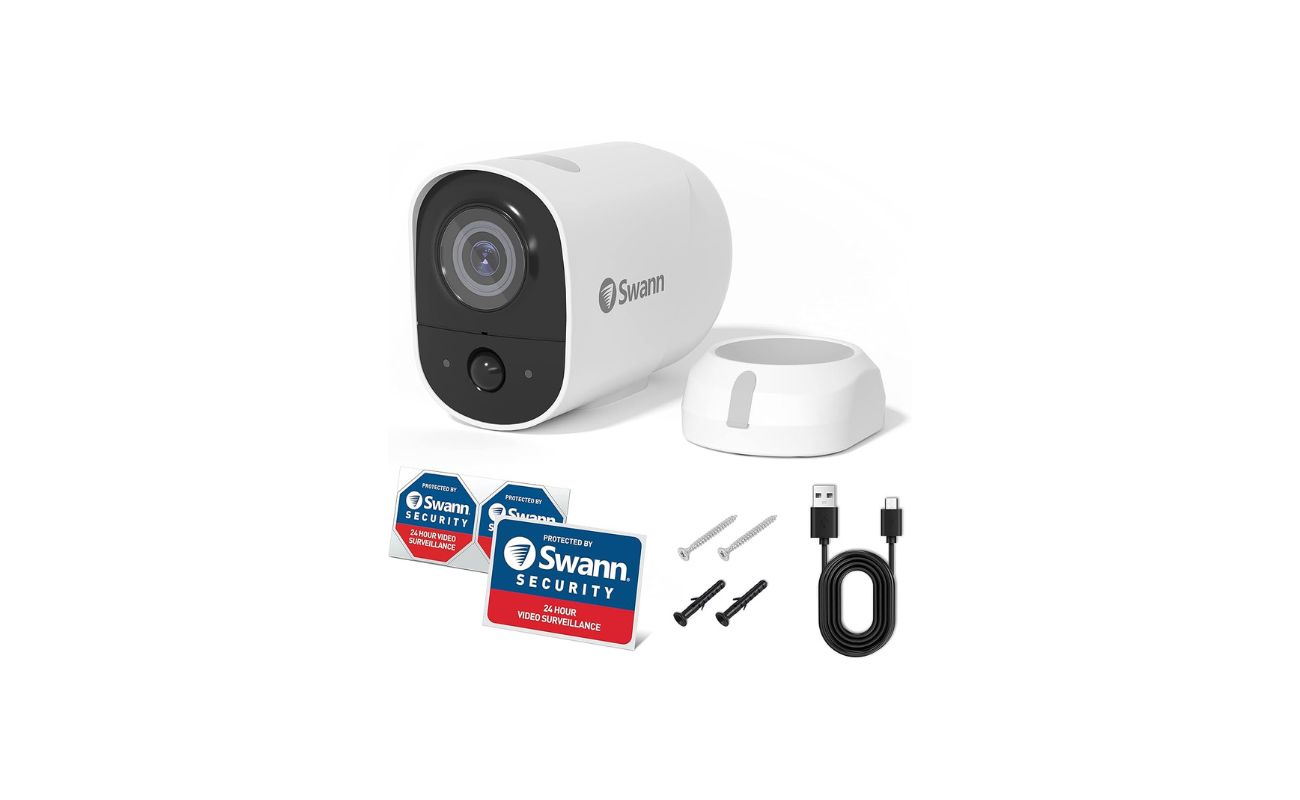
The first step in setting up your Swann security camera system is to unbox the camera and its accompanying components. Before you begin, ensure that you have all the necessary items included in the package.
Once you have everything ready, carefully open the box and inspect its contents. You should find the Swann security camera, a mounting bracket, screws, a power adapter, a Quick Start Guide, and any additional cables that may be required.
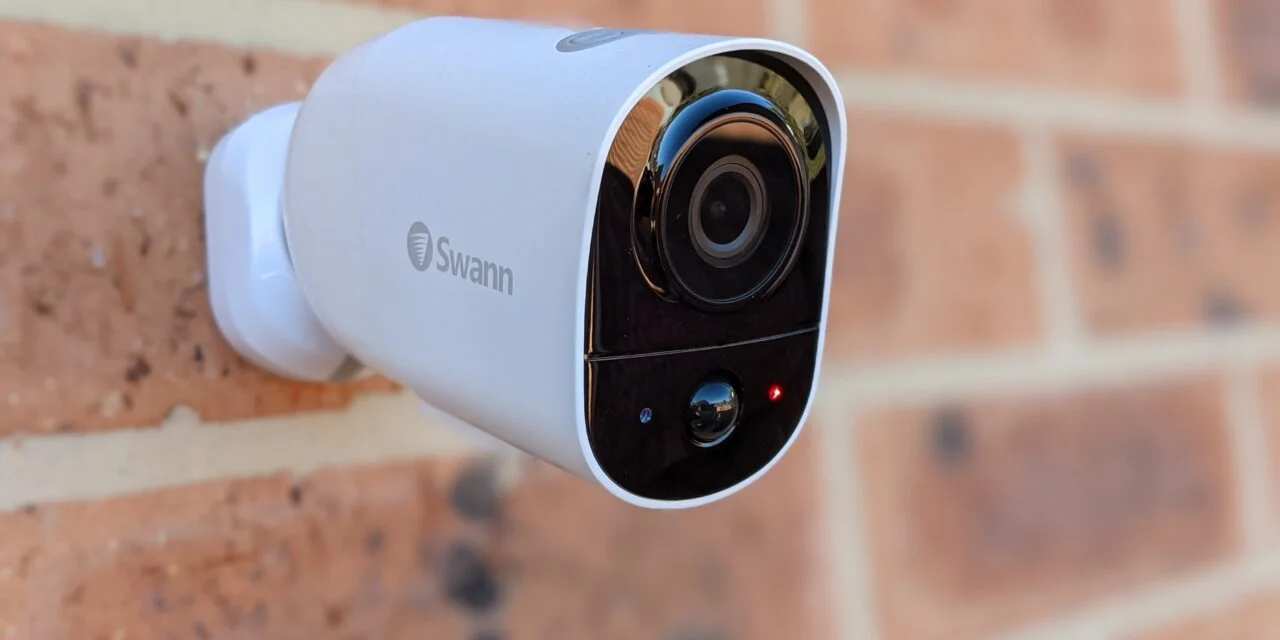
Take a moment to familiarize yourself with the camera itself. Swann security cameras come in various models, but most will have similar features and connections. Look for the camera lens, usually located in the front, and check for any protective covers that need to be removed.
Next, locate the mounting bracket and screws. The mounting bracket is used to secure the camera to a wall or ceiling, providing a stable and adjustable position. Depending on the type of surface you plan to install the camera on, you may require additional tools such as a drill and anchors.
Once you’ve gathered all the necessary components, it’s time to find the ideal location for your Swann security camera. Consider the areas you want to monitor and ensure that the camera has a clear view of those spaces. It’s important to choose a location that provides optimal coverage while keeping the camera discreet and out of reach.
Before proceeding with the installation, it’s advisable to read the Quick Start Guide provided by Swann. The guide will contain specific instructions for your camera model and may have additional tips for installation and setup.
With everything in order, you’re now ready to move on to the next step: mounting your Swann security camera. Stay tuned for step-by-step instructions on how to securely mount and position your camera for optimal surveillance coverage.
Step 2: Mounting the Camera
Now that you have unboxed your Swann security camera and familiarized yourself with its components, it’s time to move on to the next crucial step: mounting the camera. Properly mounting the camera is essential to ensure optimal coverage and stability.
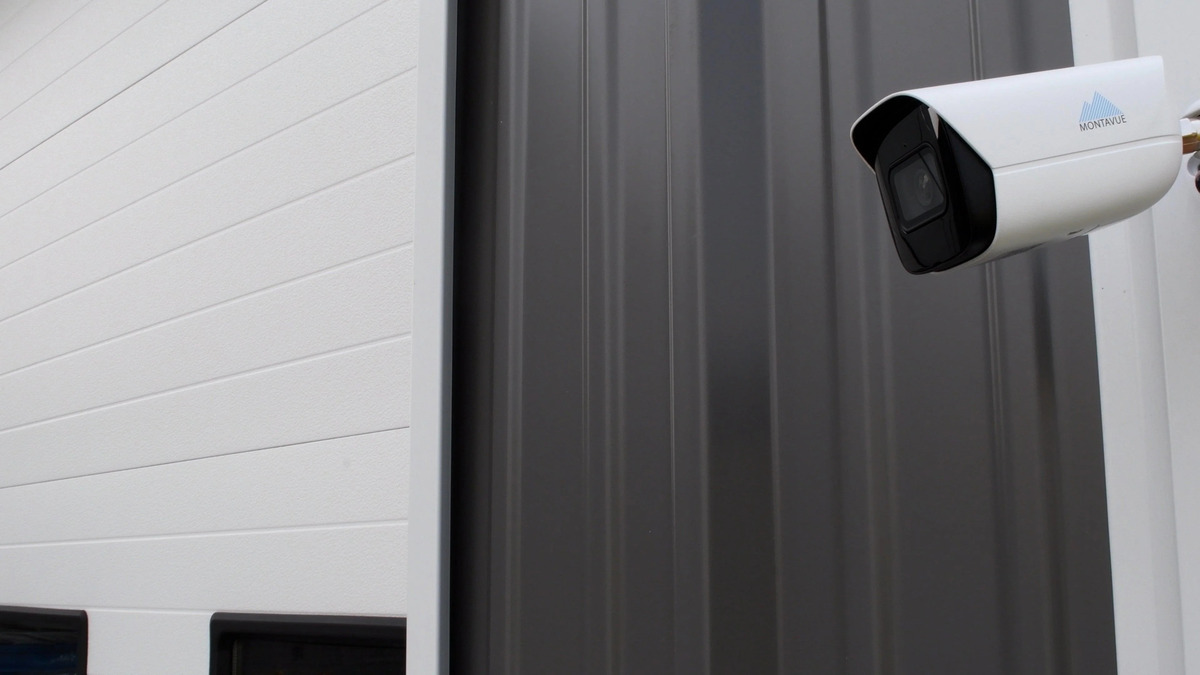
Before you start mounting the camera, carefully choose the location where you want to install it. Consider areas that require surveillance coverage, such as entrances, driveways, or backyard spaces. Ensure that the camera has a clear view of the desired areas and is positioned at an appropriate height.
Now, let’s get into the step-by-step process of mounting your Swann security camera:
- Using the provided mounting bracket as a guide, mark the spots where you will be drilling the holes for the screws. Ensure that the bracket is level to avoid crooked positioning.
- If you are mounting the camera on a brick or stone wall, use a masonry bit to drill pilot holes at the marked spots. For other types of surfaces, use an appropriate drill bit.
- Insert wall anchors into the drilled holes. These anchors will provide additional support and stability for the screws.
- Align the mounting bracket with the drilled holes, and secure it in place using the screws provided in the package. Ensure that the bracket is firmly attached to the surface.
- Attach the Swann security camera to the mounting bracket by aligning the camera’s screw holes with the bracket’s mounting holes.
- Tighten the screws to secure the camera in place, ensuring that it is positioned correctly and facing the desired direction.
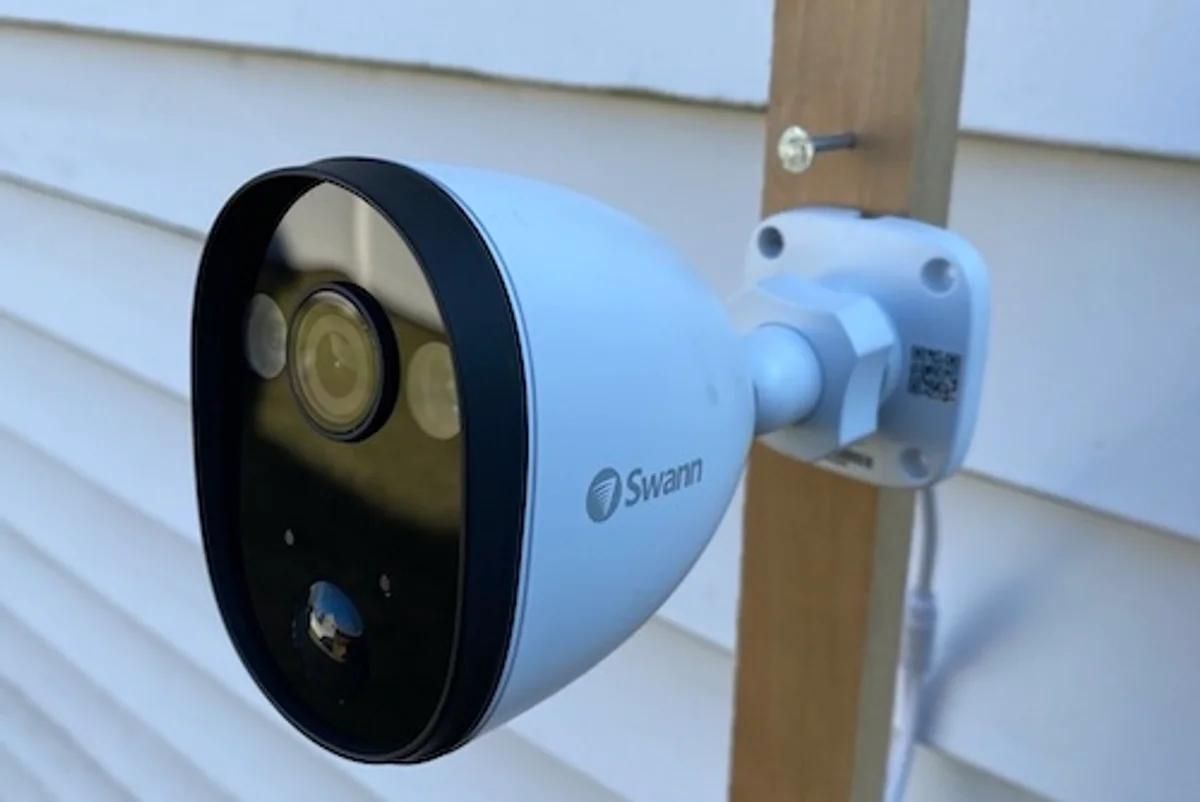
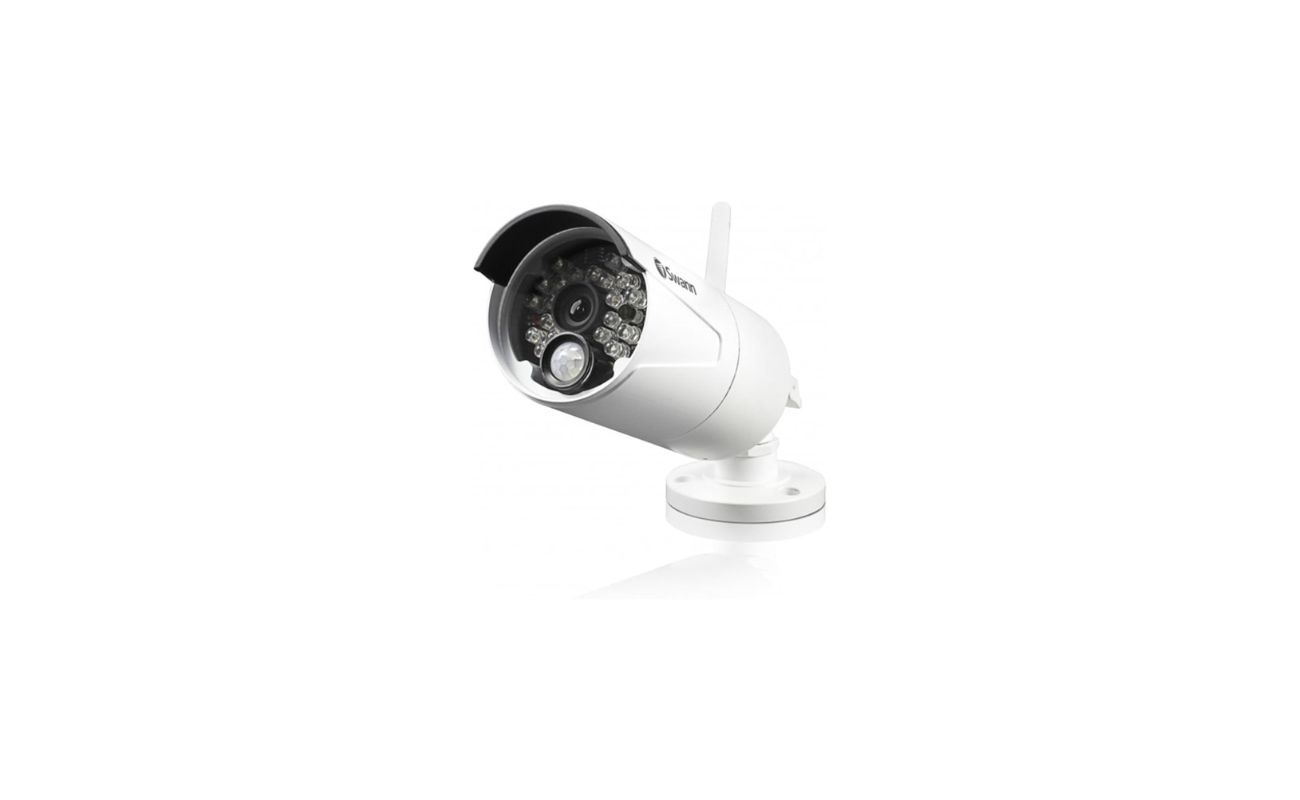
It’s important to note that Swann security cameras are designed to withstand various weather conditions. However, if you are installing the camera outdoors, make sure it is adequately protected from direct exposure to rain or other harsh elements. Positioning the camera under the eaves or using a protective housing can help prolong its lifespan.
Once you have successfully mounted the camera, take a step back and double-check its position and angle. Ensure that it provides clear and unobstructed coverage of the areas you want to monitor.
With your Swann security camera securely mounted, you’re now ready to move on to the next step: connecting and setting up the DVR. Stay tuned for the next part of our guide, where we will walk you through the process of connecting the camera and setting up the DVR for video recording and remote access.
Step 3: Connecting and Setting up the DVR
Now that you have successfully mounted your Swann security camera, it’s time to connect it to the DVR (Digital Video Recorder) and set up the necessary configurations for video recording and remote access. The DVR is the central unit that stores and manages the video footage captured by your security cameras.
Follow these step-by-step instructions to connect and set up your DVR:
- Identify the appropriate cables that came with your Swann security camera system. You will need power cables and video cables to connect the cameras to the DVR.
- Locate the power input on the back of the DVR and connect the power cable. Make sure the DVR is plugged into a power outlet.
- Connect the video cables from the cameras to the corresponding video inputs on the back of the DVR. These cables typically have BNC connectors that securely fit into the video inputs.
- If you’re using an Ethernet cable for remote access and network connectivity, connect one end to the Ethernet port on the DVR and the other end to your router or modem. This step is necessary if you want to access the DVR remotely using a smartphone or computer.
- Once all the connections are made, power on the DVR and check the LED indicators to ensure it is functioning properly.
- Now, it’s time to set up the configurations on the DVR. Connect a monitor or TV to the DVR using an HDMI or VGA cable. This will allow you to access the DVR’s user interface.
- Use the DVR’s remote control or front panel buttons to navigate through the on-screen menu and set up the necessary settings. This may include language selection, date and time configuration, video recording settings, motion detection settings, and network settings for remote access.
- Make sure to configure the DVR to your desired settings, such as continuous recording or scheduled recording. Adjust the motion detection sensitivity to minimize false alerts.
Once you have completed the setup and configurations on the DVR, you’re ready to start recording and accessing your Swann security camera footage. You can use the DVR’s user interface or download the Swann app on your smartphone or computer to remotely view the live feed, playback recorded footage, and receive notifications for any detected motion.
That wraps up the third step of setting up your Swann security camera system: connecting and setting up the DVR. In the next step, we will walk you through configuring the camera settings to optimize the performance of your system. Stay tuned!
When setting up a Swann security camera, make sure to carefully read the instruction manual and follow the step-by-step guide provided. It’s important to position the camera in a location that provides a clear view of the area you want to monitor and to ensure that it is securely mounted. Also, make sure to connect the camera to a power source and to your Wi-Fi network if it is a wireless model.
Step 4: Configuring the Camera Settings
After connecting and setting up the DVR for your Swann security camera system, it’s time to move on to the next step: configuring the camera settings. This step is essential to optimize the performance and functionality of your security cameras.
Follow these step-by-step instructions to configure the settings for your Swann security cameras:
- Access the DVR’s user interface either through the connected monitor or TV, or through the Swann app on your smartphone or computer.
- Navigate to the camera settings section, which may be labeled as “Camera Setup” or “Camera Configuration.”
- Select the specific camera you want to configure from the list of connected cameras.
- Adjust the camera’s image settings, such as brightness, contrast, saturation, and sharpness, to achieve optimal video quality. You can preview the changes in real-time on the screen or app.
- Enable or adjust the camera’s night vision settings if your model has infrared capabilities. Night vision allows the camera to capture clear footage even in low-light or dark environments.
- If your Swann security camera has pan, tilt, and zoom (PTZ) features, configure the PTZ settings to control the camera’s movement and zoom levels.
- Set up motion detection settings to receive alerts and notifications when the camera detects any movement within its field of view. Adjust the sensitivity level to minimize false alerts caused by environmental factors.
- If remote access is enabled, ensure that the necessary network settings are configured to allow you to access the cameras remotely through the Swann app or a web browser.
- If you have multiple cameras in your system, repeat the above steps to configure the settings for each camera as per your preferences.
During the configuration process, take some time to experiment with different settings and test the camera’s performance. Make adjustments as necessary to achieve the desired results and ensure that your Swann security camera system is tailored to your specific needs.
Remember, regular maintenance and periodic checks of the camera settings are crucial to ensure continuous and reliable surveillance. Keep an eye on firmware updates for both the DVR and the cameras, as they may include performance enhancements and security patches.
Now that you have successfully configured the camera settings, you are one step closer to enjoying the full capabilities of your Swann security camera system. In the final step, we will guide you through testing the cameras to ensure everything is working seamlessly. Let’s proceed!
Step 5: Testing the Swann Security Camera
Congratulations on reaching the final step of setting up your Swann security camera system! Now, it’s time to test your cameras to ensure they are functioning properly and capturing the footage you need for your peace of mind and security.
Follow these steps to effectively test your Swann security camera:
- Access the DVR’s user interface through the connected monitor, TV, or the Swann app on your smartphone or computer.
- Select the camera you want to test from the list of connected cameras.
- Verify that the camera is displaying a live feed on the screen or app. Make sure the camera’s angle and field of view cover the desired areas.
- Walk around the monitored areas to test the camera’s motion detection and ensure it’s triggering recordings as expected. You should receive alerts and notifications if you have configured them earlier.
- Observe the video quality by reviewing the live feed and any recorded footage. Check for clarity, color accuracy, and any potential issues like pixelation or distortion.
- If you have PTZ (pan, tilt, and zoom) capabilities on your camera, test these features to ensure smooth movement and accurate zooming.
- Check the camera’s night vision capabilities by testing it in low-light or dark conditions. Ensure that the infrared LED lights are activating and providing sufficient illumination for clear footage.
- Test the remote access functionality by accessing the camera’s live feed and recorded footage through the Swann app or web browser on a different device or network.
- Make any necessary adjustments to the camera settings based on your testing results. This could include fine-tuning motion detection sensitivity, adjusting image settings, or repositioning the camera for better coverage.
Testing your Swann security camera helps you identify any issues or areas where improvements can be made. It allows you to ensure that the camera is capturing the footage you need, providing the level of security you desire.
If you encounter any challenges or difficulties during the testing phase, consult the user manual or the Swann support resources for troubleshooting guidance. Swann offers comprehensive customer support to help you address any concerns and ensure optimal performance of your security camera system.
Once you have successfully tested and fine-tuned your Swann security camera system, you can have peace of mind knowing that you have taken all the necessary steps to protect your home and loved ones. Regularly monitor the camera feeds, review recorded footage, and maintain your system to ensure its continued functionality.
Congratulations! You have successfully completed the setup and testing of your Swann security camera system. Enjoy the enhanced security and peace of mind that comes with having a reliable surveillance system in place.
Conclusion
Setting up a Swann security camera system is a significant step towards enhancing the security and surveillance of your home. With their user-friendly design and advanced features, Swann security cameras provide dependable protection and peace of mind to homeowners.
In this comprehensive guide, we have walked you through the step-by-step process of unboxing, mounting, connecting, configuring, and testing your Swann security camera system. By following these instructions, you can ensure that your cameras are properly installed, optimized for performance, and ready to capture any potential threats or incidents.
Remember, the key to an effective security camera system lies in careful planning and placement of the cameras. Consider the areas you want to monitor, position the cameras for optimal coverage, and adjust the settings based on your preferences and requirements. Regularly review and fine-tune the settings to maintain the system’s integrity and efficiency.
With remote access capabilities, you can conveniently monitor your property from anywhere, at any time, using your smartphone or computer. Stay connected and receive instant notifications when motion is detected or access the recorded footage for review.
Investing in a Swann security camera system not only protects your property but also acts as a powerful deterrent against potential intruders. The mere presence of visible security cameras can significantly decrease the likelihood of a break-in.
As technology continues to advance, Swann remains at the forefront of providing cutting-edge security camera solutions. Regularly check for firmware updates and take advantage of any new features or enhancements released by Swann to ensure your system stays up to date and secure.
We hope this guide has been helpful in enabling you to confidently set up and configure your Swann security camera system. Remember, if you ever need additional support or have any questions, Swann offers customer support to assist you along the way.
Enjoy the peace of mind that comes with knowing you have taken the necessary steps to safeguard your home and loved ones with a reliable and efficient Swann security camera system.
Now that you've got your Swann security camera set, why stop there? Securing your home is just the beginning. With rising concerns over safety, understanding why robust home security systems are vital could be your next step. Ready for even more technological upgrades? Consider diving into the world of smart home technology. From controlling lights to managing security remotely, the possibilities are endless with the latest innovations in home automation set for 2024.
Frequently Asked Questions about How To Set Up Swann Security Camera
Was this page helpful?
At Storables.com, we guarantee accurate and reliable information. Our content, validated by Expert Board Contributors, is crafted following stringent Editorial Policies. We're committed to providing you with well-researched, expert-backed insights for all your informational needs.