Home>Home Security and Surveillance>How To Playback On Lorex Security Camera
Home Security and Surveillance
How To Playback On Lorex Security Camera
Modified: October 21, 2024
Learn how to playback on Lorex security camera with this comprehensive guide. Ensure the safety of your home with our home security and surveillance solutions.
(Many of the links in this article redirect to a specific reviewed product. Your purchase of these products through affiliate links helps to generate commission for Storables.com, at no extra cost. Learn more)
Introduction
Welcome to the world of home security and surveillance. In today’s fast-paced world, ensuring the safety of your loved ones and property has become a top priority for many homeowners. With advancements in technology, home security systems have evolved, offering more sophisticated features and greater peace of mind.
One of the leading brands in the home security industry is Lorex. Known for its high-quality products and innovative solutions, Lorex security cameras are a popular choice among homeowners looking to protect their homes and monitor their surroundings. From wired to wireless options, Lorex offers a wide range of cameras to suit various needs and preferences.
In this article, we will dive deeper into the world of Lorex security cameras and explore the different playback options available. Whether you want to review footage from a recent event or keep an eye on your property while you’re away, the playback functionality of Lorex cameras will ensure that you can access and review recorded footage with ease.
So, let’s get started and learn how to make the most of the playback features offered by Lorex security cameras.
Key Takeaways:
- Reviewing recorded footage from Lorex security cameras is easy and convenient. Whether using a Lorex DVR, the Lorex Cloud app, a computer, or a mobile device, there are playback options to suit different preferences and needs.
- Troubleshooting common playback issues, such as freezing or lagging, poor video quality, or unresponsive controls, can help ensure smooth playback functionality and seamless monitoring of your surroundings.
Read more: How To Install Lorex Security Camera
Understanding Lorex Security Cameras
Before we delve into the various playback options available with Lorex security cameras, it’s essential to have a good understanding of how these cameras work and what sets them apart.
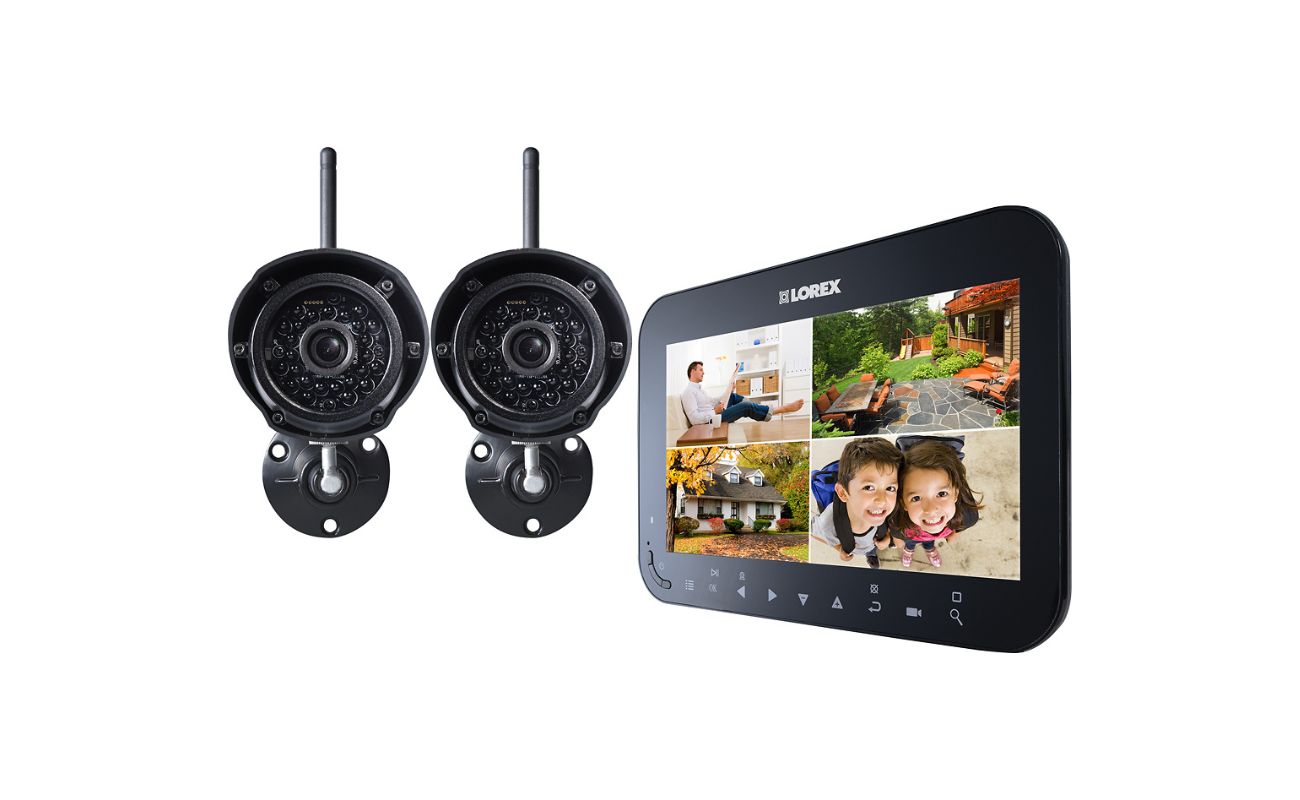
Lorex security cameras are designed to capture high-quality video footage, ensuring clear and detailed images for effective surveillance. These cameras come equipped with advanced features such as night vision, motion detection, and weatherproofing, making them suitable for both indoor and outdoor use.
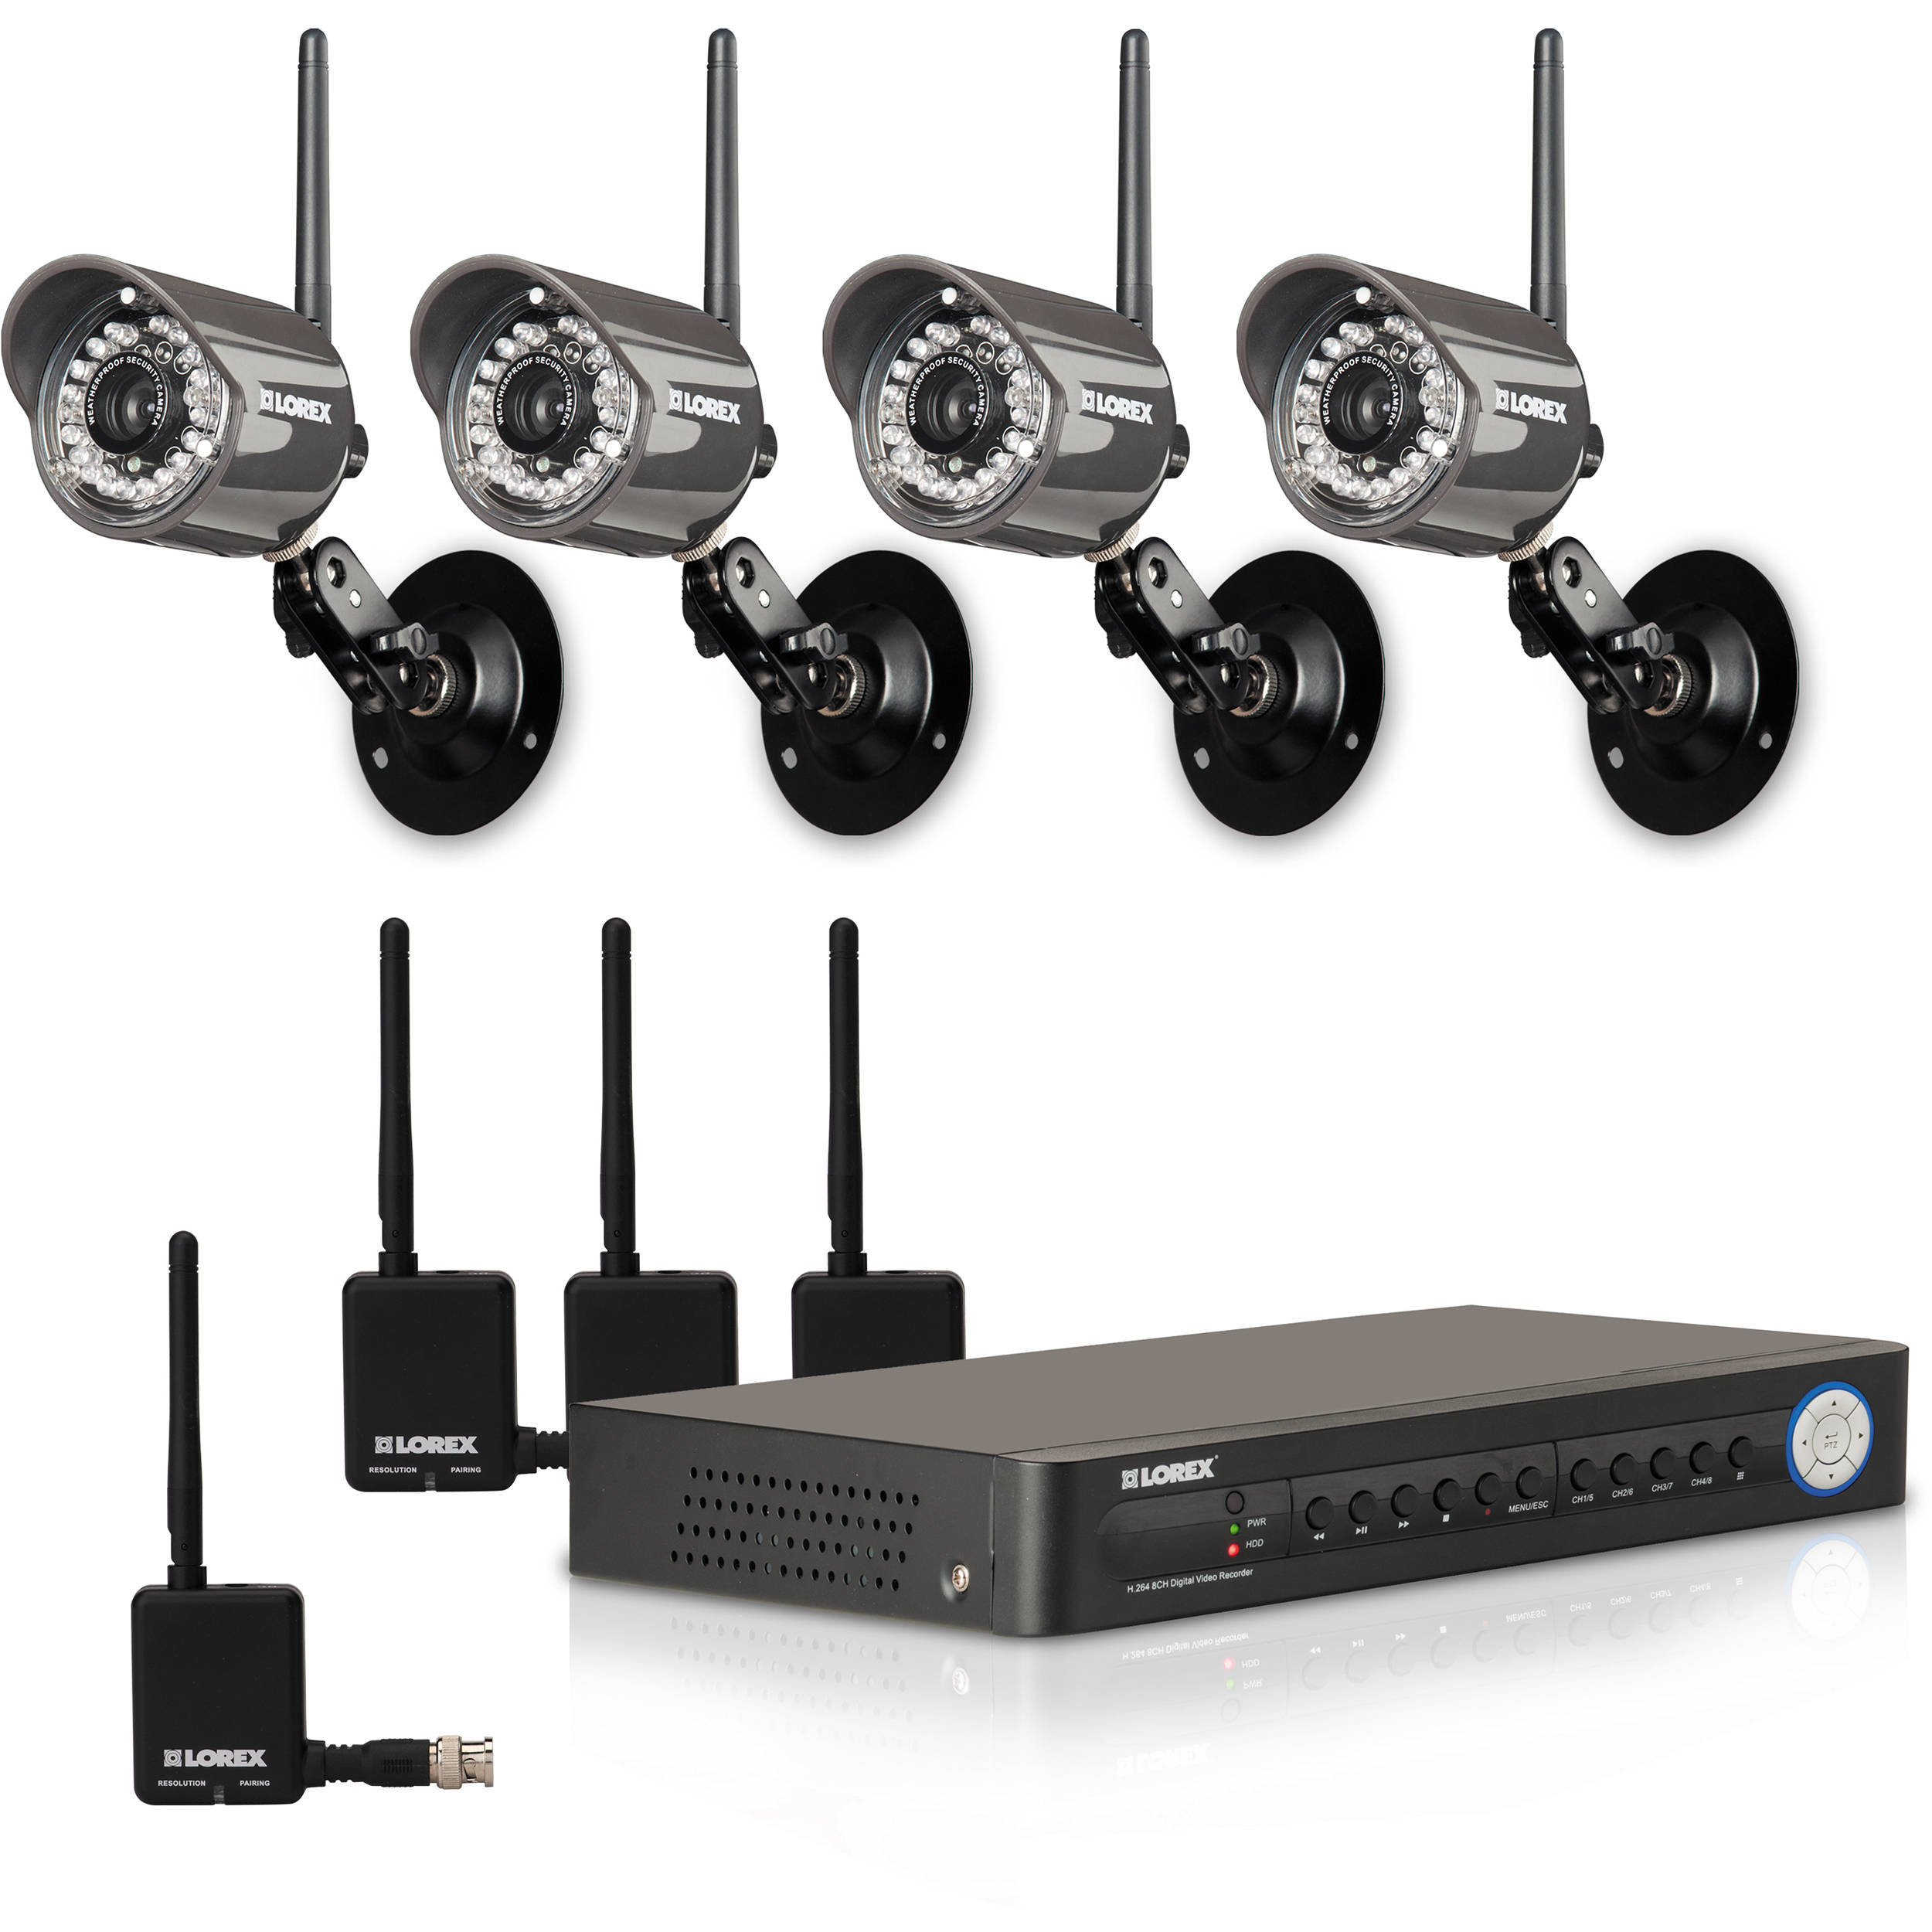
One of the standout features of Lorex security cameras is their ability to record and store footage. Whether you choose a wired or wireless camera, Lorex systems offer different storage options, such as local storage in a Digital Video Recorder (DVR) or Network Video Recorder (NVR), or cloud-based storage.
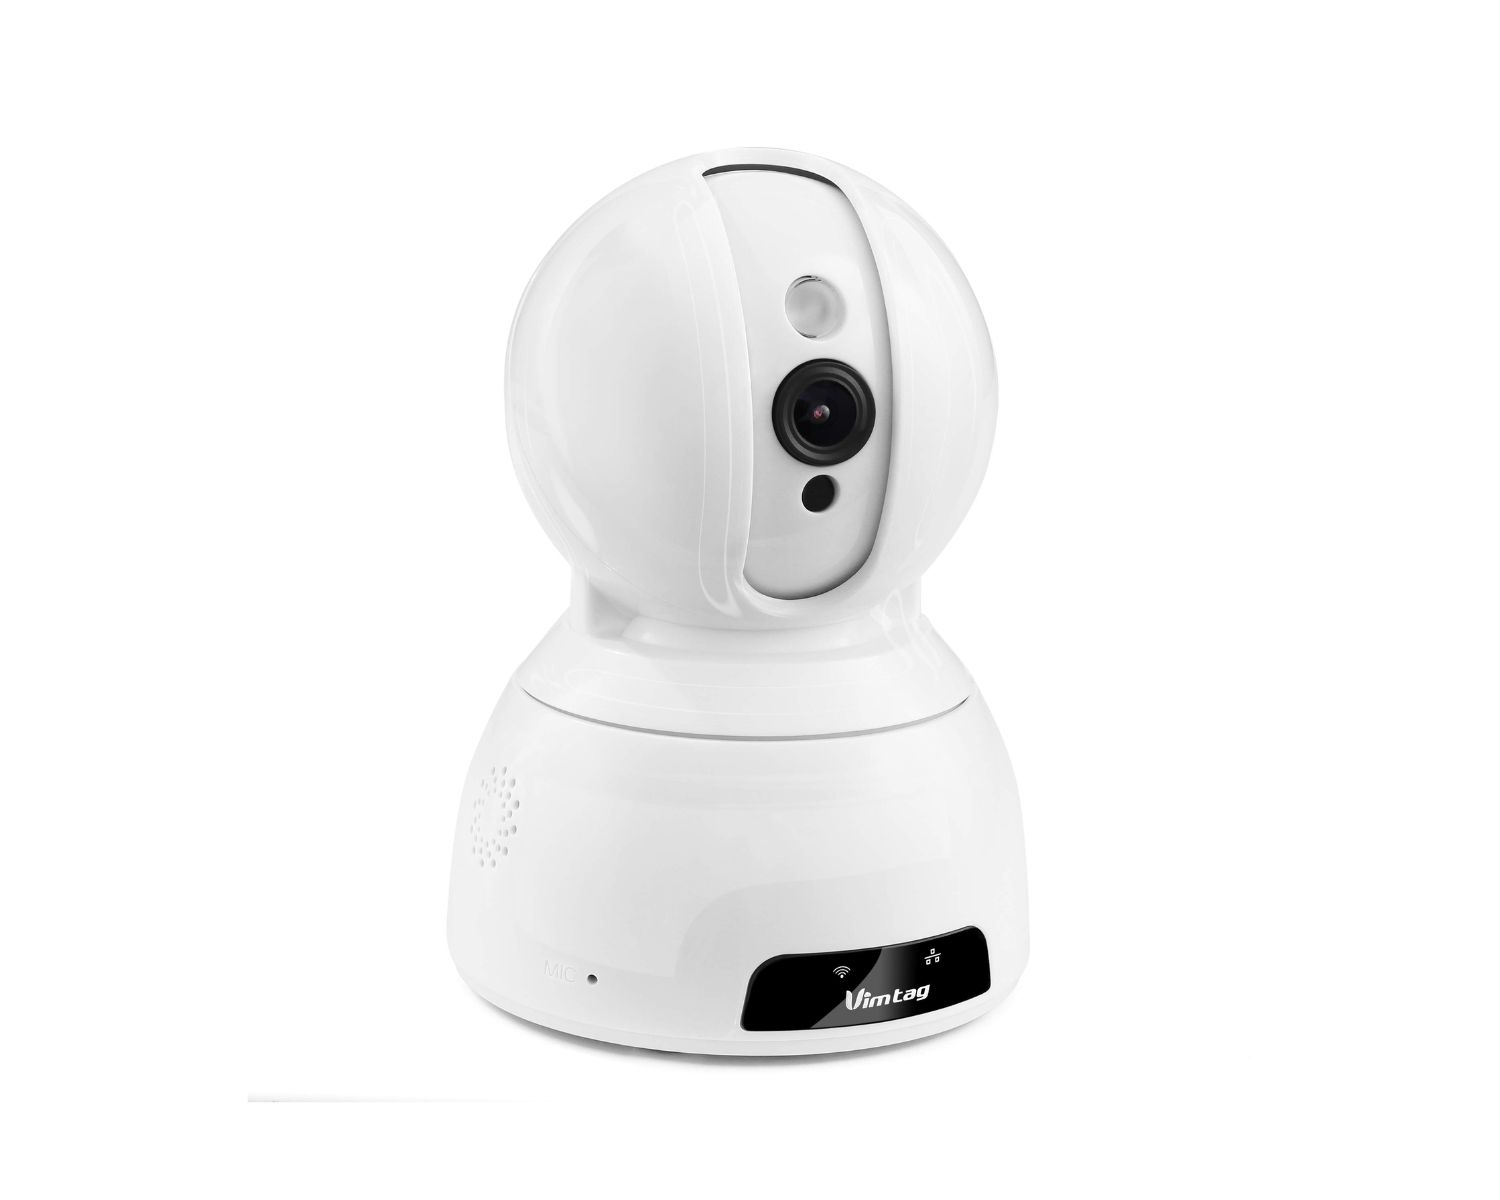
Moreover, Lorex cameras are often equipped with advanced technology like pan, tilt, and zoom (PTZ) functionality, allowing for remote control over the camera’s movement and enhancing the monitoring capabilities. Some models even offer audio recording and two-way communication, enabling users to hear what’s happening and speak through the camera.
Furthermore, Lorex security cameras offer seamless integration with other smart home devices such as smart locks, door/window sensors, and voice assistants, enabling users to create a comprehensive home security system.
With a basic understanding of Lorex security cameras, we can now move on to exploring the various playback options available to review the recorded footage. Whether you prefer using a Lorex DVR, the Lorex Cloud app, a computer, or a mobile device, there is a playback method that suits your needs and preferences.
Playback Options for Lorex Security Cameras
When it comes to reviewing recorded footage from your Lorex security cameras, you have several playback options to choose from. Let’s take a look at these options in more detail:
1. Playback Using a Lorex DVR: If you have a Lorex DVR as part of your security camera system, playback is a breeze. Simply connect a monitor to the DVR and navigate the user-friendly interface to access the recorded footage. You can search for specific dates or times, playback in real-time or in different playback speeds, and even extract clips for sharing or archiving purposes. The DVR offers a comprehensive and convenient way to review footage right at your fingertips.
2. Playback Using the Lorex Cloud App: Lorex provides a mobile app called the Lorex Cloud app, available for both iOS and Android devices. With this app, you can access your Lorex security cameras remotely and review recorded footage on your smartphone or tablet. The app allows for easy navigation through the timeline, enabling you to select specific dates and times for playback. Additionally, you can take snapshots or bookmark important footage for later reference. The Lorex Cloud app is a great option for on-the-go playback.
3. Playback Using a Computer or Laptop: If you prefer a larger screen and more detailed playback, you can also review your Lorex security camera footage using a computer or laptop. Lorex provides software for both Windows and Mac operating systems that allows you to connect to your security camera system and access the recorded footage. Using the software, you can control playback, zoom in on specific areas, and export footage for further analysis or sharing. This option is ideal for those who prefer a more comprehensive viewing experience.
4. Playback Using a Mobile Device: In addition to the Lorex Cloud app, Lorex also offers mobile viewing options through other apps, such as the Lorex Cirrus app or the FLIR Cloud app. These apps provide similar functionality to the Lorex Cloud app, allowing you to access and review recorded footage on your smartphone or tablet. The mobile apps offer a user-friendly interface and convenient playback options for effortless monitoring while on the go.
Now that we have explored the different playback options available for your Lorex security cameras, it’s time to dive deeper into each option and learn how to make the most of them.
Playback Using a Lorex DVR
If you have a Lorex DVR as part of your security camera system, playback is a straightforward and efficient process. The DVR acts as a central hub for your recorded footage, allowing you to access and review it with ease. Here’s a step-by-step guide on how to use the playback feature on a Lorex DVR:
- Connect a monitor: Start by connecting a monitor or TV to your DVR using the provided HDMI or VGA cables. Ensure that the monitor is powered on and set to the correct input source.
- Navigate the DVR interface: Once the monitor is connected, power on your DVR and use the provided remote control or mouse to navigate the user interface. You will typically see a menu with various options for camera settings, system configuration, and playback.
- Select the playback option: From the main menu or dedicated playback section, choose the option to access recorded footage. The interface may provide a visual timeline or a list of recorded events for easy navigation.
- Select the desired date and time: Using the date and time controls, select the specific date and time range for which you want to review the footage. You can scroll through the timeline or enter the date and time manually.
- Playback controls: Once you have selected the desired footage, you can use the playback controls to review the recorded video. These controls typically include play/pause, fast forward, rewind, and slow motion options. You can adjust the playback speed to quickly skim through the footage or slow it down to analyze specific moments in detail.
- Export or save footage: If you come across important footage that you want to save or share, many Lorex DVRs allow you to export the footage to a USB drive or external storage device. This feature is especially useful if you need to provide evidence to law enforcement or insurance companies.
Using a Lorex DVR for playback provides a comprehensive and user-friendly experience. You can easily navigate through the recorded footage, review important moments, and extract clips for later reference or sharing.
It’s worth noting that different models of Lorex DVRs may have slight variations in the user interface and specific features. Therefore, it’s always a good idea to refer to the manufacturer’s instructions or consult the user manual for your specific DVR model for detailed guidance.
Now that you are familiar with playback using a Lorex DVR, let’s explore another playback option available through the Lorex Cloud app in the next section.
Playback Using the Lorex Cloud App
The Lorex Cloud app offers a convenient and mobile playback option for accessing and reviewing recorded footage from your Lorex security cameras. Available for both iOS and Android devices, the Lorex Cloud app allows you to monitor your cameras remotely and access the playback feature on the go. Here’s a step-by-step guide on how to use the playback feature using the Lorex Cloud app:
- Download and install the app: Start by downloading the Lorex Cloud app from the App Store (for iOS) or Google Play Store (for Android). Install the app on your smartphone or tablet, and launch it once the installation is complete.
- Log in or create an account: If you already have a Lorex Cloud account, log in using your credentials. Otherwise, create a new account by following the on-screen instructions. This account will link your security cameras to the Lorex Cloud app.
- Add your Lorex security cameras: Once you’re logged in, you will need to add your Lorex security cameras to the app. Follow the app’s instructions for adding cameras by scanning the QR code or entering the camera’s serial number and other details.
- Access the playback feature: After adding your cameras, go to the live-view section of the Lorex Cloud app. Here, you will see a timeline with recorded events. Use the intuitive controls to select the desired date and time range for playback.
- Select and review recorded footage: Once you have chosen the date and time range, the Lorex Cloud app will display the recorded footage for that period. You can use playback controls such as play/pause, fast forward, rewind, or slow motion to easily navigate through the recorded video.
- Take snapshots or bookmark important moments: If you come across crucial moments during playback, you can capture snapshots or bookmark them for later reference. These features allow you to easily document and recall specific incidents or events.
The Lorex Cloud app provides a user-friendly interface and seamless integration with your Lorex security cameras. It allows you to access playback functionality and review recorded footage anytime, anywhere, using your mobile device. Whether you’re at work, traveling, or simply away from home, the Lorex Cloud app keeps you connected to your security cameras and provides peace of mind.
It’s important to note that the features and interface of the Lorex Cloud app may vary slightly depending on the version and firmware of your Lorex security camera system. Therefore, it’s always recommended to refer to the app’s documentation or consult Lorex support for specific instructions.
Now that you know how to use the playback feature using the Lorex Cloud app, let’s explore another playback option using a computer or laptop.
To playback on a Lorex security camera, access the DVR/NVR menu, select the playback option, choose the date and time of the footage you want to view, and then use the playback controls to watch the recorded video.
Playback Using a Computer or Laptop
If you prefer a larger screen and more detailed playback, you can review your Lorex security camera footage using a computer or laptop. Lorex provides software for both Windows and Mac operating systems that allows you to connect to your security camera system and access the recorded footage. Follow these steps to use the playback feature on your computer or laptop:
- Download and install the Lorex software: Visit the Lorex website and download the appropriate software for your computer or laptop (Windows or Mac). Install the software following the on-screen instructions.
- Launch the software and add your cameras: Once the software is installed, launch it and follow the prompts to add your Lorex security cameras. Connect your computer or laptop to the same network as your security camera system, and the software should detect and add the cameras automatically.
- Access the playback feature: After adding your cameras, navigate to the playback section of the software. This section typically allows you to select the desired date and time range for playback.
- Select and review recorded footage: Once you have specified the date and time range, the software will display the recorded footage for that period. You can use the playback controls to navigate through the footage, pause, play, fast forward, rewind, or adjust the playback speed to review specific moments in detail.
- Zoom in and export footage: During playback, you may need to zoom in on specific areas for a closer look. The software usually provides zoom functionality for detailed analysis. Additionally, you can export the recorded footage to save it locally or share it with others.
Using a computer or laptop for playback provides a more comprehensive viewing experience, especially when you need to analyze the footage in detail. The larger screen allows for better visibility and the software interface often provides additional features for advanced playback and management capabilities.
It’s important to note that the specific features and interface of the Lorex software may vary depending on the version and compatibility with your Lorex security camera system. It’s recommended to refer to the software’s documentation or contact Lorex support for detailed instructions and assistance.
Now that you know how to use the playback feature on a computer or laptop, let’s explore another playback option using a mobile device in the next section.
Playback Using a Mobile Device
In addition to the Lorex Cloud app, Lorex offers various mobile apps that allow you to access and review recorded footage from your security cameras using your smartphone or tablet. These mobile apps provide a convenient way to stay connected to your Lorex security system while on the go. Here’s how to use the playback feature on a mobile device:
- Download and install the appropriate Lorex mobile app: Depending on your Lorex security camera system, you may need to download and install the Lorex Cirrus app, FLIR Cloud app, or another compatible app. Visit the App Store (for iOS) or Google Play Store (for Android), search for the app, and install it on your mobile device.
- Launch the app and log in to your Lorex account: Once the app is installed, launch it and log in to your Lorex account using your credentials. If you don’t have an account, you may need to create one through the app.
- Add your Lorex security cameras to the app: After logging in, you’ll need to add your Lorex security cameras to the app. Follow the app’s instructions to add the cameras by scanning the QR code or entering the camera’s serial number and other details.
- Access the playback feature: Once your cameras are added, navigate to the playback section within the app. This section will allow you to select the desired date and time range for playback.
- Select and review recorded footage: After specifying the date and time range, the app will display the recorded footage for that period. Use the playback controls to navigate through the footage, pause, play, fast forward, rewind, or adjust the playback speed as needed.
- Take snapshots or bookmark important moments: If you come across significant moments during playback, you can capture snapshots or bookmark them within the app for easy reference later on.
Using a mobile device for playback provides the flexibility to review recorded footage from your Lorex security cameras wherever you are. Whether you’re at work, traveling, or simply away from home, you can stay connected and keep an eye on your property.
It’s important to note that the features and functionality of the Lorex mobile apps may vary depending on your specific Lorex security camera system. Refer to the app’s documentation or contact Lorex support for detailed instructions and assistance.
Now that you know how to use the playback feature on a mobile device, let’s explore troubleshooting common playback issues in the next section.
Troubleshooting Playback Issues
While Lorex security cameras provide a reliable and efficient playback feature, you may occasionally encounter issues that hinder your ability to review recorded footage. Here are some common playback issues and troubleshooting steps to help you resolve them:
1. Playback freezing or lagging: If you experience playback freezing or lagging, it could be due to insufficient bandwidth or network congestion. Make sure your internet connection is stable and consider upgrading your internet plan if needed. You can also try closing other bandwidth-intensive applications or devices to improve playback performance.
2. Playback not showing recorded footage: If the playback feature does not display the recorded footage, check if the selected date and time range are correct. Ensure that the footage you are trying to access has been recorded and stored on your Lorex DVR or cloud storage. If the issue persists, restart your Lorex system or contact Lorex support for assistance.
3. Poor video quality during playback: If the video quality is poor during playback, check the camera connections and ensure they are secure. Adjust the camera positioning or focus to improve the image clarity. If the issue persists, you may need to check the camera resolution settings or consult Lorex support for further troubleshooting.
4. Playback controls not responding: If the playback controls are unresponsive or not functioning correctly, restart the Lorex app or software on your device. Check for any available updates for the app or software and install them. If the problem persists, try uninstalling and reinstalling the app or software.
5. Playback not available on mobile app: If the playback feature is not available on the mobile app, ensure that you have the correct app version installed that is compatible with your Lorex security camera system. Check for any updates for the app and install them. If the issue persists, contact Lorex support for guidance.
6. Playback footage not saving or exporting: If you’re unable to save or export playback footage, check the available storage space on your DVR or cloud storage. Ensure that you have the necessary permissions and access rights to save or export footage. If the issue continues, consult the user manual or contact Lorex support for assistance.
Remember, troubleshooting steps may vary based on your specific Lorex security camera system and the app or software you are using. Refer to the manufacturer’s documentation, user guides, or contact their support team for more detailed troubleshooting instructions.
In most cases, properly maintaining and updating your Lorex system, ensuring a stable internet connection, and following recommended usage practices will help resolve common playback issues.
Conclusion
In this comprehensive guide, we have explored the various playback options available for Lorex security cameras. Whether you prefer using a Lorex DVR, the Lorex Cloud app, a computer, or a mobile device, there is a playback method that suits your needs and preferences. These playback options allow you to review recorded footage and monitor your surroundings with ease.
Lorex security cameras offer advanced features such as high-resolution video capture, night vision, motion detection, and weatherproofing, ensuring that you have clear and detailed footage for effective surveillance. With options for local storage in a DVR or NVR, as well as cloud-based storage, the Lorex camera systems provide ample space to store and access your recorded footage.
Playback using a Lorex DVR provides a user-friendly experience, allowing you to connect a monitor and navigate the interface to review footage in real-time or different playback speeds. The Lorex Cloud app offers convenient mobile access, enabling you to monitor your cameras remotely and review recorded footage on your smartphone or tablet. Playback using a computer or laptop provides a larger screen and more comprehensive viewing experience, while playback on a mobile device offers flexibility and on-the-go access.
It’s important to troubleshoot common playback issues that may arise, such as freezing or lagging playback, poor video quality, unresponsive controls, or difficulties saving or exporting footage. Following the troubleshooting steps and seeking assistance from Lorex support will help resolve these issues and ensure smooth playback functionality.
With Lorex security cameras and the various playback options available, you can have peace of mind knowing that you can easily access and review recorded footage, keeping your loved ones and property safe and secure. So, whether you’re at home or away, you can stay connected and have a watchful eye on what matters most to you.
Frequently Asked Questions about How To Playback On Lorex Security Camera
Was this page helpful?
At Storables.com, we guarantee accurate and reliable information. Our content, validated by Expert Board Contributors, is crafted following stringent Editorial Policies. We're committed to providing you with well-researched, expert-backed insights for all your informational needs.