Home>Home Security and Surveillance>How To Playback On Wyze Outdoor Camera
Home Security and Surveillance
How To Playback On Wyze Outdoor Camera
Modified: March 6, 2024
Learn how to playback and review footage captured by your Wyze Outdoor Camera for optimal home security and surveillance.
(Many of the links in this article redirect to a specific reviewed product. Your purchase of these products through affiliate links helps to generate commission for Storables.com, at no extra cost. Learn more)
Introduction
Welcome to the world of home security and surveillance! In today’s fast-paced world, it’s crucial to prioritize the safety of our loved ones and protect our valuable belongings. This is where home security systems come into play, providing a sense of peace and security whether we’re at home or away.
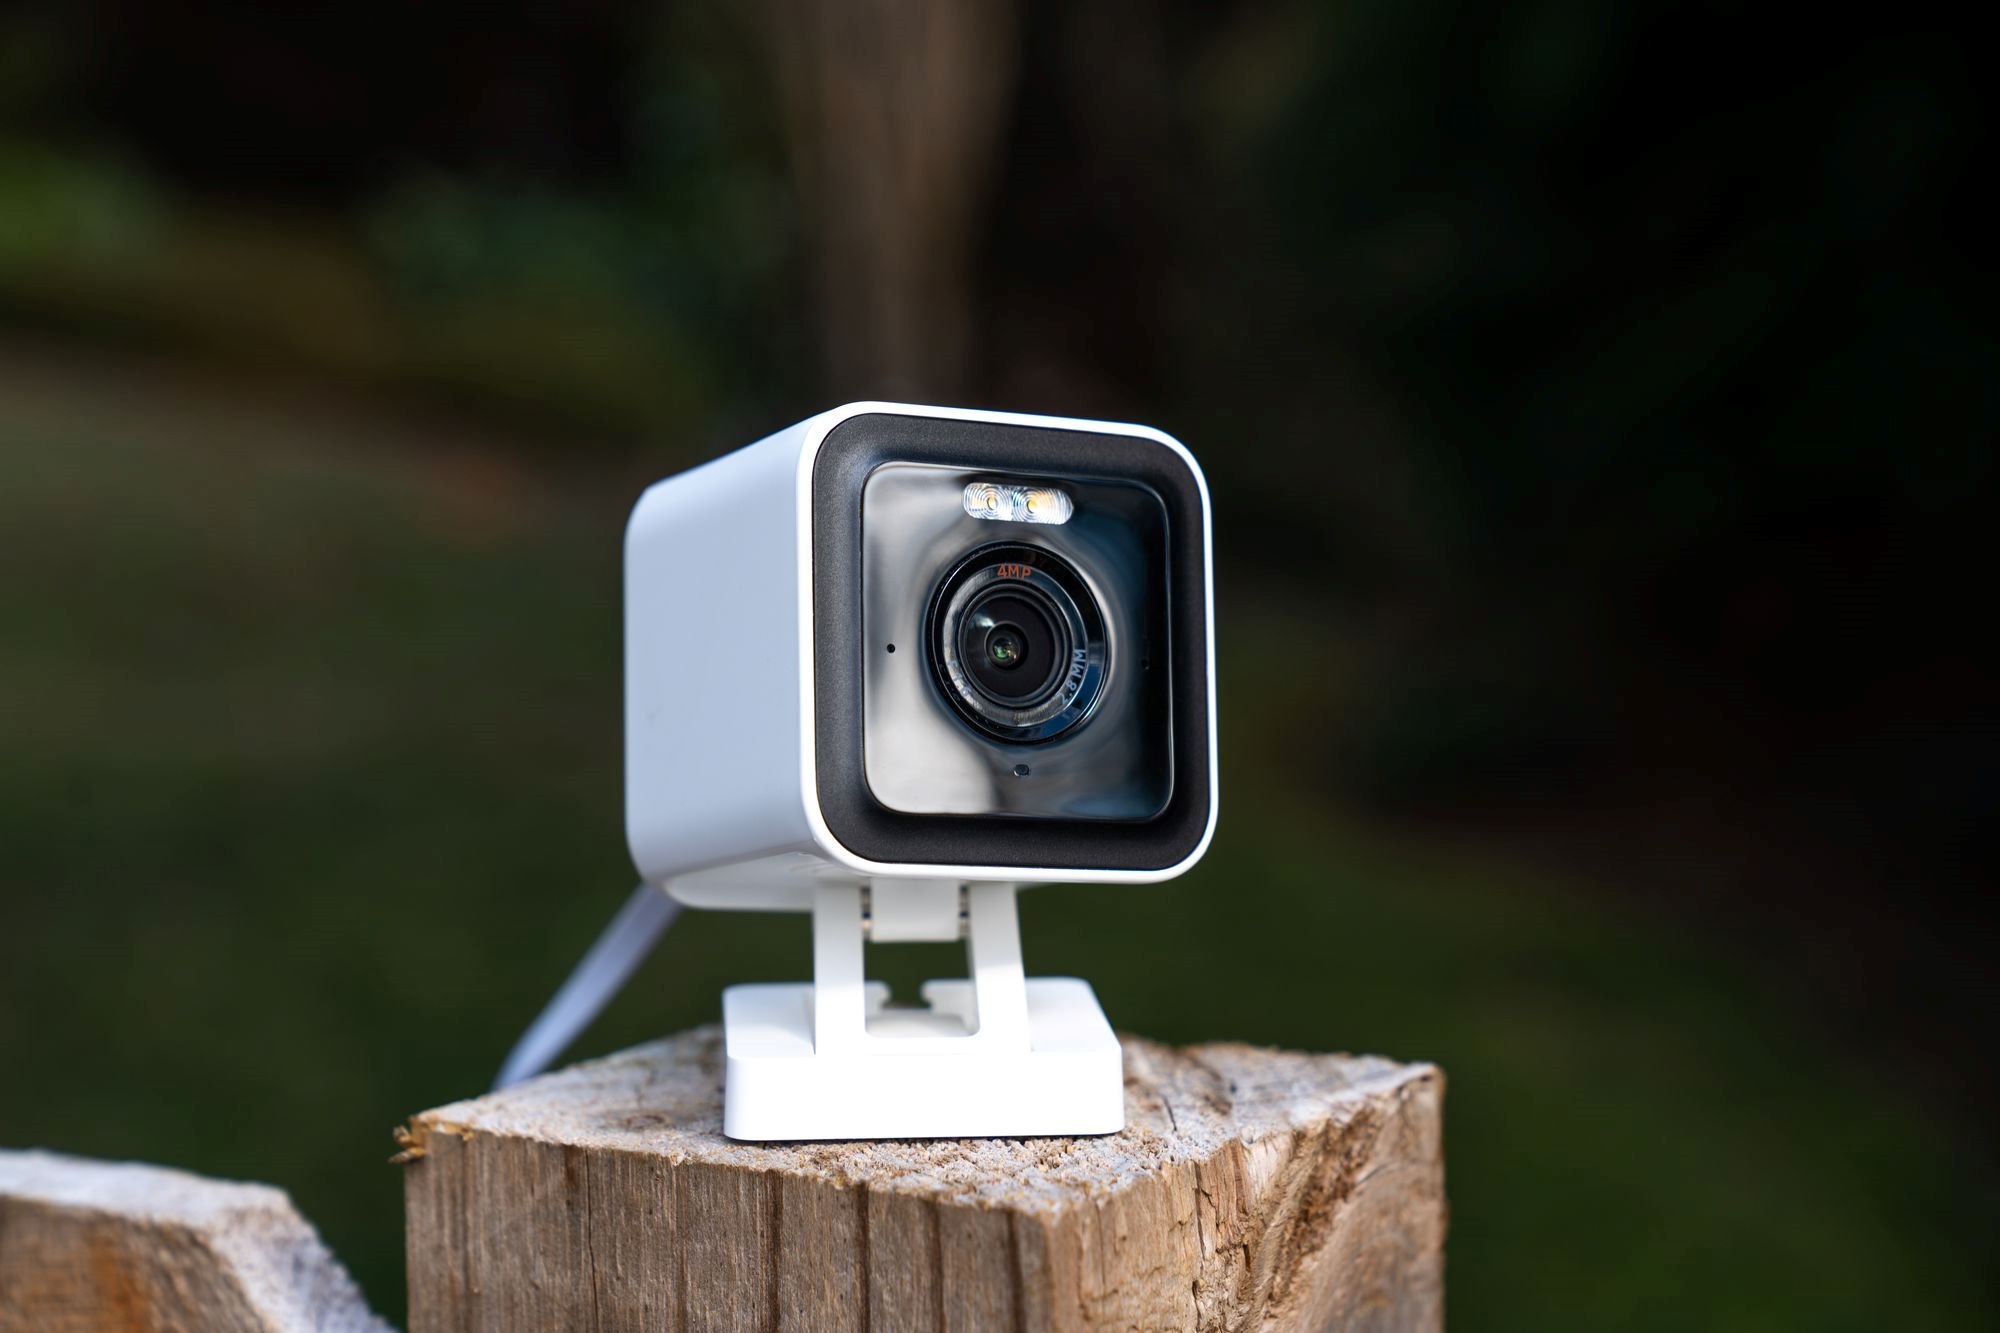
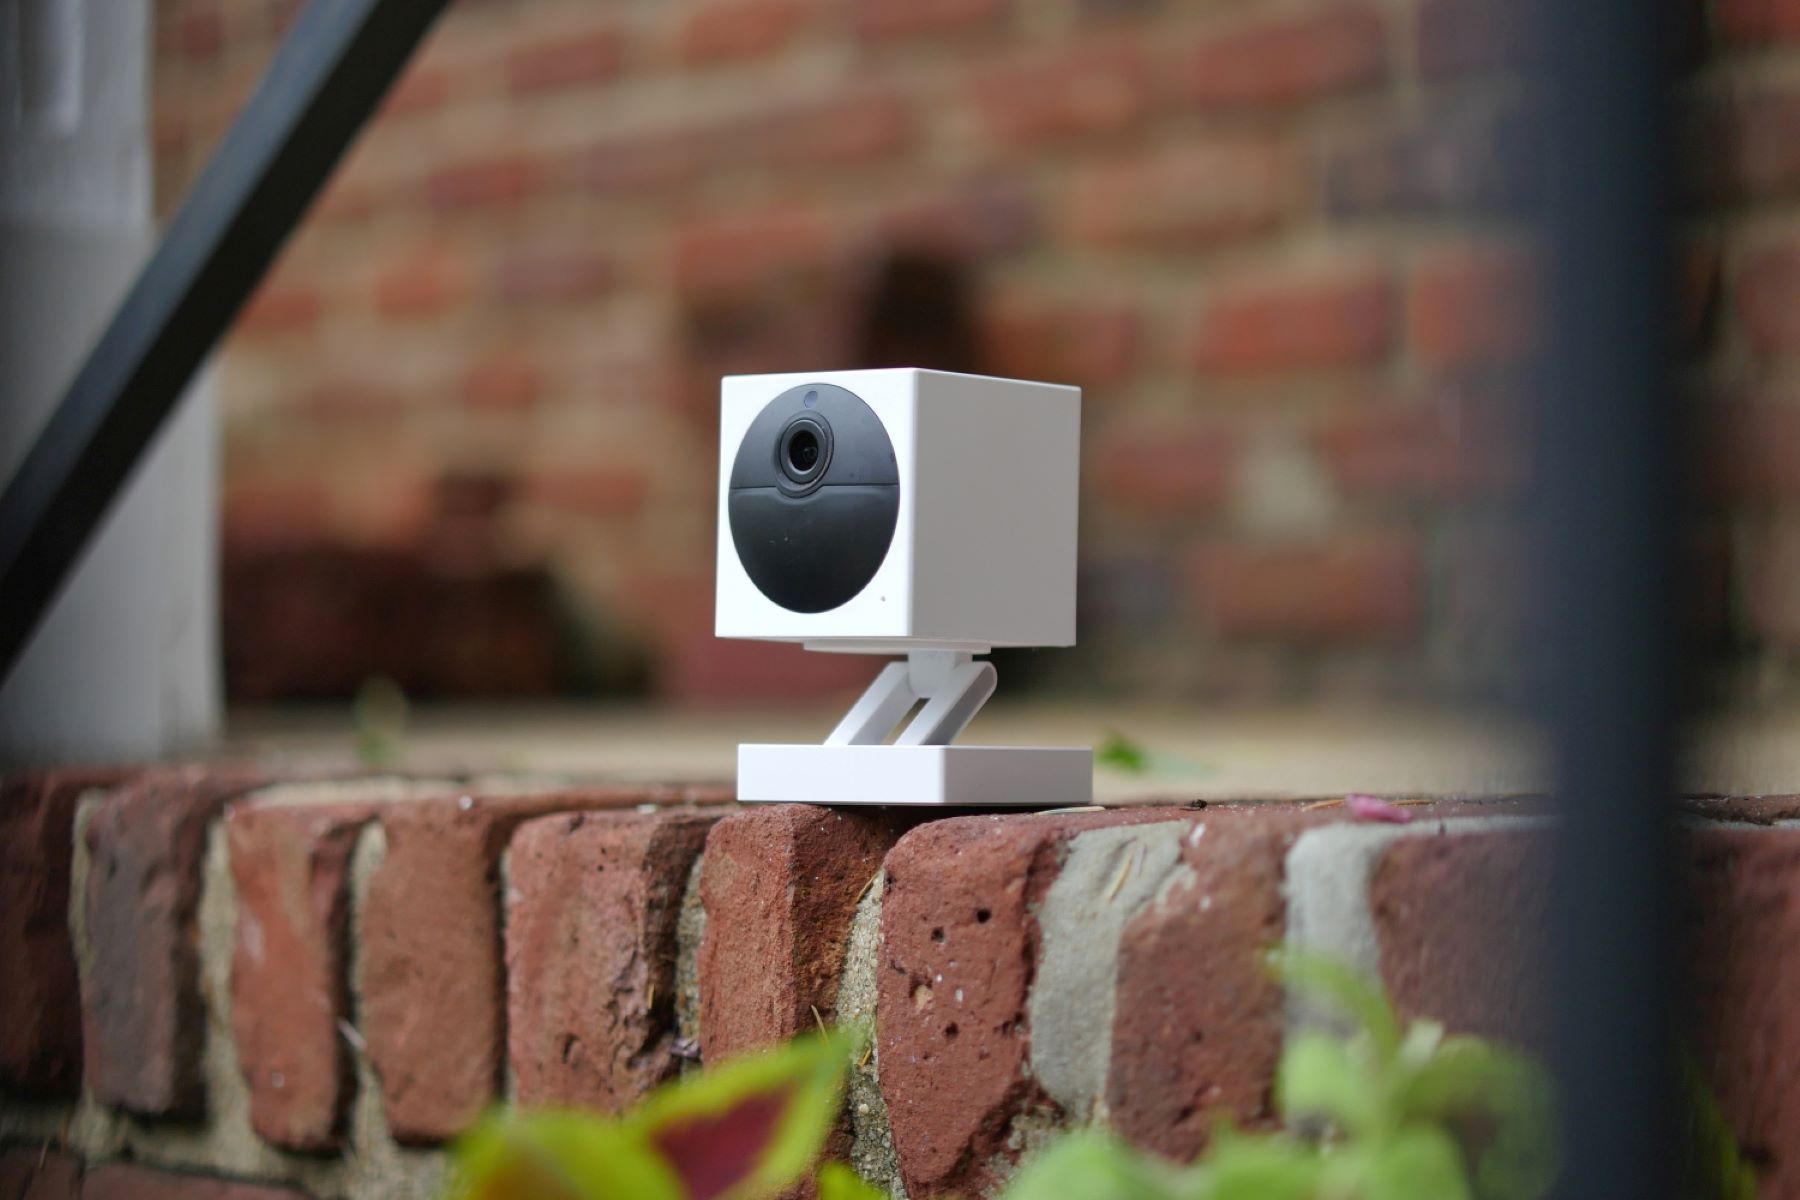
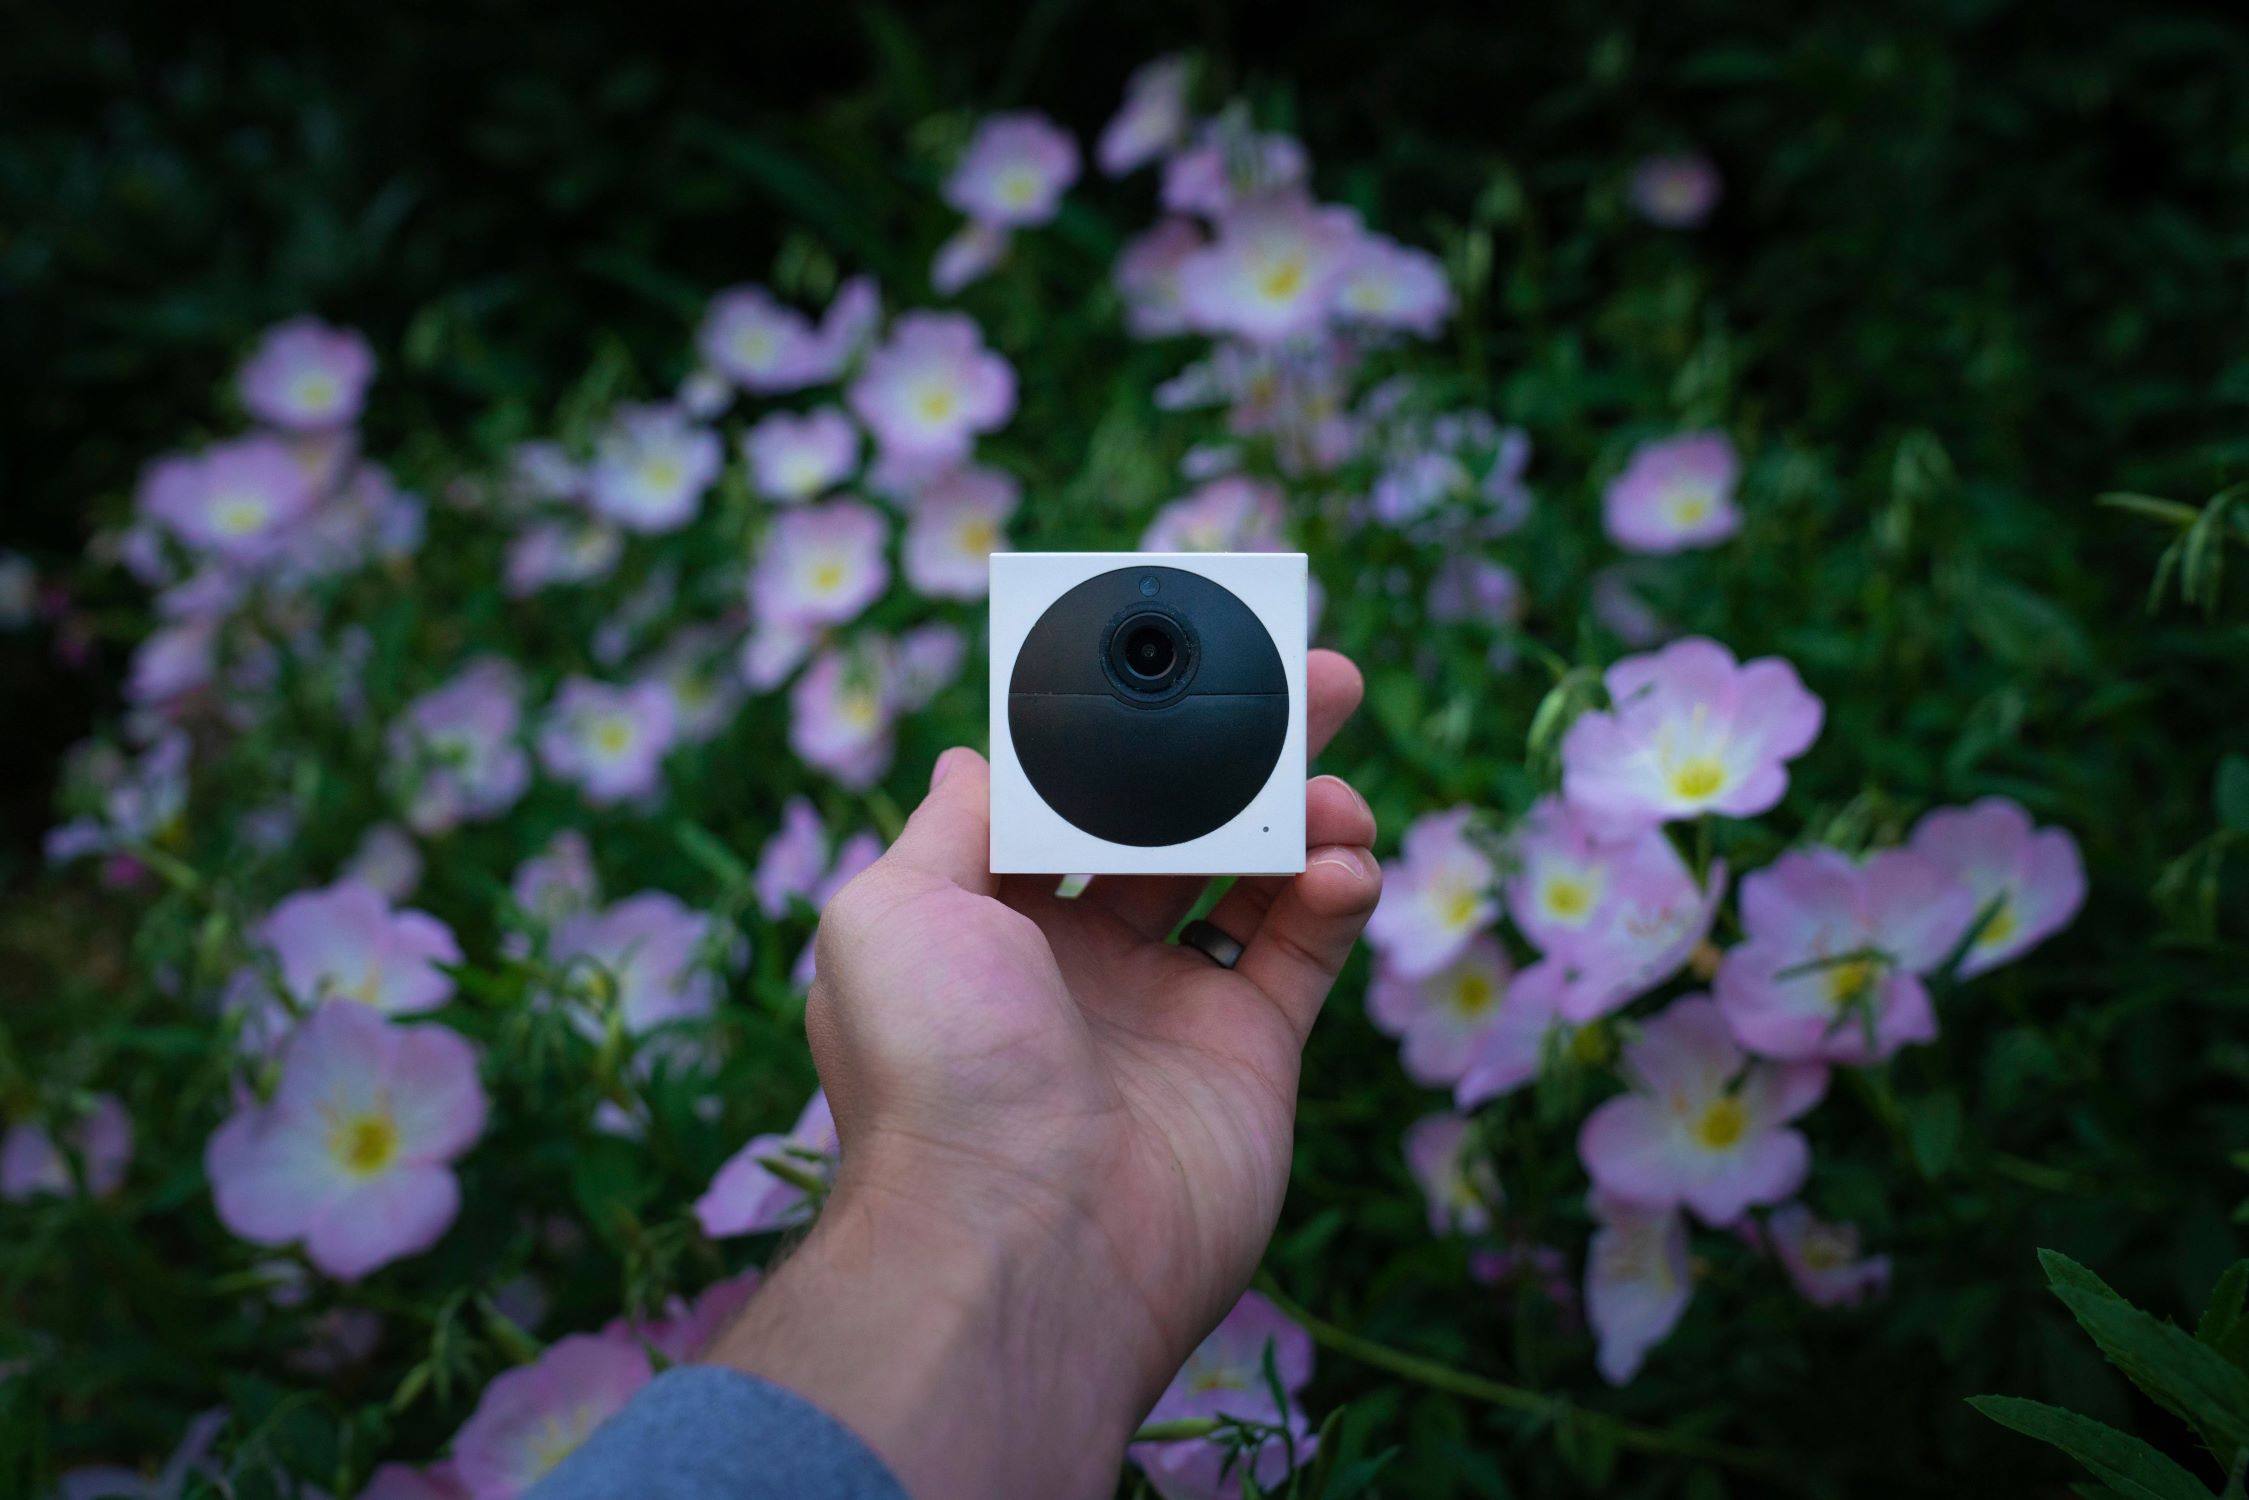
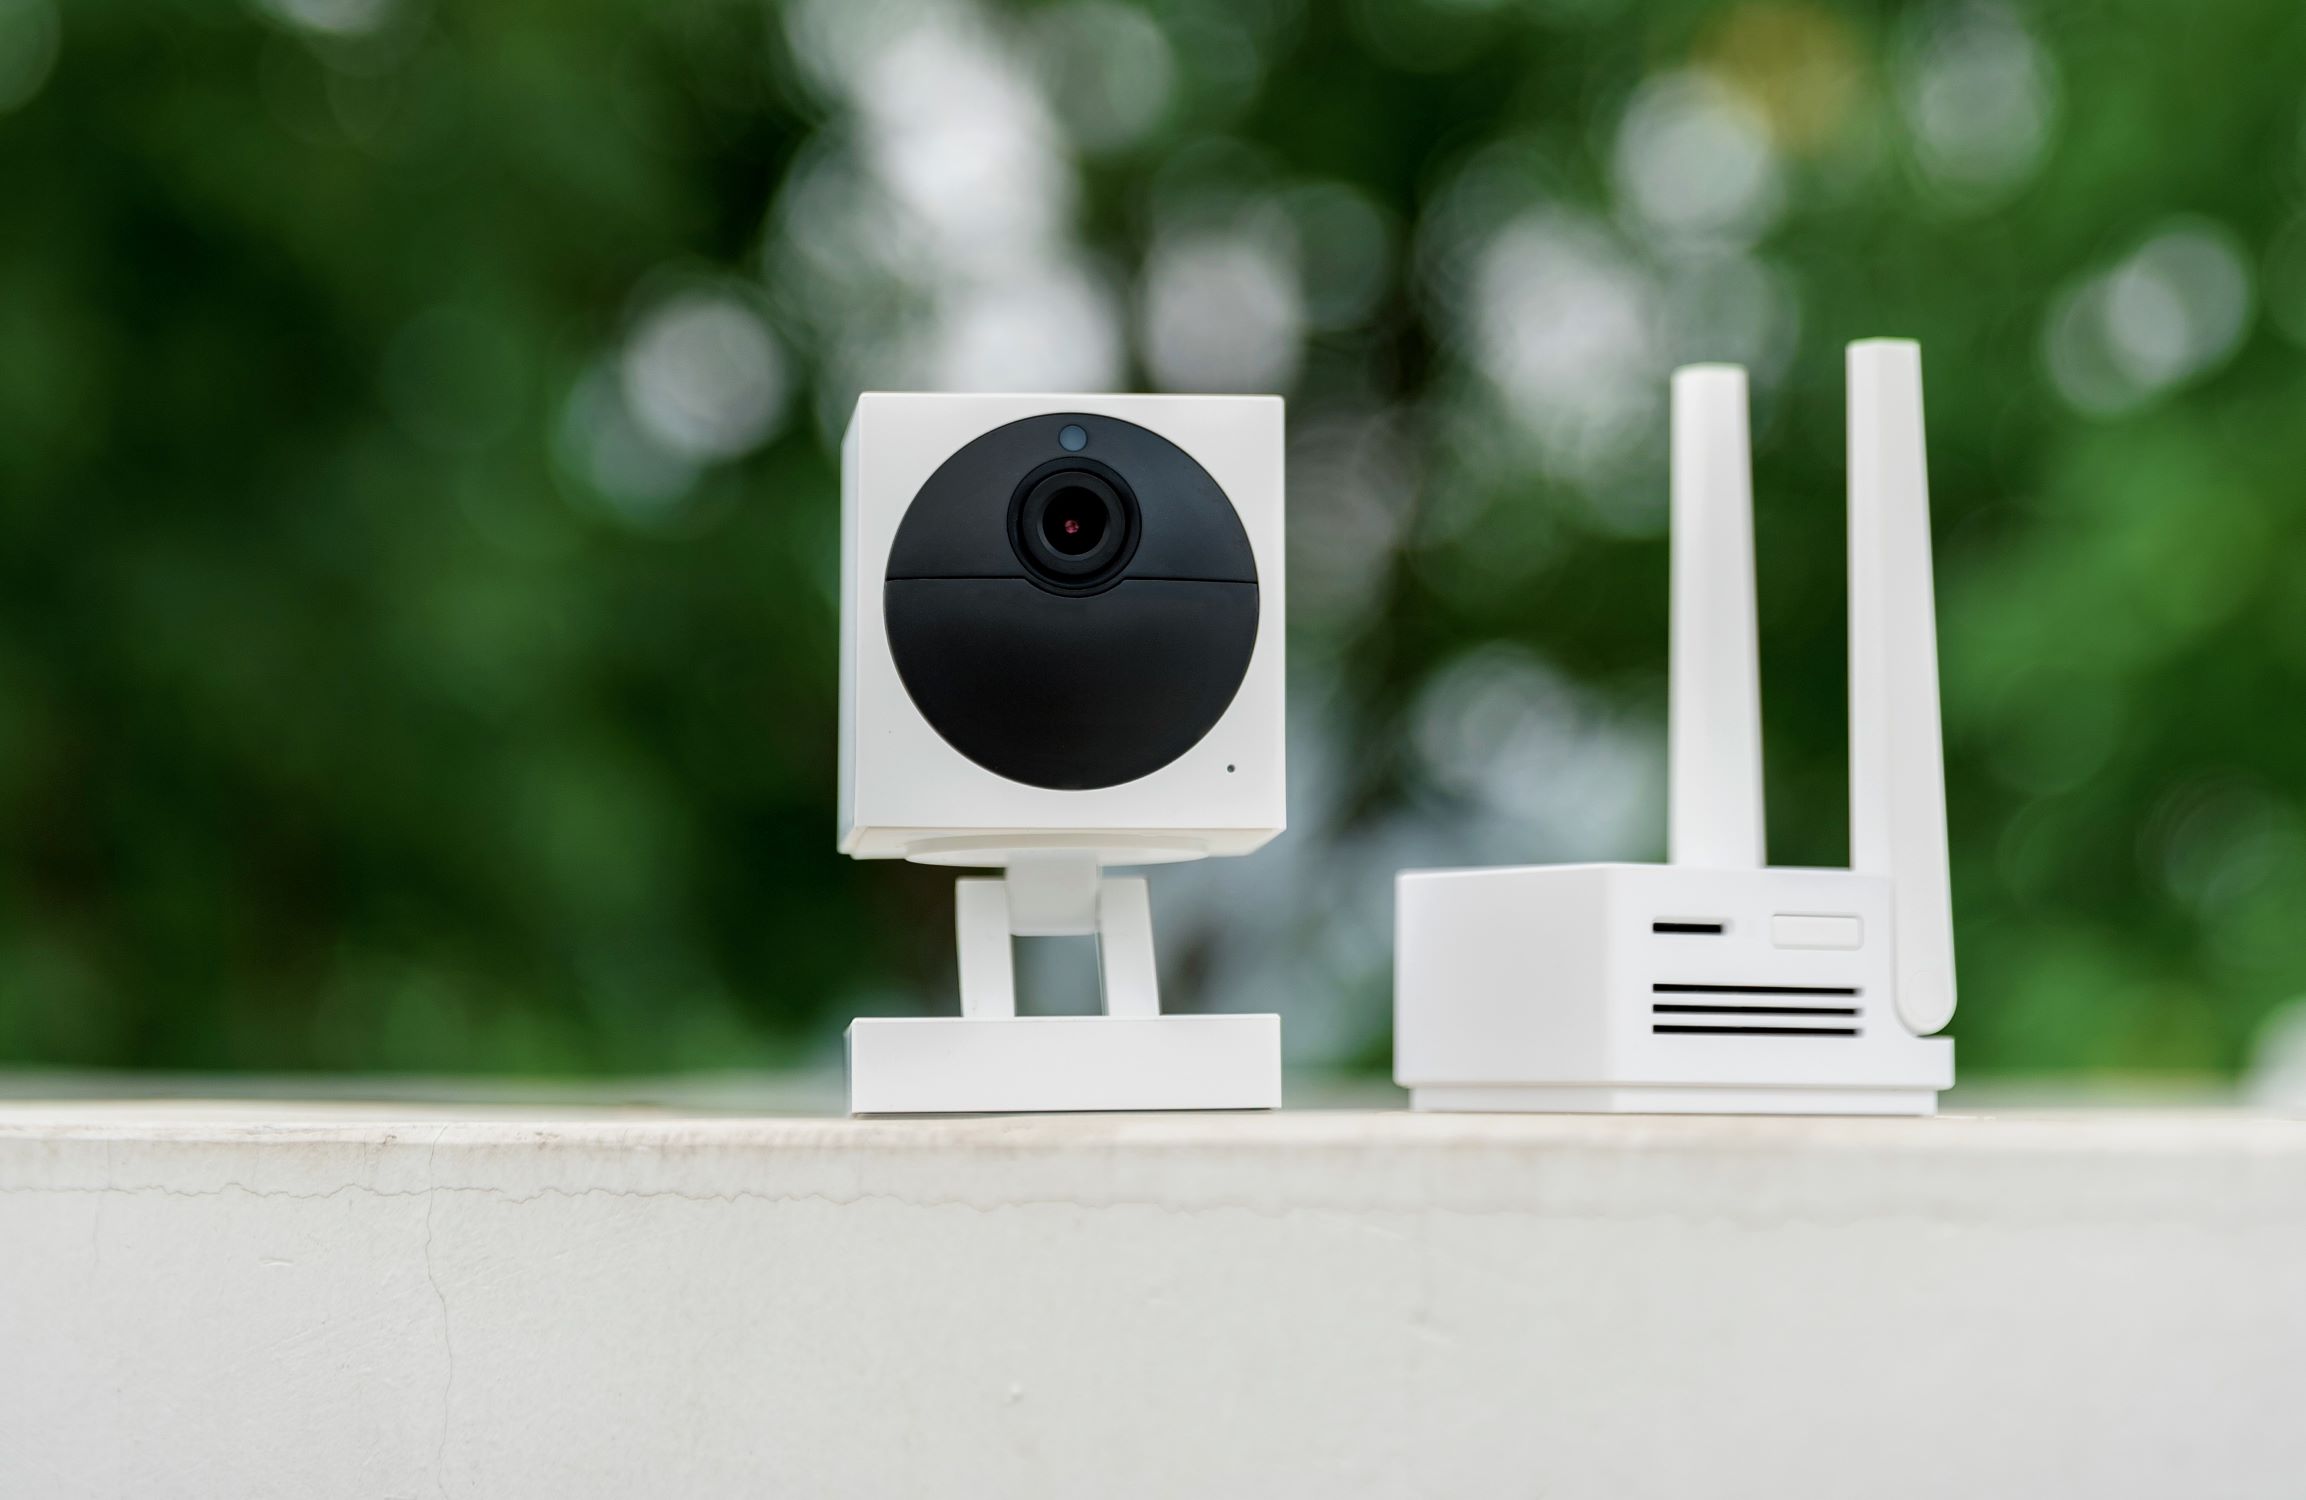
One of the key components of an effective home security system is a surveillance camera. These devices have evolved significantly over the years, offering advanced features and cutting-edge technology to ensure optimum protection. In this article, we will delve into the world of Wyze outdoor cameras and explore how to effectively playback recorded footage.
Wyze outdoor cameras have gained tremendous popularity due to their affordability, easy installation, and impressive performance. Whether you’re a tech enthusiast or a novice, these cameras are designed to provide seamless integration into your home security system.
Before we dive into the playback options, let’s first walk through the setup process to ensure your Wyze outdoor camera is ready to capture any potential security events.
Key Takeaways:
- Setting up your Wyze outdoor camera is easy! Just unbox, choose a location, connect to Wi-Fi, and adjust the angle. Once set up, you can use the Wyze app to playback recorded footage for added security.
- You can playback recorded footage from your Wyze outdoor camera using the Wyze app, a microSD card, or the Wyze Cloud service. Each option offers unique benefits, allowing you to choose the method that best suits your needs.
Read more: How To Mount Wyze Outdoor Camera
Step 1: Setting Up Your Wyze Outdoor Camera
Setting up your Wyze outdoor camera is a relatively straightforward process. Here is a step-by-step guide to help you get started:
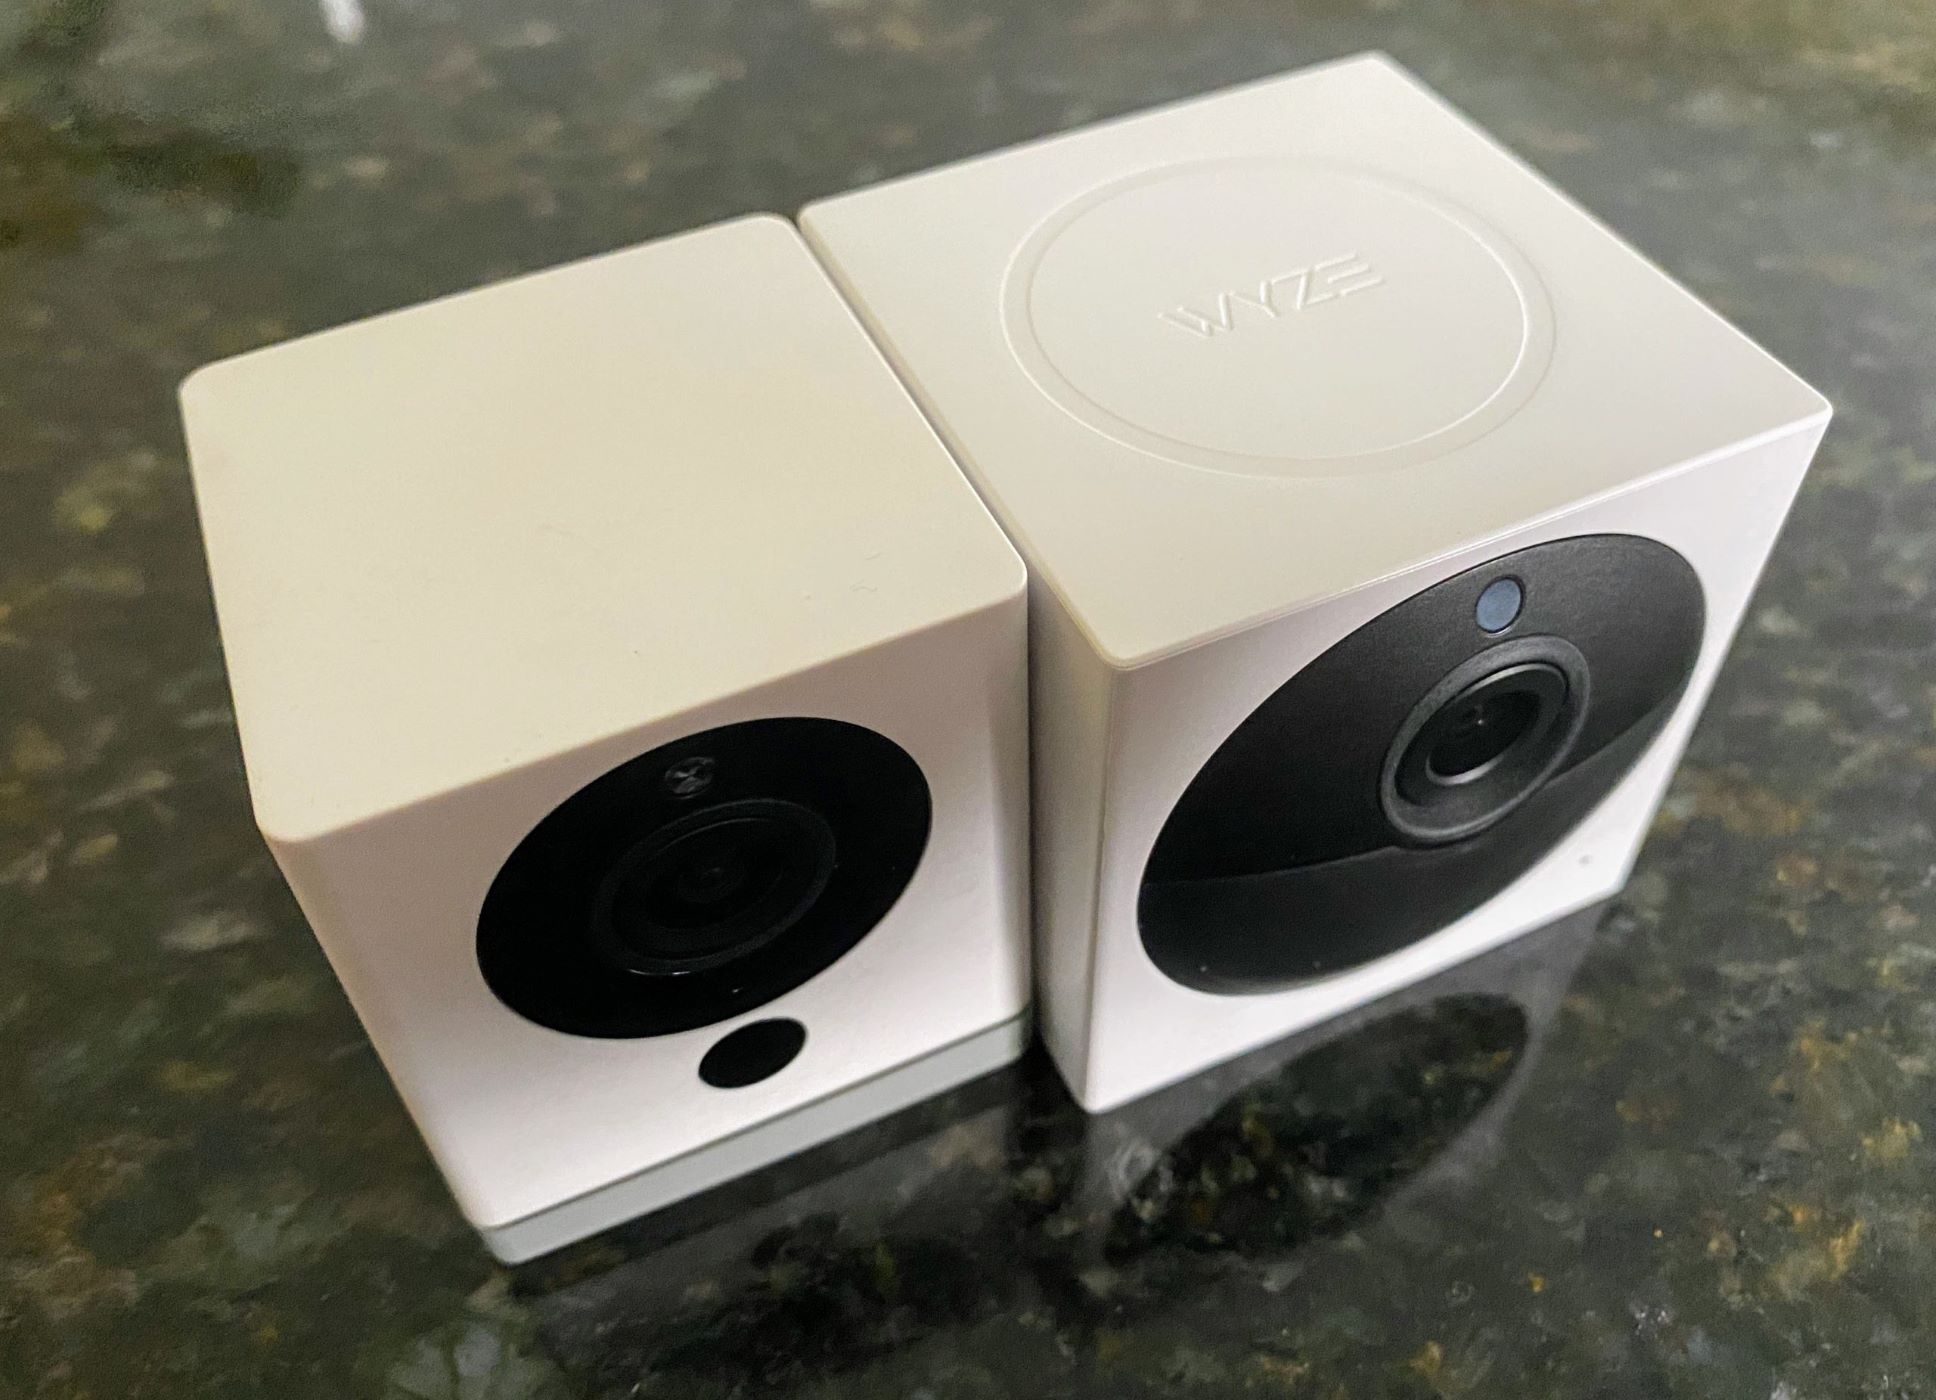
- Unbox the Camera: Start by unboxing your Wyze outdoor camera and ensuring that all the components are included. You should have the camera itself, a mounting bracket, a power adapter, and any necessary screws or anchors.
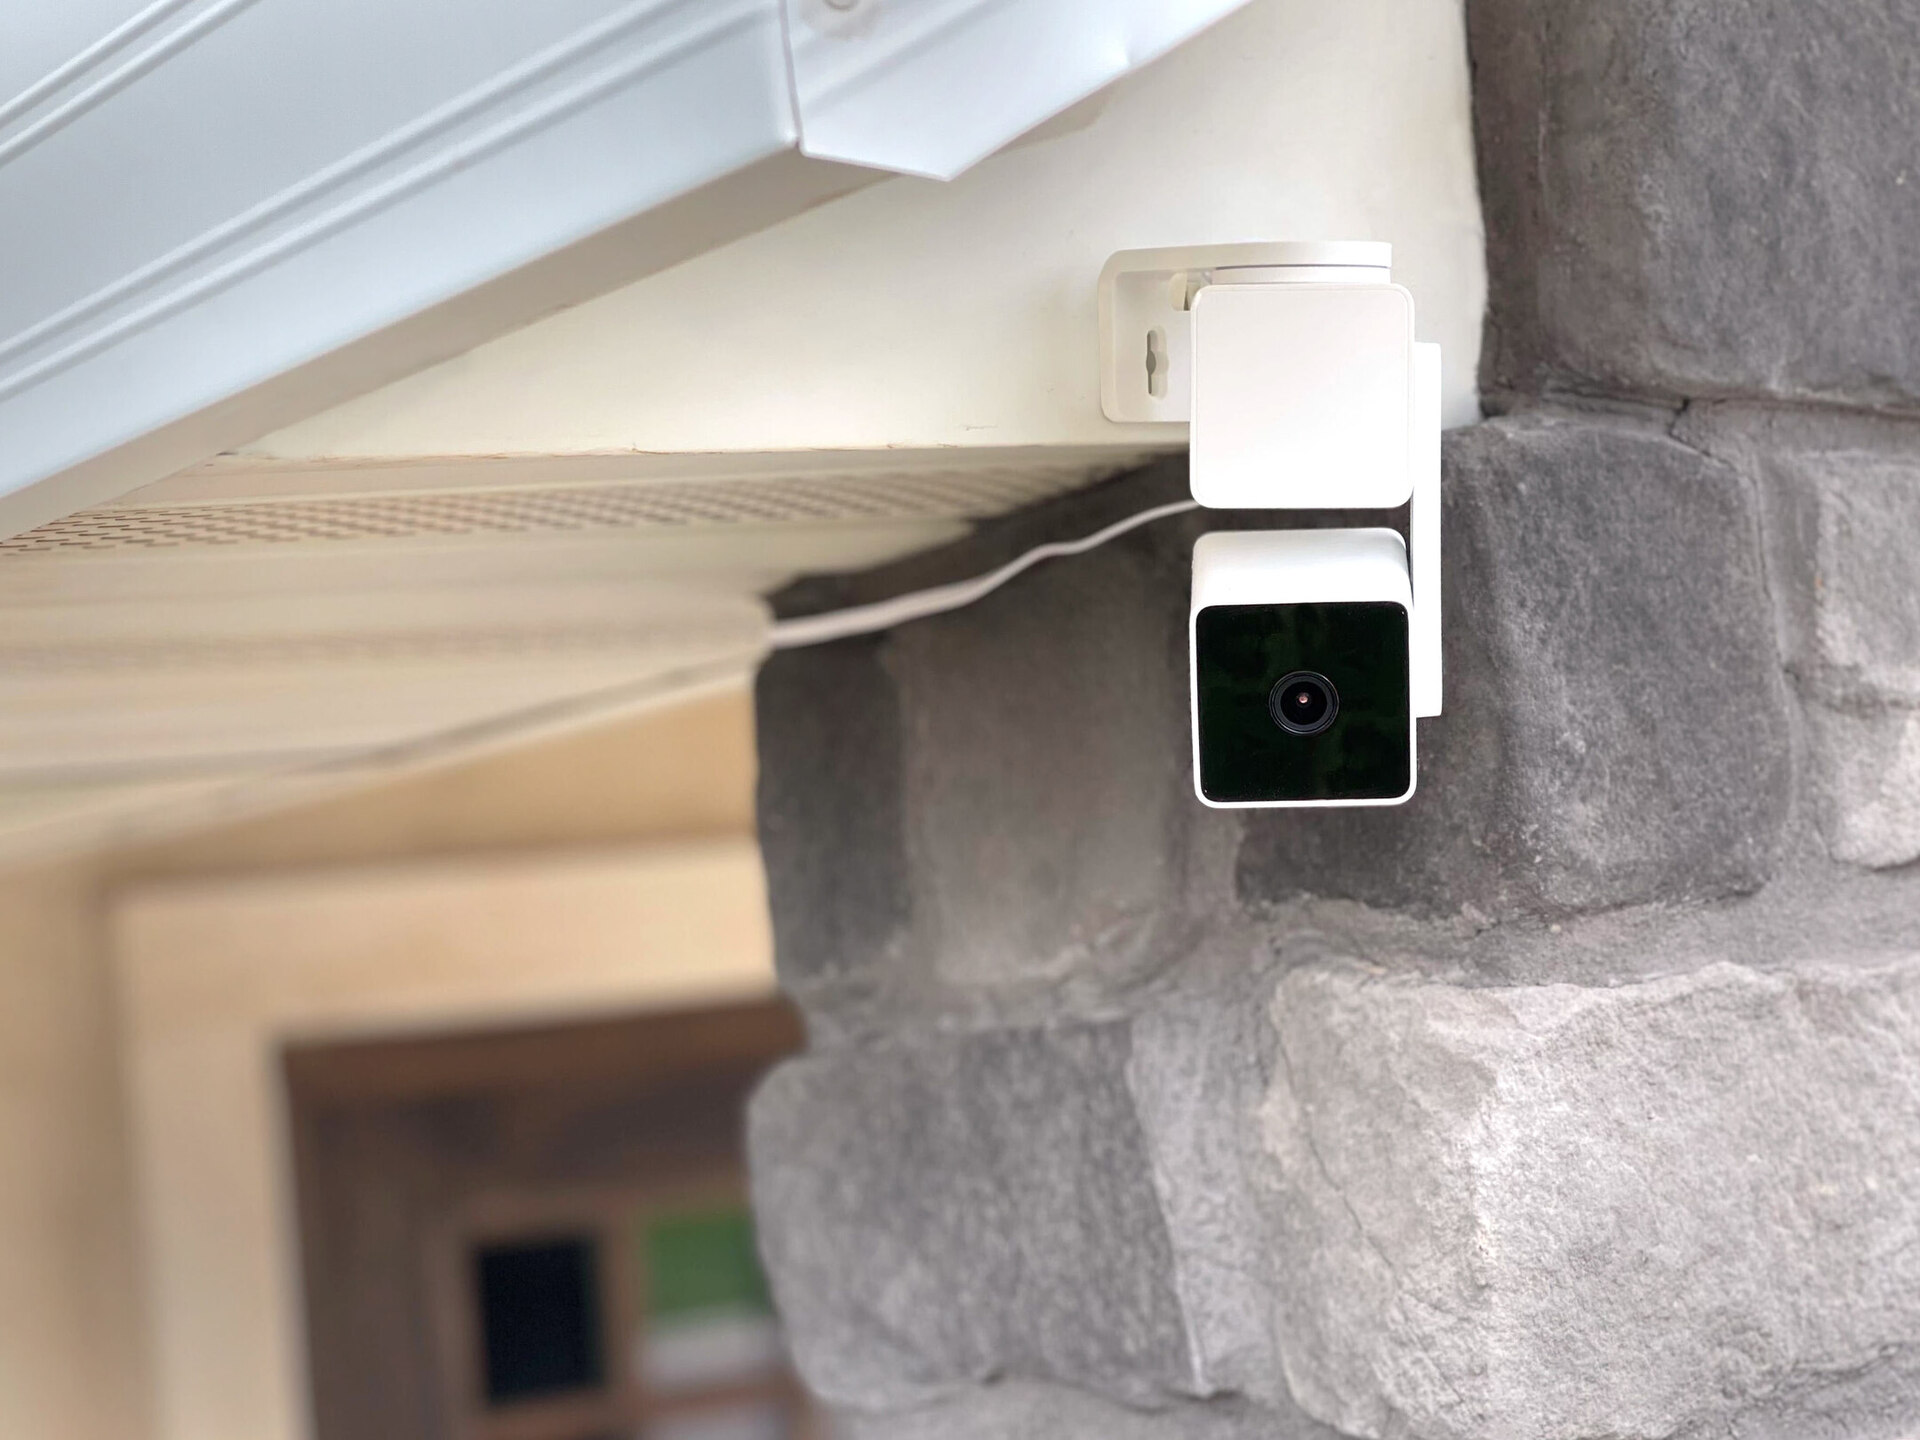
- Choose the Location: Decide where you want to install your camera. It’s important to consider areas where you need maximum coverage and visibility, such as entry points or high-traffic areas.
- Mount the Camera: Attach the mounting bracket to the desired location using the provided screws or anchors. Ensure that the bracket is securely attached to the surface.
- Connect the Camera: Plug the power adapter into an electrical outlet and connect the other end to the camera. It may take a few moments for the camera to power on and initialize.
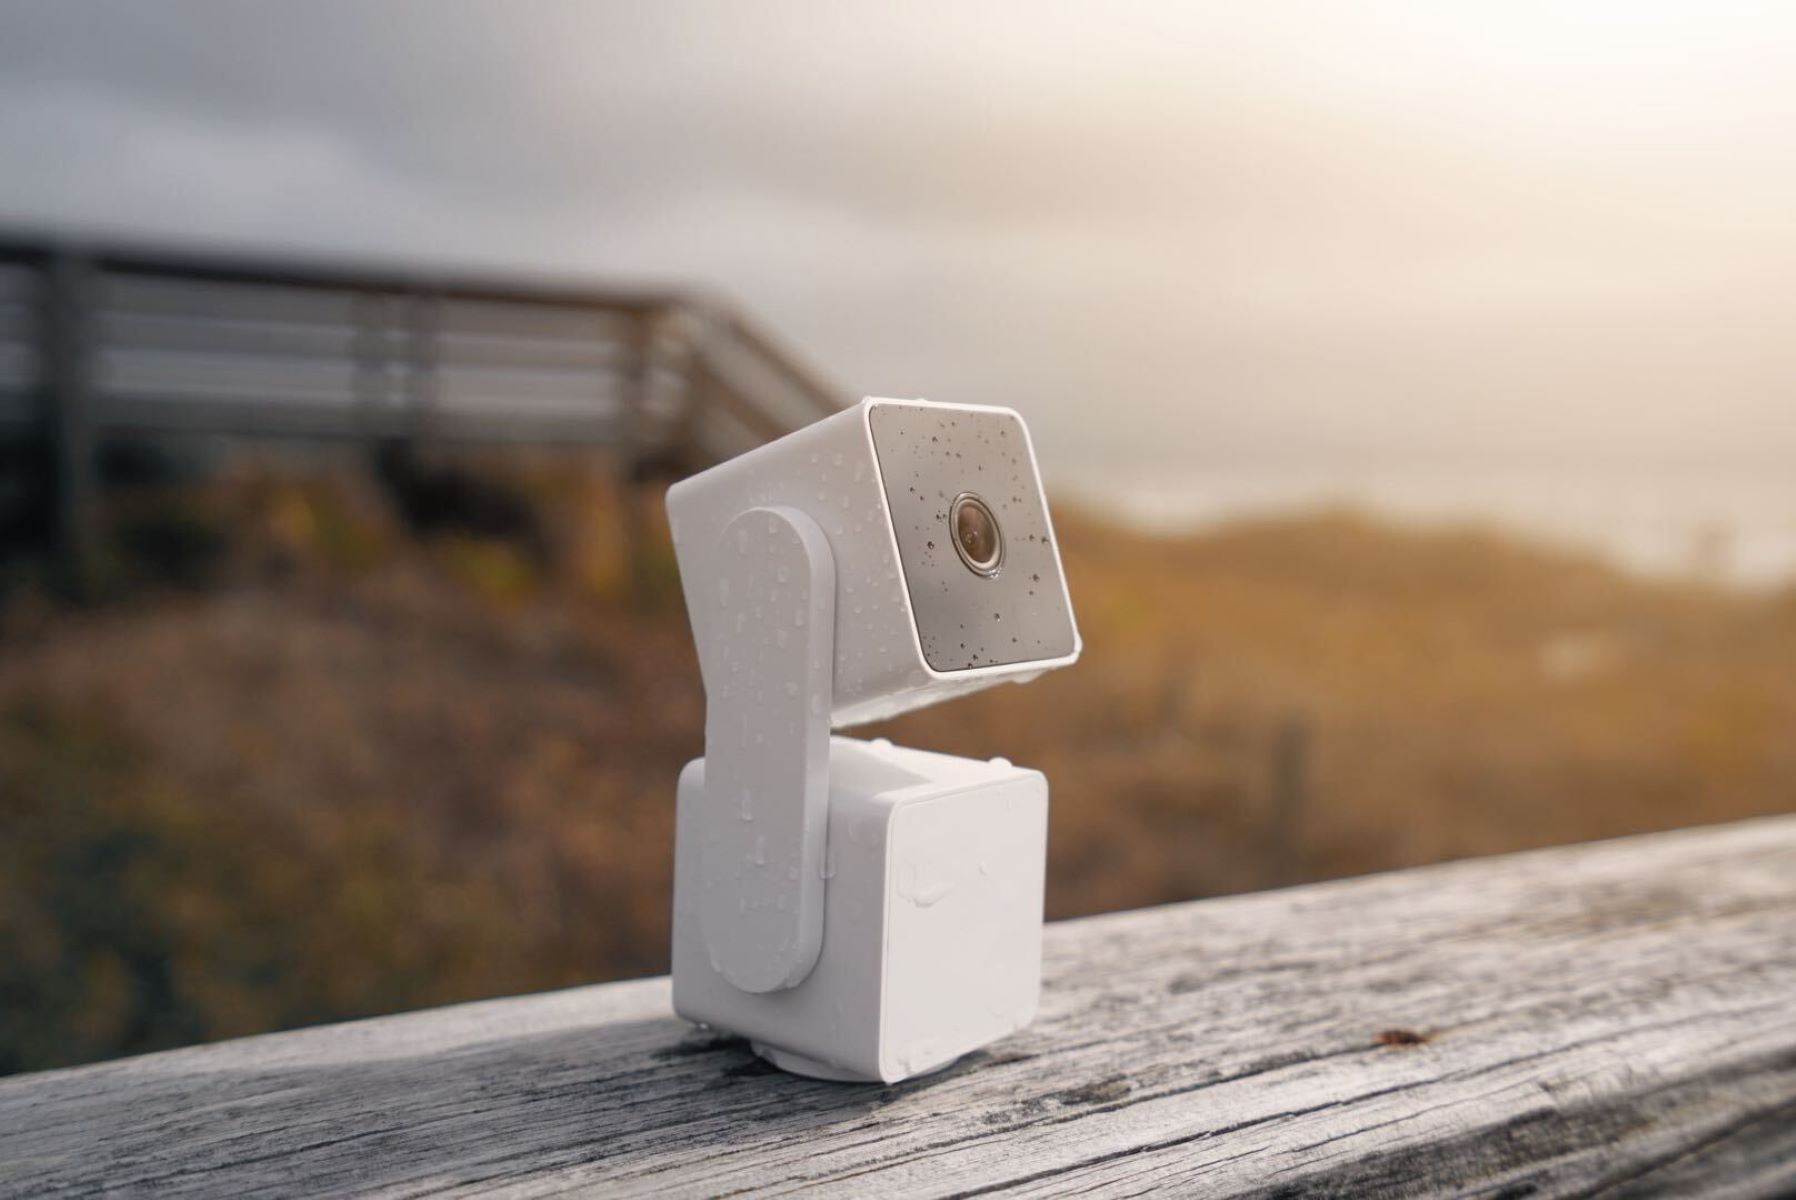
- Adjust the Camera Angle: Once powered on, adjust the camera angle to capture the desired field of view. Most outdoor cameras offer a range of motion to cover a wider area.
- Secure the Camera: Ensure that the camera is securely fastened to the mounting bracket. This step is crucial to prevent any accidental movement or damage caused by weather conditions.
Once you have successfully set up your Wyze outdoor camera, it’s time to connect it to your Wi-Fi network for remote access and control. Keep reading to find out how you can establish a seamless connection.
Step 2: Connecting to Your Wi-Fi Network
In order to access your Wyze outdoor camera remotely and enjoy all its features, you need to connect it to your Wi-Fi network. Here’s a step-by-step guide to help you establish a secure and stable connection:
- Open the Wyze App: Launch the Wyze app on your smartphone or tablet. If you haven’t installed the app yet, visit the App Store or Google Play Store to download and install it.
- Sign in or Create an Account: Log in to your Wyze account or create a new one if you don’t have an existing account. This will allow you to manage and control your outdoor camera from anywhere.
- Add a Device: Once you’re signed in, tap on the “+” icon in the top-right corner of the main screen. Select “Add Device” from the options that appear.
- Select Wyze Outdoor Camera: From the list of available devices, choose the Wyze outdoor camera. Make sure your camera is in pairing mode, indicated by a flashing yellow light on the camera itself.
- Connect to Wi-Fi: Follow the on-screen instructions to connect your Wyze outdoor camera to your Wi-Fi network. Enter your Wi-Fi network’s SSID and password when prompted. Ensure that you’re connected to a 2.4GHz Wi-Fi network, as the camera does not support 5GHz networks.
- Wait for Connection: Once you’ve entered your Wi-Fi details, wait for a few moments while the camera establishes a connection to your network. You will receive a notification once the connection is successful.
- Confirm Connection: Once the camera is connected, you may be prompted to perform a firmware update. It’s recommended to keep your camera’s firmware up to date for enhanced performance and security.
That’s it! You have successfully connected your Wyze outdoor camera to your Wi-Fi network. Now you can control and monitor your camera remotely from the Wyze app, even when you’re not at home. In the next step, we’ll discuss how to install the Wyze app for seamless access and control.
Step 3: Installing the Wyze App
To take full advantage of your Wyze outdoor camera and its features, you’ll need to install the Wyze app on your smartphone or tablet. Here’s a step-by-step guide to help you get the app up and running:
- Open the App Store or Google Play Store: Depending on your device, launch the respective app store on your smartphone or tablet.
- Search for the Wyze App: In the search bar, type “Wyze” and tap on the search icon. Look for the official Wyze app and tap on it to open the app’s page.
- Download and Install the App: Tap on the “Download” or “Install” button to begin downloading the Wyze app. The app will automatically install once the download is complete.
- Open the Wyze App: Locate the Wyze app on your device’s home screen or app drawer and tap on it to launch the app.
- Sign In or Create an Account: If you already have a Wyze account, enter your login credentials and tap “Sign In.” If you don’t have an account yet, tap the “Sign Up” or “Create Account” button to register and create a new account.
- Grant Permissions: Once you’re signed in, the app may request permissions to access your device’s camera, microphone, and location. Grant the necessary permissions to ensure the app functions optimally.
- Explore the Wyze App: Congratulations! You now have the Wyze app installed on your device. Take some time to familiarize yourself with the app’s interface and features. You’ll be able to control and manage your Wyze outdoor camera, view live video feeds, and access playback options.
Now that you have successfully installed the Wyze app, you’re ready to pair and mount your Wyze outdoor camera. In the next step, we will discuss how to effectively perform these tasks to optimize your camera’s performance.
Step 4: Pairing and Mounting Your Wyze Outdoor Camera
Now that you have the Wyze app installed and your camera connected to Wi-Fi, it’s time to pair and mount your Wyze outdoor camera. The following steps will guide you through the process:
- Open the Wyze App: Launch the Wyze app on your smartphone or tablet and sign in to your account.
- Add a Device: Tap on the “+” icon in the top-right corner of the main screen and select “Add Device” from the options.
- Select Wyze Outdoor Camera: From the list of available devices, choose the Wyze outdoor camera. Make sure your camera is in pairing mode, indicated by a flashing yellow light on the camera itself.
- Scan the QR Code: Hold your device’s camera in front of the QR code that appears on the screen. The app will automatically detect the QR code and pair the camera to your account.
- Choose Mounting Location: Decide where you want to mount your Wyze outdoor camera. Ensure that the chosen location provides optimal coverage and a clear view of the area you want to monitor.
- Attach the Mounting Bracket: Use the provided screws or anchors to attach the mounting bracket to the selected location. Ensure that it is securely fastened to avoid any movement or damage.
- Mount the Camera: Carefully attach the Wyze outdoor camera to the mounting bracket. Adjust the angle as needed to capture the desired field of view.
- Secure the Camera: Once the camera is in place, tighten any screws or locking mechanisms to secure it firmly to the mounting bracket. This will prevent any accidental movement or dislodging caused by strong winds or vibrations.
With your Wyze outdoor camera mounted and securely in place, you’re now ready to adjust the camera settings and fine-tune its performance. In the next step, we will explore the various camera settings available to ensure you get the most out of your device.
Read more: How To Mount A Wyze Outdoor Camera
Step 5: Adjusting Camera Settings
After pairing and mounting your Wyze outdoor camera, it’s important to adjust the camera settings to meet your specific needs. Here are some key settings you should consider:
- Video Quality: Choose the video quality that best suits your requirements. Higher quality settings provide clearer images but may consume more storage space. Adjust this setting based on your available storage and desired level of detail.
- Motion Detection: Enable or adjust the motion detection settings to receive alerts when the camera detects movement in its field of view. You can set the sensitivity level and define specific areas to monitor for motion.
- Night Vision: If you anticipate needing surveillance during nighttime hours or in low-light conditions, enable the camera’s night vision mode. This will ensure clear visibility in dark environments.
- Sound Detection: Enable sound detection to receive alerts when the camera detects abnormal or loud noises. This feature can be particularly useful for indoor settings or areas where audio monitoring is important.
- Notifications: Customize the notifications you receive from the Wyze app. You can choose to receive alerts for motion detection, sound detection, or both. Adjust the frequency and type of notifications based on your preference.
- Two-Way Audio: If your Wyze outdoor camera supports two-way audio, enable this feature to communicate with people near the camera. This can be useful for remote interaction with visitors, delivery personnel, or intruders.
- Storage Options: Determine how you want to store the recorded footage from your Wyze outdoor camera. You can choose to use a microSD card for local storage or subscribe to the Wyze Cloud service for cloud storage options.
Take some time to explore the camera settings within the Wyze app and adjust them according to your preferences. Fine-tuning these settings will help optimize the performance and functionality of your Wyze outdoor camera.
In the next step, we will delve into the different options available for playback, allowing you to view recorded footage and review past events.
To playback on Wyze Outdoor Camera, open the Wyze app, select the camera, and tap on the “View Playback” option. Then, choose the date and time to view the recorded footage.
Step 6: Understanding Playback Options
Having the ability to playback recorded footage is crucial for reviewing past events and detecting any security breaches. With your Wyze outdoor camera, there are multiple playback options to choose from. Let’s explore them:
- Wyze App Playback: The Wyze app provides a convenient and user-friendly interface for accessing playback. You can simply navigate to the camera you want to view, select the desired date and time, and the app will display the recorded footage. You can pause, rewind, and fast forward through the footage to review specific moments.
- MicroSD Card Playback: If you have inserted a microSD card into your Wyze outdoor camera, it will automatically store recorded footage locally. To access playback, remove the microSD card from the camera and insert it into your computer’s card reader. Use compatible video players to open the video files and review the recorded footage.
- Wyze Cloud Service Playback: Another option for playback is to subscribe to the Wyze Cloud service. With cloud storage enabled, your recorded footage is securely stored online. You can access the Wyze app or the Wyze website to view the recorded footage from any device with internet access.
Each playback option has its own advantages and considerations. The Wyze app playback is quick and convenient, allowing you to review footage directly on your mobile device. MicroSD card playback provides local storage and easy access to recorded footage on your computer. The Wyze Cloud service offers remote access to your recorded footage, even if your camera or microSD card is damaged or stolen.
Choose the playback option that best suits your preferences and requirements. In the next steps, we will discuss how to perform playback using the Wyze app, microSD card, and Wyze Cloud service.
Step 7: Playback Using the Wyze App
The Wyze app offers a convenient and user-friendly way to playback recorded footage from your Wyze outdoor camera. Here’s how you can access playback using the app:
- Open the Wyze App: Launch the Wyze app on your smartphone or tablet.
- Select the Camera: Tap on the camera you want to playback footage from. This will open the live view of the camera.
- Access Playback: In the live view, look for the timeline at the bottom of the screen. Scroll left or right to navigate to the desired date and time of the recording.
- Start Playback: Once you’ve selected the desired date and time, tap on the play button to start playback. The recorded footage will appear on the screen.
- Control Playback: Use the pause, rewind, and fast forward buttons to control the playback. You can easily browse through the footage to review specific moments.
With the Wyze app, you can conveniently playback recorded footage directly on your mobile device. This allows you to review past events, monitor suspicious activities, or simply keep an eye on your property.
In the next step, we will explore how to playback recorded footage using a microSD card, another handy option for accessing stored video recordings.
Step 8: Playback Using a MicroSD Card
If you have inserted a microSD card into your Wyze outdoor camera, you can easily playback recorded footage directly from the card. Here’s how:
- Remove the MicroSD Card: Carefully remove the microSD card from the Wyze outdoor camera.
- Insert the MicroSD Card: Insert the microSD card into a compatible card reader on your computer.
- Open Video Player: Use a compatible video player software on your computer, such as VLC Media Player or Windows Media Player, and open the video files from the microSD card.
- Navigate Playback: Once the video files are open, use the playback controls within the video player to navigate through the recorded footage. You can pause, rewind, fast forward, or jump to specific timestamps.
- Review Footage: Watch the recorded footage on your computer screen to review past events or monitor specific incidents.
Using a microSD card provides a convenient method for local storage of recorded footage and easy access to playback on your computer. It allows you to review recordings in more detail and save important video clips for future reference.
In the next step, let’s explore how you can playback recorded footage using the Wyze Cloud service, which offers remote access to your recordings from anywhere with an internet connection.
Read more: How To Connect Wyze Outdoor Camera
Step 9: Playback Using the Wyze Cloud Service
If you have subscribed to the Wyze Cloud service, you can take advantage of remote access to your recorded footage from anywhere with an internet connection. Here’s how to playback using the Wyze Cloud service:
- Visit the Wyze Website: Open a web browser on your computer or mobile device and visit the Wyze website.
- Sign In to Your Account: Enter your Wyze account credentials to sign in to your account. Make sure to use the same account that is linked to your Wyze outdoor camera.
- Access Cloud Storage: Once signed in, navigate to the Cloud storage or Playback section within your account.
- Select the Camera: Choose the specific Wyze outdoor camera you want to playback footage from. The available recordings will be displayed.
- Choose Date and Time: Select the desired date and time range to view the recorded footage. The playback interface will load the corresponding recordings.
- Start Playback: Click on the play button to start the playback. The recorded footage will be displayed on your screen.
- Control Playback: Use the controls within the playback interface to pause, rewind, fast forward, or jump to specific timestamps. You can easily navigate through the footage to review specific events.
With the Wyze Cloud service, you have the convenience of accessing your recordings remotely without the need for a microSD card or physical access to your camera. This feature ensures that you can monitor and review your footage from anywhere, providing peace of mind and enhanced security.
In the final step, we will briefly discuss troubleshooting tips for any playback issues you may encounter.
Step 10: Troubleshooting Playback Issues
While Wyze outdoor cameras offer reliable playback functionality, you may occasionally encounter issues that need troubleshooting. Here are some common playback issues and their possible solutions:
- Poor Video Quality: If you’re experiencing poor video quality during playback, ensure that your internet connection is stable and strong. Check your Wi-Fi signal strength and consider moving the camera closer to your router or using a Wi-Fi range extender if needed.
- Playback Errors: If you’re encountering playback errors or playback is not starting, try restarting the Wyze app or the device you’re using to access playback. You may also try clearing the app cache or reinstalling the app to resolve any software-related issues.
- Missing Footage: If you can’t find specific footage during playback, verify that you’re selecting the correct date and time range. Double-check the storage source, whether it’s the Wyze app, microSD card, or Wyze Cloud service, to ensure that the footage was properly recorded and stored.
- MicroSD Card Read Errors: If you’re unable to access playback from a microSD card, check that the card is properly inserted into the camera and make sure it is formatted correctly. Additionally, ensure that the microSD card is compatible with your Wyze outdoor camera and that it has sufficient storage capacity.
- Cloud Storage Access Issues: If you’re having trouble accessing playback from the Wyze Cloud service, check your subscription status and ensure that your account is in good standing. If the issue persists, reach out to Wyze customer support for assistance.
If you’ve followed the suggested troubleshooting steps and are still experiencing playback issues, it’s recommended to consult the Wyze support documentation or contact their customer support team for further assistance. They will be able to provide dedicated support and guidance to resolve any persistent playback issues you may encounter.
Congratulations! You have now learned how to effectively playback recorded footage from your Wyze outdoor camera using various methods. Whether it’s through the Wyze app, a microSD card, or the Wyze Cloud service, you can easily review past events and ensure the security of your premises.
Remember to regularly test and monitor your camera’s playback functionality to ensure that it continues to meet your needs and provide reliable surveillance. Stay proactive in maintaining your home security system to enjoy peace of mind and protection for your loved ones and valuables.
Conclusion
Home security and surveillance systems play a critical role in safeguarding our homes and providing peace of mind. With the Wyze outdoor camera, you have a powerful tool to monitor and protect your property. This comprehensive guide has equipped you with the knowledge to set up your camera, connect it to your Wi-Fi network, install the Wyze app, pair and mount the camera, adjust the settings, and effectively playback recorded footage.
By following the step-by-step instructions provided, you can easily navigate the process of playback using the Wyze app, a microSD card, or the Wyze Cloud service. Each playback option offers its own advantages, allowing you to choose the method that suits your specific needs and preferences.
Remember to regularly review and adjust your camera settings to optimize its performance and capture crucial moments. Utilize features such as motion detection, night vision, and sound detection to enhance the security of your home.
In the event of playback issues, troubleshooting steps are available to help you resolve common problems. If you encounter persistent issues, don’t hesitate to reach out to Wyze customer support for further assistance.
Investing in a reliable and efficient home security and surveillance system like the Wyze outdoor camera ensures that you can stay connected and in control of your home’s safety, whether you’re at home or away. Rest easy knowing that your property is being monitored and that you have access to recorded footage for review and analysis.
By implementing the knowledge gained from this guide, you’re on your way to creating a secure and protected environment for you and your loved ones. Stay proactive, stay vigilant, and enjoy the peace of mind that comes with a powerful home security system.
Frequently Asked Questions about How To Playback On Wyze Outdoor Camera
Was this page helpful?
At Storables.com, we guarantee accurate and reliable information. Our content, validated by Expert Board Contributors, is crafted following stringent Editorial Policies. We're committed to providing you with well-researched, expert-backed insights for all your informational needs.