Home>Home Security and Surveillance>How To Install Lorex Wireless Security Cameras

Home Security and Surveillance
How To Install Lorex Wireless Security Cameras
Modified: October 20, 2024
Looking to enhance your home security and surveillance? Learn how to easily install Lorex wireless security cameras and protect your property!
(Many of the links in this article redirect to a specific reviewed product. Your purchase of these products through affiliate links helps to generate commission for Storables.com, at no extra cost. Learn more)
Introduction
Welcome to a comprehensive guide on how to install Lorex wireless security cameras. With the increasing need for home security and surveillance, wireless camera systems have become a popular choice for homeowners. They offer flexibility, ease of installation, and remote access to live video feeds, enhancing the overall security of any property.
Installing Lorex wireless security cameras may seem like a daunting task at first, but with the right equipment and proper guidance, it can be a straightforward and rewarding DIY project. In this article, we will walk you through the step-by-step process of installing these cameras, ensuring you can monitor your home effectively.
Before we delve into the installation process, it’s essential to understand the advantages of wireless security cameras. Unlike traditional wired cameras, wireless systems allow for easy installation without the need to run extensive cables through walls, making them ideal for rental properties or those who prefer minimal disruption during installation.
Furthermore, Lorex wireless security cameras offer high-resolution video quality, motion detection, night vision capabilities, and the ability to access live footage remotely through a smartphone or computer. These features provide unparalleled convenience and peace of mind, knowing that you can monitor your property from anywhere in the world.
Now that we recognize the benefits of wireless security cameras let’s move on to the step-by-step installation process. By following these instructions, you will have your Lorex wireless cameras up and running in no time, ensuring the safety and security of your home and loved ones.
Key Takeaways:
- Installing Lorex wireless security cameras is a straightforward DIY project that enhances home security. With easy equipment gathering, camera placement, and NVR connection, you can monitor your property effectively.
- Setting up remote access to your Lorex wireless security camera system allows you to view live video feeds and manage your surveillance system from anywhere, providing peace of mind and enhanced security.
Read more: How To Install Lorex Security Camera
Step 1: Gather the Required Equipment
Before you begin the installation process, it is essential to gather all the necessary equipment. Having everything prepared in advance will help streamline the installation process and ensure you have everything you need.
Here is a list of the equipment you will need:
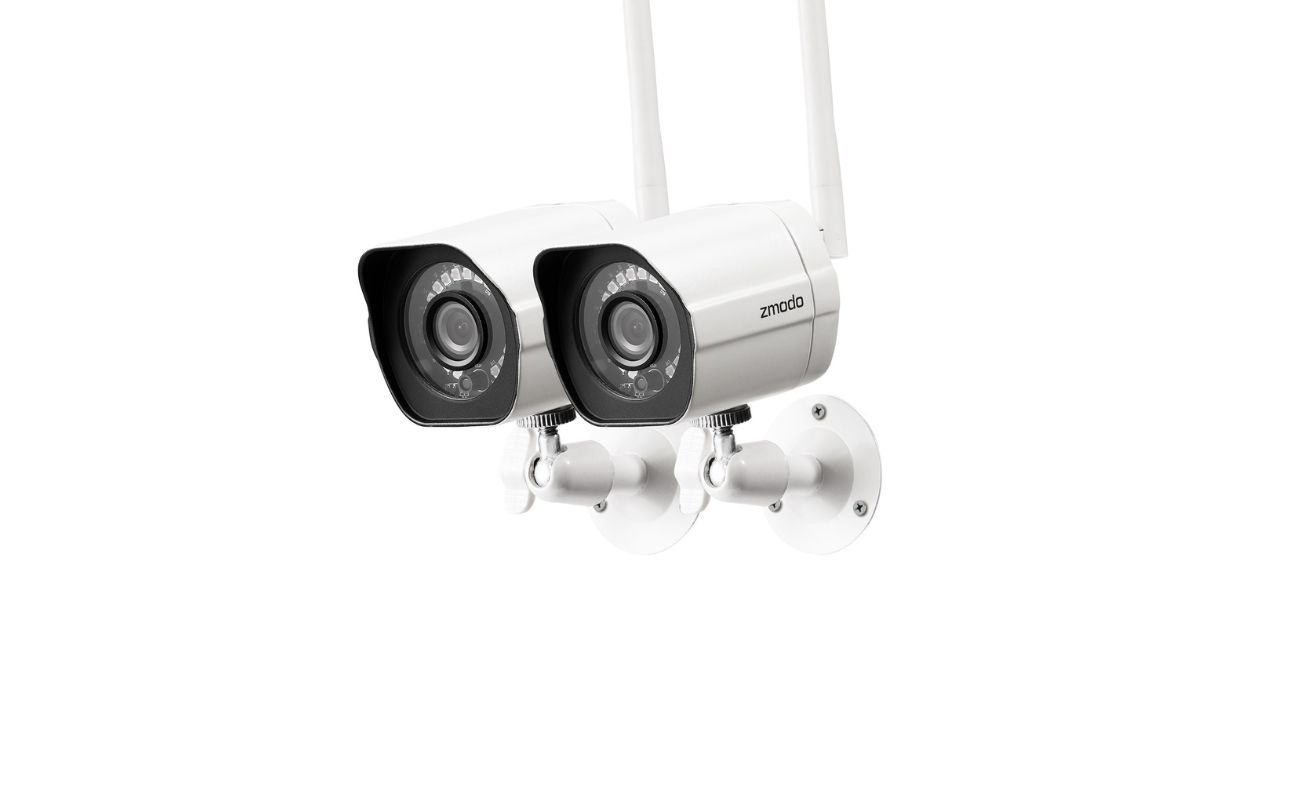
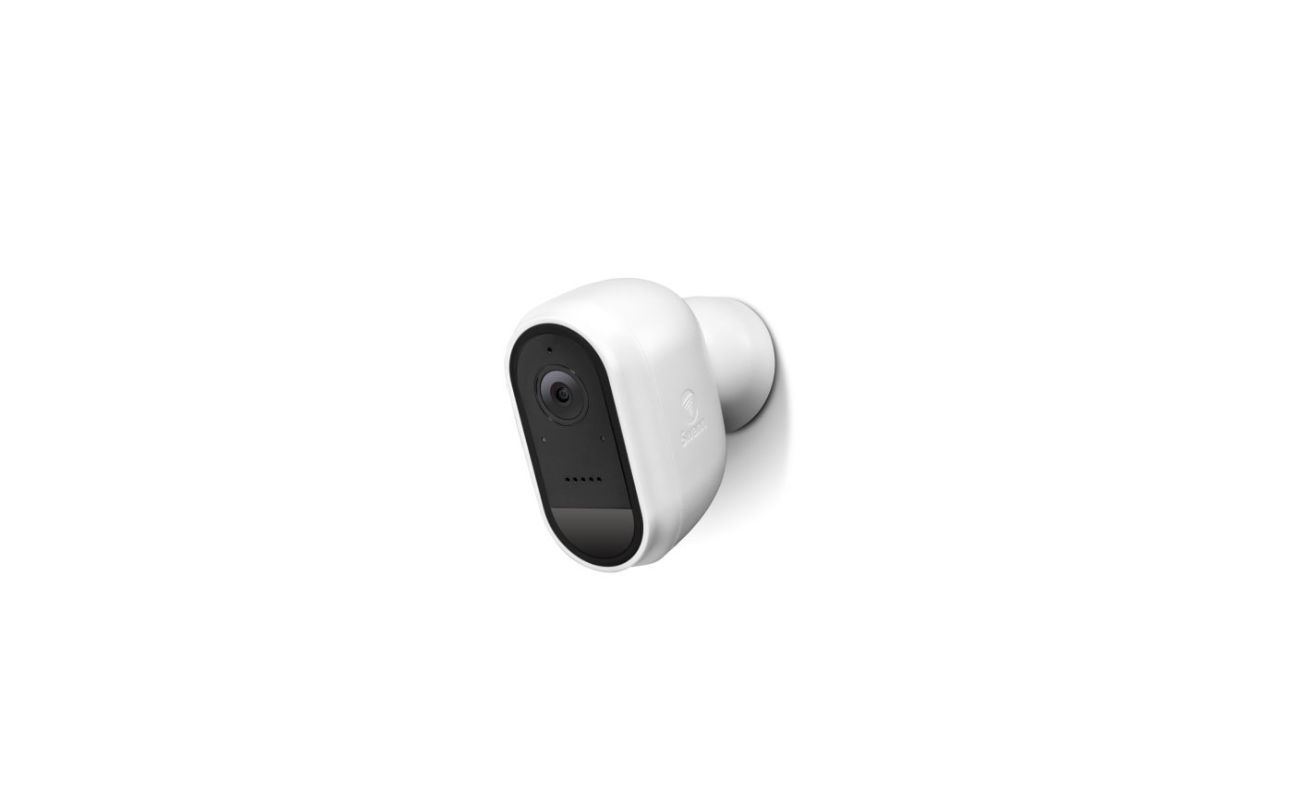
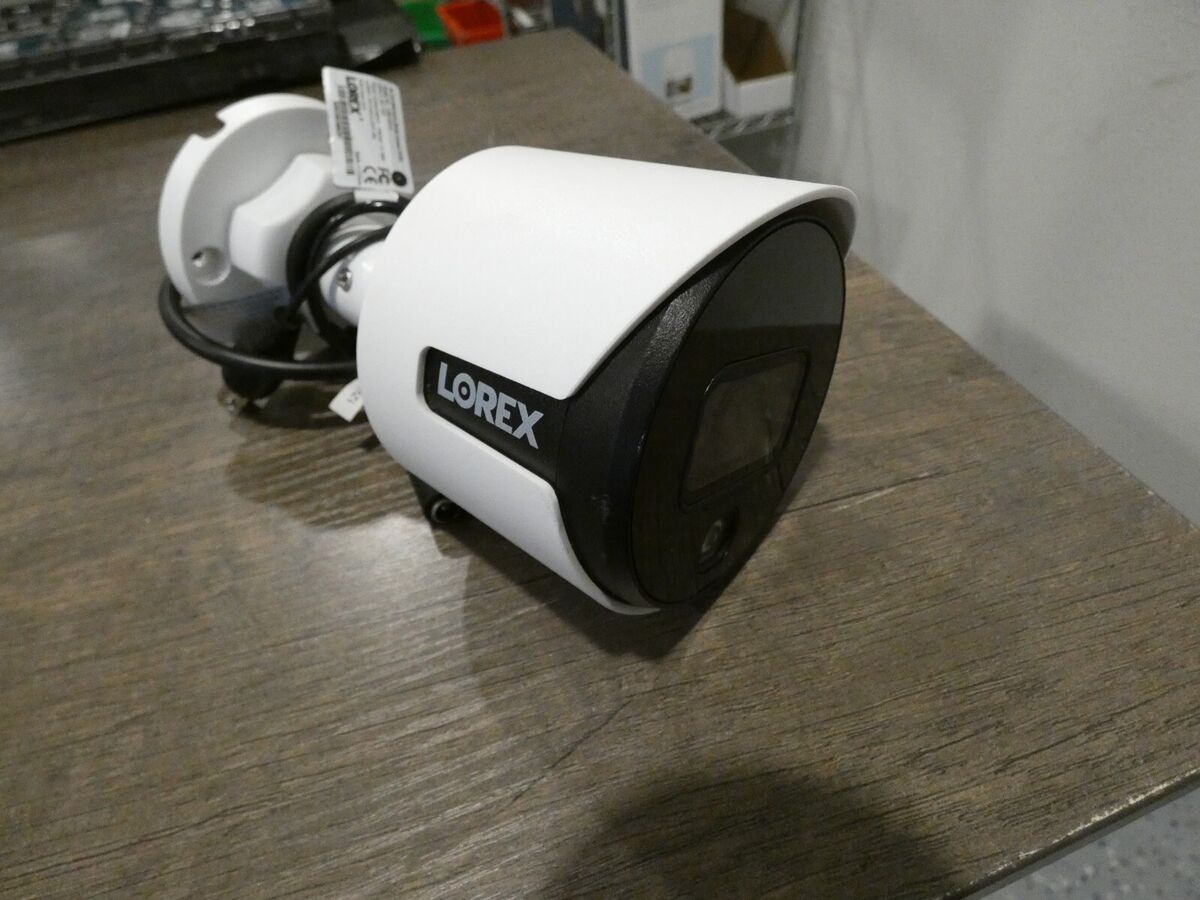
- Lorex wireless security cameras: Depending on the size of your property and the areas you want to monitor, determine the number of cameras required. Lorex offers a variety of wireless camera options suitable for different surveillance needs.
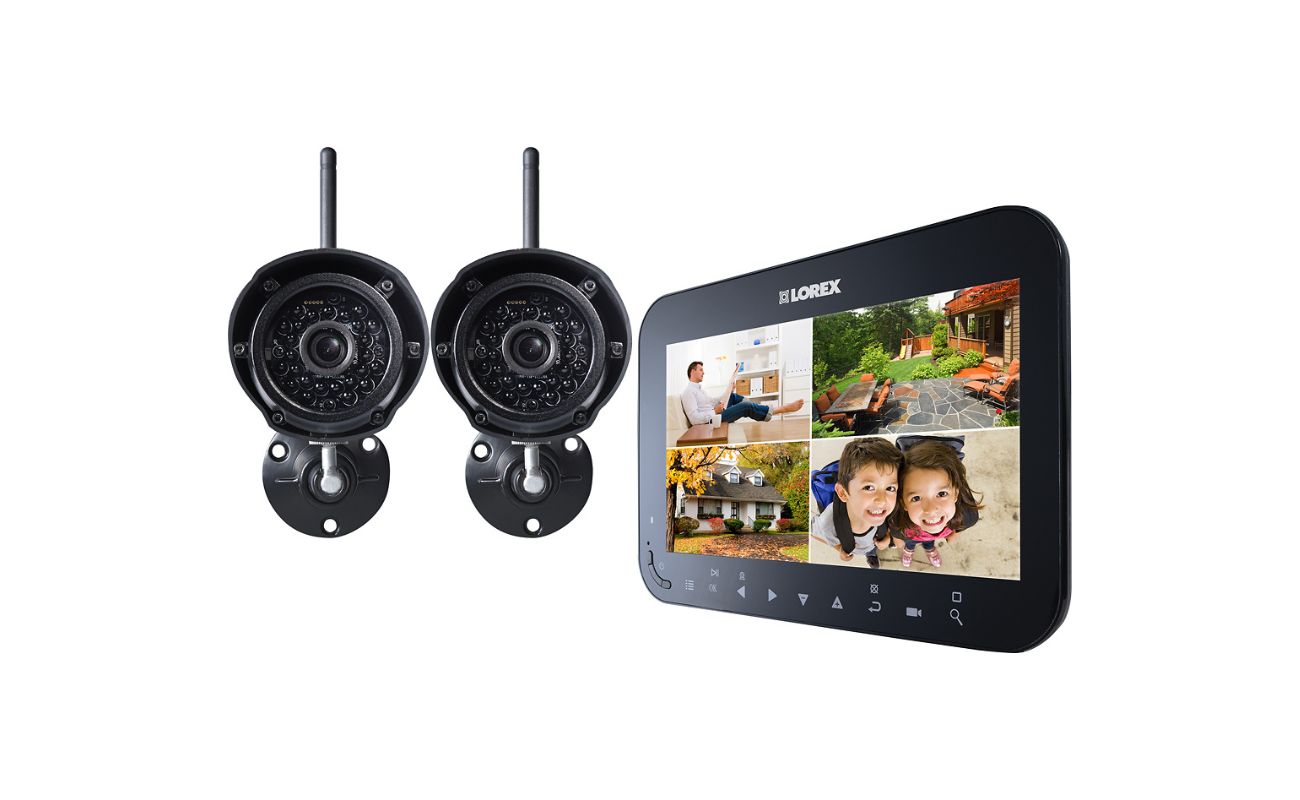
- Network Video Recorder (NVR): The NVR is the central hub of your wireless camera system. It connects and manages the cameras, allowing you to view and record footage. Ensure your NVR is compatible with your Lorex wireless cameras.
- Power adapters: Each wireless camera will require a power adapter to provide electricity. Make sure you have enough power adapters for each camera.
- Camera mounting brackets: These brackets will be used to secure the cameras in the desired locations. Make sure you have the appropriate brackets for your Lorex wireless cameras.
- Ethernet cables: Even though the cameras are wireless, you might need Ethernet cables to connect the NVR to your router for initial setup and configuration.
- Drill and mounting hardware: These tools will be necessary for mounting the camera brackets securely.
- Mobile device or computer: You will need a smartphone, tablet, or computer to access the camera feeds and configure the system.
Double-check that you have all the equipment listed above to avoid any delays or interruptions during the installation process. Once you have gathered everything, you’re ready to move on to the next step: determining camera placement.
Step 2: Determine Camera Placement
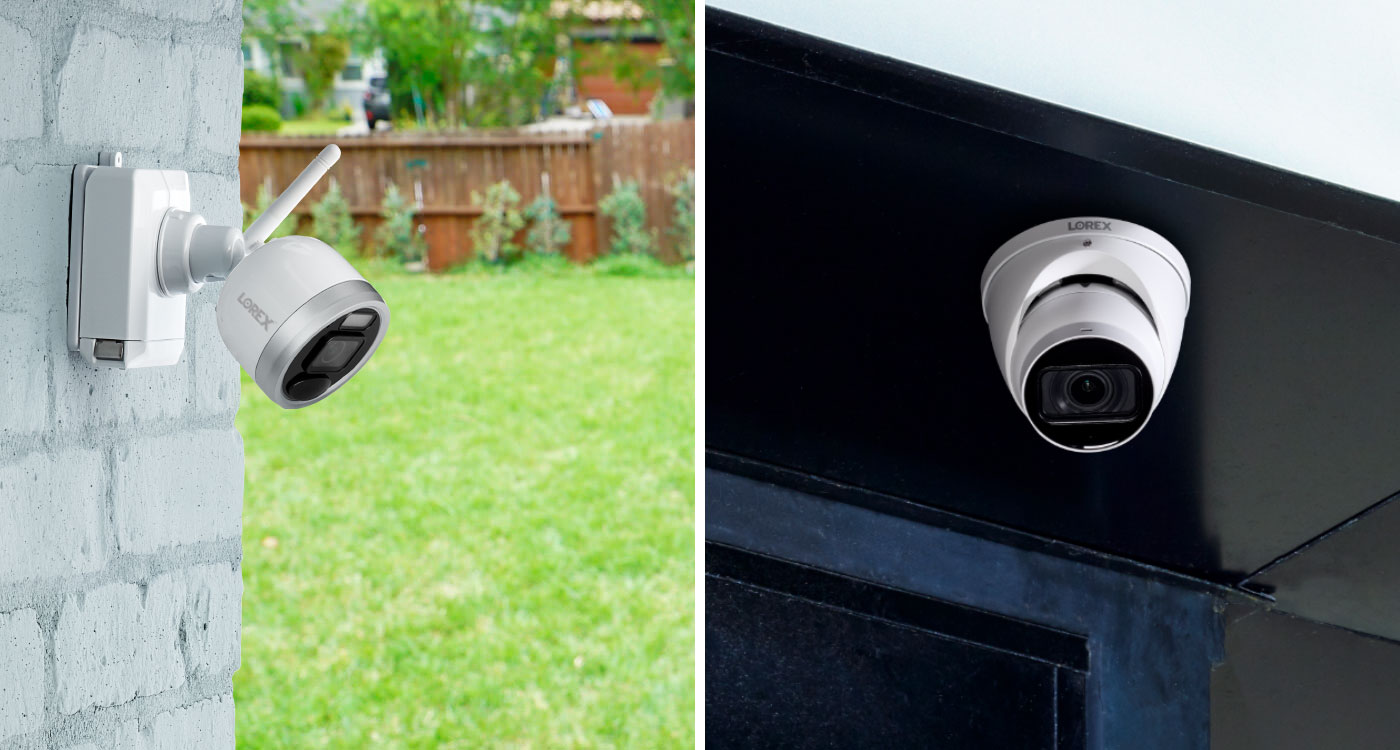
Choosing the right locations to mount your Lorex wireless security cameras is crucial for effective surveillance coverage. Before proceeding with the installation, take the time to evaluate your property and identify the areas that require monitoring.
Consider the following factors when determining camera placement:
- Entry points: Place cameras near entrances such as doors, windows, or garage doors. These areas are common points of entry for intruders, and having cameras positioned here will provide an extra layer of security.
- High-traffic areas: Identify the areas of your property where people commonly pass through, such as pathways, driveways, or common outdoor spaces. Recording these areas will help ensure that any suspicious activity is captured.
- Vulnerable areas: Assess areas that may be more vulnerable to theft or vandalism, such as storage sheds, backyards, or side entrances. Installing cameras in these locations will help deter potential criminals and provide evidence in case of an incident.
- Blind spots: Look for areas where your property may have limited visibility, such as corners or areas obstructed by landscaping. Installing cameras in these blind spots will help eliminate any vulnerabilities.
Additionally, consider the camera’s field of view and the range of its motion detection capabilities. Orient the cameras in a way that maximizes coverage and minimizes any potential blind spots.
Once you have determined the optimal camera placement locations, mark them or take photos to guide the installation process. This preparation will help ensure a smooth and efficient installation. Now that you have identified the camera locations, let’s move on to the next step: mounting the camera brackets.
Step 3: Mount the Camera Bracket
Now that you have determined the ideal camera placement locations, it’s time to mount the camera brackets. The camera bracket serves as the foundation for securely attaching the Lorex wireless security cameras to your desired surfaces.
Here are the steps to mount the camera bracket:
- Using a drill and appropriate drill bit, create pilot holes in the mounting surface. Ensure that the holes are aligned with the holes on the camera bracket.
- Attach the camera bracket to the mounting surface using screws or other appropriate mounting hardware. Ensure that the bracket is securely attached and properly aligned.
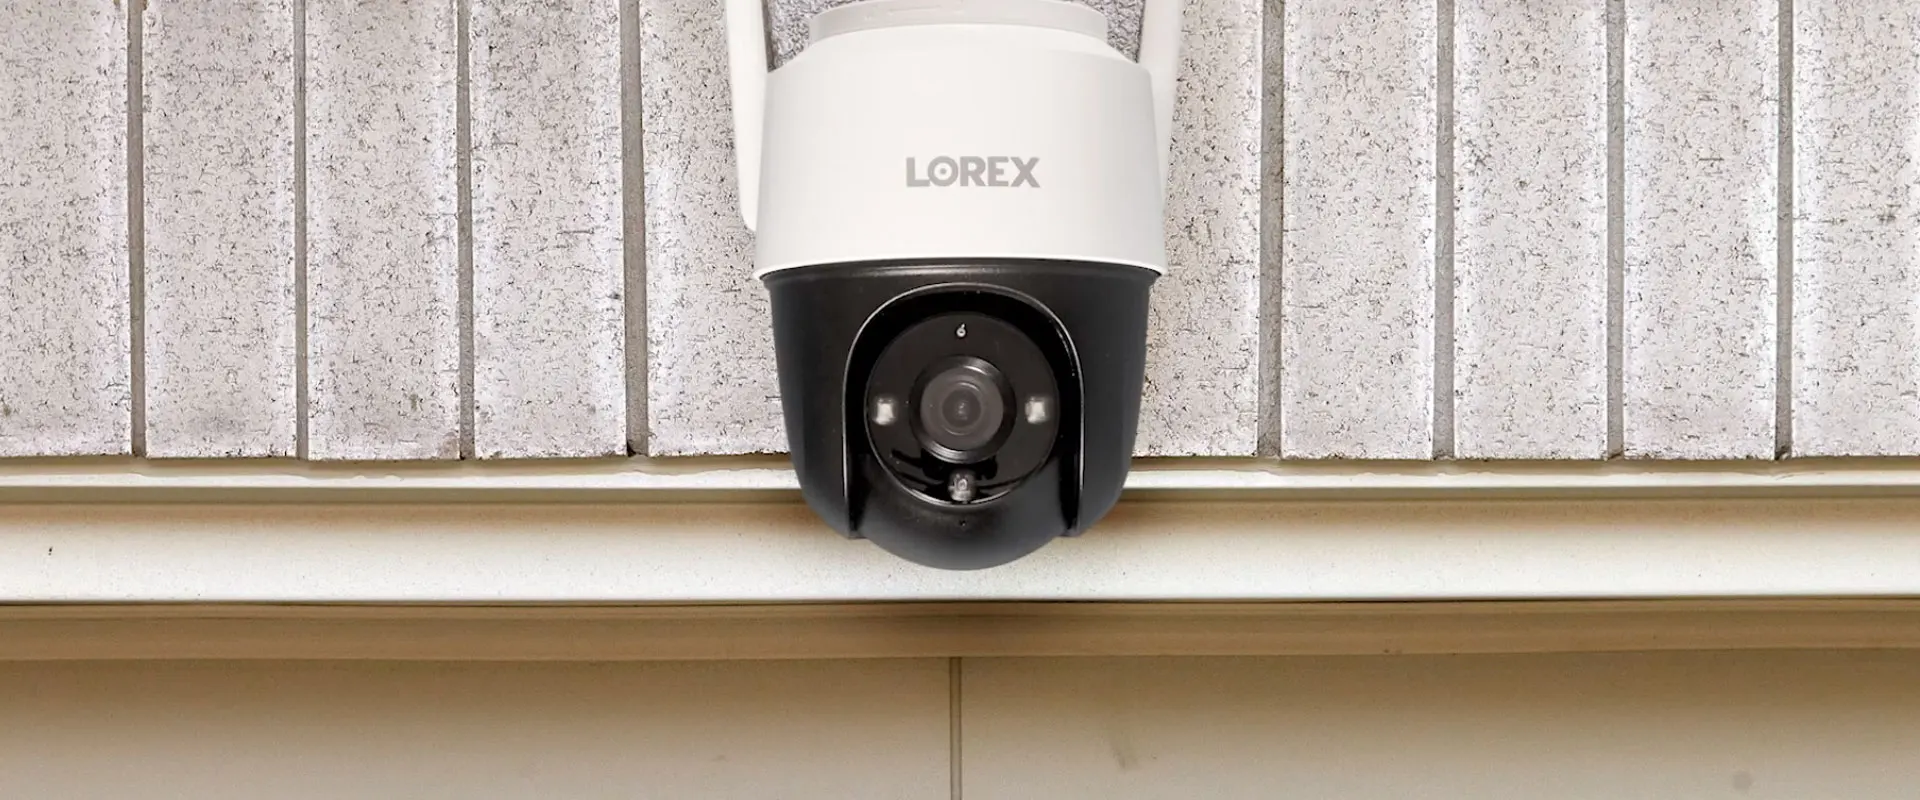
- If mounting on a wall, ensure that the camera bracket is positioned at a suitable height and angle for the desired camera view. If mounting on a ceiling or eave, adjust the bracket accordingly.
- Repeat the above steps for each camera bracket, ensuring that all brackets are securely installed in the designated locations.
It is important to ensure that the camera brackets are installed securely to prevent any movement or instability. This helps ensure the accuracy of the camera’s field of view and maintains optimal surveillance coverage.
Take your time during this step to ensure the camera brackets are positioned correctly. Double-check that they are level and securely attached, as this will impact the quality and effectiveness of your surveillance system.
Now that you have successfully mounted the camera brackets, it’s time to move on to the next step: installing the cameras themselves.
Step 4: Install the Cameras
With the camera brackets securely mounted, it’s time to install the Lorex wireless security cameras onto the brackets. This step involves connecting the cameras to the brackets and ensuring they are properly positioned for optimal surveillance coverage.
Follow these steps to install the cameras:
- Locate the mounting screw holes on the bottom of the camera. These holes should align with the holes on the camera bracket.
- Using the appropriate screws or mounting hardware, attach the camera to the bracket. Make sure the camera is securely fastened to the bracket to avoid any movement or instability.
- Adjust the camera’s position and angle as needed to achieve the desired field of view. Ensure that the camera is pointing towards the intended surveillance area.
- Tighten any screws or knobs on the bracket to secure the camera in its final position.
- Repeat the above steps for each camera, ensuring that all cameras are securely installed onto their respective brackets.
During this step, it is essential to handle the cameras with care to avoid any damage. Take extra precautions when positioning and adjusting the cameras to ensure they are aligned properly and securely attached to the brackets.
As you install each camera, test their functionality by checking the live video feed on your mobile device or computer. This will help confirm that the cameras are correctly installed and positioned, providing clear surveillance coverage of the desired areas.
Once all the cameras are installed and confirmed to be working correctly, you’re ready to move on to the next step: connecting the NVR.
When installing Lorex wireless security cameras, make sure to carefully follow the manufacturer’s instructions for mounting and positioning the cameras. Proper placement is crucial for optimal coverage and performance.
Step 5: Connect the NVR (Network Video Recorder)
Now that your Lorex wireless security cameras are installed, it’s time to connect the NVR (Network Video Recorder). The NVR is the central hub of your surveillance system, responsible for managing and recording the camera feeds.
Here are the steps to connect the NVR:
- Locate the network port(s) on the back of the NVR. These ports will be used to connect the NVR to your network router.
- Using an Ethernet cable, plug one end into the network port on the NVR and the other end into an available port on your router. Ensure a secure connection.
- Power on the NVR by connecting it to a power outlet using the provided power adapter or cable.
- Give the NVR a few moments to boot up and establish a network connection.
- Once the NVR is connected and powered on, it will automatically detect and connect to the installed cameras. This process may take a few minutes.
- Confirm the camera connections by checking the camera feeds on the NVR monitor or accessing the live video feed through your mobile device or computer.
During this step, make sure the NVR is placed in a central location with adequate ventilation to prevent overheating. Check the NVR’s manual for any specific instructions regarding placement and connectivity requirements.
Once the NVR and cameras are successfully connected, you can proceed to the next step: powering on the system.
Step 6: Power On the System
Now that you have completed the connections, it’s time to power on your Lorex wireless security camera system. This step involves providing power to the cameras and the NVR to ensure their proper functionality.
Here are the steps to power on the system:
- Connect the provided power adapters to each camera. Make sure each camera is securely and properly connected.
- Plug the other end of the power adapters into a nearby power outlet. Ensure that the power supply is stable and reliable.
- Check the NVR and ensure it is properly plugged into a power outlet using the provided power adapter.
- Power on the NVR by pressing the power button or following the manufacturer’s instructions.
- Give the system a few minutes to initialize and establish communication between the cameras and the NVR.
- Check the NVR monitor or use your mobile device or computer to verify that the cameras are powered on and providing live video feeds.
During this step, ensure that all power connections are secure and that the cameras and NVR are receiving power properly. It is also important to verify that the power outlets and adapters can handle the power requirements of your system.
If you encounter any issues during the power-on process, double-check all connections and consult the user manual for troubleshooting steps. Once the system is successfully powered on, you can proceed to the next step: configuring camera settings.
Step 7: Configure Camera Settings
After powering on your Lorex wireless security camera system, it’s time to configure the camera settings to meet your specific surveillance needs. This step involves accessing the NVR’s settings menu to adjust various parameters, including motion detection sensitivity, recording schedules, and video quality.
Here are the steps to configure camera settings:
- Access the NVR’s settings menu by navigating the on-screen display using the provided remote control or by accessing the NVR’s web interface using your mobile device or computer.
- Explore the settings options and locate the camera settings section. This may vary depending on the model and software interface of your Lorex NVR.
- Adjust the motion detection settings if desired. You can set the sensitivity level to determine the threshold for triggering motion alerts or recording. Fine-tune these settings based on your specific surveillance needs.
- Configure recording schedules if necessary. Determine when you want the system to record and for how long. You can set up continuous recording or schedule specific time windows for recording based on your preferences.
- Customize other camera settings such as resolution, frame rate, and image quality to optimize the system’s performance and storage capacity.
- Once you have made the desired changes, save the settings and confirm that they have been applied.
During this step, take some time to familiarize yourself with the settings options available. Experiment with different configurations to find the best balance between surveillance coverage and storage efficiency.
It’s important to note that the specific settings and customization options may vary depending on the Lorex NVR model and software version you are using. Refer to the user manual or contact Lorex technical support for guidance if you encounter any difficulties during the configuration process.
Once you have successfully configured the camera settings, you’re ready to move on to the final step: setting up remote access.
Step 8: Set Up Remote Access
Setting up remote access to your Lorex wireless security camera system allows you to view live video feeds and manage your surveillance system from anywhere using your smartphone, tablet, or computer. This step ensures that you can monitor your property and receive alerts even when you’re not at home.
Here are the steps to set up remote access:
- If your Lorex NVR supports cloud connectivity, sign up for a cloud service account provided by Lorex, such as Lorex Cloud or Lorex Home.
- Follow the instructions provided by the cloud service to create an account and register your NVR. This usually involves entering the NVR’s serial number and creating login credentials.
- Once your NVR is registered, download the corresponding mobile app or software for remote access from the app store or Lorex’s website.
- Launch the mobile app or software and sign in using the account credentials you created in the previous step.
- Follow the on-screen instructions to add your NVR to the app or software by scanning the QR code located on the NVR or by manually entering the NVR’s information.
- Once the NVR is added to the app or software, you should be able to access the live video feeds and control the camera settings remotely.
- Configure any additional remote access settings, such as push notifications for motion alerts or setting up multiple devices for remote access.
During this step, ensure that you have a stable internet connection for reliable remote access. It is also important to keep your login credentials secure and avoid sharing them with unauthorized individuals.
If you encounter any issues during the remote access setup, consult the user manual or contact Lorex technical support for assistance. They can provide specific instructions and troubleshooting steps based on your NVR model and software version.
With remote access set up, you can now conveniently monitor your property, receive motion alerts, and view recorded footage from anywhere in the world.
Finally, congratulations on successfully installing and setting up your Lorex wireless security camera system! Your property is now equipped with advanced surveillance capabilities, providing you with peace of mind and enhanced security.
Remember to periodically check and review your camera system’s settings and update them as needed. Regular maintenance and monitoring will help ensure optimal performance and reliable security for years to come.
Thank you for following this comprehensive guide. We hope it has been helpful in assisting you with the installation and setup of your Lorex wireless security cameras.
Stay safe and enjoy the benefits of a secure home!
Conclusion
Congratulations! You have reached the end of this comprehensive guide on how to install Lorex wireless security cameras. By following the step-by-step instructions outlined in this article, you have successfully set up a robust surveillance system to enhance the security of your home.
Wireless security camera systems offer numerous advantages, including easy installation, flexibility, and remote access to live video feeds. With Lorex wireless cameras, you can monitor your property from anywhere, ensuring the safety and security of your loved ones and belongings.
Throughout the installation process, you learned how to gather the necessary equipment, determine camera placement, mount the camera brackets securely, install the cameras themselves, connect the NVR, power on the system, configure camera settings, and set up remote access. Each step was designed to ensure a smooth and successful installation process.
Now that your camera system is up and running, it is essential to periodically review and update the settings, conduct maintenance, and stay informed about any firmware updates or new features offered by Lorex. This will ensure that your surveillance system remains optimized and continues to provide reliable security for years to come.
Remember to keep your login credentials secure and avoid sharing them with unauthorized individuals. Regularly review your recordings and motion alerts to stay vigilant and address any potential security concerns promptly.
Thank you for taking the time to follow this guide. We hope that it has provided you with the knowledge and confidence to install and set up your Lorex wireless security camera system with ease. By implementing these measures, you are taking important steps toward creating a secure and safe environment for you and your loved ones.
Stay safe, vigilant, and enjoy the peace of mind that comes with a reliable home security system!
Frequently Asked Questions about How To Install Lorex Wireless Security Cameras
Was this page helpful?
At Storables.com, we guarantee accurate and reliable information. Our content, validated by Expert Board Contributors, is crafted following stringent Editorial Policies. We're committed to providing you with well-researched, expert-backed insights for all your informational needs.