Home>Home Security and Surveillance>How To Install Lorex Security Camera
Home Security and Surveillance
How To Install Lorex Security Camera
Modified: October 20, 2024
Learn how to install Lorex security cameras for your home security and surveillance needs. Protect your property with our step-by-step guide.
(Many of the links in this article redirect to a specific reviewed product. Your purchase of these products through affiliate links helps to generate commission for Storables.com, at no extra cost. Learn more)
Introduction
Home security and surveillance have become increasingly important in today’s world. With the rise in crime rates and the need for peace of mind, homeowners are turning to advanced security systems to protect their properties and loved ones.
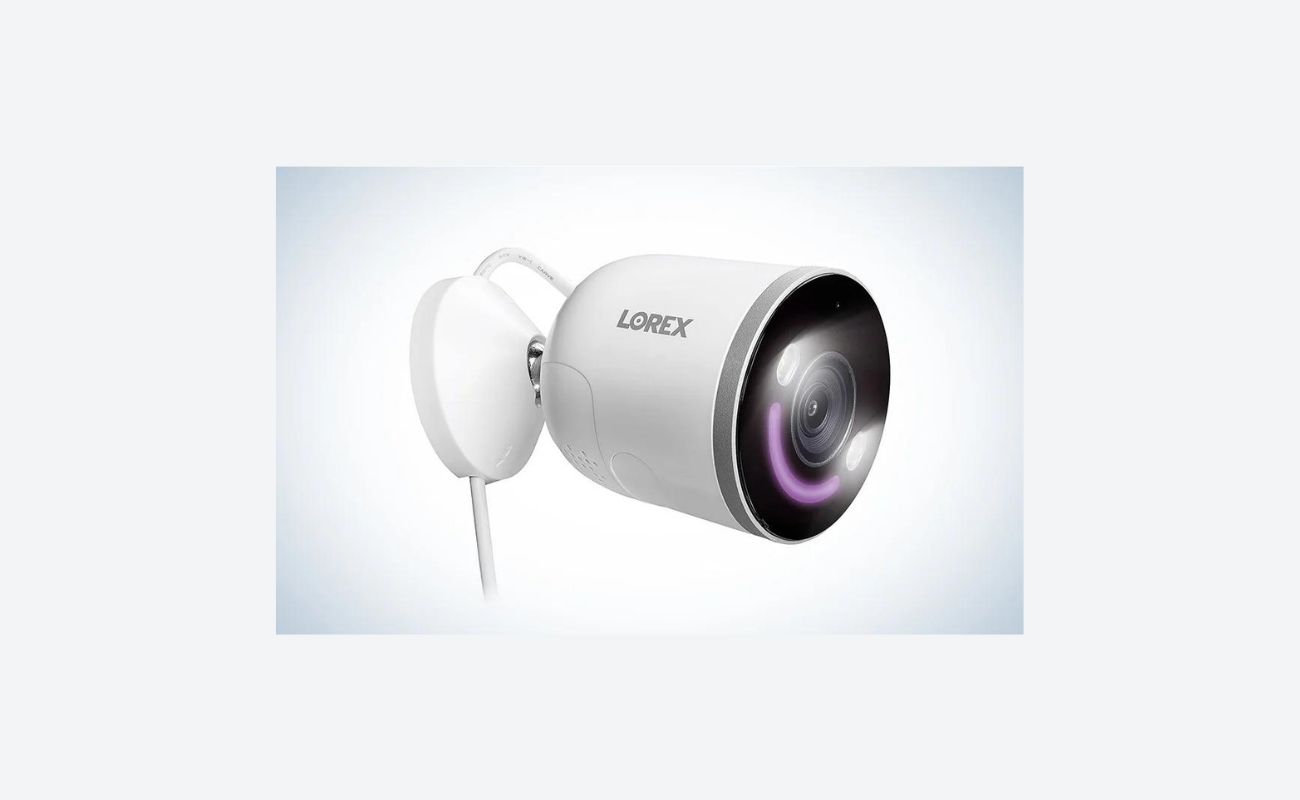
One popular choice for home security is Lorex security cameras. Lorex offers a wide range of high-quality, reliable cameras that provide excellent surveillance coverage. Whether you want to keep an eye on your front yard, backyard, or even the interior of your home, Lorex cameras can provide the peace of mind you need.
In this article, we will guide you through the process of installing a Lorex security camera system. From preparing the essentials to configuring camera settings, we will cover each step in detail.
Before we dive into the installation process, let’s discuss why Lorex security cameras are a great choice for your home security needs.
- High-resolution video: Lorex cameras offer high-resolution video quality, allowing you to capture clear and detailed images. This is essential in identifying any potential threats or intruders.
- Wide-angle coverage: Lorex cameras come with wide-angle lenses, providing a broader field of view. This ensures that you capture a larger area of surveillance and minimize blind spots.
- Remote viewing: Lorex security camera systems allow you to access live footage from your cameras using a smartphone, tablet, or computer. This means you can monitor your property from anywhere, giving you peace of mind even when you’re away.
- Night vision: With built-in infrared technology, Lorex cameras are designed to provide clear video footage even in low-light conditions. This ensures that your property is protected day and night.
- Easy installation: Installing a Lorex security camera system is a straightforward process. With some basic tools and a little bit of DIY spirit, you can have your cameras up and running in no time.
Now that you understand the benefits of Lorex security cameras, let’s move on to the installation process. By following these step-by-step instructions, you’ll have your Lorex security camera system installed and working efficiently.
Key Takeaways:
- Installing a Lorex security camera system is a straightforward process that involves preparing essentials, choosing installation locations, mounting cameras, running cables, connecting to the DVR, configuring settings, and testing functionality.
- Lorex security cameras offer high-resolution video, wide-angle coverage, remote viewing, night vision, and easy installation, providing homeowners with reliable and efficient home security solutions.
Step 1: Prepare the essentials
Before you begin the installation of your Lorex security camera system, it’s important to gather all the necessary tools and equipment. This will ensure a smooth and efficient installation process.
Here’s a checklist of the essentials you’ll need:
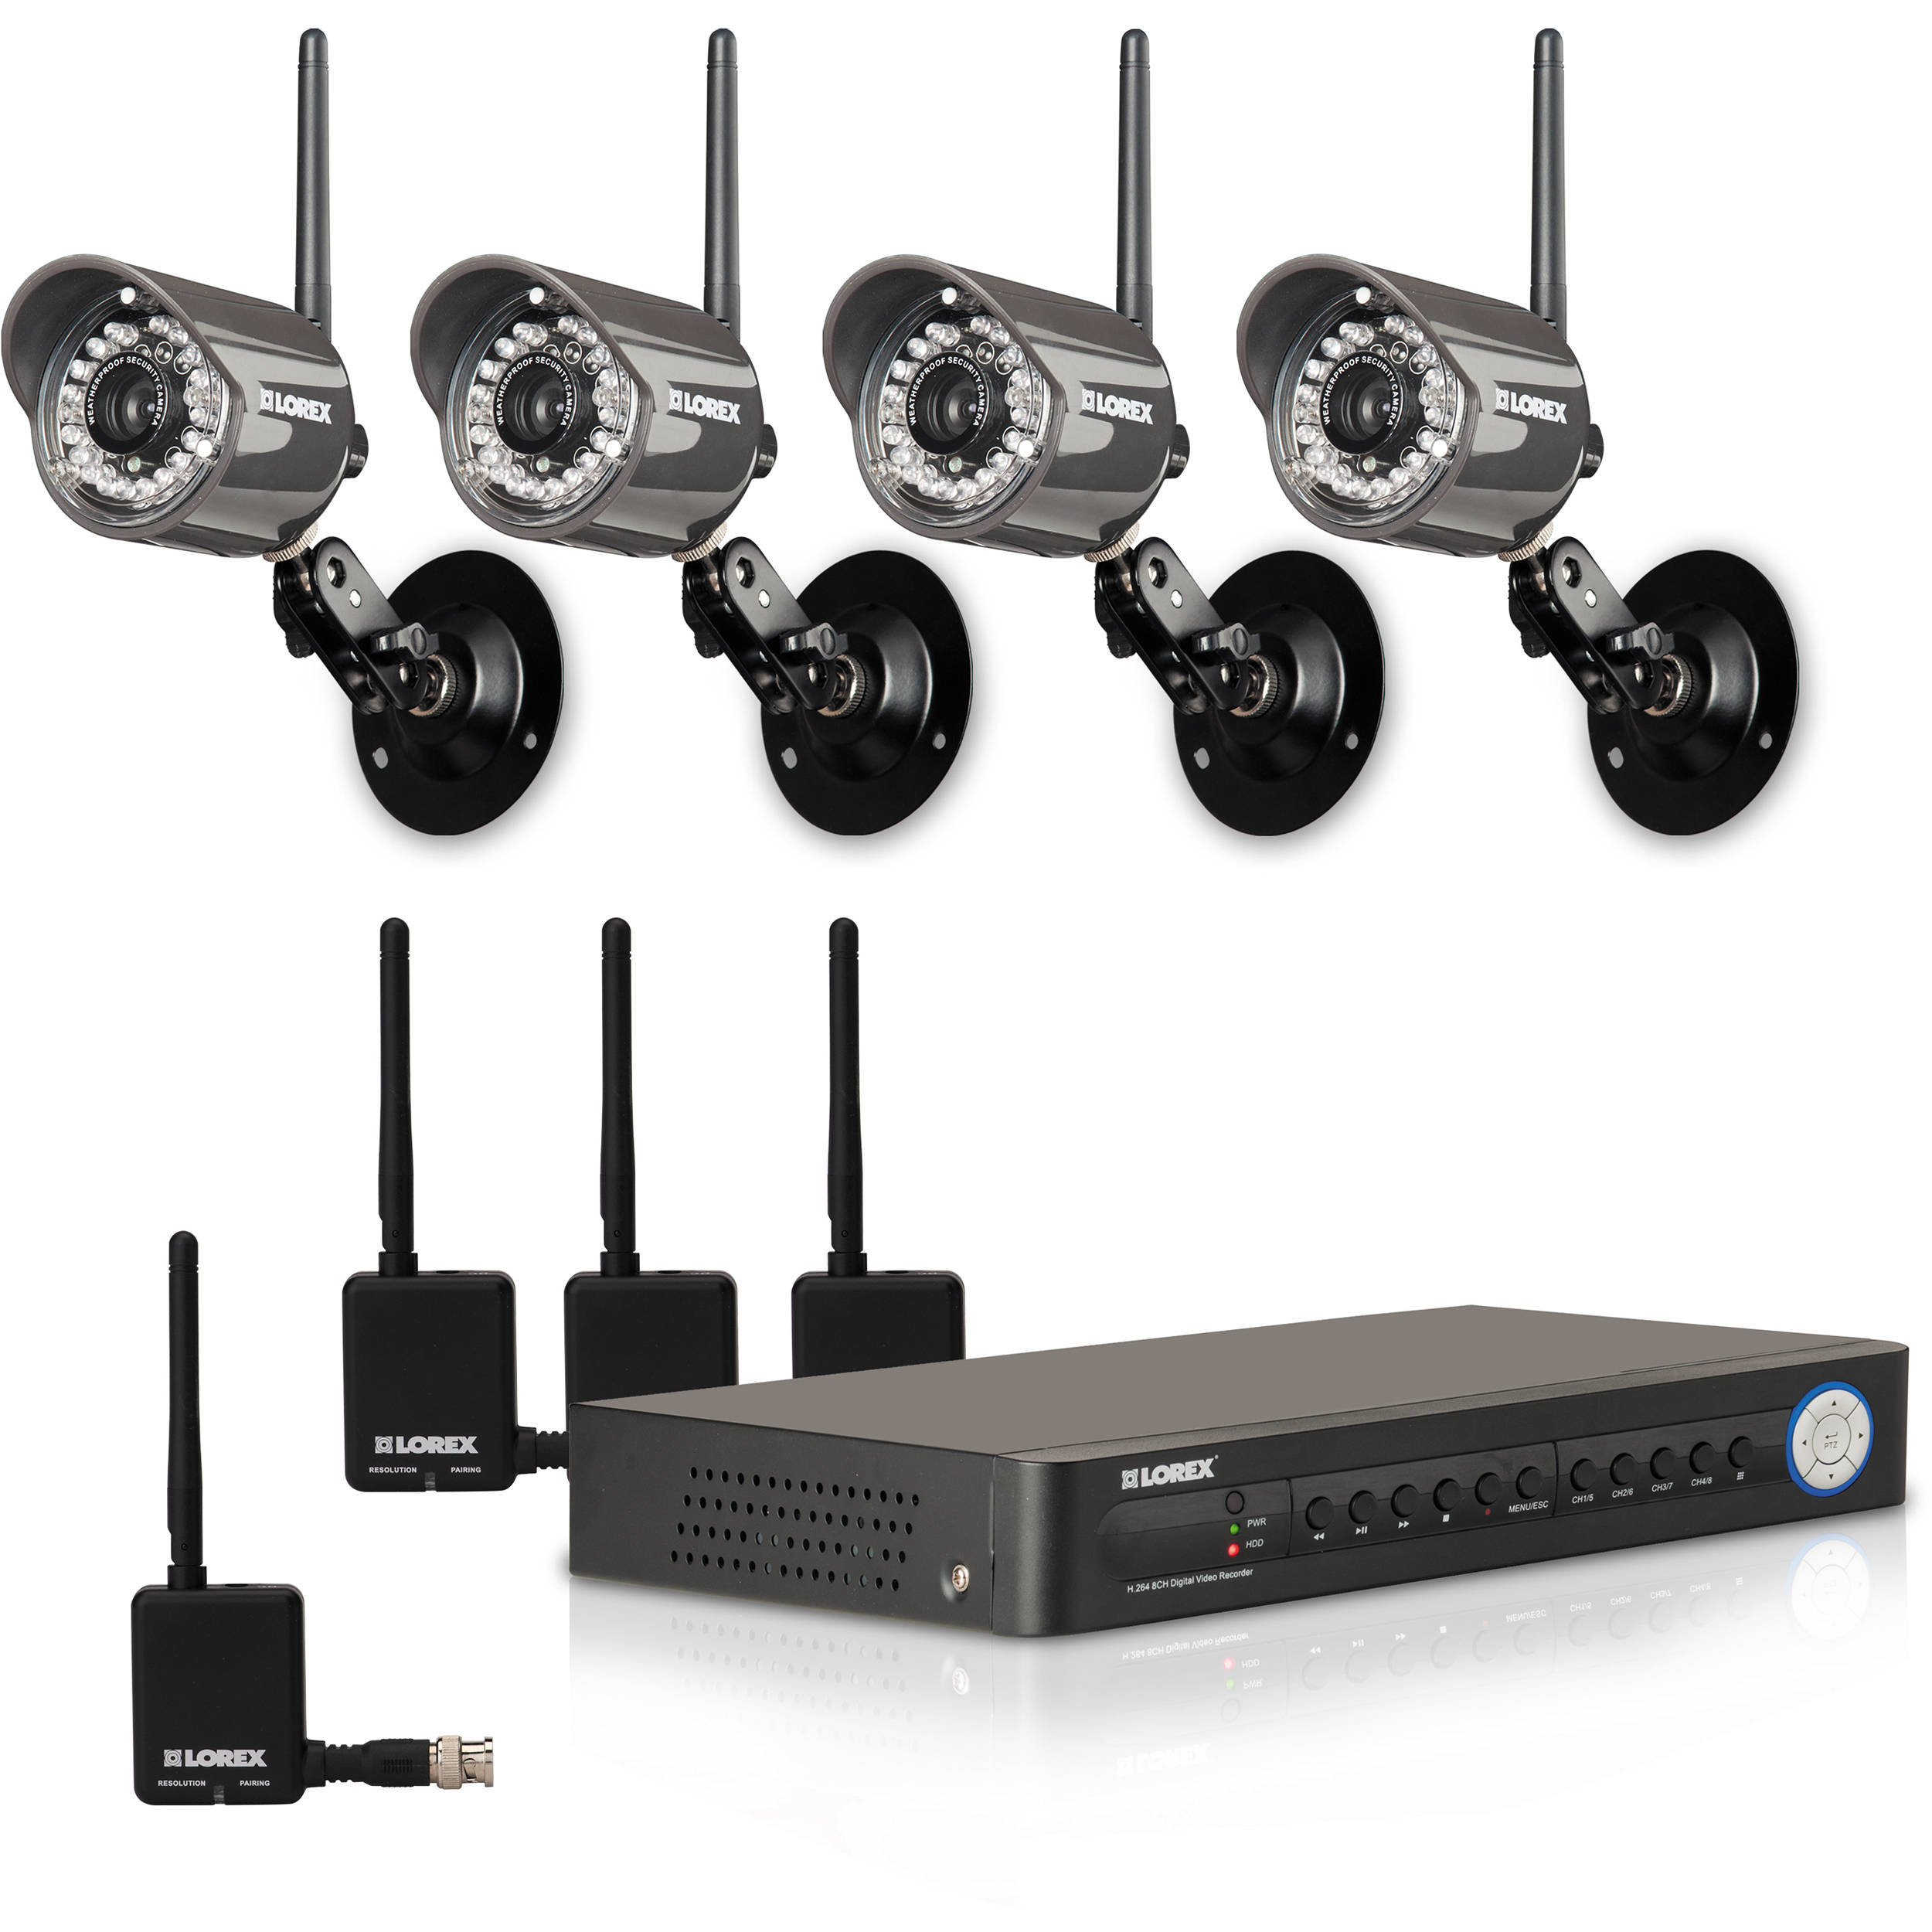
- Lorex security camera system: Make sure you have the complete system, including cameras, cables, DVR (Digital Video Recorder), power adapters, and any other accessories that came with your package.
- Camera mounting brackets: Depending on the cameras you have, you may need mounting brackets to securely attach them to walls, ceilings, or other surfaces.
- Power drill and screws: A power drill will be handy for mounting the cameras and brackets. Have a selection of screws on hand to ensure a secure installation.
- Network cable or Ethernet cable: This cable will be used to connect your DVR to your router for remote viewing capabilities.
- Monitor or TV: You will need a monitor or TV screen to connect to your DVR for initial setup and configuration.
- Network router or switch: Ensure that you have a functional network router or switch to connect your DVR to the internet and enable remote access.
- Power source: Make sure you have a nearby power source to connect your cameras and DVR. It’s advisable to use surge protectors to protect your equipment from power surges.
- Internet connection: Ensure that you have a stable internet connection for remote access and firmware updates.
- Mobile device or computer: You’ll need a smartphone, tablet, or computer to access the camera footage remotely and configure the system settings.
- Additional tools: Depending on your installation preferences, you may also need a ladder, cable clips, and a cable tester to ensure proper cable connections.
Once you have gathered all the necessary tools and equipment, you’re ready to move on to the next step of the installation process. Remember to read through the user manual provided with your Lorex security camera system for any specific instructions or precautions.
Now that you’re fully prepared, let’s move on to step two: choosing the installation location for your Lorex security cameras.
Step 2: Choose the installation location
Choosing the right installation location for your Lorex security cameras is crucial to ensure optimal surveillance coverage and effectiveness. Before finalizing the locations, consider the following factors:
- Area of coverage: Identify the key areas you want to monitor, such as entry points, driveway, backyard, or any vulnerable areas of your property. Assess the distance and angle required to capture the desired view.
- Accessibility: Ensure that the chosen installation locations are easily accessible for maintenance and cleaning. Consider any obstructions or obstacles that may hinder camera placement or obstruct the field of view.
- Mounting options: Determine whether wall mounting or ceiling mounting is more suitable for your setup. Each location may require different mounting brackets or hardware, so be prepared with the necessary equipment.
- Camera visibility: Decide whether you want your cameras to be visible to deter potential intruders or discreetly hidden for covert surveillance. Visible cameras can act as a deterrent, while hidden cameras can help capture unauthorized activities.
- Lighting conditions: Consider the lighting conditions in your chosen locations. Is there sufficient natural or artificial light available? If not, you may need to supplement with additional lighting options or choose cameras with advanced low-light capabilities.
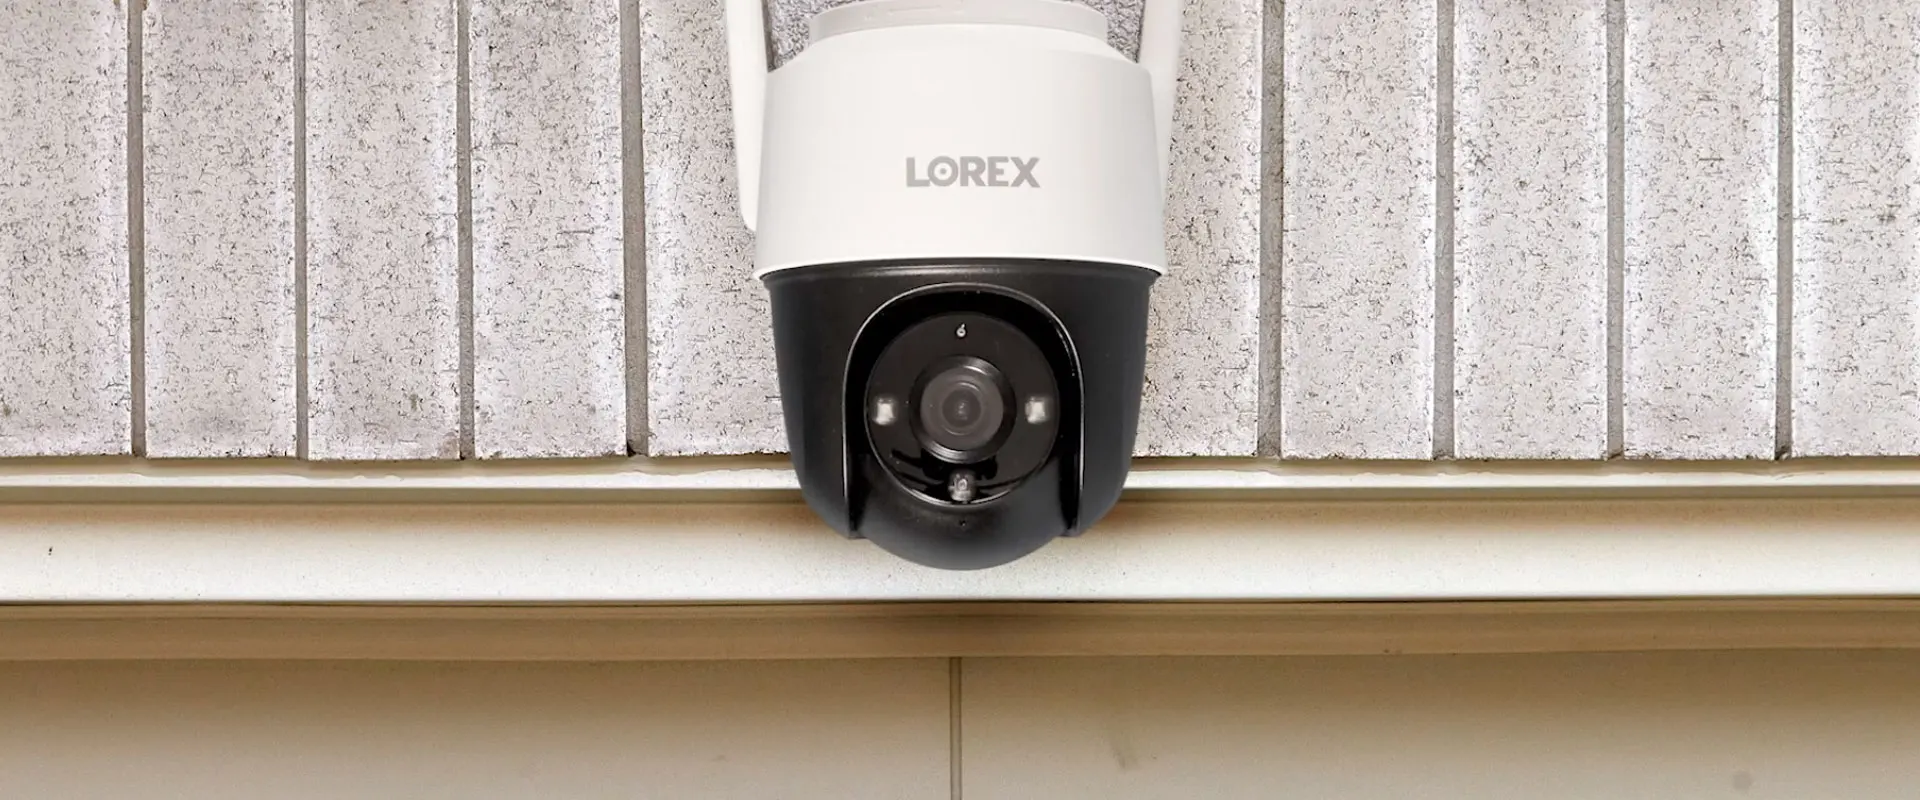
- Weatherproofing: If the installation location is outdoors or exposed to the elements, ensure that your cameras are weatherproof to withstand rain, snow, and extreme temperatures.
Once you have considered these factors, it’s time to start positioning your cameras. Use a pencil or painter’s tape to mark the desired locations and angles for each camera. Take measurements to ensure proper placement and coverage.
Remember to keep in mind the range and field of view of each camera. Make sure there are no objects obstructing the view, such as trees, bushes, or walls. Test the camera angle by temporarily mounting it in the marked location and checking the captured footage on your monitor or mobile device.
Once you are satisfied with the chosen locations, you can proceed to the next step: mounting the cameras.
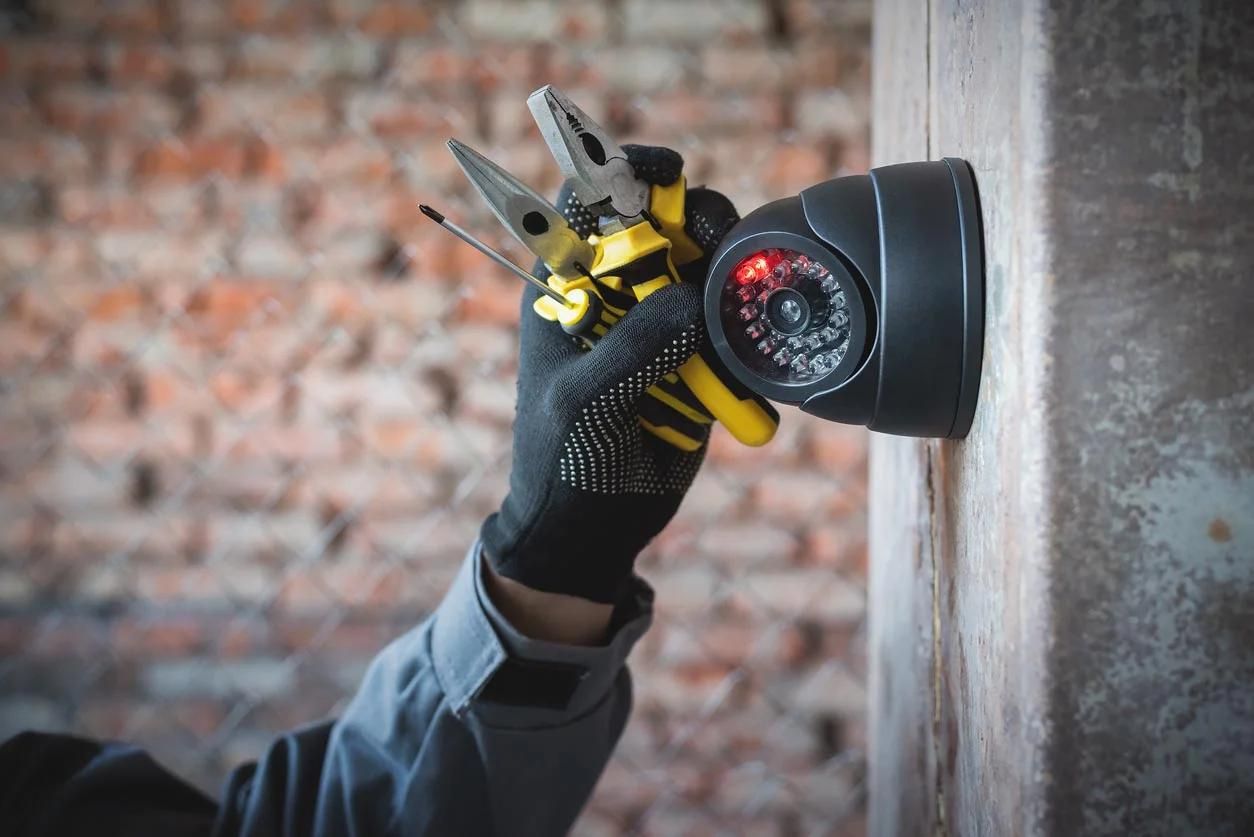
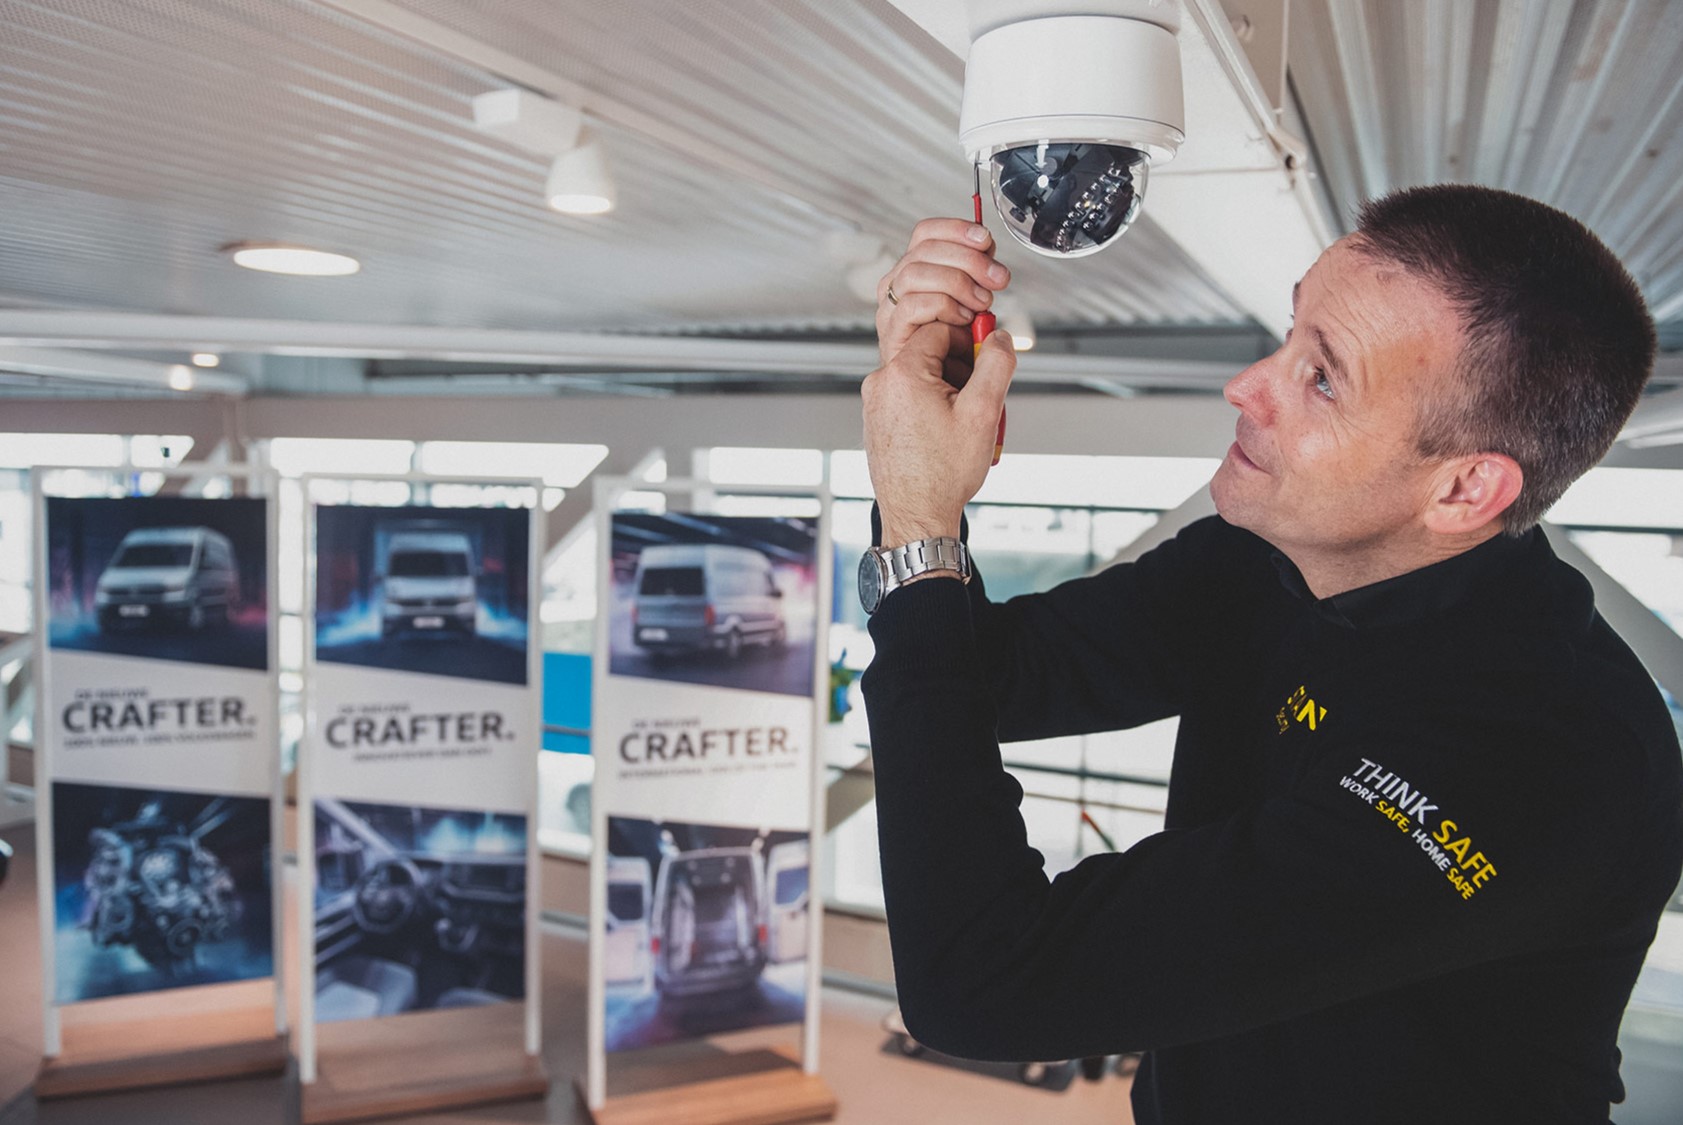
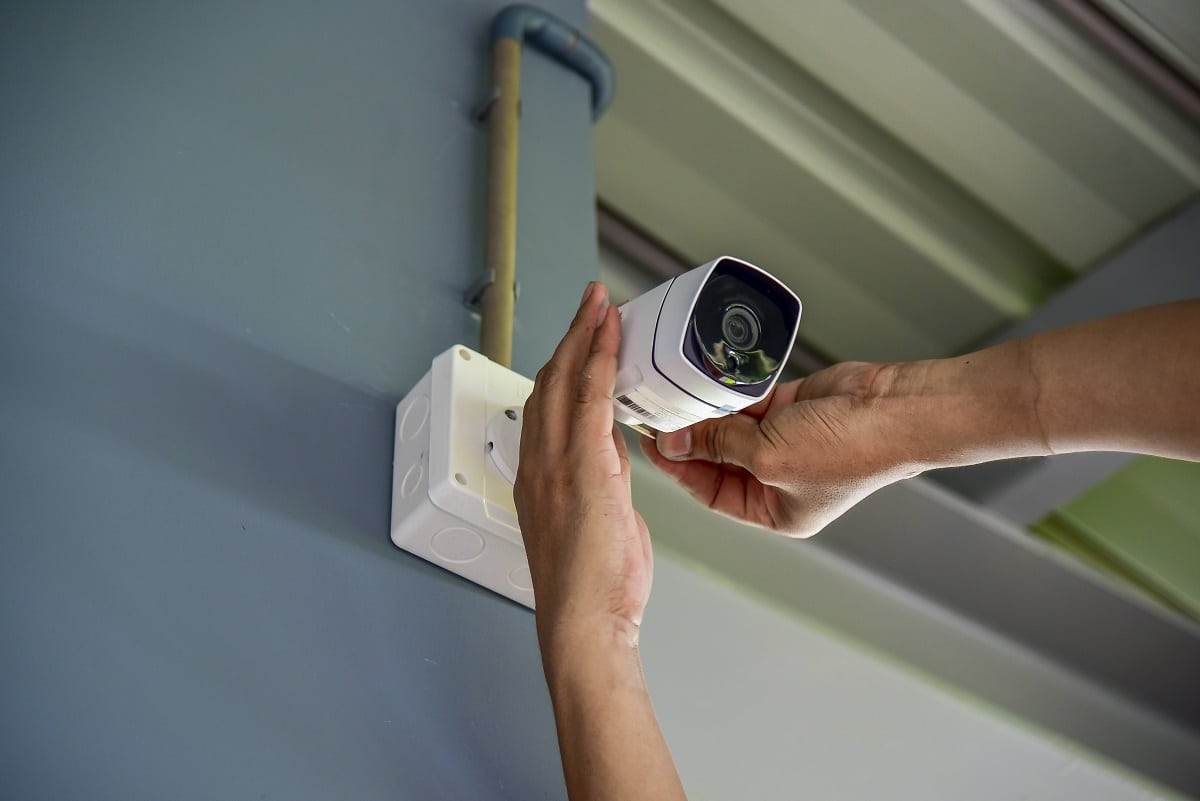
Step 3: Mounting the camera
Now that you have chosen the perfect installation locations for your Lorex security cameras, it’s time to mount them securely. Proper mounting ensures stability, optimal viewing angles, and protection against tampering or theft.
Follow these steps to mount your Lorex security cameras:
- Prepare the mounting brackets: If your cameras require mounting brackets, attach them to the cameras using the provided screws. Ensure that the brackets are securely fastened.
- Position the camera: Align the camera with the chosen installation location and mark the positions for the mounting holes on the wall or ceiling. Use a level to ensure that the camera is straight.
- Drill pilot holes: Use a power drill with a suitable drill bit to create small pilot holes at the marked positions. This will facilitate the insertion of screws and prevent the wall from cracking or splitting.
- Mount the camera: With the pilot holes ready, attach the camera and mounting bracket to the wall or ceiling using the provided screws. Tighten the screws securely but avoid overtightening.
- Adjust the camera angle: Once mounted, adjust the camera angle to ensure the desired view. Most Lorex cameras have adjustable mounting angles or swivel capability, allowing you to fine-tune the camera’s position for optimal coverage.
- Tighten the camera: Once you have achieved the desired angle, tighten the mounting screws to secure the camera in place. Double-check that the camera is securely fastened and stable.
Repeat these steps for each camera in your Lorex security camera system, ensuring that each one is mounted correctly and aligned according to the installation plan.
It’s worth noting that if you are unable to mount the cameras directly to the wall or ceiling, you can explore alternative options such as mounting brackets or camera poles to achieve the desired angle and positioning.
With all your cameras properly mounted, you are now ready to move on to the next step: running the cables.
Step 4: Running the cables
Now that you have successfully mounted your Lorex security cameras, it’s time to run the necessary cables to connect them to the DVR (Digital Video Recorder). Running the cables properly is essential for ensuring a reliable and efficient surveillance system.
Follow these steps to run the cables for your Lorex security cameras:
- Determine the cable route: Plan the route from each camera to the DVR. It’s important to minimize cable length and avoid unnecessary bends or twists that may impact video quality.
- Measure the cable length: Measure the required cable length for each camera to reach the DVR. Add a few extra feet as a buffer for any unexpected adjustments or future maintenance.
- Hide the cables: If possible, hide the cables by running them through walls, ceilings, or conduits. This ensures a clean and professional-looking installation while minimizing the risk of tampering or damage.
- Use cable clips: Secure the cables along the designated route using cable clips or adhesive clips. This helps keep the cables organized and prevents them from sagging or getting tangled.
- Make cable connections: Connect the cables from each camera to the corresponding ports on the DVR. If using multiple cameras, ensure you label the cables or keep a record of their connections for easy identification.
- Connect the power cables: If your cameras require separate power cables, connect them to a nearby power source or power outlet. Always follow the manufacturer’s instructions for proper power connections.
- Test the cable connections: Once all the cables are properly connected, test the camera feeds on your monitor or mobile device. Ensure that each camera is displaying clear and stable video footage.
During the cable running process, it’s crucial to maintain the integrity of the cables and avoid sharp bends or kinks. These installations will ensure a longer lifespan and optimal performance for your Lorex security camera system.
If you encounter any issues with the cable connections or video feed, double-check the cable connections and consult the user manual or Lorex customer support for troubleshooting assistance.
With the cables successfully run and connected, you are now ready to move on to the next step: connecting the cameras to the DVR.
When installing a Lorex security camera, make sure to carefully follow the manufacturer’s instructions for mounting and wiring. It’s also important to test the camera’s functionality before finalizing the installation.
Read more: How To Playback On Lorex Security Camera
Step 5: Connect the camera to the DVR
Now that you have run the cables for your Lorex security cameras, it’s time to connect them to the DVR (Digital Video Recorder). The DVR acts as the central hub for recording and managing your camera footage.
Follow these steps to connect the cameras to the DVR:
- Identify the camera inputs: On the back of the DVR, locate the camera inputs labeled with numbers or corresponding to the camera channels. Typically, the inputs are color-coded for easy identification.
- Match camera signals with inputs: Match each camera to the corresponding camera input on the DVR. Ensure that the camera signal matches the input type (e.g., analog, IP) supported by the DVR.
- Connect the camera cables: Plug the camera cables into the respective camera inputs on the DVR. Make sure the connections are secure and snug, avoiding any loose or bent pins.
- Power up the cameras: If your cameras require separate power connections, ensure that they are connected to a power source. Confirm that the cameras are receiving power and that the indicator lights are illuminated.
- Verify the video feed: Turn on the monitor connected to the DVR and verify that the camera feeds are displaying correctly. You should be able to see a live view of each camera on the monitor.
Depending on the Lorex security camera system you have, the connection process may vary. Refer to the user manual provided with your system for specific instructions on camera-to-DVR connections.
Once you have completed these steps, the cameras should be successfully connected to the DVR, allowing you to record and monitor the surveillance footage. However, before proceeding, ensure that you power up the DVR and configure it according to your preferred settings.
In the next step, we will cover how to power up the entire system and configure the camera settings.
Step 6: Power up the system
Now that you have successfully connected the cameras to the DVR, it’s time to power up the entire Lorex security camera system. This step involves connecting the DVR to a power source and ensuring that all components are functioning properly.
Follow these steps to power up your Lorex security camera system:
- Locate the power adapter: Find the power adapter that came with your Lorex DVR. It should be a small, rectangular device with a cord attached.
- Connect the power adapter: Plug the power adapter into a nearby power outlet or surge protector. Make sure the outlet has a stable power supply and is within reach of the DVR.
- Connect the power cable: Attach the other end of the power adapter’s cord to the appropriate power input on the back of the DVR. Ensure a secure connection and check that the power indicator light on the DVR is on.
- Power on the DVR: Locate the power button or the power switch on the DVR’s front or back panel. Press the power button or flip the switch to power on the DVR.
- Wait for system initialization: Give the DVR a few moments to initialize and boot up. During this time, the DVR may display a startup or loading screen. This process may take a couple of minutes.
- Check for green indicator lights: Once the DVR has powered on, check the front panel for green indicator lights. These lights indicate that the system is functioning properly and that the cameras are connected.
- Test the camera feeds: Turn on the monitor connected to the DVR and verify that the camera feeds are displaying correctly. You should be able to see a live view of each camera on the monitor.
If you encounter any issues during the power-up process, double-check all cable connections and ensure that the power source is stable. It’s also helpful to consult the user manual or contact Lorex customer support for troubleshooting assistance.
Once the system is powered up and the camera feeds are displaying correctly, you’re ready to move on to the next step: configuring the camera settings.
Step 7: Configure camera settings
Now that your Lorex security camera system is powered up and the camera feeds are displaying correctly, it’s time to configure the camera settings to meet your specific requirements. By customizing the settings, you can optimize the performance and functionality of your surveillance system.
Follow these steps to configure the camera settings:
- Access the DVR settings: Connect a mouse, remote control, or use the on-screen display to access the settings menu of the DVR. This menu allows you to configure various system settings and camera settings.
- Set up recording options: Configure the recording settings, such as the recording mode (continuous, motion-based, or scheduled), the resolution and frame rate for video recording, and the storage options (internal or external hard drives).
- Adjust camera settings: Fine-tune the camera settings, such as brightness, contrast, and saturation, to ensure optimal video quality. You may also adjust other camera-specific settings, such as motion detection sensitivity or privacy masking.
- Enable remote viewing: If you wish to access the camera feeds remotely, configure the network settings to enable remote viewing. This may involve setting up port forwarding or using a cloud-based service provided by Lorex.
- Create user accounts and passwords: Set up user accounts and passwords to control access and ensure the security of your Lorex security camera system. Assign different access levels to different users as needed.
- Test the settings: Once you have configured the desired settings, perform a test by monitoring the camera feeds on your mobile device or computer remotely. Make any necessary adjustments to ensure proper functionality.
It is important to note that the configuration process may differ depending on the specific model of your Lorex security camera system. Refer to the user manual provided with your system for detailed instructions on navigating the settings menu and configuring the camera settings.
Take your time to explore and customize the settings according to your preferences and needs. This will ensure that your Lorex security camera system is tailored to your specific surveillance requirements.
In the final step, we will cover how to test the cameras to ensure everything is functioning correctly.
Step 8: Test the camera
After configuring the camera settings of your Lorex security camera system, it is essential to test the cameras to ensure they are functioning correctly. Testing allows you to verify the quality of the video footage, check the camera angles, and make any necessary adjustments before finalizing the installation.
Follow these steps to test your Lorex security cameras:
- Monitor the live feeds: Use the monitor connected to the DVR or the Lorex mobile app to view the live feeds of each camera. Make sure all cameras are displaying clear and stable video footage.
- Check the camera angles: Assess the camera angles and coverage to ensure they meet your surveillance needs. Verify that the cameras are capturing the desired areas and that there are no blind spots.
- Test camera functionality: Utilize the various camera features, such as zoom, pan, and tilt (if available), to ensure that they are functioning properly. Test the motion detection capabilities and check if the cameras are triggering the desired actions.
- Assess night vision: If your Lorex security cameras have night vision capabilities, check their performance in low-light conditions. Make sure the night vision mode is activated, and the cameras can capture clear footage even in the dark.
- Review recorded footage: Access the recorded footage on the DVR or the Lorex software to ensure that the cameras are successfully recording and storing the video footage. Play back the recordings to verify the quality and check for any issues.
- Make necessary adjustments: Based on your testing observations, make any necessary adjustments to camera angles, settings, or positioning. This will ensure that you achieve the desired surveillance coverage and maximize the effectiveness of your Lorex security camera system.
Remember, regular testing and maintenance of your Lorex security camera system are crucial to ensure its long-term functionality. Perform periodic checks and consider scheduling routine maintenance to keep your system in optimal condition.
Congratulations! You have completed all the steps necessary to install and test your Lorex security camera system. By following this comprehensive guide, you can enjoy enhanced home security and peace of mind knowing that your property is effectively monitored and protected.
Should you encounter any difficulties or require further assistance, refer to the user manual provided by Lorex or contact their customer support for additional guidance.
Read more: Who Makes Lorex Security Cameras
Conclusion
Installing a Lorex security camera system can greatly enhance the safety and security of your home. By following the step-by-step guide outlined in this article, you can successfully install and configure your Lorex security camera system, ensuring optimal surveillance coverage and peace of mind.
From preparing the essentials and choosing the installation locations to mounting the cameras, running the cables, and connecting everything to the DVR, each step plays a crucial role in setting up a reliable and effective security system.
Remember to take your time during the installation process, ensuring that all connections are secure and the camera angles are properly aligned. Pay attention to the camera settings and customize them to fit your specific surveillance needs.
Testing the cameras and verifying their functionality is vital before finalizing the installation. This enables you to make any necessary adjustments and ensure that the cameras are capturing clear and reliable footage.
Once your Lorex security camera system is fully installed and tested, you can enjoy the benefits of enhanced home security. Whether you’re monitoring your property while away or ensuring the safety of your loved ones, the Lorex system provides peace of mind.
Remember to periodically review and maintain your Lorex security camera system to ensure its long-term performance. Regular checks, software updates, and cleaning can help maintain the effectiveness of your surveillance system.
By installing a Lorex security camera system, you are taking proactive steps to protect your home and loved ones. With high-resolution video, wide-angle coverage, remote viewing capabilities, and easy installation, Lorex cameras offer a reliable and efficient home security solution.
Take the time to familiarize yourself with the user manual, utilize Lorex’s customer support when needed, and stay informed about any firmware updates or new features for your system.
Investing in a Lorex security camera system is an investment in your home’s security. So, follow the installation guide, customize your settings, and enjoy the peace of mind that comes with knowing your property is being closely monitored and protected.
Frequently Asked Questions about How To Install Lorex Security Camera
Was this page helpful?
At Storables.com, we guarantee accurate and reliable information. Our content, validated by Expert Board Contributors, is crafted following stringent Editorial Policies. We're committed to providing you with well-researched, expert-backed insights for all your informational needs.