Home>Technology>Smart Home Devices>How To Set Up Xfinity Wi-Fi Router
Smart Home Devices
How To Set Up Xfinity Wi-Fi Router
Modified: January 4, 2024
Learn how to set up your Xfinity Wi-Fi router for seamless connectivity with smart home devices. Follow our step-by-step guide for easy installation and optimal performance.
(Many of the links in this article redirect to a specific reviewed product. Your purchase of these products through affiliate links helps to generate commission for Storables.com, at no extra cost. Learn more)
Introduction
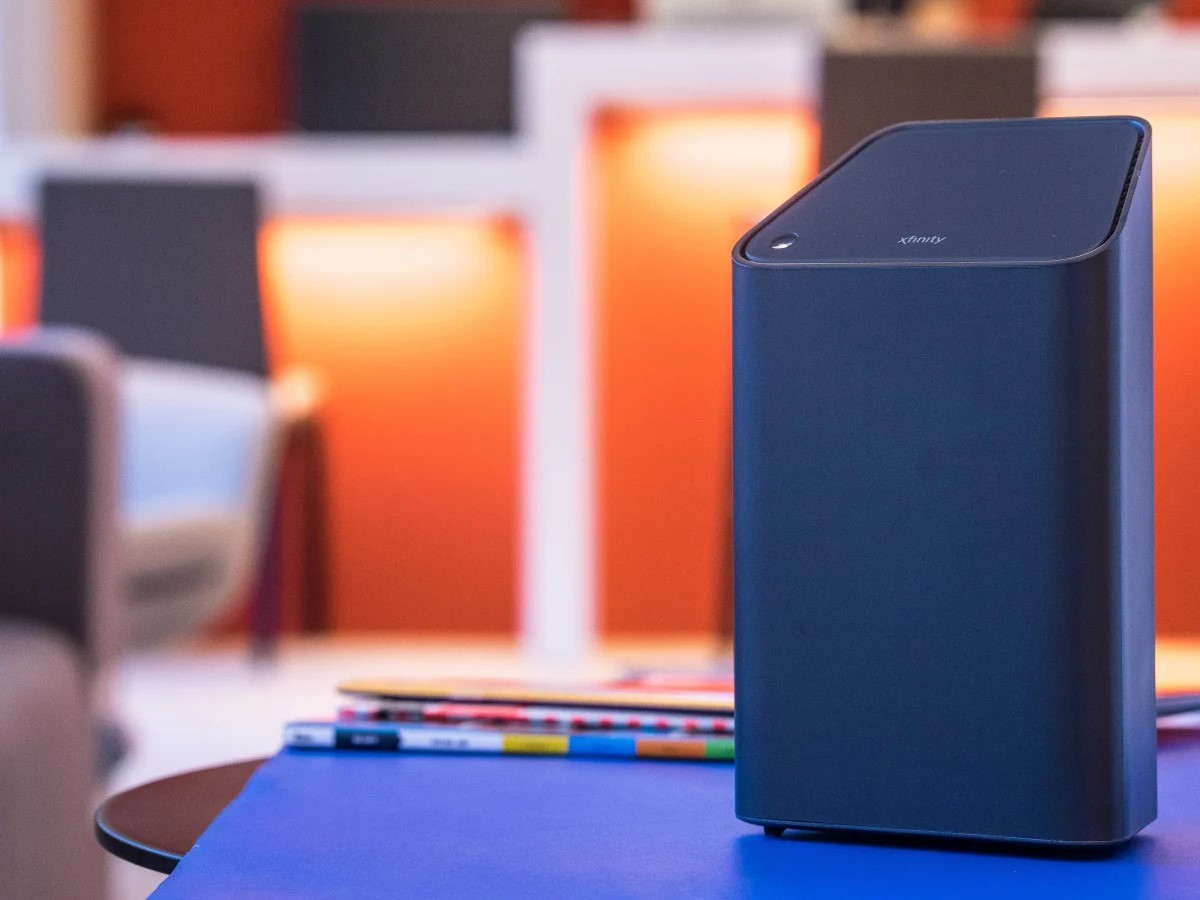
Setting up your Xfinity Wi-Fi router is the first step to enjoying a seamless internet connection in your home. With the right guidance and a few simple steps, you can have your router up and running in no time. Whether you're a tech enthusiast or a novice, this comprehensive guide will walk you through the process, ensuring that you can make the most of your Xfinity Wi-Fi router.
In this article, we will cover everything from gathering the necessary equipment to configuring your Wi-Fi network and implementing security measures. By following these steps, you'll not only establish a reliable internet connection but also create a secure network for all your smart home devices.
So, let's dive in and embark on this journey to set up your Xfinity Wi-Fi router. Get ready to transform your home into a hub of connectivity and convenience!
Key Takeaways:
- Setting up your Xfinity Wi-Fi router is easy and essential for a reliable internet connection. Gather the necessary equipment, connect the router, configure the Wi-Fi network, and implement security measures to enjoy seamless connectivity.
- After setting up your Xfinity Wi-Fi router, test the connection to ensure stability and speed. By following these steps, you can create a secure and high-speed network for all your smart home devices and personal gadgets.
Read more: How To Reset An Xfinity Wi-Fi Router
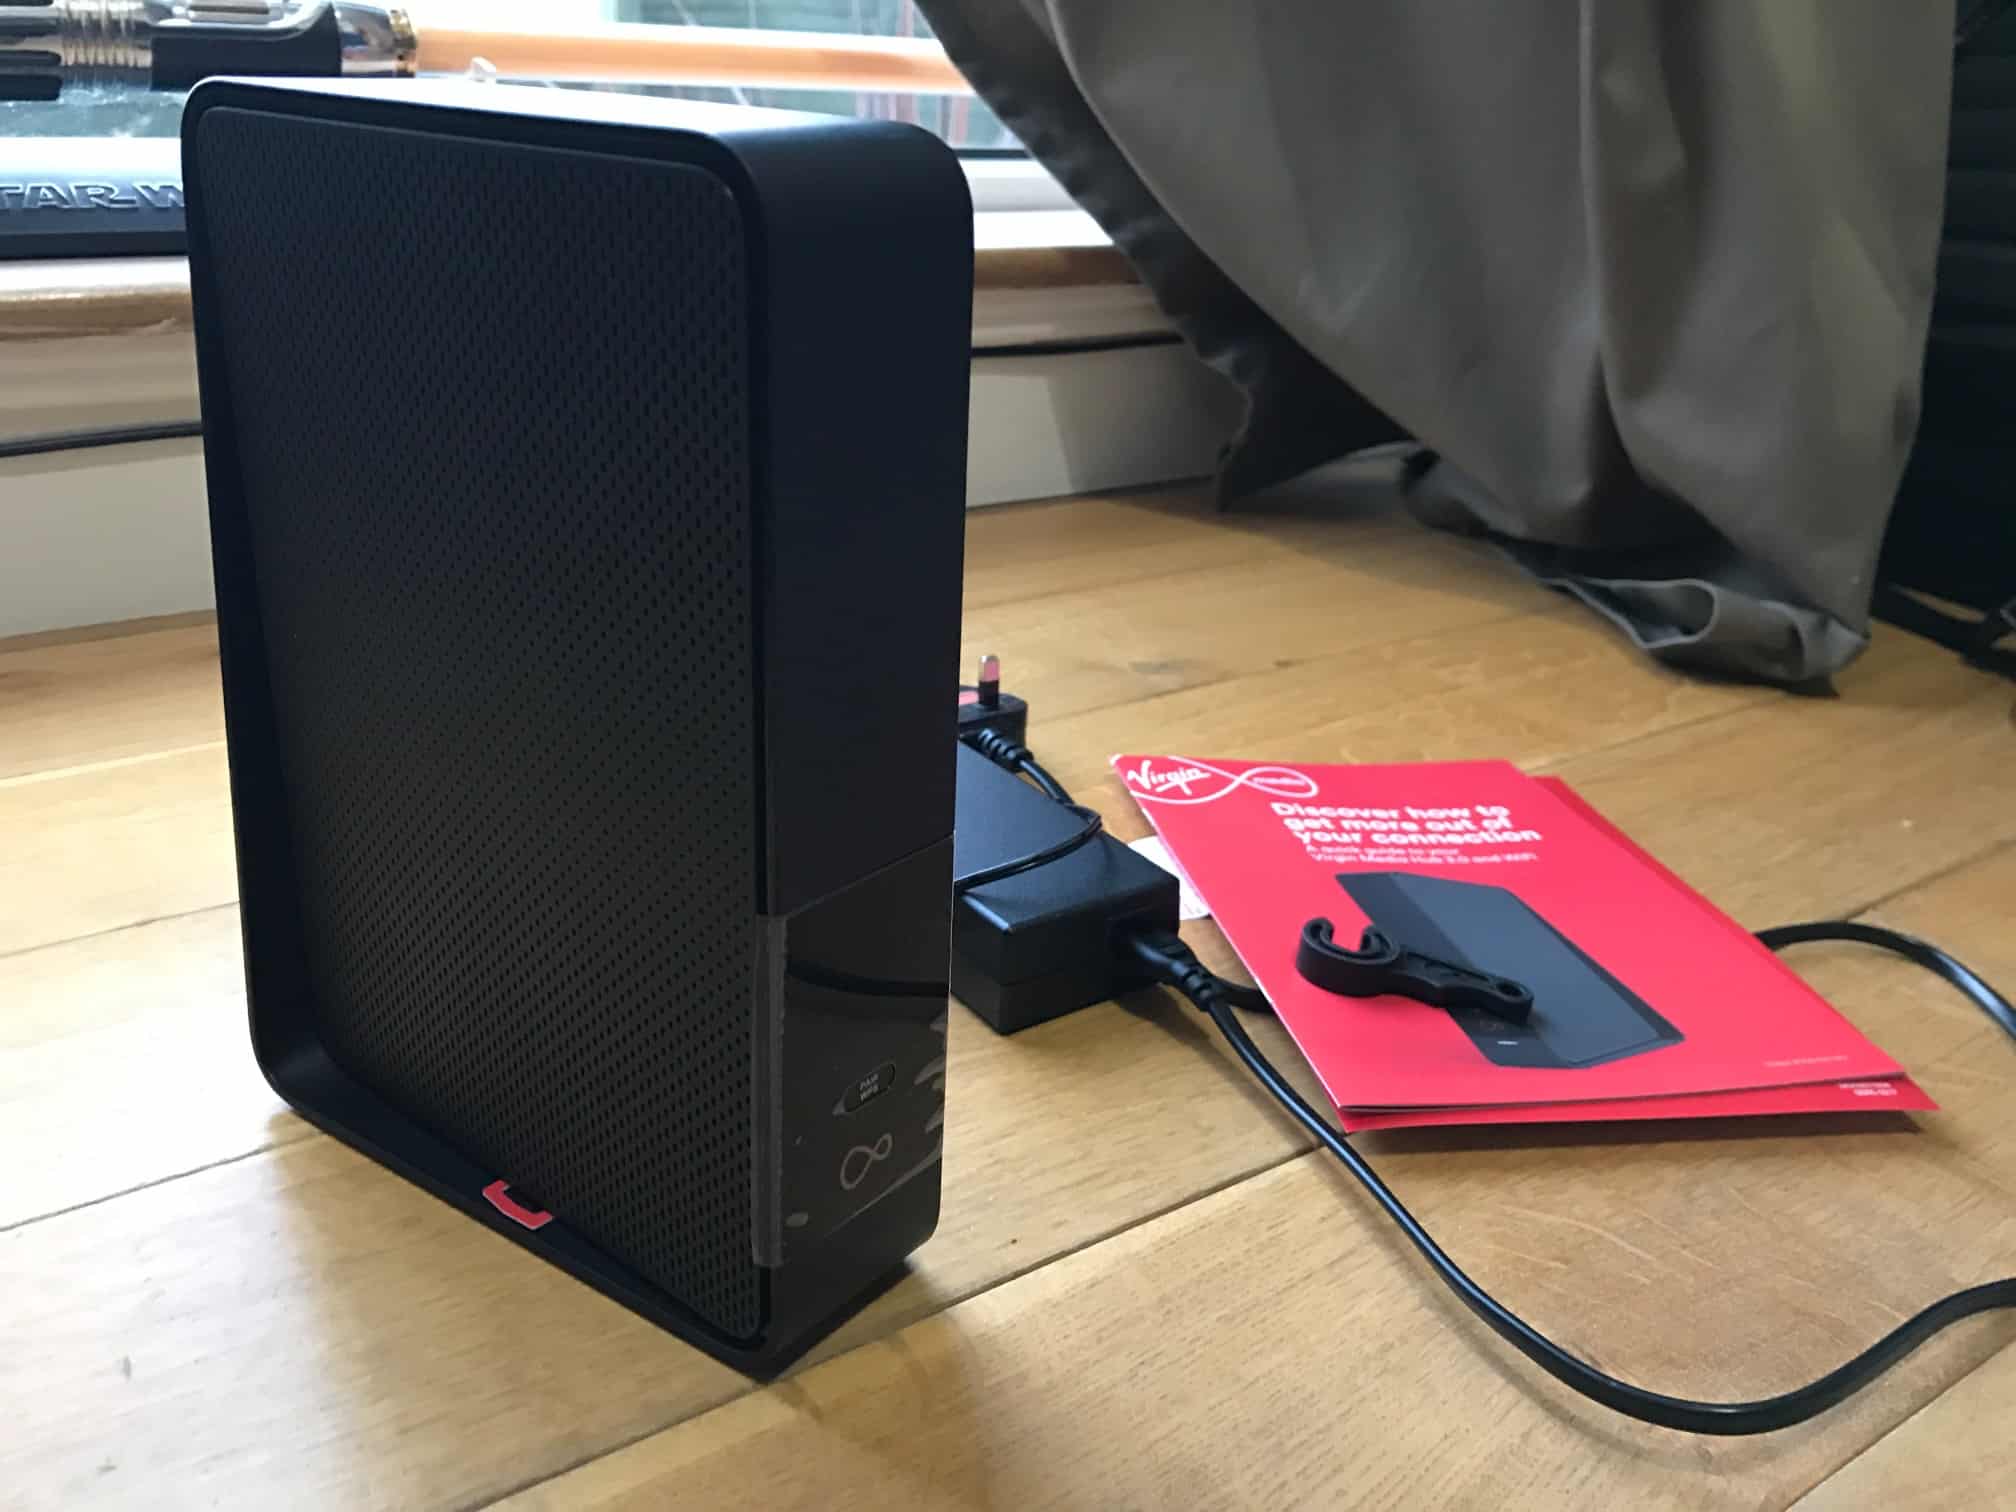
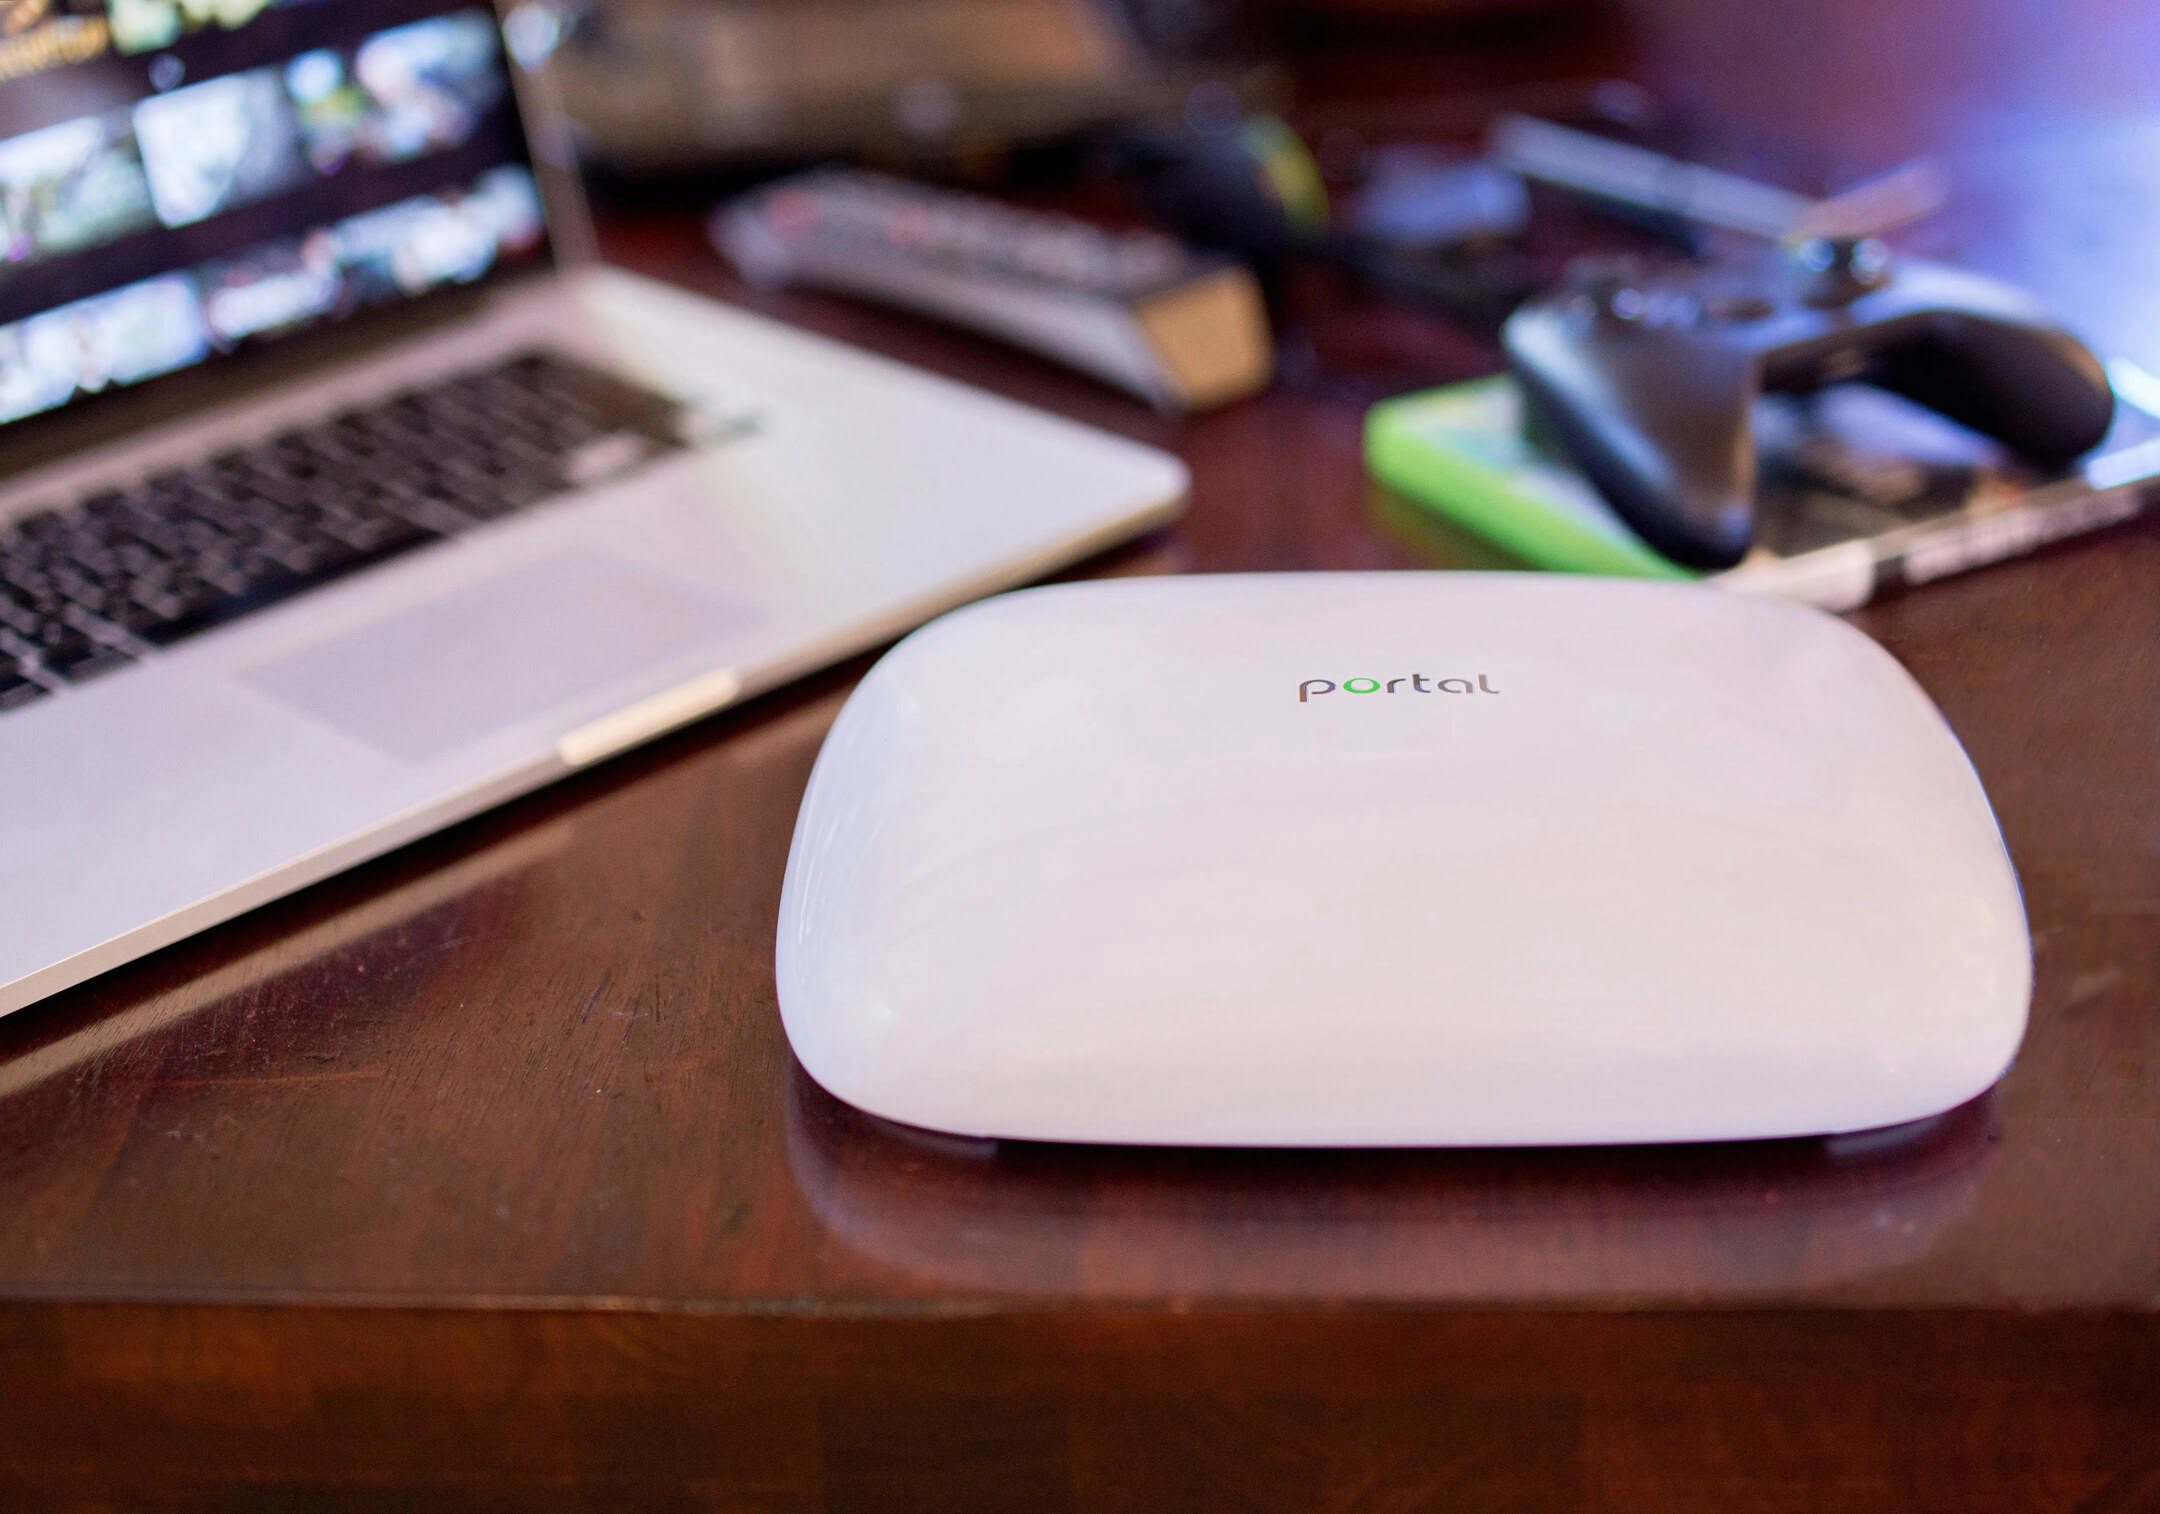
Step 1: Gather Necessary Equipment
Before you begin setting up your Xfinity Wi-Fi router, it’s essential to gather all the necessary equipment. Having everything at hand will streamline the installation process and prevent any interruptions. Here’s a list of the items you’ll need:
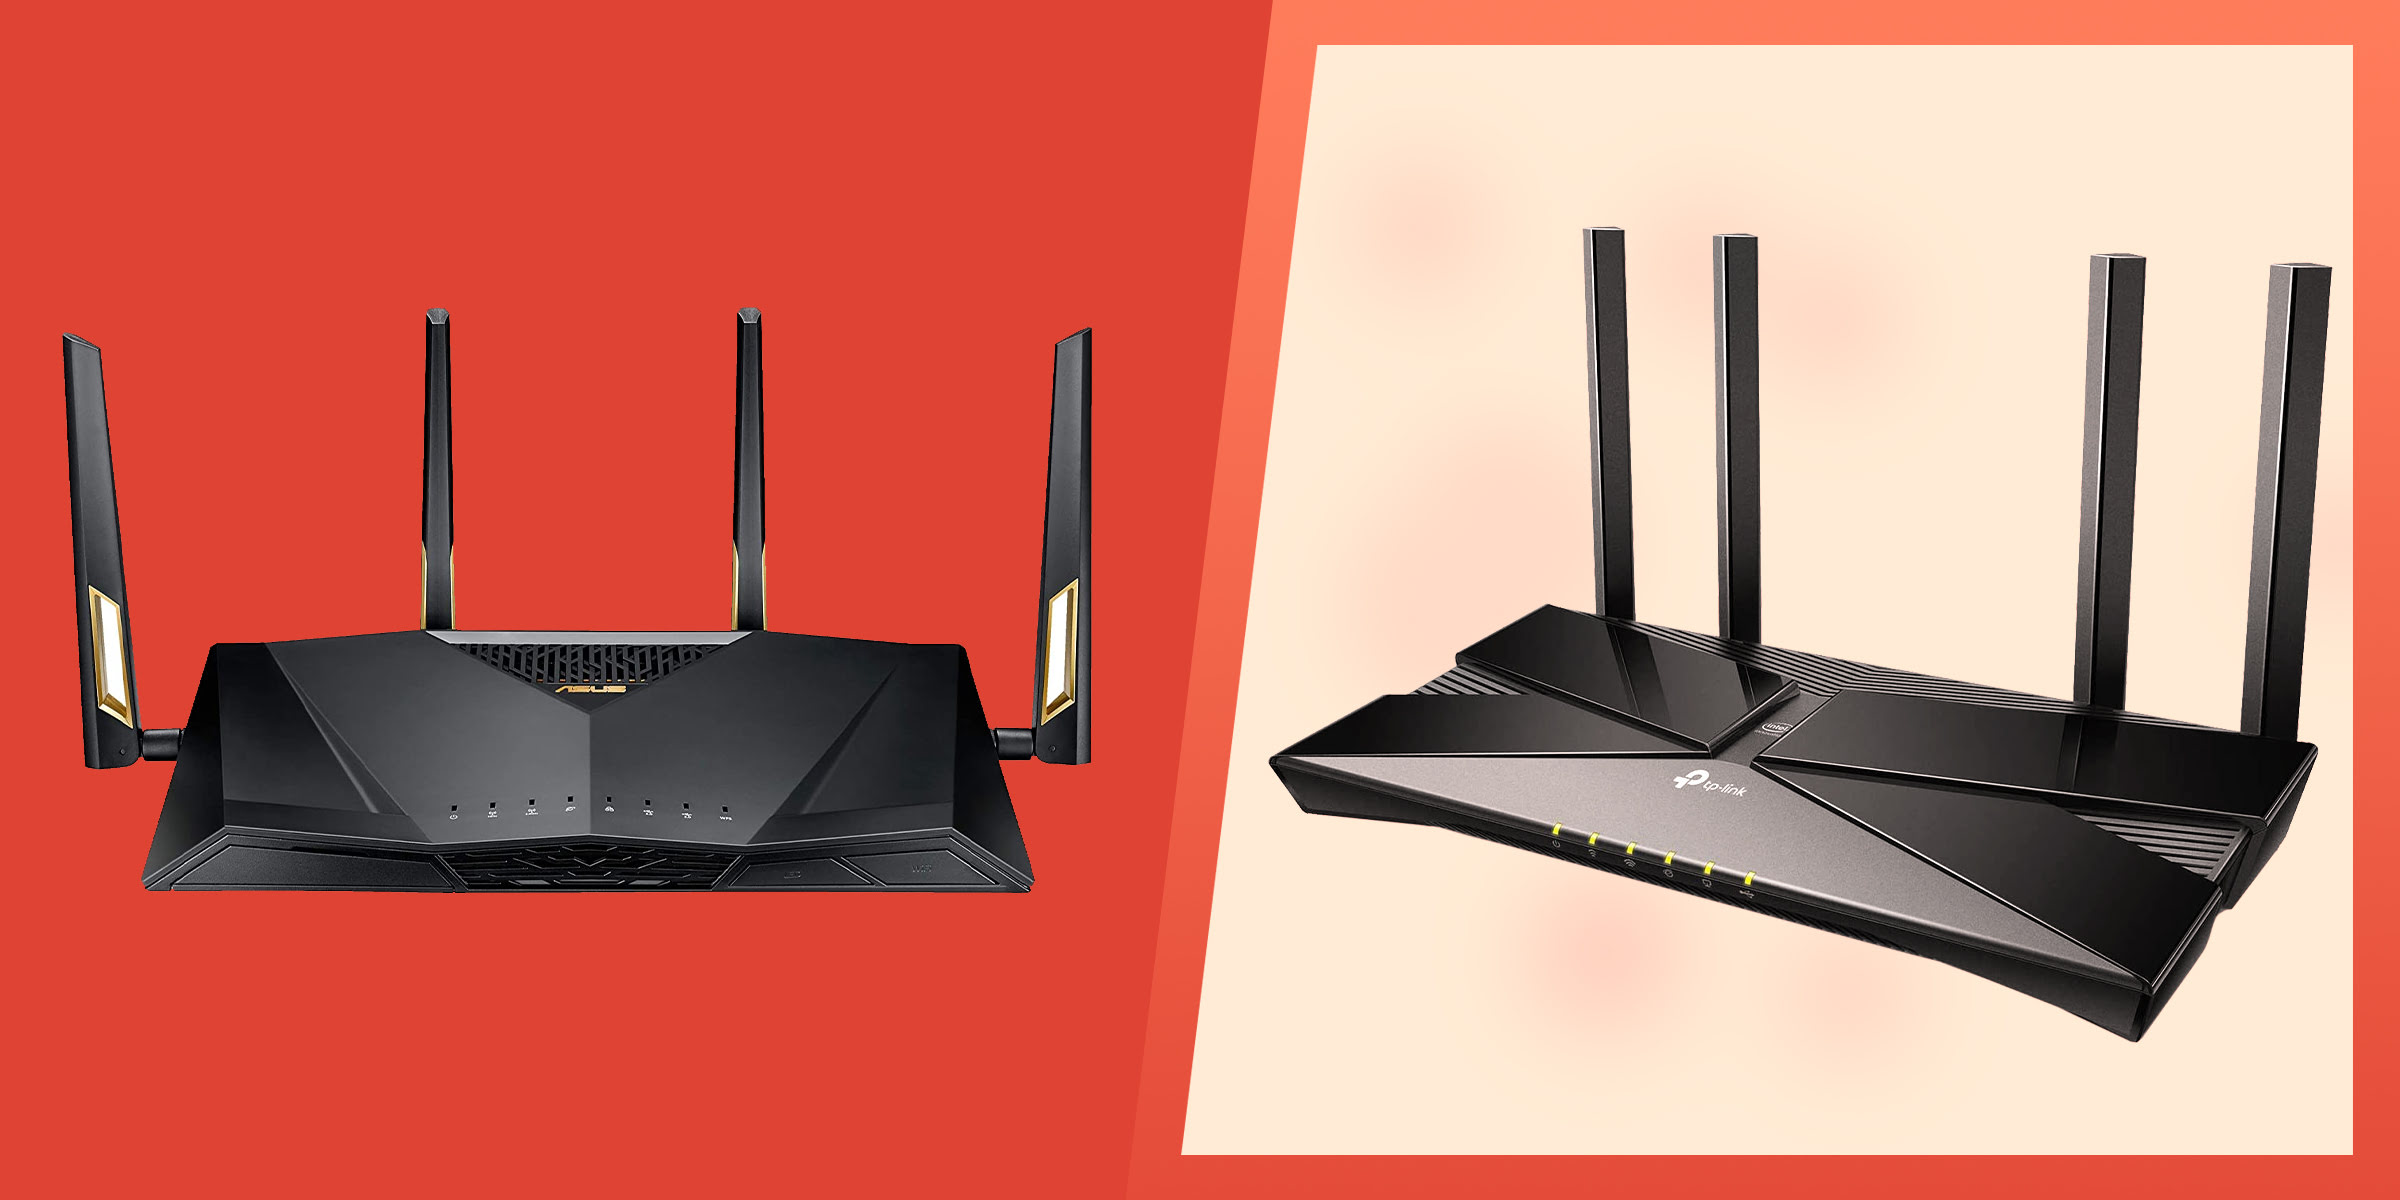
- Xfinity Wi-Fi router: This is the central device that will enable wireless internet connectivity in your home. Ensure that the router is compatible with your Xfinity internet service plan.
- Power adapter: The router will require a power source to function. The power adapter should be included in the router’s packaging.
- Ethernet cable: This cable will be used to establish a wired connection between the router and your computer or laptop during the initial setup.
- Internet modem: If your Xfinity Wi-Fi router is separate from your internet modem, ensure that the modem is operational and connected to the internet service provider’s network.
- Computer or smartphone: You’ll need a device to access the router’s settings and configure the Wi-Fi network. A computer or smartphone with Wi-Fi capabilities will suffice.
Once you have all the necessary equipment at your disposal, you’ll be fully prepared to move on to the next step of the setup process. With these tools in hand, you’re one step closer to enjoying a reliable and high-speed internet connection throughout your home.
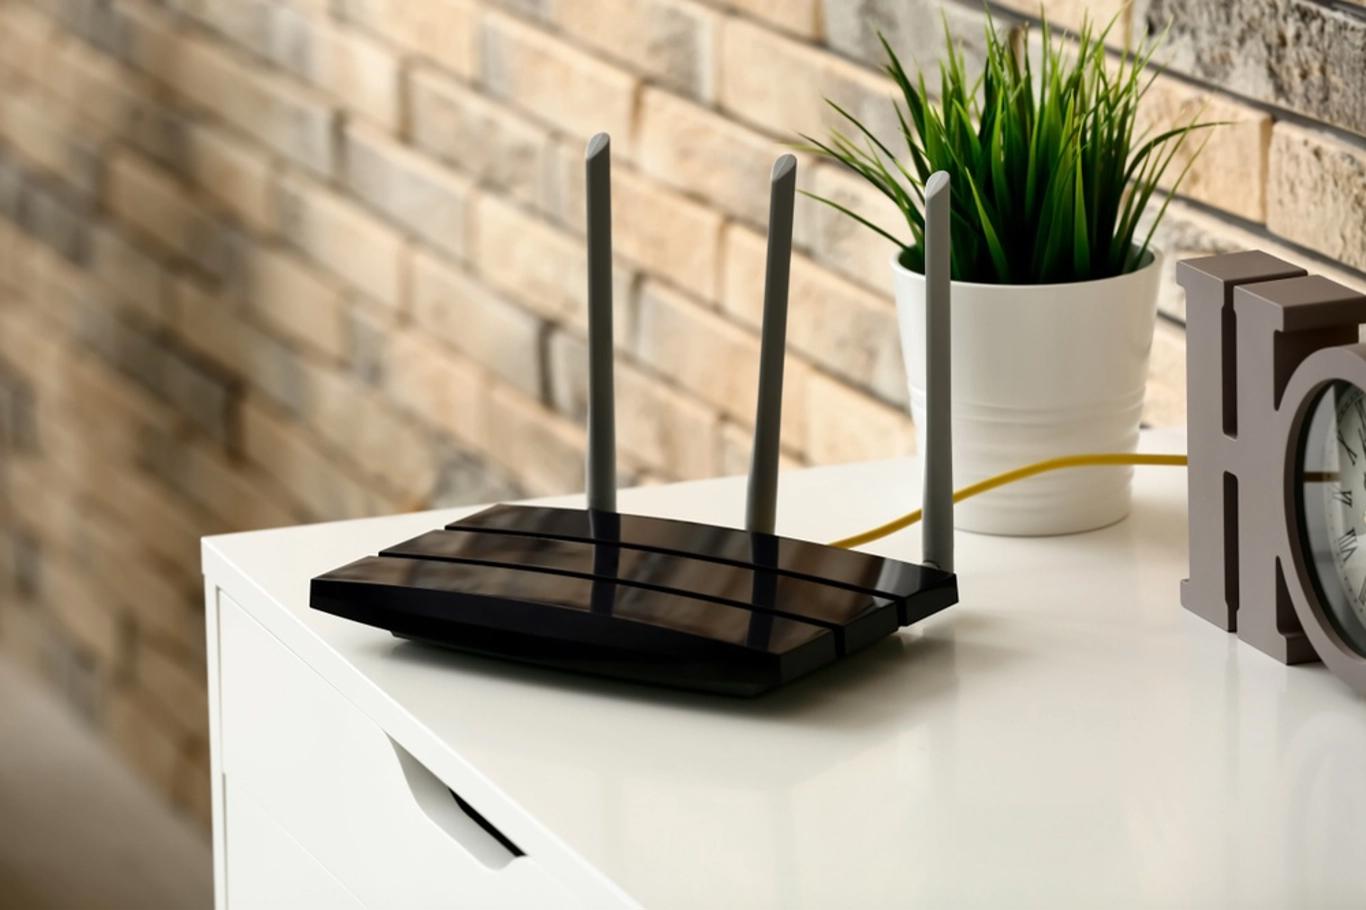
Step 2: Connect the Router
Now that you have gathered all the necessary equipment, it’s time to connect your Xfinity Wi-Fi router. Follow these steps to ensure a smooth and successful setup:
- Choose an Ideal Location: Select a central location in your home for the router. This will help ensure optimal Wi-Fi coverage throughout your living space. Avoid placing the router near large metal objects or dense walls, as these can obstruct the wireless signal.
- Power Up the Router: Connect the power adapter to the router and plug it into a power outlet. Once powered on, the router will begin initializing, and the indicator lights will illuminate.
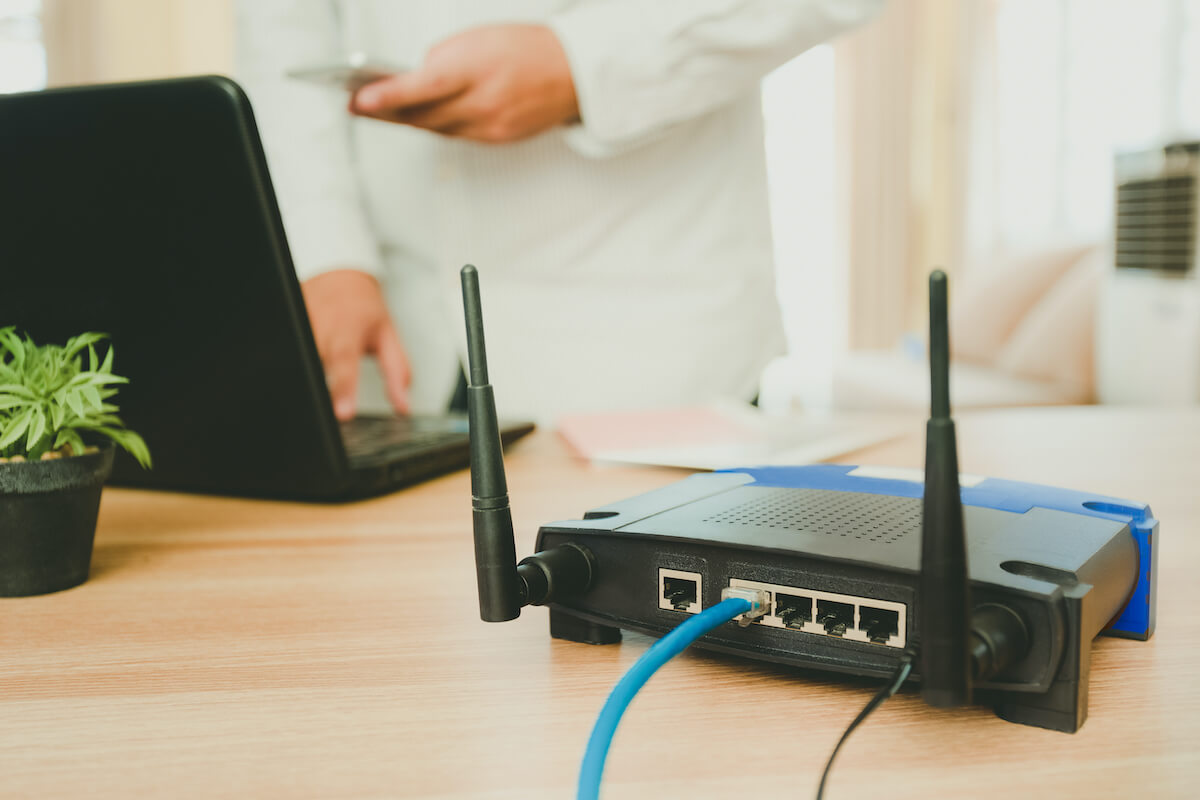
- Connect to the Modem: If your Xfinity Wi-Fi router is separate from your internet modem, use an Ethernet cable to establish a connection between the modem and the router. This wired connection will enable the router to receive internet connectivity from the modem.
- Wait for Initialization: Allow the router a few minutes to initialize and establish a connection with the modem. During this time, the indicator lights on the router will indicate the progress of the initialization process.
- Establish a Connection to Your Device: Use an Ethernet cable to connect your computer or laptop to one of the Ethernet ports on the router. This direct connection will allow you to access the router’s settings and configure the Wi-Fi network.
By following these steps, you will have successfully connected your Xfinity Wi-Fi router, laying the groundwork for the subsequent configuration steps. With the physical connection in place, you’re now ready to access the router’s settings and set up your Wi-Fi network.
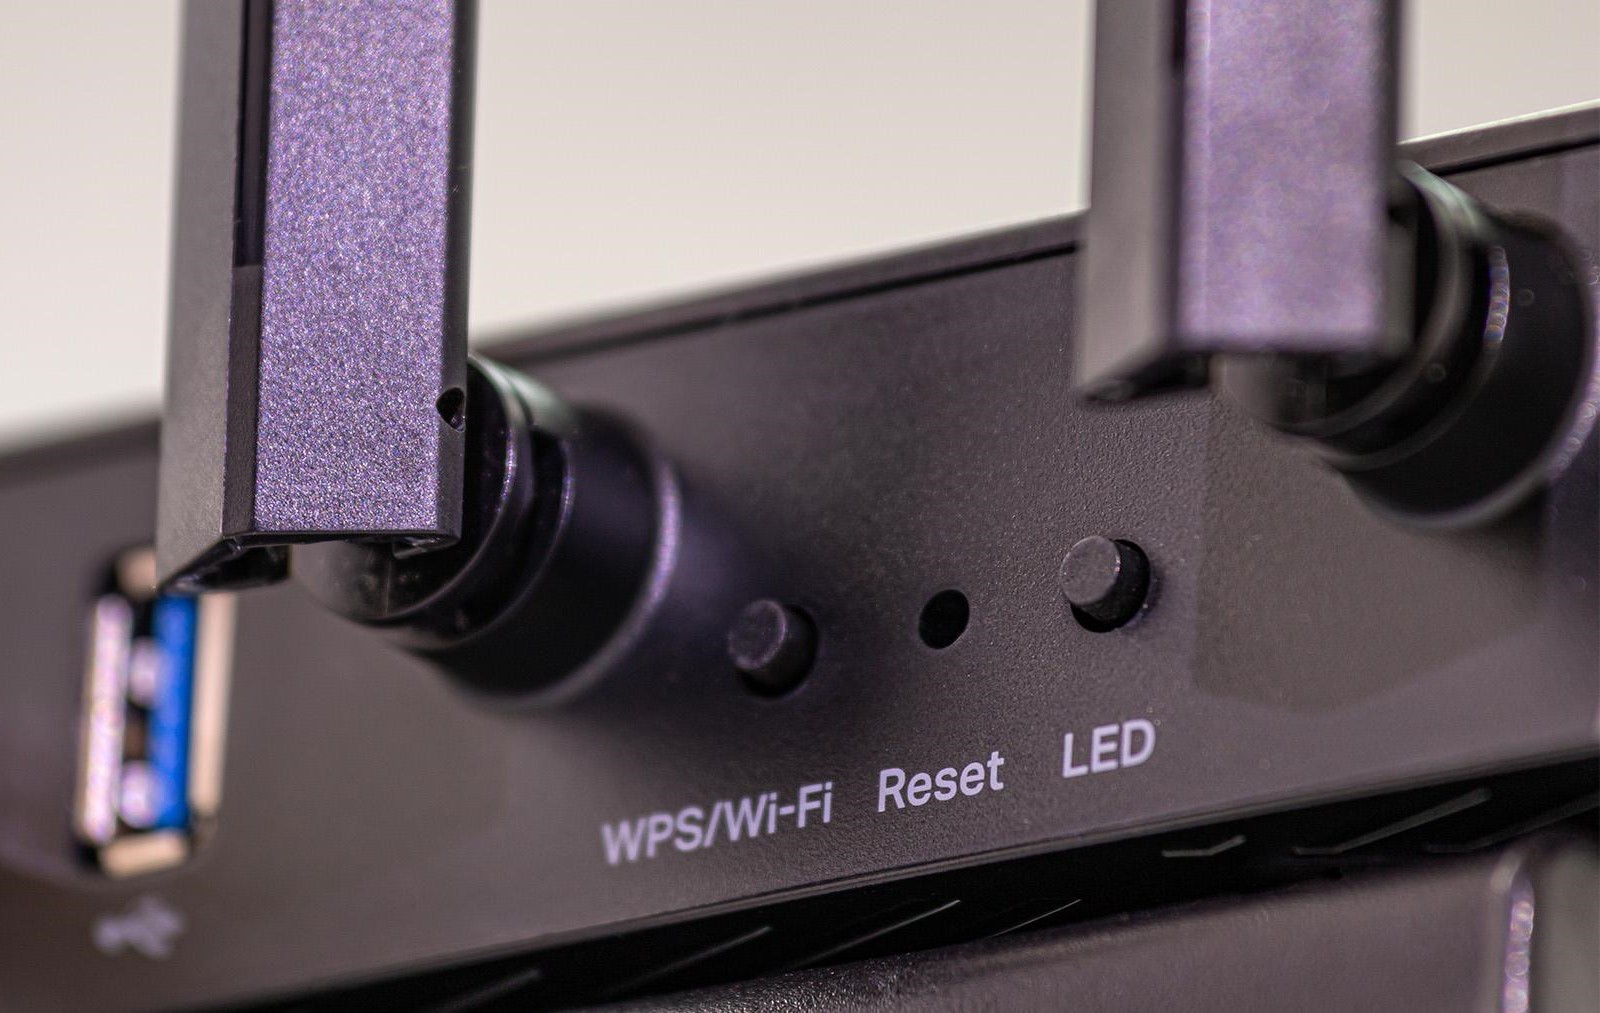
Step 3: Access the Router Settings
With your Xfinity Wi-Fi router physically connected, the next step is to access the router’s settings. This will allow you to configure various aspects of the router, including the Wi-Fi network and security features. Follow these steps to access the router’s settings:
- Open a Web Browser: On your computer or smartphone, launch a web browser such as Google Chrome, Mozilla Firefox, or Safari.
- Enter the Router’s IP Address: In the address bar of the web browser, type the router’s IP address. This is typically “192.168.0.1” or “10.0.0.1.” Press Enter to navigate to the router’s login page.
- Log In to the Router: You will be prompted to enter the router’s username and password. These credentials are often provided on a sticker attached to the router or in the router’s user manual. Once entered, press Enter to log in to the router’s settings interface.
- Navigate to the Wi-Fi Settings: Within the router’s settings interface, locate the section dedicated to Wi-Fi or wireless settings. Here, you will be able to configure the Wi-Fi network name (SSID) and password, as well as other wireless parameters.
- Customize Wi-Fi Network Settings: Choose a unique and easily identifiable name for your Wi-Fi network. Additionally, set a strong and secure password to prevent unauthorized access to your network. You may also explore advanced settings to optimize the Wi-Fi signal and coverage.
Once you have accessed the router’s settings and configured the Wi-Fi network to your preferences, you are ready to proceed to the next step of securing your network and ensuring a reliable connection for all your devices. Accessing and customizing the router’s settings is a crucial aspect of the setup process, as it empowers you to tailor the network to your specific needs and preferences.
When setting up your Xfinity Wi-Fi router, make sure to connect it to your modem using an Ethernet cable. Then, follow the on-screen instructions to complete the setup process through the Xfinity website or app.
Step 4: Configure Wi-Fi Network
Configuring your Wi-Fi network is a pivotal step in the setup process, as it determines the accessibility and security of your wireless connection. Follow these steps to ensure that your Wi-Fi network is configured optimally:
- Choose a Unique Network Name (SSID): Select a distinct and recognizable name for your Wi-Fi network. Avoid using default or generic names, and consider personalizing it to reflect your household or location.
- Set a Strong Password: Establish a robust password for your Wi-Fi network to prevent unauthorized access. A strong password typically includes a combination of uppercase and lowercase letters, numbers, and special characters. Avoid using easily guessable phrases or common words.
- Enable Encryption: Ensure that WPA2 or WPA3 encryption is enabled for your Wi-Fi network. Encryption safeguards your network traffic from eavesdropping and unauthorized access, enhancing the overall security of your wireless connection.
- Explore Advanced Settings: Depending on your router model, you may have access to advanced settings such as guest networks, parental controls, and Quality of Service (QoS) features. Take the time to explore these options and customize them according to your preferences and requirements.
- Save and Apply Changes: Once you have configured the Wi-Fi network settings to your satisfaction, be sure to save the changes within the router’s settings interface. This will apply your customizations and ensure that your network operates according to the specified parameters.
By configuring your Wi-Fi network with a unique name, a strong password, and appropriate encryption, you can establish a secure and reliable wireless connection for all your devices. Additionally, exploring advanced settings allows you to tailor the network to accommodate specific usage scenarios and user requirements. With these configurations in place, your Wi-Fi network will be ready to accommodate the connectivity needs of your smart home devices and personal gadgets.
Read more: How To Set Up A Wi-Fi Router
Step 5: Set Up Security Measures
Implementing robust security measures for your Xfinity Wi-Fi router is crucial to safeguarding your network and personal data from potential threats. By following these essential steps, you can fortify your network against unauthorized access and potential security breaches:
- Change Default Login Credentials: Begin by altering the default username and password for accessing the router’s settings. Choose a strong and unique combination to mitigate the risk of unauthorized access to the router’s configuration interface.
- Enable Firewall Protection: Activate the router’s built-in firewall to monitor and filter incoming and outgoing network traffic. A firewall provides an additional layer of defense against malicious activities and unauthorized access attempts.
- Update Router Firmware: Check for and install any available firmware updates for your router. Firmware updates often include security patches and performance enhancements, ensuring that your router operates with the latest protections and optimizations.
- Implement MAC Address Filtering: Consider enabling MAC address filtering, which allows you to specify which devices are permitted to connect to your Wi-Fi network based on their unique MAC addresses. This feature adds an extra barrier to unauthorized device access.
- Activate Network Encryption: Ensure that WPA2 or WPA3 encryption is enabled for your Wi-Fi network. Encryption scrambles the data transmitted between your devices and the router, thwarting attempts to intercept sensitive information.
By proactively setting up these security measures, you can significantly enhance the protection of your Xfinity Wi-Fi network and the devices connected to it. These precautions not only fortify your network against potential threats but also contribute to a safer and more secure digital environment for all your smart home devices and personal technology.
Step 6: Test the Connection
After completing the initial setup and configuring the essential parameters of your Xfinity Wi-Fi router, it’s crucial to test the connection to ensure that everything is functioning as intended. By conducting a comprehensive test, you can verify the stability, speed, and coverage of your wireless network. Follow these steps to thoroughly evaluate the connection:
- Connect Devices to Wi-Fi: Ensure that your smart home devices, computers, smartphones, and other gadgets are connected to the newly configured Wi-Fi network. Verify that they can establish a reliable connection and access the internet without issues.
- Assess Signal Strength: Move around your home and assess the Wi-Fi signal strength in different areas. Identify any spots with weak or inconsistent coverage, as these may require additional measures such as Wi-Fi range extenders to enhance the overall coverage.
- Perform Speed Tests: Utilize online speed testing tools to measure the download and upload speeds of your internet connection. Compare the results to your subscribed internet plan to ensure that you are receiving the expected performance.
- Test Device Compatibility: If you have a diverse range of smart home devices, ensure that they seamlessly connect to the Wi-Fi network and function as intended. Verify that all devices can communicate with the router without connectivity issues.
- Verify Security Measures: Double-check that the security measures you implemented, such as encryption and firewall protection, are effectively safeguarding your network and devices. Confirm that unauthorized devices are unable to access your network.
By meticulously testing the connection and assessing various aspects of your Wi-Fi network, you can identify any potential issues and fine-tune the setup to deliver optimal performance and security. This comprehensive evaluation ensures that your Xfinity Wi-Fi router operates reliably and provides a secure foundation for all your connected devices and smart home technologies.
Conclusion
Congratulations! You have successfully set up your Xfinity Wi-Fi router, paving the way for a seamless and secure internet experience in your home. By following the comprehensive steps outlined in this guide, you have not only established a reliable wireless network but also implemented crucial security measures to protect your digital environment.
With your Xfinity Wi-Fi router configured and optimized, your smart home devices, personal gadgets, and online activities are poised to thrive within a secure and high-speed network. The careful selection of a unique network name, a robust password, and advanced security measures ensures that your digital ecosystem remains safeguarded against potential threats and unauthorized access.
As you embark on this journey of connectivity and convenience, remember to periodically review and update your router’s settings, firmware, and security protocols to stay ahead of emerging threats and maintain peak performance. Additionally, consider exploring advanced features and settings offered by your router to further enhance your network’s capabilities and tailor it to your specific requirements.
By integrating your Xfinity Wi-Fi router into your home, you have unlocked a world of possibilities, from seamless streaming and online gaming to effortless smart home automation. Embrace the connectivity, security, and convenience that your Wi-Fi network provides, and revel in the boundless potential of your interconnected digital lifestyle.
Thank you for entrusting us with the guidance and expertise to set up your Xfinity Wi-Fi router. May your connected experiences be enriching, secure, and always at your fingertips.
Frequently Asked Questions about How To Set Up Xfinity Wi-Fi Router
Was this page helpful?
At Storables.com, we guarantee accurate and reliable information. Our content, validated by Expert Board Contributors, is crafted following stringent Editorial Policies. We're committed to providing you with well-researched, expert-backed insights for all your informational needs.
0 thoughts on “How To Set Up Xfinity Wi-Fi Router”