Home>Technology>Smart Home Devices>How To Set Up Cox Wi-Fi Router
Smart Home Devices
How To Set Up Cox Wi-Fi Router
Modified: September 1, 2024
Learn how to set up your Cox Wi-Fi router for seamless connectivity with smart home devices. Follow our step-by-step guide to optimize your smart home experience.
(Many of the links in this article redirect to a specific reviewed product. Your purchase of these products through affiliate links helps to generate commission for Storables.com, at no extra cost. Learn more)
**
Introduction
**
Welcome to the world of smart home devices! In this day and age, our lives are increasingly intertwined with technology, and one of the cornerstones of a connected home is a reliable Wi-Fi network. Setting up a Cox Wi-Fi router is a crucial step in establishing a robust and secure network that can support a multitude of smart devices, from smart TVs and thermostats to security cameras and voice assistants.
A Cox Wi-Fi router serves as the gateway to the digital realm within your home, providing the foundation for seamless connectivity and access to a plethora of online services. Whether you're a tech enthusiast or a casual user, understanding how to set up your Cox Wi-Fi router is essential for optimizing your home network's performance and ensuring a smooth experience with all your smart devices.
In this comprehensive guide, we will walk you through the process of setting up your Cox Wi-Fi router, from gathering the necessary equipment to securing your network. By the end of this journey, you will have the knowledge and confidence to establish a robust Wi-Fi network that meets the demands of your modern, connected lifestyle. So, let's dive in and embark on this empowering journey to unleash the full potential of your smart home devices through a well-configured Cox Wi-Fi router.
**
Key Takeaways:
- Setting up your Cox Wi-Fi router is crucial for creating a strong and reliable network for your smart home devices. Gather the necessary equipment, connect the router, access the settings, and secure the network to optimize your smart home experience.
- By following the steps to set up and secure your Cox Wi-Fi router, you’re not only enhancing the performance of your smart devices but also prioritizing the security and integrity of your digital domain. Embrace the convenience and peace of mind that come with a well-configured and protected Wi-Fi network.
Read more: How To Reset Cox Wi-Fi Router
Gather the Necessary Equipment
**
Before diving into the setup process, it’s essential to ensure that you have all the necessary equipment at your disposal. Gathering the required items beforehand will streamline the installation process and minimize any potential hiccups along the way.
Here’s a checklist of the essential equipment you’ll need to set up your Cox Wi-Fi router:
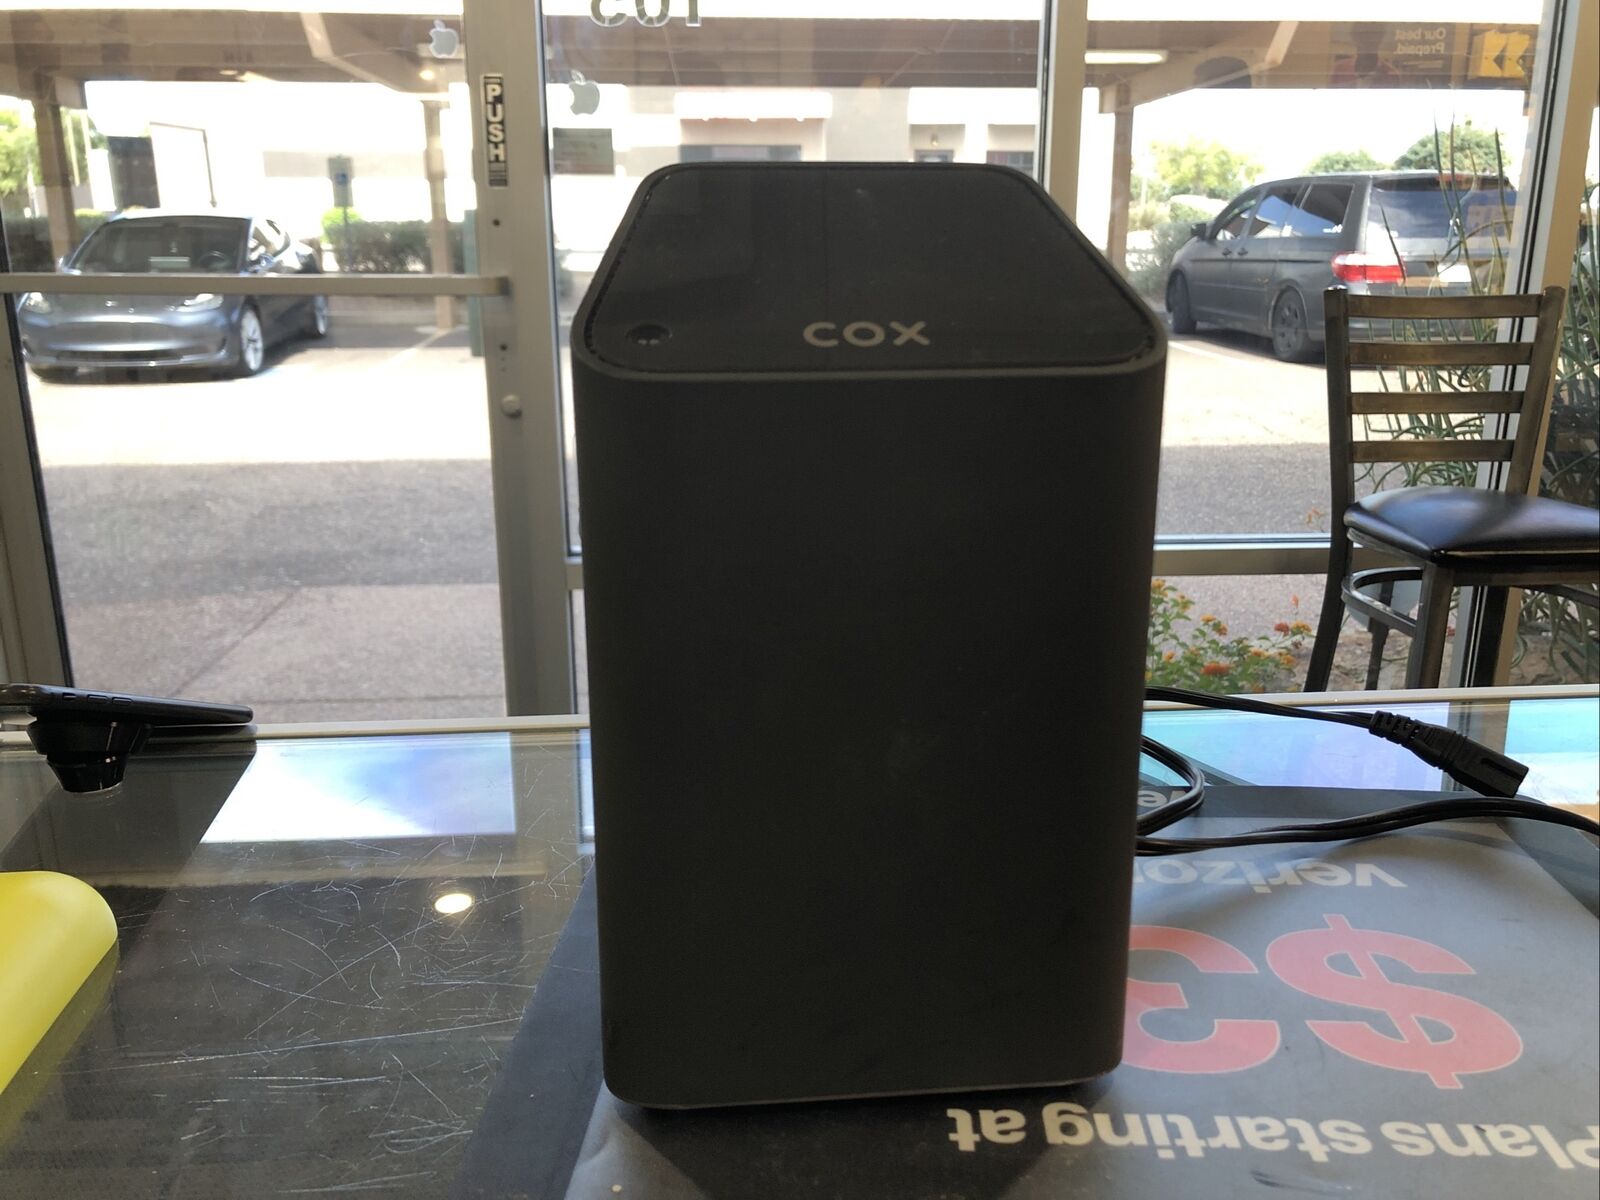
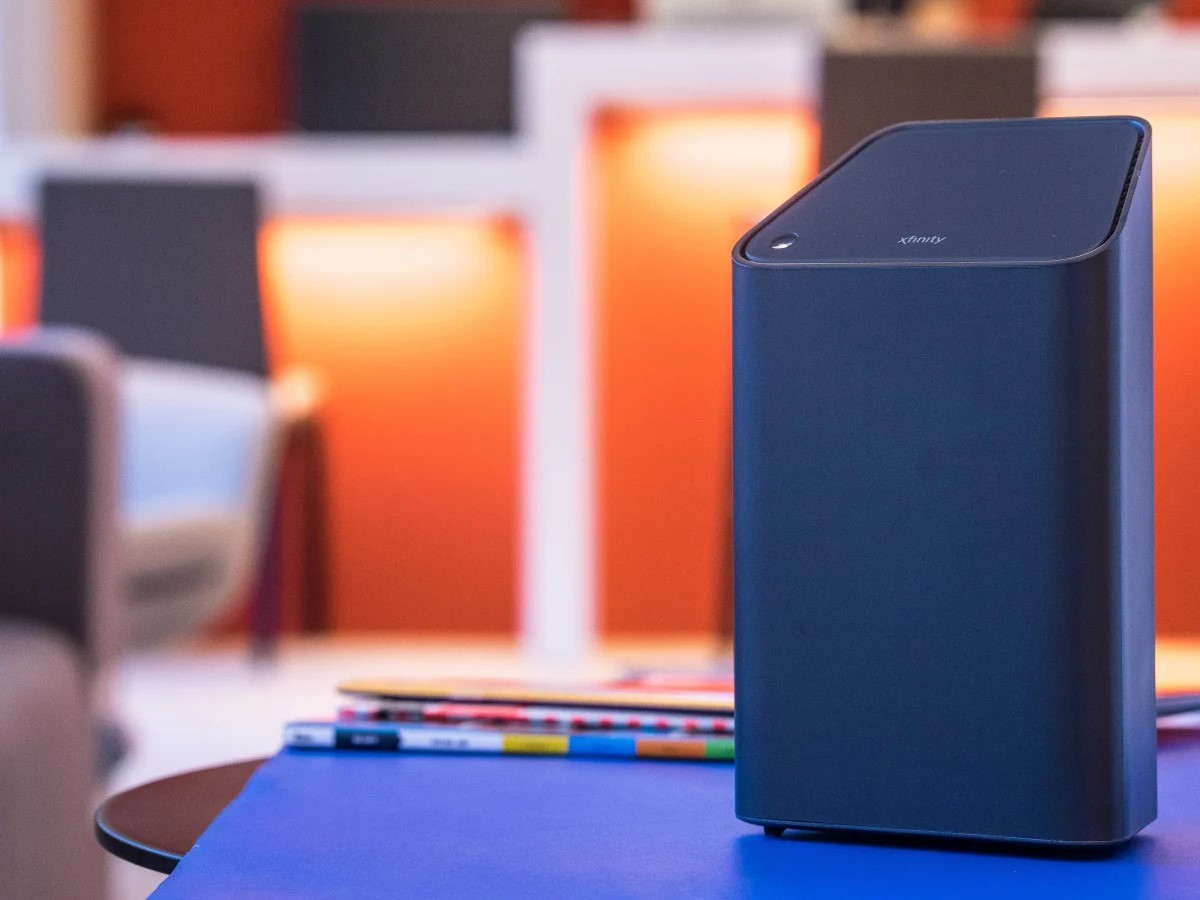
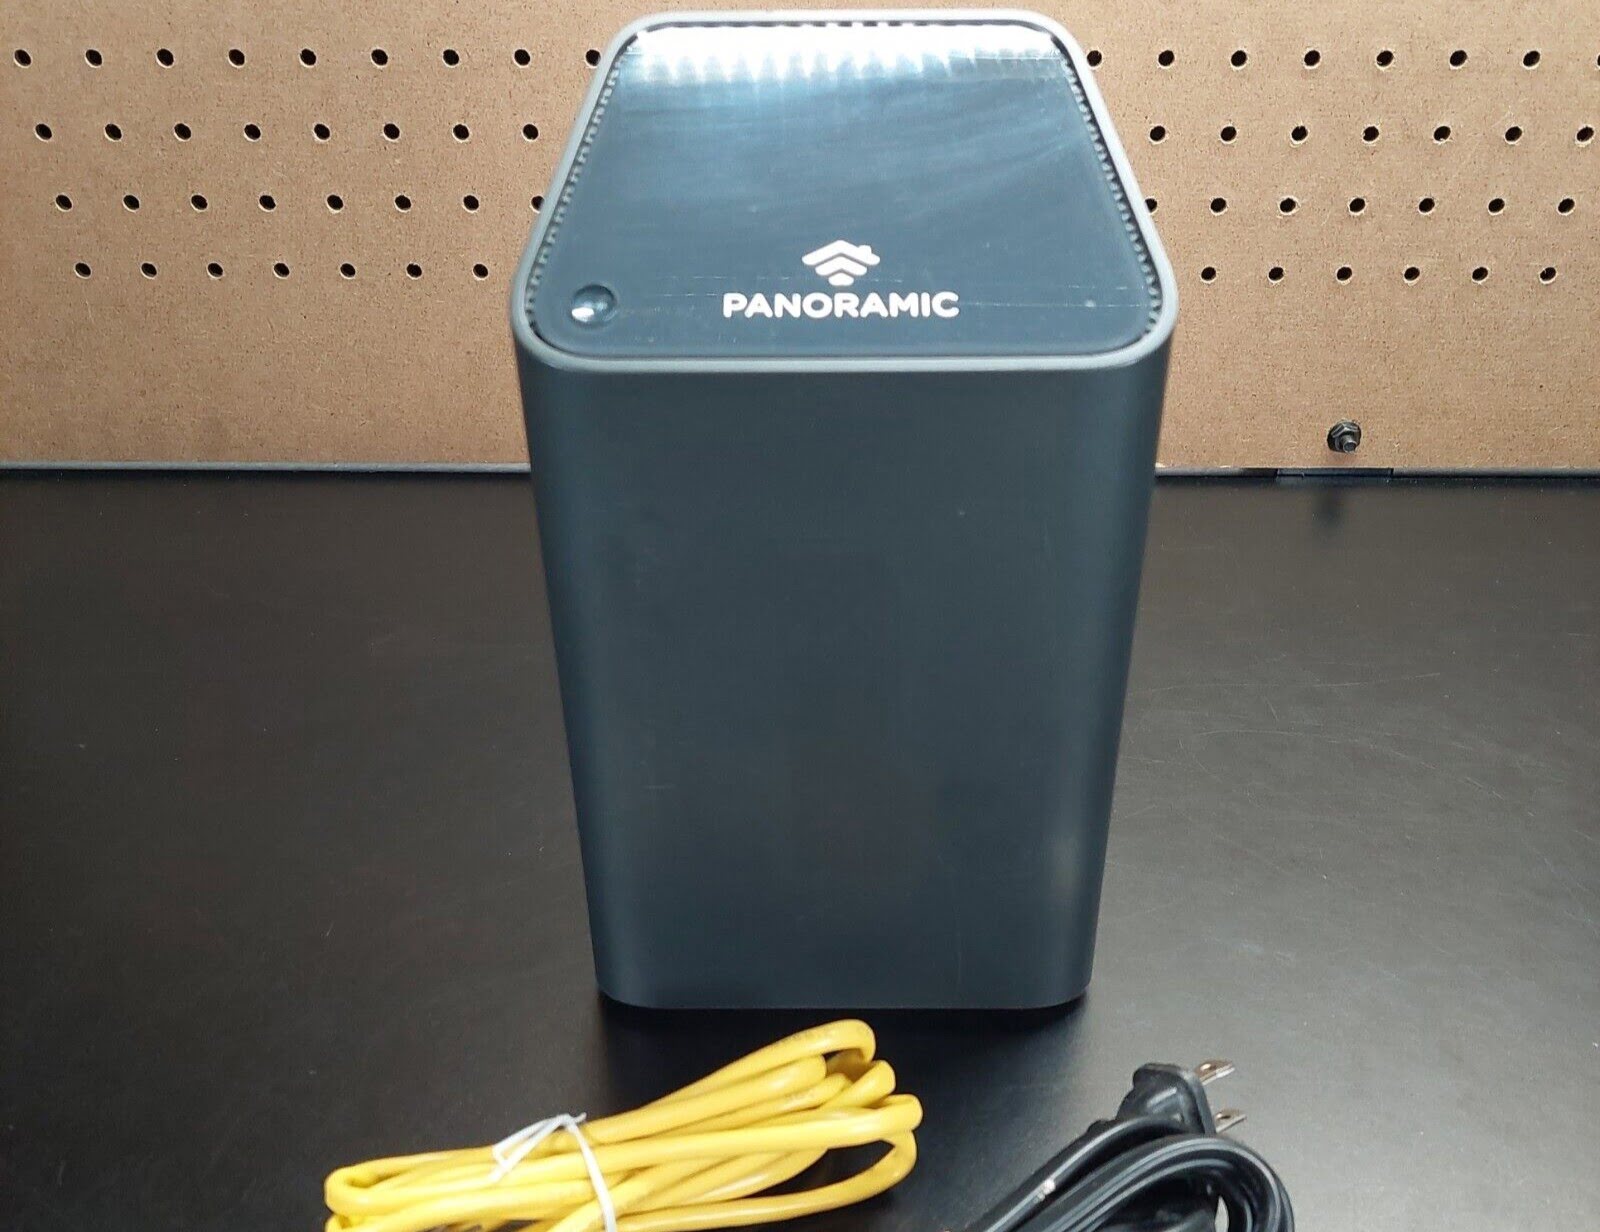
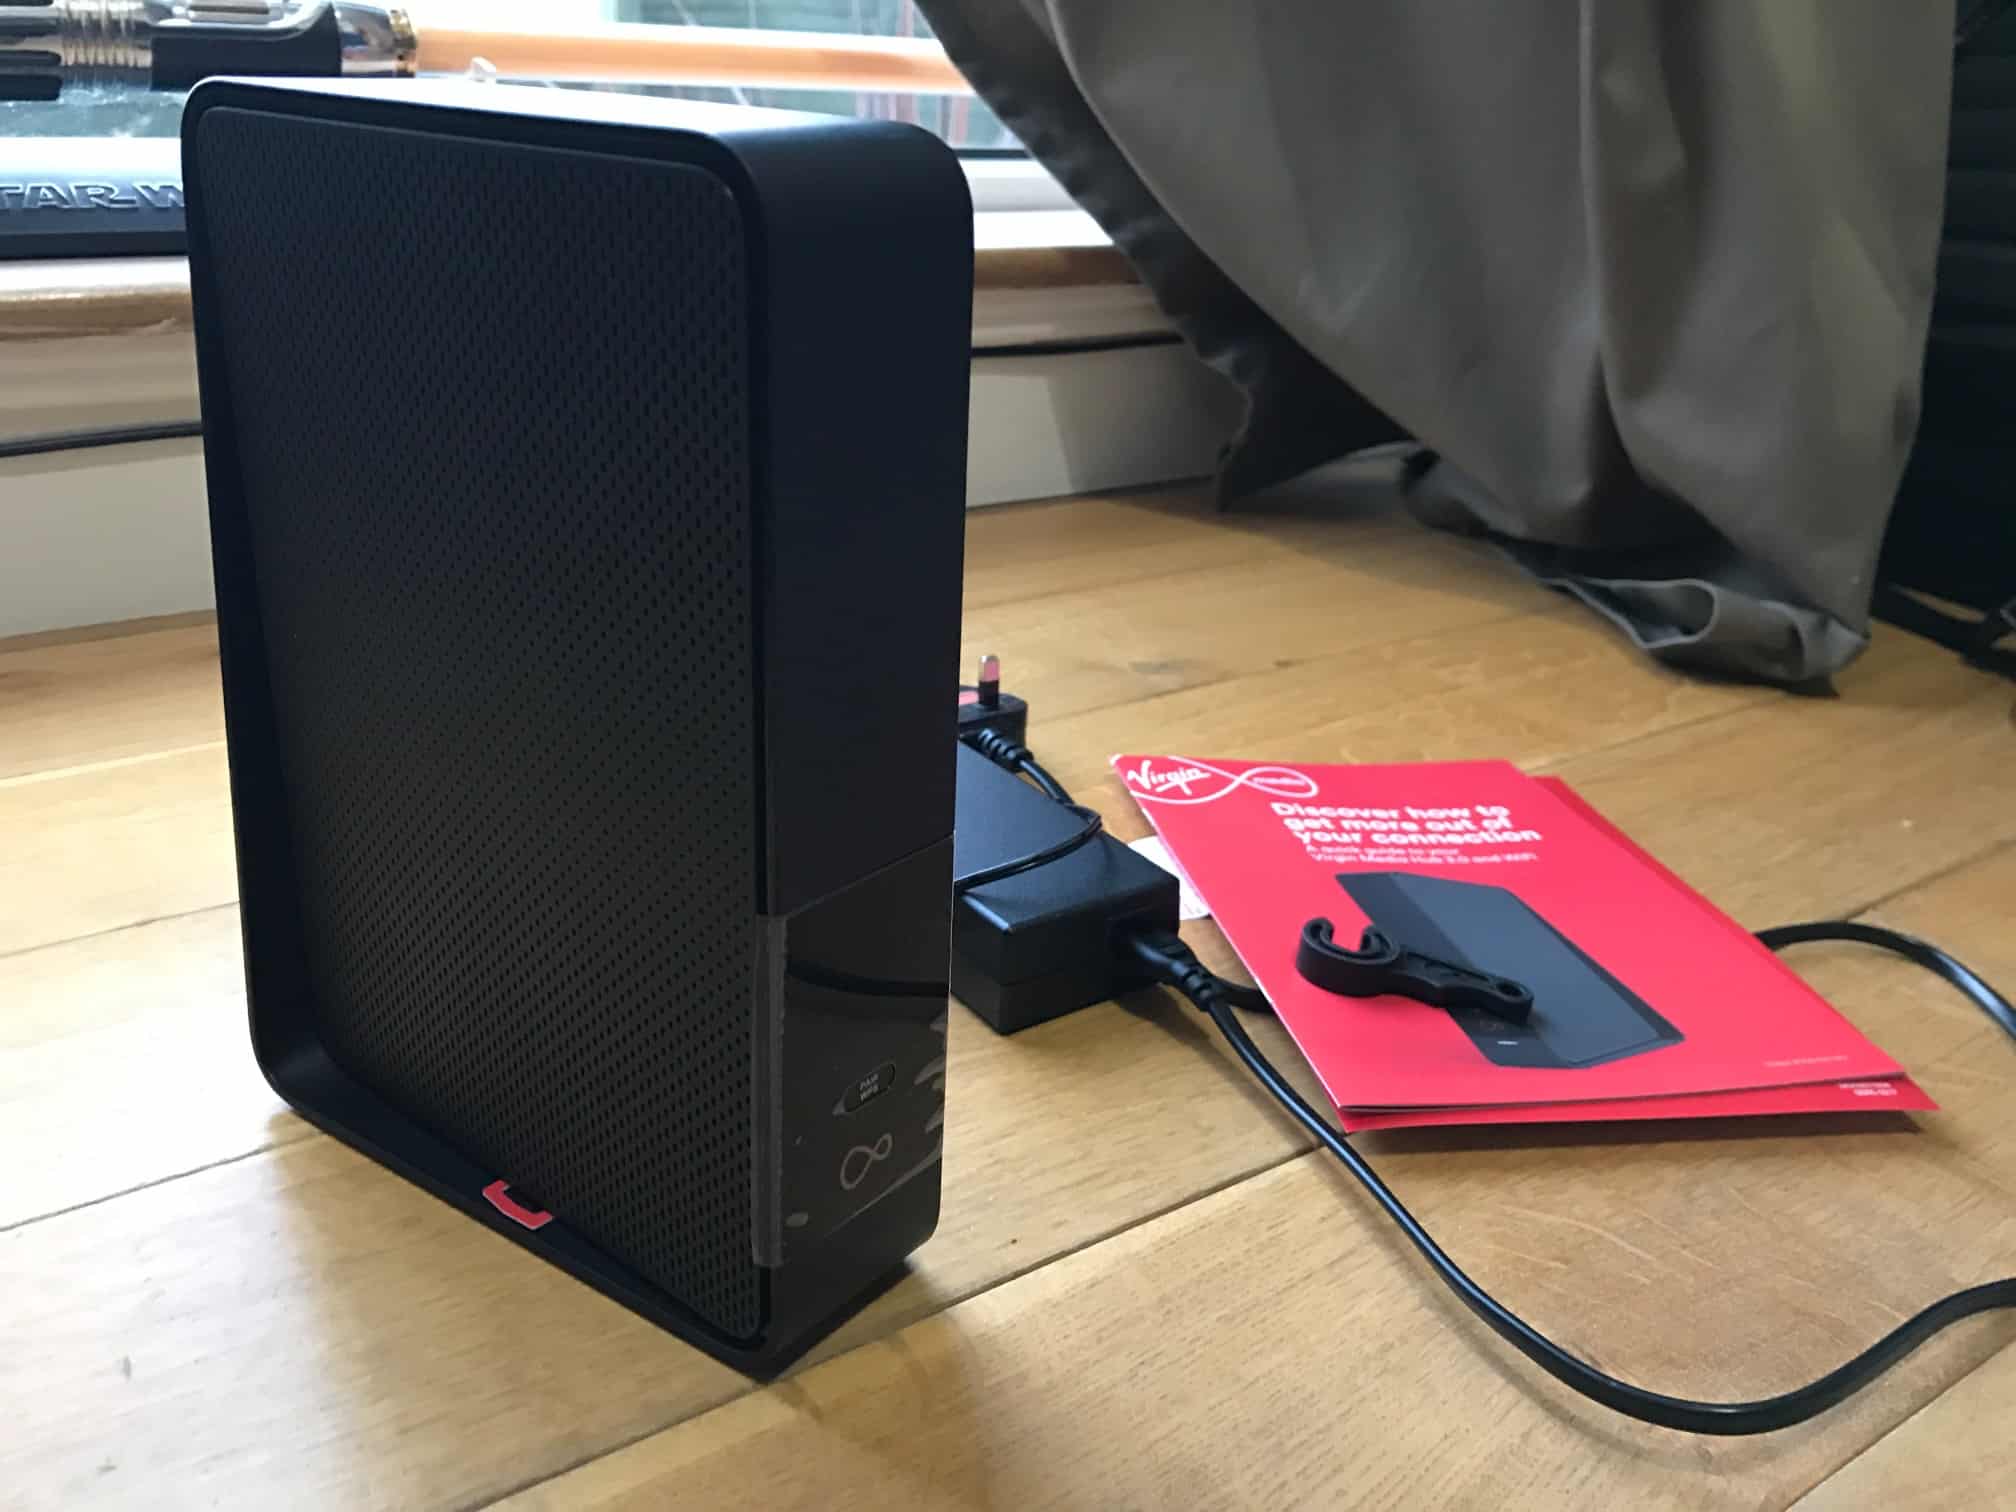
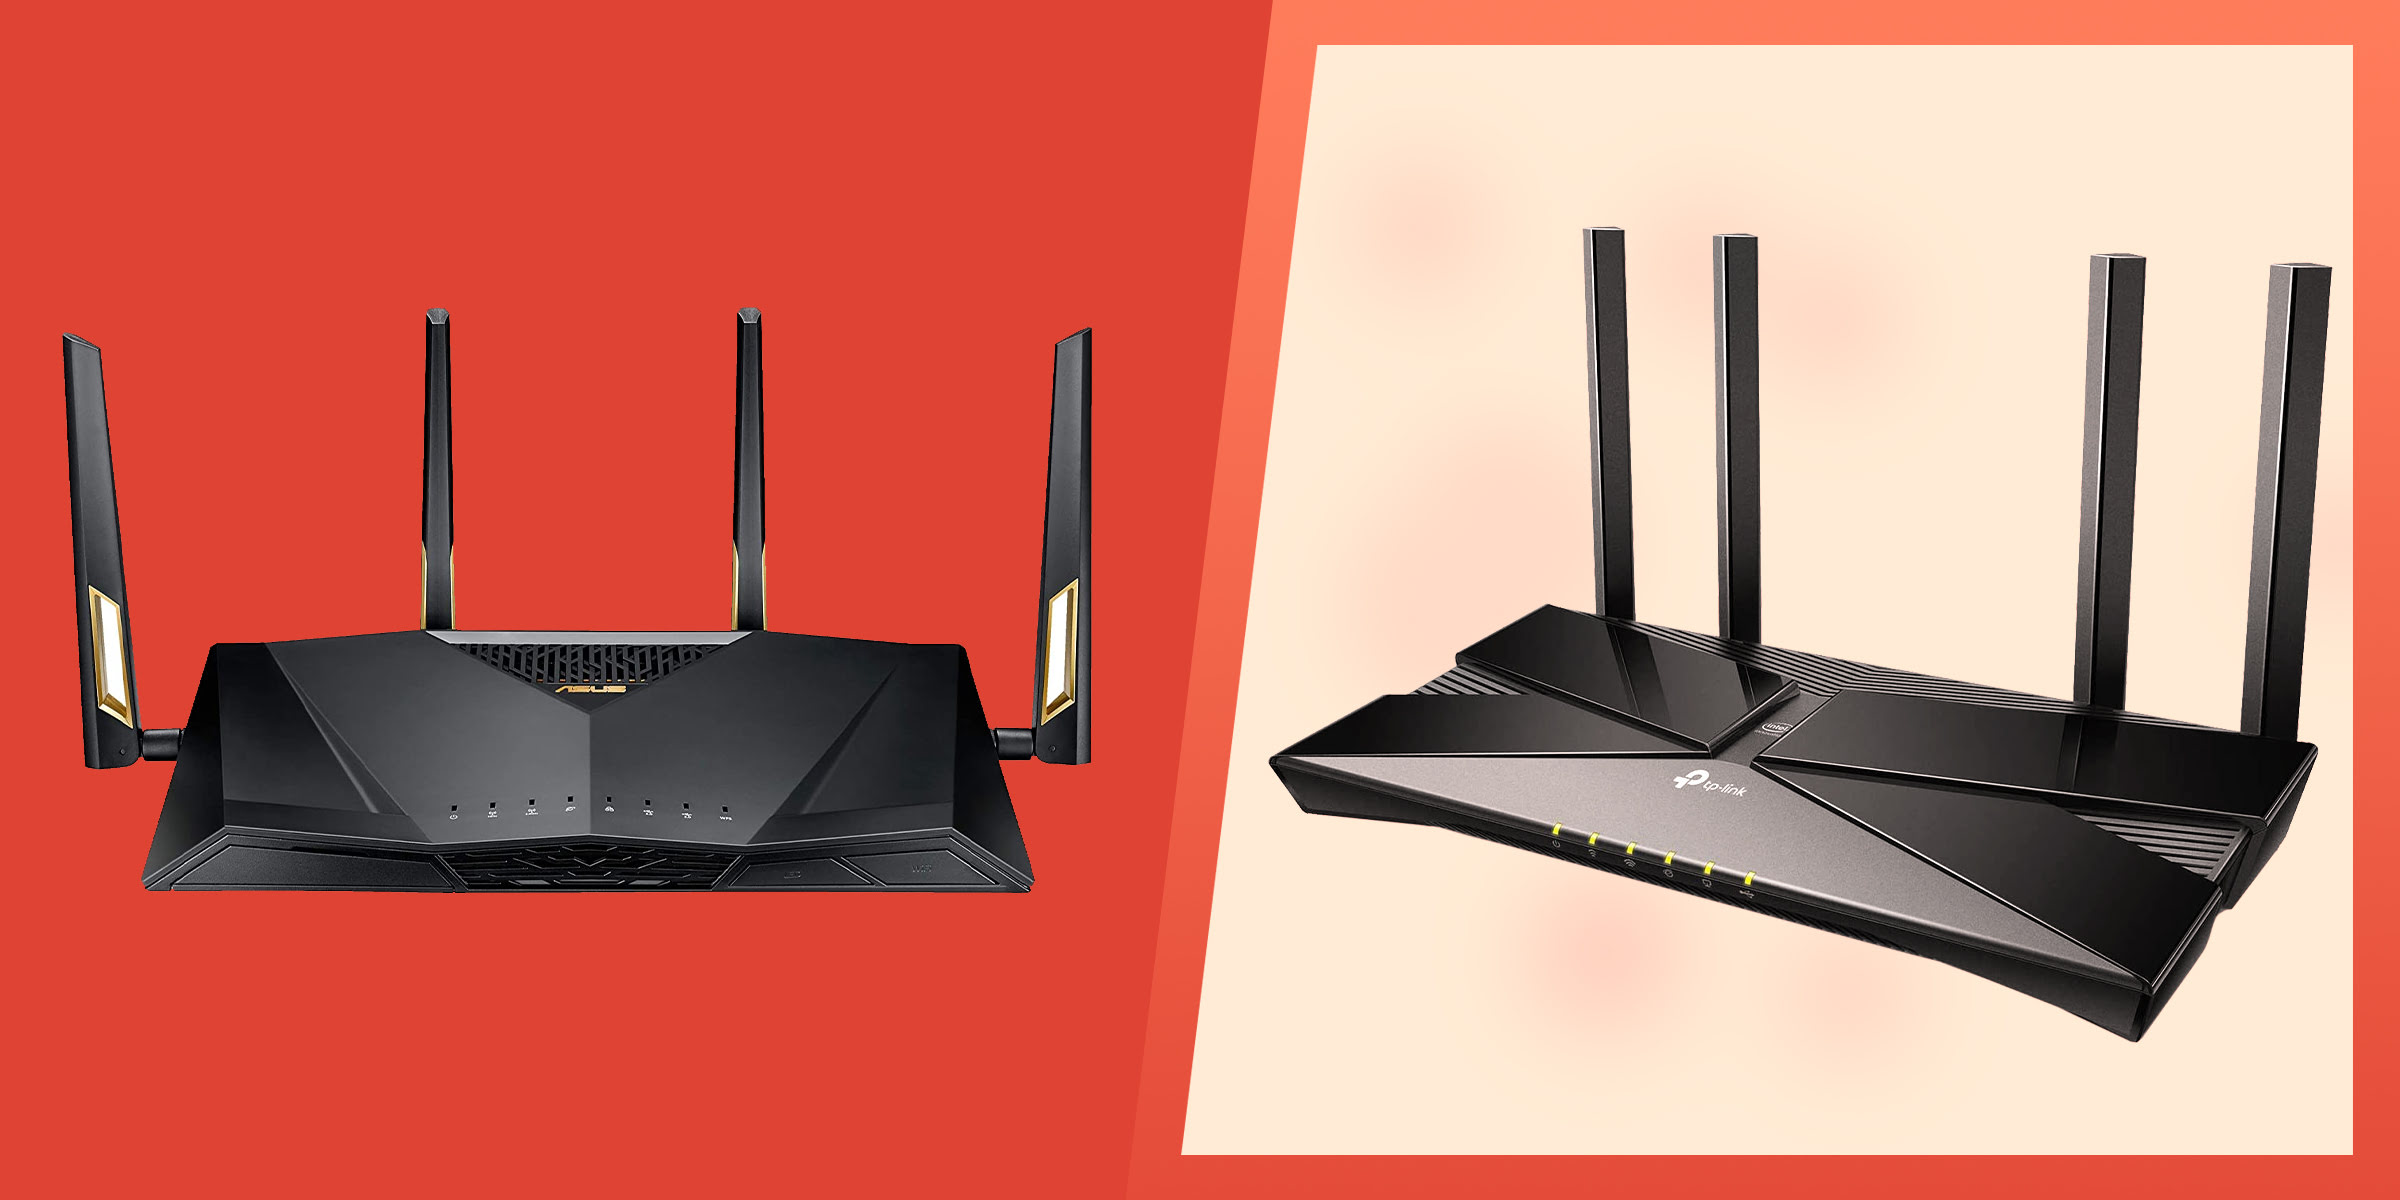
- Cox Wi-Fi Router: The central piece of hardware that will facilitate your wireless network connectivity. Ensure that the router is compatible with your internet service plan and meets your specific requirements, such as coverage area and supported devices.
- Power Adapter: The power adapter provides the necessary electrical input to the router, enabling it to function. Ensure that the power adapter is compatible with the router model and has the appropriate voltage and current ratings.
- Ethernet Cable: An Ethernet cable will be used to establish a wired connection between the router and your internet modem during the initial setup process. This cable is crucial for configuring the router and ensuring a stable connection to the internet.
- Device for Configuration: You’ll need a computer, laptop, tablet, or smartphone to access the router’s settings and configure the Wi-Fi network. Ensure that the device you choose is compatible with the router’s configuration interface and has a web browser for accessing the setup portal.
- Internet Modem: If your Cox Wi-Fi router is not an integrated modem-router combination, you’ll need a separate internet modem to establish the connection to your internet service provider’s network. Ensure that the modem is compatible with your internet plan and is in working condition.
- User Manual and Documentation: It’s always helpful to have the user manual and any accompanying documentation provided with the router. These resources can offer valuable insights into the setup process, troubleshooting steps, and additional features of the router.
By ensuring that you have all the necessary equipment on hand, you’ll be well-prepared to embark on the setup journey with confidence and efficiency. With these items at your disposal, you’re ready to move on to the next step: connecting the router.
**
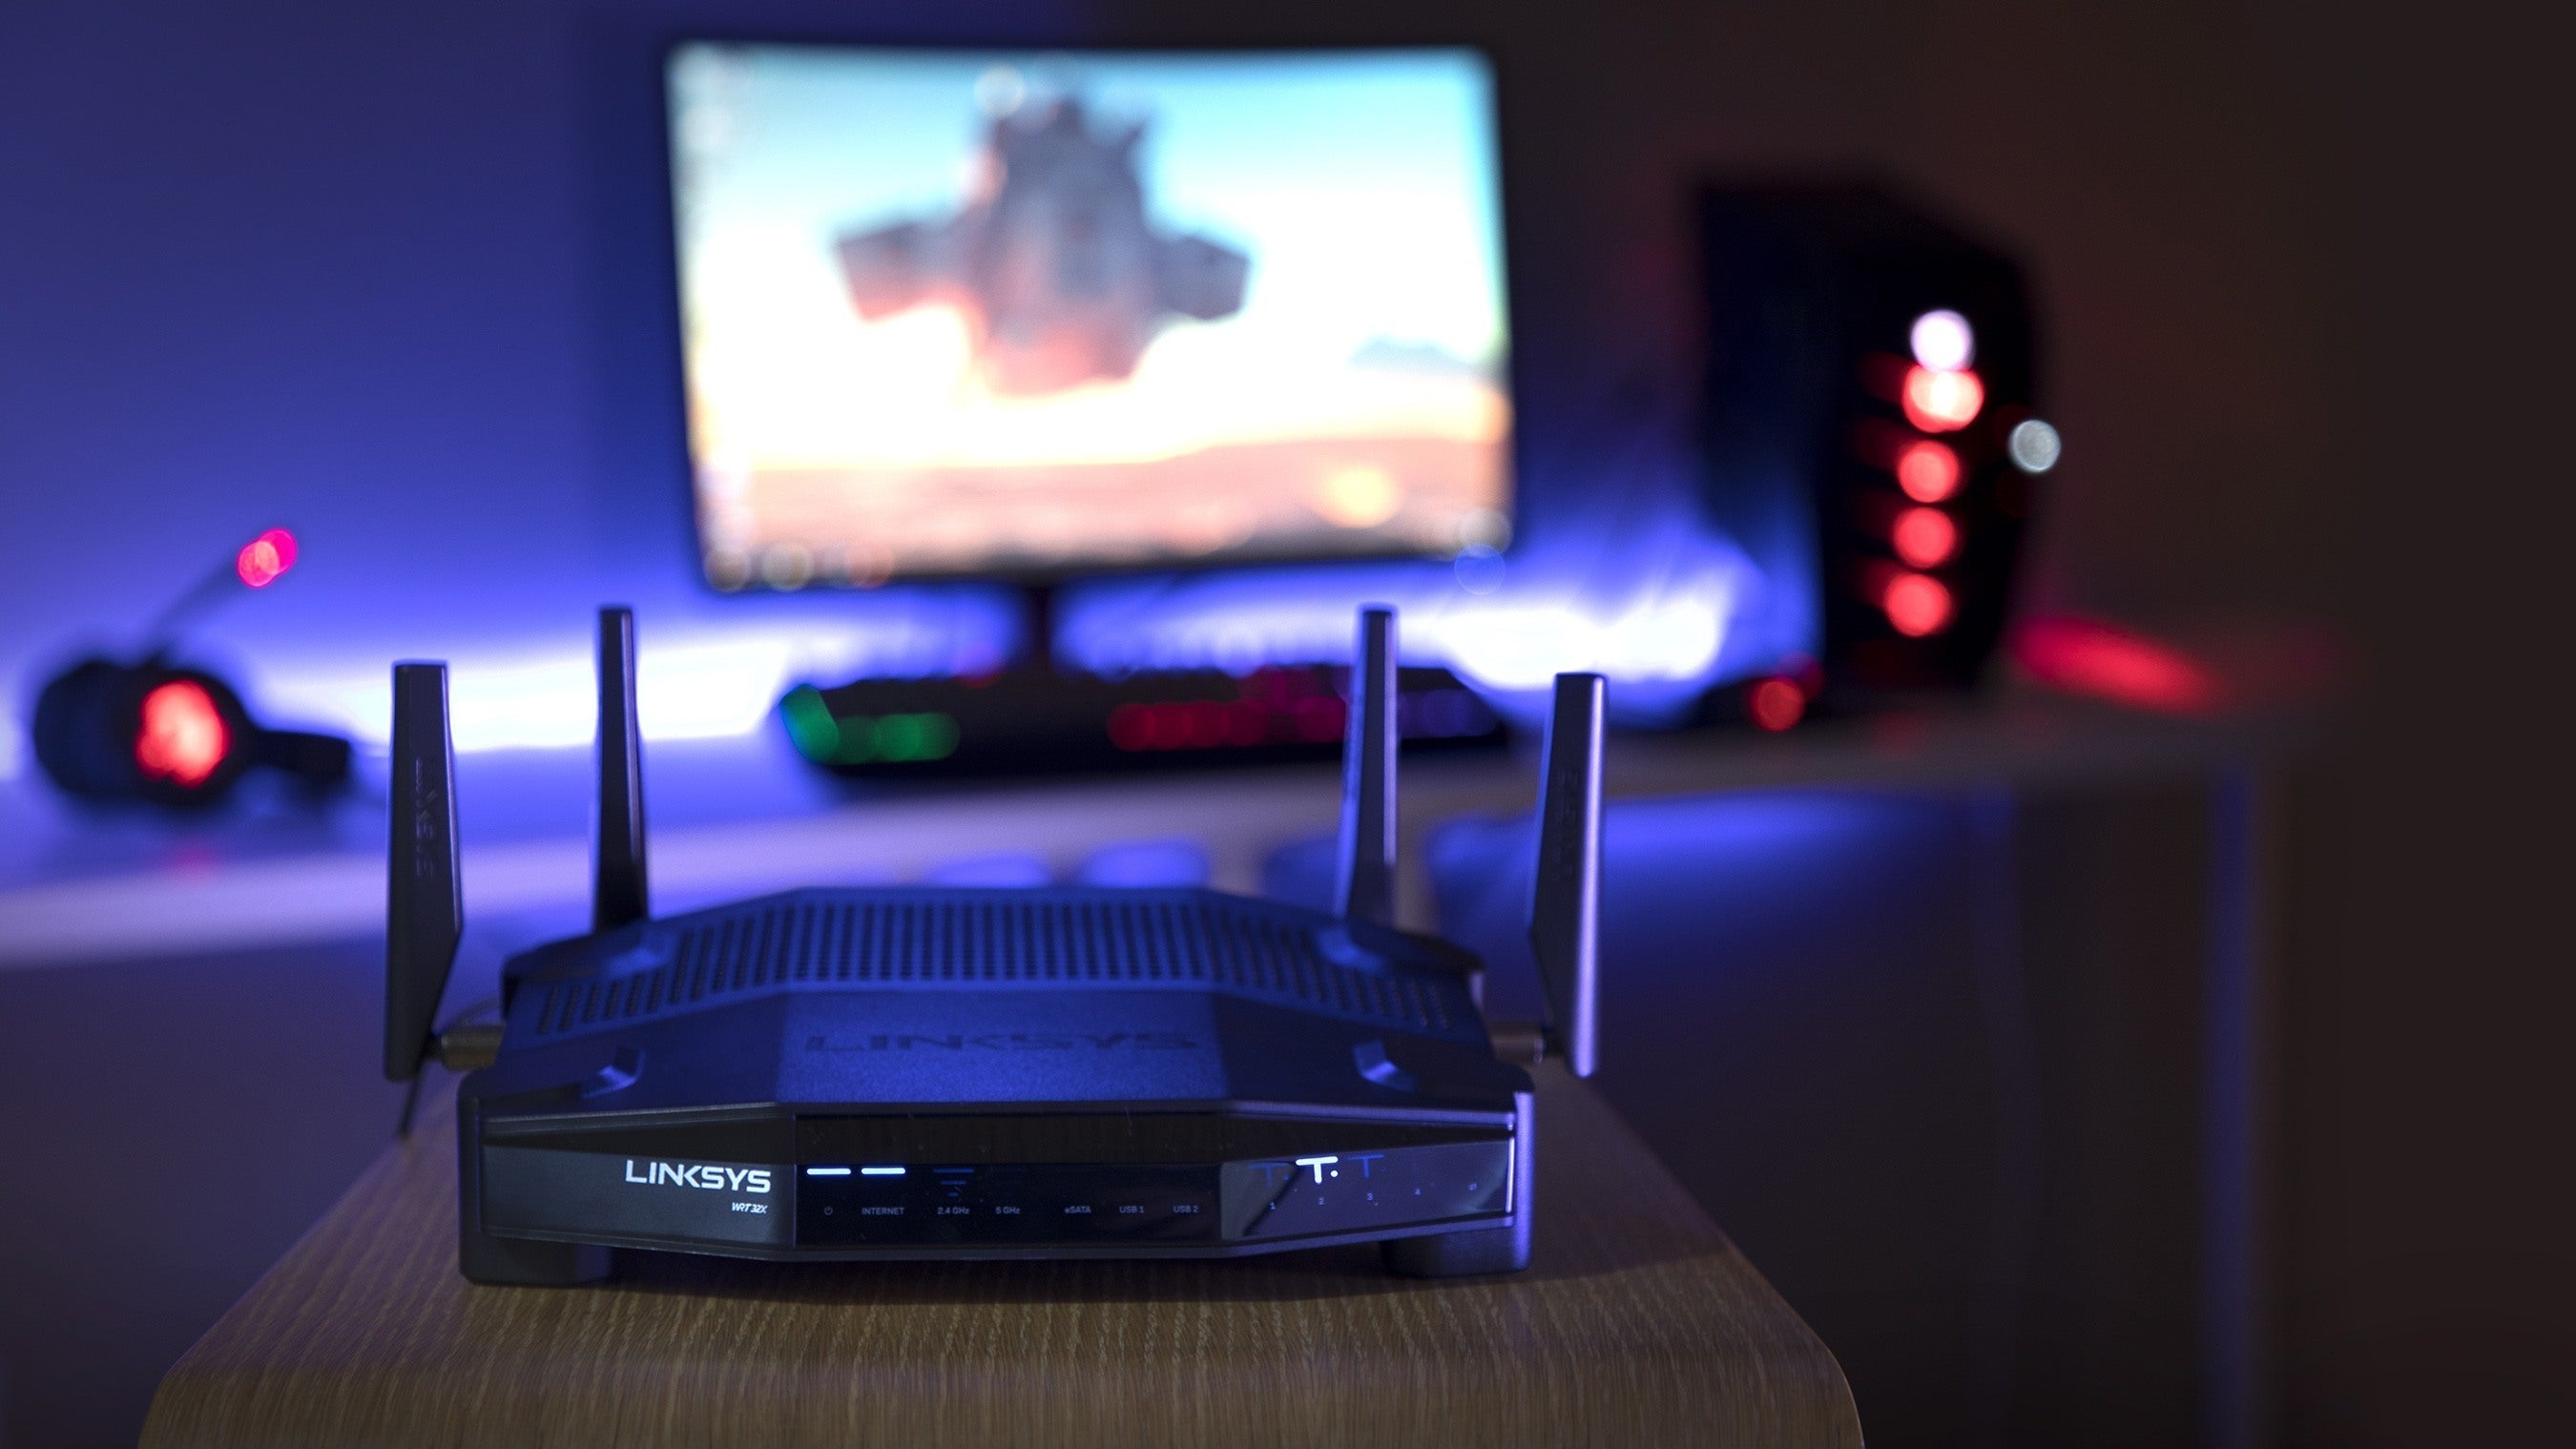
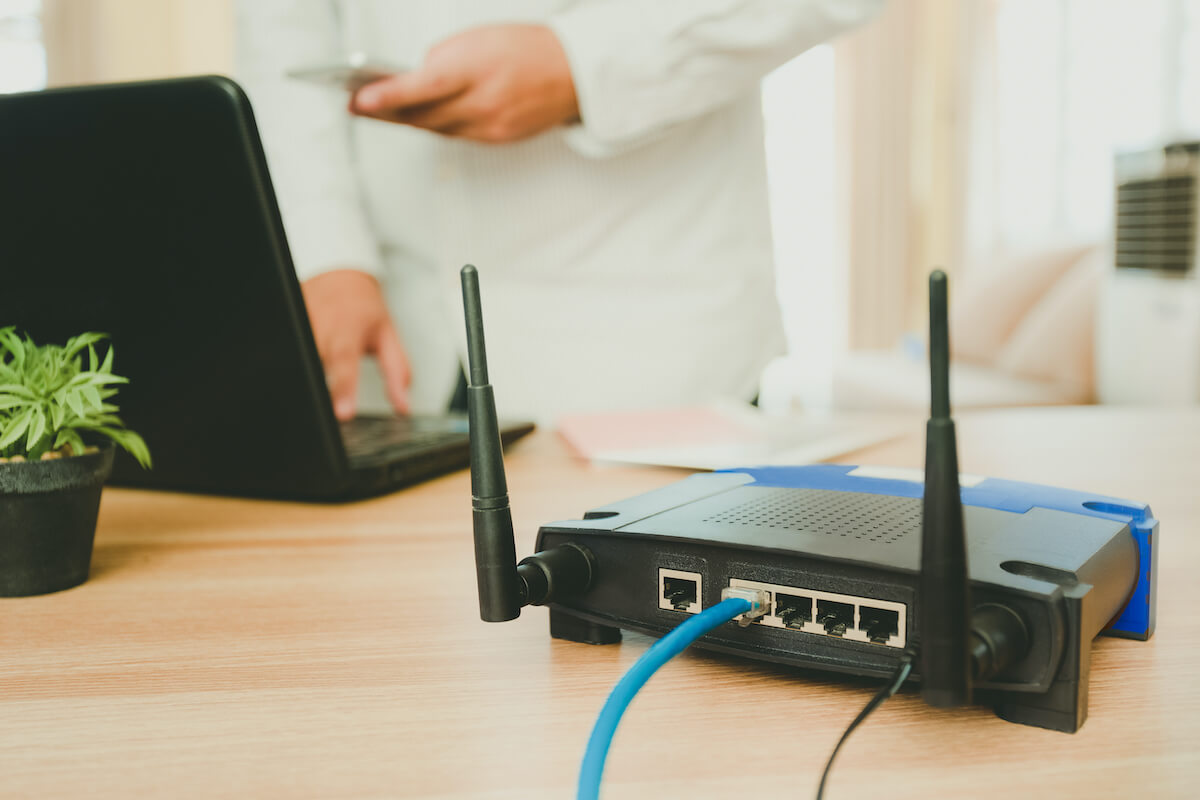
Connect the Router
**
With the necessary equipment gathered, it’s time to embark on the physical setup of your Cox Wi-Fi router. This step involves connecting the router to power, establishing a wired connection to the internet modem, and positioning the router for optimal coverage within your home.
Here’s a detailed guide on how to connect your Cox Wi-Fi router:
- Power Up the Router: Begin by connecting the power adapter to the router and plugging it into a power outlet. Ensure that the power adapter is securely connected and that the router’s power indicator lights up, indicating that it’s receiving power.
- Establish a Wired Connection: Use an Ethernet cable to connect the router’s WAN (Wide Area Network) or internet port to the Ethernet port on your internet modem. This wired connection will enable the router to establish a link to your internet service provider’s network during the initial setup process.
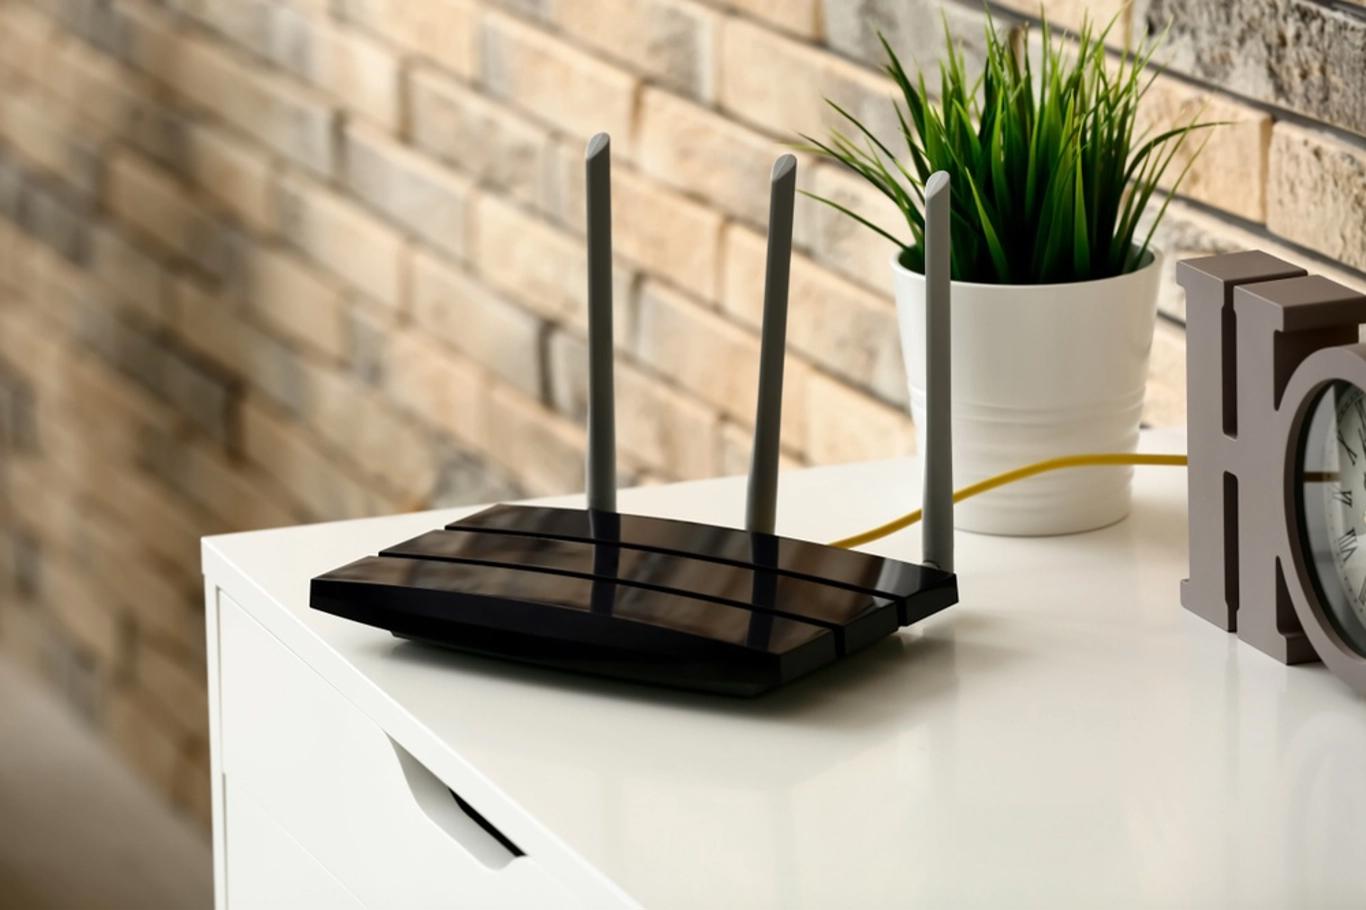
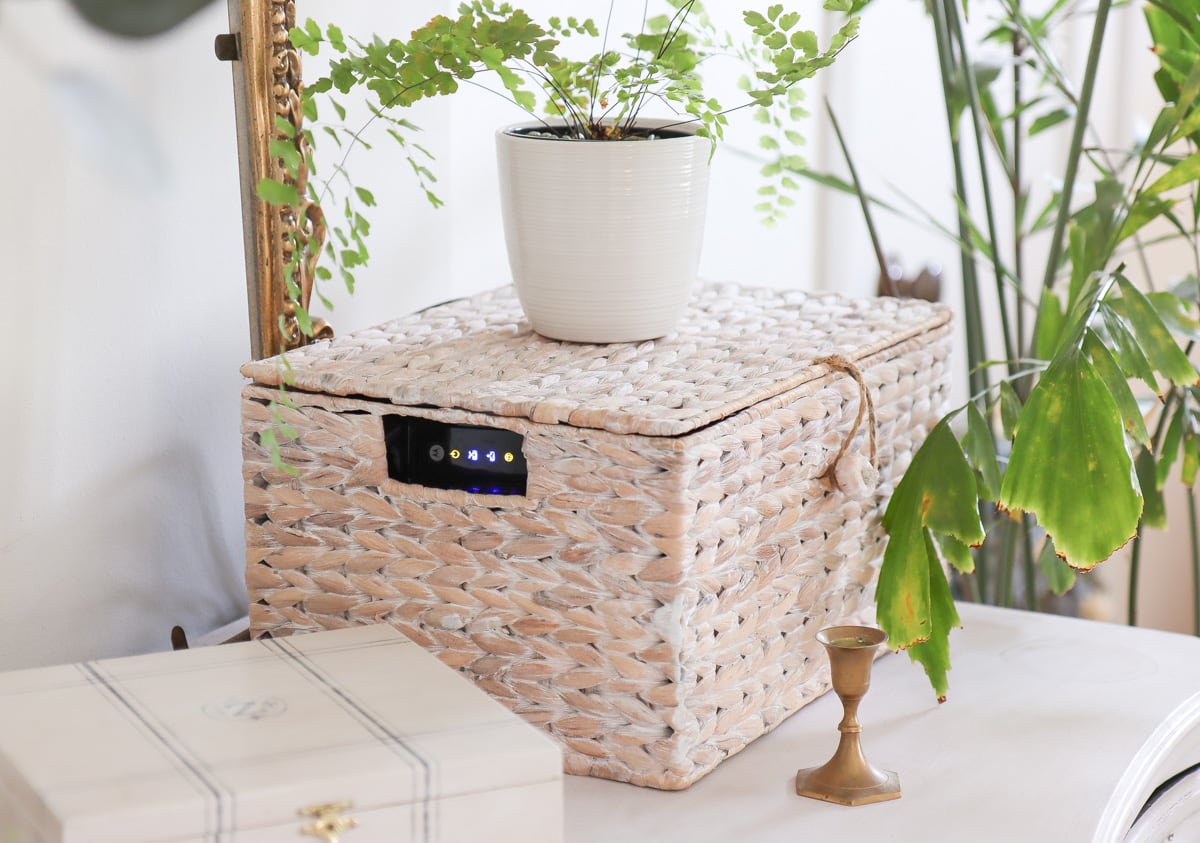
- Position the Router: Choose an optimal location for the router within your home. Ideally, the router should be placed in a central area to ensure even coverage throughout your living space. Avoid obstructions such as walls and metal objects that can impede the router’s signal propagation.
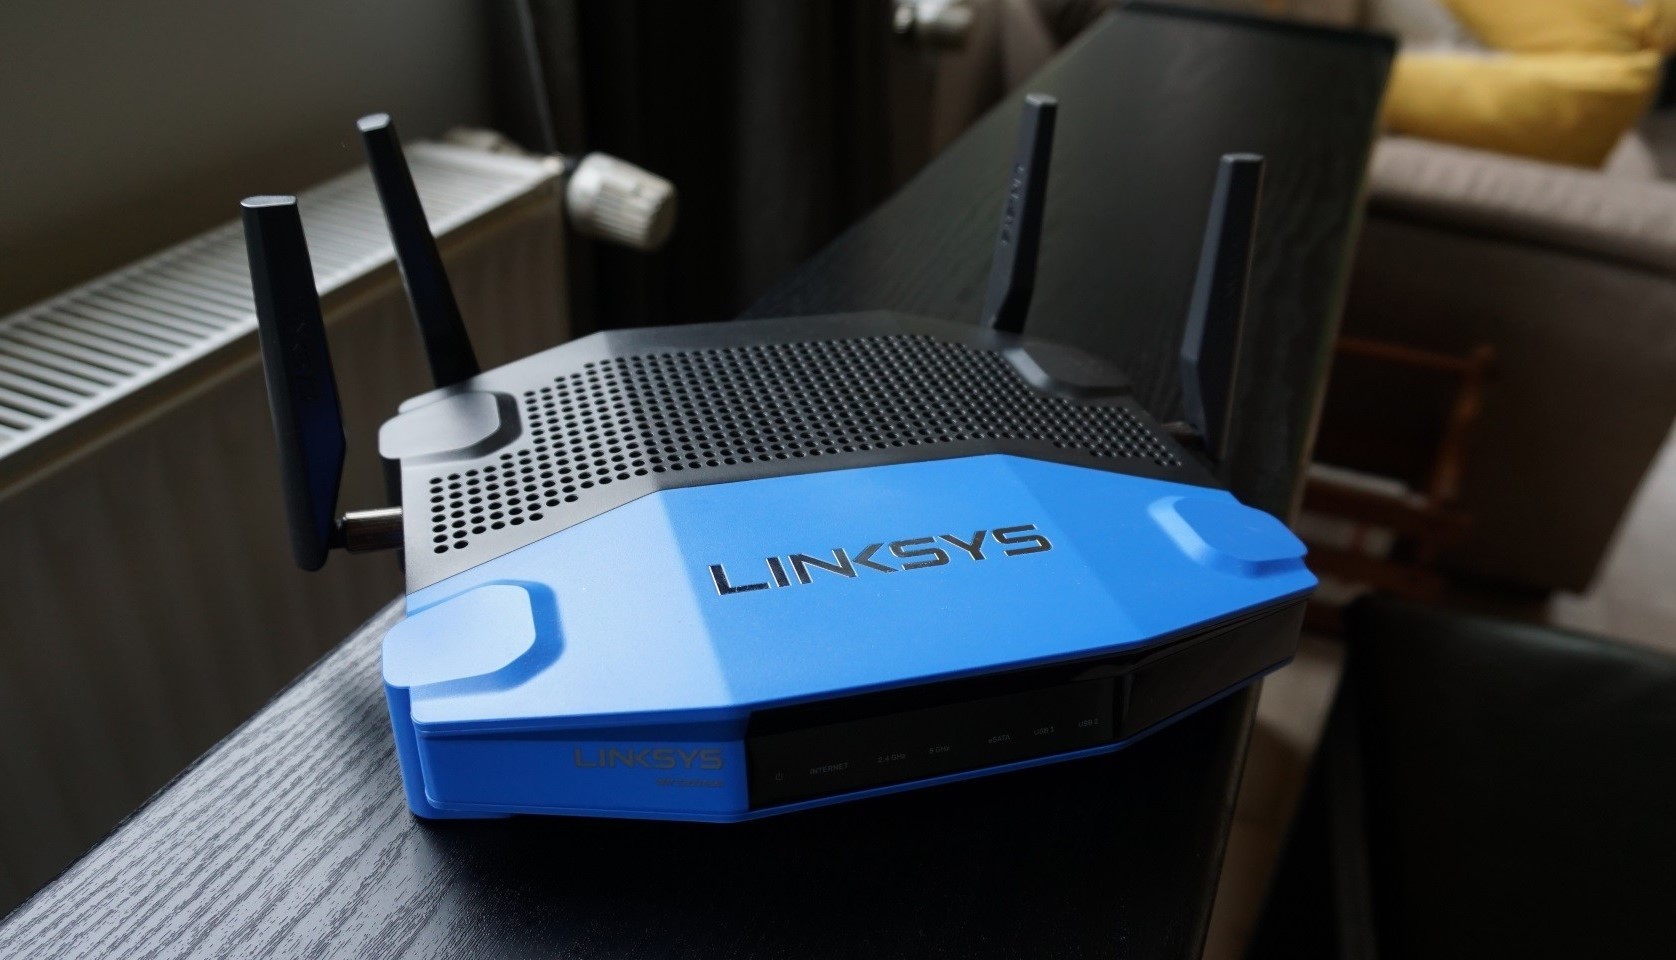
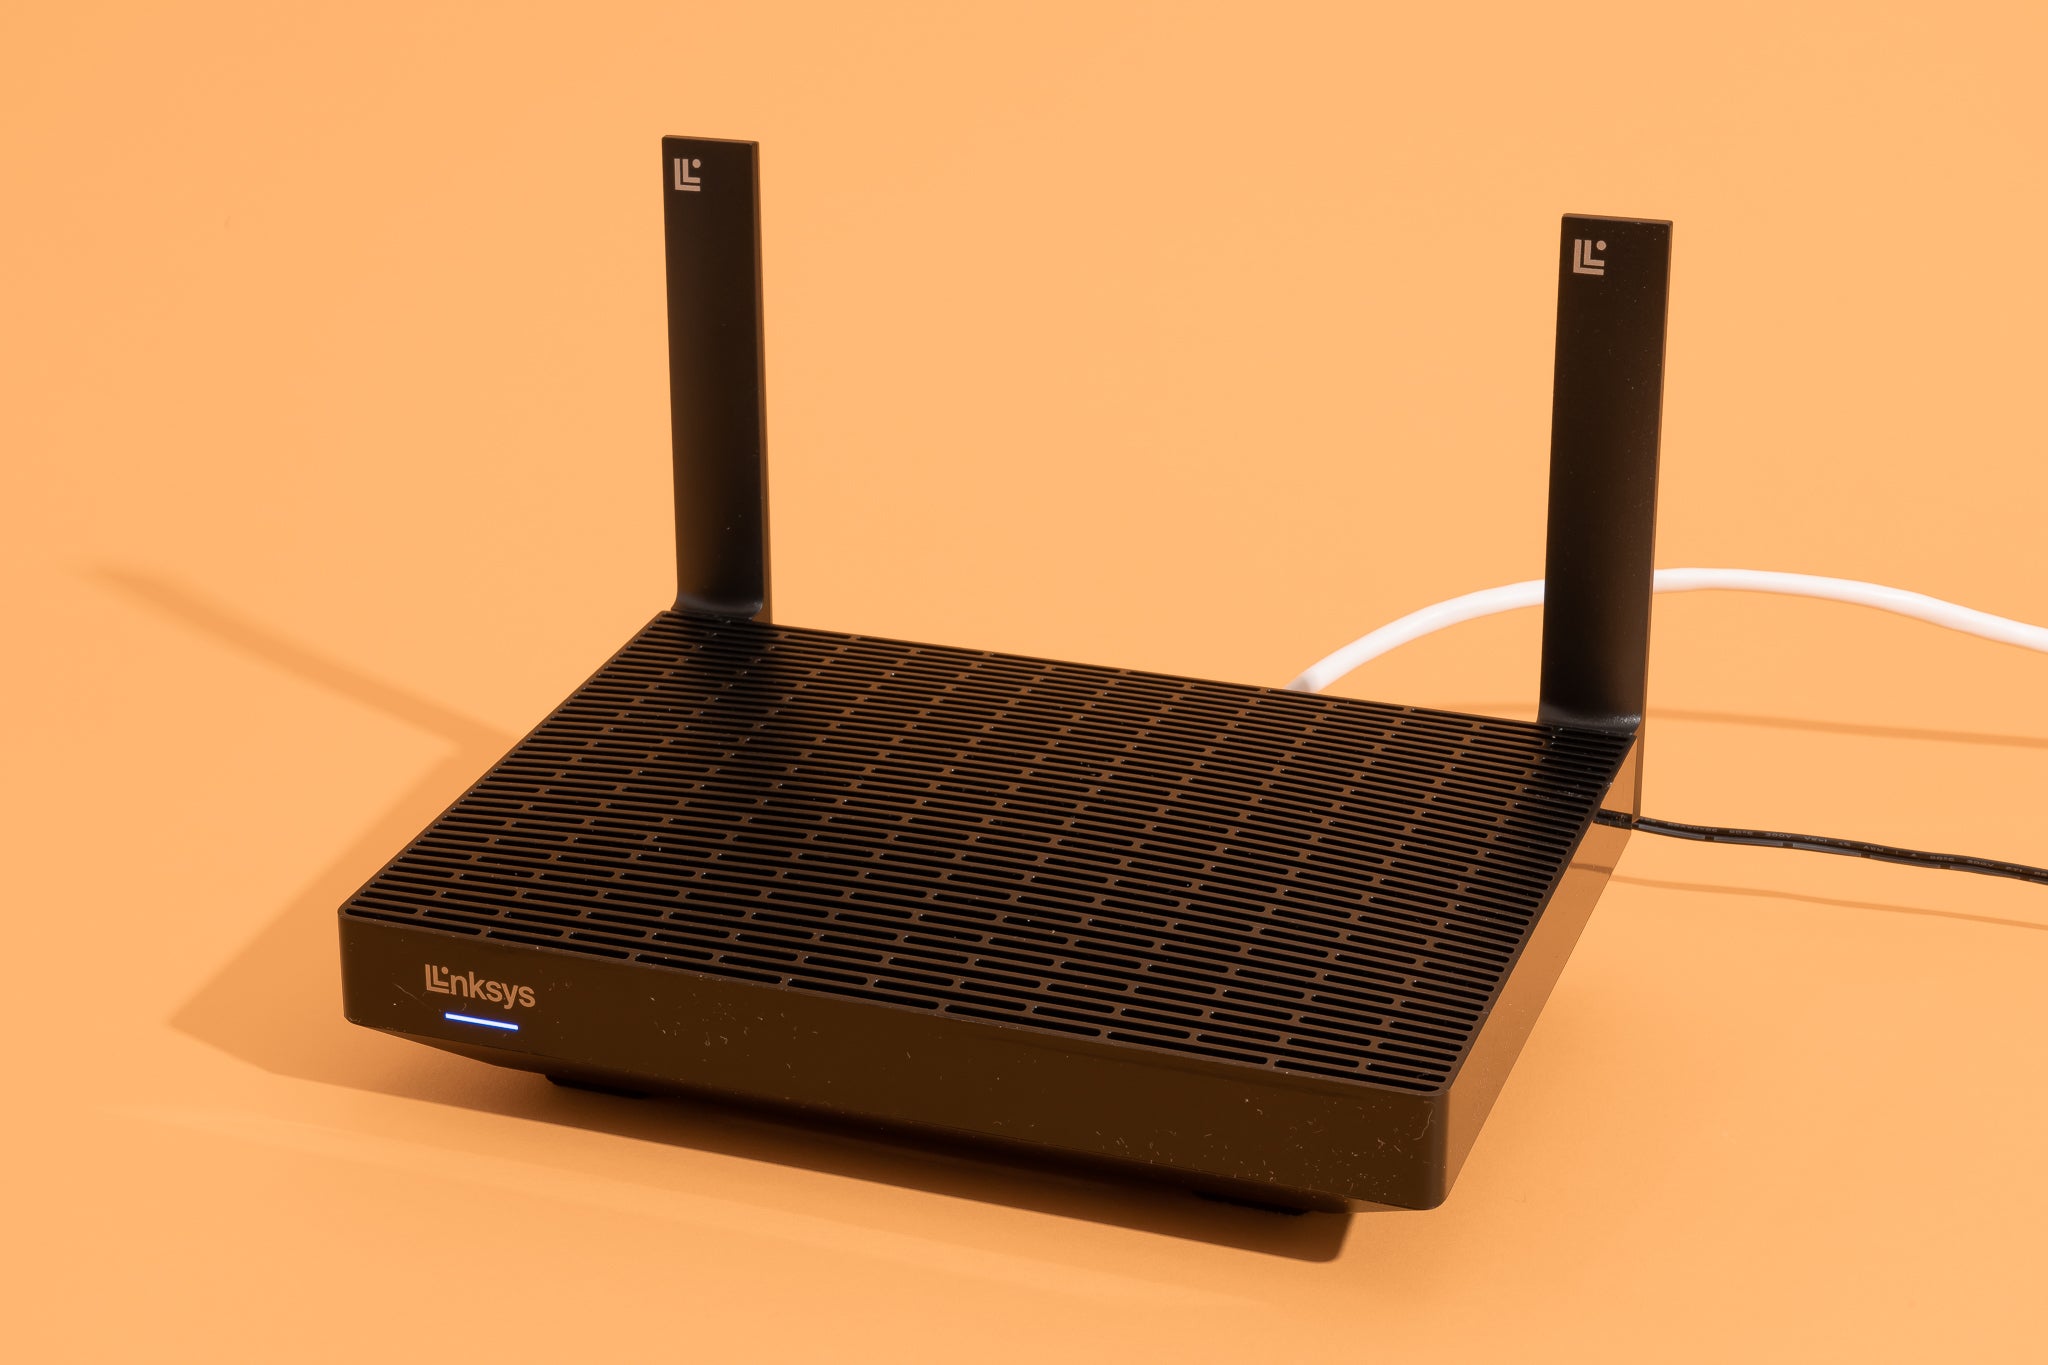
- Adjust the Antennas (if applicable): If your Cox Wi-Fi router features adjustable antennas, position them for the best possible signal coverage. Orient the antennas vertically for a broad coverage pattern or experiment with different angles to optimize the signal strength in specific areas of your home.
- Power On the Modem: If you’re using a separate internet modem, ensure that it’s powered on and fully operational. The modem should be connected to the internet service provider’s network and ready to establish a connection with the router.
- Wait for Initialization: Once the router is powered up and connected to the modem, allow a few minutes for the initialization process to complete. During this time, the router will establish a connection to the internet and configure its internal settings to prepare for the next phase of the setup.
By following these steps, you’ll have successfully connected your Cox Wi-Fi router, laying the groundwork for the subsequent configuration and setup tasks. With the physical connections established, you’re now ready to access the router’s settings and begin the process of configuring your Wi-Fi network.
**
Access the Router Settings
**
Once your Cox Wi-Fi router is physically connected and powered on, the next step is to access the router’s settings interface to initiate the configuration process. This involves using a web browser on a connected device to access the router’s built-in setup portal, where you can customize various network settings and establish your Wi-Fi network.
Here’s a detailed guide on how to access the settings of your Cox Wi-Fi router:
- Connect to the Router’s Network: Using a computer, laptop, tablet, or smartphone, connect to the Wi-Fi network broadcast by your Cox router. The network name (SSID) and password can typically be found on a sticker on the router or provided in the router’s documentation.
- Open a Web Browser: Launch a web browser such as Google Chrome, Mozilla Firefox, Safari, or Microsoft Edge on the connected device. In the address bar, enter the default IP address of the router to access the setup portal. Common default router IP addresses include 192.168.0.1 or 192.168.1.1, but you can find the specific IP address for your router in the user manual or on the manufacturer’s website.
- Enter Login Credentials: When prompted, enter the router’s default administrative credentials. These credentials are often found on a sticker on the router or provided in the user manual. If you’ve personalized the login credentials in the past, use the updated username and password to access the settings interface.
- Navigate to the Settings Interface: Upon successful authentication, you’ll gain access to the router’s settings interface. Here, you can explore various configuration options, including wireless settings, network security, guest networks, parental controls, and advanced features specific to your router model.
- Configure Wireless Settings: Within the settings interface, navigate to the wireless or Wi-Fi settings section. Here, you can customize the network name (SSID) and password for your Wi-Fi network, select the appropriate wireless channel, and adjust other parameters to optimize the performance and security of your wireless network.
- Explore Advanced Settings (Optional): Depending on your technical expertise and specific requirements, you may choose to explore advanced settings such as Quality of Service (QoS), port forwarding, VPN configuration, and device prioritization. These features allow you to fine-tune your network to suit your unique needs and enhance the overall connectivity experience.
By following these steps, you’ll successfully access the settings of your Cox Wi-Fi router, gaining the ability to tailor your network to your preferences and requirements. With access to the router’s settings interface, you’re now ready to proceed with setting up your Wi-Fi network and ensuring its security and reliability.
**
When setting up your Cox Wi-Fi router, make sure to place it in a central location for better coverage. Also, use a strong and unique password to secure your network.
Set Up the Wi-Fi Network
**
With access to your Cox Wi-Fi router’s settings interface, you’re now poised to configure and personalize your Wi-Fi network to meet your specific connectivity needs. Setting up the Wi-Fi network involves customizing the network name (SSID), password, and additional parameters to ensure a secure and reliable wireless connection for all your smart home devices.
Here’s a detailed guide on how to set up your Wi-Fi network using your Cox Wi-Fi router:
- Customize the Network Name (SSID): Within the wireless settings section of the router’s interface, locate the option to change the network name (SSID). Choose a unique and easily identifiable name for your Wi-Fi network, making it distinguishable from other nearby networks. This name will be visible to devices when they search for available Wi-Fi networks.
- Set a Strong Password: Select a robust and memorable password for your Wi-Fi network. A strong password typically consists of a combination of uppercase and lowercase letters, numbers, and special characters. This password serves as a barrier against unauthorized access to your network and should be safeguarded to maintain network security.
- Choose the Wi-Fi Security Mode: Select the appropriate security mode for your Wi-Fi network. The most secure option is WPA2-PSK (Wi-Fi Protected Access 2 – Pre-Shared Key), which provides strong encryption to protect data transmitted over the network. Avoid using outdated security protocols such as WEP (Wired Equivalent Privacy) due to their susceptibility to security vulnerabilities.
- Configure Additional Wi-Fi Settings: Depending on your router model and personal preferences, you may have the option to adjust additional settings such as the wireless channel, bandwidth, and signal strength. These settings can optimize the performance and coverage of your Wi-Fi network, especially in densely populated areas with multiple wireless networks.
- Enable Guest Network (Optional): If your Cox Wi-Fi router supports the feature, consider enabling a guest network for visitors and temporary device connections. Guest networks provide a segregated Wi-Fi access point with limited privileges, ensuring that guests can connect to the internet without accessing your primary network or sensitive devices.
- Save and Apply the Settings: Once you’ve configured the desired Wi-Fi settings, save the changes and apply them to the router. The router will update its configuration and broadcast the newly customized Wi-Fi network, allowing your devices to connect using the updated network name and password.
By following these steps, you’ll successfully set up your Wi-Fi network using your Cox Wi-Fi router, creating a secure and personalized wireless environment for your smart home devices. With the Wi-Fi network configured to your preferences, you’re now ready to proceed to the next crucial step: securing the Wi-Fi network to safeguard your digital ecosystem.
**
Read more: How To Set Up A Wi-Fi Router
Secure the Wi-Fi Network
**
Securing your Wi-Fi network is paramount to safeguarding your digital privacy, protecting sensitive data, and preventing unauthorized access to your connected devices. With the prevalence of smart home devices and the potential vulnerabilities associated with wireless networks, taking proactive steps to secure your Cox Wi-Fi router is essential for a worry-free and protected digital ecosystem.
Here’s a comprehensive guide on how to secure your Wi-Fi network using your Cox Wi-Fi router:
- Change Default Administrative Credentials: Begin by changing the default administrative username and password for accessing the router’s settings interface. Create a strong and unique combination to fortify the security of the router’s configuration, reducing the risk of unauthorized access to critical network settings.
- Enable Network Encryption: Ensure that your Wi-Fi network is encrypted using the WPA2-PSK (Wi-Fi Protected Access 2 – Pre-Shared Key) security protocol. Encryption scrambles the data transmitted over the network, making it indecipherable to unauthorized parties attempting to intercept or eavesdrop on network communications.
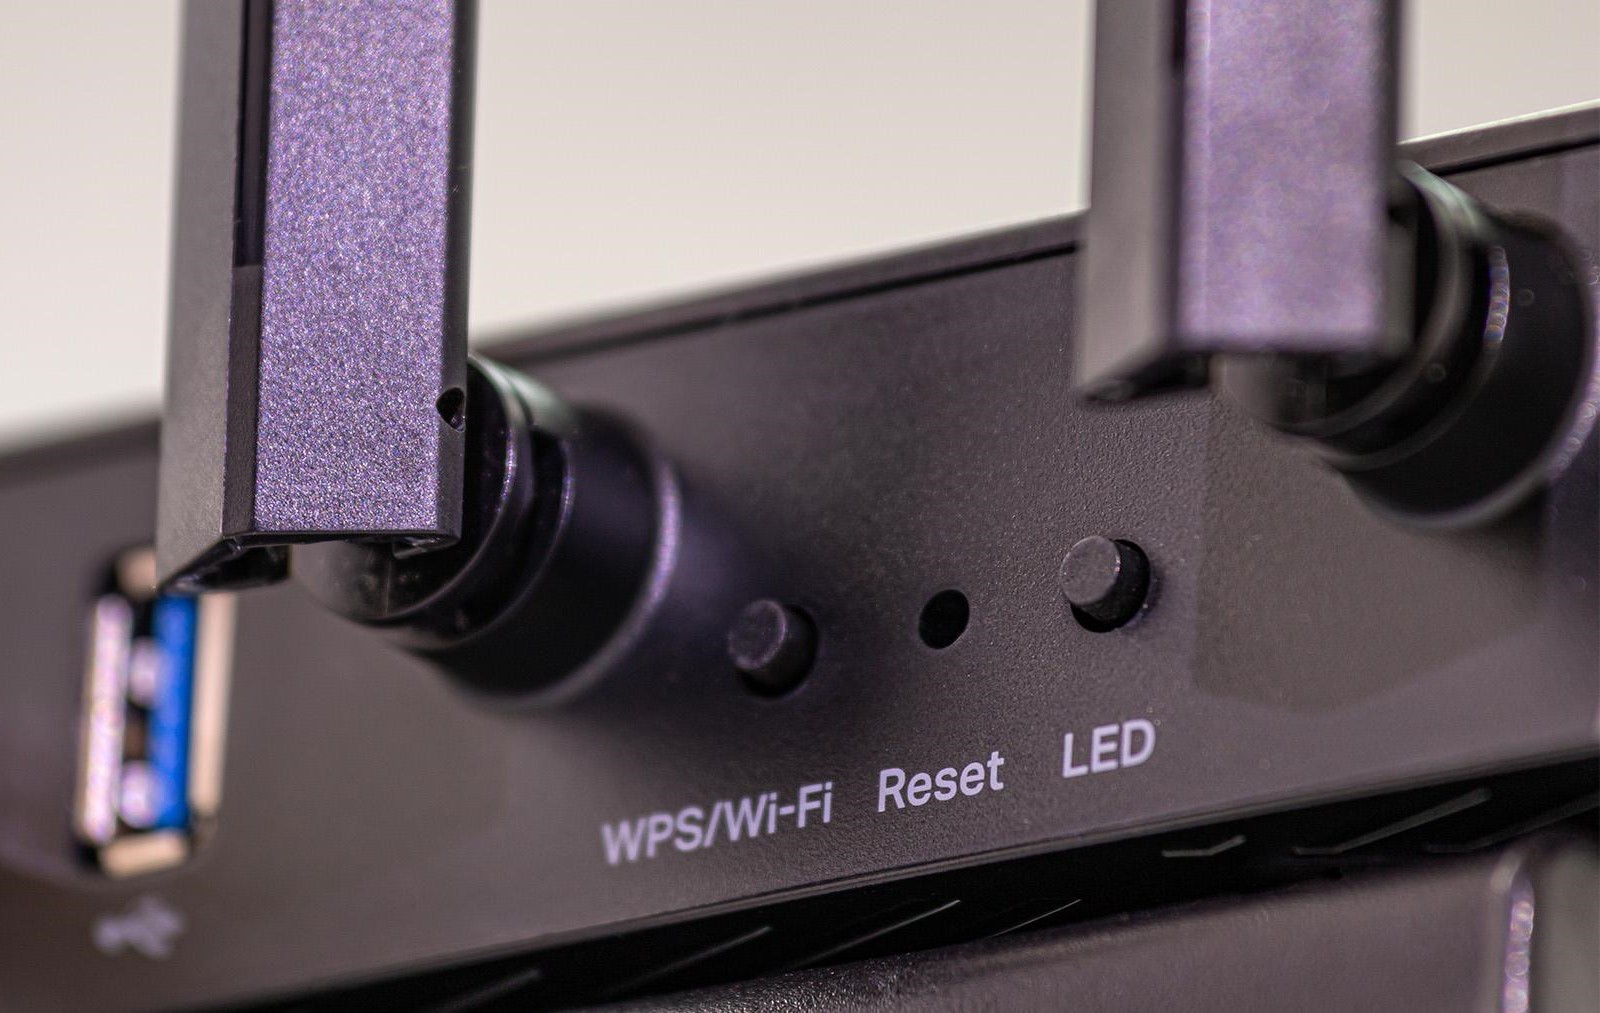
- Disable WPS (Wi-Fi Protected Setup): If your Cox Wi-Fi router features WPS functionality, consider disabling it. WPS, while intended to simplify the process of connecting devices to the network, can introduce security vulnerabilities that may be exploited by malicious actors to gain unauthorized access to the network.
- Implement MAC Address Filtering: Utilize MAC (Media Access Control) address filtering to specify which devices are allowed to connect to your Wi-Fi network. By configuring the router to only permit connections from approved devices based on their unique MAC addresses, you can enhance network access control and mitigate the risk of unauthorized device connections.
- Enable Firewall Protection: Activate the built-in firewall protection on your Cox Wi-Fi router to create a barrier against unauthorized access and malicious network traffic. Firewalls inspect incoming and outgoing data packets, enforcing predefined security rules to filter potentially harmful traffic and protect your network from external threats.
- Regularly Update Router Firmware: Stay vigilant about updating your router’s firmware to ensure that it remains fortified against known security vulnerabilities and exploits. Routinely check for firmware updates provided by the router manufacturer and promptly install the latest releases to bolster the router’s security and performance.
By implementing these security measures, you’ll fortify your Wi-Fi network and Cox Wi-Fi router against potential threats, creating a resilient and protected digital environment for your smart home devices. With a secure Wi-Fi network in place, you can confidently harness the full potential of your connected ecosystem while safeguarding your privacy and digital assets.
**
Conclusion
**
Congratulations! By following this comprehensive guide, you’ve successfully navigated the process of setting up and securing your Cox Wi-Fi router, laying a solid foundation for a robust and reliable wireless network within your smart home ecosystem. As you embark on this journey, it’s essential to recognize the pivotal role that a well-configured Wi-Fi network plays in supporting the seamless operation of your smart devices and ensuring a connected lifestyle that is both convenient and secure.
With your Cox Wi-Fi router in place, you’ve established a central hub that enables seamless connectivity for a diverse array of smart home devices, ranging from smart TVs and thermostats to security cameras and voice assistants. The steps you’ve taken to set up and secure your Wi-Fi network are instrumental in creating a digital environment where your devices can communicate, collaborate, and enhance your daily experiences.
As you continue to explore the possibilities of your smart home, remember that maintaining the security and performance of your Wi-Fi network is an ongoing endeavor. Regularly review and update your network settings, remain vigilant about security best practices, and stay informed about emerging threats and vulnerabilities that may impact your network’s integrity.
By nurturing a well-configured and secure Wi-Fi network, you’re not only optimizing the performance of your smart devices but also safeguarding your digital privacy and fortifying your home against potential cyber threats. Your commitment to establishing a reliable and protected wireless network reflects your dedication to harnessing the full potential of smart home technology while prioritizing the security and integrity of your digital domain.
As you embark on this exciting journey with your Cox Wi-Fi router and smart home devices, remember that the possibilities are endless, and the experiences are boundless. Embrace the connected lifestyle, revel in the convenience of smart technology, and cherish the peace of mind that comes with a well-secured and resilient Wi-Fi network.
Here’s to a future filled with seamless connectivity, unparalleled convenience, and the boundless potential of your smart home ecosystem, all made possible through the steadfast foundation of your Cox Wi-Fi router and the secure, reliable network it empowers.
Frequently Asked Questions about How To Set Up Cox Wi-Fi Router
Was this page helpful?
At Storables.com, we guarantee accurate and reliable information. Our content, validated by Expert Board Contributors, is crafted following stringent Editorial Policies. We're committed to providing you with well-researched, expert-backed insights for all your informational needs.
0 thoughts on “How To Set Up Cox Wi-Fi Router”