Home>Technology>Smart Home Devices>How To Set Up Google Wi-Fi Router
Smart Home Devices
How To Set Up Google Wi-Fi Router
Modified: January 4, 2024
Learn how to set up your Google Wi-Fi router and connect it to your smart home devices for seamless internet access and control. Get step-by-step instructions and tips.
(Many of the links in this article redirect to a specific reviewed product. Your purchase of these products through affiliate links helps to generate commission for Storables.com, at no extra cost. Learn more)
Introduction
Welcome to the world of Google Wi-Fi! Setting up your Google Wi-Fi router is a straightforward process that can significantly enhance your home network's performance and coverage. With its sleek design and user-friendly interface, the Google Wi-Fi router offers a seamless way to manage your home network and ensure a reliable internet connection for all your smart devices.
In this comprehensive guide, we'll walk you through the step-by-step process of setting up your Google Wi-Fi router, from unboxing the device to connecting your smart home devices to the network. Whether you're a tech enthusiast or a beginner in the world of home networking, this guide will provide you with the knowledge and confidence to optimize your home Wi-Fi network with Google's innovative technology.
By the end of this tutorial, you'll have a well-configured Google Wi-Fi network that delivers fast, reliable internet connectivity to every corner of your home. So, let's dive in and embark on this exciting journey to transform your home network with Google Wi-Fi!
Key Takeaways:
- Setting up your Google Wi-Fi router is a breeze! From unboxing to connecting devices, the process is straightforward and empowers you to create a reliable and high-performance Wi-Fi network for your smart home devices.
- With the Google Wi-Fi app and intuitive setup process, you can customize your network settings and seamlessly connect all your smart devices. Enjoy the convenience and reliability of a well-optimized Wi-Fi ecosystem in your home!
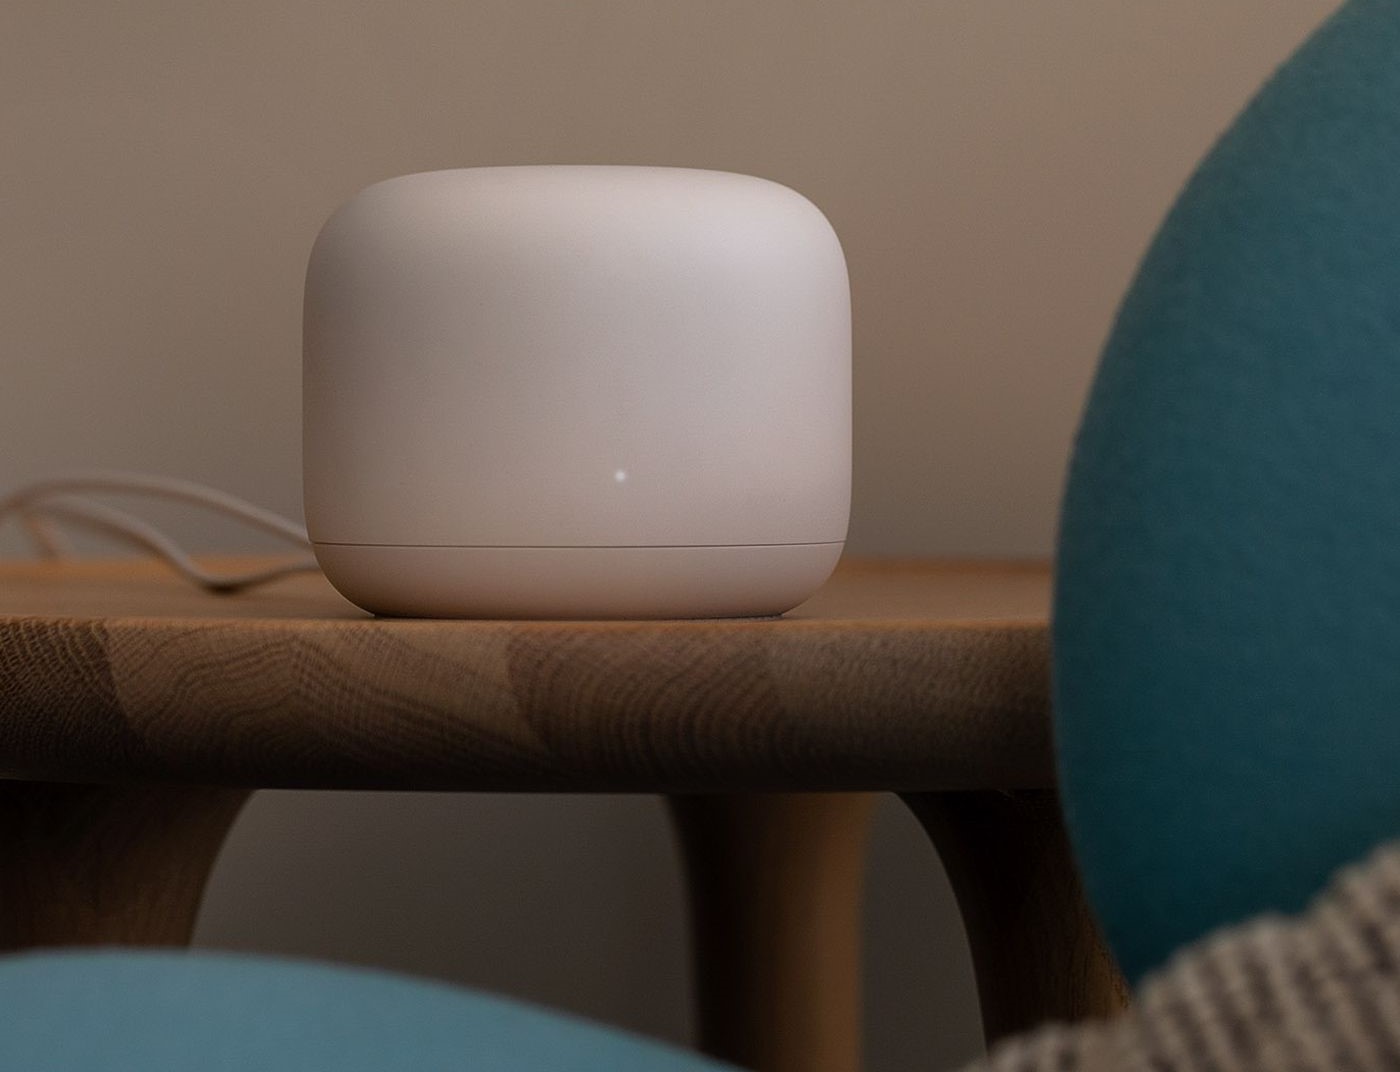
Read more: How To Set Up Google Nest Wi-Fi Router
Step 1: Unbox the Google Wi-Fi Router
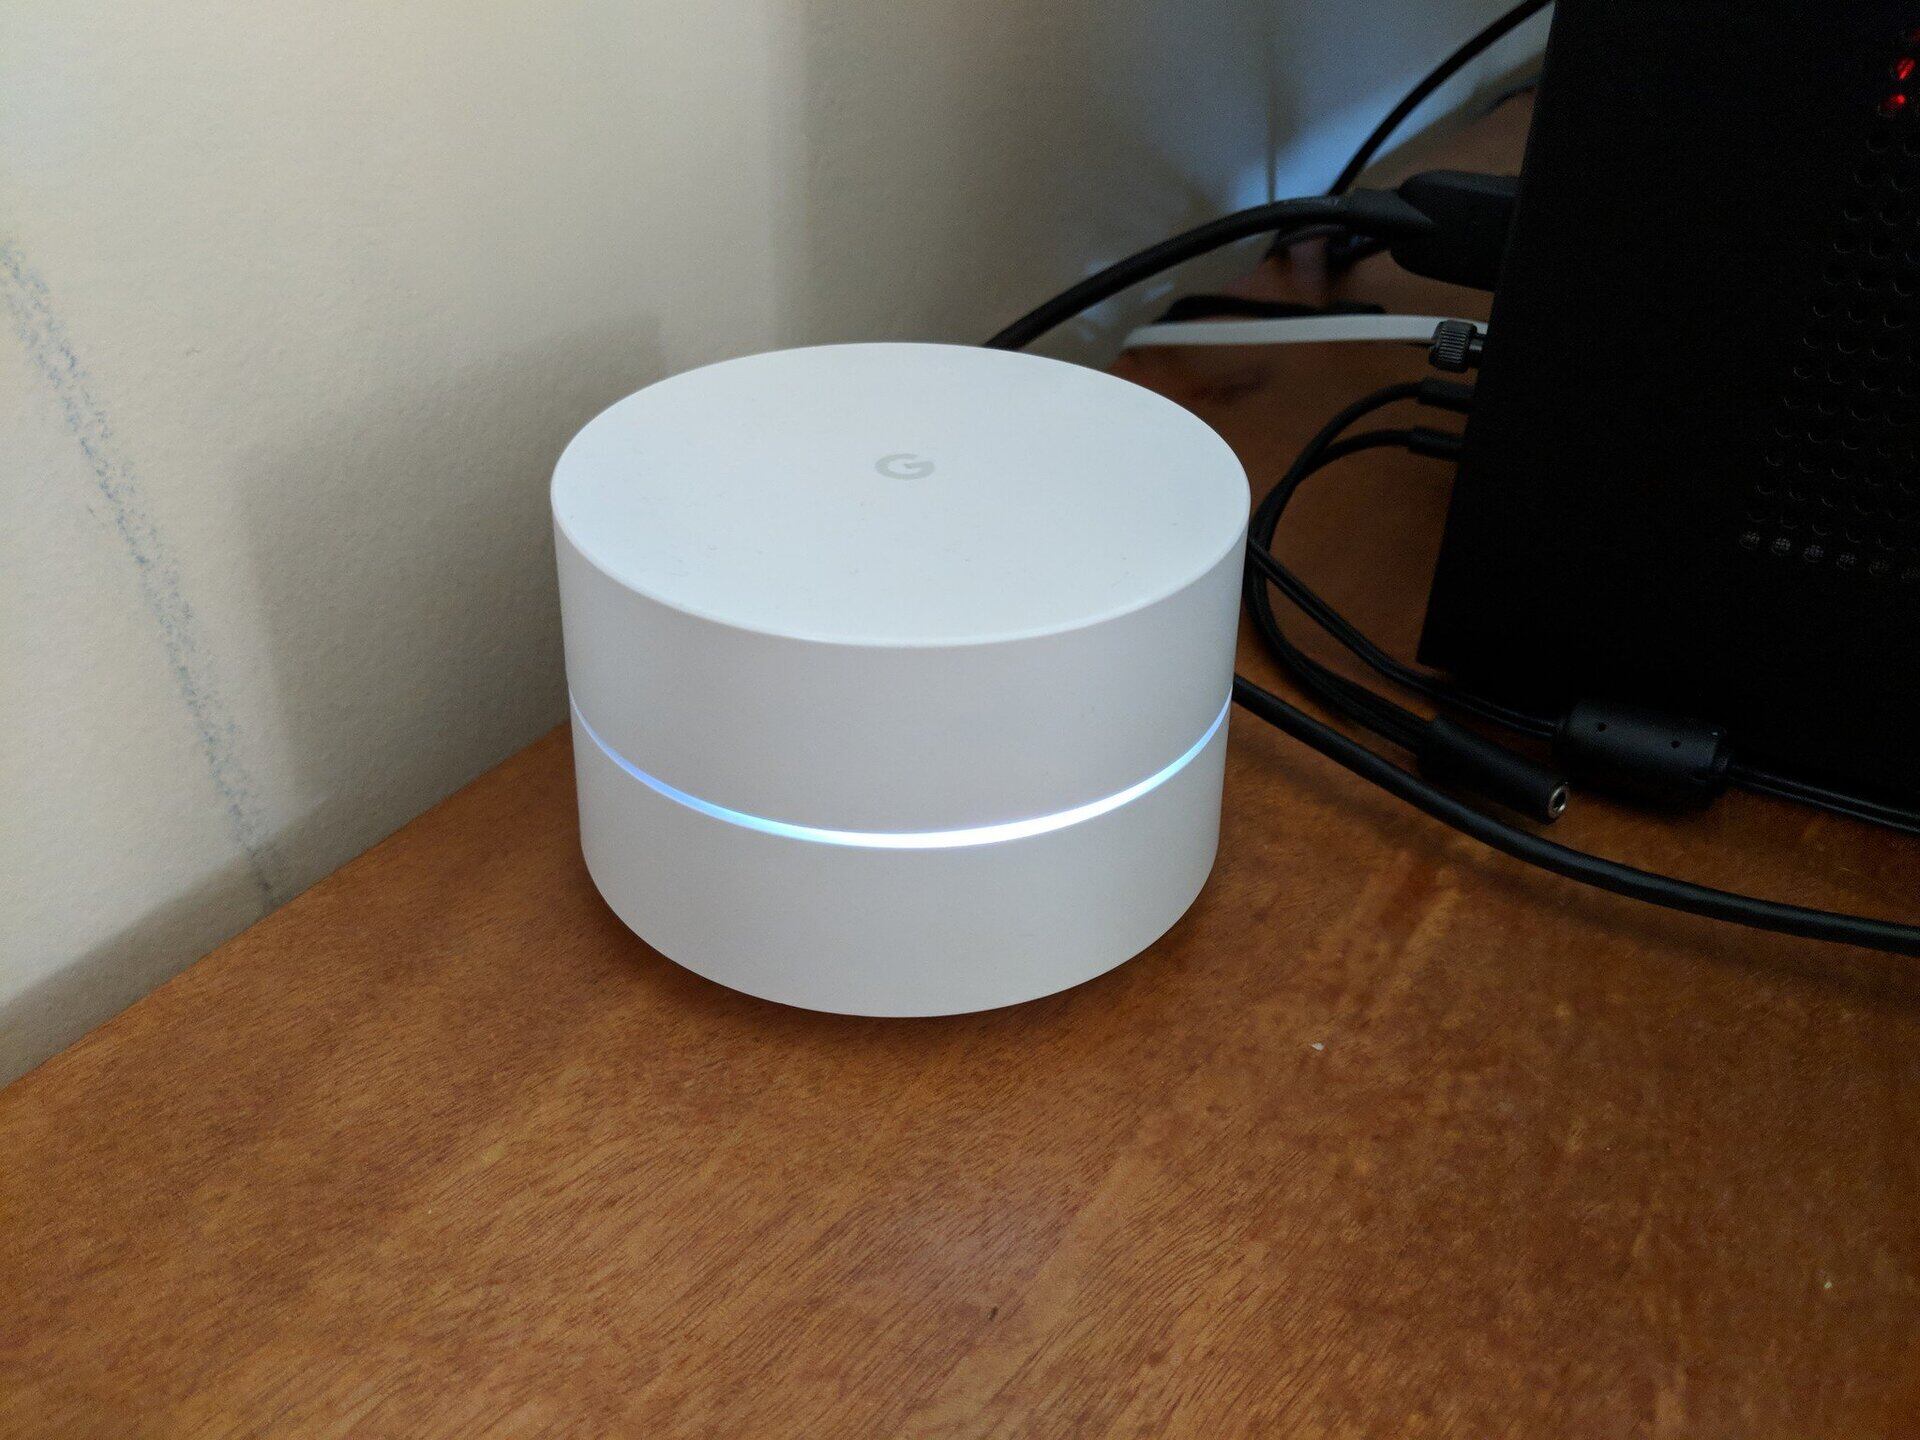
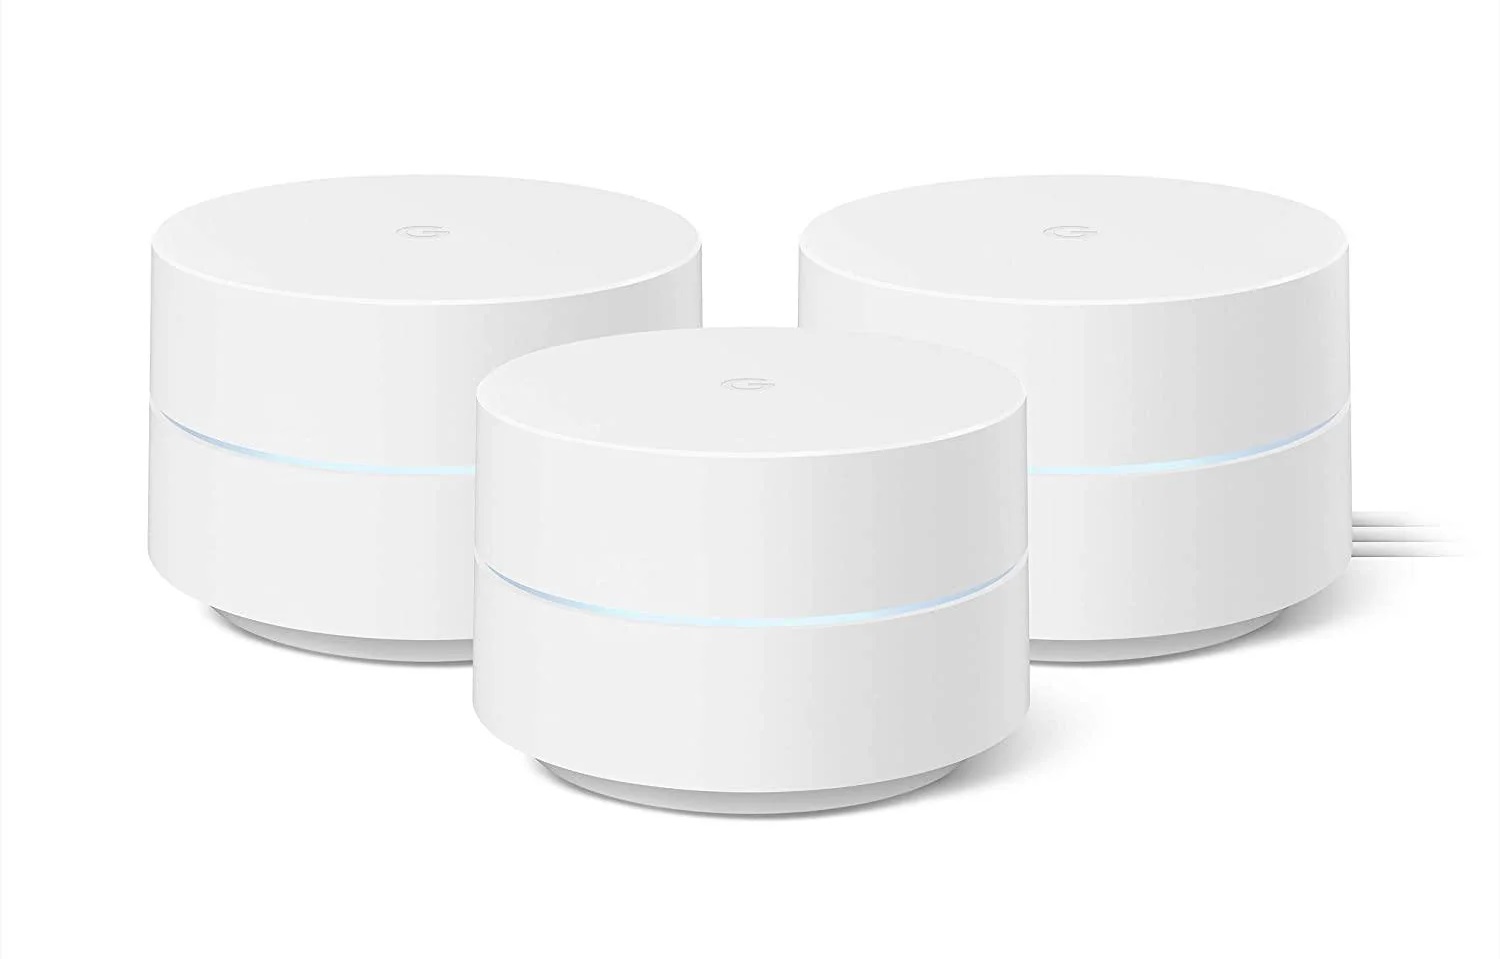
Before delving into the setup process, the first step is to unbox your Google Wi-Fi router. As you open the packaging, you'll be greeted by the sleek and modern design of the router. The minimalist yet stylish appearance of the device reflects its advanced functionality, making it a seamless addition to any home environment.
Upon unboxing, you'll find the Google Wi-Fi router, power adapter, and Ethernet cable neatly nestled within the packaging. The compact and unobtrusive design of the router allows for easy placement in any room, blending seamlessly with your home decor while delivering powerful Wi-Fi coverage.
As you handle the router, you'll notice its lightweight construction, making it convenient to position in the optimal location for maximum coverage. The thoughtful design of the Google Wi-Fi router ensures that it can be effortlessly integrated into your home network setup, providing a hassle-free experience from unboxing to installation.
With the Google Wi-Fi router unboxed and ready for setup, you're one step closer to optimizing your home network for enhanced connectivity and performance. The next step is to power up the router and initiate the setup process, which will pave the way for a seamlessly connected smart home ecosystem.
Step 2: Connect the Router to Power
Once you have unboxed the Google Wi-Fi router, the next crucial step is to connect it to power. This simple yet essential process will provide the router with the necessary energy to begin its setup and configuration. To power up the router, follow these straightforward steps:
- Locate an Optimal Position: Before connecting the router to power, identify an ideal location for its placement. Choose a central area within your home to ensure optimal coverage and signal strength throughout the premises.
- Connect the Power Adapter: Take the provided power adapter and plug it into a power outlet near the chosen location for the router. The compact design of the power adapter ensures that it can be easily accommodated in any standard power outlet.
- Attach the Power Cable: With the power adapter connected to the outlet, proceed to attach the power cable to the designated port on the Google Wi-Fi router. The secure and straightforward connection mechanism ensures a reliable power supply to the device.
- Power On the Router: Once the power cable is securely attached, power on the Google Wi-Fi router by pressing the designated power button or switch. The router will initiate its startup sequence, indicating that it is ready to be configured.
By following these steps, you will successfully connect the Google Wi-Fi router to power, setting the stage for the subsequent setup and configuration processes. With the router powered on and ready for action, you are poised to take the next steps in optimizing your home network and ushering in a new era of seamless connectivity for your smart devices.
Step 3: Download the Google Wi-Fi App
With the Google Wi-Fi router powered up and ready for configuration, the next pivotal step is to download the Google Wi-Fi app onto your mobile device. The app serves as the central hub for managing and customizing your home network, offering a user-friendly interface that simplifies the setup process and provides comprehensive control over your Wi-Fi network.
To download the Google Wi-Fi app, follow these simple steps:
- Access the App Store or Google Play Store: Depending on your mobile device's operating system, navigate to the App Store (for iOS devices) or Google Play Store (for Android devices).
- Search for Google Wi-Fi: In the search bar of the app store, enter “Google Wi-Fi” and locate the official app developed by Google LLC.
- Initiate the Download: Once you have located the Google Wi-Fi app, initiate the download and installation process by tapping the “Download” or “Install” button. The app will be swiftly installed on your mobile device, ready for immediate use.
- Open the Google Wi-Fi App: After the installation is complete, open the Google Wi-Fi app to begin the setup process. The app's intuitive interface will guide you through the necessary steps to configure your Google Wi-Fi router and customize your home network settings.
By downloading the Google Wi-Fi app onto your mobile device, you gain access to a powerful tool that streamlines the setup and management of your home network. The app's user-friendly features empower you to optimize your Wi-Fi network, prioritize devices, and monitor network activity with ease, ensuring a seamless and personalized connectivity experience for all your smart devices.
With the Google Wi-Fi app at your fingertips, you are well-equipped to embark on the next phase of setting up your home network, leveraging the full potential of Google's innovative technology to create a robust and reliable Wi-Fi ecosystem.
When setting up your Google Wi-Fi router, make sure to place it in a central location for the best coverage. Also, use the Google Home app to easily follow the step-by-step instructions for setting up your network.
Step 4: Set Up the Wi-Fi Network
Setting up the Wi-Fi network with your Google Wi-Fi router involves a series of straightforward yet essential steps to ensure seamless connectivity and optimal performance for all your smart devices. By following the instructions provided within the Google Wi-Fi app, you can configure your home network with precision and tailor it to your specific connectivity requirements.
To set up the Wi-Fi network using the Google Wi-Fi app, proceed as follows:
- Launch the Google Wi-Fi App: Open the Google Wi-Fi app on your mobile device to initiate the setup process. The app's intuitive interface will guide you through the necessary steps to configure your Wi-Fi network effectively.
- Follow the On-Screen Instructions: The app will prompt you to follow on-screen instructions to set up the Wi-Fi network. This may include selecting a network name (SSID) and password, which will be used to secure and identify your Wi-Fi network.
- Choose Network Settings: Customize additional network settings, such as assigning specific IP addresses or configuring port forwarding, based on your preferences and network requirements. The Google Wi-Fi app provides a user-friendly platform for tailoring these settings to suit your individual needs.
- Complete the Configuration: Once you have inputted the necessary network details and customized the settings to your satisfaction, finalize the configuration process within the app. The Google Wi-Fi router will then apply the settings, ensuring that your Wi-Fi network is optimized and ready for seamless connectivity.
By diligently following these steps and leveraging the intuitive interface of the Google Wi-Fi app, you can effectively set up your Wi-Fi network with precision and convenience. The app’s seamless guidance empowers you to create a robust and personalized network environment, laying the foundation for a reliable and high-performance Wi-Fi ecosystem within your home.
With the Wi-Fi network successfully configured, you are now poised to harness the full capabilities of your Google Wi-Fi router, providing a seamless and reliable connectivity experience for all your smart devices.
Read more: How To Reset A Google Wi-Fi Router
Step 5: Customize Network Settings
Customizing the network settings of your Google Wi-Fi router is a pivotal aspect of optimizing your home Wi-Fi network to suit your specific requirements. By tailoring the network settings through the Google Wi-Fi app, you can fine-tune various parameters to enhance performance, security, and overall connectivity within your smart home ecosystem.
Follow these steps to customize the network settings using the Google Wi-Fi app:
- Access the Google Wi-Fi App: Open the Google Wi-Fi app on your mobile device to access the comprehensive suite of network customization options.
- Explore Advanced Settings: Within the app, navigate to the advanced settings section, which offers a range of customization options to optimize your Wi-Fi network. These settings may include guest network configuration, DNS customization, and device prioritization.
- Customize Guest Network: If desired, set up a guest network with distinct settings to accommodate visitors while safeguarding your primary network. The guest network feature provides a secure and convenient way to extend connectivity to guests without compromising your main network’s security.
- Configure DNS and IP Settings: Tailor DNS and IP settings to align with your specific network requirements, ensuring seamless connectivity and efficient data routing within your home network environment.
- Prioritize Devices: Utilize the device prioritization feature to allocate bandwidth and network resources to specific devices, ensuring optimal performance for critical smart devices such as streaming media players, gaming consoles, or smart home hubs.
By customizing the network settings through the Google Wi-Fi app, you can create a tailored and secure Wi-Fi environment that aligns with your unique connectivity needs. The app’s intuitive interface and advanced customization options empower you to fine-tune your home network, delivering an optimized and personalized connectivity experience for all your smart devices.
With the network settings customized to your preferences, your Google Wi-Fi router will serve as the cornerstone of a robust and reliable Wi-Fi ecosystem, providing seamless connectivity and enhanced performance for your entire smart home environment.
Step 6: Connect Devices to the Wi-Fi Network
With your Google Wi-Fi router configured and the network settings customized to your preferences, it’s time to connect your smart devices to the Wi-Fi network. Whether it’s a smart TV, a home security camera, or a voice-activated assistant, seamless connectivity is essential for unlocking the full potential of your smart home ecosystem. By following a few simple steps, you can ensure that all your devices are seamlessly integrated into your optimized Wi-Fi network.
Here’s how to connect your devices to the Wi-Fi network:
- Access Device Settings: On the device you wish to connect, navigate to its Wi-Fi settings or network setup menu. This may be located in the device’s settings app or accessed through a dedicated setup interface, depending on the device type.
- Scan for Available Networks: Within the device’s Wi-Fi settings, scan for available networks. The name of your Google Wi-Fi network (SSID) should be visible in the list of available networks.
- Select Your Wi-Fi Network: Locate and select your Google Wi-Fi network from the list of available networks. You may be prompted to enter the network password that you configured during the setup process.
- Complete the Connection: Once the network password is entered, the device will establish a connection to your Google Wi-Fi network. Upon successful connection, the device will be ready to access the internet and communicate with other devices on the network.
By connecting your smart devices to the Wi-Fi network, you enable them to seamlessly interact with each other and access online services, creating a cohesive and interconnected smart home environment. The optimized performance and coverage provided by your Google Wi-Fi router ensure that every device receives reliable connectivity, enhancing the functionality and convenience of your smart home ecosystem.
With your devices successfully connected to the Wi-Fi network, you can enjoy the full benefits of a robust and reliable connectivity experience, empowering you to harness the potential of your smart devices and seamlessly integrate them into your daily routines.
Conclusion
Congratulations! You have successfully navigated the process of setting up your Google Wi-Fi router, transforming your home network into a reliable and high-performance Wi-Fi ecosystem. By following the intuitive guidance provided by the Google Wi-Fi app and leveraging the advanced features of the router, you have optimized your connectivity experience and unlocked the full potential of your smart home devices.
Throughout this journey, you unboxed the Google Wi-Fi router, marveled at its sleek and modern design, and connected it to power, initiating its seamless integration into your home network. By downloading the Google Wi-Fi app, you gained access to a powerful tool that streamlined the setup process and provided comprehensive control over your Wi-Fi network.
As you set up the Wi-Fi network and customized its settings to align with your specific requirements, you tailored a secure and personalized connectivity environment that caters to the unique demands of your smart home ecosystem. The ability to prioritize devices, configure a guest network, and fine-tune DNS and IP settings empowered you to create a Wi-Fi network that seamlessly adapts to your lifestyle and connectivity needs.
Finally, by connecting your smart devices to the Wi-Fi network, you solidified the integration of your smart home ecosystem, enabling seamless communication and access to online services. With every device seamlessly connected to your optimized Wi-Fi network, you have laid the foundation for a cohesive and interconnected smart home environment that enhances your daily routines and empowers you to fully embrace the benefits of smart technology.
As you bask in the seamless connectivity and enhanced performance facilitated by your Google Wi-Fi router, you can take pride in the robust and reliable Wi-Fi ecosystem you have cultivated within your home. With its advanced capabilities and user-friendly interface, the Google Wi-Fi router stands as a testament to the transformative power of innovative technology in shaping the way we experience connectivity within our homes.
Embrace the convenience, efficiency, and reliability of your optimized Wi-Fi network, and revel in the seamless integration of your smart devices as they enhance your daily life in ways both practical and delightful. Your journey with the Google Wi-Fi router marks the beginning of a new era of connectivity, where every device works harmoniously to enrich your home environment and elevate your smart living experience.
Frequently Asked Questions about How To Set Up Google Wi-Fi Router
Was this page helpful?
At Storables.com, we guarantee accurate and reliable information. Our content, validated by Expert Board Contributors, is crafted following stringent Editorial Policies. We're committed to providing you with well-researched, expert-backed insights for all your informational needs.


0 thoughts on “How To Set Up Google Wi-Fi Router”