Home>Technology>Smart Home Devices>How To Set Up A Wi-Fi Router
Smart Home Devices
How To Set Up A Wi-Fi Router
Modified: January 4, 2024
Learn how to set up a Wi-Fi router for your smart home devices with our step-by-step guide. Ensure seamless connectivity and security for all your devices.
(Many of the links in this article redirect to a specific reviewed product. Your purchase of these products through affiliate links helps to generate commission for Storables.com, at no extra cost. Learn more)
**
Introduction
**
Welcome to the world of seamless connectivity and smart living! Setting up a Wi-Fi router is the first step toward creating a robust and reliable home network that powers all your smart devices. Whether it's streaming your favorite shows, working from home, or controlling your smart home gadgets, a properly configured Wi-Fi network is essential for a smooth and hassle-free experience.
In this comprehensive guide, we will walk you through the process of setting up your Wi-Fi router, from gathering the necessary equipment to configuring your network settings and securing your connection. By the end of this tutorial, you'll be equipped with the knowledge and confidence to establish a stable and secure Wi-Fi network that meets your specific needs.
So, grab your router, roll up your sleeves, and let's embark on this journey to unleash the full potential of your home network!
Key Takeaways:
- Setting up a Wi-Fi router is like creating the heart of a smart home. It’s important to gather the right equipment, connect everything properly, and secure your network for a smooth and reliable experience.
- Once your Wi-Fi network is set up, you can connect all your devices and enjoy seamless connectivity. Remember to keep your network updated and secure to make the most of your connected home experience.
Read more: How To Set Up Xfinity Wi-Fi Router
Step 1: Gather Necessary Equipment
Before diving into the setup process, it’s essential to ensure that you have all the necessary equipment at your disposal. Here’s a checklist of items you’ll need to get started:
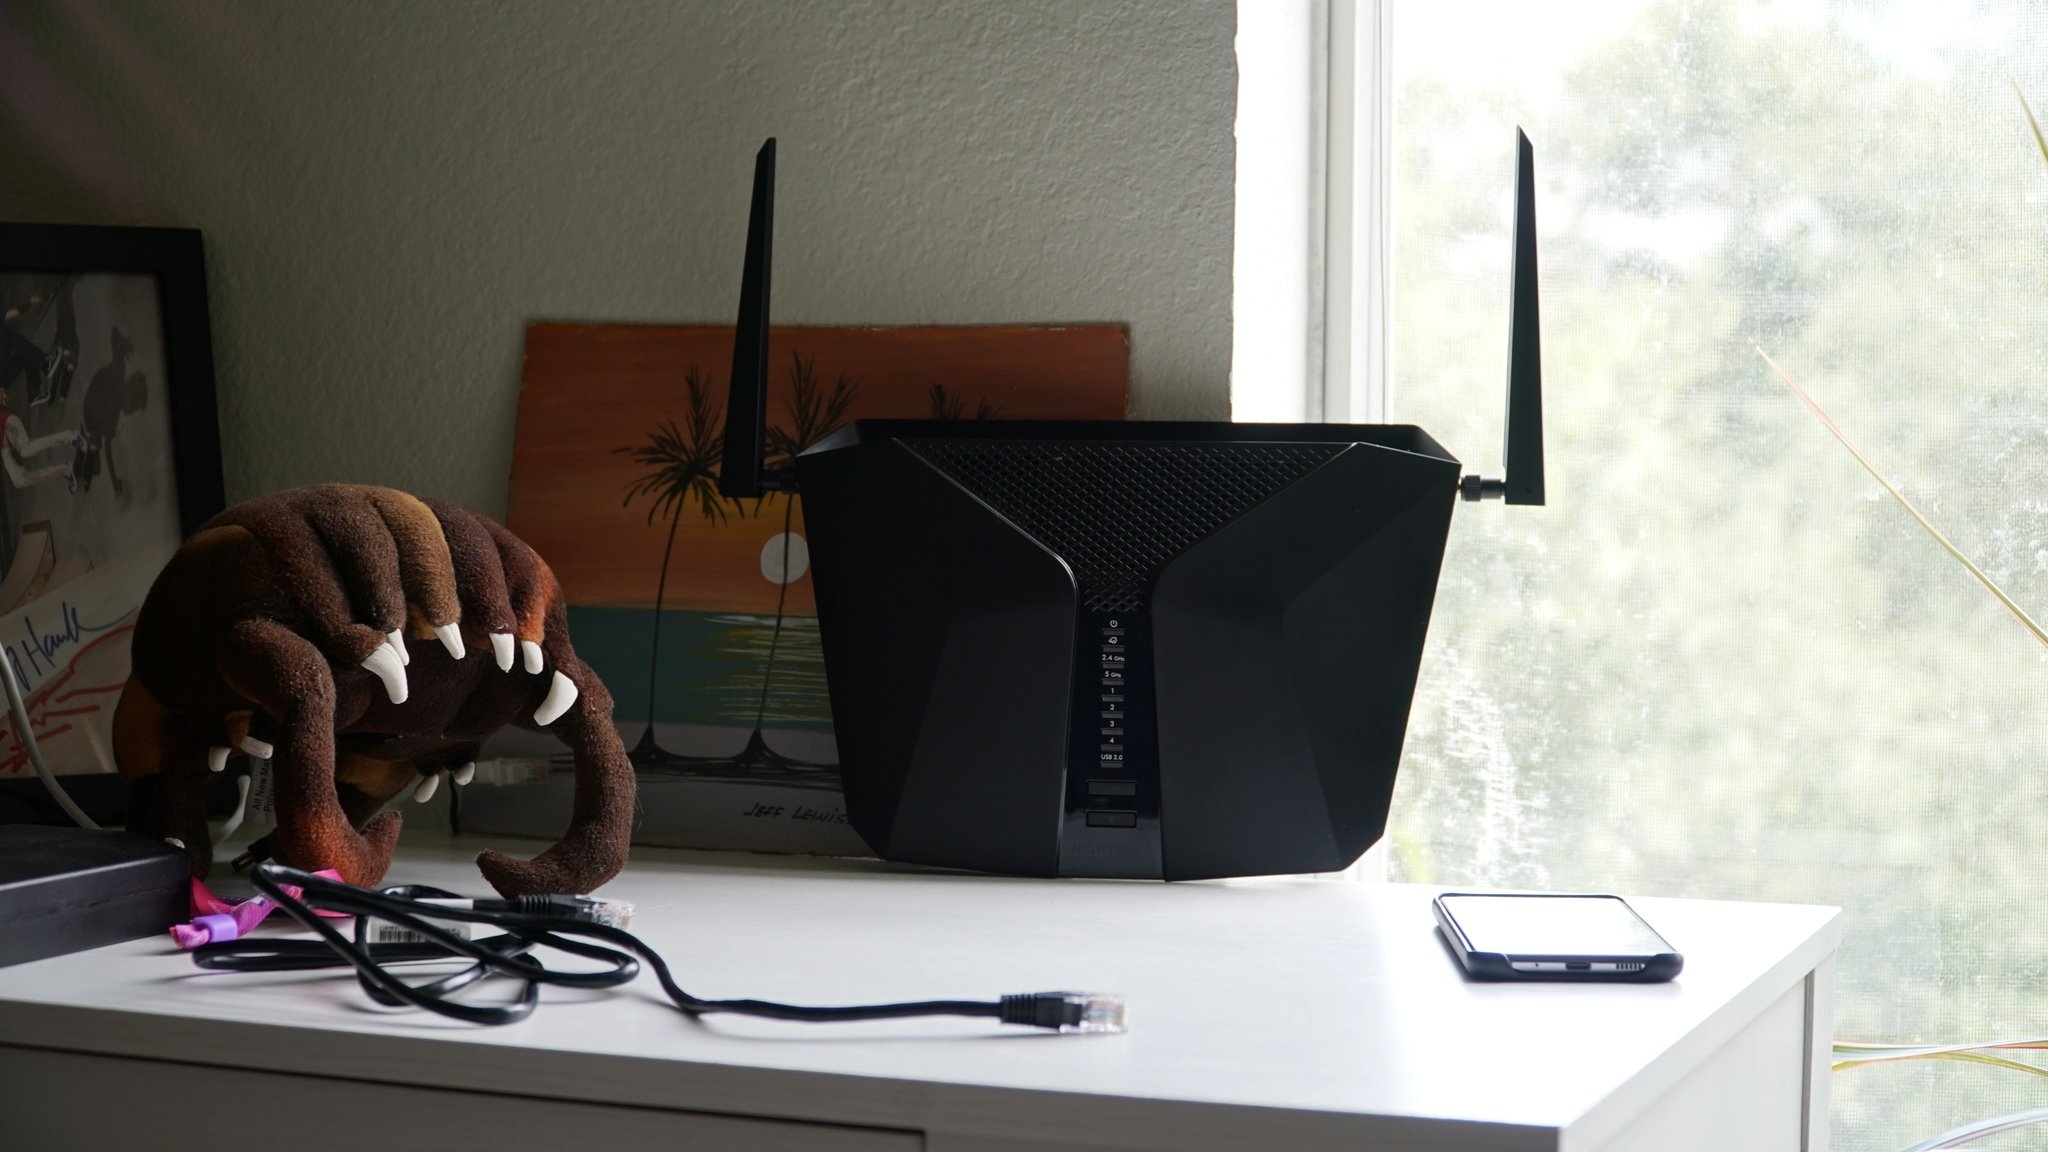
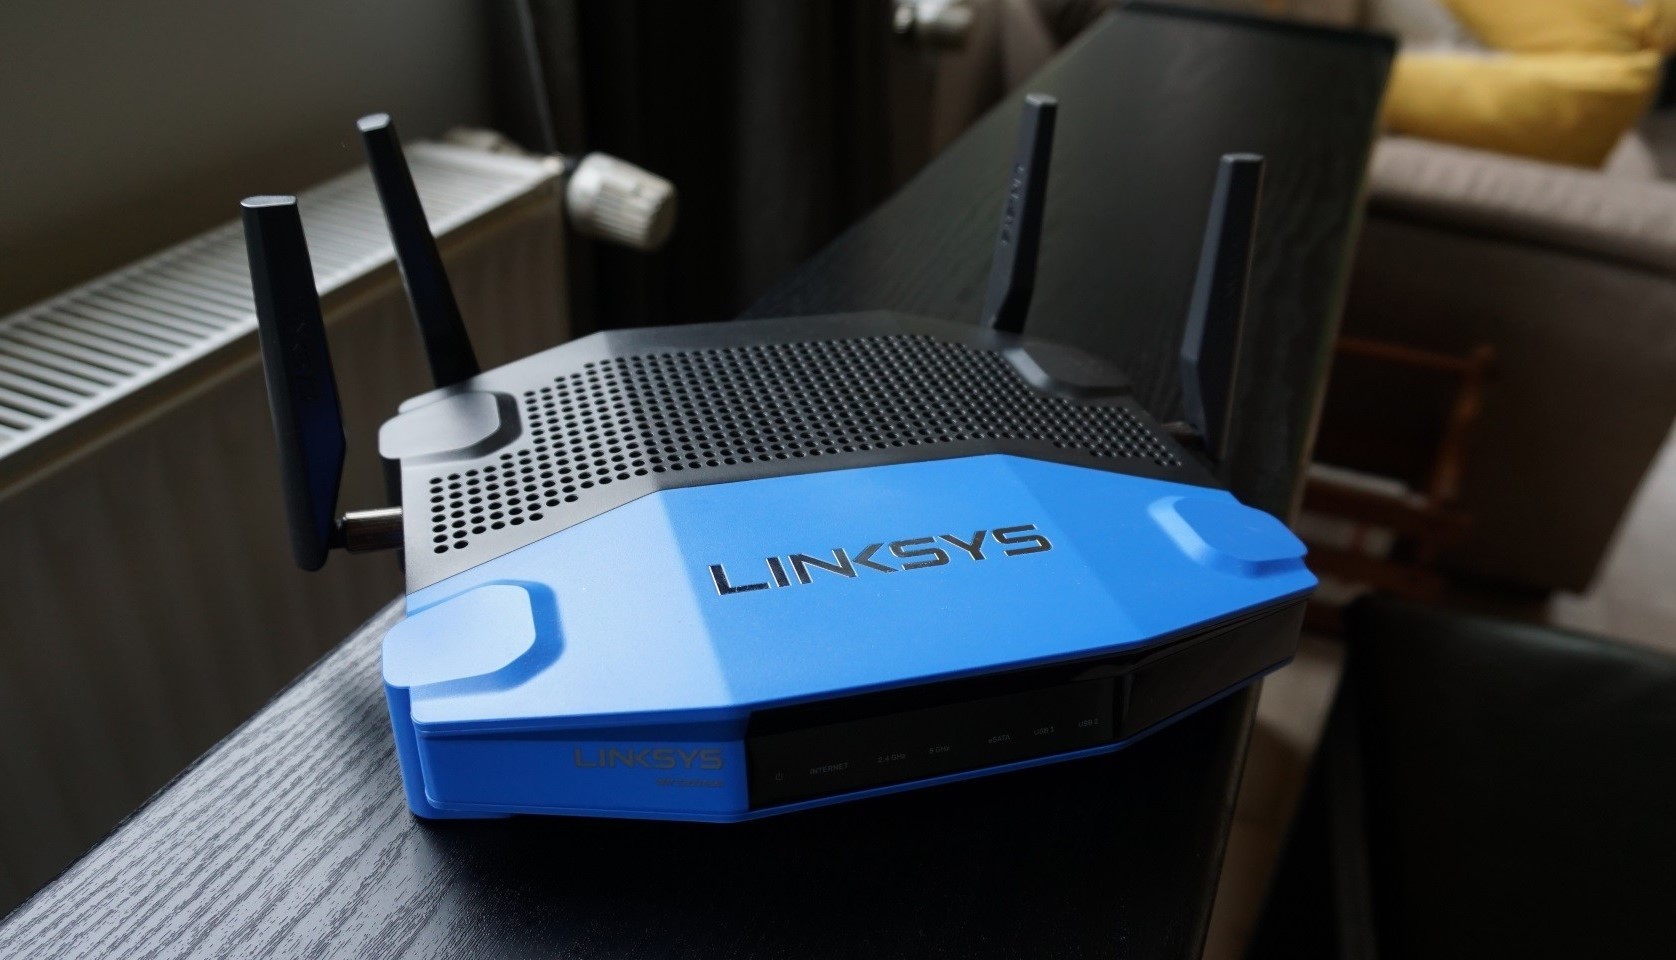
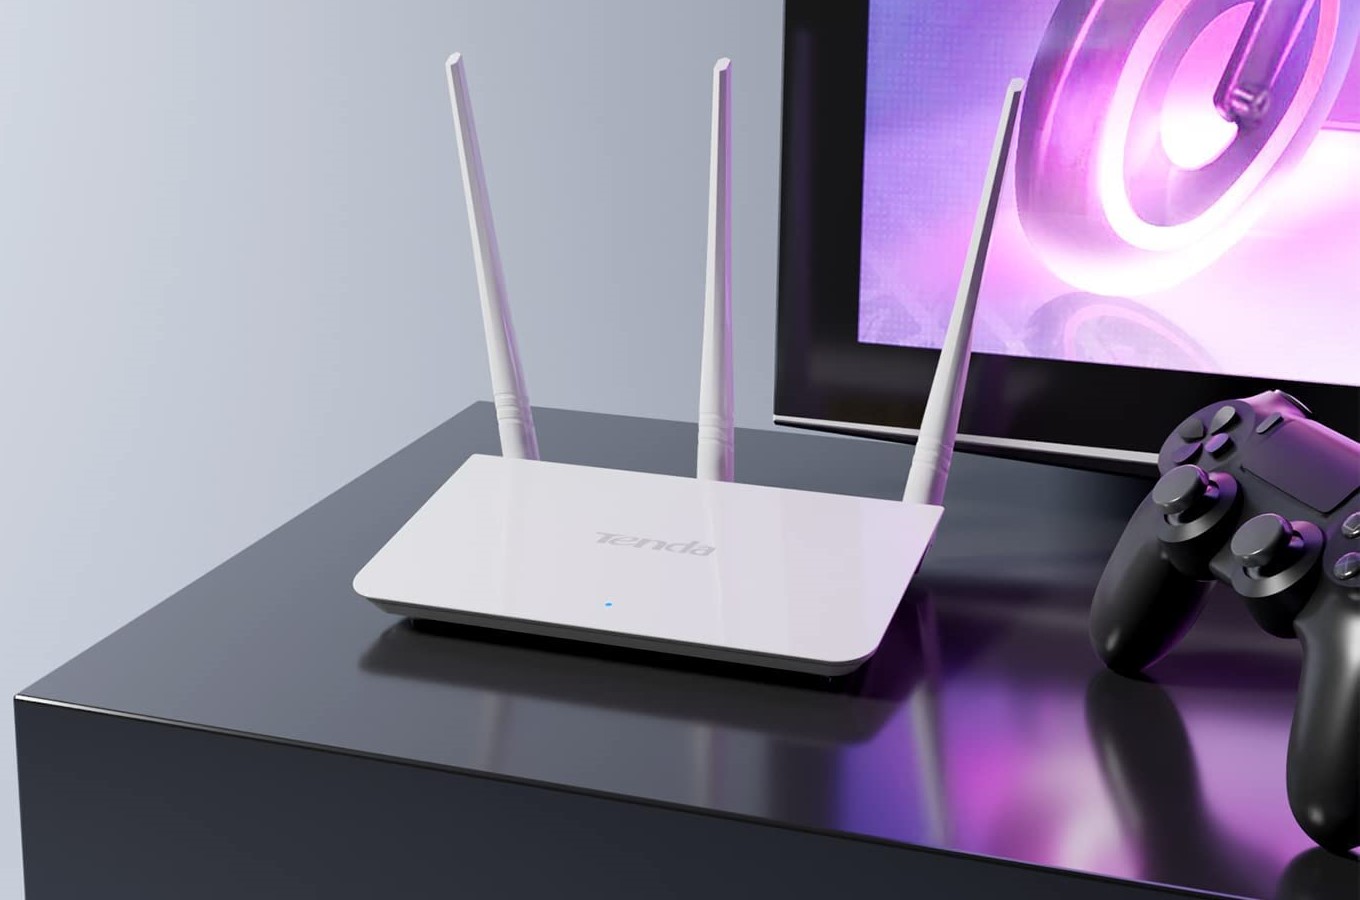
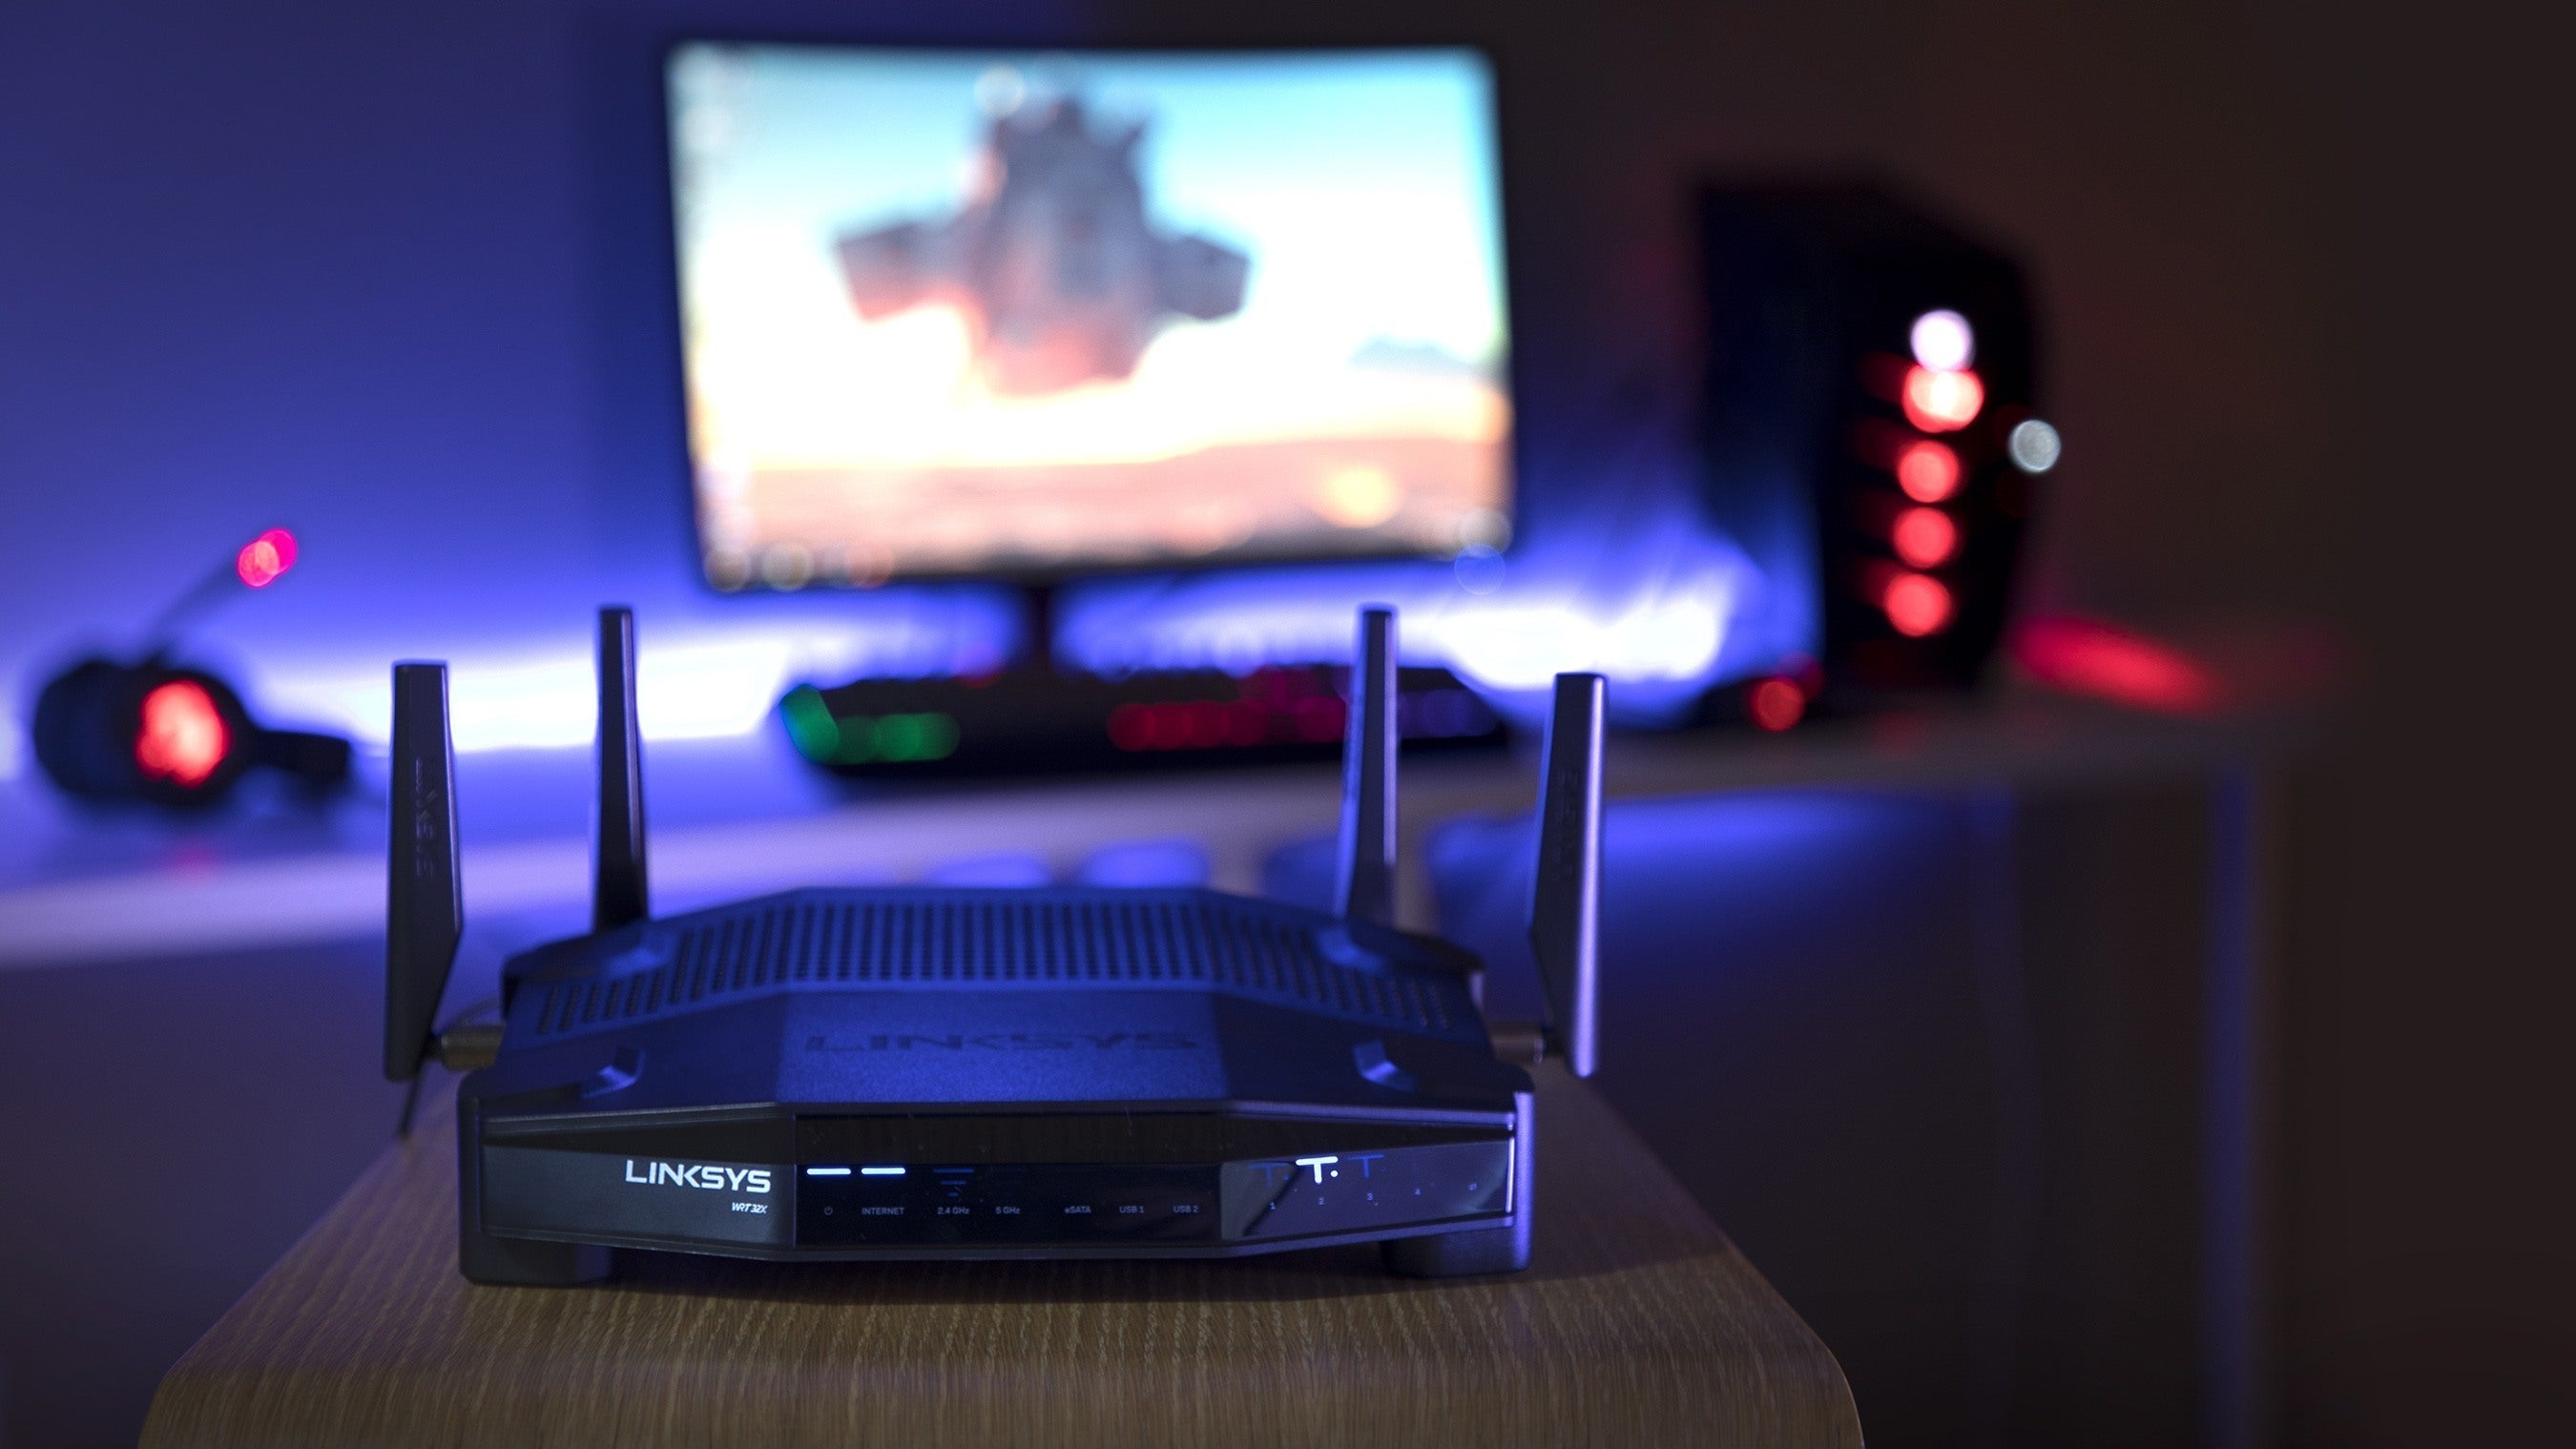
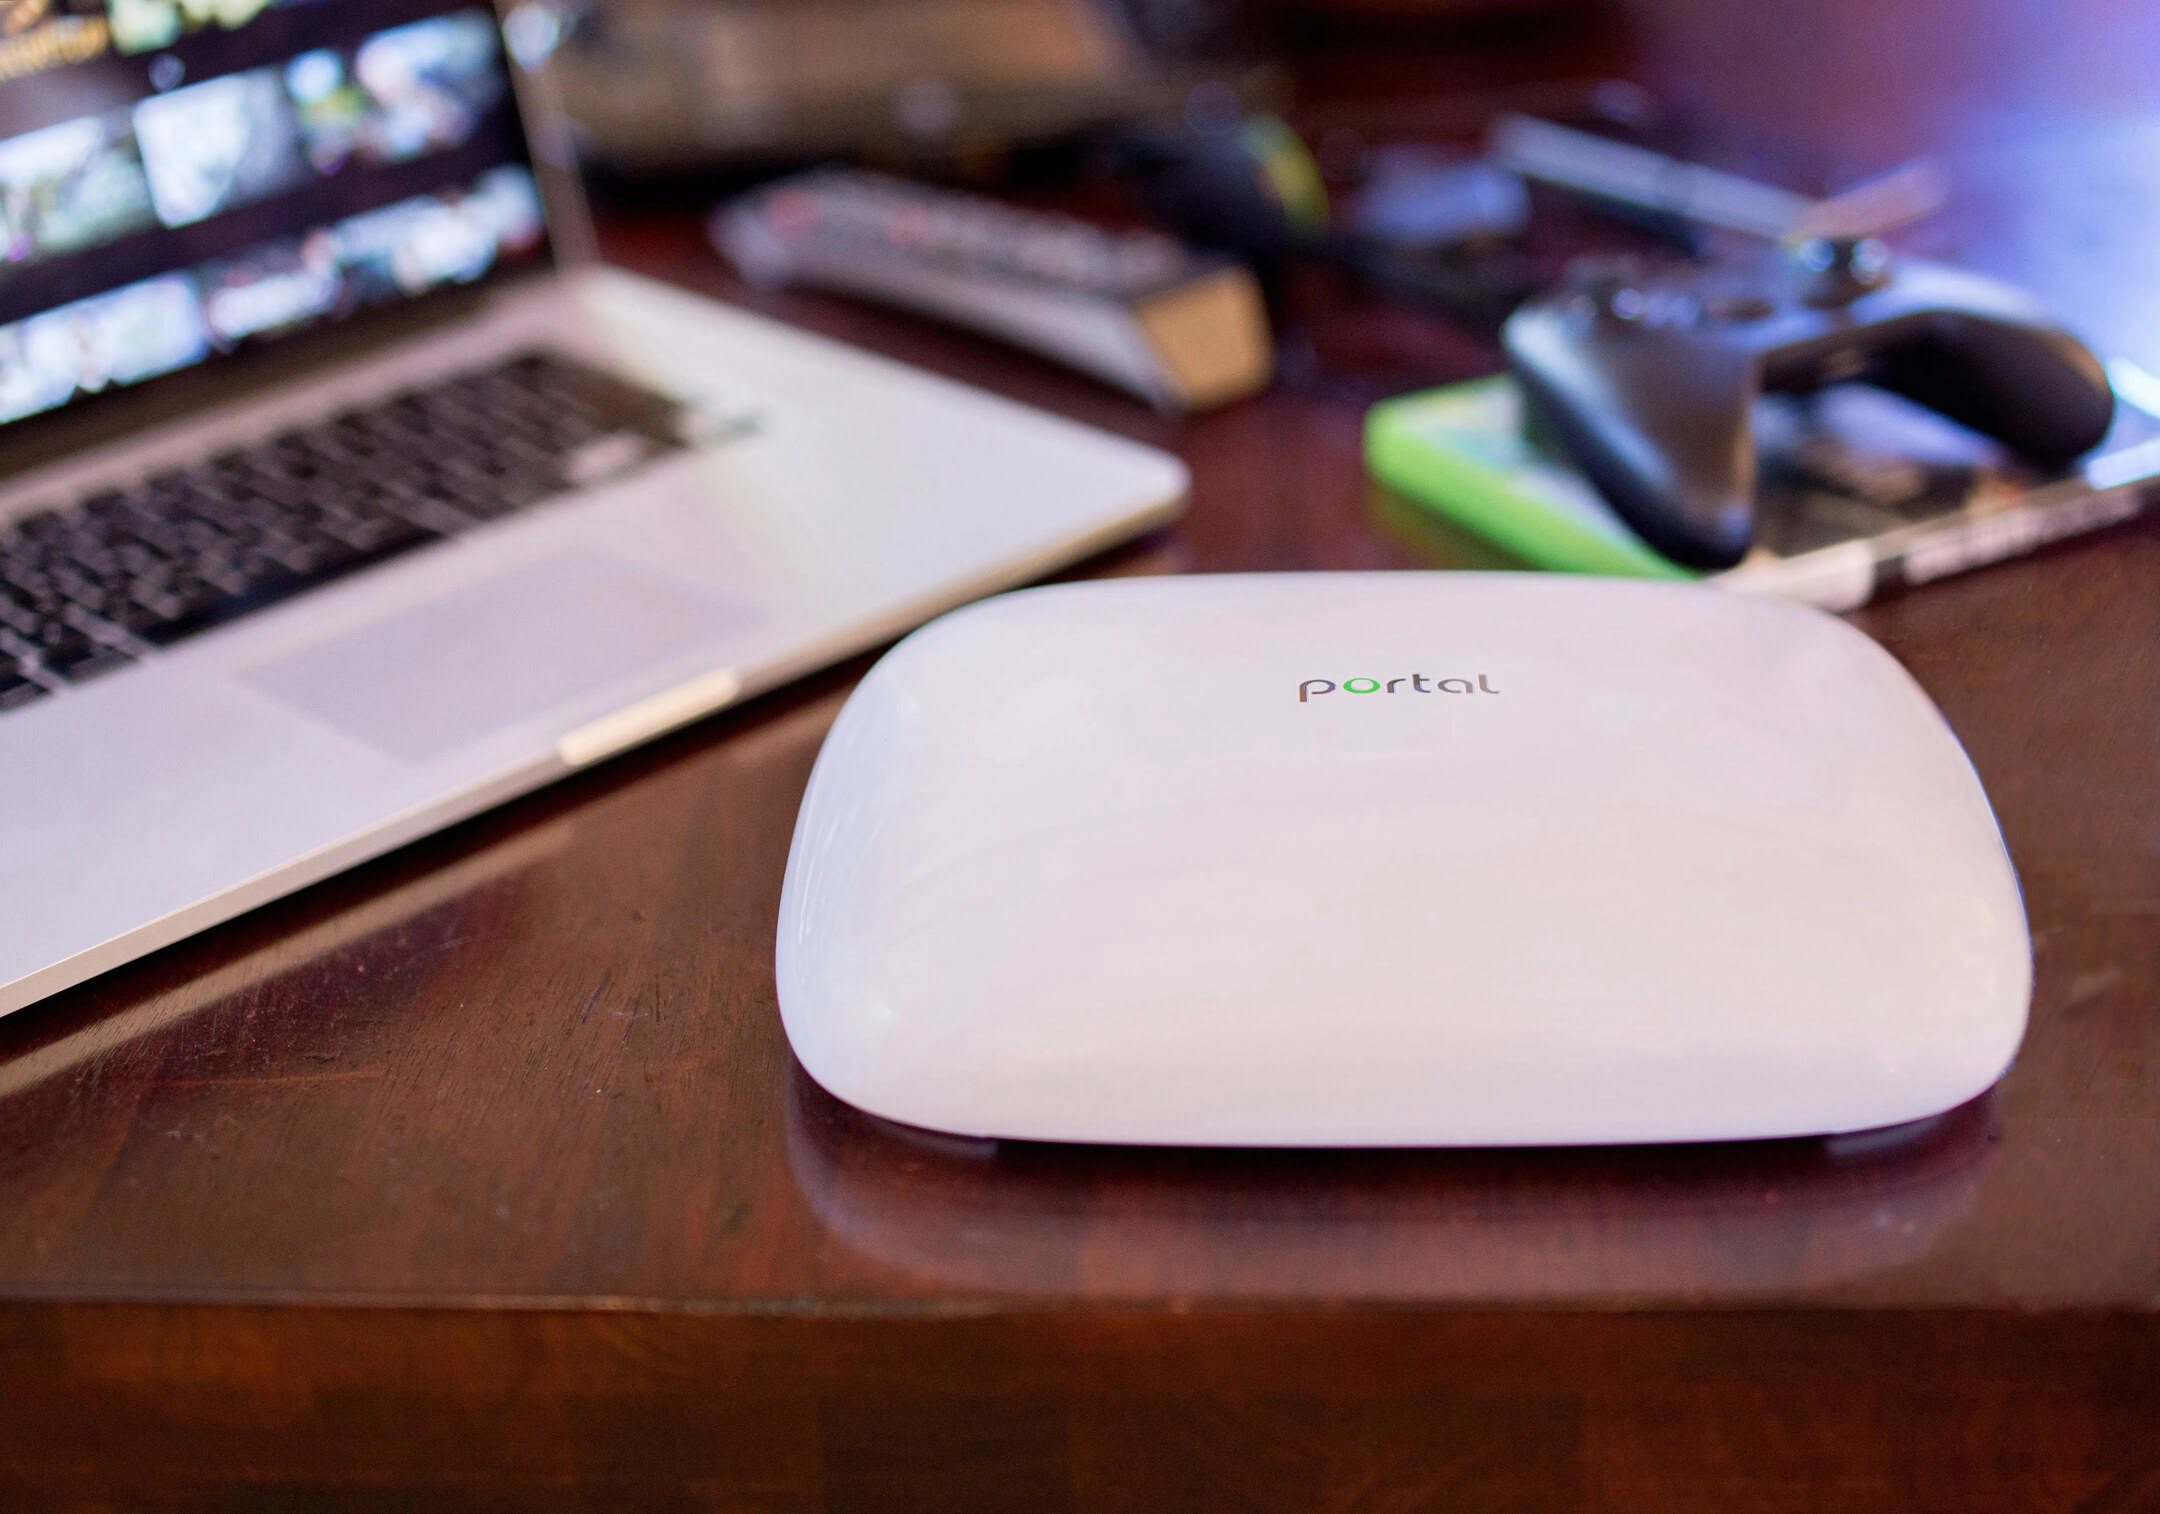
- A Wi-Fi router: This is the central device that will enable wireless connectivity in your home. Choose a router that aligns with your specific needs, such as the size of your living space and the number of devices you intend to connect.
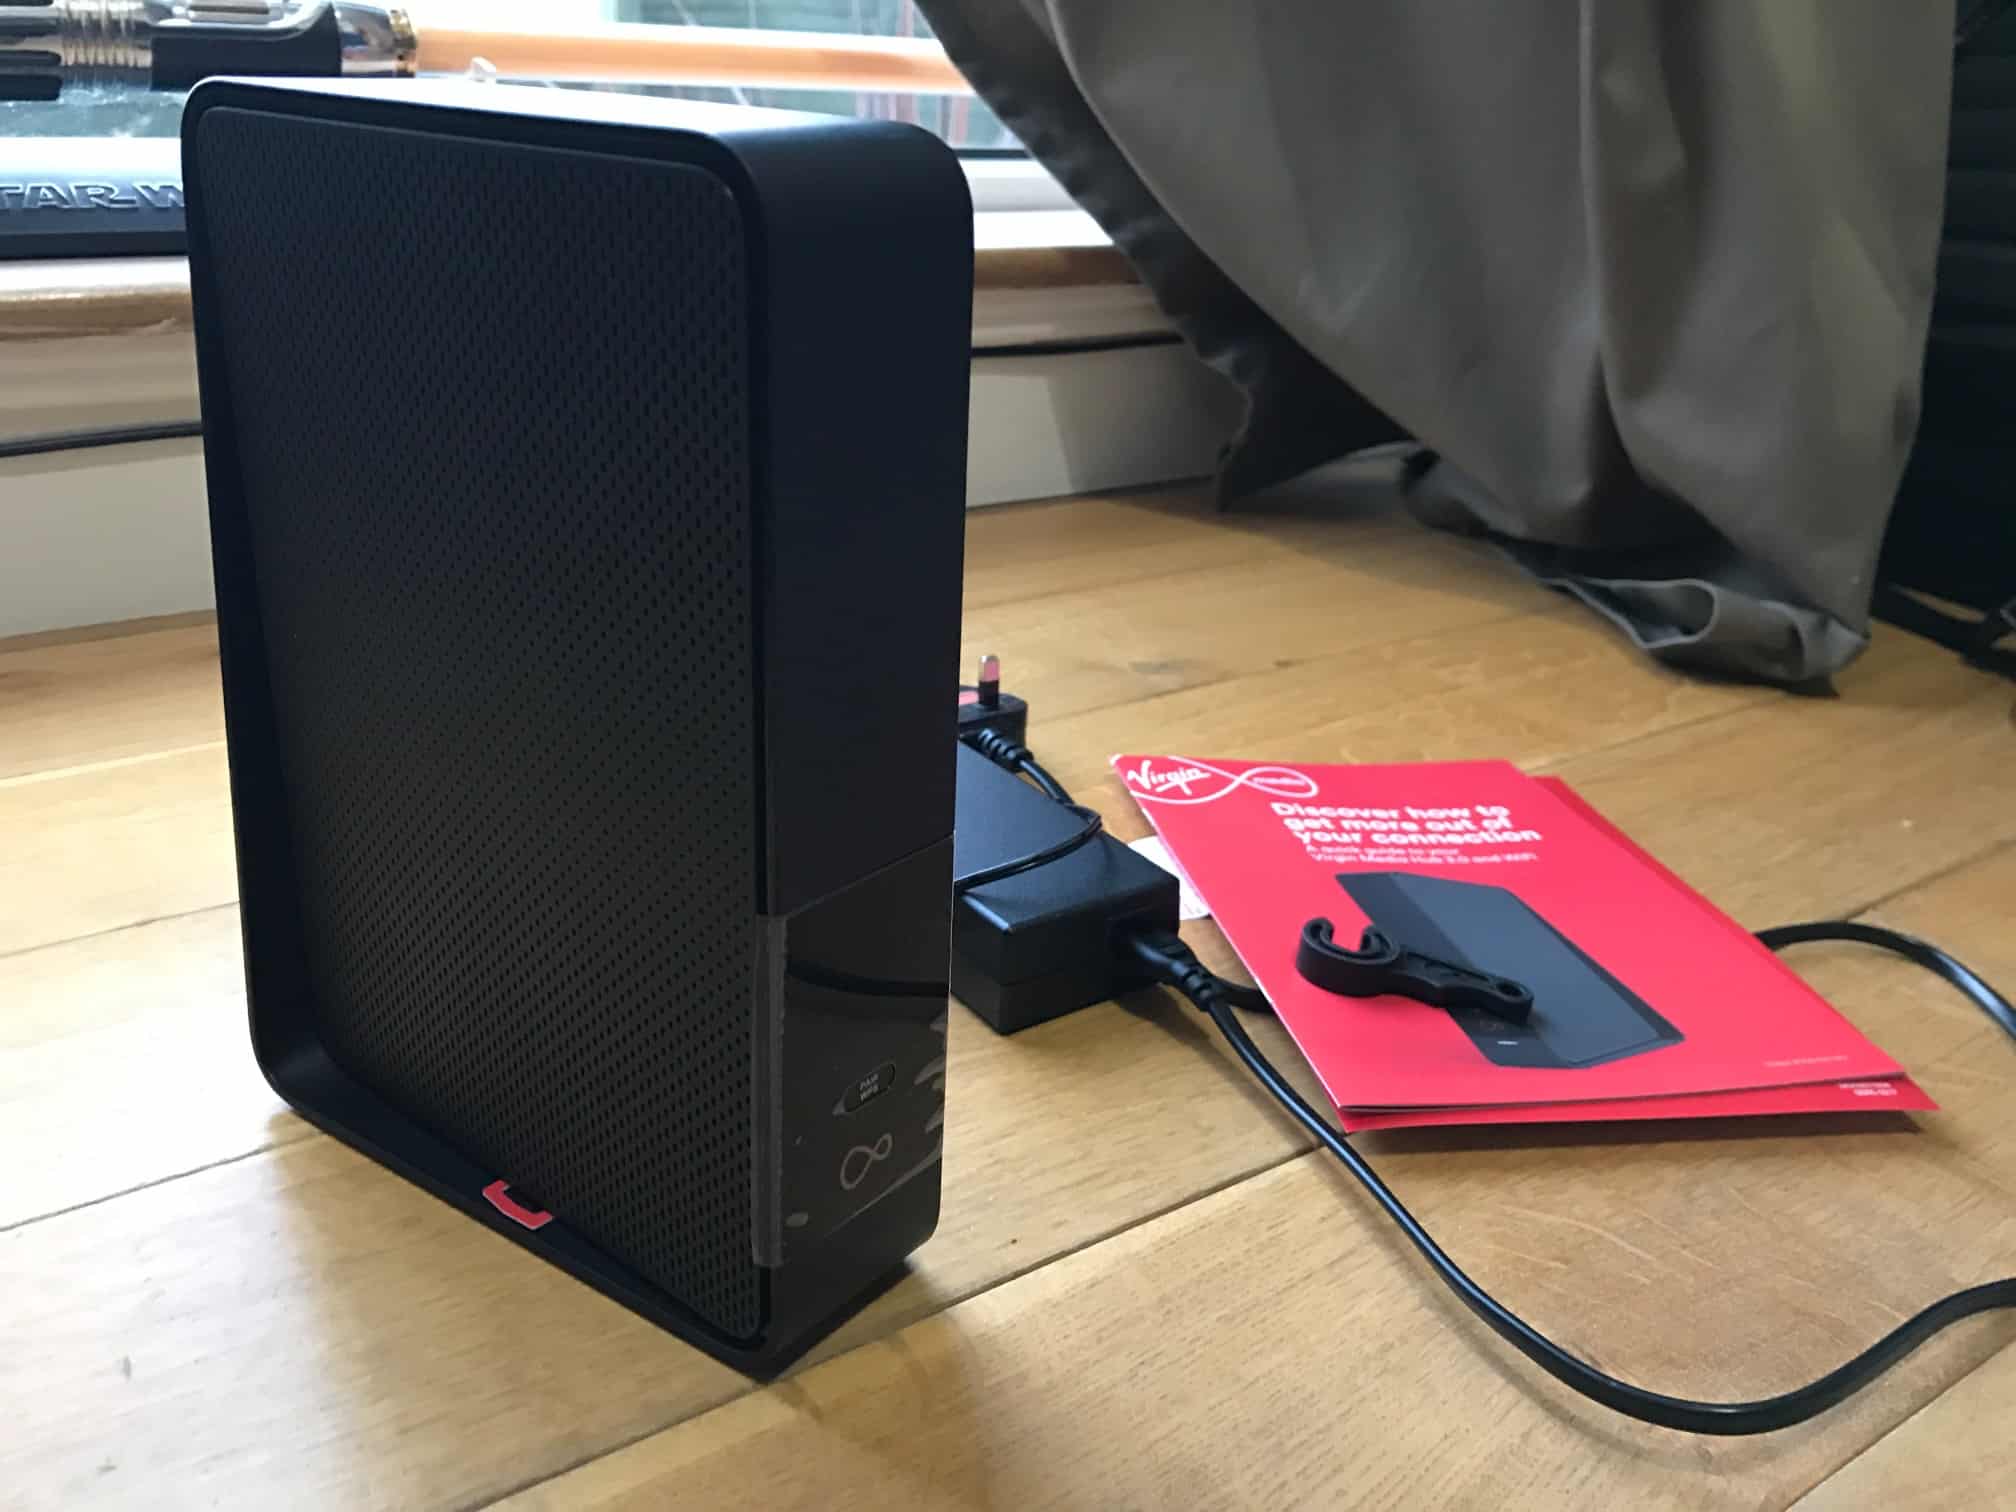
- A modem: The modem serves as the bridge between your home network and the internet service provider (ISP). Ensure that your modem is compatible with your chosen router and is capable of delivering the internet speed you desire.
- An Ethernet cable: This cable will be used to establish an initial wired connection between your router and modem. It’s essential for the initial setup and configuration process.
- A computer or mobile device: You’ll need a device to access the router’s settings and configure the Wi-Fi network. This can be a laptop, desktop computer, smartphone, or tablet.
- A power outlet: Ensure that you have a nearby power outlet to plug in your router. It’s important to position the router in a central location to ensure optimal wireless coverage throughout your home.
By gathering these essential items, you’ll be well-prepared to proceed with the setup process and establish a robust Wi-Fi network that caters to your specific connectivity requirements.
**
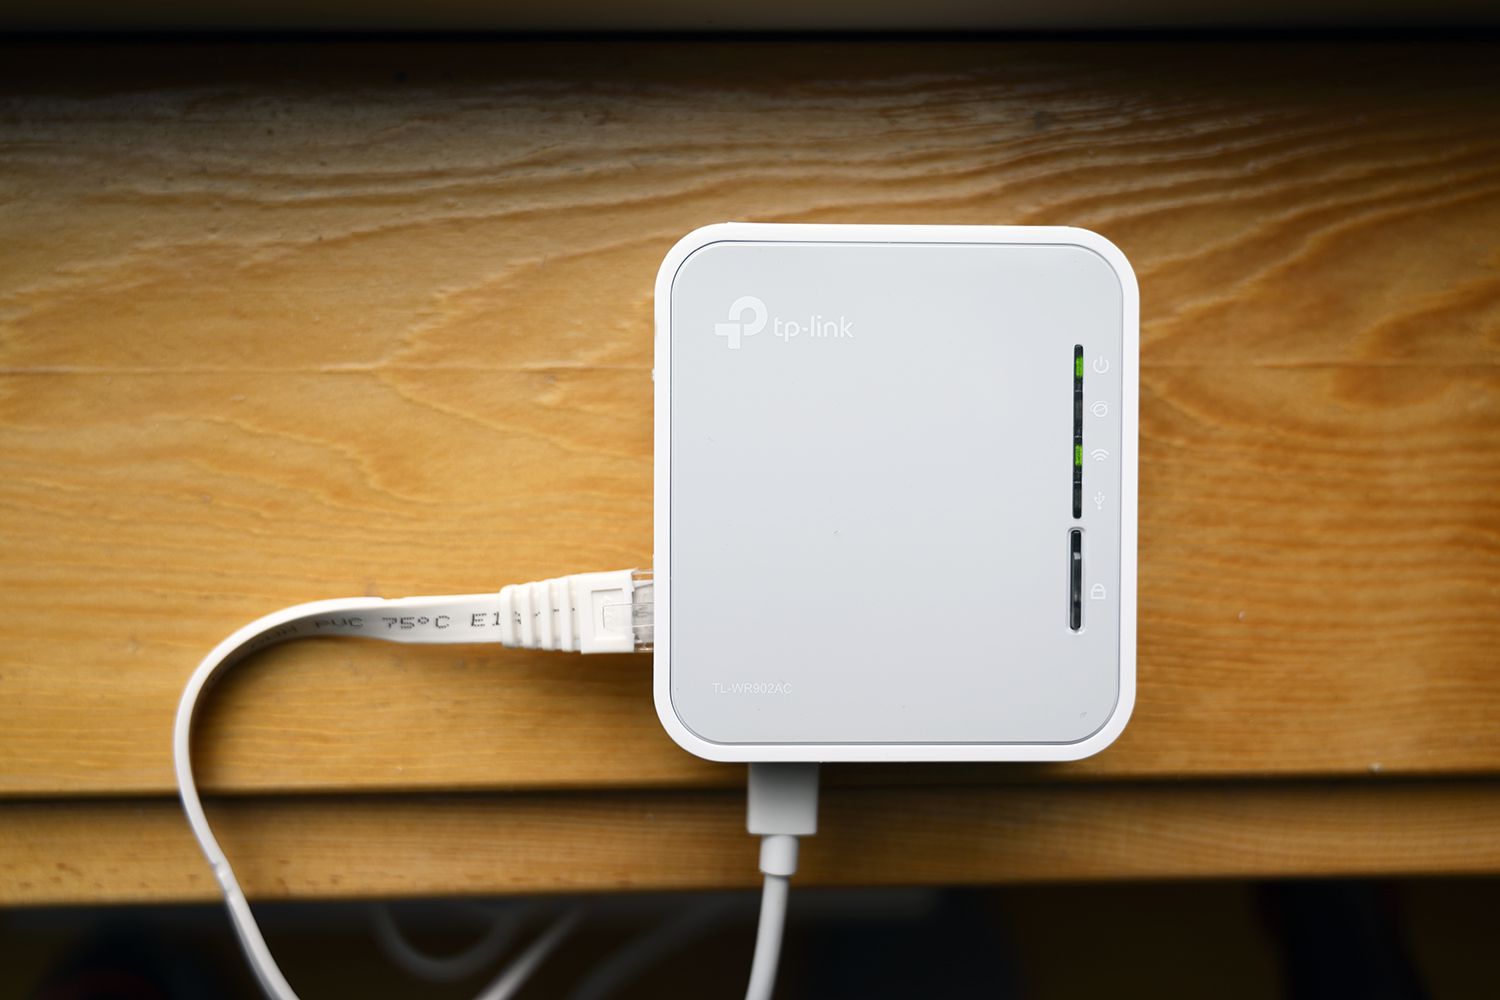
Step 2: Connect the Router to Power
**
With the necessary equipment at hand, it’s time to start the physical setup of your Wi-Fi router. Follow these steps to connect your router to power:
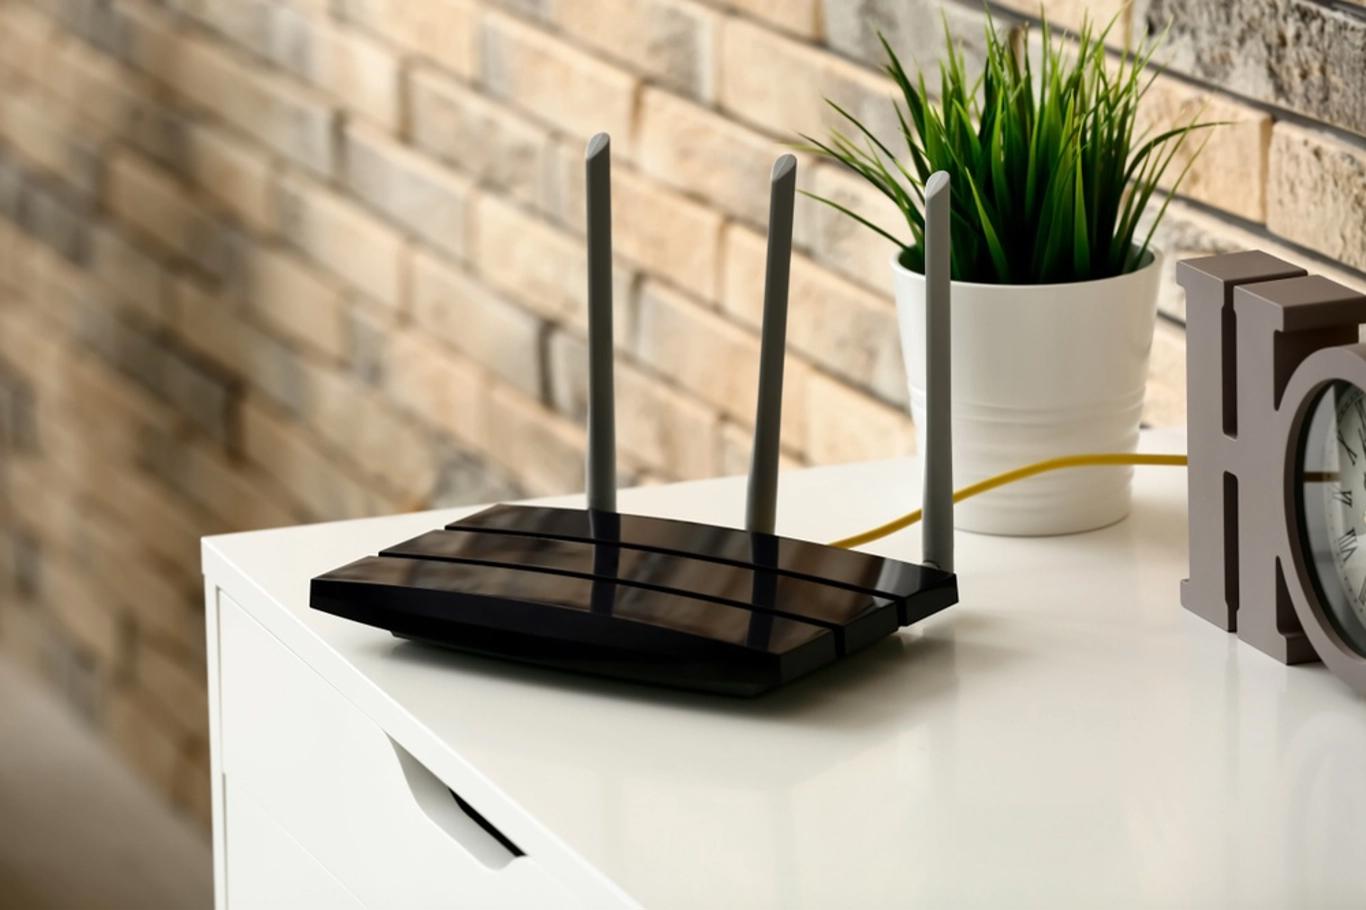
- Choose an Optimal Location: Select a central location in your home to position the router. This will help ensure consistent wireless coverage throughout your living space.
- Plug in the Power Adapter: Connect the power adapter to the router, and then plug it into a nearby power outlet. Ensure that the power outlet is easily accessible and not obstructed to allow for uninterrupted power to the router.
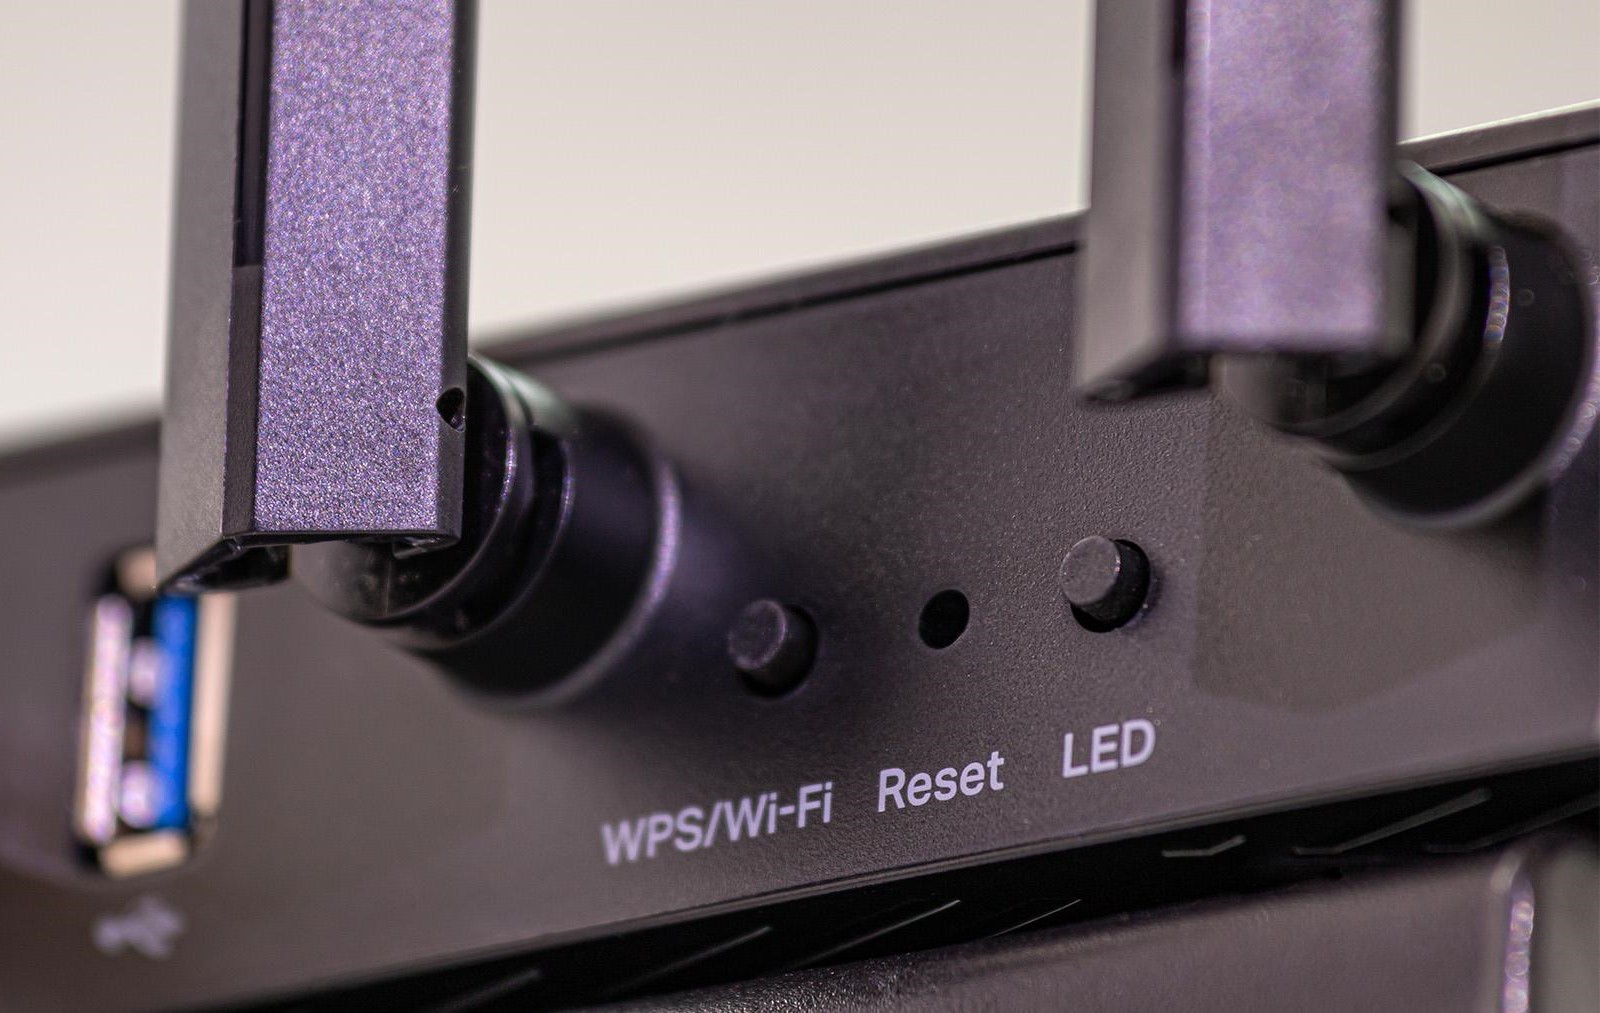
- Power On the Router: Once the router is connected to power, press the power button if applicable, or simply allow the device to boot up. The router’s indicator lights should illuminate, indicating that it’s receiving power and initializing.
- Wait for Initialization: Give the router a few moments to initialize and establish its internal connections. During this time, the indicator lights may blink or change color as the device goes through its startup process.
- Verify Power Status: Once the router has completed its startup process, ensure that the indicator lights are displaying the appropriate status, indicating that the device is powered on and ready for the next steps.
By connecting your router to power and allowing it to initialize, you’ve taken the crucial first step in bringing your home network to life. The next step will involve establishing a connection between your router and the modem to enable internet access.
Step 3: Connect the Router to Your Modem
Now that your router is powered up, it’s time to establish a connection between the router and your modem. This step is essential for enabling internet access through your router. Follow these steps to connect the two devices:
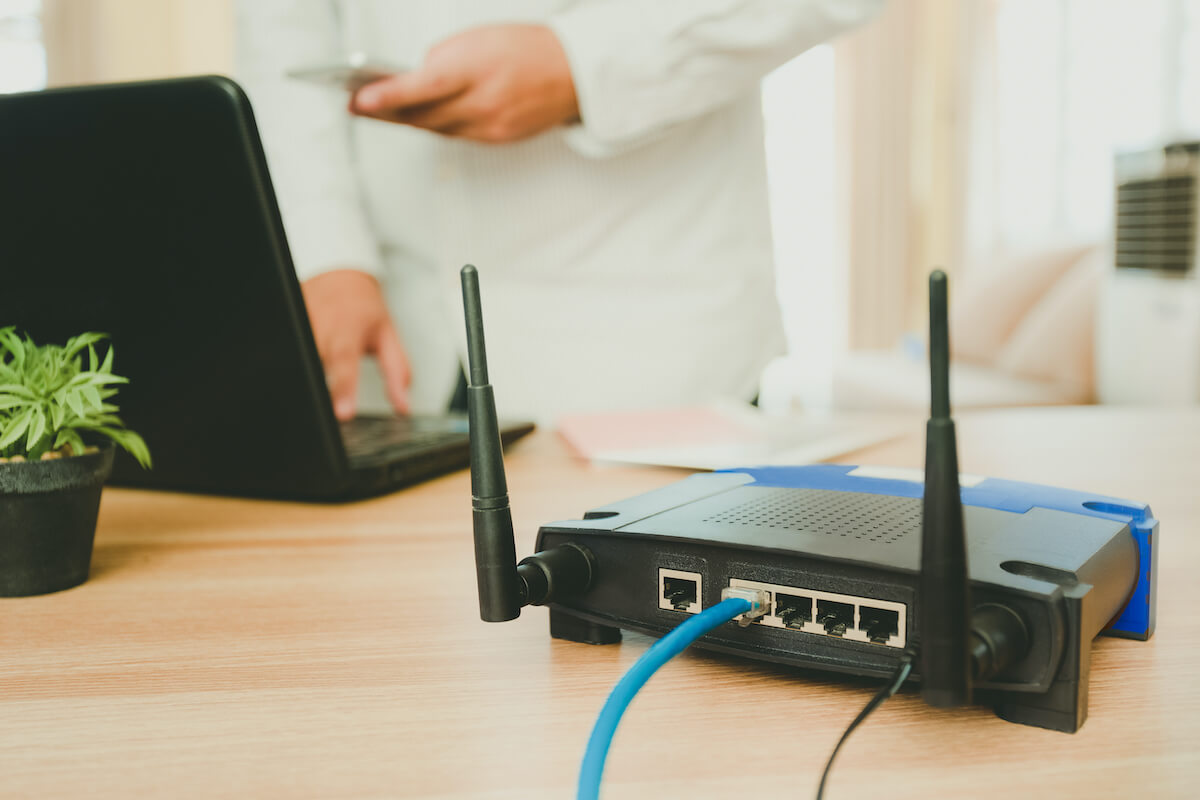
- Locate the Ethernet Port: Identify the Ethernet port on the back of your modem. This port is typically labeled “Ethernet,” “LAN,” or “Internet.” It’s where you’ll connect one end of the Ethernet cable.
- Connect the Ethernet Cable: Take one end of the Ethernet cable and plug it into the Ethernet port on the modem. Ensure that the connection is secure to prevent any accidental disconnection during the setup process.
- Locate the WAN Port on the Router: On the back of your router, locate the WAN (Wide Area Network) port. This is where you’ll connect the other end of the Ethernet cable.
- Connect the Ethernet Cable to the Router: Plug the other end of the Ethernet cable into the WAN port on the router. Once again, ensure that the connection is secure to maintain a stable link between the router and the modem.
- Power Cycle the Modem: To establish a connection between the modem and router, power cycle the modem by unplugging it from the power source, waiting for a few seconds, and then plugging it back in. This process allows the modem to recognize the connected router.
- Wait for Initialization: Give the modem a few moments to complete its initialization process after being power cycled. During this time, the modem may go through a series of status indicators as it establishes a connection with the router.
- Verify Connection Status: Once the modem has completed its initialization process, verify that the connection between the modem and router is established. Check the indicator lights on both devices to ensure that they indicate a successful connection.
By connecting your router to the modem, you’ve laid the groundwork for accessing the internet through your home network. The next steps will involve accessing the router’s settings and configuring your Wi-Fi network to enable wireless connectivity for your devices.
Step 4: Access the Router’s Settings
With the physical connections in place, it’s time to access the router’s settings to configure your Wi-Fi network and customize various parameters. Follow these steps to access the router’s settings:
- Open a Web Browser: On your computer or mobile device, open a web browser such as Google Chrome, Mozilla Firefox, Safari, or Microsoft Edge.
- Enter the Router’s IP Address: In the address bar of the web browser, type the router’s default IP address. Common router IP addresses include 192.168.0.1, 192.168.1.1, or 192.168.2.1. You can find the specific IP address for your router in the router’s documentation or on the manufacturer’s website.
- Enter Login Credentials: When prompted, enter the router’s default username and password. These credentials are typically provided in the router’s documentation. If you’ve changed the default login details in the past, use the updated username and password.
- Access the Router’s Dashboard: Upon successful login, you’ll be granted access to the router’s dashboard or administration interface. This interface allows you to configure various settings related to your Wi-Fi network, security, and other advanced features.
Once you’ve accessed the router’s settings, you’ll have the ability to customize your Wi-Fi network settings, set up a secure password, and manage other aspects of your home network. This step empowers you to tailor your network to your specific preferences and security requirements, ensuring a personalized and secure Wi-Fi experience for your devices.
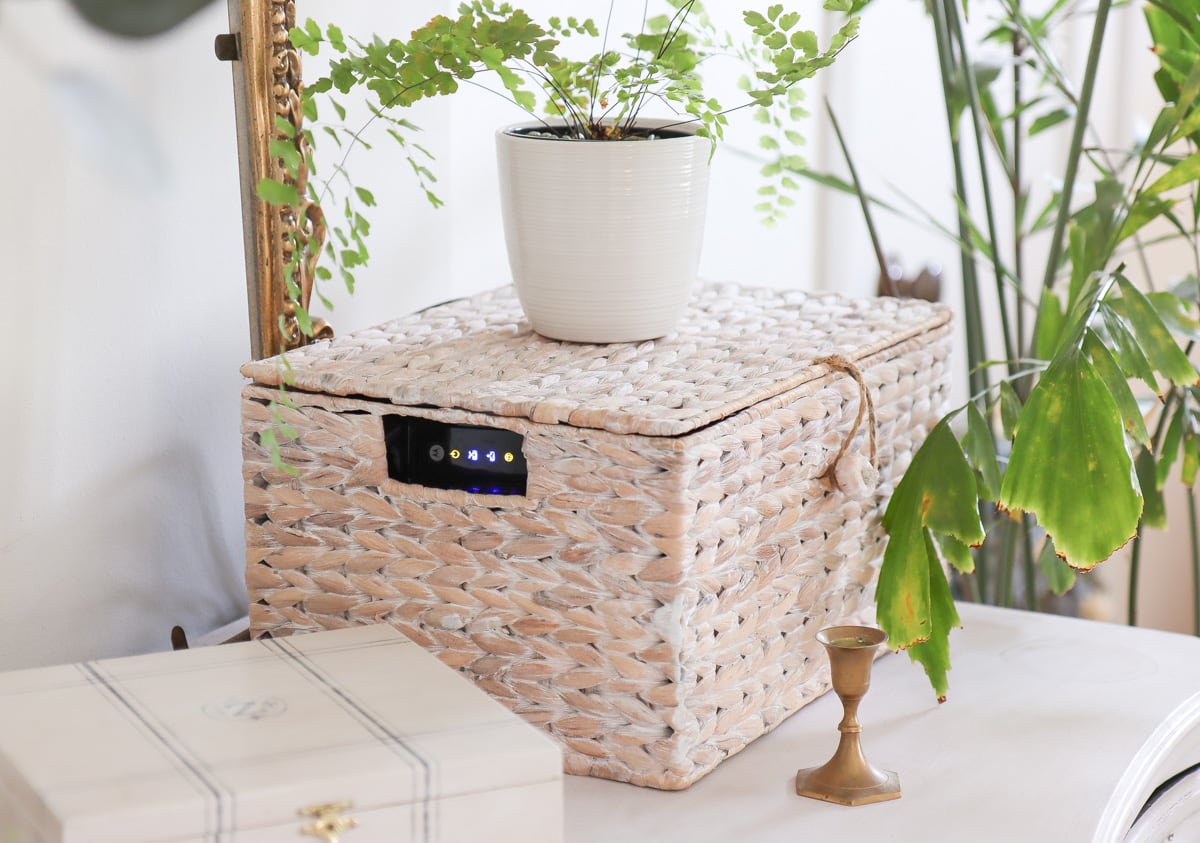
When setting up a Wi-Fi router, place it in a central location for better coverage. Keep it away from obstructions and electronic devices to avoid interference.
Read more: How To Set Up Cox Wi-Fi Router
Step 5: Configure Wi-Fi Network Settings
Now that you’ve accessed the router’s settings, it’s time to configure the Wi-Fi network settings to ensure optimal performance and coverage. Follow these steps to customize your Wi-Fi network settings:
- Locate the Wireless Settings: Within the router’s dashboard, navigate to the wireless settings or Wi-Fi configuration section. This is where you’ll be able to customize the name of your Wi-Fi network (SSID) and select the appropriate wireless channel.
- Customize the Wi-Fi Network Name (SSID): Choose a unique and easily identifiable name for your Wi-Fi network. Avoid using default names such as “Linksys” or “NETGEAR” to differentiate your network from others in the vicinity.
- Select the Wireless Channel: Choose the optimal wireless channel for your Wi-Fi network to minimize interference and maximize signal strength. You can experiment with different channels to find the one that offers the best performance in your specific environment.
- Configure Wireless Security: Enable WPA2 (Wi-Fi Protected Access 2) or WPA3 security protocols to secure your Wi-Fi network. Create a strong and unique password to prevent unauthorized access and protect your network from potential security threats.
- Save Your Settings: Once you’ve customized the Wi-Fi network settings, save your changes within the router’s dashboard. The router will apply the new settings, and your Wi-Fi network will be reconfigured accordingly.
By customizing your Wi-Fi network settings, you can create a personalized and secure wireless environment that meets your specific connectivity needs. These settings play a crucial role in optimizing the performance and security of your home network, ensuring a seamless and reliable Wi-Fi experience for all your devices.
Step 6: Set Up a Password for Your Wi-Fi Network
Securing your Wi-Fi network with a strong password is essential to prevent unauthorized access and safeguard your personal data. Follow these steps to set up a secure password for your Wi-Fi network:
- Access the Security Settings: Within the router’s dashboard, navigate to the security or wireless security section. This is where you’ll be able to configure the password for your Wi-Fi network.
- Choose a Strong Password: Create a strong and unique password for your Wi-Fi network. A strong password typically consists of a combination of uppercase and lowercase letters, numbers, and special characters. Avoid using easily guessable phrases or personal information.
- Enable Encryption: Select the appropriate encryption method for your Wi-Fi network. WPA2 (Wi-Fi Protected Access 2) or WPA3 encryption provides robust security for your wireless connection, preventing unauthorized users from intercepting your data.
- Apply the Password: Once you’ve set up a strong password and selected the encryption method, apply the changes within the router’s dashboard. The router will update the security settings, and your Wi-Fi network will be protected by the newly configured password.
- Connect Your Devices: After setting up the password, reconnect your devices to the Wi-Fi network using the new credentials. Ensure that all devices are updated with the latest password to maintain seamless connectivity.
By establishing a strong password and enabling encryption for your Wi-Fi network, you can fortify your home network against potential security threats and unauthorized access. This proactive measure ensures that your wireless connection remains secure and reliable, providing peace of mind as you enjoy the benefits of a connected home environment.
Step 7: Connect Your Devices to the Wi-Fi Network
With your Wi-Fi network configured and secured, it’s time to connect your devices and enjoy the benefits of wireless connectivity throughout your home. Follow these steps to connect your devices to the Wi-Fi network:
- Locate the Wi-Fi Network: On your computer, smartphone, tablet, or any other Wi-Fi-enabled device, locate the list of available Wi-Fi networks. The name of your customized Wi-Fi network (SSID) should be visible in the list of available networks.
- Select Your Wi-Fi Network: Choose your Wi-Fi network from the list of available networks. If prompted, enter the password you configured for the Wi-Fi network to establish a secure connection.
- Connect to the Wi-Fi Network: Once you’ve entered the correct password, your device will connect to the Wi-Fi network. You’ll see a confirmation message indicating that the connection has been established.
- Verify Connectivity: Open a web browser or any online application on your device to verify that you have internet access. If everything is set up correctly, you should be able to browse the web and access online services without any issues.
- Repeat for Additional Devices: If you have multiple devices, such as smartphones, tablets, smart TVs, or gaming consoles, repeat the connection process for each device to ensure that they are all connected to your Wi-Fi network.
By connecting your devices to the Wi-Fi network, you can enjoy seamless connectivity and access to online services, streaming content, and smart home devices throughout your living space. This step marks the culmination of the setup process, allowing you to harness the full potential of your home network and connected devices.
Conclusion
Congratulations! You’ve successfully set up your Wi-Fi router and established a robust and secure home network that caters to your connectivity needs. By following the step-by-step process outlined in this guide, you’ve empowered yourself to create a reliable and seamless Wi-Fi experience for all your devices.
From gathering the necessary equipment to configuring your Wi-Fi network settings and securing your connection, each step has contributed to the foundation of a well-optimized home network. Your diligent efforts have culminated in a network that provides fast, reliable, and secure wireless connectivity throughout your living space.
As you continue to explore the possibilities of a connected home, remember that periodic maintenance and security updates are essential to ensure the ongoing performance and protection of your Wi-Fi network. Regularly review and update your router’s firmware, monitor connected devices, and consider implementing additional security measures to fortify your network against potential threats.
With your Wi-Fi network up and running, you’re now equipped to enjoy the benefits of seamless connectivity, whether it’s streaming your favorite content, working from home, or controlling your smart home devices with ease. Embrace the convenience and possibilities that your well-configured home network offers, and stay informed about emerging technologies and best practices to further enhance your connected living experience.
Thank you for embarking on this journey to set up your Wi-Fi router and optimize your home network. May your connected home continue to enrich your lifestyle and streamline your daily activities in the digital age.
Frequently Asked Questions about How To Set Up A Wi-Fi Router
Was this page helpful?
At Storables.com, we guarantee accurate and reliable information. Our content, validated by Expert Board Contributors, is crafted following stringent Editorial Policies. We're committed to providing you with well-researched, expert-backed insights for all your informational needs.
0 thoughts on “How To Set Up A Wi-Fi Router”