Home>Home Security and Surveillance>How To Hook Up My Annke 1080P Wireless Security Camera
Home Security and Surveillance
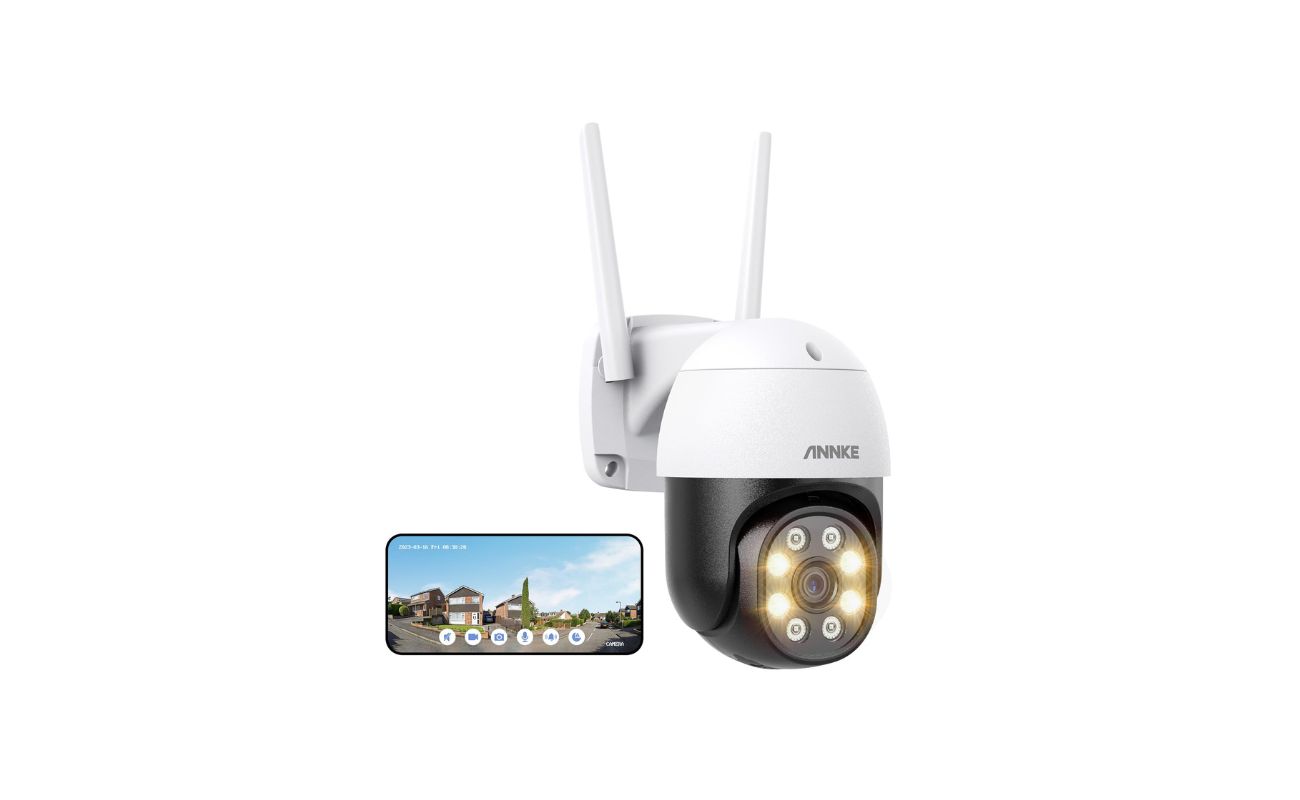
How To Hook Up My Annke 1080P Wireless Security Camera
Modified: October 20, 2024
Looking for a secure and hassle-free home security solution? Learn how to easily hook up your Annke 1080P wireless security camera for optimal home security and surveillance.
(Many of the links in this article redirect to a specific reviewed product. Your purchase of these products through affiliate links helps to generate commission for Storables.com, at no extra cost. Learn more)
Introduction
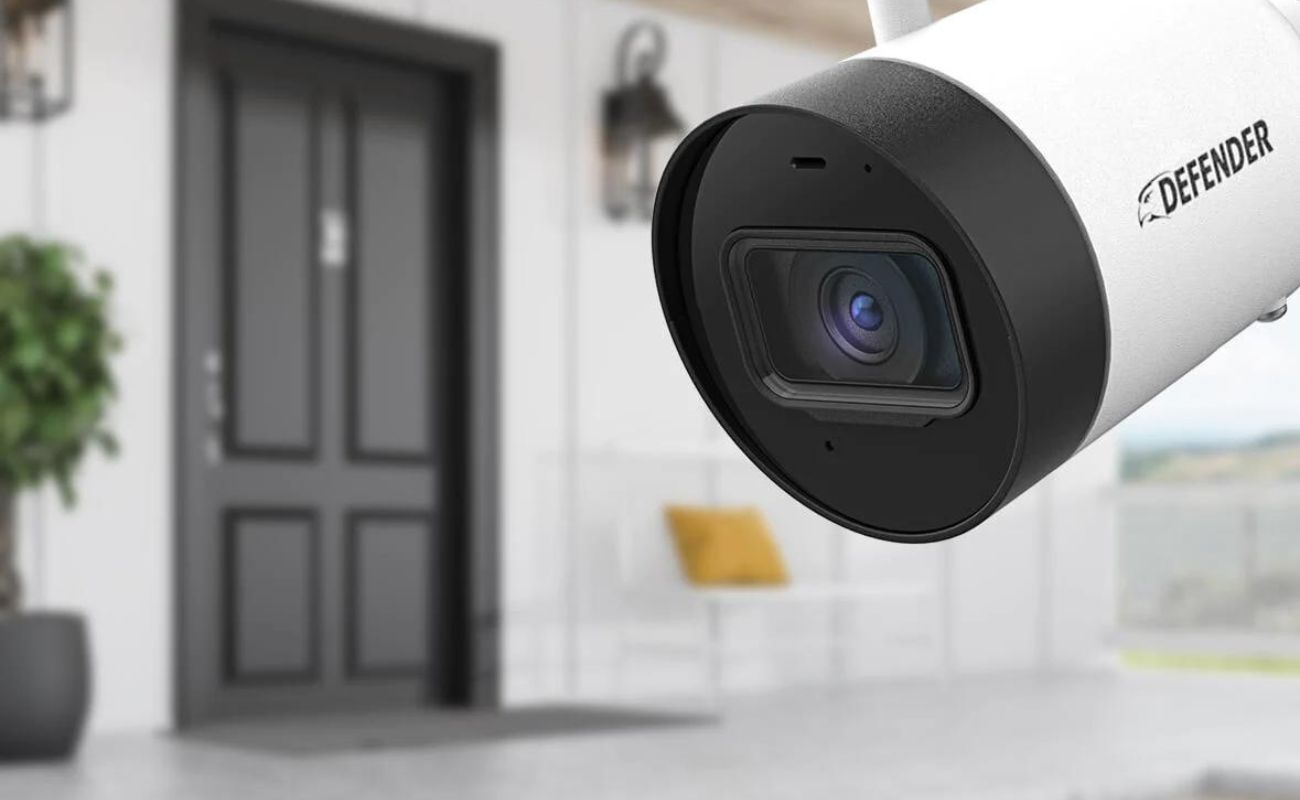
Home security is a top priority for homeowners, and advancements in technology have made it easier than ever to monitor and protect your property. One of the most popular options available today is the Annke 1080P Wireless Security Camera. With its high-resolution video capabilities and convenient wireless connectivity, this camera offers a reliable and efficient solution for home surveillance.
In this article, we will guide you through the step-by-step process of setting up and installing your Annke 1080P Wireless Security Camera. Whether you are a tech-savvy individual or a beginner in the world of home security systems, this guide will help you get your camera up and running in no time.
Before we dive into the installation process, let’s take a moment to understand why having a wireless security camera is essential for protecting your home and loved ones.
When it comes to home security, having a surveillance system in place can act as a deterrent for potential intruders. Studies have shown that homes with visible security cameras are less likely to be targeted by burglars. In addition to deterring criminals, wireless security cameras provide homeowners with peace of mind, allowing them to monitor their property in real-time and receive instant alerts in case of any suspicious activity.
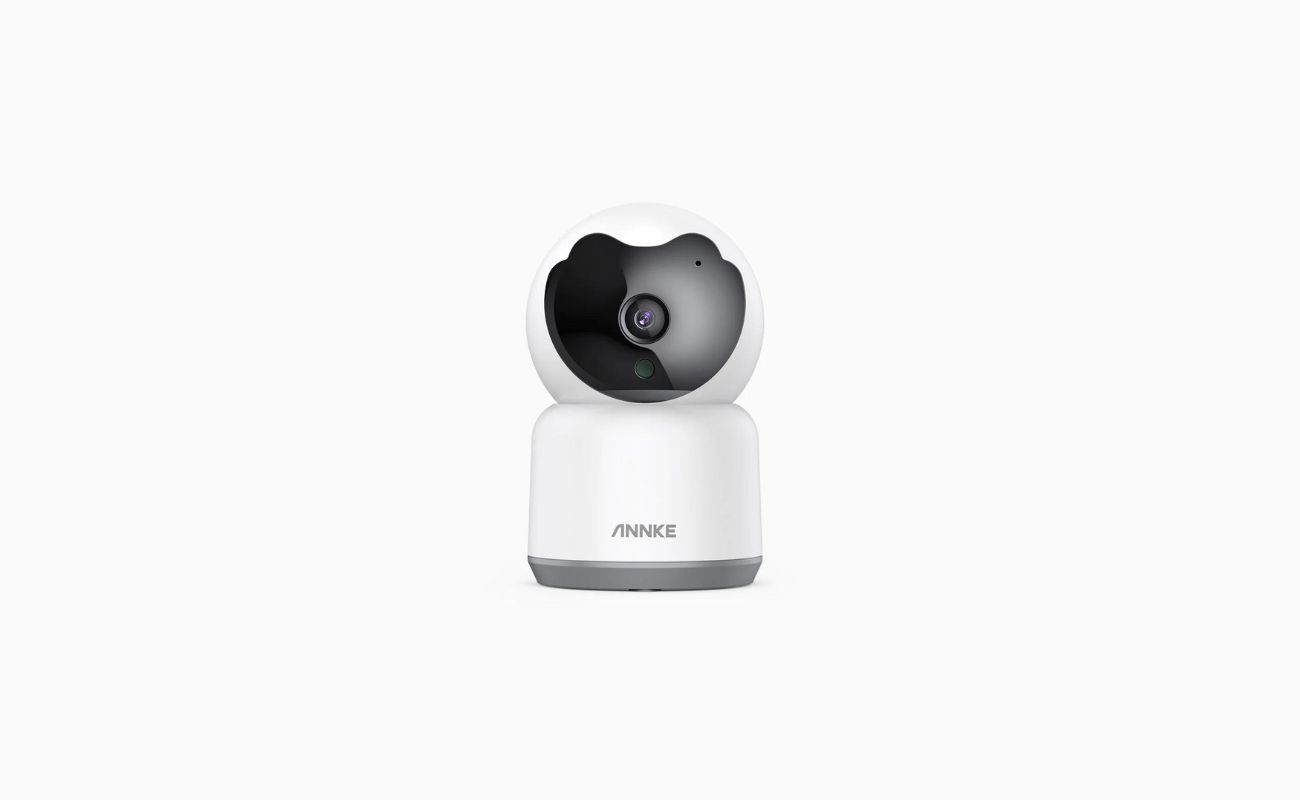
The Annke 1080P Wireless Security Camera is packed with features that make it an excellent choice for home surveillance. Equipped with a high-definition camera lens, it captures clear and detailed footage, ensuring that you never miss a single moment. Its wireless connectivity eliminates the need for cumbersome cables, making installation hassle-free and enhancing the camera’s flexibility in terms of placement.
Now that we understand the importance of home security and the benefits of the Annke 1080P Wireless Security Camera, let’s move on to the step-by-step guide on how to set it up and get it ready for use.
Key Takeaways:
- Setting up your Annke 1080P Wireless Security Camera is easy! Just unbox, find the perfect spot, connect to power and Wi-Fi, and use the Annke app for remote monitoring. Keep your home safe and secure effortlessly.
- Testing your camera is crucial for ensuring it works perfectly. Check the live feed, motion detection, and two-way audio. Regular maintenance and updates will keep your security system in top condition.
Read also: 8 Best Security Cameras 1080P For 2025
Step 1: Unboxing the Annke 1080P Wireless Security Camera
The first step in setting up your Annke 1080P Wireless Security Camera is unboxing the package and familiarizing yourself with its contents. When you open the box, you’ll find the camera itself, along with a power adapter, mounting bracket, screws, and a quick start guide.
Before proceeding further, take a moment to inspect the camera and accessories for any signs of damage. If everything looks good, you can proceed to the next step.
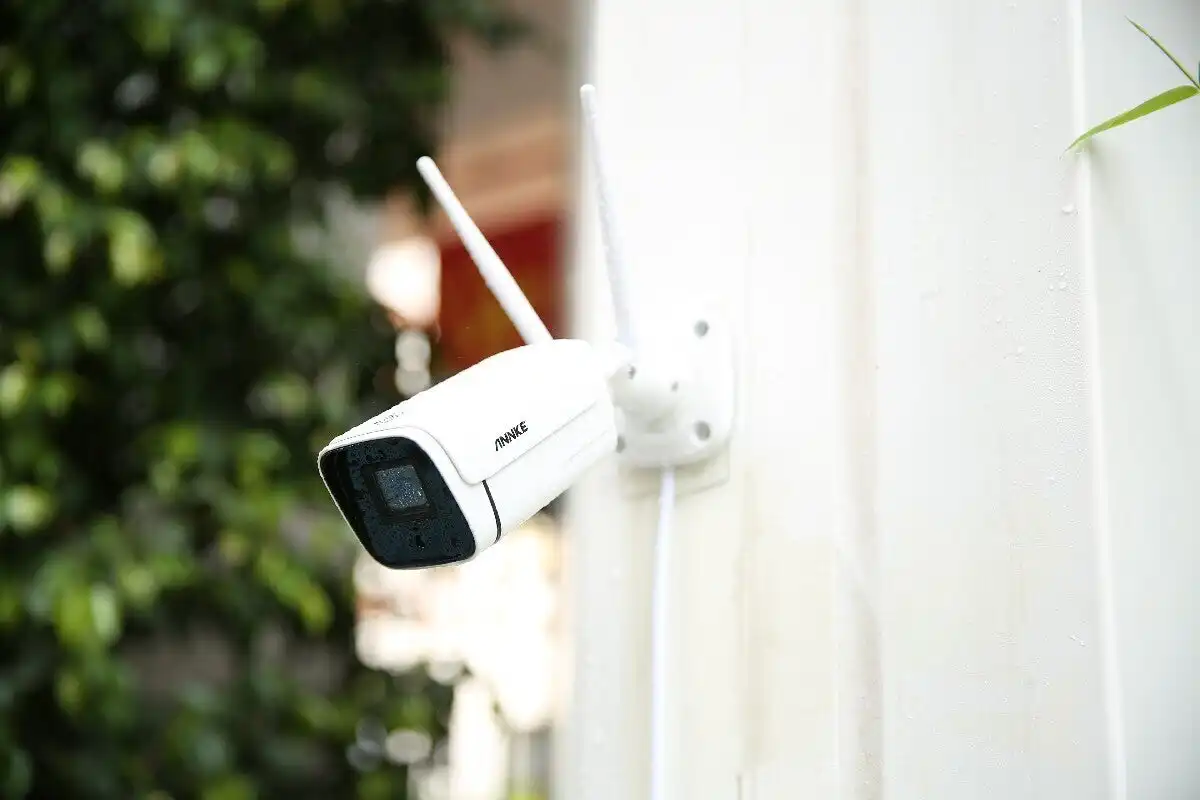
Next, locate a suitable location for mounting the camera. Ensure that the area provides a clear view of the intended monitoring area and is within range of your Wi-Fi network. It’s important to choose a spot that is not obstructed by any objects that may interfere with the camera’s field of view.
Once you have selected the ideal location, you can move on to the next step of the installation process.
Remember, it’s essential to carefully handle the camera and its components to avoid any damage. Take your time to unbox and inspect everything thoroughly before proceeding.
Step 2: Placing the Camera in an Ideal Location
Now that you have unboxed the Annke 1080P Wireless Security Camera, it’s time to find the perfect spot to place it. The location you choose will determine the camera’s field of view and its effectiveness in monitoring your desired area.
Here are a few tips to help you select the ideal location:
- Ensure Clear Line of Sight: The camera should have an unobstructed view of the area you want to monitor. Avoid placing it behind objects like furniture or plants that can block the camera’s field of view.
- Consider Optimal Height: Ideally, the camera should be mounted at a height that provides a clear view of the area while also protecting it from easy tampering. A height of 7 to 9 feet is recommended.
- Indoor or Outdoor Placement: Depending on your needs, you can choose to install the camera indoors or outdoors. If placing it outdoors, make sure it is weatherproof and can withstand various environmental conditions.
- Power Source Accessibility: Consider the proximity of a power source to ensure easy connectivity. You don’t want the camera’s power cord to be stretched or visible.
- Wi-Fi Signal Strength: Ensure that the chosen location has a strong Wi-Fi signal to ensure seamless connectivity between the camera and your network.
It’s worth spending some time experimenting with different locations to find the one that provides optimal coverage and meets your specific monitoring needs.
Once you have identified the perfect location, proceed to the next step to install the mounting bracket and securely attach the camera.
Step 3: Installing the Mounting Bracket
Now that you have selected the ideal location for your Annke 1080P Wireless Security Camera, it’s time to install the mounting bracket. The bracket will securely hold the camera in place, allowing it to capture clear and uninterrupted footage.
Follow these steps to install the mounting bracket:
- Position the Mounting Bracket: Hold the mounting bracket against the wall or ceiling in the desired location. Make sure it is level and aligned with your intended monitoring area.
- Mark the Screw Holes: Using a pencil or marker, mark the screw holes on the wall or ceiling. These marks will serve as a guide for drilling the necessary holes.
- Drill the Holes: Using an appropriate drill bit, carefully drill holes at the marked spots. Ensure that the size of the holes matches the size of the screws provided with the mounting bracket.
- Attach the Mounting Bracket: Line up the holes on the mounting bracket with the drilled holes on the wall or ceiling. Insert the screws provided and tighten them using a screwdriver or drill. Ensure that the bracket is securely attached and level.
- Attach the Camera: Once the mounting bracket is in place, attach the Annke 1080P Wireless Security Camera to the bracket. Follow the manufacturer’s instructions to securely fasten the camera to the bracket.
It’s important to ensure that the mounting bracket is installed correctly to provide a stable and secure base for the camera. A properly installed bracket will minimize vibrations and ensure that the camera remains in the desired position.
With the mounting bracket securely installed, you can now move on to the next step of connecting the camera to power.
Step 4: Connecting the Camera to Power
Now that you have installed the mounting bracket, it’s time to connect your Annke 1080P Wireless Security Camera to a power source. This step is crucial as it provides the camera with the necessary power to operate effectively.
Follow these steps to connect the camera to power:
- Locate the Power Adapter: In the package, you’ll find a power adapter specifically designed for the Annke 1080P Wireless Security Camera. Locate this adapter.
- Connect the Power Adapter: Plug the power adapter into a nearby electrical outlet or surge protector. Ensure that the outlet is easily accessible and provides a reliable power source for the camera.
- Connect the Power Cable: Take the other end of the power adapter cable and connect it to the power input port on the camera. Ensure that the connection is secure and tight to avoid any power interruptions.
- Power On the Camera: Once the power cable is connected, turn on the camera using the designated power button or switch. You might see a small LED light indicating that the camera is receiving power.
- Wait for Initialization: Give the camera a few moments to initialize. During this time, the camera might go through a startup process, and the LED light might flash or change colors. Wait until the camera is fully initialized and ready for the next step.
It’s important to note that the Annke 1080P Wireless Security Camera requires a constant power supply to ensure uninterrupted monitoring. Make sure that the camera remains connected to the power source at all times to avoid any gaps in surveillance coverage.
Now that your camera is connected to power, we will proceed to the next step of connecting it to your Wi-Fi network.
Make sure to connect the camera to a power source and download the Annke Vision app. Follow the in-app instructions to connect the camera to your Wi-Fi network and complete the setup process.
Step 5: Connecting the Camera to Wi-Fi
With the Annke 1080P Wireless Security Camera powered on, the next step is to connect it to your Wi-Fi network. This will enable you to remotely access and control the camera through your smartphone or other devices.
Follow these steps to connect the camera to Wi-Fi:
- Locate the Wi-Fi Antenna: On the back or bottom of the camera, you will find a Wi-Fi antenna. This is usually an external antenna or an integrated one.
- Ensure Proper Signal Strength: Before proceeding, ensure that your Wi-Fi network has good signal strength in the area where the camera is installed. A weak or unstable Wi-Fi connection can lead to poor camera performance.
- Access the Camera’s Settings: Launch the Annke app on your smartphone or open the camera’s web interface on your computer. Navigate to the camera settings to access the network or Wi-Fi configuration options.
- Select Wi-Fi Network: In the camera’s settings, locate the Wi-Fi network selection option. This might be labeled as “Wireless Settings,” “Network Settings,” or something similar.
- Scan for Available Networks: Click on the “Scan” or “Refresh” button to scan for available Wi-Fi networks. The camera will display a list of networks in range.
- Choose your Wi-Fi Network: Select your Wi-Fi network from the list of available networks. Enter the network password if prompted.
- Connect to Wi-Fi: Once you have selected your network and entered the password, click on the “Connect” or “Apply” button to establish a connection between the camera and your Wi-Fi network.
- Wait for Connection: The camera will take a moment to connect to the Wi-Fi network. You might see a status indicator or LED light on the camera that confirms a successful connection.
Once the camera is successfully connected to your Wi-Fi network, you can proceed to the next step of downloading and installing the Annke app on your smartphone or device.
It’s important to note that the exact steps for connecting the camera to Wi-Fi may vary slightly depending on the model and firmware version. Always refer to the user manual or documentation provided by Annke for detailed instructions specific to your camera model.
Step 6: Downloading and Installing the Annke App
Now that your Annke 1080P Wireless Security Camera is connected to your Wi-Fi network, it’s time to download and install the Annke app on your smartphone or tablet. The Annke app allows you to access and control your camera remotely, giving you the flexibility to monitor your home from anywhere.
Follow these steps to download and install the Annke app:
- Open the App Store or Google Play Store on your smartphone or tablet.
- Search for “Annke” in the search bar of the respective app store.
- Locate the official Annke app developed by Annke Security.
- Tap on the app to open its download/installation page.
- Click on the “Install” or “Get” button to start the download and installation process.
- Wait for the app to download and install on your device. This process may take a few moments depending on your internet connection speed.
- Once the app is installed, open it and create an account if prompted. Follow the on-screen instructions to complete the account setup.
- Log in to the Annke app using your credentials or the account you just created.
- Allow necessary permissions: The Annke app may request certain permissions to access features like the camera, microphone, and storage. Grant the necessary permissions to ensure the app functions properly.
- Once you are logged in and the necessary permissions are granted, you will be able to see your connected camera on the app’s home screen.
Congratulations! You have successfully downloaded and installed the Annke app on your smartphone. You are now ready to configure and customize your camera settings through the app.
The Annke app provides a user-friendly interface and offers a variety of features such as live view, playback, motion detection, and more. Spend some time exploring the app to familiarize yourself with its features and functionalities.
In the next step, we will guide you through the process of configuring the camera settings to ensure optimal performance and personalized preferences.
Step 7: Configuring the Camera Settings
Now that you have successfully installed the Annke app and connected your Annke 1080P Wireless Security Camera, it’s time to configure the camera settings. These settings will allow you to personalize your camera’s functionality, customize alerts, and tailor the monitoring experience according to your specific needs.
Follow these steps to configure the camera settings:
- Launch the Annke app on your smartphone or tablet.
- Log in to your account if prompted. Ensure that you have an active internet connection for the app to function properly.
- Locate your connected camera in the app’s home screen. It should be listed as the device you just installed.
- Tap on the camera to access its settings and configuration options.
- Explore the available settings: In the camera settings menu, you will find various options to customize your camera’s behavior. These may include video quality settings, motion detection sensitivity, alarm settings, storage options, and more. Take your time to familiarize yourself with the available settings.
- Adjust video quality: Depending on your preference and network capabilities, you can choose the desired video quality for your camera’s live view and recordings.
- Configure motion detection: Motion detection allows the camera to automatically record and send alerts when it detects movement in its field of view. Adjust the motion detection sensitivity and specify any desired motion detection zones.
- Set up notifications: Enable push notifications on your smartphone to receive instant alerts whenever motion is detected or any other events occur.
- Explore advanced settings: Depending on your camera model, there may be additional settings available, such as night vision mode, two-way audio, PTZ control, and more. Take advantage of these settings to enhance your monitoring experience.
- Save the settings: Once you have configured the desired settings, make sure to save them to apply the changes.
Remember to review the camera’s user manual or documentation for in-depth instructions and explanations of specific settings. This will help you make the most of your Annke 1080P Wireless Security Camera and optimize its performance based on your needs.
Now that you have personalized your camera settings, it’s time to move on to the next step and test your camera to ensure everything is working as expected.
Step 8: Testing the Camera
After configuring the settings of your Annke 1080P Wireless Security Camera, it is important to test the camera to ensure that it is functioning correctly and capturing high-quality footage. Testing the camera will also give you peace of mind, knowing that your home is being monitored effectively.
Follow these steps to test your camera:
- Launch the Annke app on your smartphone or tablet.
- Log in to your account if prompted.
- Locate your connected camera in the app’s home screen.
- Tap on the camera to access the live view feature.
- Check the live feed: Verify that the live feed from the camera is clear and stable. Ensure that the camera captures the intended monitoring area and provides a good view of the surroundings.
- Trigger motion detection: Move within the camera’s field of view to trigger the motion detection feature. Verify that the camera detects motion accurately and sends push notifications to your smartphone or tablet.
- Test two-way audio (if available): If your camera supports two-way audio, use the app to speak through your smartphone and check if the sound is transmitted clearly through the camera’s speaker.
- Review recorded footage: Check the recorded footage to ensure that it is being saved properly and that you can access it through the Annke app. Playback the recordings to verify the video and audio quality.
- Adjust settings if necessary: If you notice any issues during the testing phase, go back to the camera settings and make adjustments as needed. This could include fine-tuning motion detection settings, adjusting video quality, or modifying other parameters.
- Repeat the testing process: Perform multiple tests at different times of the day to evaluate the camera’s performance in different lighting and environmental conditions. This will help ensure that your camera is reliable and effective around the clock.
By thoroughly testing your camera and exploring its various features, you can ensure that it is functioning optimally and providing you with the security and peace of mind you desire.
Remember to periodically check your camera and perform maintenance tasks such as cleaning the lens and updating the firmware to keep it in top condition.
Congratulations! You have successfully set up and tested your Annke 1080P Wireless Security Camera. You can now enjoy the benefits of remote monitoring and have the confidence of knowing that your home is protected.
If you have any further questions or need assistance, consult the camera’s user manual or seek support from Annke’s customer service. Happy monitoring!
Read also: 15 Best 1080P Television For 2025
Conclusion
In conclusion, setting up a home security system is a critical step towards protecting your property and ensuring the safety of your loved ones. The Annke 1080P Wireless Security Camera offers a reliable and convenient solution for home surveillance, with its high-resolution video capabilities and wireless connectivity.
Throughout this guide, we have walked you through the step-by-step process of unboxing the camera, placing it in an optimal location, installing the mounting bracket, connecting it to power and Wi-Fi, downloading and installing the Annke app, configuring the camera settings, and testing its functionality. By following these steps, you can easily set up and begin using your Annke 1080P Wireless Security Camera.
It’s important to remember that while the installation and configuration process may seem straightforward, it’s vital to carefully read the user manual and follow the manufacturer’s instructions for your specific camera model. This will ensure that you make the most of your camera’s features and functionality.
Once you have your Annke 1080P Wireless Security Camera up and running, make sure to periodically check the camera’s performance, adjust settings as needed, and maintain its proper functioning. Regular testing and maintenance will help ensure that your camera provides effective surveillance and delivers the peace of mind you seek.
Remember that a security camera is just one piece of the home security puzzle. It’s advisable to supplement your camera system with other security measures such as motion sensor lights, door and window alarms, and secure locks. Combining these elements will create a comprehensive home security solution.
Investing in a reliable home security system, such as the Annke 1080P Wireless Security Camera, is an essential step towards protecting what matters most to you. By following this guide and taking the necessary precautions, you can enhance the security of your home and enjoy the benefits of remote monitoring and surveillance.
We hope that this guide has provided you with valuable insights and assistance in setting up and using your Annke 1080P Wireless Security Camera. If you have any further questions or need additional support, always refer to the user manual or reach out to Annke’s customer service for assistance. Stay safe and secure!
Now that you've got your Annke 1080P Wireless Security Camera set up, why stop there? Ensuring your home remains a safe haven is vital. For insights on bolstering your peace of mind, dive into our article discussing the necessity of why having robust home security is crucial. And if you're fascinated by the latest in household convenience, don't miss our guide on exciting advancements in smart home technology for the upcoming year. Both pieces are packed with essential tips and innovative ideas to keep your living space secure and effortlessly manageable.
Frequently Asked Questions about How To Hook Up My Annke 1080P Wireless Security Camera
Was this page helpful?
At Storables.com, we guarantee accurate and reliable information. Our content, validated by Expert Board Contributors, is crafted following stringent Editorial Policies. We're committed to providing you with well-researched, expert-backed insights for all your informational needs.