Home>Home Security and Surveillance>How To Connect Wireless Security Camera To DVR
Home Security and Surveillance
How To Connect Wireless Security Camera To DVR
Modified: October 21, 2024
Learn how to easily connect your wireless security camera to a DVR for seamless home security and surveillance. Enhance your peace of mind with our step-by-step guide.
(Many of the links in this article redirect to a specific reviewed product. Your purchase of these products through affiliate links helps to generate commission for Storables.com, at no extra cost. Learn more)
Introduction
Welcome to our comprehensive guide on how to connect a wireless security camera to a DVR system. With the increasing need for home security and surveillance, wireless security cameras have become a popular choice for many homeowners. These cameras provide flexibility and convenience, allowing you to monitor your property remotely without the need for extensive wiring.
In this article, we will walk you through the step-by-step process of connecting your wireless security camera to a DVR system. By following these instructions, you will be able to set up a reliable surveillance system to protect your home and loved ones.
Before we begin, it is important to note that this guide assumes you have already purchased a wireless security camera and a compatible DVR system. Additionally, make sure you have the necessary power adapters and Ethernet cables, as they will be needed for the setup process.
Now, let’s get started!
Key Takeaways:
- Setting up a wireless security camera with a DVR involves gathering the right equipment, connecting the camera to power, configuring wireless settings, physically connecting the camera to the DVR, checking the connection, and adjusting camera and DVR settings for optimal surveillance.
- A wireless security camera can be connected to a DVR for enhanced home security. It’s important to gather the necessary equipment, follow step-by-step instructions for setup, and adjust camera and DVR settings to ensure effective monitoring and recording.
Step 1: Gather the necessary equipment
Before you can connect your wireless security camera to a DVR system, you’ll need to gather the necessary equipment. Here’s what you’ll need:
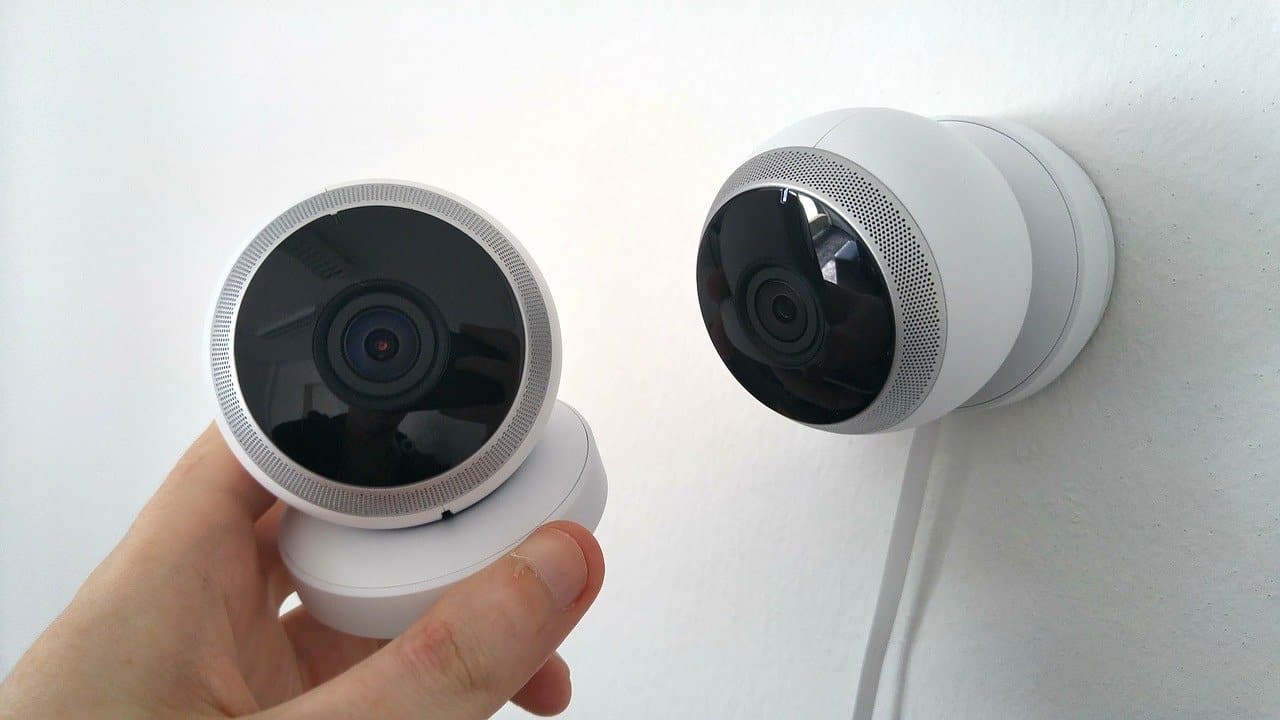
1. Wireless security camera:
Choose a wireless security camera that suits your needs. Consider factors such as resolution, night vision capabilities, and weather resistance. Make sure the camera is compatible with the DVR system you have or plan to purchase.
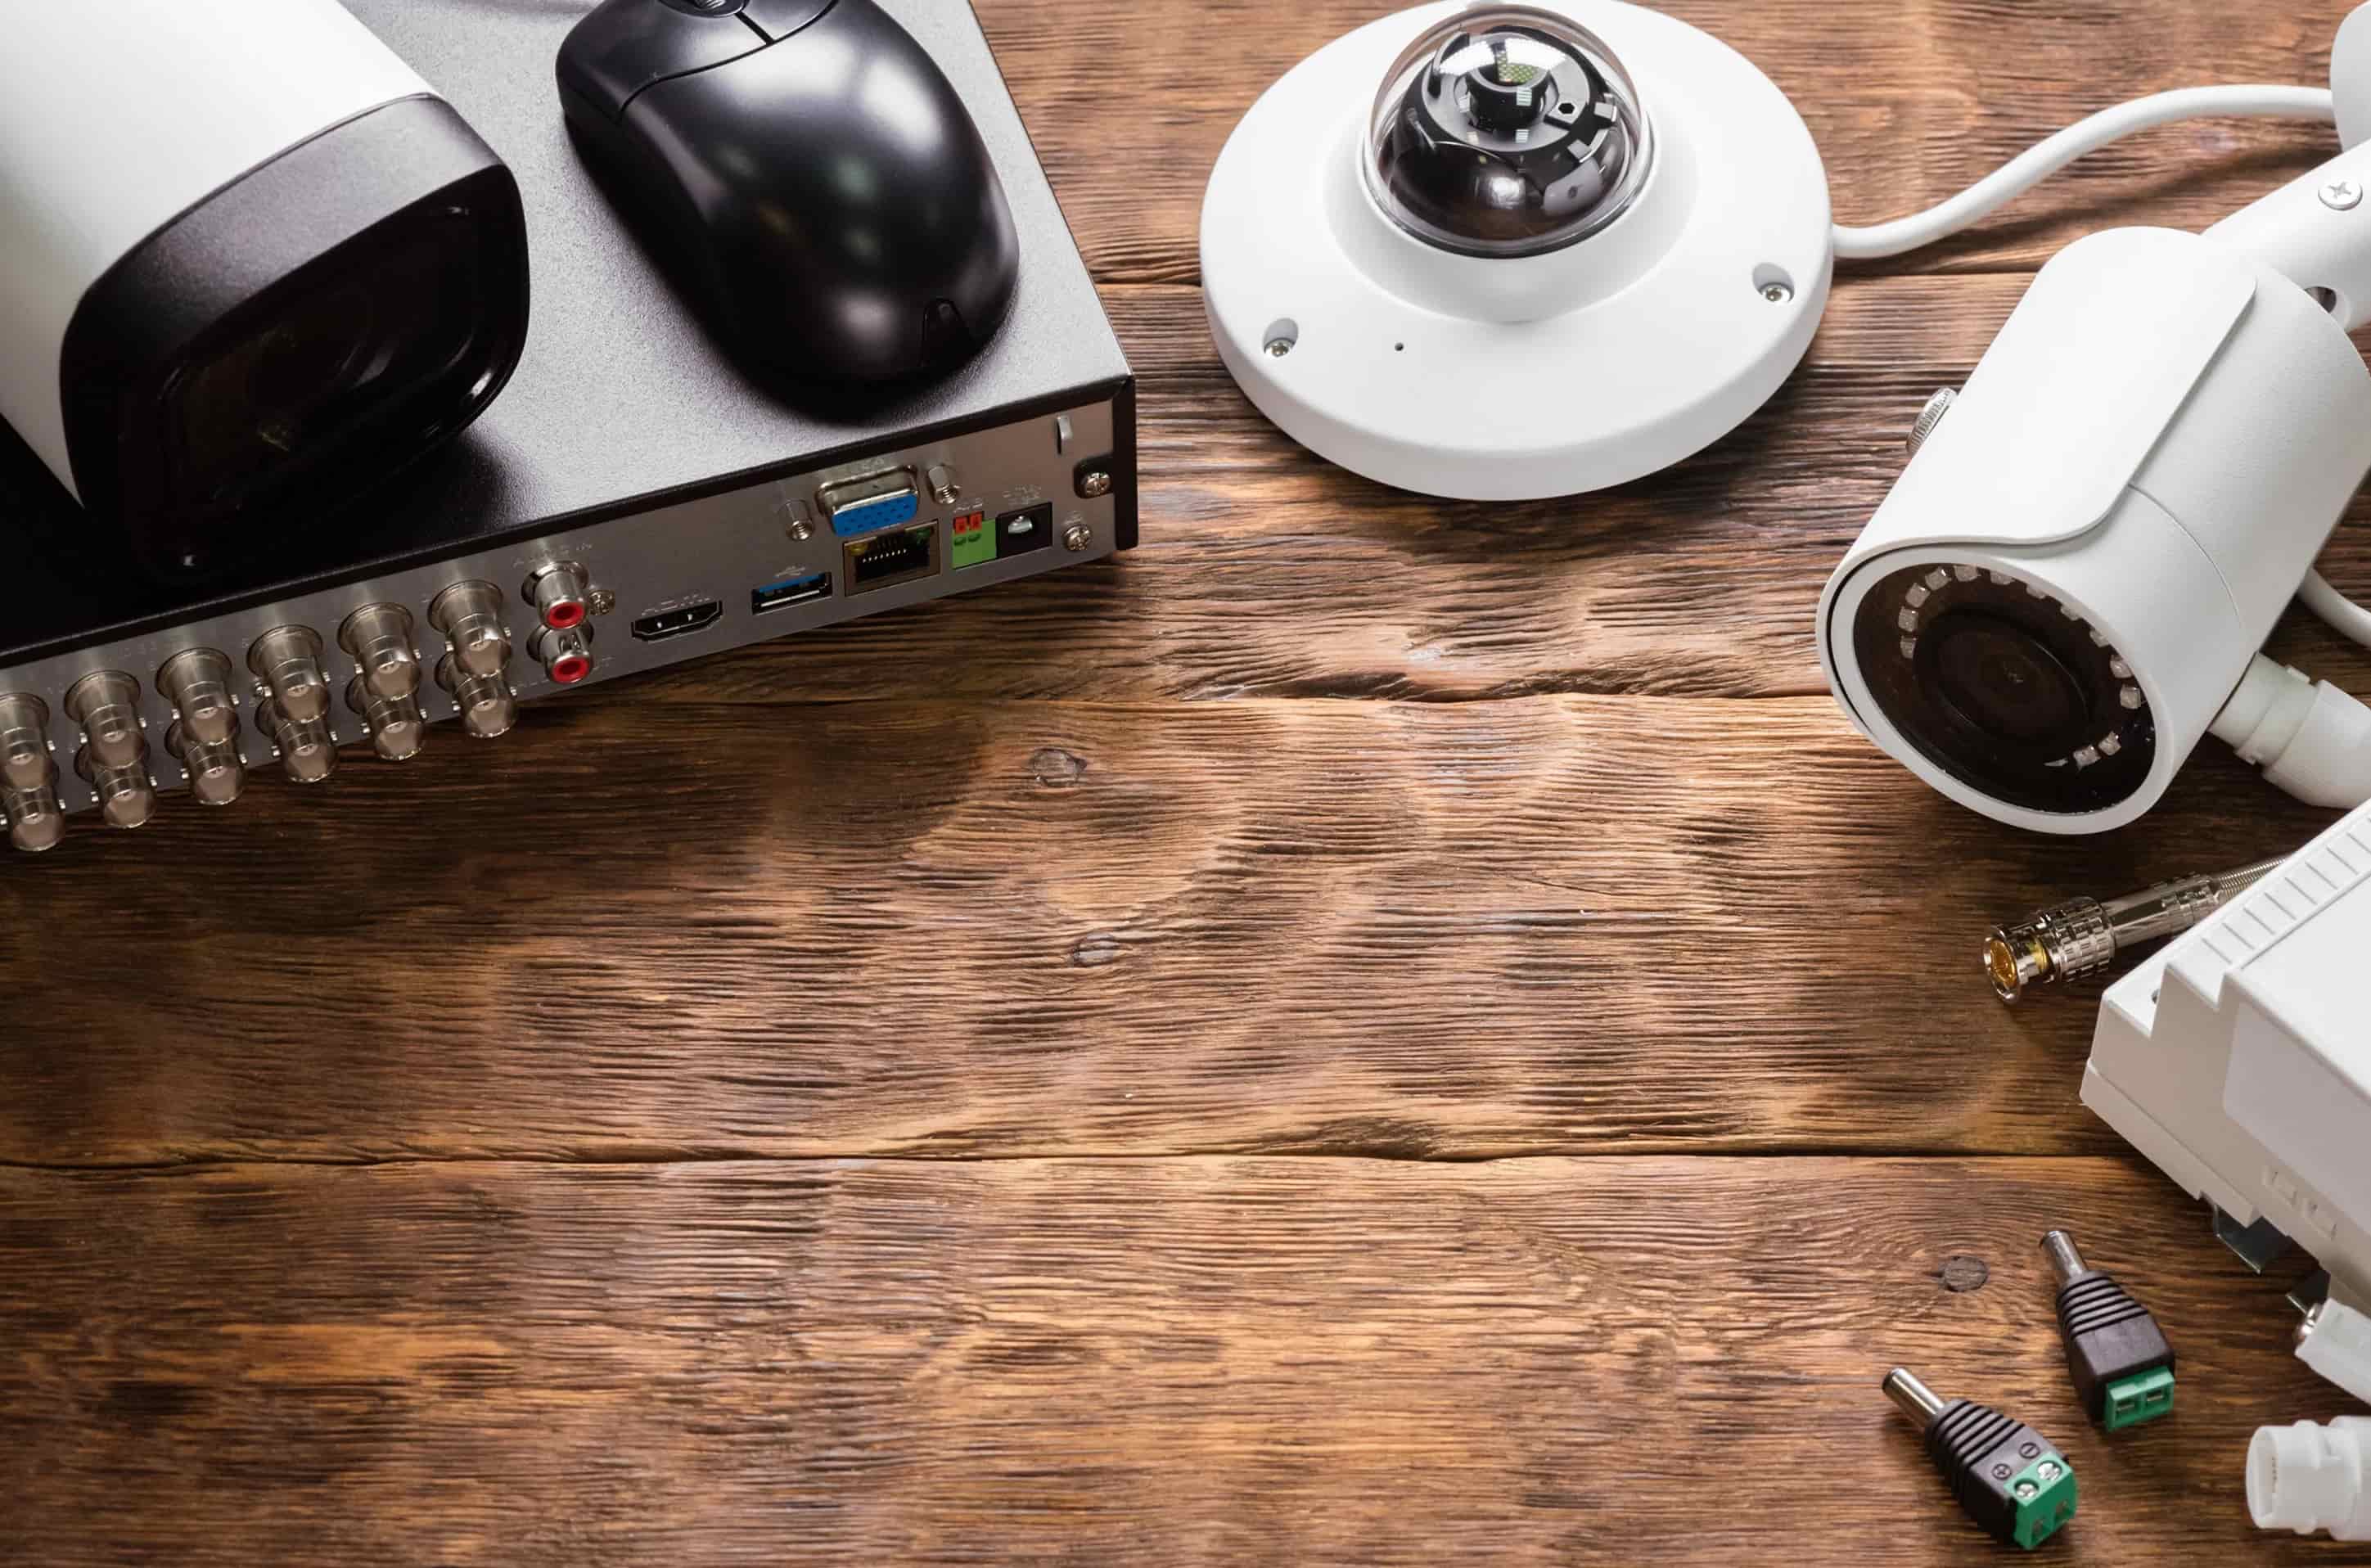
2. DVR system:
The DVR (Digital Video Recorder) is the device that will receive and record footage from your security camera. Select a DVR system that supports wireless camera connectivity and has enough storage capacity for recording your footage.
3. Power adapters:
Most wireless security cameras require a power source for operation. Ensure that you have power adapters for both the camera and the DVR system. These adapters will provide the necessary electrical power to keep the devices running.
Read more: How To Connect Wireless Security Cameras?
4. Ethernet cables:
Although wireless cameras transmit video wirelessly, you’ll still need Ethernet cables for the initial setup and configuration. These cables will be used to establish a direct connection between the camera and the DVR system.
Once you have gathered all the necessary equipment, you’re ready to proceed with the setup process. Make sure to review the instruction manuals provided with your devices for any specific requirements or recommendations.
Step 2: Connect the security camera to the power source
Now that you have all the necessary equipment, it’s time to connect your security camera to a power source. Follow these steps:
1. Plugin the power adapter to an electrical outlet:
Locate a nearby electrical outlet where you can plug in the power adapter for your security camera. Make sure the outlet is easily accessible and can provide a reliable power source.
2. Connect the power cable to the camera:
Take the power cable that came with your wireless security camera and connect it to the designated power input on the camera. Ensure a secure connection is made, as this will provide the necessary power for the camera to function.
Note: Depending on the specific camera model, the power cable may have a connector or a plug that needs to be inserted into the camera. Follow the manufacturer’s instructions for the correct installation method.
Once you have successfully connected the camera to the power source, you should see some indication that the camera is receiving power, such as an LED light turning on. This means the camera is ready to be configured and connected to the DVR system.
Now that the camera is powered on, you can proceed to the next step which involves configuring the wireless settings on the camera.
Step 3: Configure the wireless settings on the camera
With your wireless security camera powered on, it’s time to configure its wireless settings. Follow these steps to connect it to your home network:
1. Access the camera’s settings menu:
Refer to the user manual or manufacturer’s instructions to access the settings menu on your wireless security camera. This is typically done by connecting your computer or mobile device to the camera’s local network or by directly connecting to the camera’s IP address through a web browser.
2. Select the wireless settings option:
Once you have accessed the camera’s settings menu, navigate through the options to find the wireless settings. This could be labeled as “Wireless Settings,” “Network Settings,” or something similar.
3. Enter the network name (SSID) and password:
In the wireless settings section, you will find fields to enter the network name, also known as the SSID (Service Set Identifier), and the password for your home network. Enter the correct information in these fields as provided by your Internet Service Provider (ISP) or router settings.
After entering the network name and password, save the settings on the camera. It may take a few moments for the camera to establish a connection with your home network. Keep in mind that the camera and your DVR system should be on the same network for successful communication and streaming of the camera’s video feed.
Once the camera is successfully connected to your home network, you can proceed to the next step which involves physically connecting the camera to the DVR system.
Step 4: Connect the camera to the DVR system
Now that you have configured the wireless settings on your security camera, it’s time to physically connect it to the DVR system. Follow these steps:
1. Use an Ethernet cable to connect the camera and DVR:
Locate an Ethernet cable long enough to reach from the camera to the DVR system. Ethernet cables are commonly used for wired connections and provide a reliable and stable connection between devices.
2. Plug one end of the cable into the camera’s Ethernet port:
On the back of your security camera, you will find an Ethernet port. It is usually labeled “LAN” or “Ethernet.” Take one end of the Ethernet cable and firmly insert it into this port. Ensure that the connection is secure to allow for uninterrupted data transfer.
3. Plug the other end into the DVR’s Ethernet port:
Next, locate the Ethernet port on your DVR system. It is typically marked as “LAN” or “Ethernet” as well. Insert the other end of the Ethernet cable into this port, making sure it is firmly connected.
Once the camera and DVR are physically connected with the Ethernet cable, data can now flow between the two devices. This connection allows the DVR to access the camera’s video feed and record the footage.
Note: The Ethernet cable provides a more stable and secure connection compared to a Wi-Fi connection. However, if your camera and DVR system support wireless connectivity, you may have the option to connect them wirelessly instead.
With the camera and DVR system connected, you can now proceed to the next step, which involves checking the connection on the DVR system.
Step 5: Check the connection on the DVR
Now that you have connected your security camera to the DVR system, it’s time to ensure that the camera is successfully connected and streaming. Follow these steps to check the connection on the DVR:
1. Access the DVR’s settings menu:
Refer to the user manual or manufacturer’s instructions to access the settings menu on your DVR system. This is typically done by connecting your computer or accessing the DVR’s interface through a web browser.
2. Navigate to the camera settings or network settings section:
Once you have accessed the DVR’s settings menu, navigate to either the “Camera Settings” or “Network Settings” section. The specific label may vary depending on your DVR model.
3. Verify that the camera is successfully connected and streaming:
Within the camera settings or network settings section, you should see a list of connected cameras. Look for the camera you have connected and verify that it is successfully connected and streaming.
You may see information such as the camera’s IP address or a live video feed from the camera. This confirms that the camera is properly connected to the DVR system and is transmitting video footage.
If you do not see the camera listed or encounter any connectivity issues, double-check the physical connection between the camera and DVR system. Ensure that the Ethernet cable is securely plugged in and that both devices have power.
It is also possible that there may be compatibility issues between the camera and DVR system. In such cases, refer to the user manual or contact the manufacturer for further assistance.
Once you have confirmed the successful connection and streaming of the camera on the DVR system, you can proceed to the final step, which involves adjusting camera settings and configuring DVR recording.
Step 6: Adjust camera settings and configure DVR recording
Now that you have successfully connected your wireless security camera to the DVR system, it’s time to fine-tune the camera settings and configure the DVR recording options. Follow these steps to adjust camera settings and set up recording:
1. Access the camera and DVR settings menus:
Refer to the user manuals or manufacturer’s instructions to access the settings menus for both the camera and the DVR system. This is typically done through a web-based interface or dedicated software provided by the manufacturer.
2. Adjust camera angles, motion sensitivity, and other preferences:
In the camera settings menu, you will have the opportunity to customize various aspects of the camera’s performance. Adjust the camera angles to ensure the desired field of view and coverage. You can also configure motion sensitivity settings, enabling the camera to detect and record any detected motion. Additionally, explore other available settings such as video quality, night vision settings, and audio options.
3. Set up recording schedules or motion-triggered recording:
In the DVR settings menu, navigate to the recording options or schedule settings section. Depending on your DVR model, you may have the option to set up continuous recording, scheduled recording, or motion-triggered recording. Take advantage of these features to optimize storage space and only record when needed. Set up recording schedules based on your preferences, such as recording during certain hours or specific days of the week. Alternatively, configure motion-triggered recording so that the camera starts recording when motion is detected within its field of view.
Make sure to save your settings in both the camera and DVR menus to apply the changes. Once the settings are saved, the camera will start recording according to your configured preferences.
Please note that the exact steps and options for adjusting camera settings and configuring DVR recording may vary depending on the specific camera and DVR system you have. It’s recommended to consult the user manuals or reach out to the manufacturer’s support for any specific instructions or troubleshooting assistance.
Congratulations! You have successfully connected your wireless security camera to a DVR system, adjusted the camera settings, and configured DVR recording options. Your surveillance system is now ready to monitor and record any activity that occurs within its range.
Read also: 9 Amazing Security Cameras With Dvr For 2025
Conclusion
Setting up a wireless security camera and connecting it to a DVR system can greatly enhance the security and surveillance of your home. By following the steps outlined in this guide, you can easily connect a wireless security camera to a DVR and have a reliable and comprehensive surveillance system.
Remember to gather all the necessary equipment before starting the setup process. This includes a wireless security camera, a compatible DVR system, power adapters, and Ethernet cables. Ensure that your camera is connected to a power source and configure the wireless settings by entering your network name (SSID) and password.
Next, physically connect the camera to the DVR using an Ethernet cable, plugging one end into the camera’s Ethernet port and the other end into the DVR’s Ethernet port. Once connected, navigate to the DVR’s settings menu to verify that the camera is successfully connected and streaming.
Finally, adjust the camera settings according to your preferences, such as camera angles, motion sensitivity, and other preferences. Configure the DVR recording options to set up recording schedules or motion-triggered recording. This will ensure that your surveillance system captures and records any activity that occurs within its range.
By properly connecting your wireless security camera to a DVR system, you can have peace of mind knowing that your home is being monitored and protected. Remember to regularly check the system for updates, review recorded footage, and make any necessary adjustments to ensure optimal performance.
Should you encounter any challenges during the setup process or have any specific concerns, it is always advisable to consult the user manuals provided by the manufacturers or seek assistance from their customer support. This will ensure a smooth installation and operation of your wireless security camera and DVR system.
With your wireless security camera and DVR system up and running, you can enjoy enhanced security and surveillance, allowing you to keep an eye on your property, loved ones, and valuable possessions from anywhere at any time.
Frequently Asked Questions (FAQs)
Q: Can I connect multiple wireless security cameras to a single DVR system?
A: Yes, most DVR systems support multiple camera connections. Make sure the DVR system you choose has enough channels to accommodate the number of cameras you want to connect.
Q: Can I connect a wireless security camera to my existing Wi-Fi network without a DVR?
A: Yes, some wireless security cameras can connect directly to your Wi-Fi network and allow you to view the footage using a mobile app or web interface. However, using a DVR system provides additional benefits such as centralized footage storage and easy access to recorded footage.
Q: What is the range of a wireless security camera’s signal?
A: The range of a wireless security camera can vary depending on factors such as the camera model, obstructions, and interference. In general, most wireless cameras have a range of around 100 to 500 feet. It’s recommended to test the camera’s signal strength in different areas of your property before finalizing the camera’s placement.
Q: How do I ensure the security of my wireless security camera system?
A: To ensure the security of your wireless security camera system, follow these best practices: use a strong and unique password for your camera and DVR system, enable encryption for your wireless network, keep the camera firmware up to date, and regularly check for software updates for your DVR system.
Q: Can I view my security camera footage remotely?
A: Yes, many wireless security camera systems allow remote access to the footage. This can be done through dedicated mobile apps or web interfaces provided by the manufacturer. Make sure to follow the necessary steps to set up remote access, such as port forwarding or using a secure VPN connection.
Q: Can I add additional storage to my DVR system?
A: Yes, most DVR systems have the option to add additional storage, such as external hard drives or network-attached storage (NAS). This can provide extra storage capacity for recording and storing more footage.
If you have any additional questions or concerns regarding the setup and use of wireless security cameras and DVR systems, consult the user manuals provided by the manufacturers or reach out to their customer support for further assistance.
Frequently Asked Questions about How To Connect Wireless Security Camera To DVR
Was this page helpful?
At Storables.com, we guarantee accurate and reliable information. Our content, validated by Expert Board Contributors, is crafted following stringent Editorial Policies. We're committed to providing you with well-researched, expert-backed insights for all your informational needs.