Home>Home Security and Surveillance>How To Install Night Owl Wired Security Cameras
Home Security and Surveillance
How To Install Night Owl Wired Security Cameras
Modified: October 20, 2024
Learn how to enhance your home security and surveillance with Night Owl wired security cameras. Install them easily and enjoy peace of mind.
(Many of the links in this article redirect to a specific reviewed product. Your purchase of these products through affiliate links helps to generate commission for Storables.com, at no extra cost. Learn more)
Introduction
Welcome to the world of home security and surveillance. In today’s rapidly changing world, it’s more important than ever to prioritize the safety and protection of our homes and our loved ones. With advancements in technology, installing a reliable home security camera system has become easier and more affordable than ever before. In this article, we will guide you through the process of installing Night Owl wired security cameras, ensuring that you have a robust surveillance system in place to keep your home secure.
When it comes to home security, having a trustworthy surveillance system is crucial. Night Owl is a renowned brand that offers a wide range of wired security cameras designed to meet the unique needs of homeowners. Whether you are looking to monitor your front yard, backyard, or any other area of your property, Night Owl has a solution for you.
Before we dive into the installation process, it’s important to note that proper planning and preparation are key to a successful installation. You need to determine the areas you wish to monitor, familiarize yourself with the necessary tools and equipment, and carefully choose camera placement for maximum coverage. By following the steps outlined in this guide, you will be able to install Night Owl wired security cameras with ease and proficiency.
Now, let’s get started with the first step – gathering the required tools and equipment.
Key Takeaways:
- Installing Night Owl wired security cameras involves gathering tools, planning camera placement, and connecting to a DVR. Careful installation and testing ensure a reliable home surveillance system.
- By following step-by-step instructions, configuring DVR settings, and thorough testing, you can achieve peace of mind with a robust Night Owl wired security camera system for your home.
Step 1: Gather the Required Tools and Equipment
Before you begin the installation process, it’s essential to ensure that you have all the necessary tools and equipment at hand. This will save you time and frustration later on. Here is a list of the items you will need:
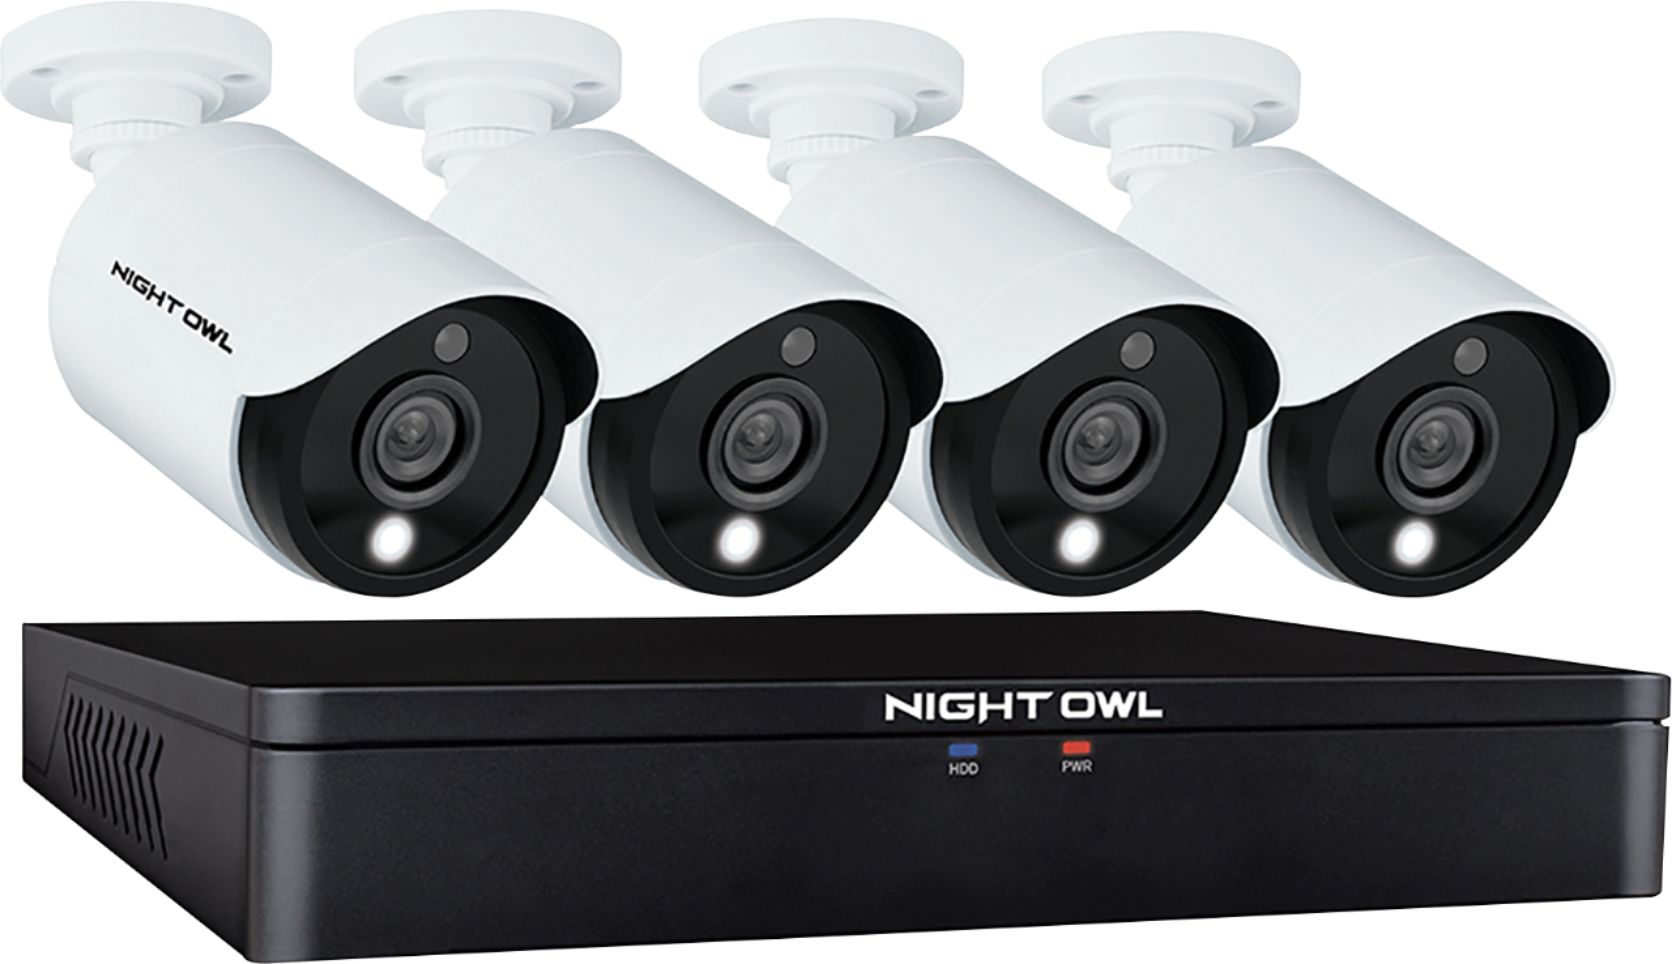
- Night Owl wired security cameras
- DVR (Digital Video Recorder)
- BNC cables (coaxial cables)
- Power supply for the cameras
- Monitor or TV for viewing the camera footage
- Screwdriver
- Drill and drill bits
- Pencil or marker
- Level
- Tape measure
- Ethernet cable (for connecting the DVR to the router)
- Network router (if remote viewing is desired)
- Internet connection (if remote viewing is desired)
Make sure to check the Night Owl camera system package to ensure that all the necessary components are included. It’s always a good idea to double-check before starting the installation process.
Once you have gathered all the tools and equipment, you’re ready to move on to the next step – determining the camera placement.
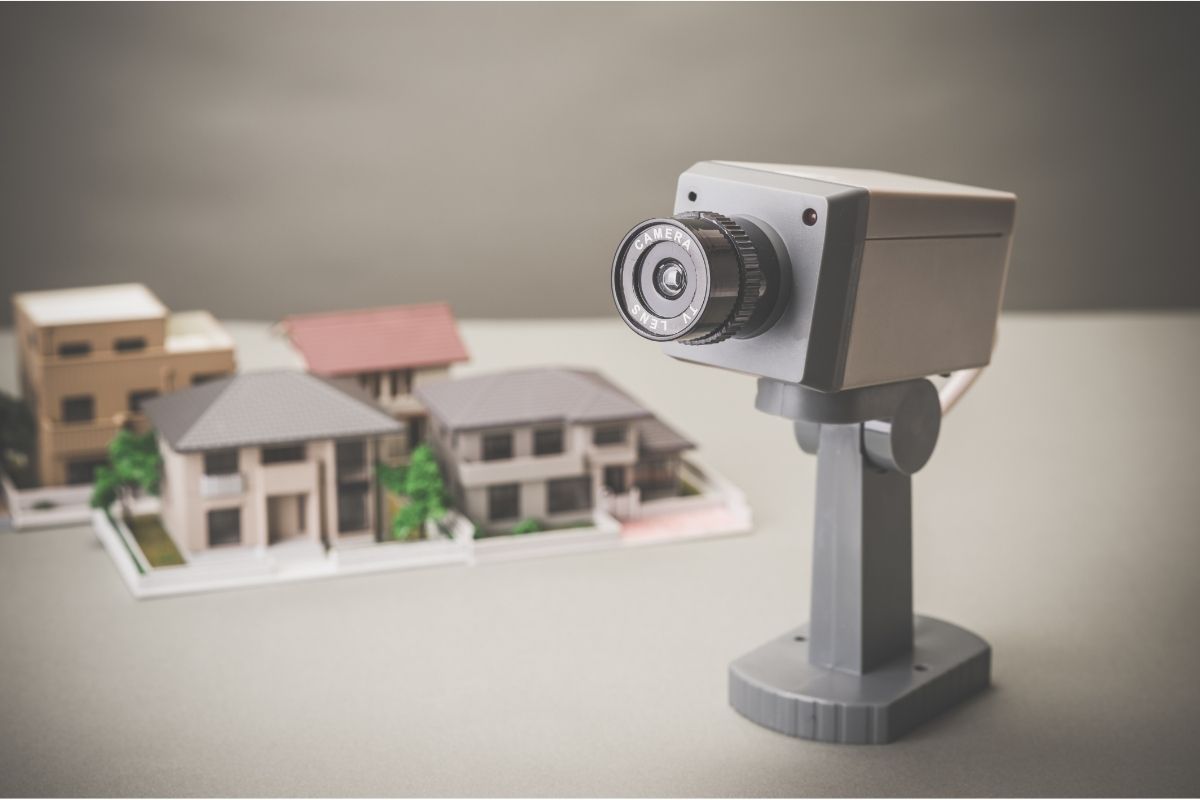
Step 2: Determine Camera Placement
One of the most critical aspects of installing your Night Owl wired security cameras is determining the optimal placement for each camera. This step requires careful consideration and planning to ensure that you achieve maximum coverage and functionality. Here are a few factors to consider when determining camera placement:
- Entry Points: Identify the main entry points to your home, such as doors, windows, and garage. These are the areas where you want to have clear visibility for enhanced security.
- Perimeter Coverage: Evaluate the perimeter of your property and decide where you want to have surveillance coverage. This could include the front yard, backyard, side entrances, or any other vulnerable areas.
- Obstructions: Take note of any potential obstructions that could affect camera visibility, such as trees, bushes, or walls. Ensure that there are no visual barriers that could compromise the effectiveness of the cameras.
- Camera Angles: Consider the ideal camera angles to capture the desired view. A slight downward tilt is often recommended to provide better facial recognition and reduce glare from the sun.
- Power Source: Ensure that you have access to a power source near each camera location. This will allow for easy connectivity and avoid the need for long power cables.
- Indoor Cameras: If you want to monitor the interior of your home, determine locations such as hallways, living rooms, or valuable asset areas where the cameras will provide the most coverage.
Once you have taken these factors into account, use a pencil or marker to mark the preferred camera locations on your walls or surfaces. Take measurements to ensure that the placement is accurate and aligned. If necessary, use a level to ensure that the cameras are mounted straight. This careful planning will optimize the effectiveness of your Night Owl wired security cameras.
With the camera placement determined, you are now ready to move on to the next step – installing the cameras.
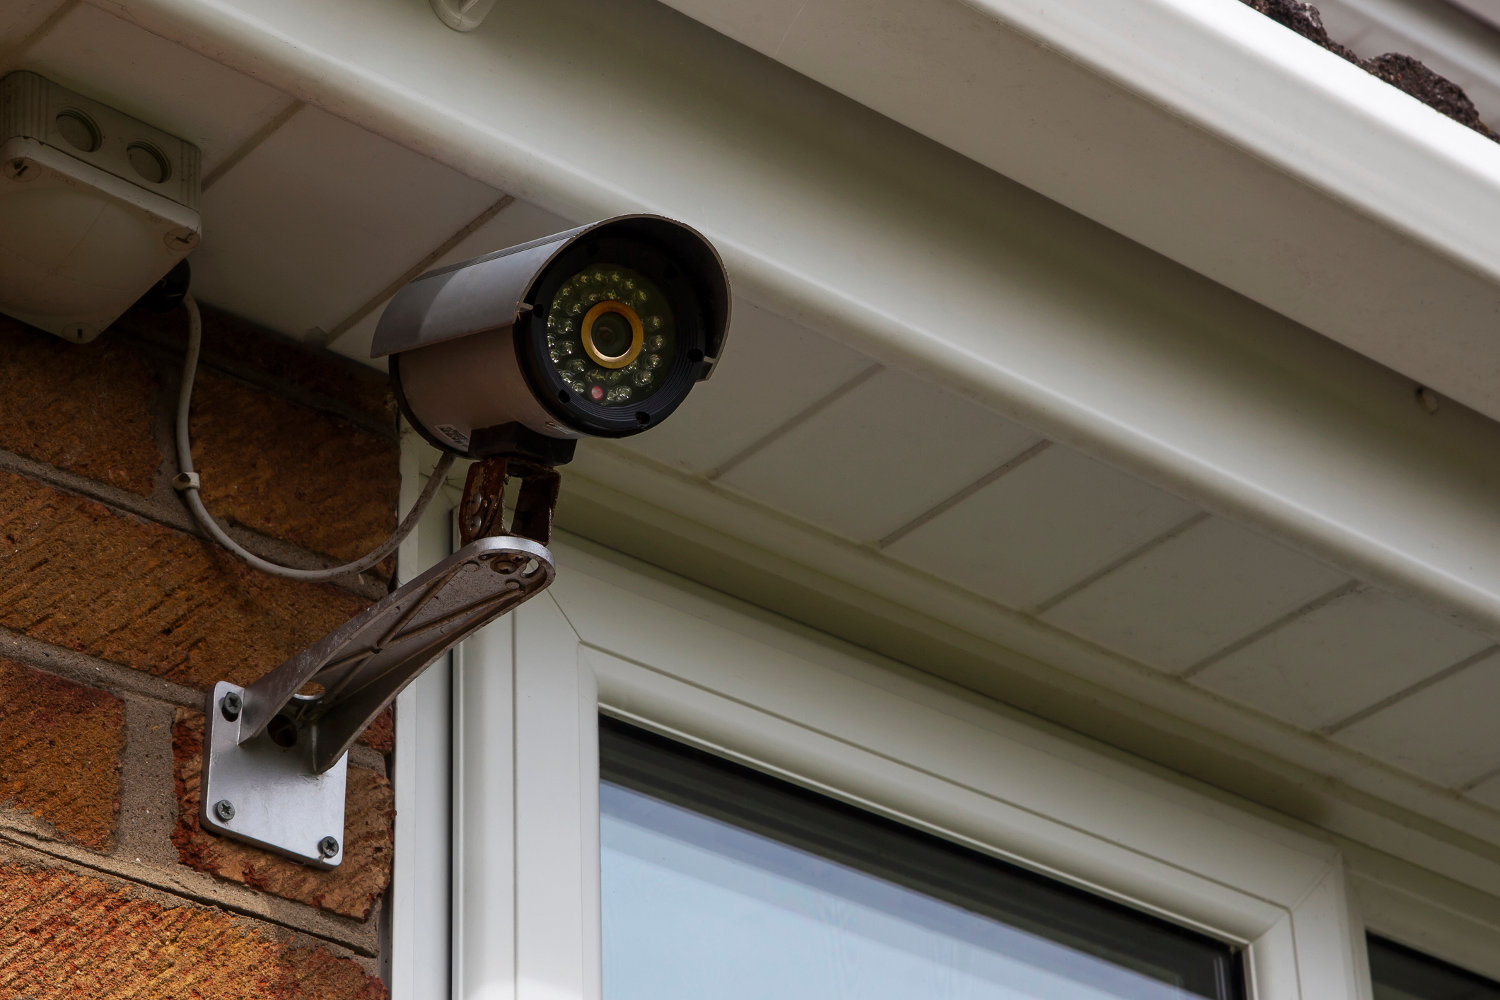
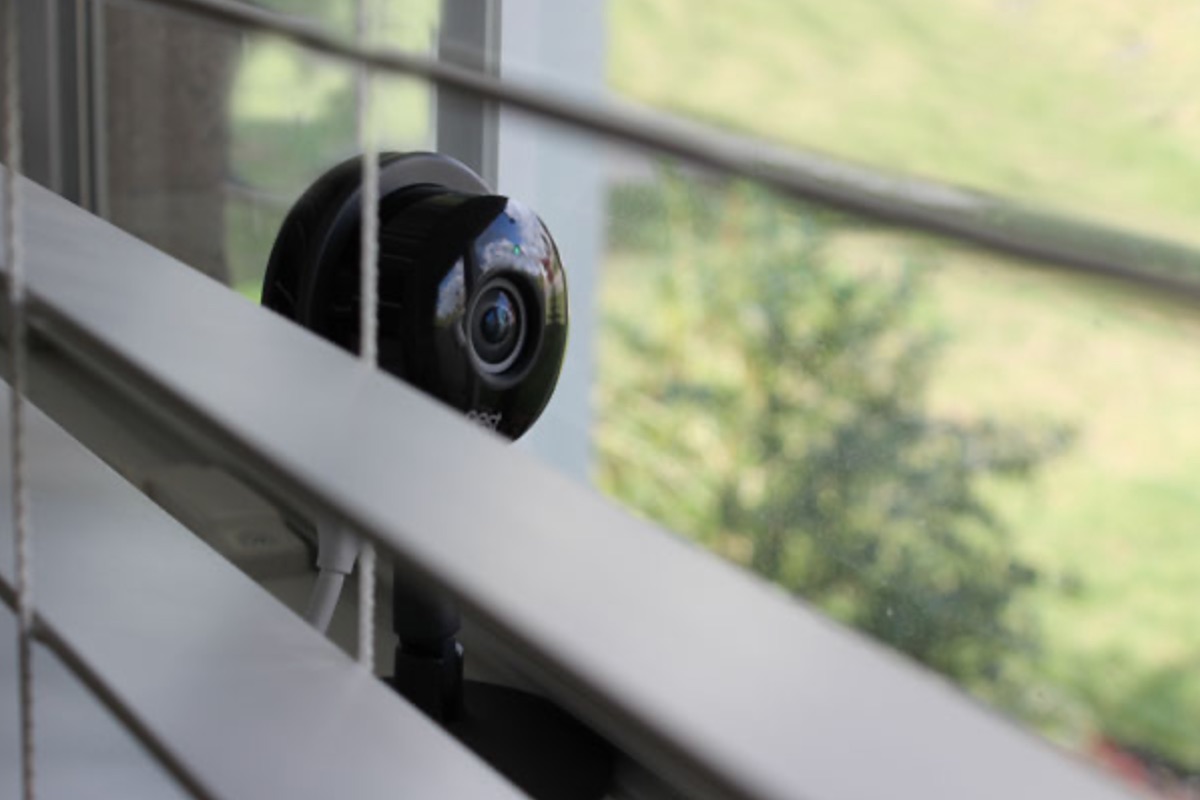
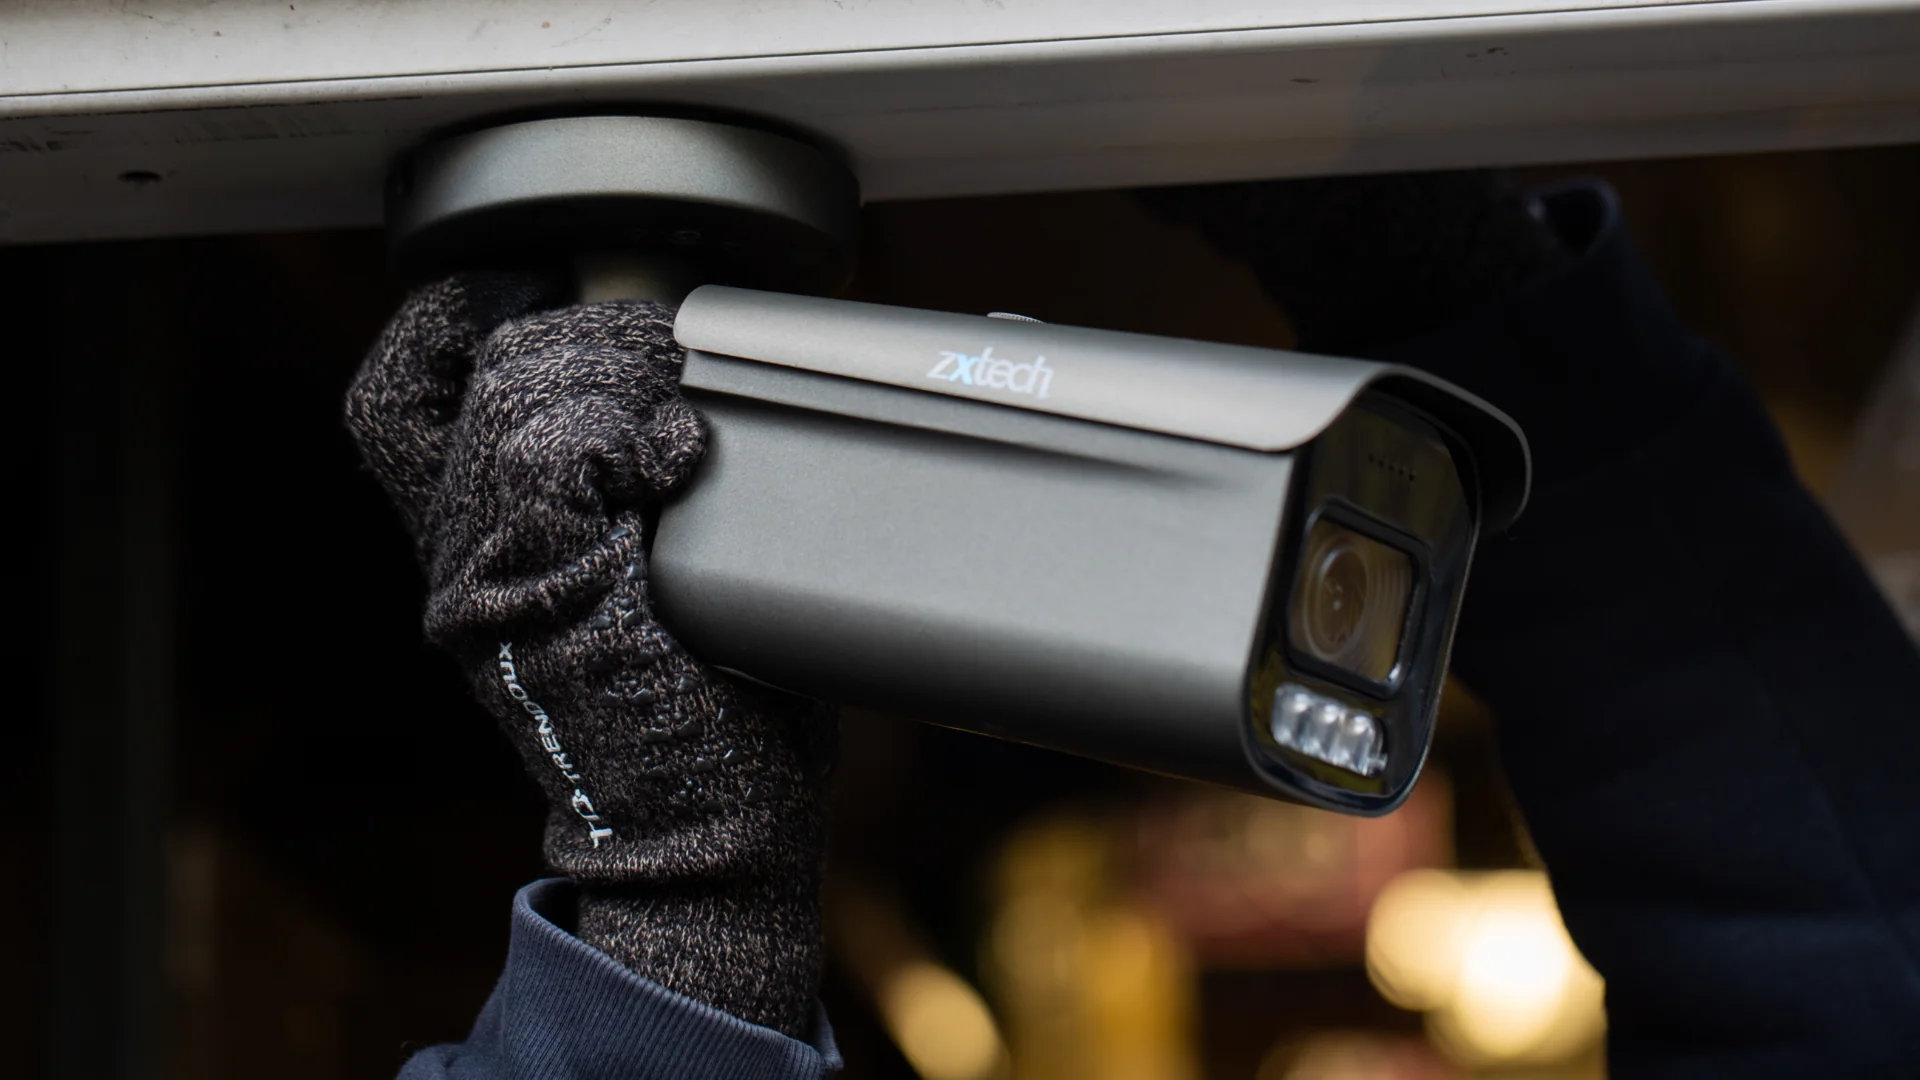
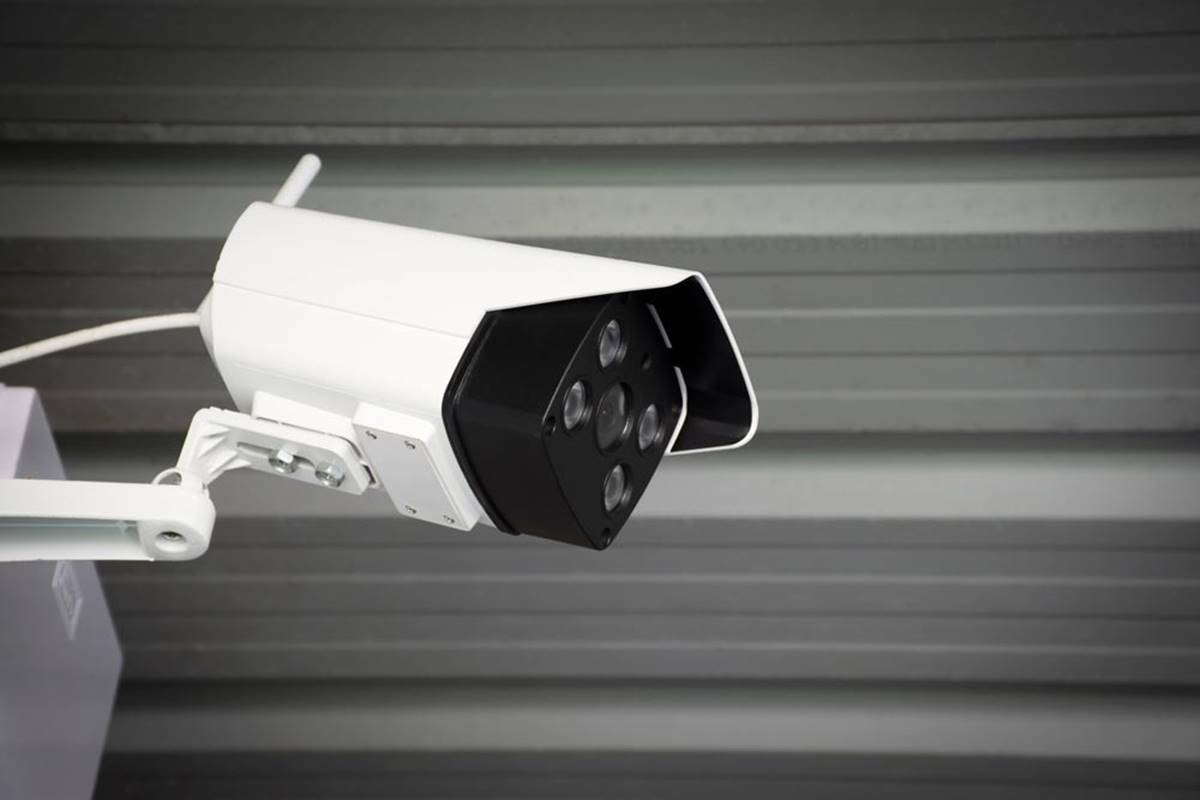
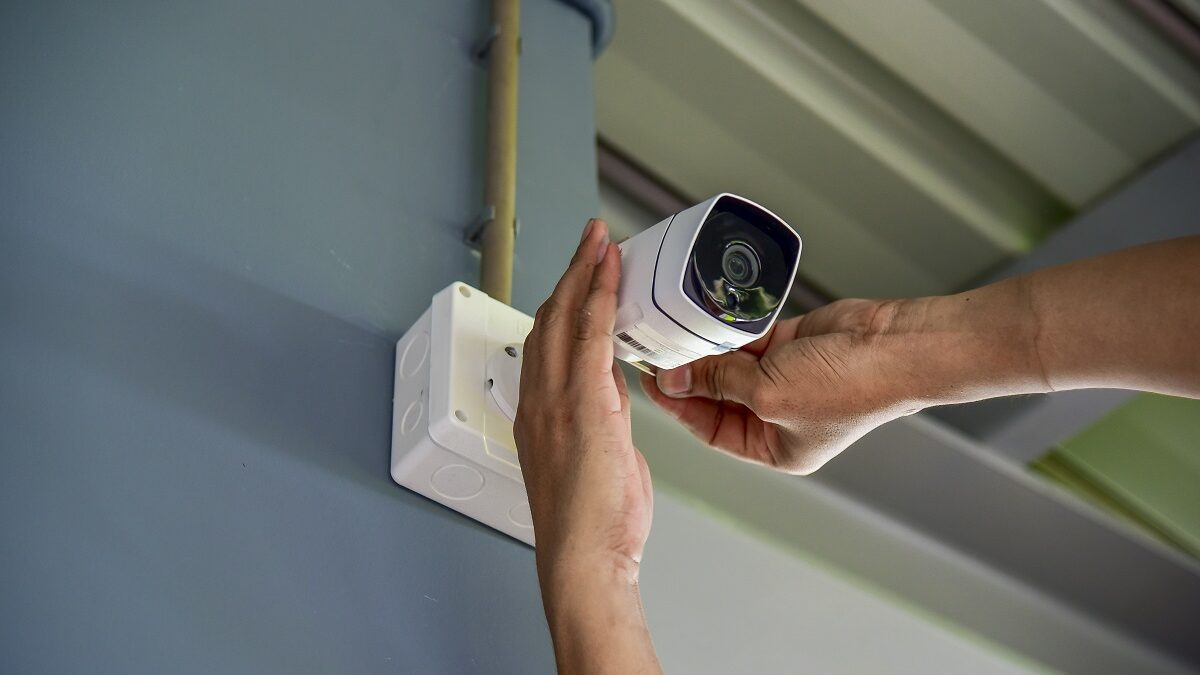
Step 3: Install the Cameras
Now that you have determined the ideal placement for your Night Owl wired security cameras, it’s time to proceed with the installation process. Follow these step-by-step instructions to successfully install your cameras:
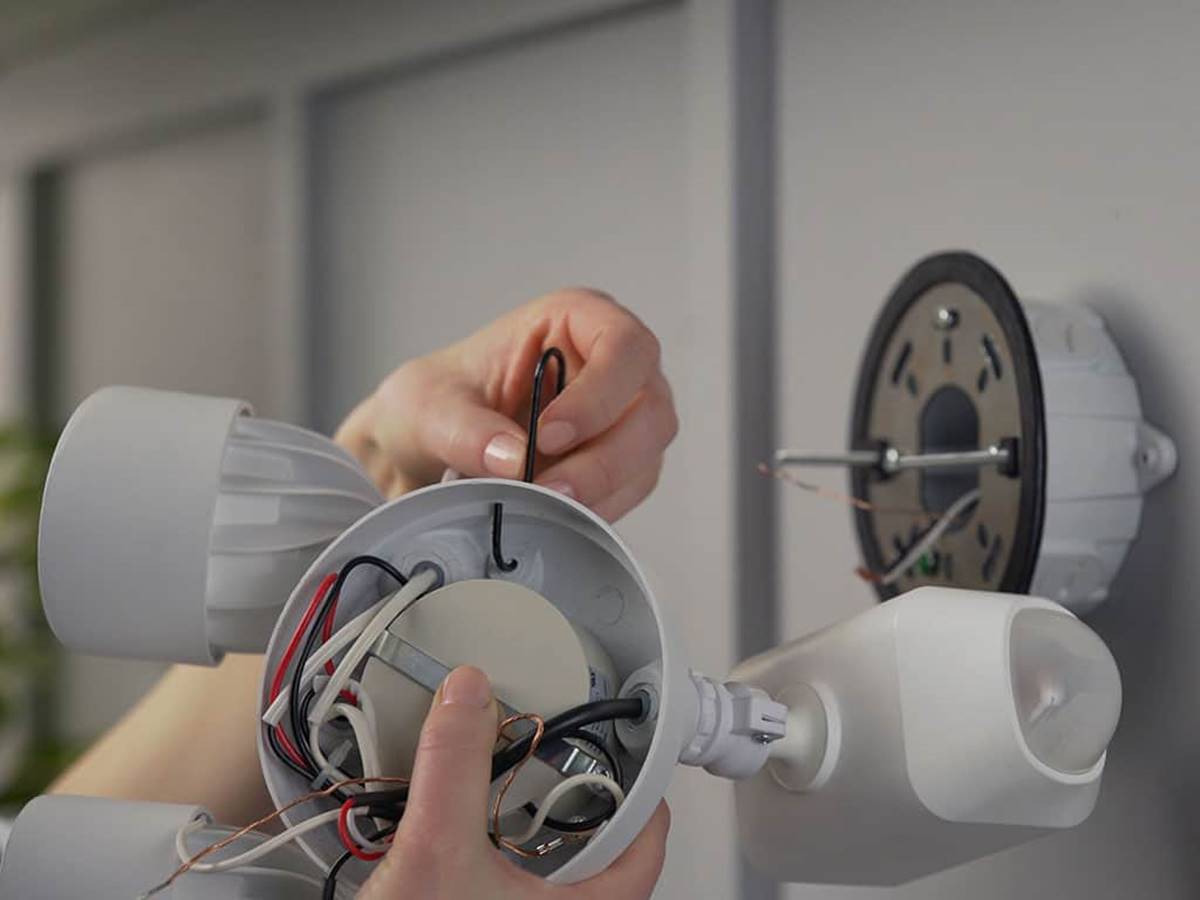
- Prepare the Mounting Surface: Ensure that the surface where you will mount the cameras is clean and free from any debris. Use a stud finder to locate a solid surface or wall stud for secure installation.
- Drill Holes: Use a drill and the appropriate drill bit to create holes for your camera mounts. Make sure to align the holes with the markings you made during the camera placement phase.
- Secure the Mounting Brackets: Attach the mounting brackets to the wall or surface using screws and a screwdriver. Ensure that the brackets are securely fixed to provide stability for the cameras.
- Attach the Cameras to the Mounting Brackets: Carefully attach the cameras to the mounting brackets using the provided screws. Make sure the cameras are securely fastened to avoid any movement or instability.
- Adjust Camera Angles: Once the cameras are mounted, adjust the angles and positions to ensure optimal coverage. Use a level to ensure that the cameras are aligned correctly and provide a balanced view.
- Connect the Cameras to Power: Connect the power supply to each camera. Night Owl wired security cameras typically come with a power adapter and cable. Plug the power adapter into a nearby electrical outlet and connect the cable to the camera.
- Test the Camera Functionality: Before moving on to the next step, test each camera to ensure that they are functioning correctly. Check the camera feed on your monitor or TV to verify that you have a clear and stable video output from each camera.
By following these steps, you will successfully install your Night Owl wired security cameras. It’s important to take your time during the installation process and double-check the camera placement and connection for optimum performance.
Now that the cameras are securely installed, we can proceed to the next step – connecting the cameras to the DVR.
When installing Night Owl wired security cameras, make sure to carefully plan the camera placement to cover all desired areas. Test the cameras before mounting to ensure proper functionality.
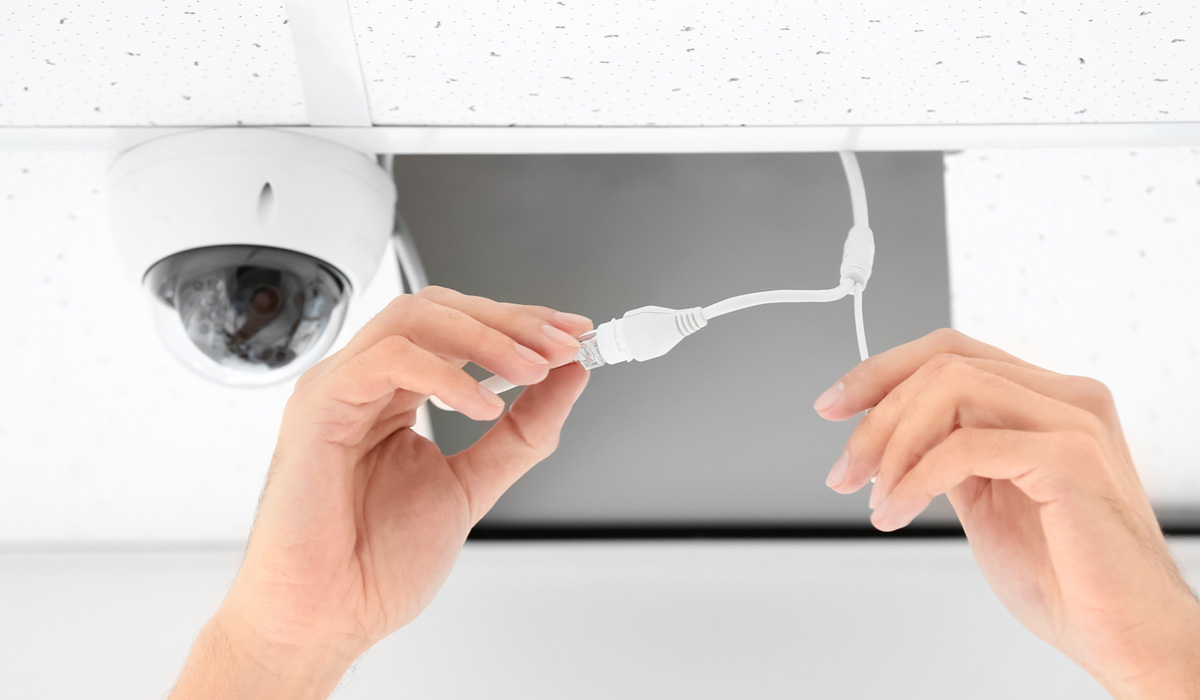
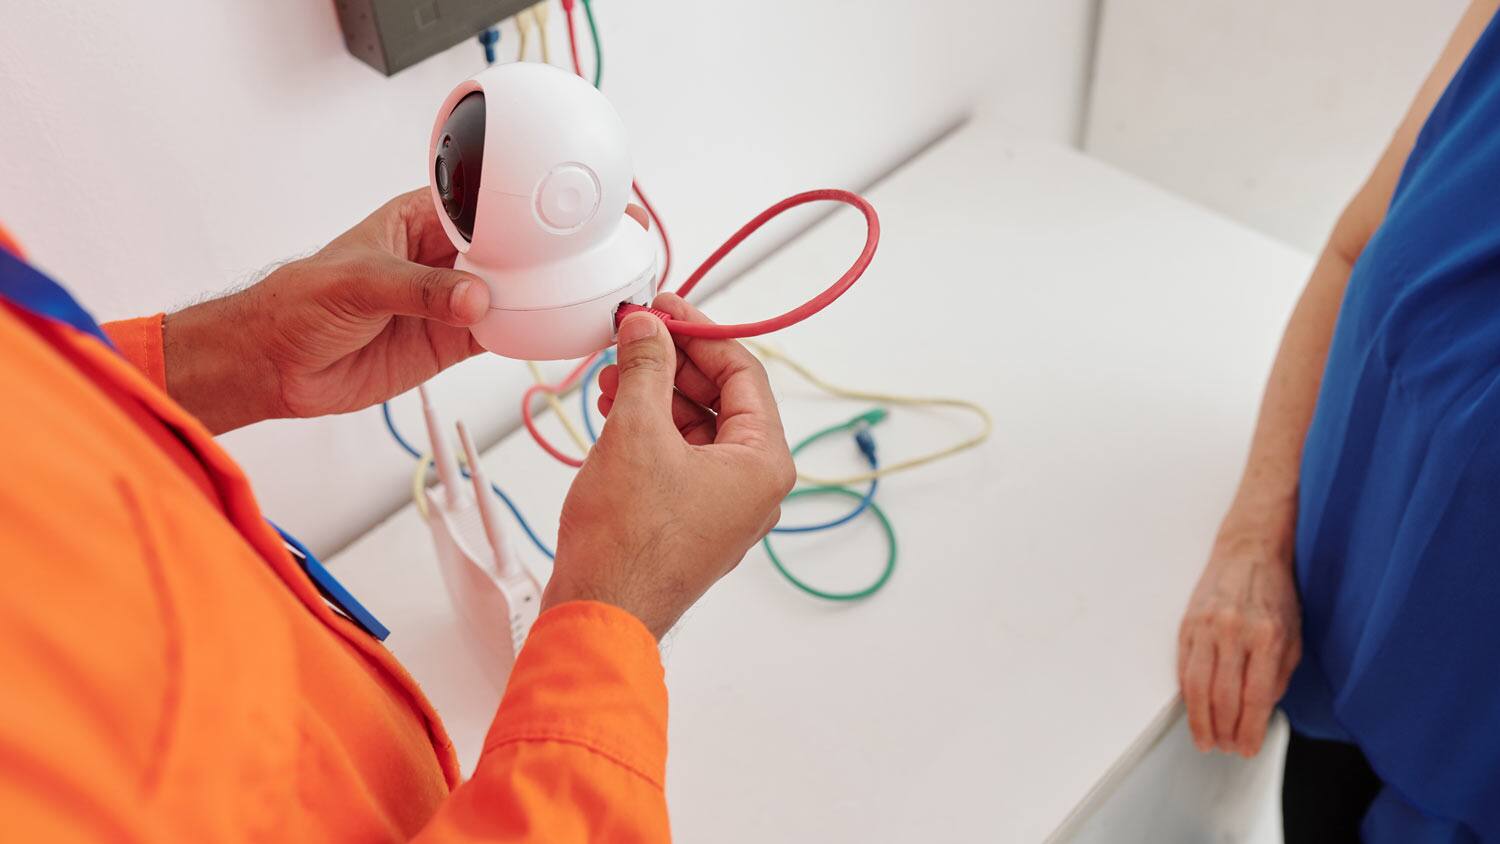
Step 4: Connect the Cameras to DVR
After installing your Night Owl wired security cameras, the next step is to connect them to the DVR (Digital Video Recorder). This connection will allow you to record and view the camera footage. Follow these instructions to successfully connect the cameras to the DVR:
- Locate the BNC Connectors: Identify the BNC connectors on the back of each camera. These connectors are used to transmit video signals from the cameras to the DVR.
- Connect the BNC Cables: Take the BNC cables and connect one end to the BNC connectors on each camera. Ensure a secure and tight connection by twisting the connectors clockwise.
- Connect the Other End of the BNC Cables to the DVR: Take the other end of the BNC cables and connect them to the corresponding BNC video input ports on the back of the DVR. Again, twist the connectors clockwise to ensure a secure connection.
- Connect the DVR to the Monitor or TV: Use an HDMI or VGA cable to connect the DVR to a monitor or TV. This will allow you to view the camera footage and access the DVR settings.
- Power on the Cameras and DVR: Ensure that all the cameras and the DVR are powered on. Check the power and connectivity indicators to verify that everything is functioning correctly.
- Test Camera Connectivity: Access the live view feature on your monitor or TV to verify that each connected camera is displaying a clear video feed. You should be able to see live footage from each camera on the screen.
By following these steps, you will have successfully connected your Night Owl wired security cameras to the DVR. It’s important to ensure that all the connections are secure to avoid any signal loss or disruption in the camera feed.
Now that the cameras are connected to the DVR, we can proceed to the next step – configuring the DVR settings.
Step 5: Configure the DVR Settings
Once you have connected your Night Owl wired security cameras to the DVR, it’s time to configure the settings to ensure optimal functionality and customization. Follow these steps to successfully configure the DVR settings:
- Access the DVR Menu: Use the remote control or the front panel buttons on the DVR to access the main menu. The interface may vary depending on the model of your Night Owl DVR.
- Set the Date and Time: Locate the settings for date and time and enter the correct information. This will ensure accurate timestamping of recorded footage.
- Configure Motion Detection: Enable motion detection settings on the DVR to receive alerts and notifications when motion is detected by the cameras. Adjust sensitivity levels and define specific areas for monitoring.
- Set Recording Preferences: Determine the recording preferences such as continuous recording or scheduled recording. Set the desired recording quality and resolution for each camera.
- Configure Network Settings: If you wish to access the DVR remotely through a smartphone or computer, configure the network settings. Enter your network details and set up port forwarding if required.
- Create User Accounts: Set up user accounts and passwords for accessing the DVR. This will ensure only authorized individuals can access the camera footage and DVR settings.
- Enable Remote Viewing: If you want to view your camera footage remotely, enable the remote viewing feature. Download the Night Owl app on your smartphone or access the DVR interface through a web browser.
- Save and Apply Changes: After configuring all the desired settings, make sure to save and apply the changes. The DVR will update its configuration accordingly.
- Test Camera Functionality and Settings: Verify that the cameras are recording as per the configured settings. Test the motion detection, recording, and remote viewing to ensure everything is functioning as expected.
By following these steps, you will successfully configure the settings on your Night Owl wired security camera DVR. Take your time to familiarize yourself with the various settings and options available to customize your surveillance system.
Now that the DVR settings are configured, we can proceed to the final step – testing the camera system.
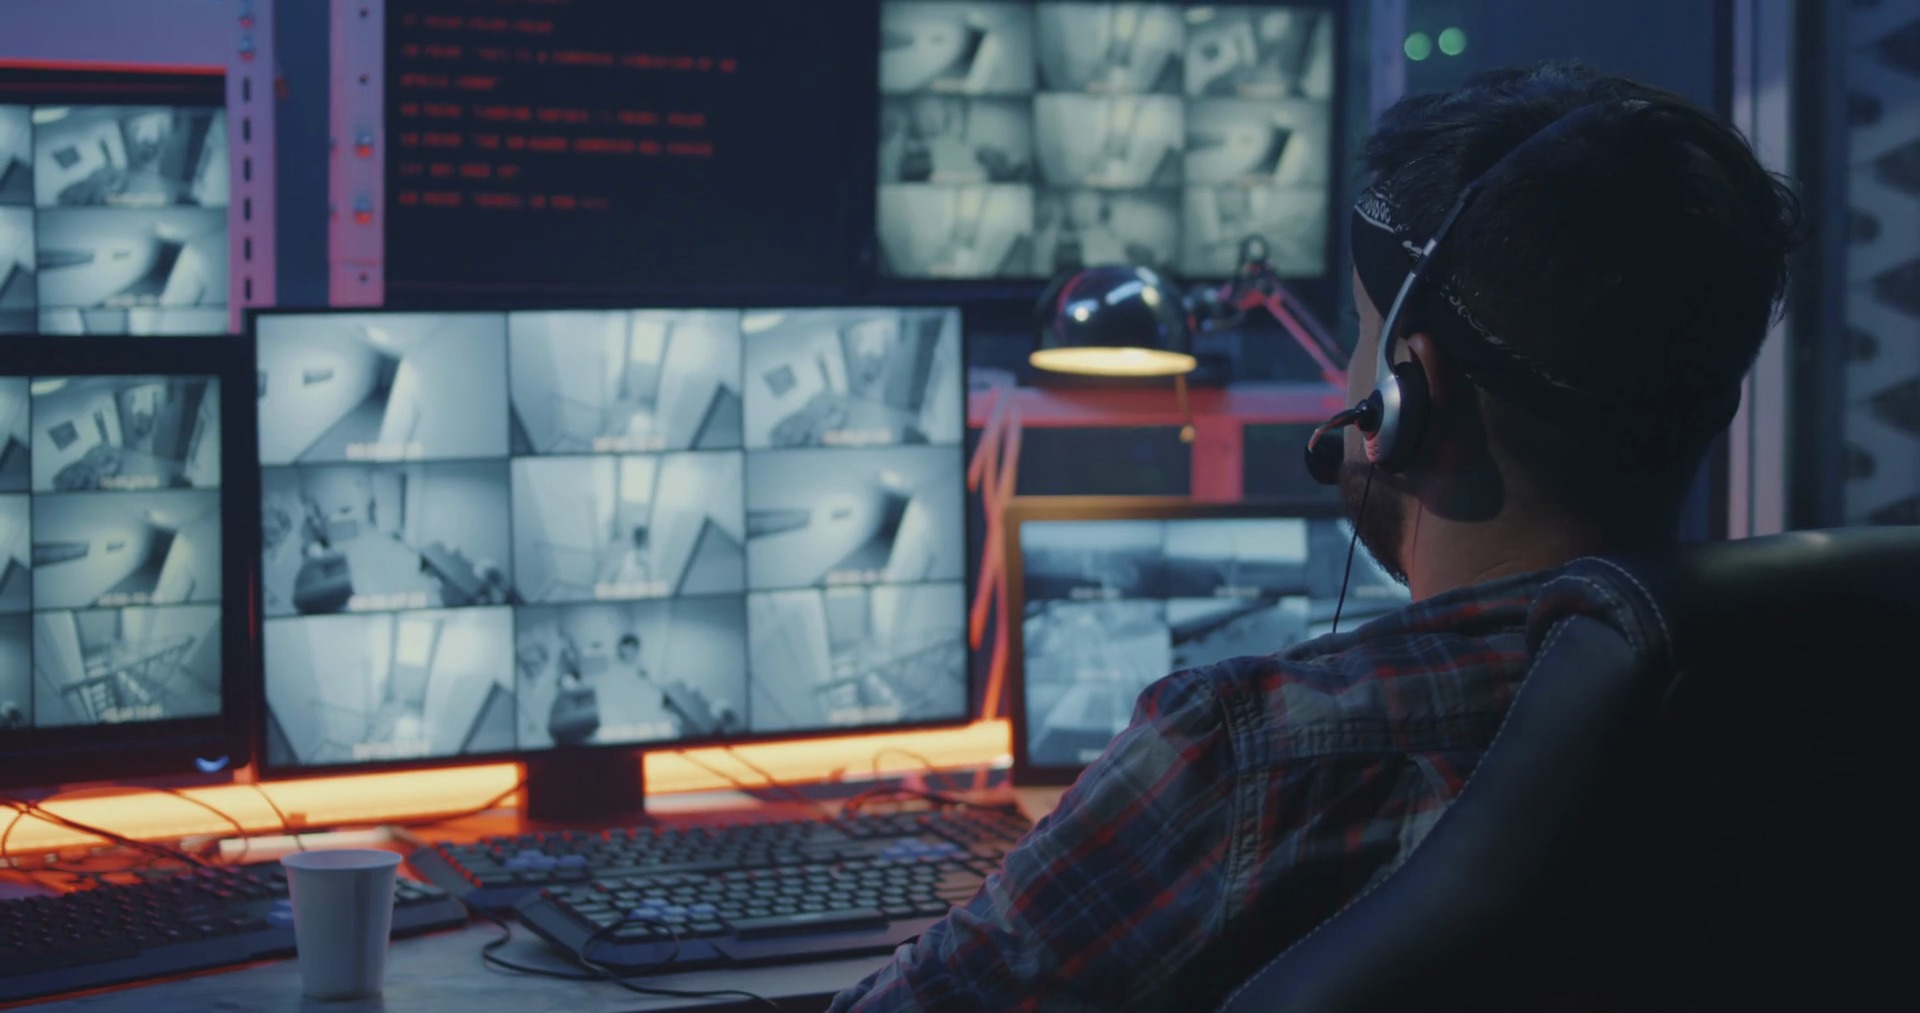
Step 6: Test the Camera System
After successfully installing and configuring your Night Owl wired security camera system, it’s crucial to thoroughly test its functionality to ensure that everything is working as intended. Follow these steps to test your camera system:
- Verify Live Feed: Check the live feed from each camera on your monitor or TV. Ensure that you have a clear and stable video output from each camera. Pay attention to any potential image quality issues, such as blurry or distorted footage.
- Test Recording: Perform test recordings to verify that the cameras are recording as expected. Check the recorded footage to ensure that it is being saved properly and that it captures the desired areas and angles.
- Trigger Motion Detection: Test the motion detection feature by intentionally moving within the camera’s view. Verify that the cameras detect motion and trigger the recording or send alerts, depending on your configured settings.
- Check Night Vision: Test the night vision capability of your Night Owl cameras by checking the footage in low-light or dark conditions. Ensure that the infrared LEDs are functioning properly and that you have clear visibility during nighttime.
- Attempt Remote Viewing: If you configured remote viewing, attempt to access the camera footage via the Night Owl app or web browser. Verify that you can successfully connect to the DVR and view the live feed remotely.
- Ensure System Stability: Monitor the camera system for a period of time to ensure its stability. Check for any potential system errors, glitches, or interruptions in the camera feed or recorded footage.
- Make Adjustments if Necessary: If you encounter any issues during the testing phase, make necessary adjustments to the camera placement, DVR settings, or network configurations. Repeat the testing process after making these adjustments.
By following these steps and conducting comprehensive testing, you can have confidence in the functionality and reliability of your Night Owl wired security camera system. It’s recommended to regularly perform maintenance checks and continue testing the system to ensure optimal performance over time.
Congratulations! You have successfully installed, configured, and tested your Night Owl wired security camera system. With this comprehensive surveillance system in place, you can have peace of mind knowing that your home is protected and secure.
Remember to consult the Night Owl user manual and technical support resources for further guidance and troubleshooting if needed. Enjoy the added security and convenience that your Night Owl wired security cameras provide!
You have reached the end of this installation guide. If you have any further questions or need assistance, feel free to reach out for help.
Conclusion
Ensuring the safety and security of our homes is of utmost importance, and a reliable surveillance system plays a crucial role in achieving that. With the installation of Night Owl wired security cameras, you have taken a significant step towards enhancing the security of your home.
In this comprehensive guide, we have walked you through the process of installing Night Owl wired security cameras, from gathering the required tools and equipment to configuring the DVR settings and testing the camera system. By following these steps, you have successfully set up a robust surveillance system that provides you with peace of mind and a sense of safety and protection.
Throughout the installation process, it’s vital to maintain a careful and meticulous approach. Planning camera placement strategically, ensuring secure mounting, and making proper connections are crucial in maximizing the effectiveness of your Night Owl wired security cameras.
Remember to configure the settings on the DVR to customize your camera system according to your specific needs. From setting up motion detection to establishing remote viewing capabilities, take advantage of the features offered by Night Owl to create a surveillance system that suits your preferences.
Lastly, regularly test and monitor your camera system to ensure its continued functionality and stability. Perform routine checks, review recorded footage, and make adjustments as necessary to address any issues that may arise. This proactive approach will help maintain the optimal performance of your Night Owl wired security cameras over time.
By investing in a high-quality surveillance system like Night Owl, you can rest assured that your home and loved ones are protected. The peace of mind provided by a reliable security camera system is invaluable, allowing you to go about your daily life with confidence and reassurance.
Thank you for following this installation guide. We hope that you found it informative and helpful in your journey to install Night Owl wired security cameras. Should you have any further questions or require assistance, don’t hesitate to reach out. Stay safe and secure!
Frequently Asked Questions about How To Install Night Owl Wired Security Cameras
Was this page helpful?
At Storables.com, we guarantee accurate and reliable information. Our content, validated by Expert Board Contributors, is crafted following stringent Editorial Policies. We're committed to providing you with well-researched, expert-backed insights for all your informational needs.