Home>Home Security and Surveillance>How To Install Night Owl Wired Security Cameras
Home Security and Surveillance
How To Install Night Owl Wired Security Cameras
Modified: March 6, 2024
Learn how to install Night Owl wired security cameras for your home security and surveillance needs. Protect your property with our easy step-by-step guide.
(Many of the links in this article redirect to a specific reviewed product. Your purchase of these products through affiliate links helps to generate commission for Storables.com, at no extra cost. Learn more)
Introduction
Welcome to the world of home security and surveillance! In today’s fast-paced and constantly evolving society, it is more important than ever to prioritize the safety and protection of your home and loved ones. Fortunately, advancements in technology have made it easier and more accessible than ever before to install a comprehensive surveillance system.
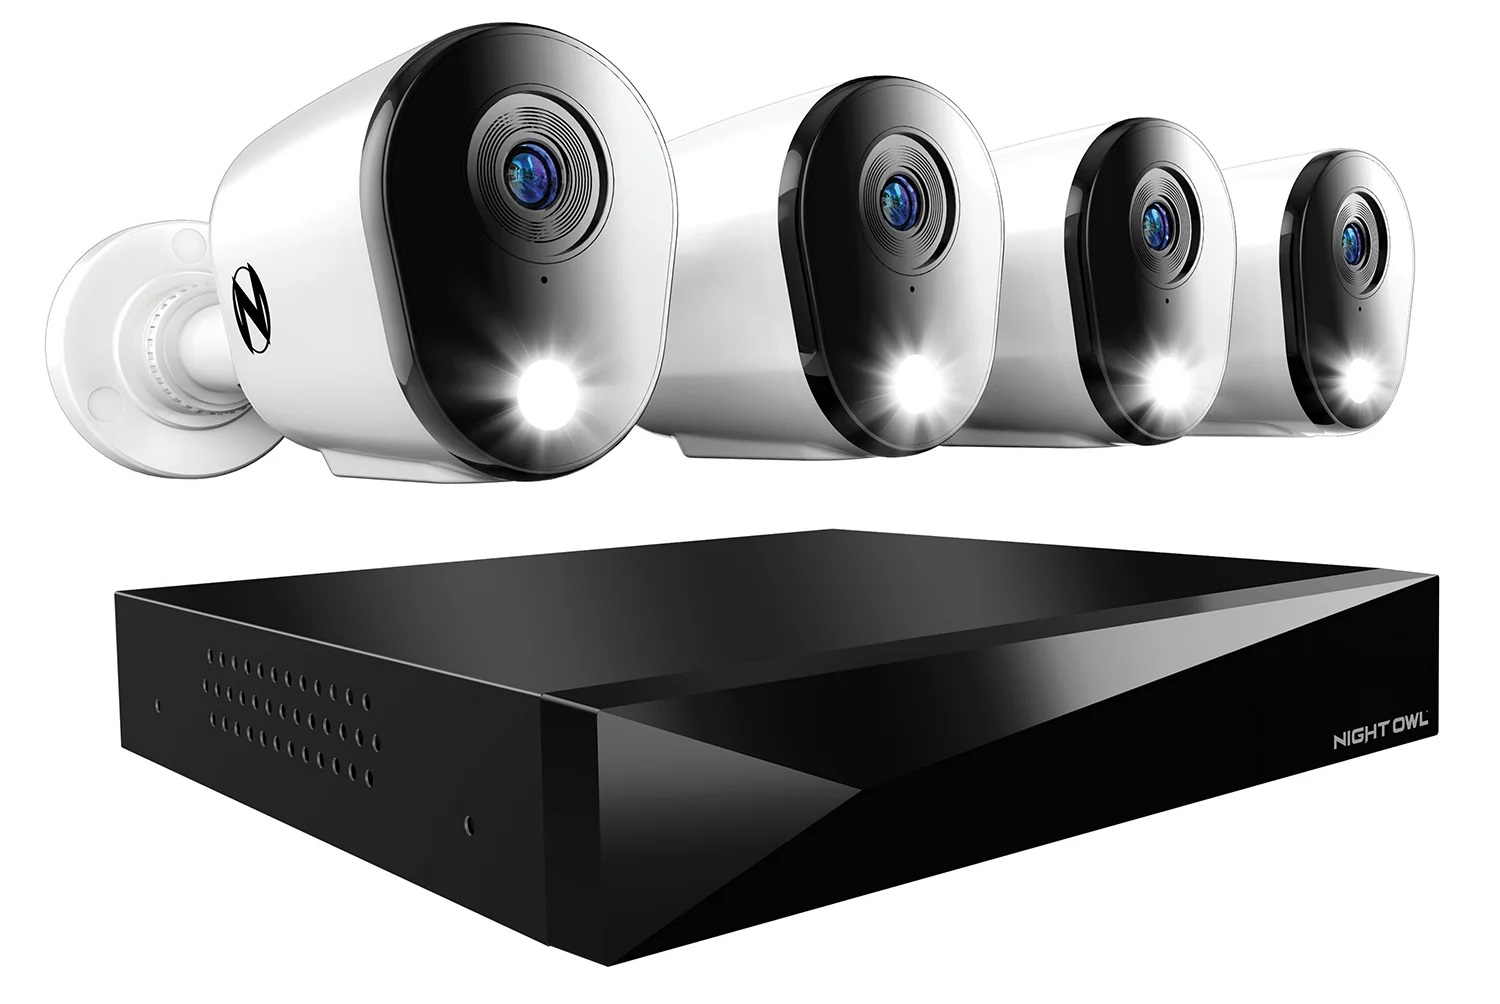
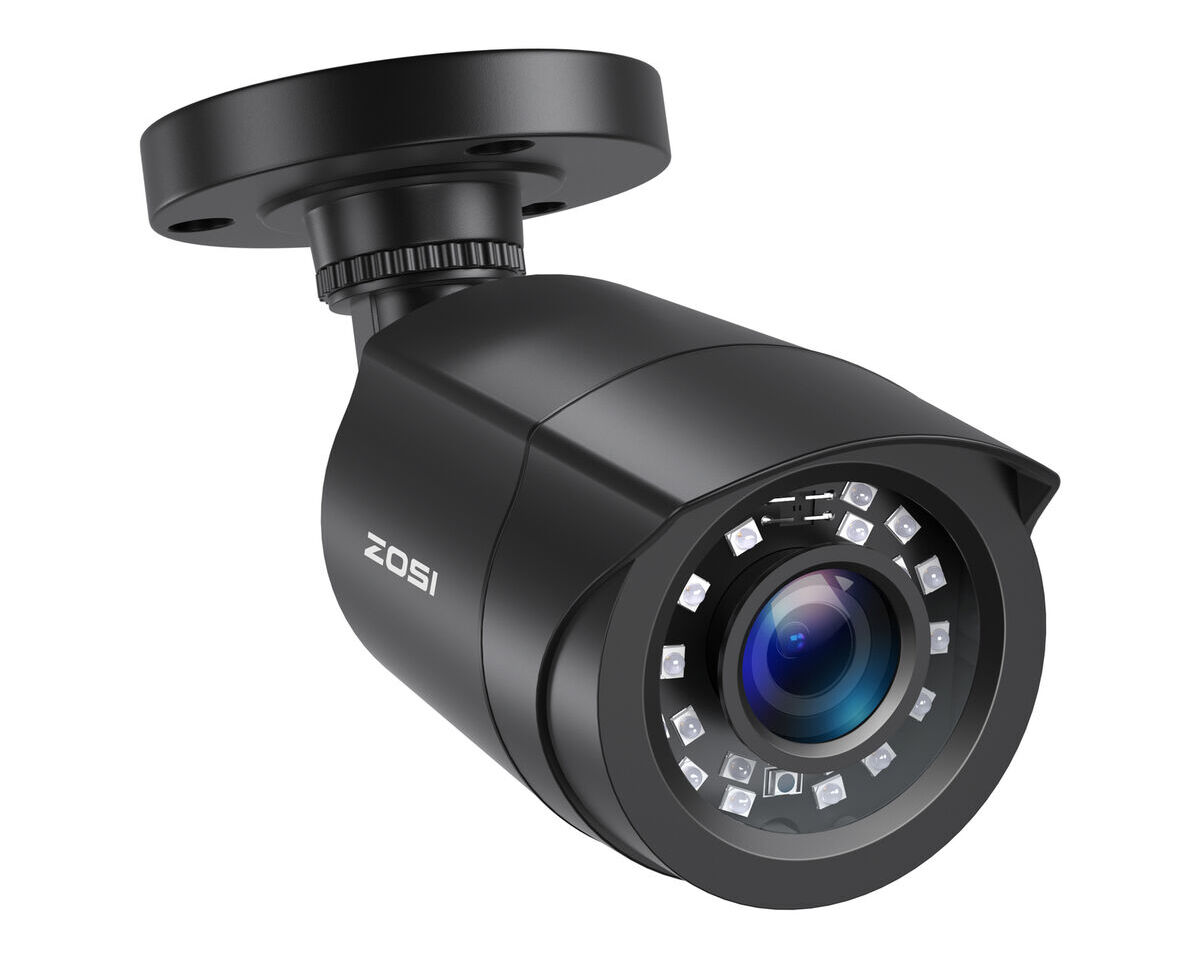
One popular choice for homeowners is the Night Owl wired security camera system. Offering high-resolution video footage, extensive coverage, and reliable performance, these cameras provide round-the-clock monitoring to ensure the utmost security at all times. In this article, we will guide you through the step-by-step process of installing Night Owl wired security cameras, enabling you to enhance your home’s security and peace of mind.
Before we dive into the installation process, it’s important to highlight some key benefits of wired security camera systems. Unlike their wireless counterparts, wired cameras provide a consistent and uninterrupted connection, eliminating the risk of signal interference or disconnection. Additionally, wired systems often offer higher video quality and greater storage capabilities, ensuring that every detail is captured and stored for future reference.
Now, let’s get started with the installation process. By following these steps and with a little bit of patience and effort, you can have your Night Owl wired security cameras up and running in no time.
Key Takeaways:
- Installing Night Owl wired security cameras involves careful planning, precise mounting, cable management, and system configuration. Thorough testing ensures reliable surveillance for your home’s safety.
- By following step-by-step instructions and seeking assistance when needed, you can successfully install and maintain a robust Night Owl wired security system, providing peace of mind and protection for your home and loved ones.
Step 1: Planning and Preparation
Before diving into the installation process, it’s crucial to spend some time planning and preparing for the installation of your Night Owl wired security cameras. This step is essential to ensure that you have a clear vision of where you want to install the cameras and that you have all the necessary equipment and tools at your disposal.
Here are a few key points to consider during the planning and preparation phase:
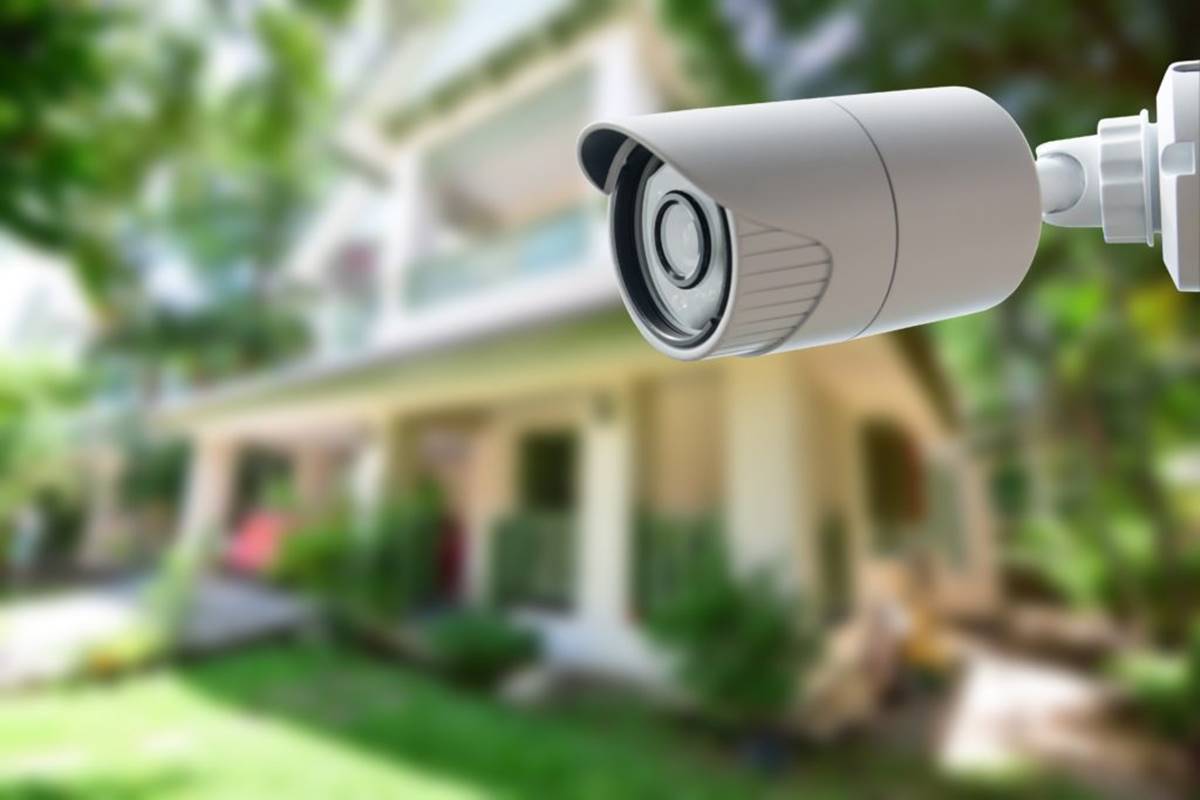
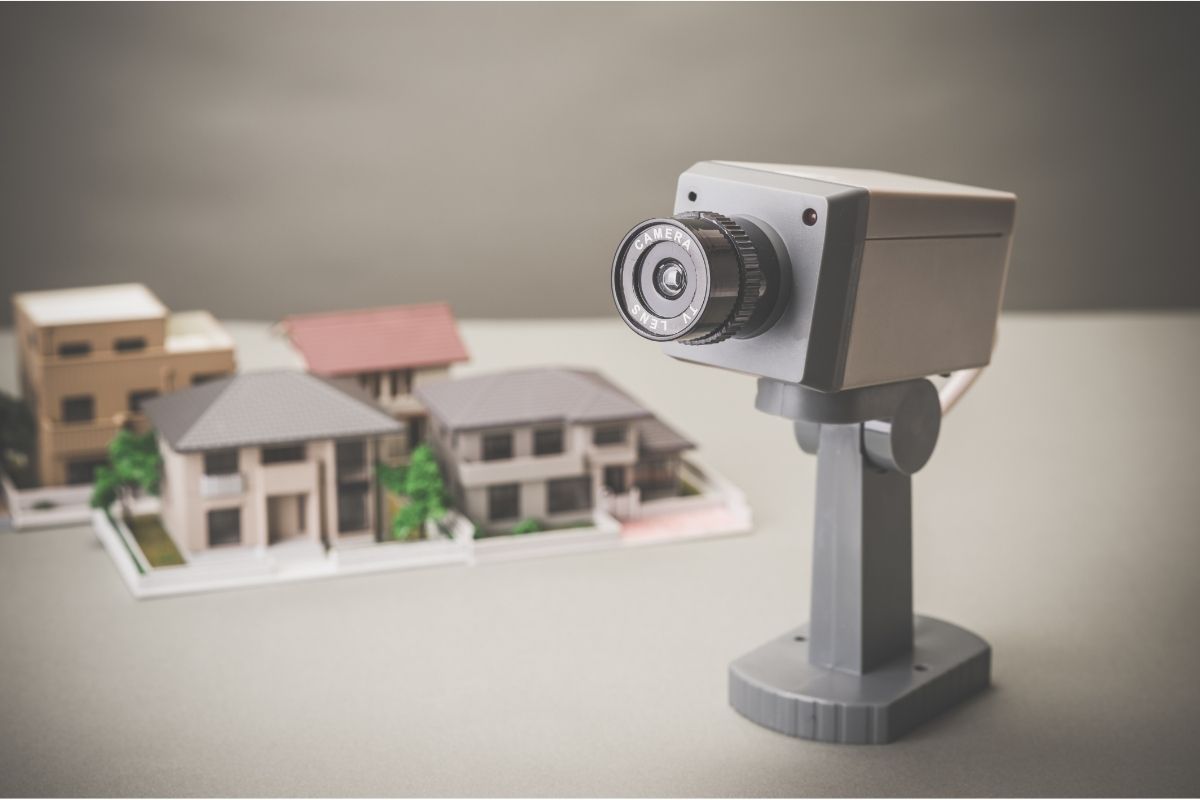
- Identify Vulnerable Areas: Take a walk around your property and identify the areas that are most vulnerable to potential threats or break-ins. These can include entry points such as doors, windows, and driveways.
- Determine Camera Placement: Once you have identified the vulnerable areas, determine the best locations to install the cameras. Consider the field of view, range, and angle of each camera to ensure optimal coverage.
- Ensure Proper Wiring Routes: Plan the wiring routes from each camera to the central DVR (Digital Video Recorder) location. Take into account any obstacles or potential interference that may affect the camera’s performance.
- Gather the Necessary Equipment: Make sure you have all the equipment and tools required for the installation. This may include the Night Owl wired security cameras, the DVR, cables, power adapters, a power drill, screws, and a ladder.
- Review the User Manual: Familiarize yourself with the user manual provided by Night Owl for detailed instructions and specific requirements for your cameras.
By investing time in the planning and preparation phase, you’ll be well-equipped to execute a smooth and successful installation of your Night Owl wired security cameras. Let’s move on to the next step: Mounting the Camera.
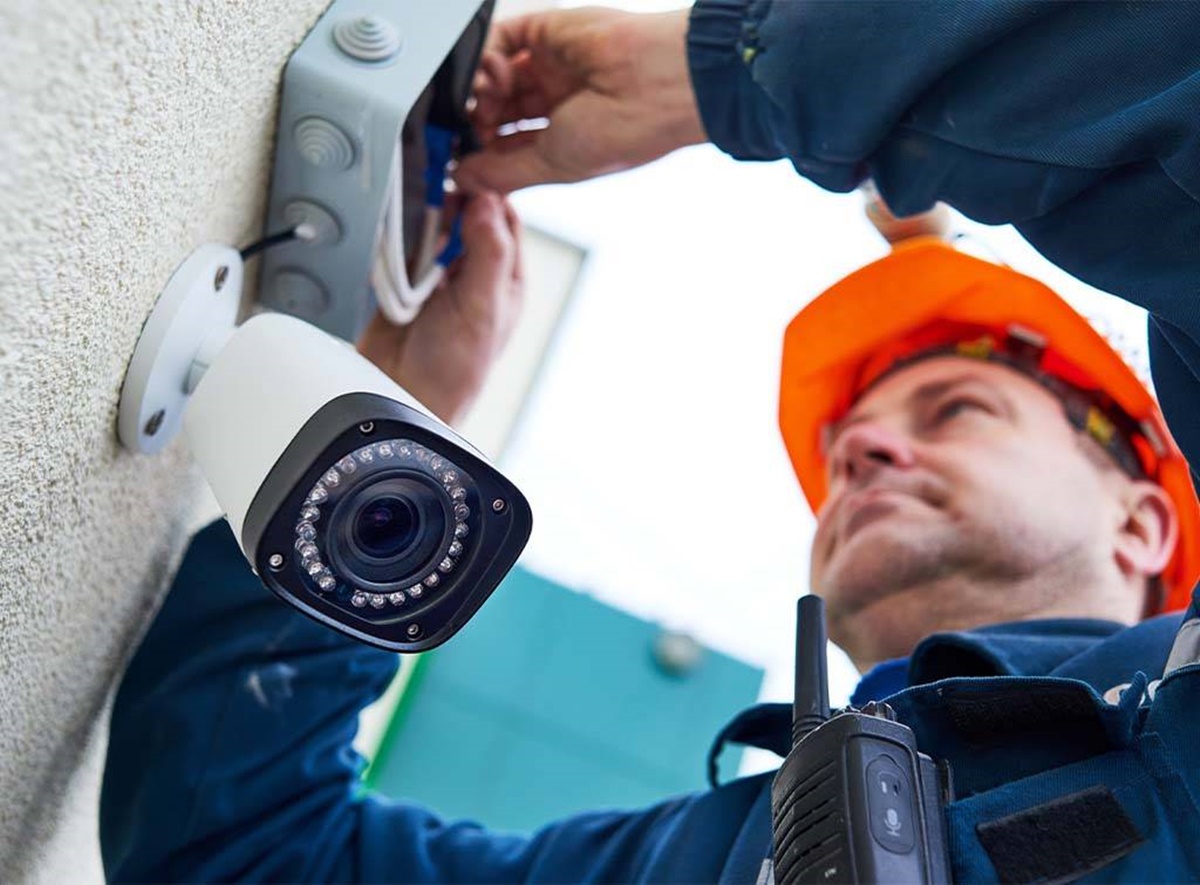
Step 2: Mounting the Camera
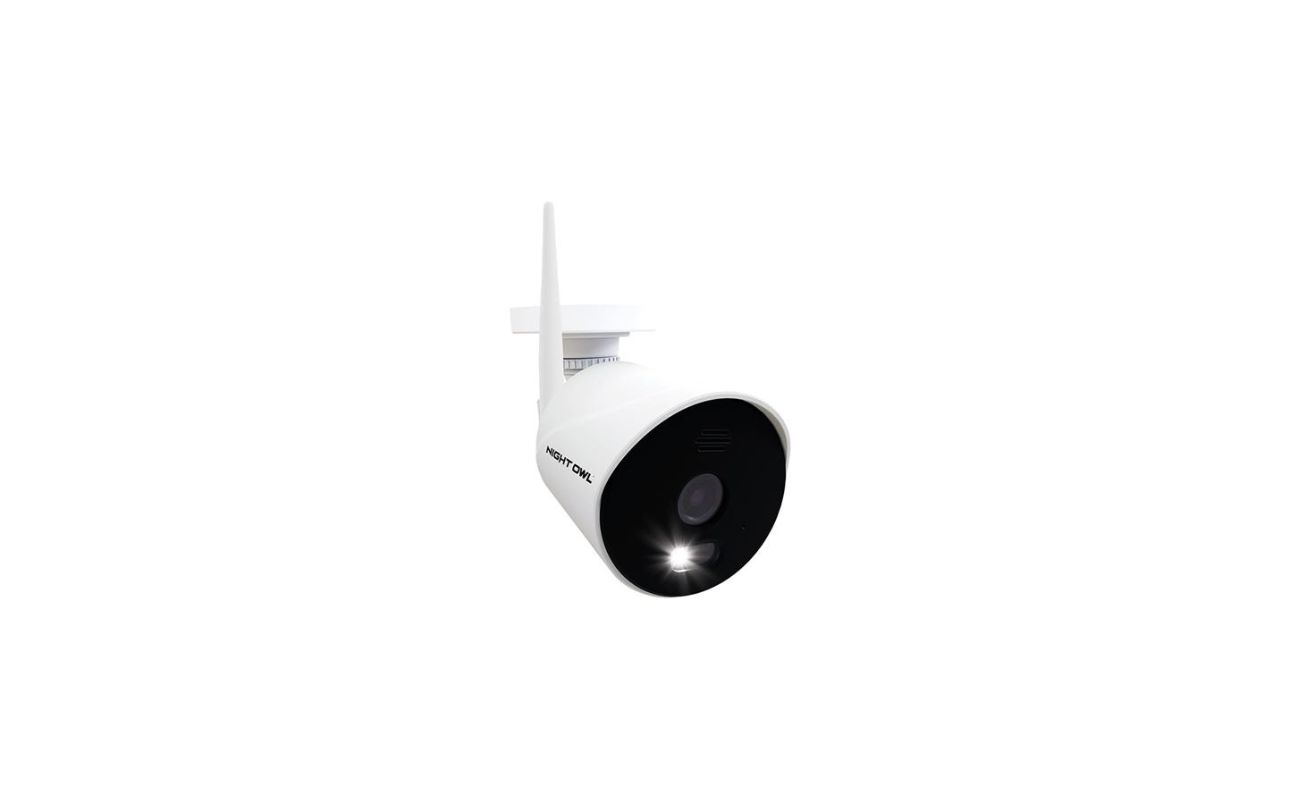
Now that you have a clear plan and all the necessary equipment, it’s time to mount your Night Owl wired security cameras. The mounting process involves securing the camera in the designated locations you identified during the planning phase.
Here are the steps to mount your camera:
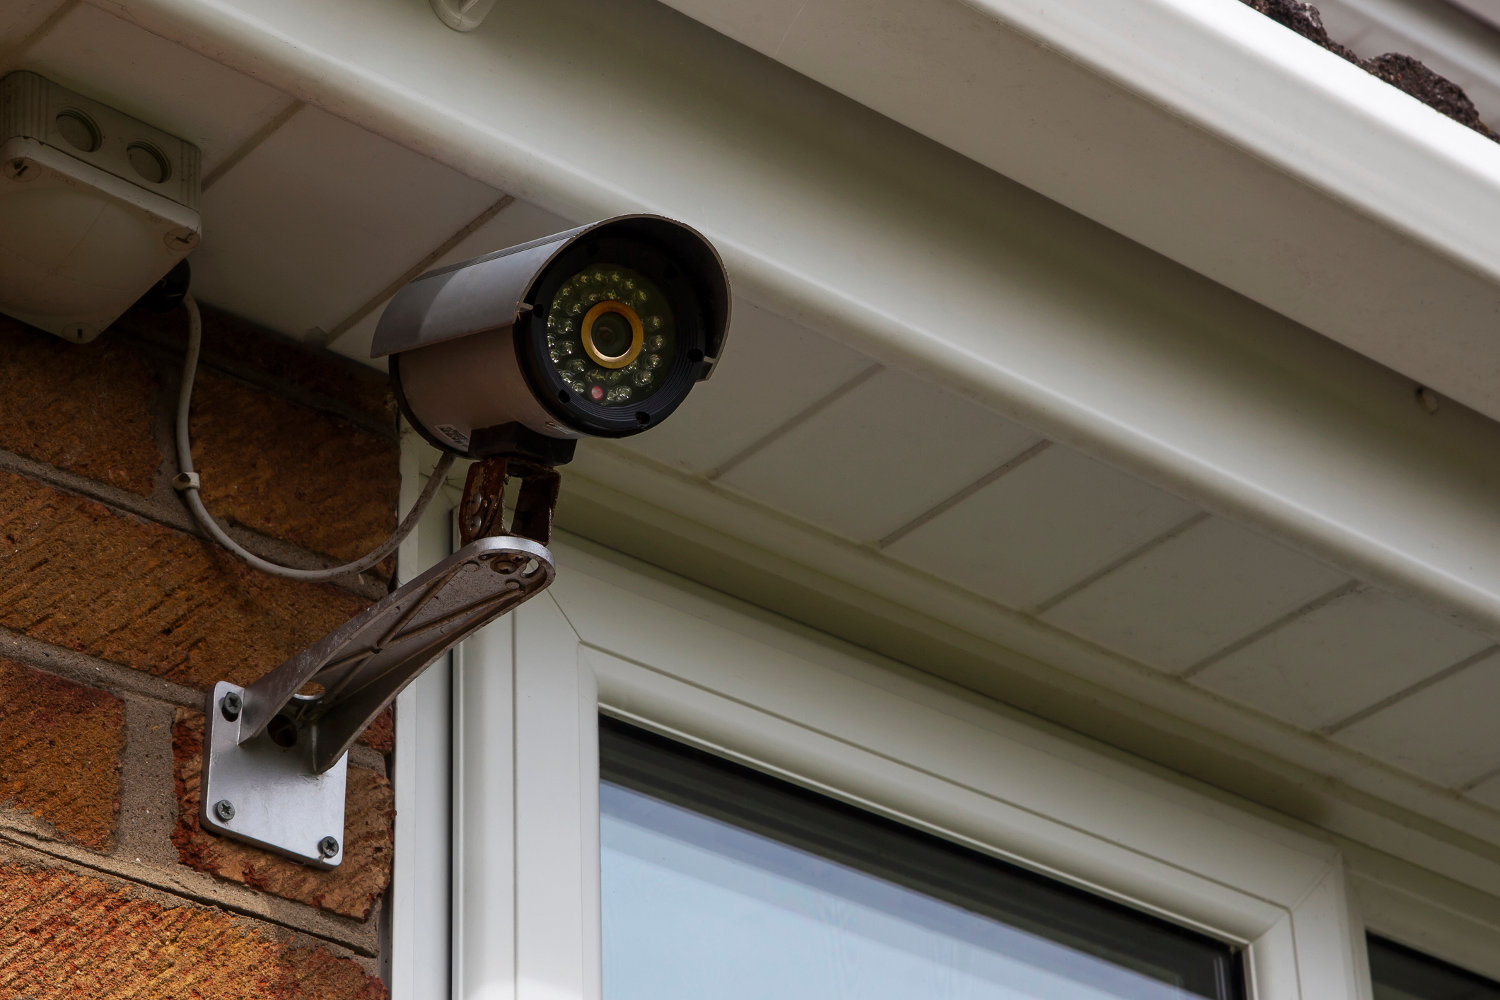
- Choose the Mounting Location: Select the precise location where you want to install the camera based on your earlier planning. Ensure that the area provides the desired coverage and has a sturdy surface to attach the camera.
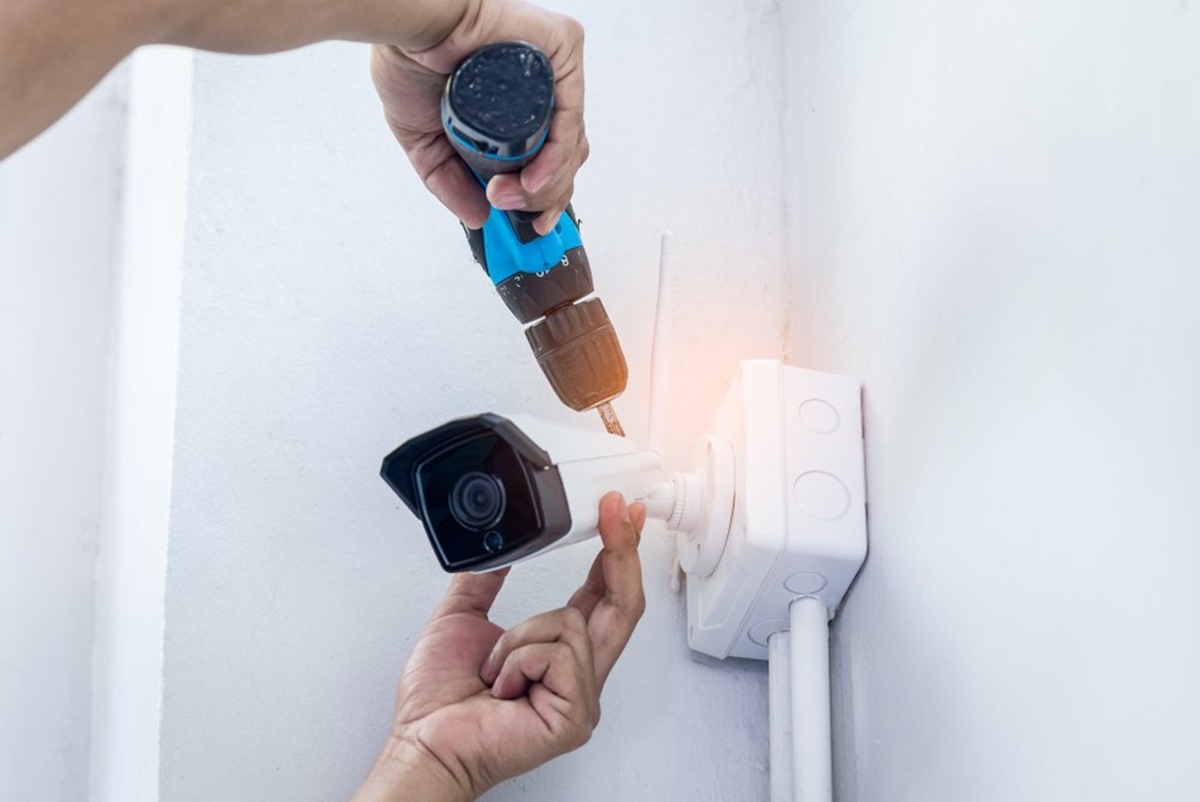
- Mark the Drill Holes: Position the mounting bracket against the wall or ceiling and mark the spots where the drill holes need to be made. Make sure the bracket is level to ensure the camera will be properly aligned.
- Drill the Holes: Use a power drill and the appropriate drill bit to create the holes at the marked spots. Make sure to use the correct size and depth according to the provided instructions.
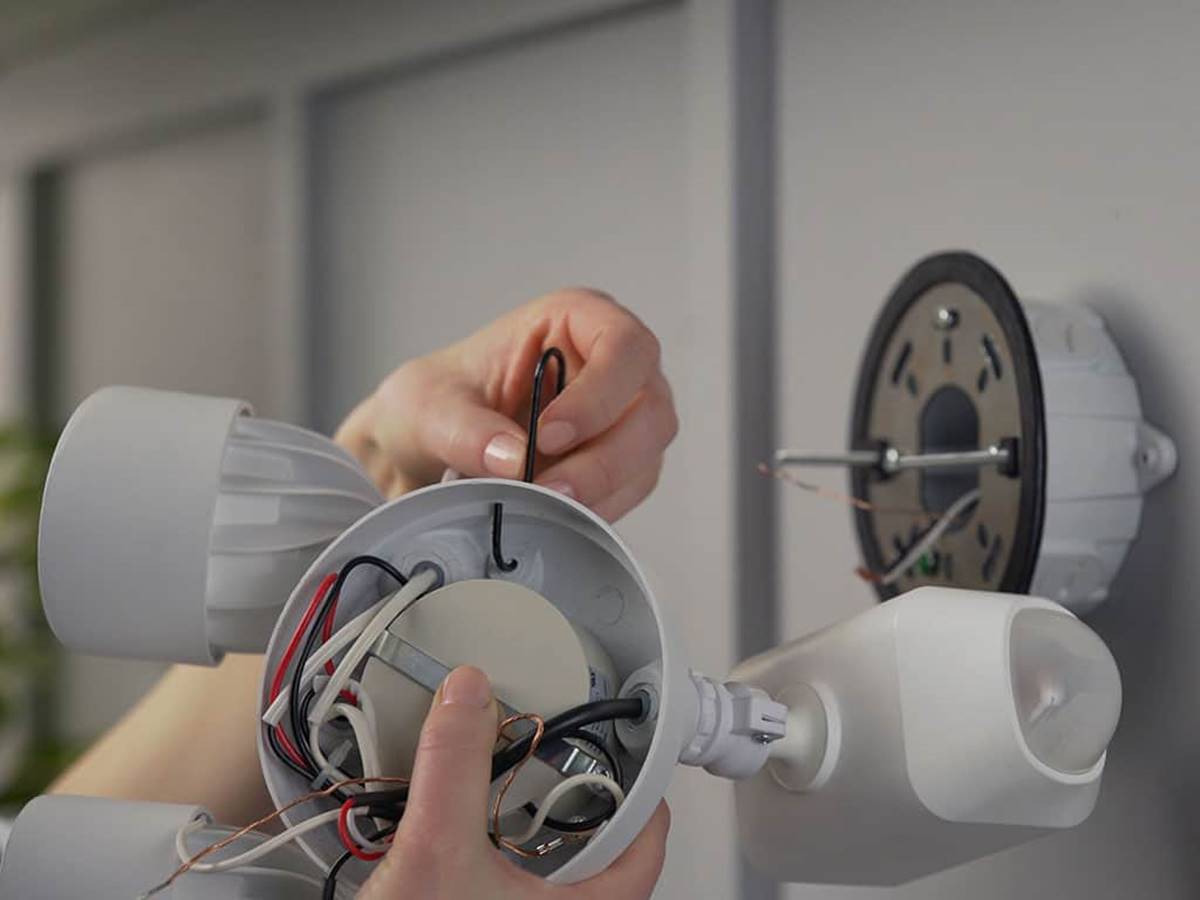
- Attach the Mounting Bracket: Secure the mounting bracket to the wall or ceiling using screws or anchors that are suitable for the surface material.
- Secure the Camera: Depending on the camera model, attach the camera to the mounting bracket using the provided screws or clips. Ensure that the camera is firmly secured and properly aligned.
It’s important to follow the instructions provided by Night Owl and refer to the user manual for specific details regarding the mounting process for your particular camera model. Take your time to ensure proper installation, as this will ensure optimal performance and reliability.
Once your camera is securely mounted, you can move on to the next step: Running the Cables.
Step 3: Running the Cables
With your Night Owl wired security camera securely mounted, it’s time to tackle the task of running the cables. Proper cable management is crucial to ensure a clean and professional installation, as well as to maintain the integrity of the camera’s signal.
Follow these steps to run the cables for your Night Owl wired security cameras:
- Measure and Cut the Cables: Measure the distance between the camera and the DVR location to determine the length of cable needed. Use a cable cutter to trim the cable to the appropriate length.
- Create Cable Pathways: Identify the most efficient and discreet routes for the cables to run from the cameras to the DVR. Avoid areas with excessive moisture or extreme temperatures.
Carefully run the cables along the determined pathways, ensuring they are hidden and protected as much as possible. Use cable clips or adhesive cable holders to secure the cables in place. - Take Precautions: During the cable routing process, be cautious of any potential hazards or obstructions. Avoid sharp edges, electrical wires, or any other interfering elements that could damage the cables.
- Keep Distance from Power Lines: To prevent electrical interference, maintain a safe distance between the camera cables and any power lines. Ideally, they should be separated by at least 12 inches.
Running the cables for your Night Owl wired security cameras may require some patience and attention to detail, but it is a critical step in ensuring a reliable and robust surveillance system. When done correctly, it will help maintain clear video signals and minimize the risk of cable damage or signal loss.
Next, we will move on to Step 4: Connecting the Camera to the DVR.
Step 4: Connecting the Camera to the DVR
Now that you have successfully mounted your Night Owl wired security cameras and routed the cables, it’s time to connect the cameras to the DVR (Digital Video Recorder). This step is crucial for establishing a connection and enabling the transmission of video footage.
Follow these steps to connect your cameras to the DVR:
- Locate the Camera Ports: Identify the camera ports on the back of the DVR. These ports are usually labeled with numbers or corresponding channel numbers.
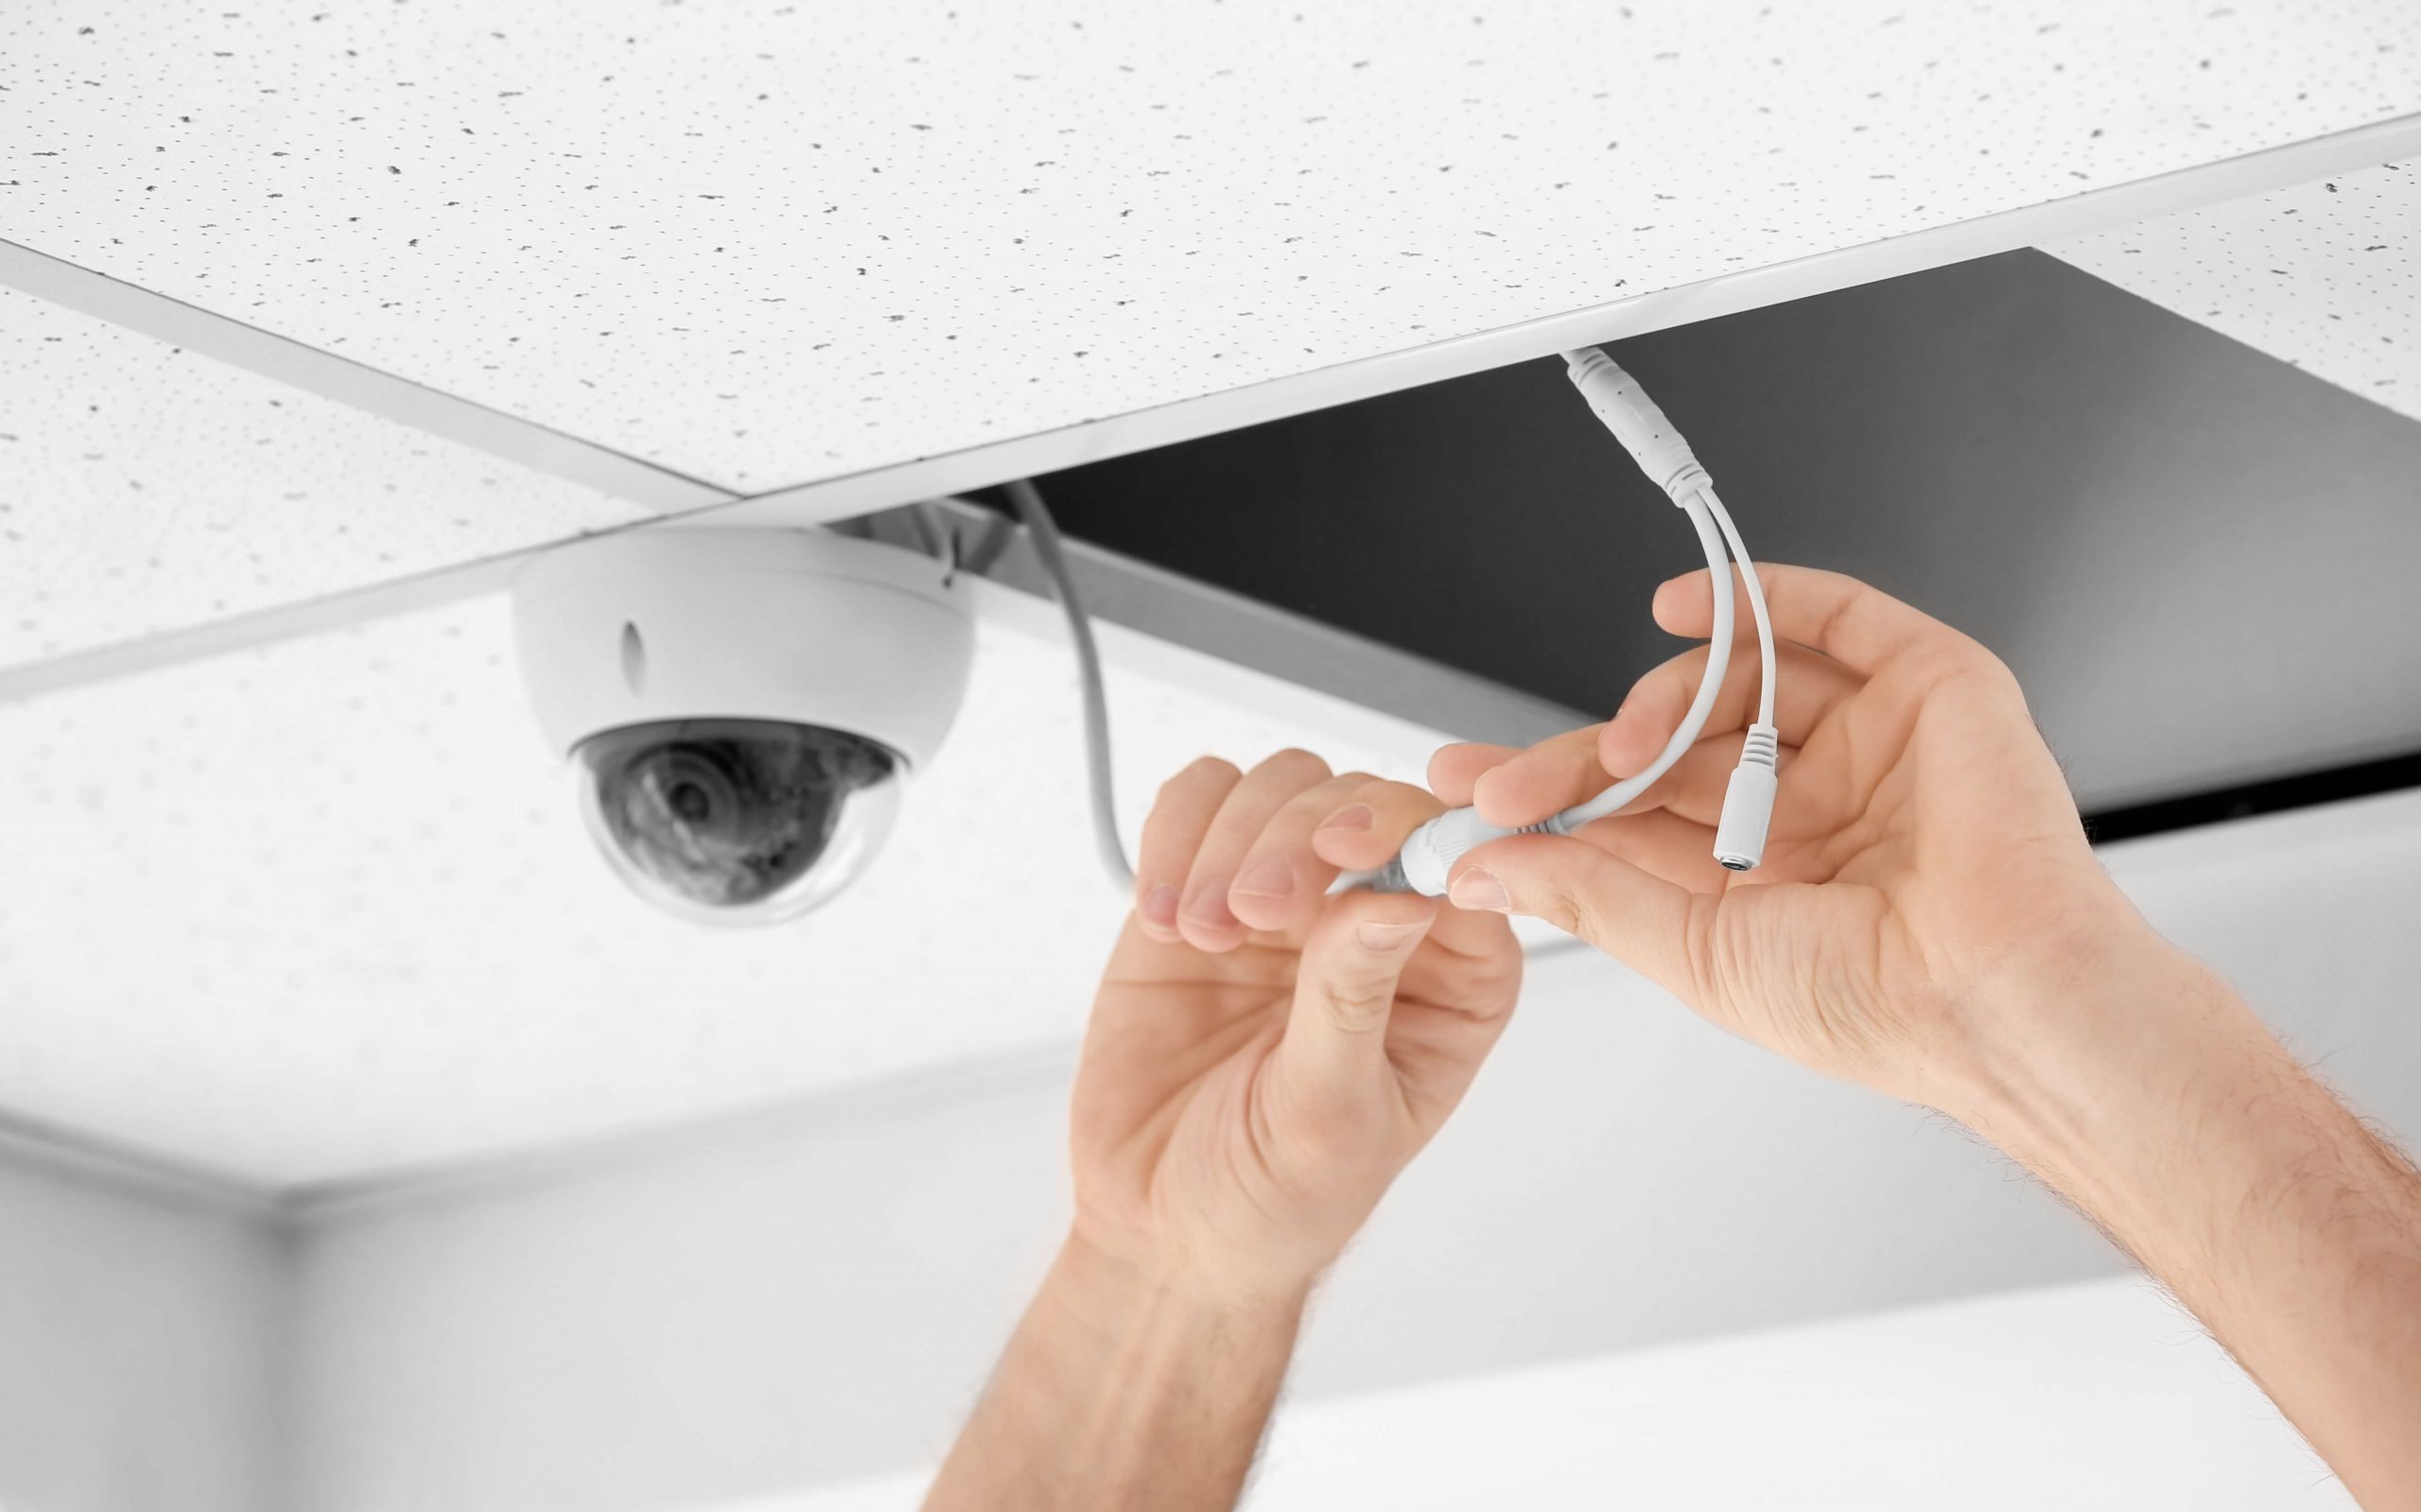
- Connect the Cables: Take the cables from each camera and connect them to the respective camera ports on the DVR. Ensure a secure and snug connection.
- Check the Power Supply: Ensure that each camera has the necessary power supply. Some Night Owl wired security cameras require separate power adapters, while others may receive power through the same cable as the video transmission.
- Power on the DVR: Connect the DVR to a power outlet and turn it on. Allow the DVR to initialize and power up fully.
- Verify Camera Connections: Access the DVR menu or user interface to verify that the cameras are recognized and connected properly. You should be able to view live video feeds from each camera.
It’s important to follow the instructions provided by Night Owl specific to your DVR model and camera system. The connections and setup process may vary slightly, so referring to the user manual is highly recommended.
Once you have successfully connected the cameras to the DVR, you are one step closer to having your Night Owl wired security system fully operational. In the next step, we will cover powering up the system.
When installing Night Owl wired security cameras, make sure to carefully plan the camera placement to cover all necessary areas. Test the cameras before mounting to ensure proper functionality.
Step 5: Powering Up the System
With the cameras successfully connected to the DVR, it’s time to power up your Night Owl wired security system. This step involves providing the necessary power supply to ensure the cameras and DVR are operational.
Follow these steps to power up your Night Owl wired security system:
- Connect Power to the DVR: Plug the power adapter of the DVR into a nearby power outlet. Ensure that the outlet is easily accessible and provides a stable power source.
- Connect Power to the Cameras: If your cameras require separate power adapters, connect each camera’s power adapter to a nearby power outlet. Make sure the power adapters are securely plugged in.
- Verify Power Supply: Check the power indicators on both the DVR and cameras to confirm that they are receiving power. The indicators may vary depending on the camera model.
- Monitor the Boot-Up Process: Allow the DVR and cameras a few moments to boot up. During this time, the devices will initialize and establish a connection. Monitor the display or user interface to ensure all cameras are recognized and functioning properly.
It’s important to note that some Night Owl wired security cameras may have Power over Ethernet (PoE) capabilities. In such cases, the power supply is provided through the same cable used for video transmission. This eliminates the need for separate power adapters.
Once the system is powered up and all cameras are operational, you have successfully completed the power-up phase of your Night Owl wired security system. In the next step, we will discuss configuring the camera settings to suit your specific needs.
Step 6: Configuring the Camera Settings
Now that your Night Owl wired security system is powered up, it’s time to configure the camera settings to suit your specific needs. This step allows you to customize various parameters and optimize the performance of your surveillance system.
Follow these steps to configure the camera settings:
- Access the DVR Menu: Use the provided remote control or the front panel buttons to access the DVR’s menu. Navigate through the menu options until you find the camera settings section.
- Adjust Camera Display Settings: Within the camera settings section, you can adjust various display settings such as brightness, contrast, saturation, and sharpness. Experiment with these settings to achieve the desired video quality.
- Set Up Motion Detection: Most Night Owl wired security cameras offer motion detection capabilities. Enable this feature and adjust the sensitivity levels to detect movement within the camera’s field of view. This helps minimize false alerts and saves storage space.
- Configure Recording Settings: Determine the desired recording settings, such as continuous recording, scheduled recording, or triggered recording. Specify the duration and quality of the recordings, keeping in mind the available storage capacity.
- Set Up Remote Viewing: If you wish to remotely access your surveillance system, configure the remote viewing settings. This may involve setting up a secure internet connection, creating user accounts, and configuring mobile or web applications provided by Night Owl.
- Save and Apply Settings: Once you have configured the camera settings to your liking, make sure to save and apply the changes. This ensures that your settings are saved and applied for future use.
It’s important to refer to the user manual provided by Night Owl for detailed instructions and specific settings options. Take your time to explore and adjust the settings based on your preferences and surveillance requirements.
Once you have successfully configured the camera settings, you are ready to move on to the final step: testing and troubleshooting your Night Owl wired security system.
Step 7: Testing and Troubleshooting
After setting up and configuring your Night Owl wired security system, it’s essential to thoroughly test the system to ensure everything is functioning as expected. This step allows you to identify any potential issues or areas that need adjustment.
Here are some important steps to test and troubleshoot your Night Owl wired security system:
- Check Live Video Feeds: Monitor the live video feeds from each camera on the DVR or through the remote viewing app. Ensure that the images are clear, without any distortion or abnormalities.
- Test Recording Functionality: Perform test recordings to verify that the system is capturing and storing video footage properly. Playback the recorded footage to ensure it is of good quality and captures the desired areas.
- Adjust Camera Angles and Positions: If you notice any blind spots or areas of insufficient coverage, adjust the camera angles or positions to improve the viewing range and ensure maximum coverage.
- Test Motion Detection: Trigger the motion detection feature by deliberately moving within the camera’s field of view. Check if the system correctly detects and records the motion. Adjust the sensitivity levels if needed.
- Verify Remote Viewing: If you have enabled remote viewing, test the functionality by accessing the surveillance system through the provided mobile or web application. Ensure that you can view the live video feeds and access system settings remotely.
- Address Connectivity Issues: If you experience any connectivity issues or difficulty accessing the surveillance system remotely, check your network settings, router configurations, and internet connection to resolve any connectivity-related problems.
- Consult Customer Support: If you encounter any persistent issues or require further assistance, don’t hesitate to reach out to Night Owl’s customer support for expert guidance and troubleshooting.
By thoroughly testing and troubleshooting your Night Owl wired security system, you can ensure that it is fully operational and ready to provide reliable surveillance of your home or property.
Congratulations! You have successfully completed the installation, setup, and testing of your Night Owl wired security cameras. Your dedication to securing your home and loved ones is commendable. Enjoy the peace of mind that comes with having a comprehensive surveillance system in place!
If you ever need to make changes or upgrades to your system, refer back to the user manual or seek professional assistance to ensure a smooth transition.
Stay vigilant, stay safe!
Conclusion
Installing a Night Owl wired security camera system is a significant step towards enhancing the security and protection of your home. With careful planning, proper installation, and thorough testing, you can create a robust and reliable surveillance system that offers peace of mind.
In this guide, we have walked you through the step-by-step process of installing Night Owl wired security cameras. From planning and preparation to mounting the cameras, running the cables, connecting to the DVR, configuring settings, and testing the system, each step has been outlined to ensure a successful installation.
Remember that a well-planned installation is crucial for optimizing camera coverage and capturing important details. Take the time to identify vulnerable areas and determine appropriate camera placements. Proper cable management is also essential for maintaining clear video signals and minimizing potential damage.
Configuring the camera settings based on your specific needs, such as adjusting display settings, enabling motion detection, and setting up remote viewing, allows you to tailor the system to your preferences. Thoroughly testing and troubleshooting the system ensures that it is functioning correctly and addressing any issues that may arise.
It’s important to consult the user manual provided by Night Owl for any specific instructions or details regarding your camera model. Additionally, don’t hesitate to reach out to Night Owl’s customer support for assistance and expert guidance.
By following these steps and harnessing the power of Night Owl wired security cameras, you can enjoy the peace of mind that comes with knowing your home is protected around the clock. Stay vigilant, stay safe!
Frequently Asked Questions about How To Install Night Owl Wired Security Cameras
Was this page helpful?
At Storables.com, we guarantee accurate and reliable information. Our content, validated by Expert Board Contributors, is crafted following stringent Editorial Policies. We're committed to providing you with well-researched, expert-backed insights for all your informational needs.