Home>Home Security and Surveillance>How To Connect A Wireless Security Camera To A Computer
Home Security and Surveillance
How To Connect A Wireless Security Camera To A Computer
Modified: March 6, 2024
Learn how to connect a wireless security camera to your computer for home security and surveillance. Follow our step-by-step guide for easy setup and monitoring.
(Many of the links in this article redirect to a specific reviewed product. Your purchase of these products through affiliate links helps to generate commission for Storables.com, at no extra cost. Learn more)
Introduction
Home security is a top priority for many homeowners, and the advancements in technology have made it easier than ever to keep our homes and loved ones safe. One essential tool in home security is a wireless security camera, which provides surveillance and peace of mind.
Connecting a wireless security camera to your computer allows you to monitor your home and access live feeds from the convenience of your desktop or laptop. Whether you want to keep an eye on your property while you’re away or have a dedicated surveillance system, connecting a wireless security camera to your computer is a simple and effective solution.
In this article, we will guide you through the process of connecting a wireless security camera to your computer. We will walk you through the steps and provide helpful tips to ensure a seamless setup and optimal performance.
Key Takeaways:
- Connecting a wireless security camera to your computer is a simple way to monitor your home. Check compatibility, set up the camera, and connect it to your computer for seamless surveillance.
- Troubleshoot connectivity issues by positioning your router properly, checking Wi-Fi signal strength, and updating firmware. With these tips, you can ensure a stable wireless connection for your security camera.
Read more: How To Connect Wireless Security Cameras?
Step 1: Determine the camera’s compatibility with your computer
Before you begin setting up your wireless security camera, it’s important to ensure that it is compatible with your computer. This involves checking the system requirements and identifying the wireless connectivity options supported by both the camera and your computer.
Start by reviewing the specifications and system requirements provided by the manufacturer of the wireless security camera. This information can usually be found in the product manual or on the manufacturer’s website. Look for details such as the camera’s operating system compatibility, minimum processor speed, available memory, and required network capabilities.
Next, assess your computer’s specifications to ensure they meet the camera’s requirements. Check your computer’s operating system, hardware specifications, and internet connection speed. If your computer falls short in any of these areas, it may not be compatible with the wireless security camera you have chosen.
In addition to system requirements, consider the wireless connectivity options available for both the camera and your computer. Most wireless security cameras use Wi-Fi to transmit video feeds to connected devices. Check if your computer has built-in Wi-Fi capabilities or if you need to use external wireless adapters or dongles to establish a connection.
If your computer does not have Wi-Fi capabilities, you will need to ensure that your wireless security camera supports other connectivity options, such as Ethernet or USB connections. These options allow you to connect the camera directly to your computer using cables.
By thoroughly examining the camera’s compatibility with your computer, you can ensure a smooth and successful setup process. This step will help you avoid compatibility issues and ensure that your wireless security camera is fully compatible with your computer’s hardware and software.
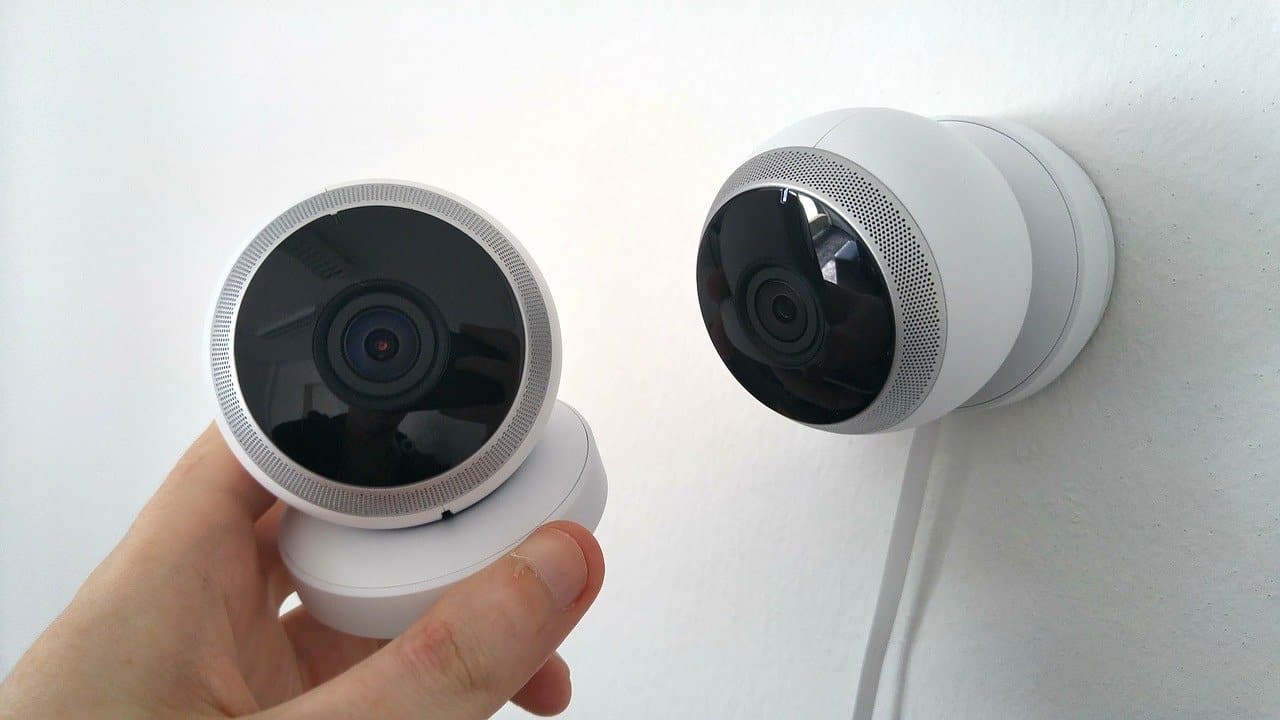
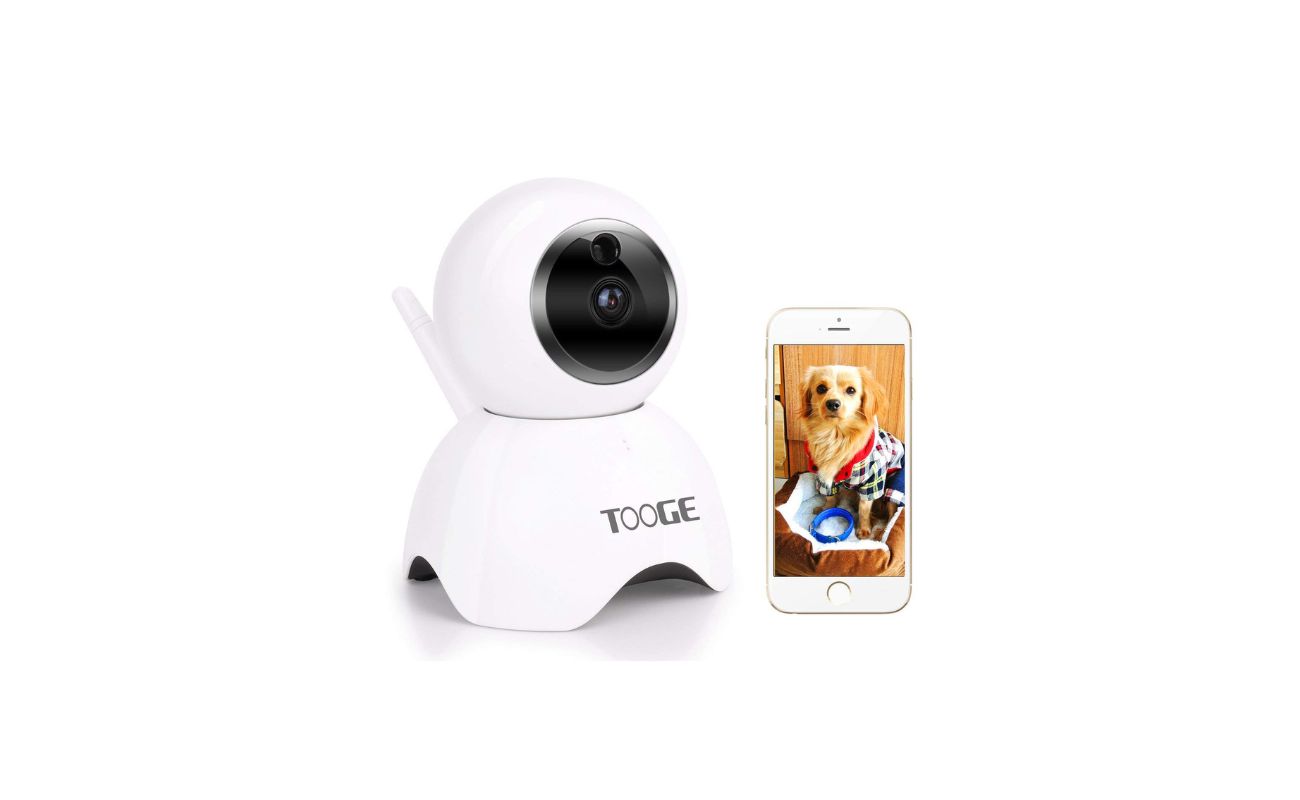
Step 2: Set up the wireless security camera
Once you have determined the compatibility between the wireless security camera and your computer, it’s time to set up the camera itself. This involves mounting the camera, connecting the power source, and configuring the camera settings for optimal performance.
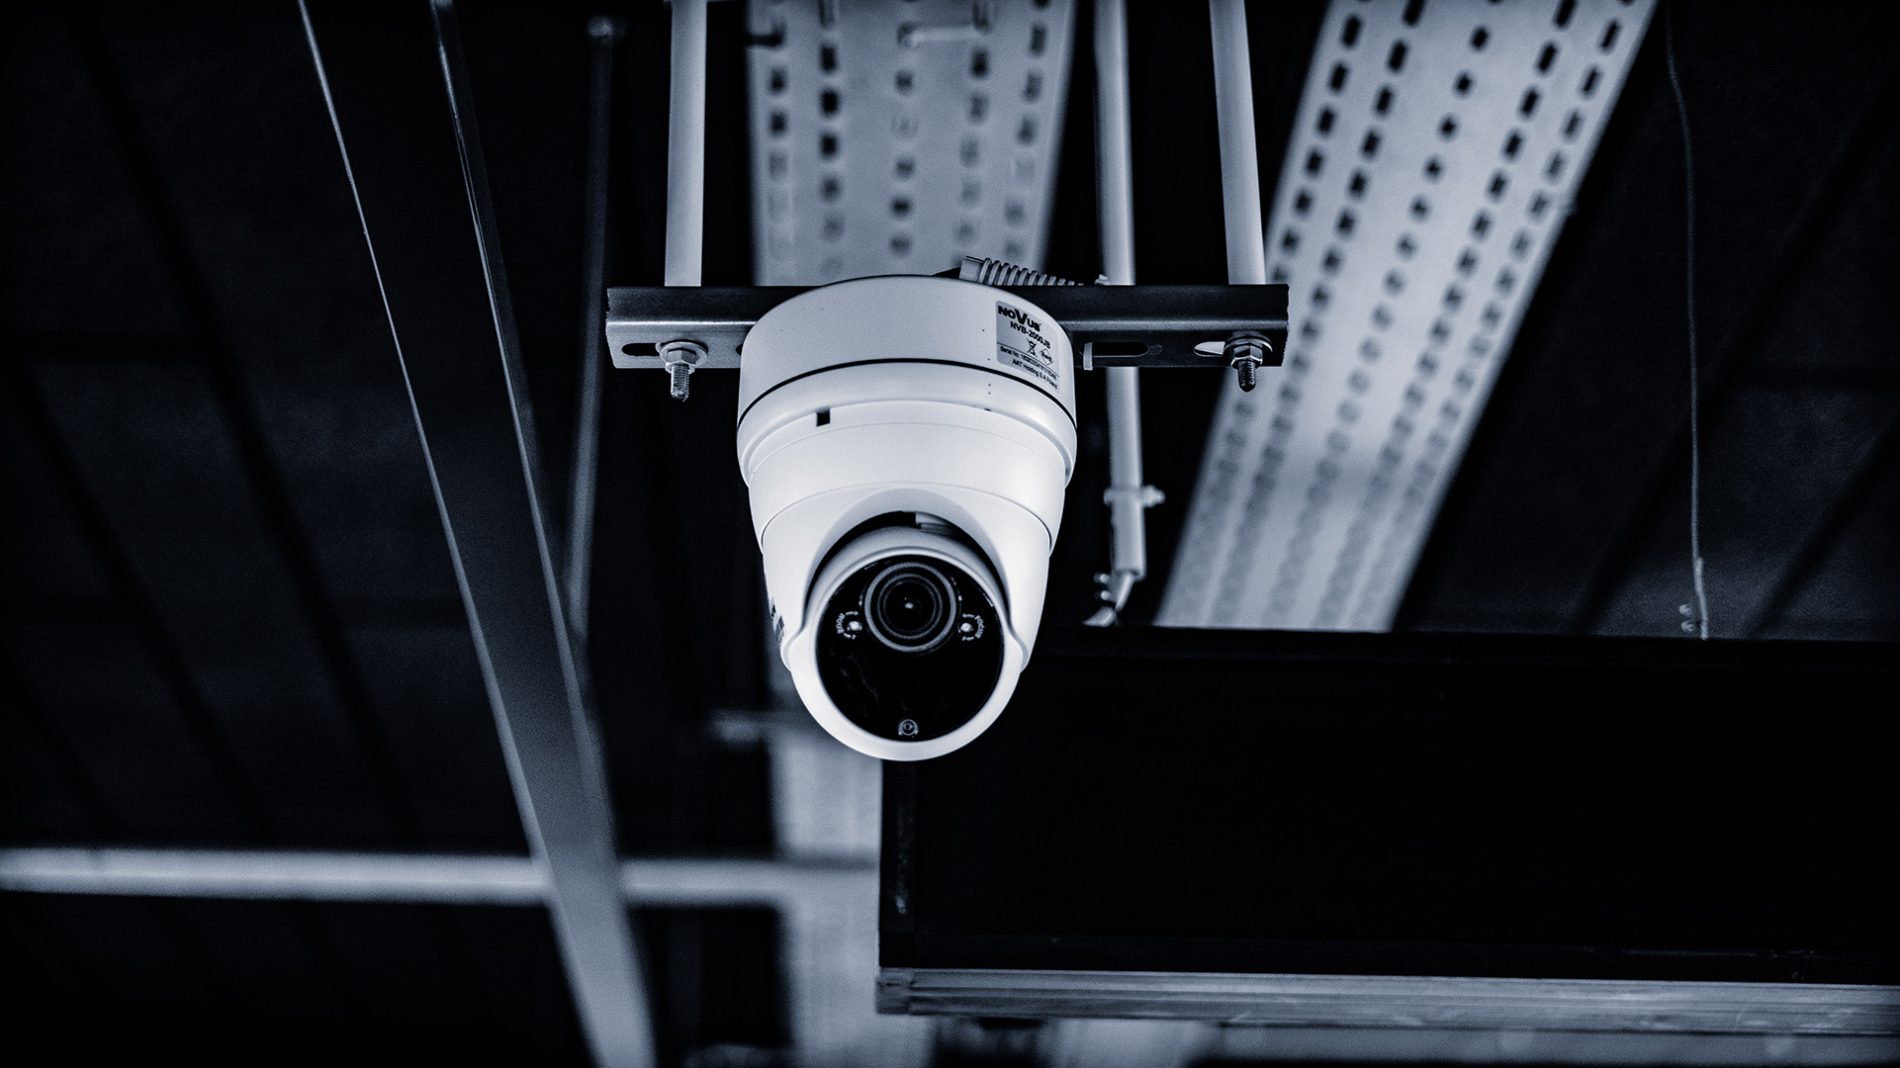
Begin by selecting an ideal location to mount the wireless security camera. The location should provide a wide and clear view of the area you want to monitor, whether it’s the front porch, backyard, or indoors. Ensure that the camera is positioned at the right height and angle to capture the desired footage effectively.
Next, connect the camera to a power source. Some wireless security cameras are battery-powered, while others require a direct power connection. If your camera is battery-powered, ensure that the batteries are fully charged before installation. For cameras that require a direct power connection, locate a nearby power outlet or use extension cables if necessary.
After mounting and connecting the power source, it’s time to configure the camera settings. This typically involves accessing the camera’s settings menu through a companion app or software. Use the provided instructions to connect your computer to the camera’s Wi-Fi network or establish a direct connection via an Ethernet cable.
Once connected, follow the on-screen prompts to set up the camera, including selecting a password, adjusting video quality and resolution, and enabling additional features such as motion detection or night vision. Take the time to explore and customize the camera settings according to your preferences and surveillance requirements.
By properly setting up the wireless security camera, you can ensure that it is ready to capture and transmit high-quality footage to your computer. Mounting the camera in the right location, connecting the power source, and configuring the necessary settings will lay the foundation for a reliable and effective home security system.
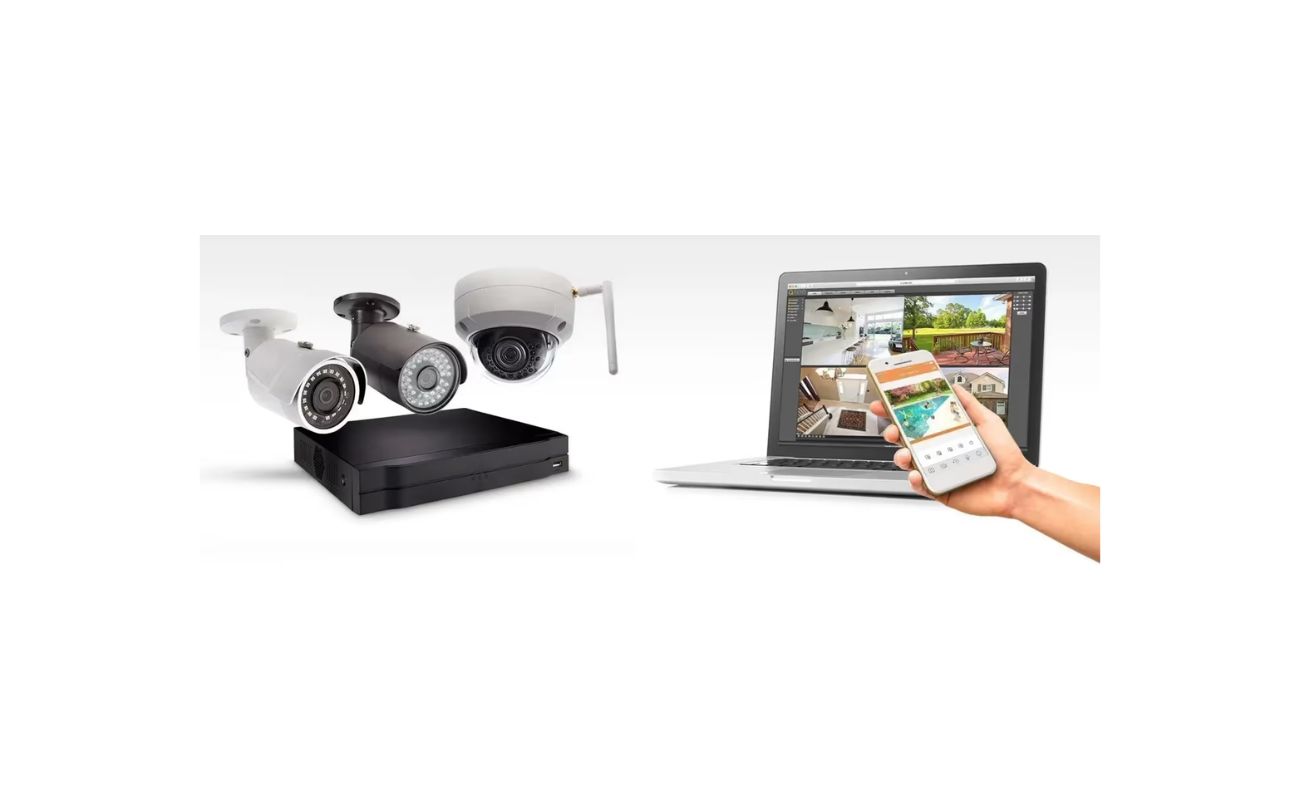
Step 3: Connect the camera to your computer
Now that your wireless security camera is set up, it’s time to establish a connection between the camera and your computer. This step involves connecting the camera to your computer’s network, either wirelessly or via a direct connection, and installing any necessary software or drivers.
To establish a wireless connection, start by accessing your computer’s network settings. Look for available Wi-Fi networks and find the one corresponding to your wireless security camera. Connect to the camera’s Wi-Fi network using the provided credentials or password. Once connected, the camera will be able to transmit video feeds wirelessly to your computer.
If your camera requires a direct connection via Ethernet, use an Ethernet cable to connect the camera to your computer’s network port. This will establish a reliable and robust connection for streaming the camera’s video feeds to your computer.
Once the camera is connected to your computer’s network, it’s time to pair the camera with your computer. This step may vary depending on the camera model and the companion software or app being used. Follow the provided instructions to pair the camera with your computer, typically by entering a unique code or scanning a QR code displayed on the camera or in the software.
After successfully pairing the camera, you may need to install additional software or drivers on your computer to properly access and view the camera’s feed. Check the manufacturer’s website or the camera’s documentation for any required software or drivers. Download and install them on your computer as instructed.
The installation process will vary depending on the camera model and the software used, but typically it involves running an installer and following the on-screen instructions. Once the software or drivers are installed, you will have access to the camera’s live feed and additional features through the provided software or app.
By connecting the camera to your computer’s network and installing the necessary software or drivers, you can enjoy real-time access to the camera’s footage and control its settings from your computer. This step lays the foundation for seamless monitoring and surveillance of your home or property.
To connect a wireless security camera to a computer, make sure the camera is within the Wi-Fi range, install the camera’s software on the computer, and follow the instructions to connect the camera to the computer’s network.
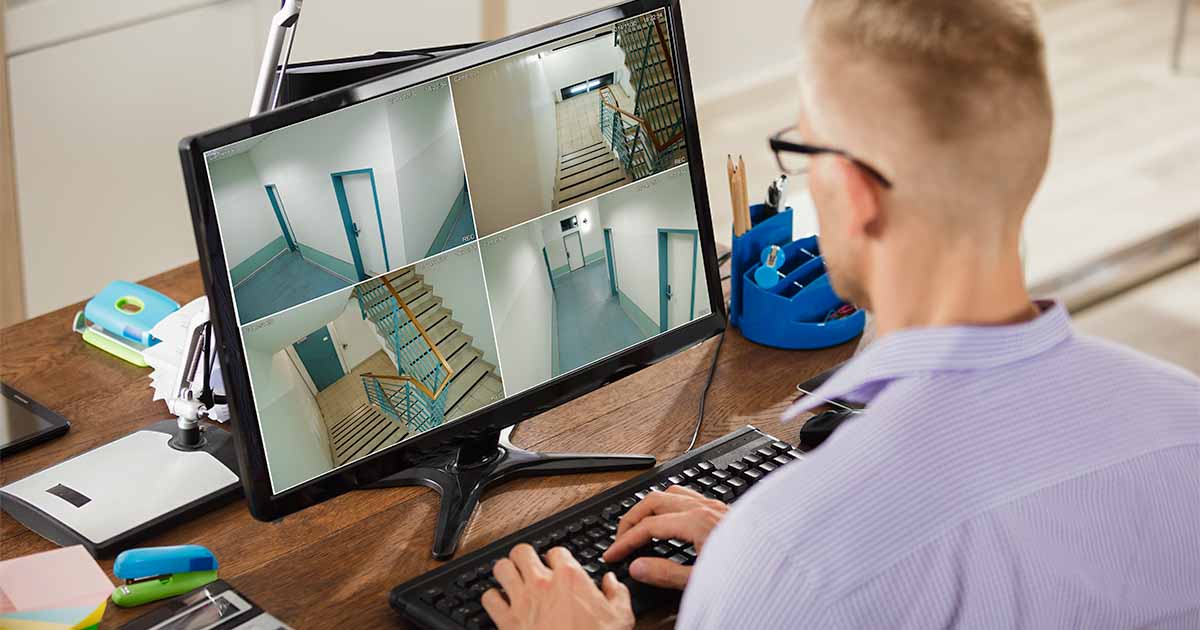
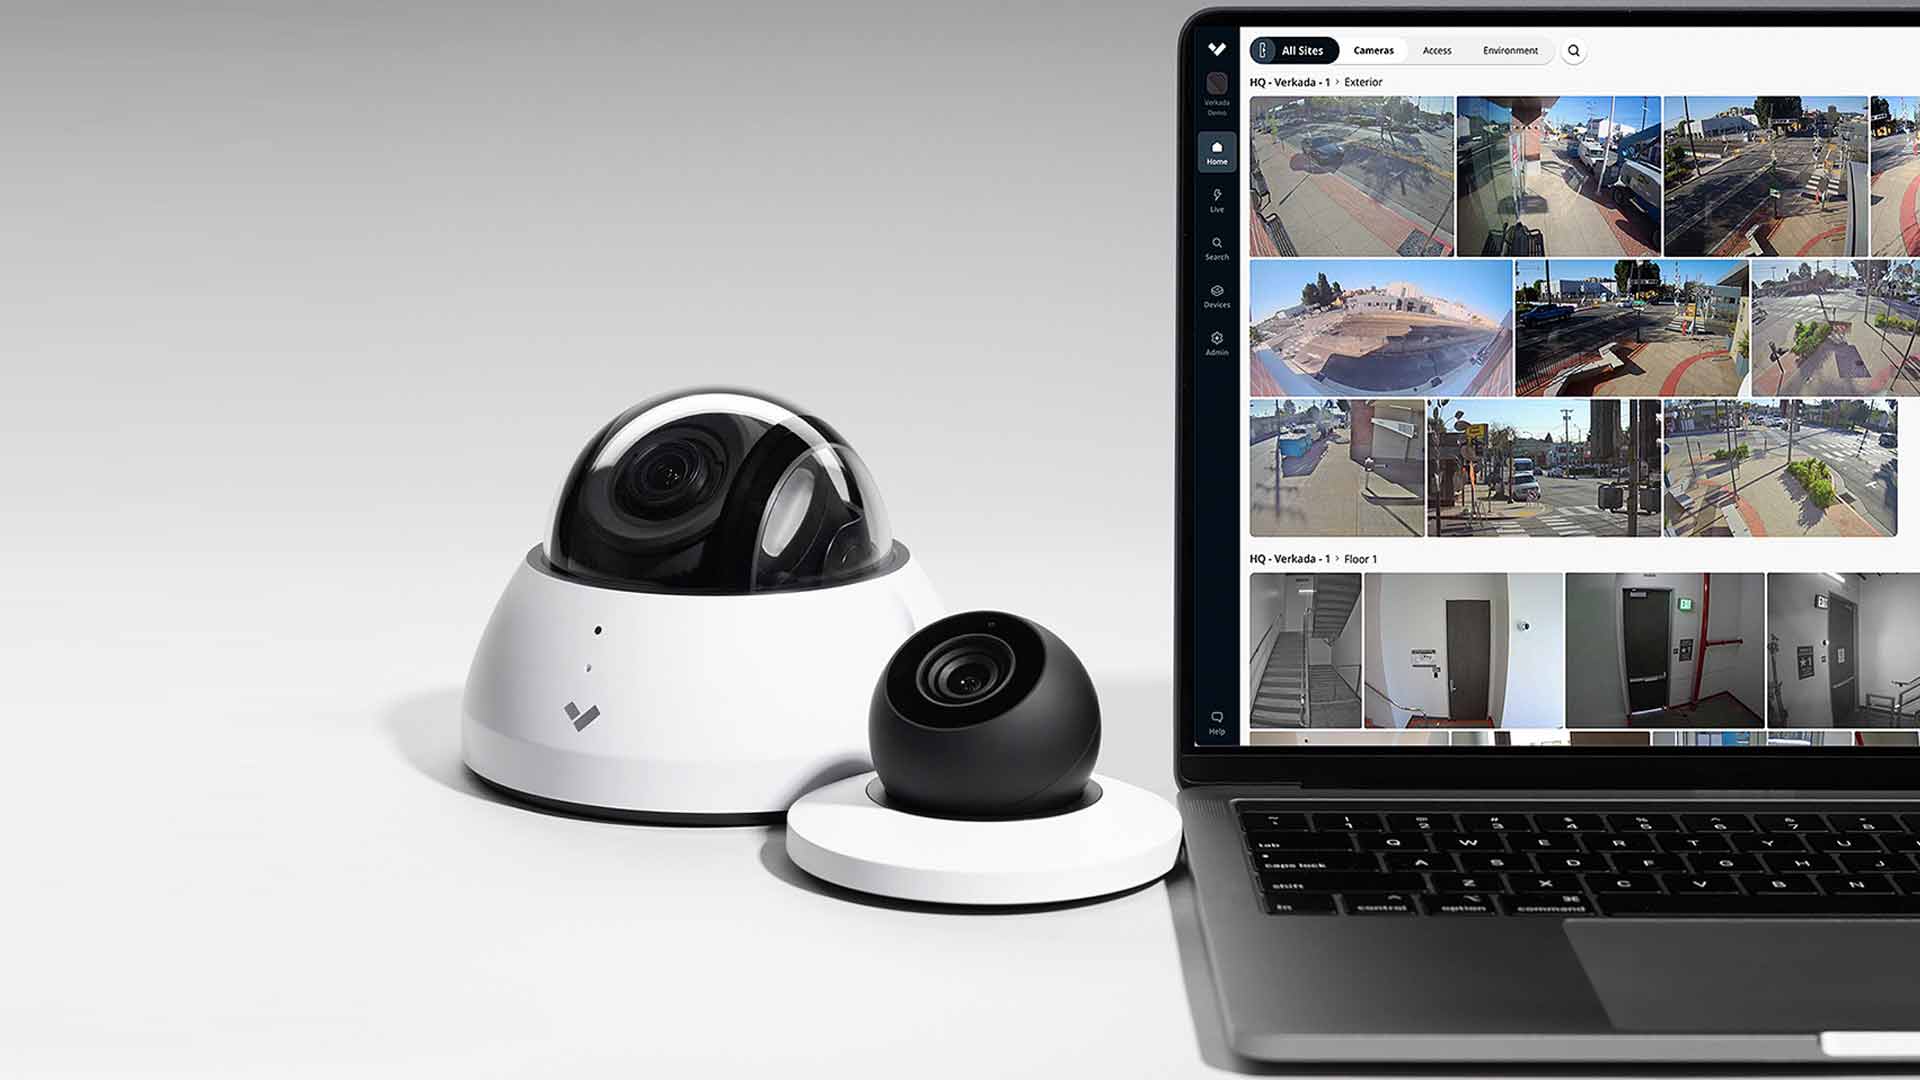
Step 4: Access the camera’s feed on your computer
Now that your wireless security camera is connected to your computer, it’s time to access the camera’s feed and start monitoring your home or property. This step involves opening the camera’s software or app, viewing the live feed, and making any necessary adjustments to the camera settings.
To access the camera’s feed, open the software or app that you installed during the previous step. The specific software or app will depend on the camera model and the manufacturer. Look for the icon or shortcut on your computer’s desktop or in the Start menu, and click to launch it.
After launching the camera’s software or app, you will typically be prompted to log in using your credentials or a unique username and password provided during the setup process. Enter the required information to access the camera’s control panel and live feed.
Once you are logged in, you should be able to see the camera’s live feed on your computer screen. The camera’s software or app will display the footage in real-time, allowing you to monitor your home or property from the convenience of your computer.
Depending on the features and capabilities of the camera, you may have the option to adjust various settings, such as video quality, motion detection sensitivity, or zoom level. Explore the camera’s control panel or settings menu to make any desired adjustments. This will allow you to customize the camera’s performance to your specific surveillance needs.
In addition to viewing the live feed and adjusting settings, many camera software or apps offer additional features such as recording footage, taking snapshots, or setting up alerts or notifications for specific events. These features can further enhance your home security and provide you with valuable evidence in case of any incidents.
By opening the camera’s software or app, viewing the live feed, and adjusting settings as needed, you can effectively monitor your property and ensure the security of your home. Take advantage of the advanced features offered by the camera software or app to enhance your surveillance capabilities.
Step 5: Additional tips and troubleshooting
While setting up and connecting your wireless security camera to your computer, you may come across some challenges or encounter possible connectivity issues. Here are some additional tips and troubleshooting steps to help you maintain a stable wireless connection and address common connectivity issues.
1. Position your router properly: To ensure a stable wireless connection, make sure that your router is located in a central position within your home. Avoid obstructions like walls or furniture that can interfere with the signal strength.
2. Check your Wi-Fi signal strength: If you experience poor or intermittent connection to the camera, check the Wi-Fi signal strength in the area where your camera is installed. Consider relocating the camera or adding a Wi-Fi extender to improve the signal strength.
3. Update firmware and software: Regularly check for firmware or software updates for both your wireless security camera and your computer. Updating to the latest versions can help resolve connectivity issues and enhance performance.
4. Ensure proper power supply: If your wireless security camera is battery-powered, ensure that you have sufficient battery power or consider using rechargeable batteries. For cameras with a direct power connection, ensure that the power source is stable and reliable.
5. Secure your wireless network: Protect your camera’s feed by securing your wireless network with a strong, unique password. Enable encryption and consider using a virtual private network (VPN) for an added layer of security.
6. Check for IP conflicts: If you have multiple devices connected to your network, ensure that there are no IP conflicts that may cause interference or connectivity issues. Assign static IP addresses to your devices to avoid conflicts.
7. Restart and reset: If you experience persistent connectivity issues, try restarting both your camera and your computer. If the issue persists, try resetting the camera to its factory settings and redo the setup process from scratch.
Remember that wireless connectivity can be affected by factors such as distance, interference from other devices, and the structure of your home. It may require some trial and error to find the optimum setup for your wireless security camera and computer.
By following these additional tips and troubleshooting steps, you can maintain a stable wireless connection and effectively address common connectivity issues that may arise during the setup and usage of your wireless security camera.
Conclusion
Connecting a wireless security camera to your computer allows you to enhance the security and surveillance capabilities of your home. With the ability to access live feeds and control camera settings from your computer, you can monitor your property effortlessly and ensure the safety of your loved ones and belongings.
In this article, we have walked you through the steps to connect a wireless security camera to your computer. We started by determining the camera’s compatibility with your computer, checking system requirements, and identifying the wireless connectivity options. Then, we guided you through the process of setting up the camera, including mounting it, connecting the power source, and configuring the camera settings.
Next, we explained how to connect the camera to your computer through Wi-Fi or Ethernet and install any necessary software or drivers. Once connected, we discussed how to access the camera’s feed on your computer by opening the camera’s software or app and adjusting camera settings as needed.
We also provided additional tips and troubleshooting steps to help you maintain a stable wireless connection and address common connectivity issues. By following these tips, you can ensure a reliable and efficient surveillance system for your home.
In conclusion, connecting a wireless security camera to your computer adds an extra layer of security and peace of mind to your home. By following the steps outlined in this article and taking advantage of the additional tips and troubleshooting advice, you can seamlessly set up and connect your wireless security camera to your computer, allowing you to monitor your property with ease and confidence.
Never compromise on the security of your home and loved ones. Invest in a wireless security camera and connect it to your computer for enhanced surveillance capabilities, enabling you to have complete control and peace of mind.
Frequently Asked Questions about How To Connect A Wireless Security Camera To A Computer
Was this page helpful?
At Storables.com, we guarantee accurate and reliable information. Our content, validated by Expert Board Contributors, is crafted following stringent Editorial Policies. We're committed to providing you with well-researched, expert-backed insights for all your informational needs.