Home>Home Security and Surveillance>How To Change A Wireless Security Camera To Wired Camera?

Home Security and Surveillance
How To Change A Wireless Security Camera To Wired Camera?
Modified: March 6, 2024
Learn how to convert your wireless security camera to a wired camera for enhanced home security and surveillance. Step-by-step guide for a seamless transition.
(Many of the links in this article redirect to a specific reviewed product. Your purchase of these products through affiliate links helps to generate commission for Storables.com, at no extra cost. Learn more)
Introduction
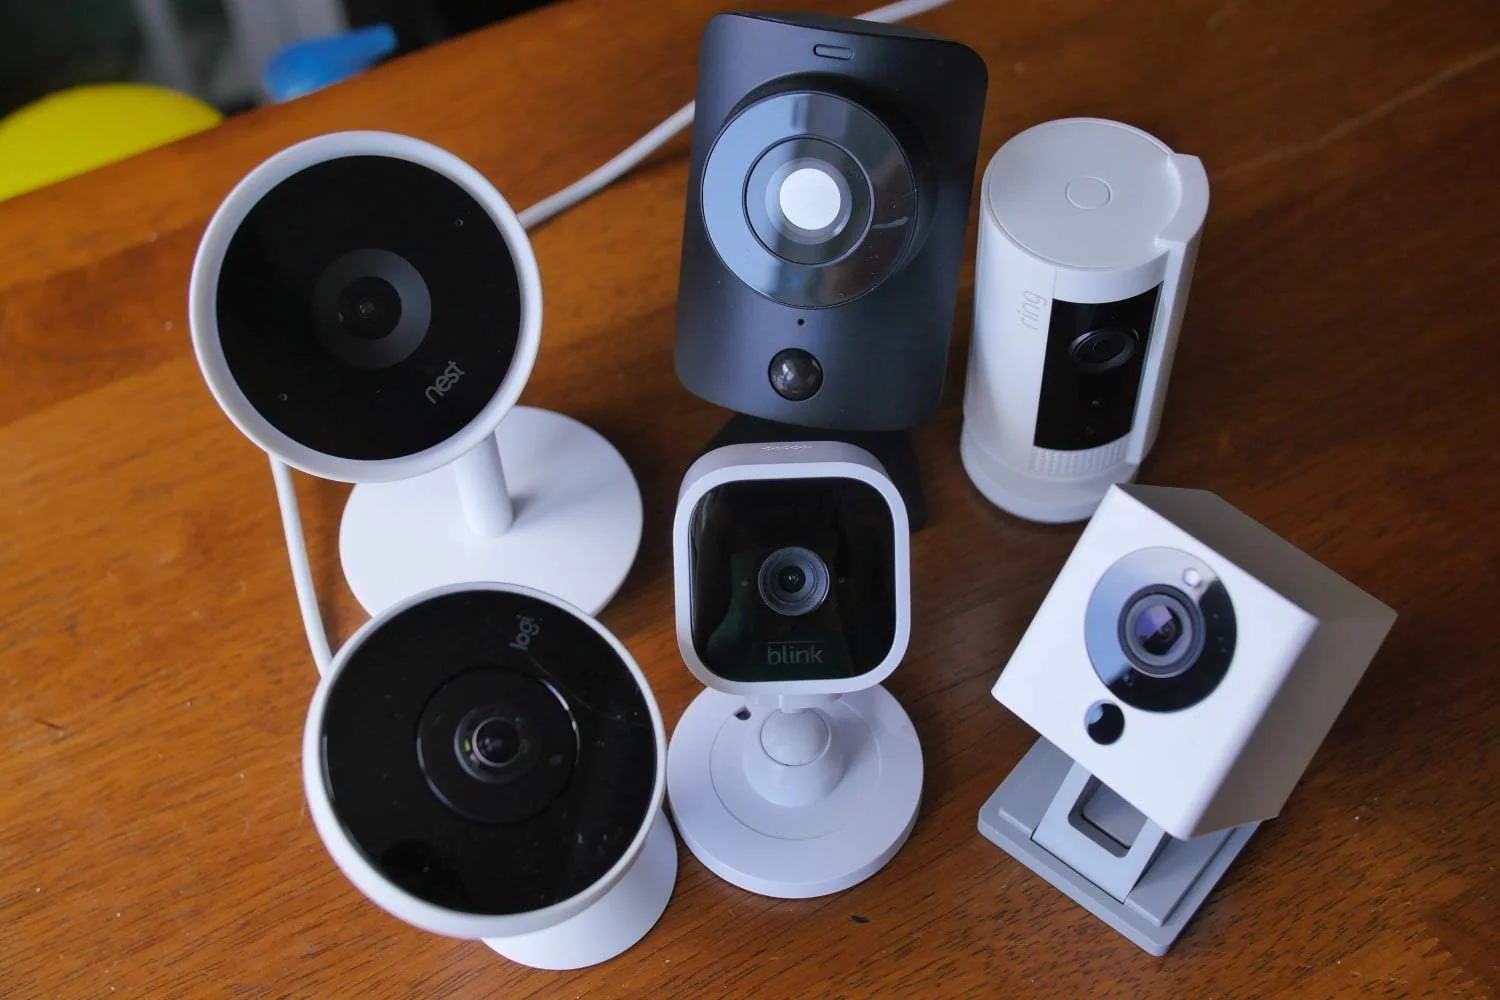
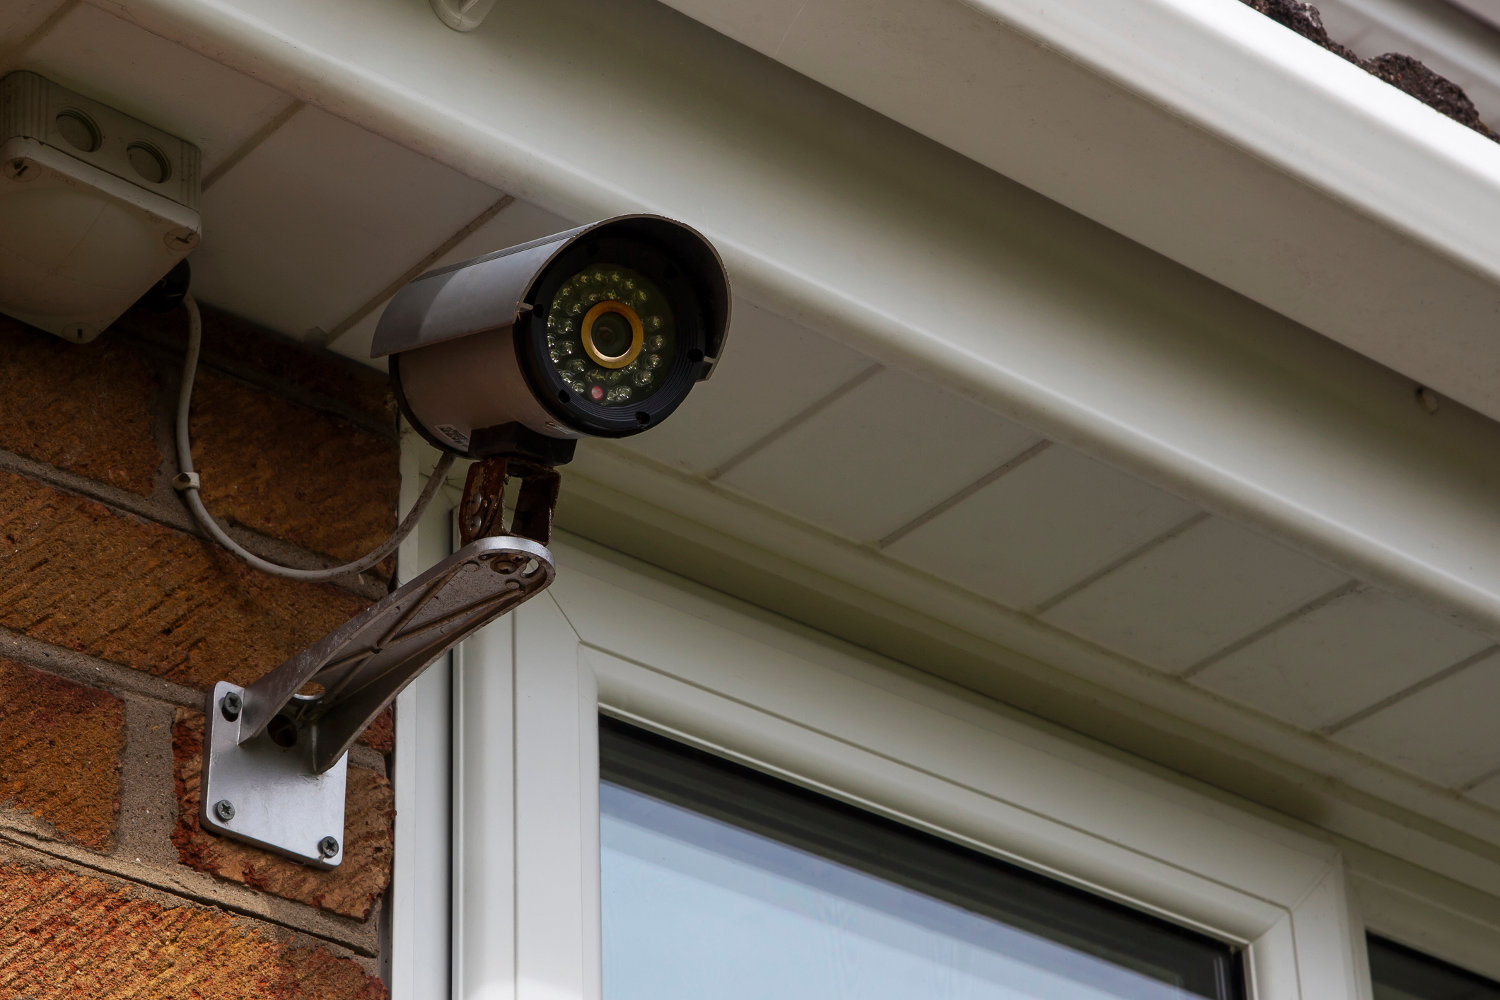
Welcome to the world of home security and surveillance! With advancements in technology, keeping our homes safe has become easier and more convenient than ever before. One of the popular choices for home security is wireless security cameras. They offer flexibility, ease of installation, and remote monitoring capabilities. However, there may be instances where you want to change a wireless security camera to a wired camera for various reasons.
In this article, we will guide you through the process of converting a wireless security camera to a wired camera. We will explain the steps involved and provide helpful tips to ensure a smooth and successful conversion. Whether you’re looking for a more reliable connection or want to avoid interference from nearby devices, switching to a wired camera can be a great solution.
Before we dive into the process, it’s essential to gather the necessary equipment. You will need:
- Wireless security camera
- Power adapter
- Video and power cables
- BNC connectors
- Power connectors
- Power drill
- Drill bit suitable for your walls
- Screws and wall anchors
- Monitor or DVR for surveillance footage
Once you have all the required equipment, you can proceed with the following steps to change your wireless security camera to a wired camera.
Key Takeaways:
- Converting a wireless security camera to a wired camera involves gathering the right equipment, preparing the camera, running the necessary wires, connecting to the power source, and testing the setup for seamless home surveillance.
- By following the step-by-step process, you can enhance your home security with a reliable wired camera setup, ensuring clear video quality, stable connections, and peace of mind for you and your loved ones.
Step 1: Gathering the necessary equipment
Before you begin the process of converting your wireless security camera to a wired camera, it’s crucial to gather all the necessary equipment. Having everything on hand will ensure a smooth and efficient installation process. Here’s a breakdown of the equipment you will need:
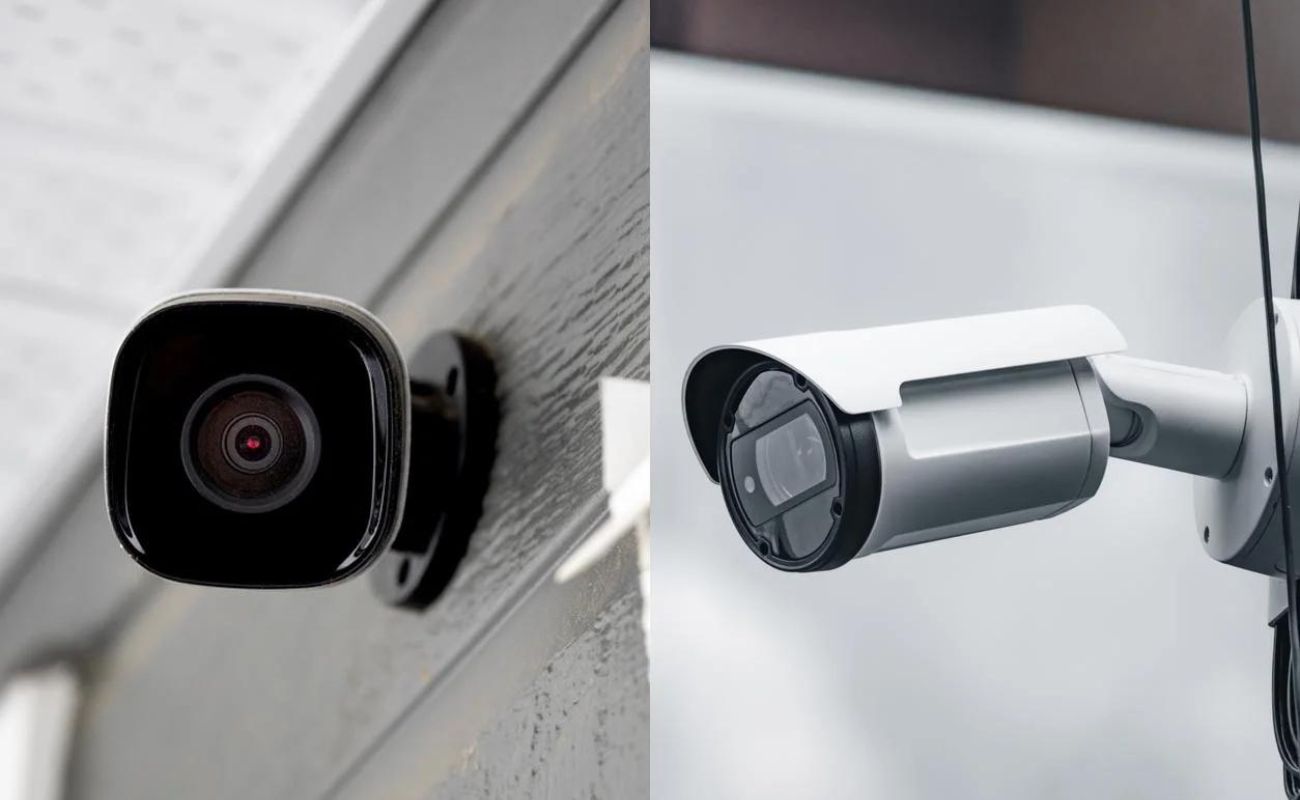
- Wireless security camera: Choose a wireless security camera that supports conversion to a wired connection. This may require some additional research or consulting the camera’s user manual.
- Power adapter: In order to provide power to your camera, you will need a compatible power adapter. Make sure it is the correct voltage and amperage to meet the camera’s requirements.
- Video and power cables: To establish a wired connection, you will need video and power cables. These cables should be long enough to reach from the camera location to the power source and monitoring station.
- BNC connectors: BNC connectors are used to connect the video cables to the camera and monitor or DVR. Ensure you have the appropriate connectors for your specific setup.
- Power connectors: Power connectors will be needed to connect the power cables to the camera and power source. These connectors should match the connectors on the camera and power adapter.
- Power drill: Depending on the installation requirements, you may need a power drill to create holes for running the cables through walls or other surfaces. Have a drill on hand, along with the necessary drill bits.
- Drill bit suitable for your walls: Different types of walls require different drill bits. Make sure you have the appropriate drill bit for your wall material to ensure a clean and secure installation.
- Screws and wall anchors: These will be needed to securely mount the camera and run the cables along the walls. Choose screws and wall anchors appropriate for your wall type.
- Monitor or DVR for surveillance footage: Lastly, you will need a monitor or DVR to view and record the surveillance footage from your camera. Ensure it is compatible with the camera and has the necessary ports for connection.
Gathering all the necessary equipment beforehand will save you time and effort during the installation process. Make sure to review the camera’s specifications and user manual to ensure compatibility with the equipment you have gathered. Once you have everything ready, you can proceed to the next steps and convert your wireless security camera to a wired camera.
Step 2: Preparing the wireless security camera for conversion
Once you have gathered all the necessary equipment, it’s time to prepare the wireless security camera for conversion. This step involves adjusting the camera’s settings and making any physical modifications required for the wired connection. Here’s what you need to do:
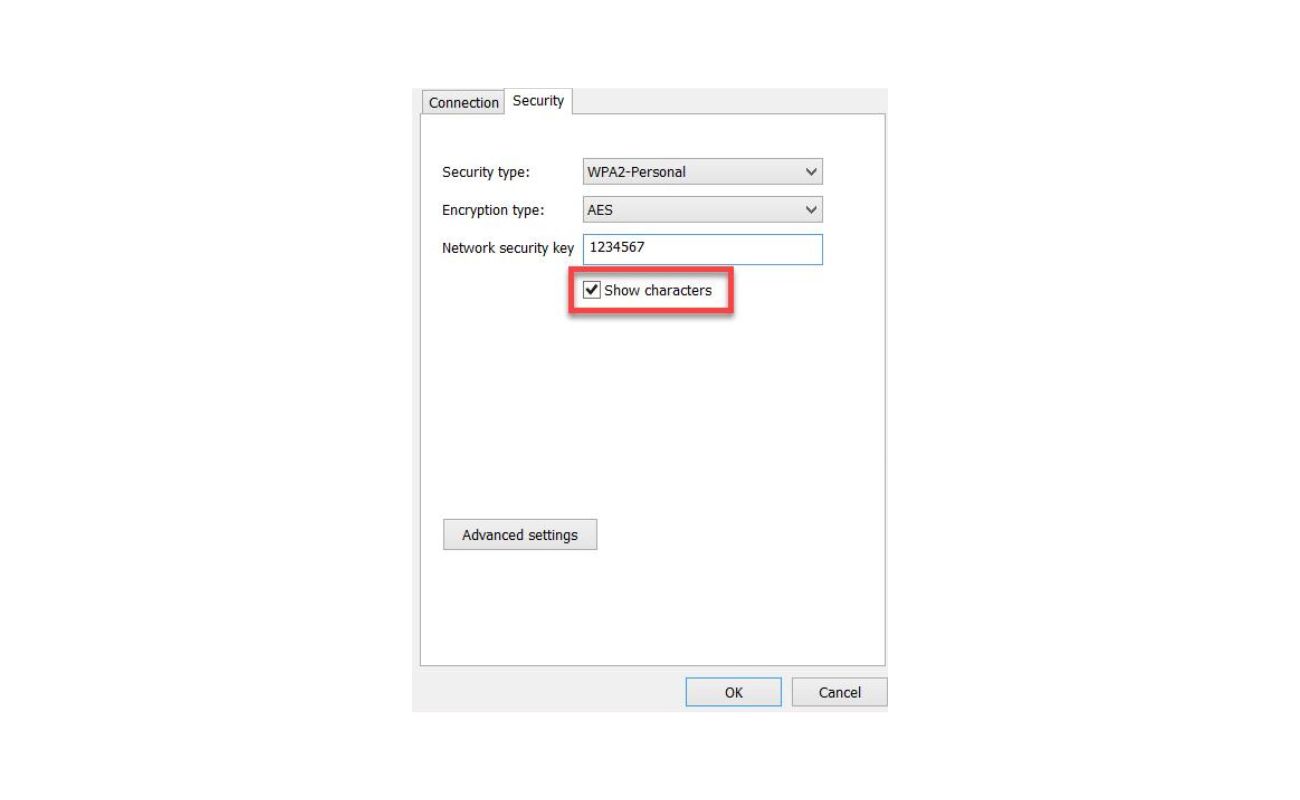
- Access the camera’s settings: Depending on the model and brand of your wireless security camera, you may need to access its settings through a smartphone app, web interface, or physical buttons on the camera itself. Refer to the camera’s user manual for instructions on how to access the settings.
- Disable the wireless functionality: In the camera’s settings, look for an option to disable the wireless functionality. This step ensures that the camera does not attempt to connect to a wireless network and focuses on the wired connection instead. Follow the instructions provided in the user manual to disable the wireless functionality.
- Remove any antennas: Some wireless security cameras have detachable antennas used for wireless communication. In preparation for the wired conversion, remove any antennas attached to the camera. This step may require unscrewing or detaching the antennas carefully.
- Secure any loose cables: Ensure that all cables connected to the camera, including power and video cables, are securely fastened. Use cable ties or clips to organize and secure the cables to prevent them from accidentally disconnecting or getting damaged during the conversion process.
- Make any required physical modifications: Depending on your specific camera model and installation requirements, you might need to make physical modifications to the camera. This could include removing any brackets or mounts used for wireless installation or adjusting the camera housing to accommodate the wired connection.
By following these steps, you will prepare your wireless security camera for the conversion process. Disabling the wireless functionality, removing antennas, securing cables, and making necessary physical modifications will help ensure a smooth transition to a wired camera. Once you have completed these preparations, you can proceed to the next step and start running the necessary wires for the wired connection.
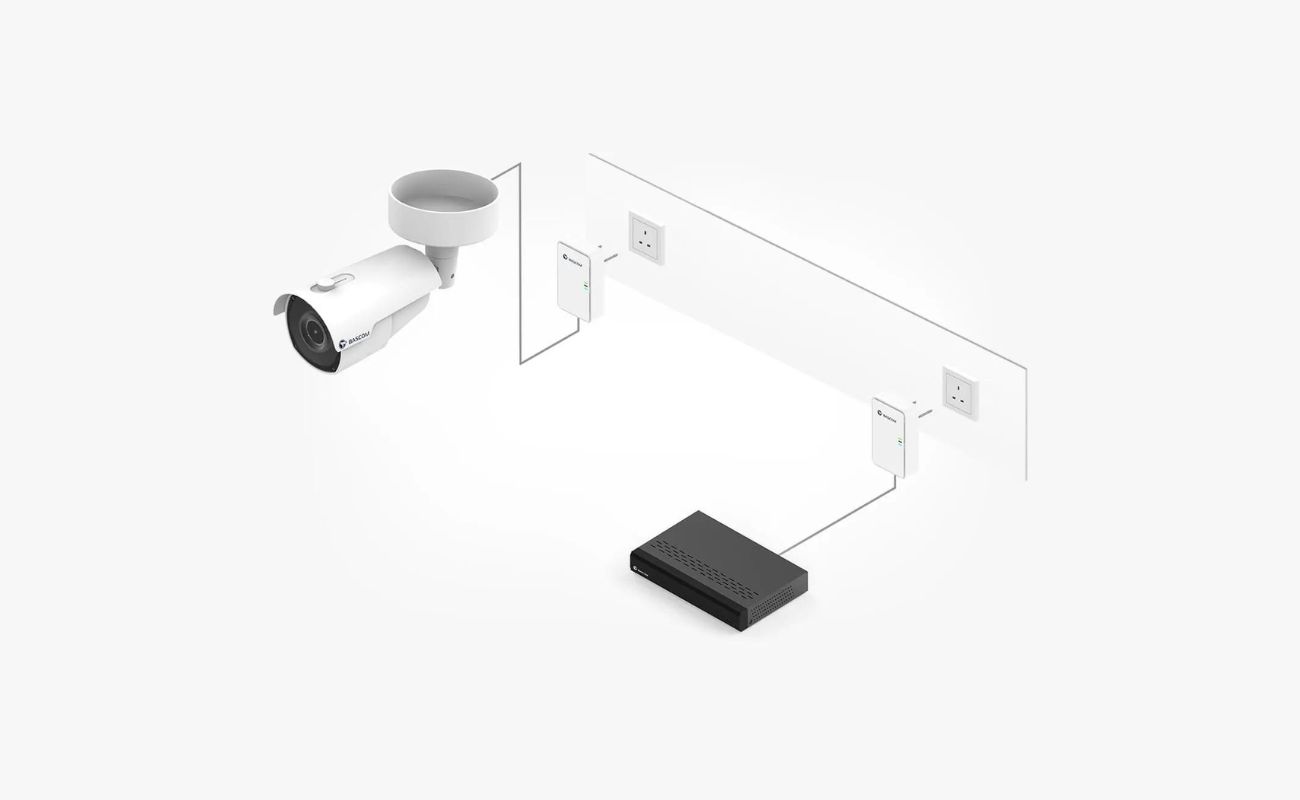
Step 3: Running the necessary wires
With the wireless security camera prepared for the conversion, it’s time to run the necessary wires for the wired connection. This step involves carefully routing the video and power cables from the camera’s location to the power source and monitoring station. Follow these steps to run the wires effectively:
- Plan the cable route: Before running the wires, plan the cable route to ensure the most efficient and discreet installation. Consider the distance between the camera and the power source, as well as any obstacles or walls in between. You may need to use a tape measure or laser distance measurer to accurately measure the distances.
- Drill holes: If necessary, drill holes in the walls or surfaces to create a pathway for the cables. Use a drill bit suitable for your wall material to avoid any damage.
- Route the video cable: Start by running the video cable from the camera to the monitoring station or DVR. Use cable clips or adhesive cable mounts to secure the cable along the planned route, keeping it out of sight and protected from any potential damage.
- Route the power cable: Next, run the power cable from the camera to the power source. Ensure the power cable is securely fastened and protected. If you’re running the cable outdoors, consider using conduit or weatherproof cable enclosures for added protection against the elements.
- Make necessary connections: As you route the cables, make necessary connections along the way. Connect the video cable to the camera’s video output and the monitoring station or DVR’s video input. Connect the power cable to the camera’s power input and the power source.
- Use wall plates and terminations: If needed, use wall plates and terminations to provide a clean and professional finish to the cable installation. Wall plates can be used to conceal cable entry and exit points, while terminations ensure secure and reliable connections.
Remember to be mindful of safety precautions while running the wires, especially when dealing with electrical connections. Ensure the power is turned off before making any connections and use caution when working with power cables.
By following these steps, you will successfully run the necessary wires for the wired connection. The video and power cables should be securely routed and connected to the camera, power source, and monitoring station. With the wires in place, you’re ready to move on to the next step and connect the camera to the power source.
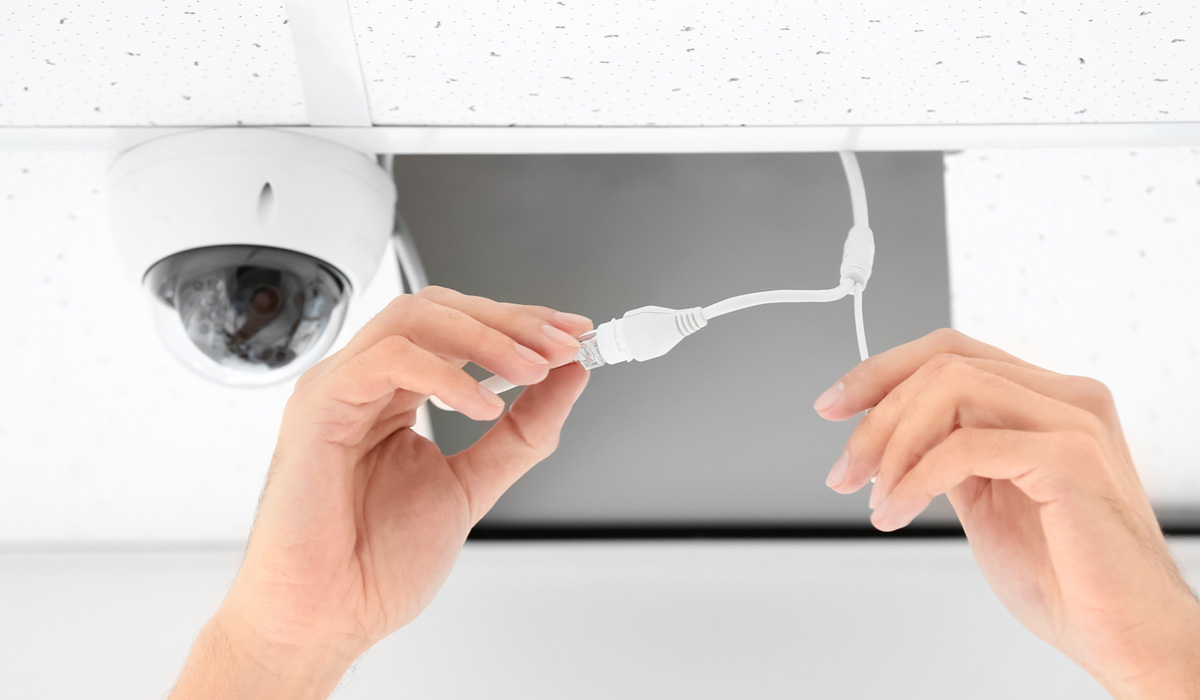
To change a wireless security camera to a wired camera, you will need to connect the camera to a power source and a recording device using a compatible cable, such as an Ethernet cable. Make sure to follow the manufacturer’s instructions for a safe and proper installation.
Step 4: Connecting the camera to the power source
Now that you have successfully run the necessary wires for the wired connection, it’s time to connect the camera to the power source. This step involves making the appropriate power connections and ensuring a reliable power supply for the camera. Follow these steps to connect the camera to the power source:
- Select a suitable power outlet: Choose a nearby power outlet or an alternative power source that can provide a stable power supply for the camera. Ensure the power outlet is easily accessible and can accommodate the camera’s power adapter.
- Connect the power cable: Plug one end of the power cable into the camera’s power input. Make sure the connection is secure and snug. Avoid using excessive force to prevent any damage to the connector or the camera.
- Plug in the power adapter: Insert the other end of the power cable into the power adapter’s input. Check the camera’s specifications to ensure the power adapter’s voltage and amperage match the camera’s requirements.
- Plug in the power adapter: Once the power cable is connected to the power adapter, plug the power adapter into the chosen power outlet. Double-check that the connection is secure and that the power adapter is properly inserted.
- Turn on the power: After connecting the camera to the power source, switch on the power outlet or activate the alternative power source. Ensure the power supply is stable and that the camera receives a continuous and reliable power flow.
- Check the camera’s power indicator: Most cameras have a power indicator light that confirms the camera is receiving power. Look for the power indicator light and make sure it is illuminated or working as expected.
By following these steps, you will connect the camera to the power source successfully. Ensure that all power connections are secure and that the camera’s power indicator light is functioning. With the camera powered on, you are ready to move to the final step and test the wired camera setup.
Step 5: Testing the wired camera setup
With the camera successfully connected to the power source, it’s time to test the wired camera setup to ensure everything is working as expected. This step involves checking the video feed, adjusting camera settings if necessary, and verifying that the surveillance footage is being properly recorded. Follow these steps to test the wired camera setup:
- Access the monitoring station or DVR: If you have a dedicated monitoring station or DVR for your surveillance system, access its interface or app to view the camera’s video feed. Make sure the monitoring station is properly connected to the camera and powered on.
- Check the video feed: Look for the video feed from the wired camera on the monitoring station or DVR. Ensure that the video feed is clear, without any distortion or interruptions. Adjust the camera’s position if necessary to get the desired view.
- Test recording functionality: If your monitoring station or DVR has recording capabilities, test the recording functionality by capturing some surveillance footage. Verify that the footage is being saved to the appropriate storage location and that it can be accessed and played back without any issues.
- Adjust camera settings: If you need to make any adjustments to the camera’s settings, such as resolution, frame rate, or motion detection sensitivity, access the camera’s settings interface and make the necessary changes. Experiment with different settings to optimize the camera’s performance for your specific needs.
- Perform a system check: Conduct a thorough system check to ensure that all components of your surveillance system, including the camera, cables, power source, and monitoring station or DVR, are functioning properly. Verify that you can access the camera’s video feed consistently and that the surveillance footage is being recorded as intended.
By following these steps, you can test the wired camera setup to confirm that the camera is functioning correctly and that you’re able to monitor and record the surveillance footage. Take the time to fine-tune the camera settings and ensure that everything aligns with your home security requirements. If any issues arise during testing, consult the camera’s user manual or seek assistance from the manufacturer’s support team.
Remember, maintaining a regular maintenance schedule for your wired camera setup is essential to keep it in optimal condition. Clean the camera lens periodically, inspect the cables for any damage or wear, and ensure that the power source remains stable to ensure continuous surveillance coverage for your home.
With the wired camera setup tested and functioning seamlessly, you can now enjoy enhanced security and peace of mind in your home.
Conclusion
Converting a wireless security camera to a wired camera can provide numerous benefits when it comes to home security and surveillance. Whether you’re looking for a more stable connection, better video quality, or want to avoid interference from nearby devices, the process of converting a wireless camera to a wired camera is a worthwhile endeavor.
In this article, we have outlined the step-by-step process of changing a wireless security camera to a wired camera. From gathering the necessary equipment to preparing the camera for conversion, running the necessary wires, connecting to the power source, and testing the setup, we have provided you with a comprehensive guide to ensure a successful transition.
Remember, always consult the user manual of your specific camera model for detailed instructions and guidelines. Additionally, don’t hesitate to seek professional assistance if you are unsure or uncomfortable with any aspect of the installation process.
With a wired camera setup, you can enjoy a more secure and reliable surveillance system for your home. Capturing high-quality video footage and having a stable connection will help increase your peace of mind and give you the confidence that your property is properly monitored. Furthermore, the ability to integrate your wired camera with a monitoring station or DVR will provide you with convenient access to your surveillance footage.
Regular maintenance and monitoring of your wired camera system are crucial to ensure its optimal performance. Schedule periodic checks to ensure that the cables are secure and protected, clean the camera lens regularly to maintain clear and sharp video quality, and verify that the power source remains stable.
By successfully converting your wireless security camera to a wired camera, you have taken a proactive step towards enhancing your home’s security. With a reliable and efficient surveillance system in place, you can confidently protect your loved ones and valuable possessions, deterring potential threats and maintaining a secure living environment.
Remember, a comprehensive security system goes beyond just having cameras. Implementing a combination of home security measures, such as motion sensors, smart locks, and alarm systems, will further fortify your home’s defenses. Stay informed about the latest advancements in home security technology and make strategic decisions to create a robust security strategy.
Taking control of your home’s security is empowering. By following the steps outlined in this article, you have gained the knowledge and skills to convert your wireless security camera to a wired camera and create a reliable and effective surveillance system for your home. Embrace the advantages of a wired camera setup and enjoy the peace of mind it brings.
Frequently Asked Questions about How To Change A Wireless Security Camera To Wired Camera?
Was this page helpful?
At Storables.com, we guarantee accurate and reliable information. Our content, validated by Expert Board Contributors, is crafted following stringent Editorial Policies. We're committed to providing you with well-researched, expert-backed insights for all your informational needs.